Stealth
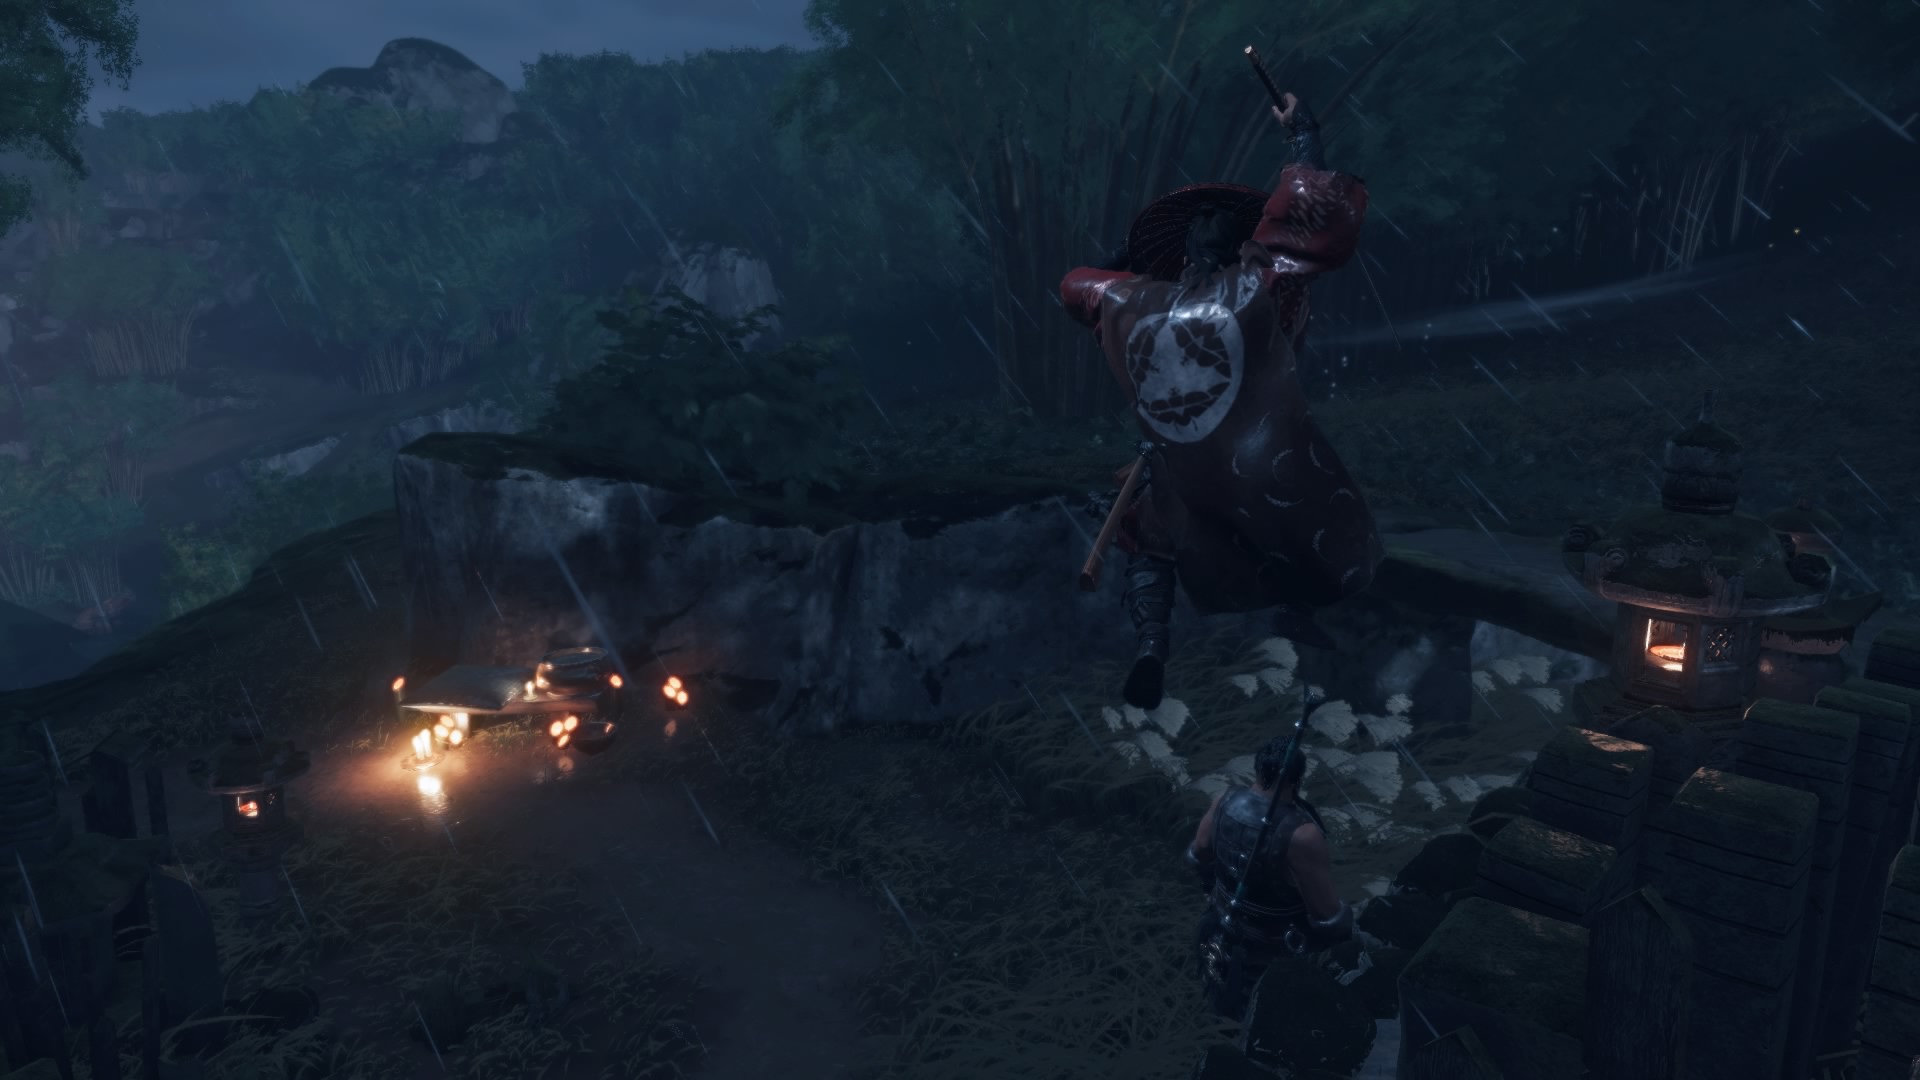
- Scout the area first by using [Focused Hearing]. Take note of enemy positions and patrol patterns.
- [Assassination] will let you know if the stealth attack will attract the attention of nearby guards via red pulsing outlines. Use [Chain Assassination] to get rid of nearby enemies.
- Enemies cannot see past log walls. Even when the gaps between them are far enough for both enemy and Ghost to see each other.
- Enemy detection speed is manageable. Allowing the Ghost to move quite a bit in the open before needing to return to cover.
- The Ghost disembarks ladders standing. There’s a chance for enemies to hear you coming almost instantly.
- Alerting a sentry will not automatically result in an alarm. Kill them quickly.
- Enemies do not see anything above eye level. Even standing on top of tents will not enter their field of view.
- You can use the Wind Chime to draw a specific enemy away to a designated location. Allowing the Ghost to pull off [Assassinations] and [Chain Assassinations].
Ghost Weapon Tips
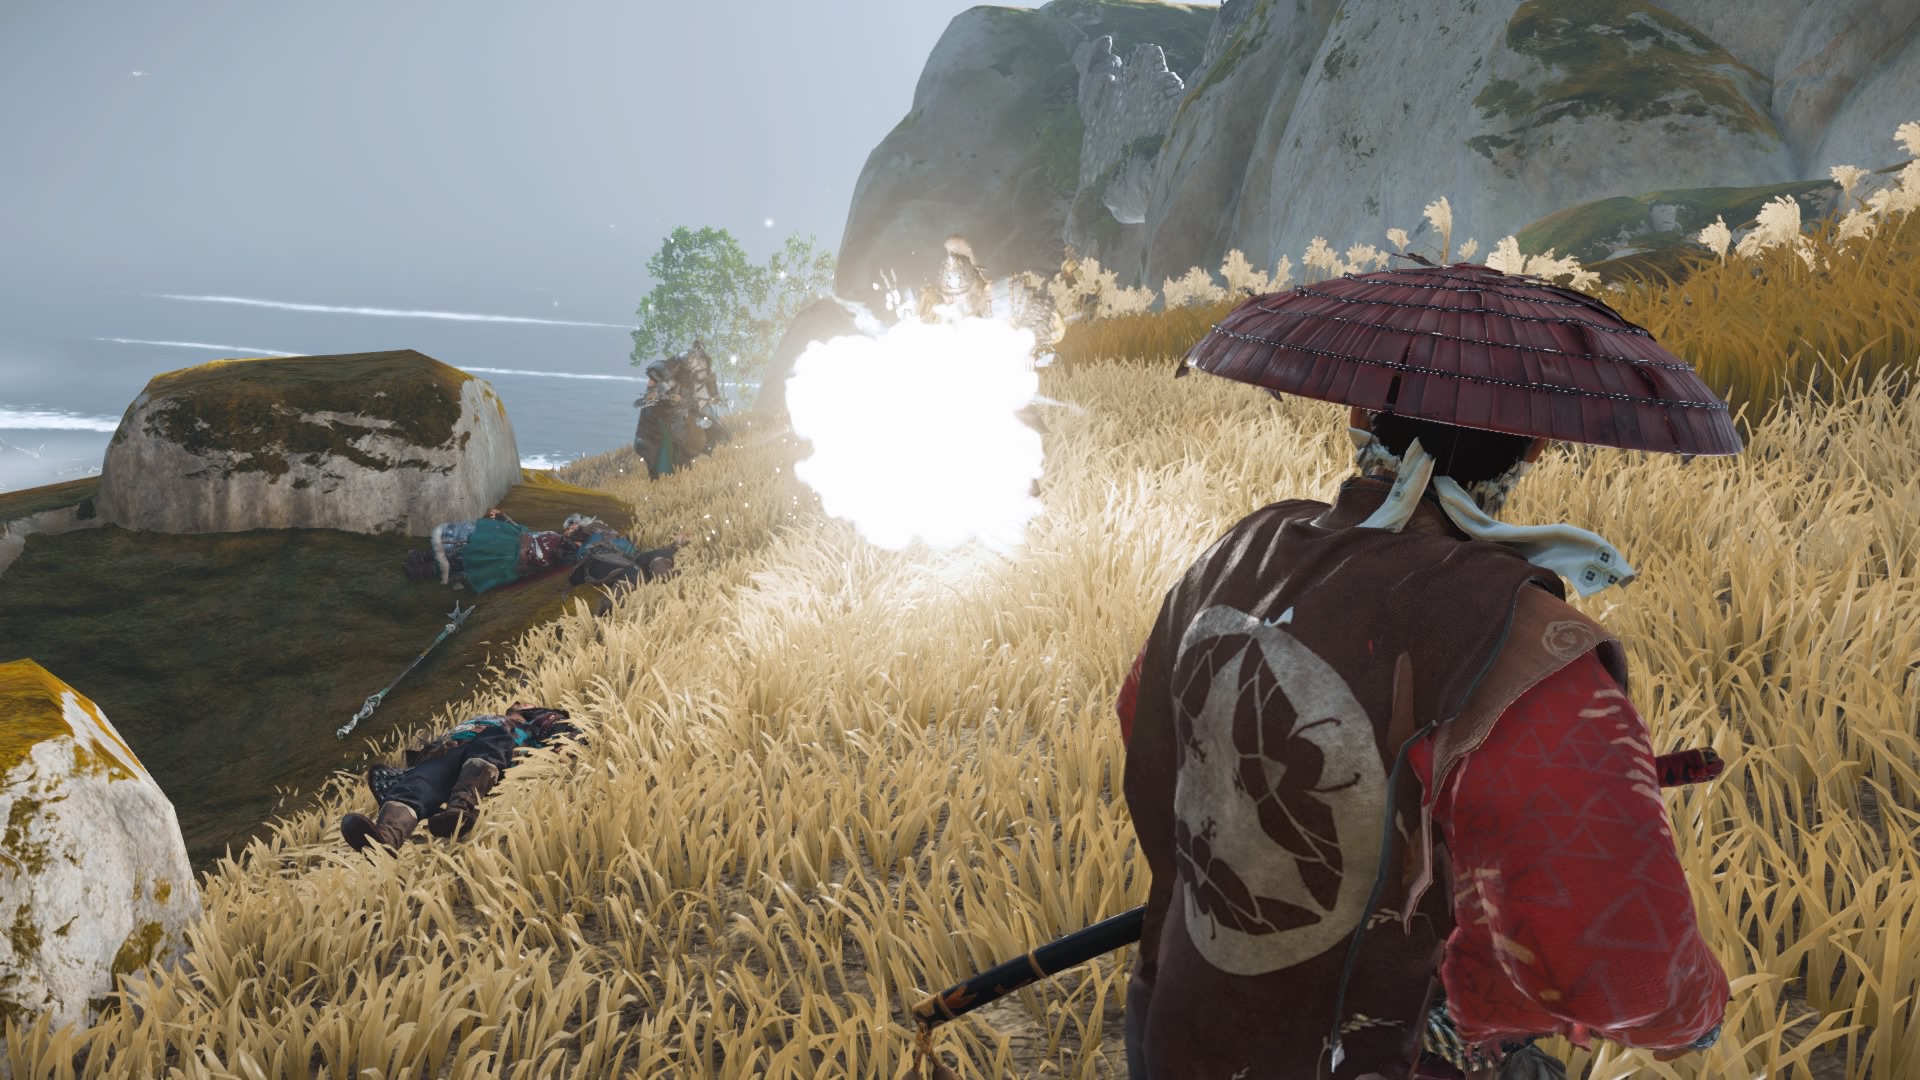
- You can use Ghost Weapons while riding a horse. Staggering enemies early is key to hit and run tactics. Spending Technique Points on [Mounted Strike] makes this tactic more deadly.
- Do not use a Smoke Bomb while riding a horse. You’ll be thrown off faster than a swinging blade.
- The Ghost throws 3 kunai per consumable action. It will hit the primary target and 2 others close by.
- There is no shame in retreating if your life is in danger. Drop a smoke bomb to make the enemy instantly lose sight of you.
- Sticky bomb is more than just an area of effect weapon. Throwing it into the middle of a bunch of enemies will cause massive damage to the primary target, and cause the others to stagger.
Combat
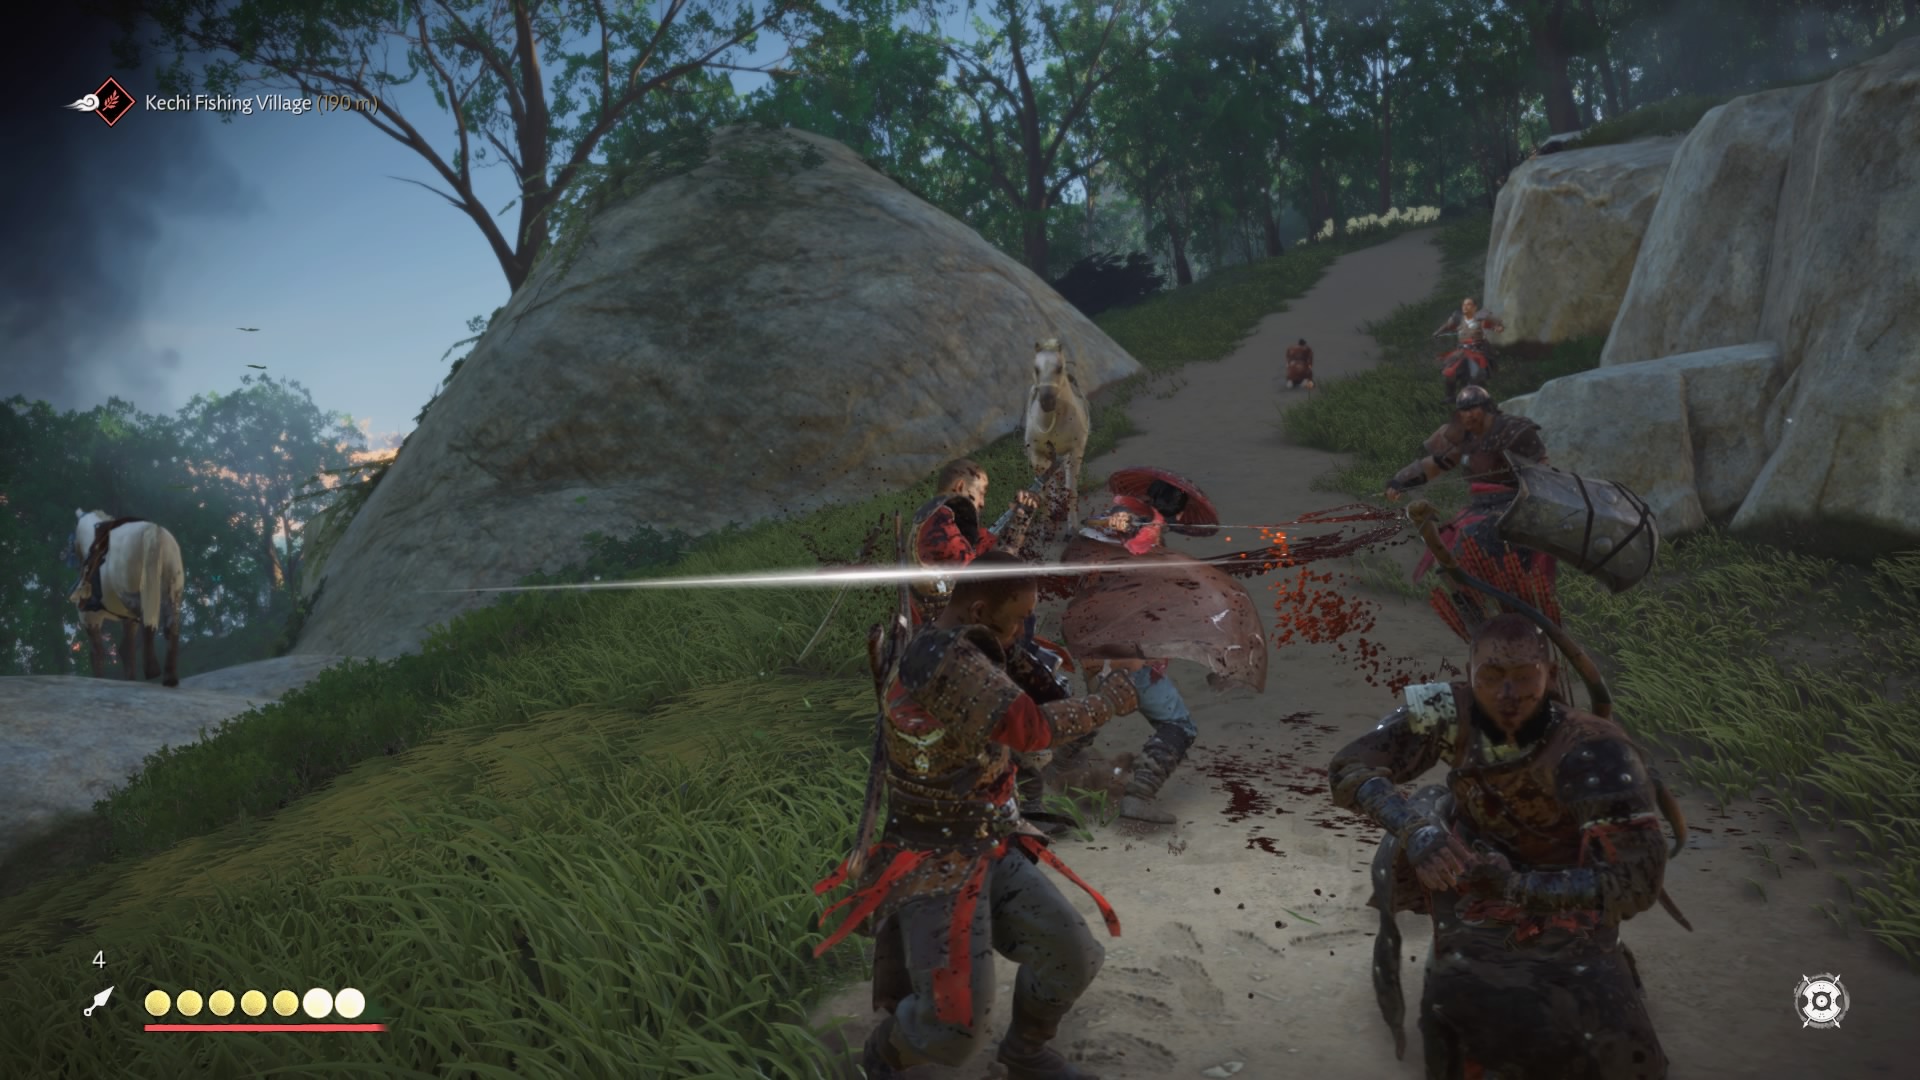
- When initiating a Standoff, try to get used to when an enemy starts to charge. It’s so easy to lose a Standoff just by watching their hands. Watch their entire body from their hands to their feet to know when is the right time to let go of the Heavy Attack button.
- For standoff streaks, wait for the moment when charging enemies raise their weapons to strike at you. If that doesn’t work, try feeling out their movements until you get it down with your timing.
- When fighting against guard dogs, it’s best to hit them once, back off, and hit them again after dodging. They don’t often go down in one strike. Worse still, their bites hold you down in place, opening you up for follow up attacks.
- Take out Mongol Eagles with arrows. They are the Mongols’ eyes in the sky and will detect the Ghost faster than any human. Eagles also swoop in when in combat.
- Don’t bother trying to sidestep counter a charging enemy. Just get out of their way, to be safe.
- Blue X-shaped glinting lines are parry attacks.
- Red X-shaped glinting lines are unblockable attacks. Your only course of action is to dodge it when you see it coming your way.
- When hit by a flaming arrow, roll as quickly as possible to mitigate the damage.
- In case the enemy catches you off guard, you can initiate an attack with [Heavy Attacks], even if the enemy defends against it. The whole point is to not give the enemy an opening of attack. One swing, and even a dodge will give you enough time to assess the situation. Once you do, you’ll know which stances you need to start dismantling them.
- Parrying attacks leaves an opening that’ll allow you to land a few undefended hits in.
Infantry Types
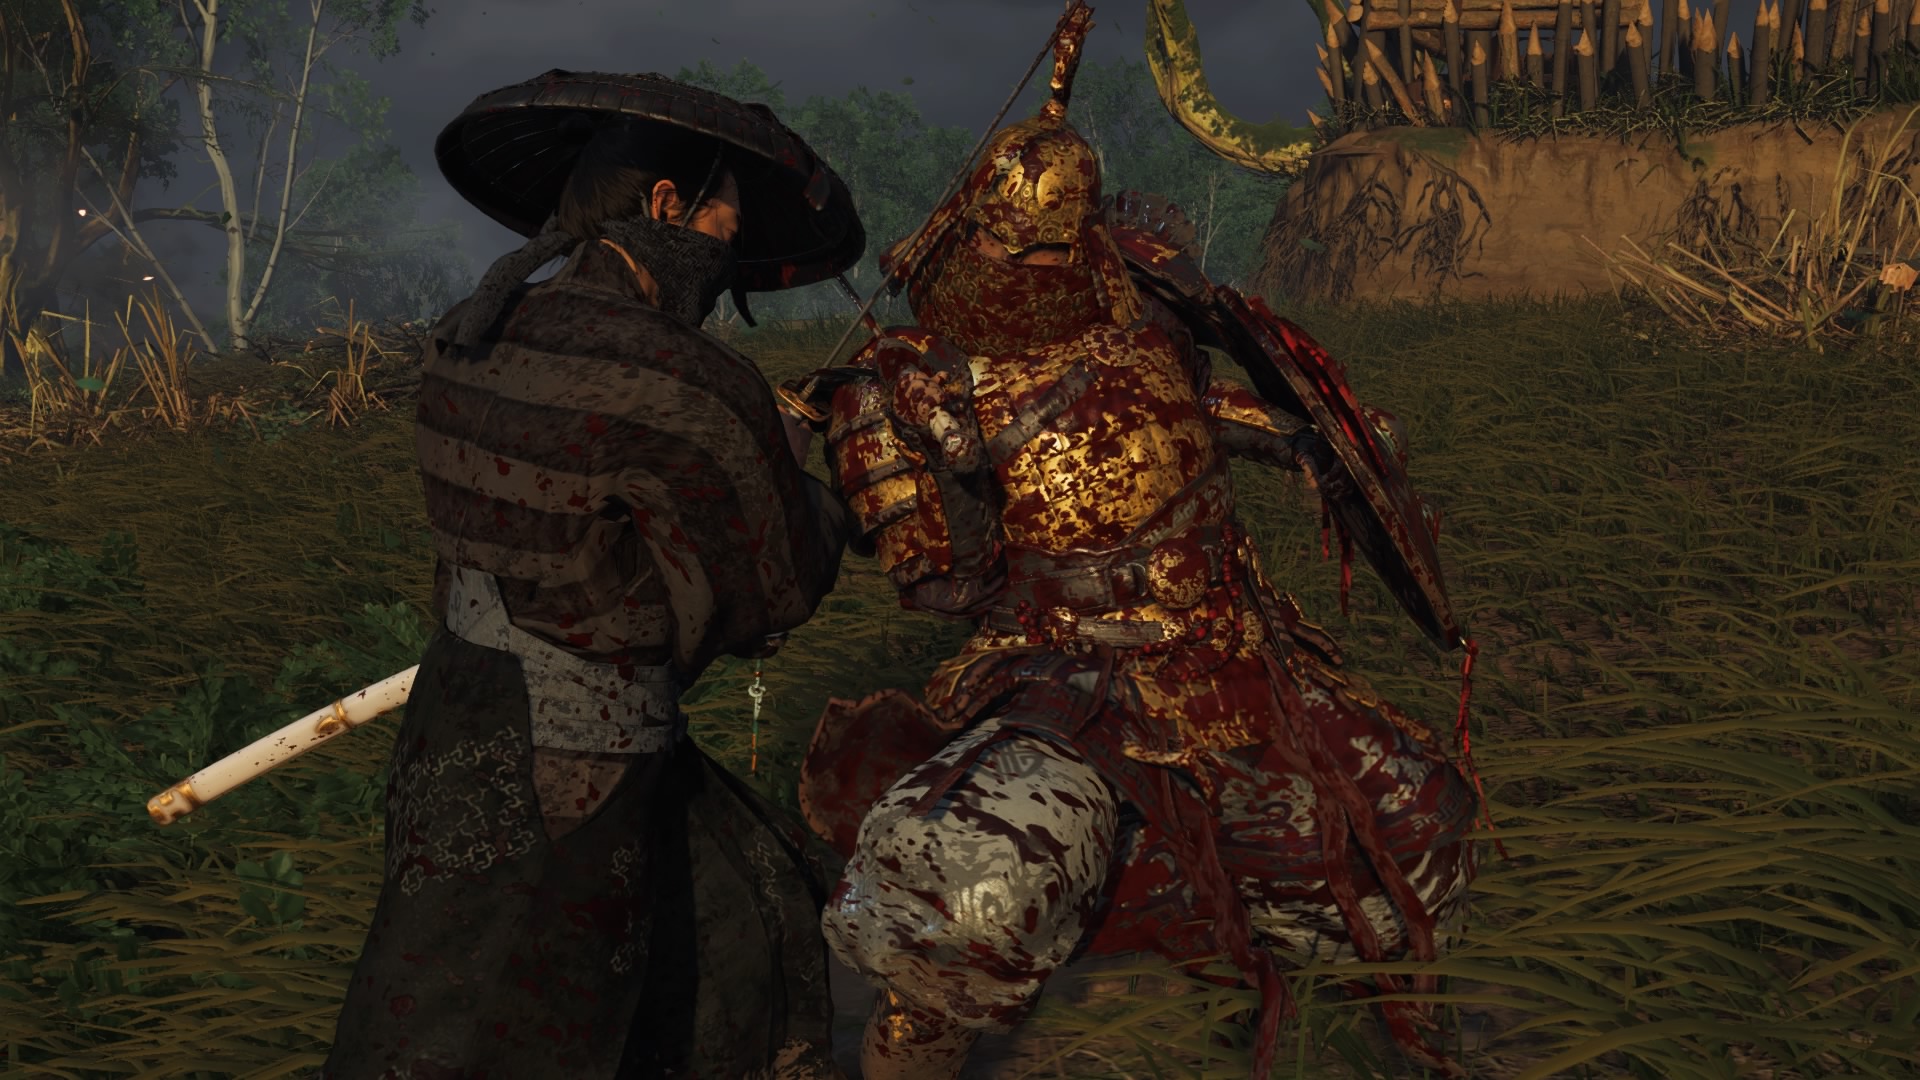
- Swordsmen sacrifice defense in order to deal massive amounts of damage. Do not let your guard down, or you’ll find yourself with nothing left but a tiny sliver of health.
- Shieldmen are tough nut to crack. If you don’t have access to Water Stance techniques, your best course of action is to try to get behind them. Other than that, you can try to parry their sword attacks, while dodging their unblockable shield bashes.
- Trying to beat a Spearman to the punch is always a gamble. With their added reach, they can hurt you from a relatively safe distance. They also strike faster than expected. It’s much safer to evade their initial strike, and then follow it up with a strike of your own to close the distance.
- You can avoid a Spearman’s sweeping attack by jumping. This also allows some other enemies but it’s not as consistent.
- Brutes are powerful enemies that disregard your sword swings just to get to you. They hit hard, but strike very slowly. Dash once just before their swing connects, then punish them before they can regain their composure.


