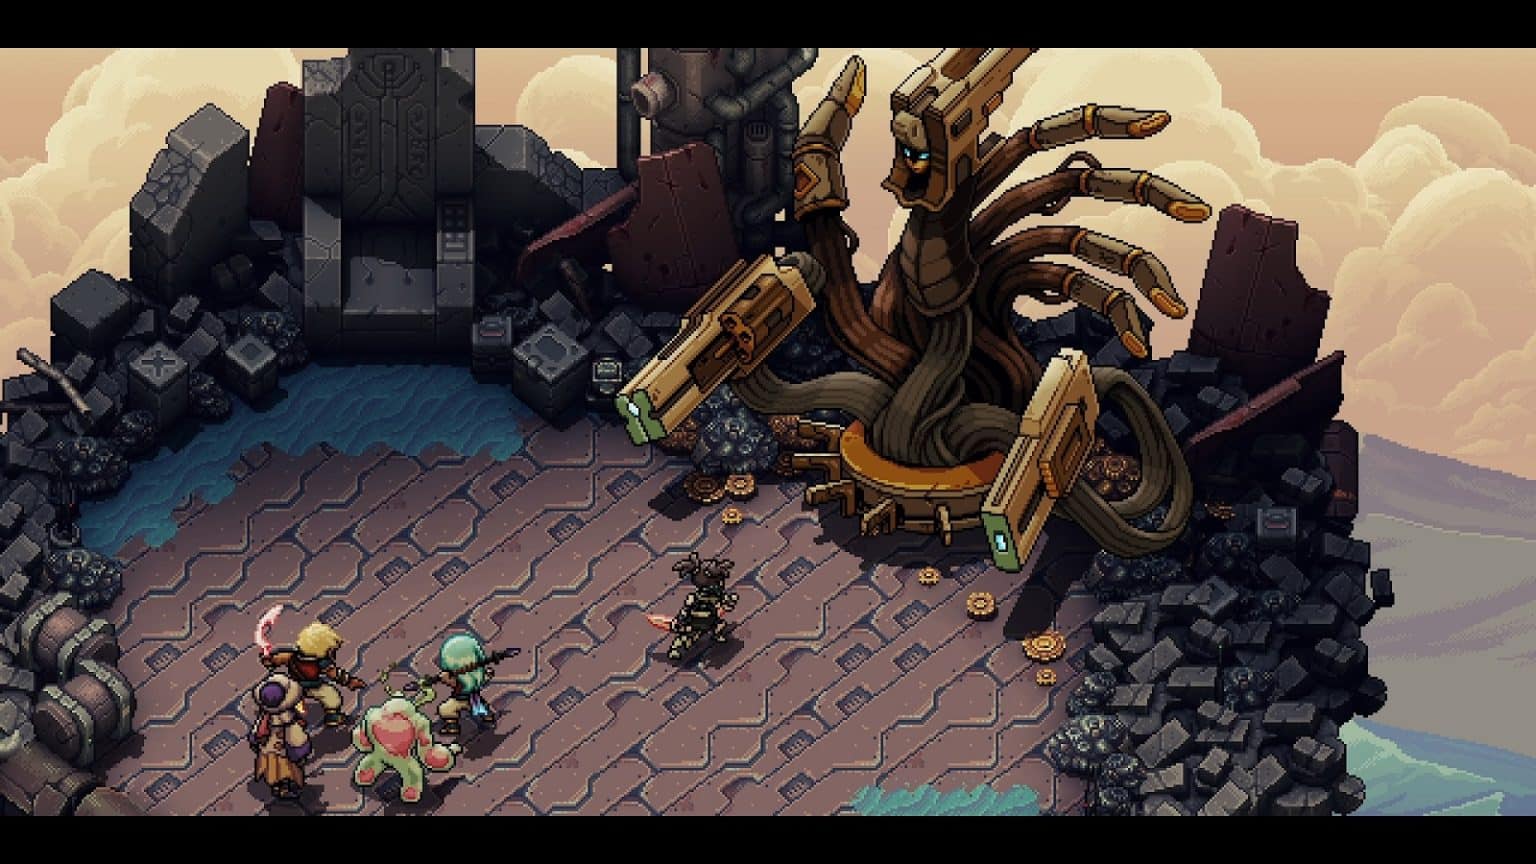
Before your inevitable confrontation with the traitorous Elysan’darelle and her master, the Fleshmancer, your friends will ask you for a favor. One such favor comes from our rebel assassin, Serai. It will involve slaying a former Royal who once betrayed her people.
In this guide, I’ll tell you how you can get to Gun Goddess and how to defeat her in order to earn the Better Off Dead Achievement/Trophy.
How to get the Better off Dead Achievement
To get the Better off Dead Achievement/Trophy, you’ll first need to defeat the Dweller of Dread. There is a brief period of calm that you can take advantage of before going after the final encounter in the game.
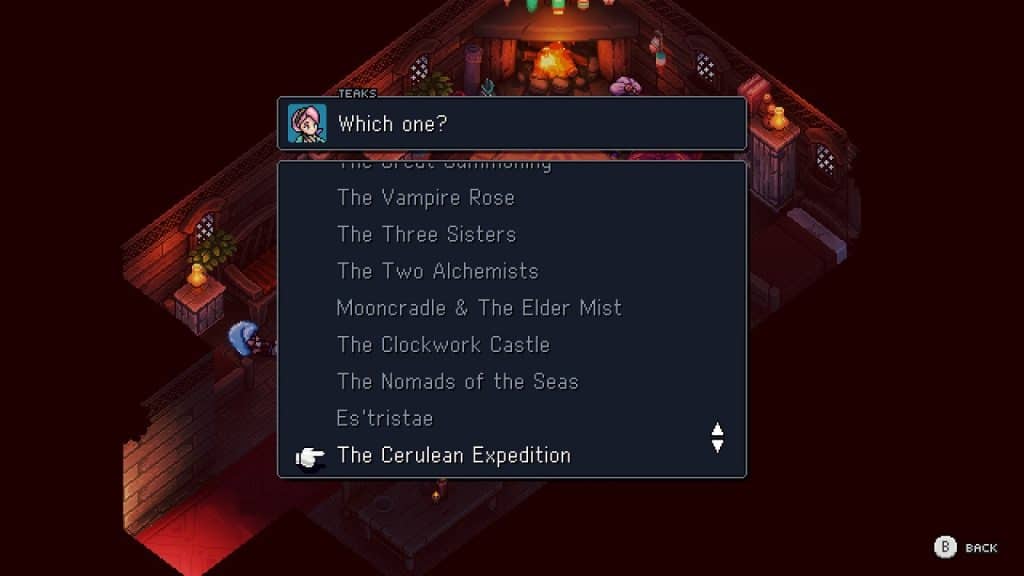
Set up camp, wherever possible, and ask around the campfire for everyone’s final wishes. Serai’s final favor involves The Queen That Was, a traitorous royal who will no doubt descend on her hometown after the greater evil has been dealt with. She gives you Joce’s Belt Buckle for Teaks to examine and hopefully come up with a possible lead.
Note: This is an optional boss fight that you can opt out of if just want to go straight to the final boss fight.
After Teaks has recorded the belt buckle’s story, you can hear about the events that transpired during The Cerulean Expedition. In short, a group of hunters set out to find The Queen That Was. Unfortunately, the entire group perished while exploring the Cerulean Expanse. But not before leaving behind clues to the speedball that will transport anyone to the queen’s hideout.
"Four directions, four days. After which, we backtrack for another four and compare notes."
"Brochu's team is trying northeast, southeast, south, then northwest."
"Elbi's team is trying southwest, south, wouthwest, then east."
"As for my team, we're doing north, east, northeast, then south."

"Brochu said it felt right for the first two days, but then something was amiss."
"Elbi recounted feeling lost the whole time, save for Day 4 where everyone had more spring in their step."
"As for me, I was right, Day 3 was truly special."
If you’ve ever been to the desert, then you’ll know that it is an endless expanse that seemingly leads to nowhere. Unless you have the right directions.
Piecing together all the clues we get the following directions:
Northeast -> Southeast -> Northeast -> East
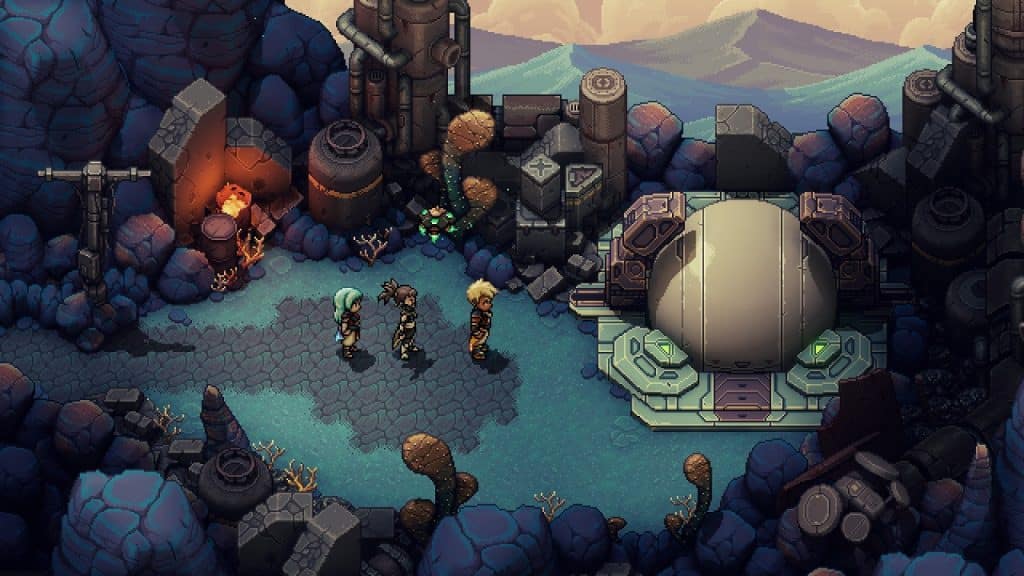
Once you enter the desert maze, go to each of the directional exits in this precise order. If you manage to do it correctly, you’ll end up in the location pictured below.
Note: If you believe that at any time you have made a mistake, you can always reset by going back to the desert entrance by taking the Western exit.
The speedball will take you directly to the Gun Goddess’s throne. There won’t be any other enemies in the location. So feel free to rest up and save at the campfire provided. Go up the stairs to initiate a fight with the Gun Goddess.
How to Defeat the Gun Goddess
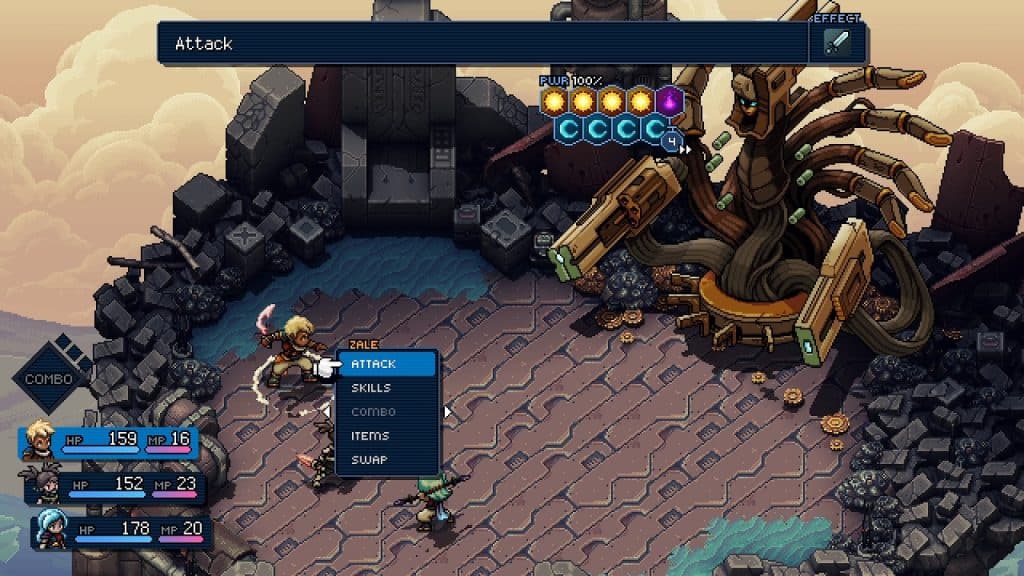
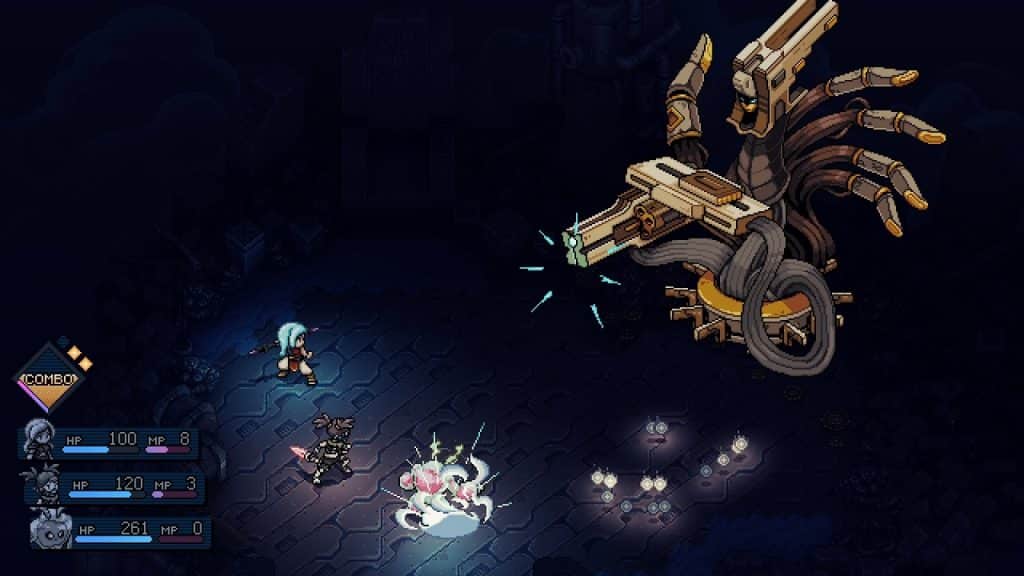
The fight with the Gun Goddess is a simple one. She has one lock attack that deals heavy single damage and another that does AOE damage. Her base attacks deal a medium amount of single/AOE damage. But keep in mind that she’s on Haste for almost the entire fight. That single damage will stack up really quickly if you allow it.
The fight thing you need to figure out is how to break her locks as quickly as possible.
Normally, if you see 4 Lunar icons, your mind immediately goes to Valere’s Moonerang. But here’s the rub. You see all those floating objects around the Gun Goddess’s mid-section. Those are bullets that can later be used in one of her attacks. They are also individual targets. In other words, you are looking at 7 targets that you can bounce off of. I’m not saying that you shouldn’t try and go for it but it’s a really hard ask.
What you can do instead is to utilize Serai’s Disorient Skill to keep her off balance. That’ll buy you more to work on the locks. Later into the battle, you can even use the Arcane Barrage combo to stagger her even more. (In case you don’t know, every hit of a bottle is considered a blunt lock break.)
Note: The bullets will not attack on their own. However, it should be noted that they are resistant to almost all forms of damage. It’ll take a really a couple of Ultimate Attacks to successfully bring down from max health.
At around half health, the Gun Goddess will gain even more Haste and can potentially use her more powerful attacks within 1-2 turns. There will be times when you could be caught off guard and have no choice but to take the hit.
These are two attacks you might want to watch out for:
- Fan The Hammer: In this attack, the Gun Goddess loads all the bullets floating around her into her gun arm. She then does an AOE attack that deals damage equal to how many bullets are in the chamber. Has the potential to instantly down allies with low armor values.
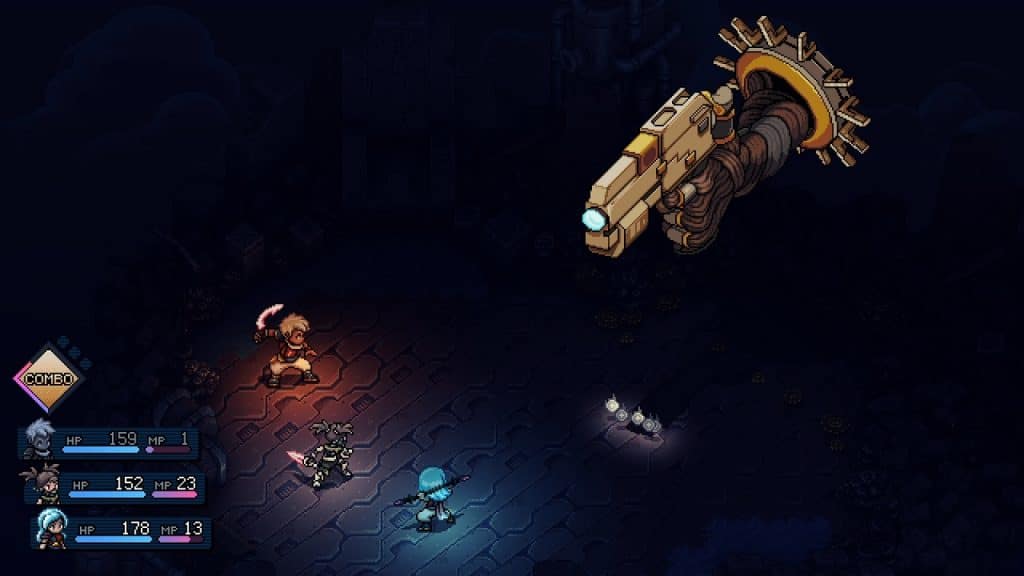
- The Shot: The Gun Goddess does an OG Megatron and transforms into a handgun. She shoots a single bullet that does enough damage to instantly down allies with low armor.
Survive these attacks and you have a shot to kill the Gun Goddess. Take every opportunity to deal heavy amounts of damage while frequently healing to maintain that numbers advantage. And don’t overstay your welcome. The longer this fight goes, the advantage shifts to her.
From my experience, it wasn’t that hard at all. There were a few close calls here and there but it never felt like I was truly backed to the edge at any stage, even when she had additional Haste. I just recognized that the battle needed to end ASAP.
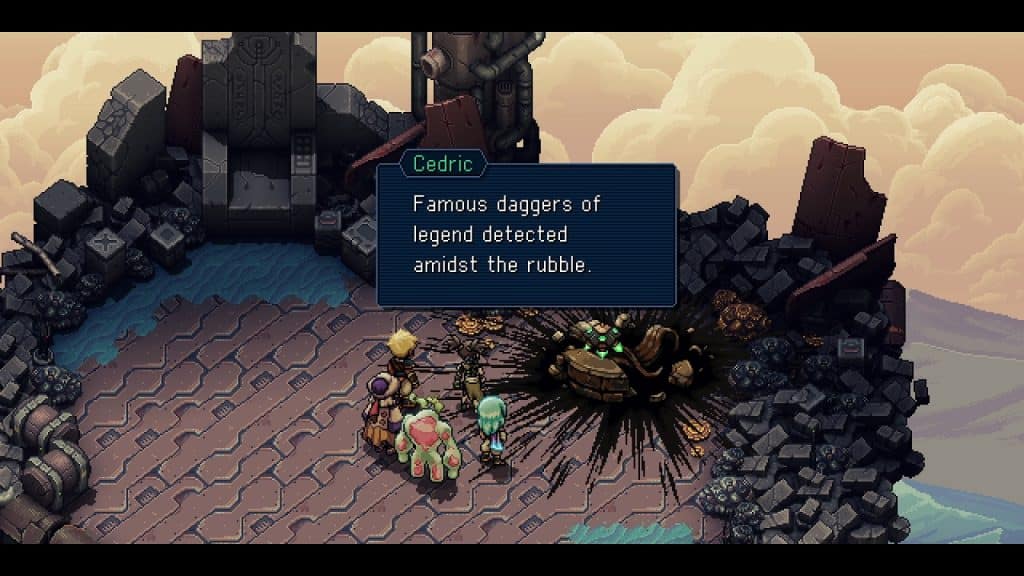
At the conclusion of the battle, you will be rewarded with Serai’s Legendary weapon: Star Shards. More importantly, you will have earned the Better Off Dead Achievement/Trophy.
And that’s everything we have for this Better Off Dead Achievement guide. I hope it helped you inch your way closer to getting all the achievements/trophies in the game.
If you want our thoughts on Sea of Stars, check out the review I did for it. You can also check out the trophy guide I’m slowly building towards.


