
With the sudden announcement of the ARC Raiders Server Slam a few weeks ahead of the game’s release on October 30th, 2025, we think it is the appropriate time to get everyone up to speed with what to expect from ARC Raiders, considering it’s been nearly 4 months since the game’s last tech test.
In this guide, I’ll tell you everything you need to know to get a flying start in ARC Raiders, including things you need to do from the jump as well as a few things you need to know about the world. As someone who played the playtest way back when, I can tell you with confidence that it is an extraction game like no other. This is pretty much expected from Embark Studio, the developers behind the dynamic tournament shooter, The Finals.
Setting
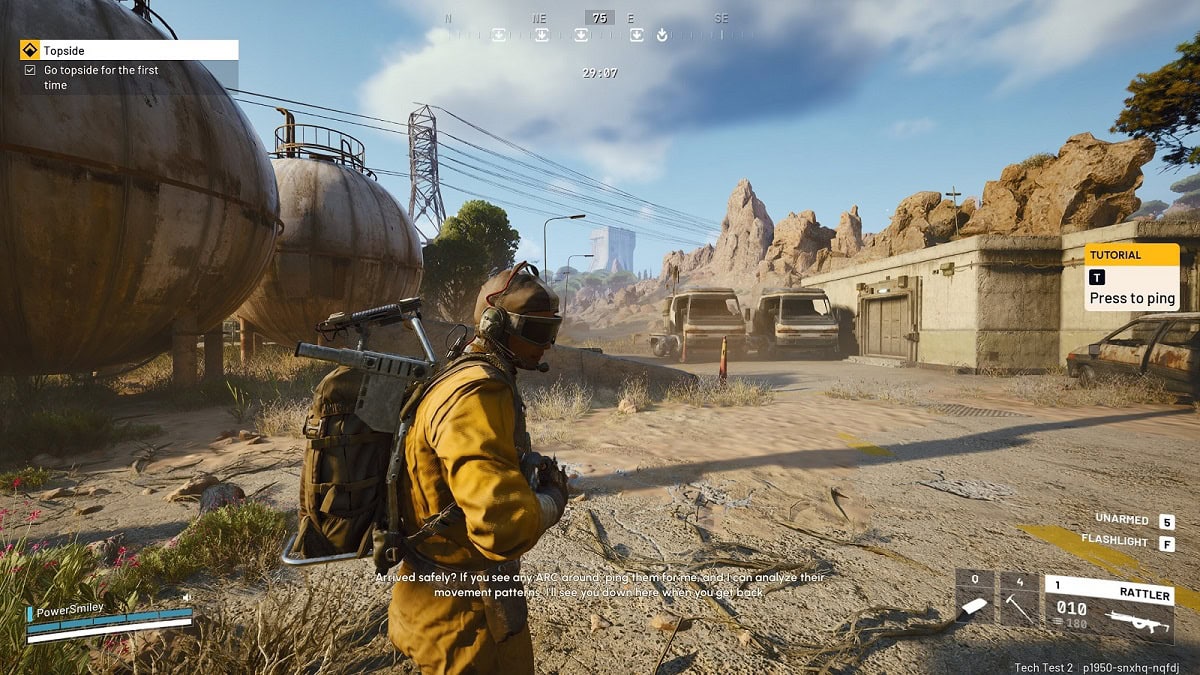
In ARC Raiders, you take control of a Raider, a survivor scraping a living in the shadow of the old world. In the years since humanity’s disaster, life on the surface has not been kind to people – lethal ARC machines roam the land, their purpose unknown. But even more dangerous than that are rival Raiders, who are as likely to kill you as greet you. Not all hope is lost, however. Speranza, the underground home for many, is the last bastion of civilization in a world practically lost. The good people there do more than just survive; they live their lives as best they can with what they can scavenge.
Gameplay
ARC Raiders is a third-person PvPvE extraction shooter. Your job, as a Raider, is to brave the surface and gather up whatever your bag allows you to carry. Your primary goal in most expeditions is to bring back stuff that may be useful for crafting or trading.
Every once in a while, a character will hand out a request for you to do. This can come in the form of item requests or performing specific tasks on the surface, like fixing solar panels in a general area. If you manage to complete a request, you will be rewarded with resources you can use for your next trip to the surface. This is the general gameplay loop for the game, outside of any major events.
Gunplay
At the start of any run, you only have access to a melee weapon, similar to that of Fortnite’s pickaxes. The pickaxe acts more like a tool to open boxes and locked doors. It has some combat functions, but it will not likely save your life in a firefight.
The ranged weapons in Arc Raiders, for lack of a better term, are a mangled collection of junk duct-taped together in a desperate attempt to appear like a firearm. But they do work, as much as Warhammer 40K Orc weapons work. They aren’t the prettiest, but they’ll get the job done.
In the beginning, you’ll get access to light weapons like the Rattler and Burletta. These poor excuses for firearms have no chance in a serious firefight. It is best used against smaller ARCs if nothing else is available. What they lack in firepower, they make up for in availability. Since death means losing everything in your bag in ARC Raiders, it makes sense to start a round with at least a Rattler and make use of it before tossing it for better gear like a shotgun or a Kettle.
There are a couple of dozen weapons in the game, ranging from standard arms all the way up to the energy weapon, the Equalizer. In reality, you can bring the best weapons you have at your disposal, but there is no guarantee you will head back home with them in your holster. Later on, you will unlock the ability to craft weapons. The drawback is that continuously crafting weapons will drain you of all your resources. Sometimes, it might be better to go in light and scavenge for better weapons, something a famous “Snake” would do.
The Time to Kill is relatively short if you don’t have a shield equipped. The shield’s purpose is to soak up damage before you take health damage. You will want to have your shields up as often as possible to maintain a battle-ready stance. On top of that, it is easier to recharge your shields than it is to bandage yourself up.
Killing ARCs will cause them to drop shield batteries. Use these batteries to top up your shields. You can craft shields back at your workshop if you have the right resources.
Movement
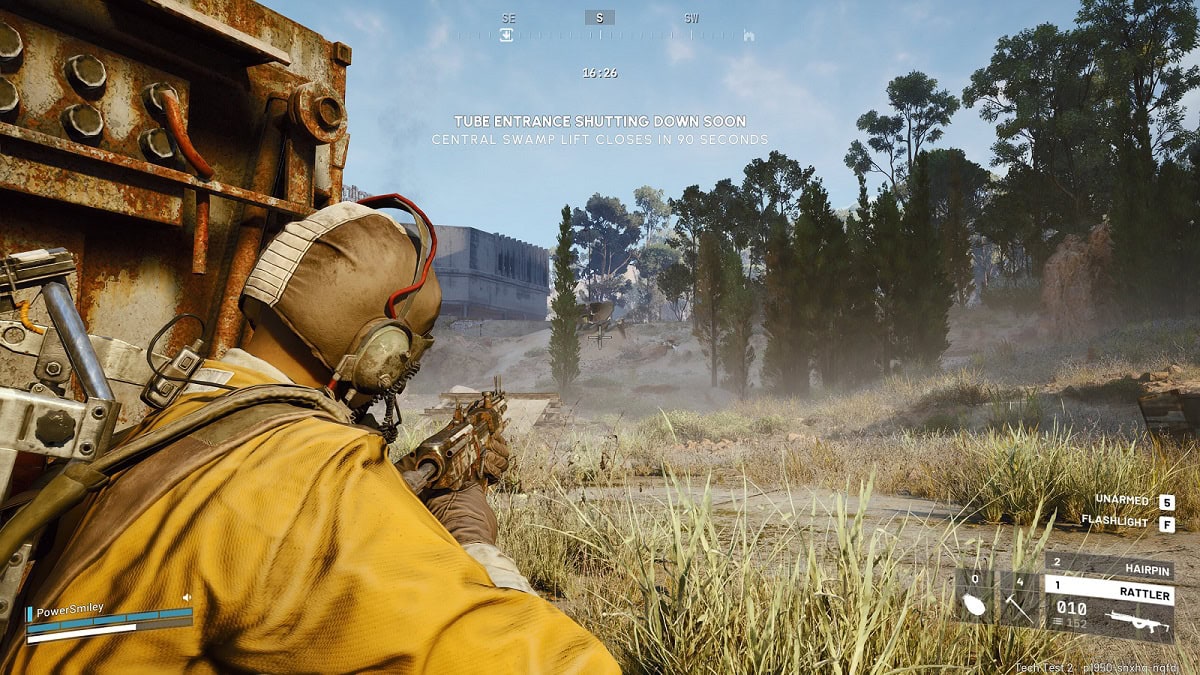
As a Raider, you can run and slide with ease. You can perform life-saving dodge rolls when needed, minus the invulnerability frames. Sprinting in a crouch causes your character to slide. You can look at the full 360 degrees while maintaining your slide momentum. This can come in handy when peeking around a corner. Many parts of the map are designed with sliding in mind. It’s a great way to move around and potentially allow you to avoid a rain of bullets. For some reason, you cannot go prone in ARC Raiders. It is what it is; you’ll get used to hiding in bushes, anyway.
Character Customization
If you’re hoping for an in-depth character customization window, then you’re straight out of luck. You have a choice of predetermined faces and features. It is similar in number to the Destiny 2 character options. In other words, not that many. Like in Destiny 2, you don’t really care what your Raider looks like. It’s all about the armor, and from what I’ve seen so far, ARC Raiders has that in spades. There are so many armors to choose from this early on. I wouldn’t be surprised if we are competing on who has the best looks during a firefight.
Character Progression
ARC Raiders features three main branches for players to specialize in:
- Conditioning
- Mobility
- Survival
Conditioning allows you to endure more, potentially last longer on the surface. This upgrade branch is best suited for players who love to go on extended expeditions covering the whole map. By going down this branch, you will steadily increase your stamina, eventually becoming a triathlon athlete wearing a hiker’s bag worth of scrap.
Mobility, as the name implies, is the skill that affects your speed and nimbleness on the open world. The more points you have in mobility, the more agile your Raider will be. That means that you’ll be able to dodge roll further and faster in and out of combat. At its highest levels, you’ll be able to mount ledge more easily and cross swiftly.
Survival has a lot of similarities to Mobility. The biggest difference is that points in Survival affects your ability to scavenge loot. This branch appeals to players who prefer a stealthy approach. You’ll make less sounds when moving and even break open lockers without alerting every ARC half a mile around you.
While it is possible to be a Jack-of-Trades, Master of None early on, I feel that it is not a good idea to commit all your points into different builds. Besides, it takes a lot of time to become adept in all three branches. If you still insist on being the next John Raider, at least go deep in one skill tree before putting points in other branches.
Enemies
The ARCs are the persistent threat you’ll face every time you make your way to the surface. They come in many shapes and sizes. Some are drones that hover several feet off the ground. While others roll on the ground, looking for an opportunity to ambush Raiders inside buildings. Alone, these smaller machines do not pose a threat. They merely act as alarm system for larger threats.
The Bastion is one such threat. These eight-legged tanks have heavily armored bodies with a machine gun mounted on the front. You don’t want to take this bullet sponge head on. It is a good idea to target its leg and slowly remove its ability to move. Do not lower your guard, even if all its legs are disabled. At that point, it becomes a slow turning turret. Immobile but every bit as dangerous.
The one drone you don’t want anywhere near you is the Rocketeer. Its rockets deal crippling amounts of splash damage. Don’t even bother with a direct hit, that’ll an instant one-hit down. The raw damage potential for this machine is insane. I and many other players complain about it constantly. But we understand that it is a necessary occurrence in high intensity combat encounters. I just wish I didn’t find them wandering around like the rest of the non-threatening drones.
Lastly, there’s the Bison and the Queen. Bisons are exceptionally hard to take down, unless you are in a team that’s armed to the teeth. The same applies to the Queen, but on a larger scale. Embark once stated that taking on the Queen requires several teams to work together as one. After witnessing its strength firsthand, I agree with that assessment.
The Maps
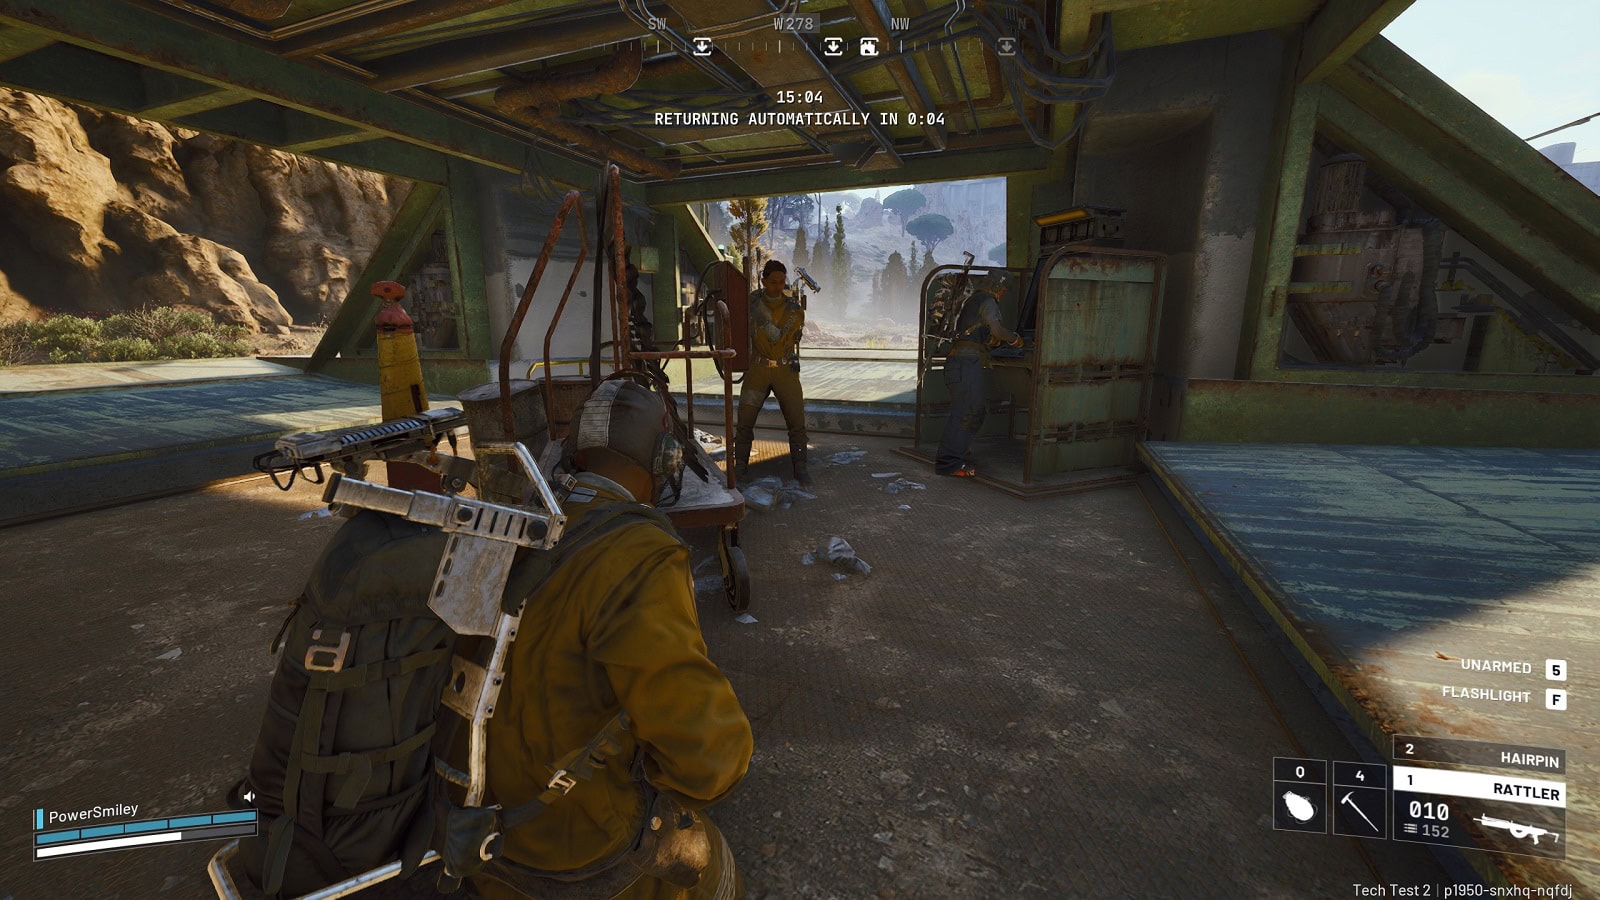
At the start of every round, you are asked to pick from a range of maps. Picking a map loads you in an instance with other players loading in at various intervals. Each map is set to close after 40 minutes to an hour. If a player doesn’t evac in the allocated time, they will die and lose everything.
Each map has a unique set of geography, features, and lootable buildings. If you open your map, some areas are highlighted in different colors. These colors range determine threat intensity and loot density. These areas tend to draw the most heat as players make it a habit of memorizing good loot spots.
There are 3 maps currently that we know of:
- The Spaceport
- Buried City
- Dam Battleground
The Spaceport is surrounded by open and flat areas with the Spaceport complex at the center. The smaller buildings around the complex offer decent loot. The best loot, however, is reserved inside the Spaceport control tower. I don’t go near that place as a solo. But every time I do go near, there’s always a fight happening inside over the rare resources.
Dam Battleground is divided into 4 major zones: Swamp, The Dam, Red Lakes, and Victory Ridge. Fights in the swamp are bogged down by the numerous tree proving cover and is the perfect place for ambushes. Red Lakes, in contrast, is a flat area with very little cover. You’d want to cross it as quickly as possible. In the middle, we have the Dam splitting West and East down the center of the map. Everything mentioned here is overlooked by Victory Ridge. It’s a good place to go if you want to avoid the swamp on the way to either dam or Red Lakes.
The Buried City is claustrophobic cluster of buildings and long sight lines. Close quarter combat is likely to happen inside the buildings and narrow streets. The rooftops will mostly likely be infested with sniper scopes and Raiders looking for a way down to street level. A long highway snakes through the map from end to end. It’s great for moving around, just remember that you are more or less exposed to anyone on the rooftops.
Modifiers
To spice things up, Modifiers are added to certain maps, each with their own increased loot potential. Time of Day changes maps to either the middle of the afternoon or the dead of night. Take note of the intensity of ARC activity in the area before arriving on sight. Some maps have weather conditions too if enough time has passed. Rain, in particular, is great in masking movement as well as covering the noise from opening lockers.
Sound Traps
One of the things that surprised me the most were the inclusion of rigged car alarms. These ones are designed to go off if you so much as touch them, alarming everything around you over great distances. Surveillance cameras offer a similar threat, but they are easily avoidable if you hug the wall the wall it is on top of. I often leave them alone as I want them watching my back and as an early warning device. And lastly, we have birds. Yes. Similar to how they functioned in Hunt: Showdown. If you see a flock of birds flying up into the sky, it’s usually a sign that there are players causing noise in that area.
My general advice for every map in the current map pool: move quietly and listen for movement. Sound plays a huge part in the game. Footsteps are audible and echoes are clearly heard between floors. If possible, play this game with a good set of headphones. The difference is night and day in most cases.
Other Tips and Tricks
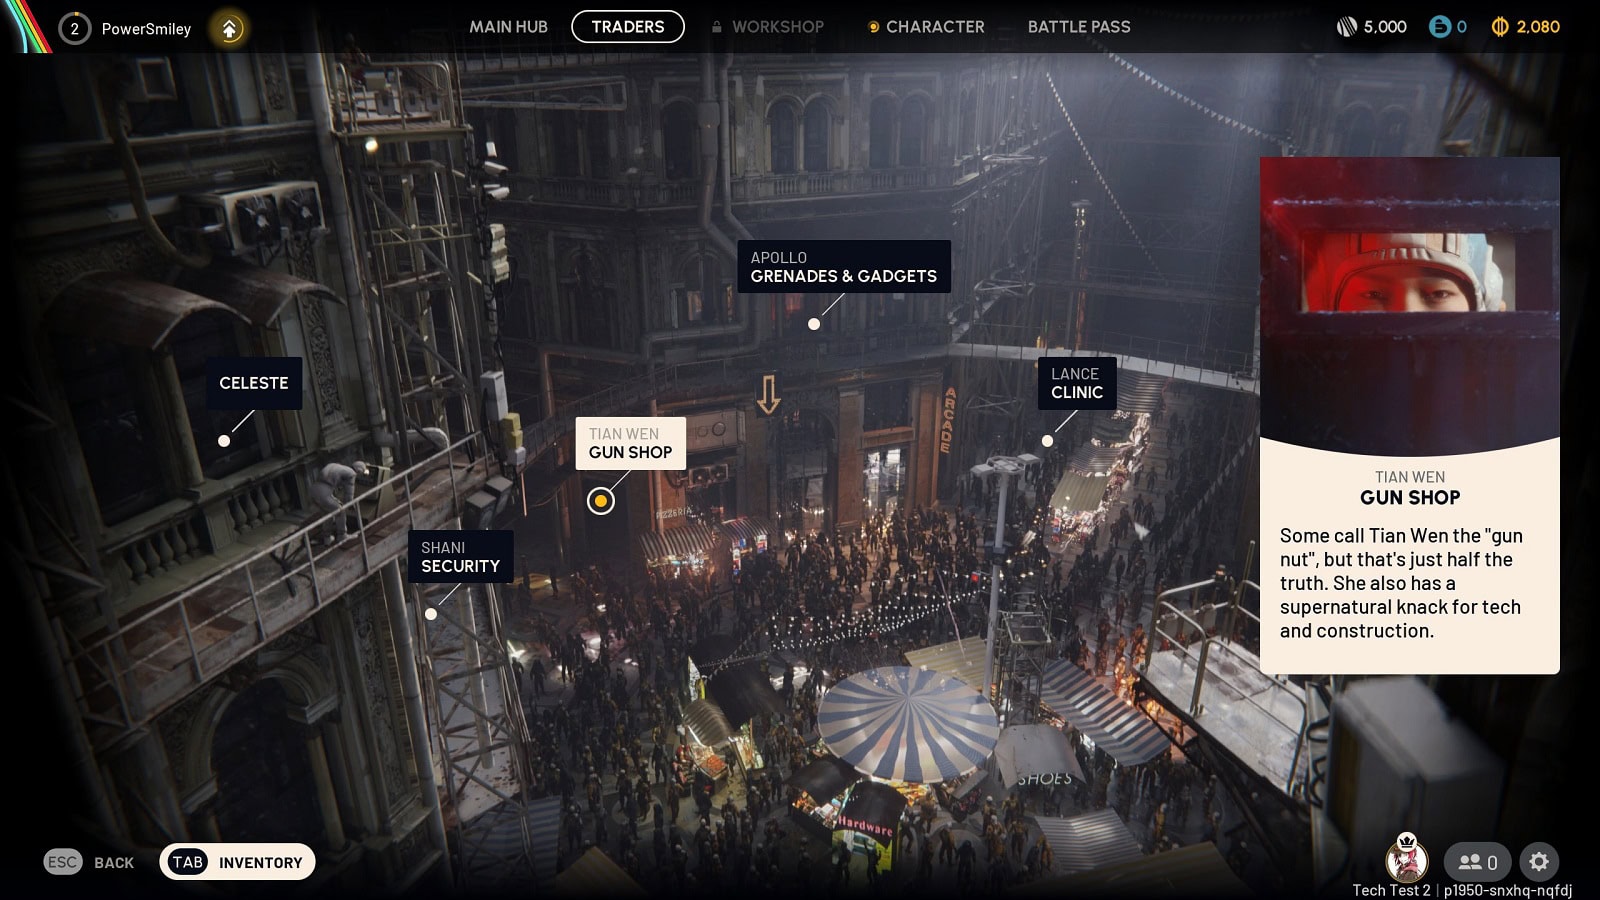
As soon as you level up, invest in a workbench back at the Workshop. The workbench allows you to craft shields and augments. Augments are something akin to backpacks: they allow you expand inventory space and gives you the safe pockets as insurance in case you don’t make it back. They also allow for increased shield capacity, something you’d like to consider if your focus is on combat.
Accept jobs from traders often and try to do them to rapidly increase your Raider level. Most jobs have an RNG component, especially if you are tasked with retrieving specific items, like toasters or rubber duckies. Other jobs require you to go to an unspecified location and look up down for an interactable object. Sometimes, it could solar panels, other times it will be fixing unassuming consoles. It’s anyone’s’ guess.
Scrappy the Rooster is an unlikely ally that gives you random scrap between rounds. Don’t forget to check up on your feathery friend at the end of each round.
Tools are methods of altering elements of the map for your advantage. Ziplines allow you to reach high ground if you set the end point on top of a high edge before setting it down. Portable barricades are great at holding chokepoints, if placed in the right places. Door locks are great way to closing off entire sections, forcing other players to go around or waste their time by breaking the lock.
And lastly, I would like players to know that the potential for cooperation is strong in this game. It’s just that extraction shooter player tend to assume the worst. Can you really blame us? After playing games like Hunt: Showdown? But really, you do not need to be hostile to succeed in this game. Sometimes, it is best to not actively kill each other as everyone has a vested interest in successfully extracting with all your loot intact. Thankfully, the extraction points can accommodate several teams at once. The only thing stopping a peaceful extract is paranoia, and perhaps, an itchy trigger finger.
ARC Raiders launches worldwide on October 30, 2025 for PC, PS5, and Xbox Series X|S. Pre-orders are live now across all platforms.


