
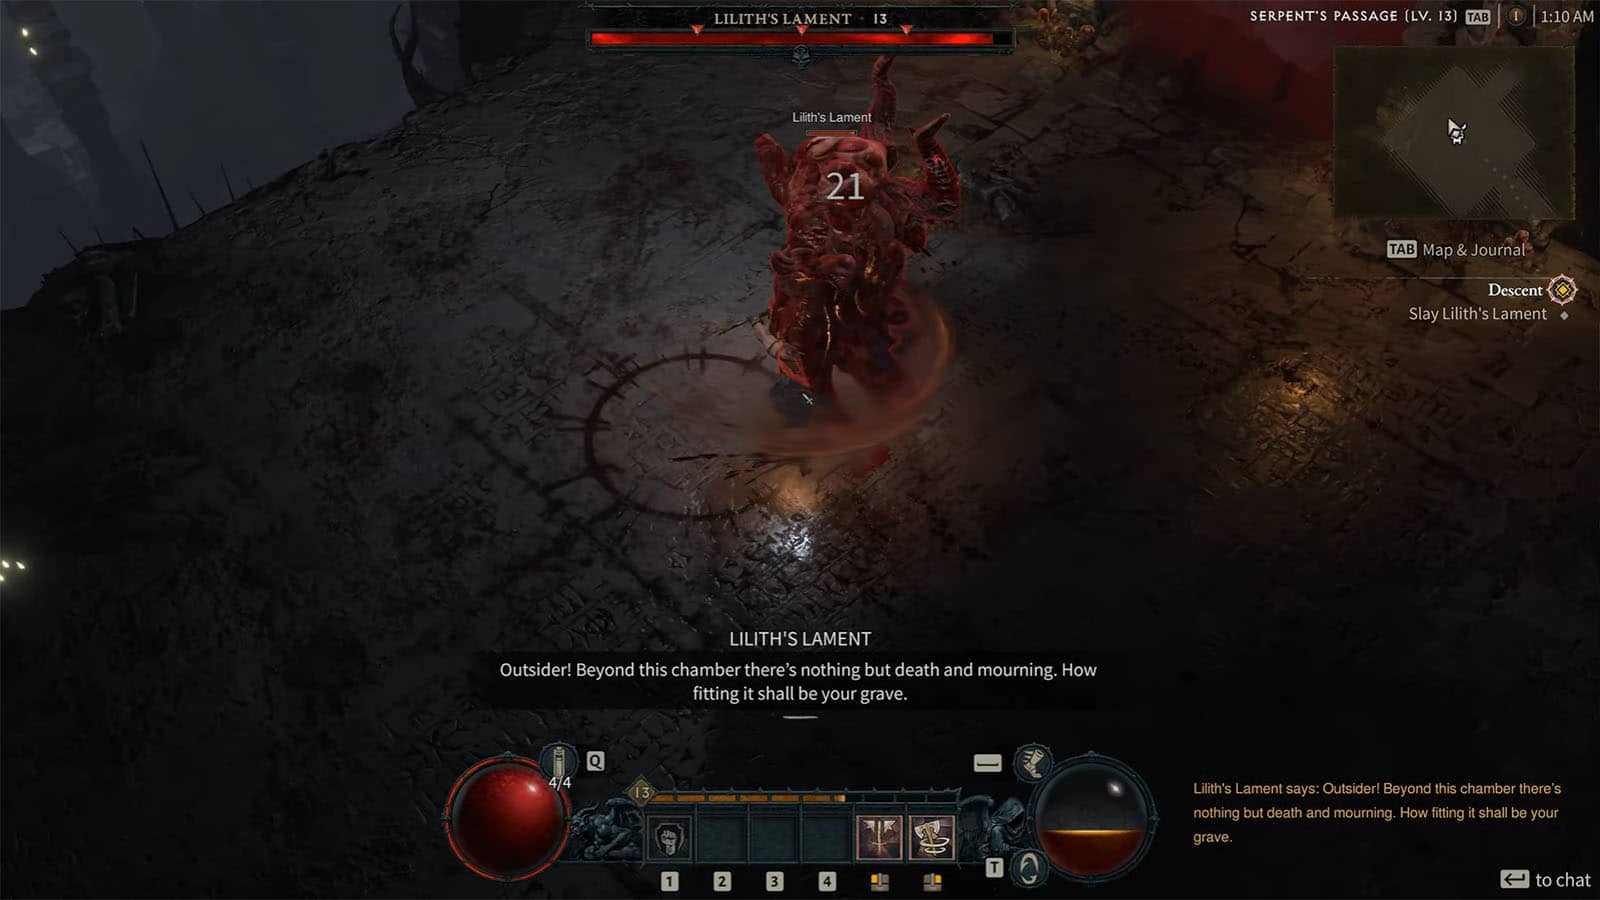
Lilith’s Lament is a boss in Act 1 of Diablo 4‘s campaign and is considered as the first major boss from hell. Read ahead as we go through the entire Lilith’s Lament boss fight, talk about the boss’ attacks, and share some tips on how to survive and win it.
How to get to Lilith’s Lament
Lilith’s Lament will be encountered at the end of the Descent quest as you make your journey toward the Sanctum.
How to defeat Lilith’s Lament
The fight against Lilith’s Lament is simple and straightforward with the boss as the only enemy to deal with and just a few attack patterns to be aware of. Plus, you will also get an ally to fight with you and defend you during the fight. The fight hast four phases as indicated by the boss’ life bar.
Lilith’s Lament First Phase
The first phase is not as hectic, but there will be a couple of things that you have to pay attention in the arena. First is that the boss fires purple projectiles at you which do not home and fly slowly, so as long as you keep your distance, you should be able to evade them easily.
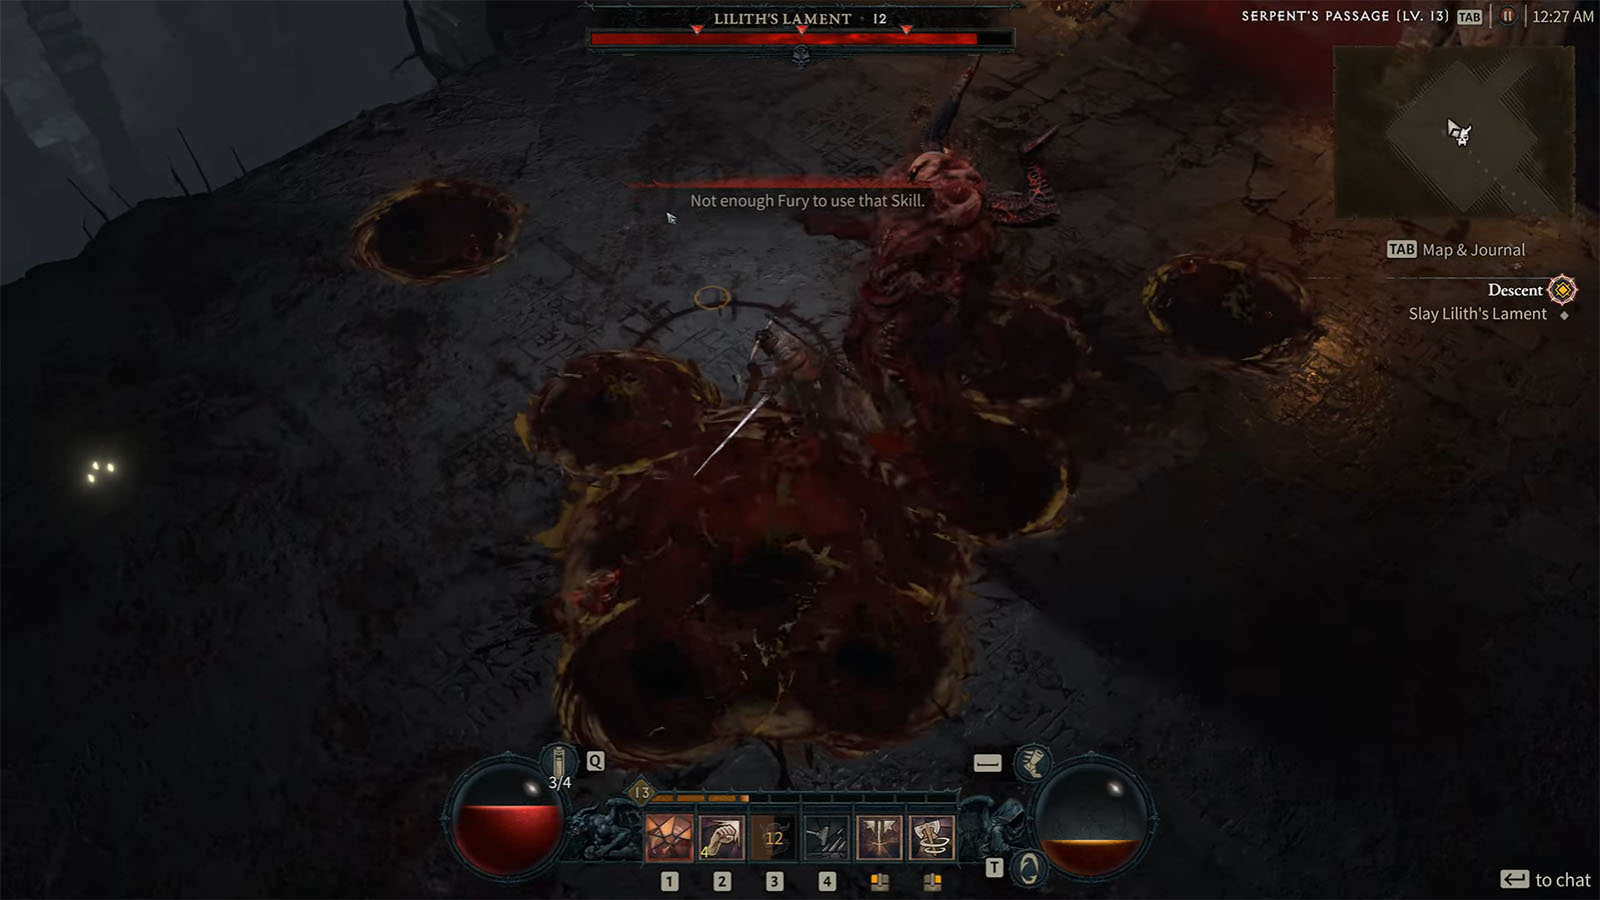
The next thing to be aware of are the blood pools that the boss chucks around the arena. Stepping on these pools will slow you down and they can also sap away your health. Be sure to avoid these as much as possible and pay attention to the brown circles where they will appear next.
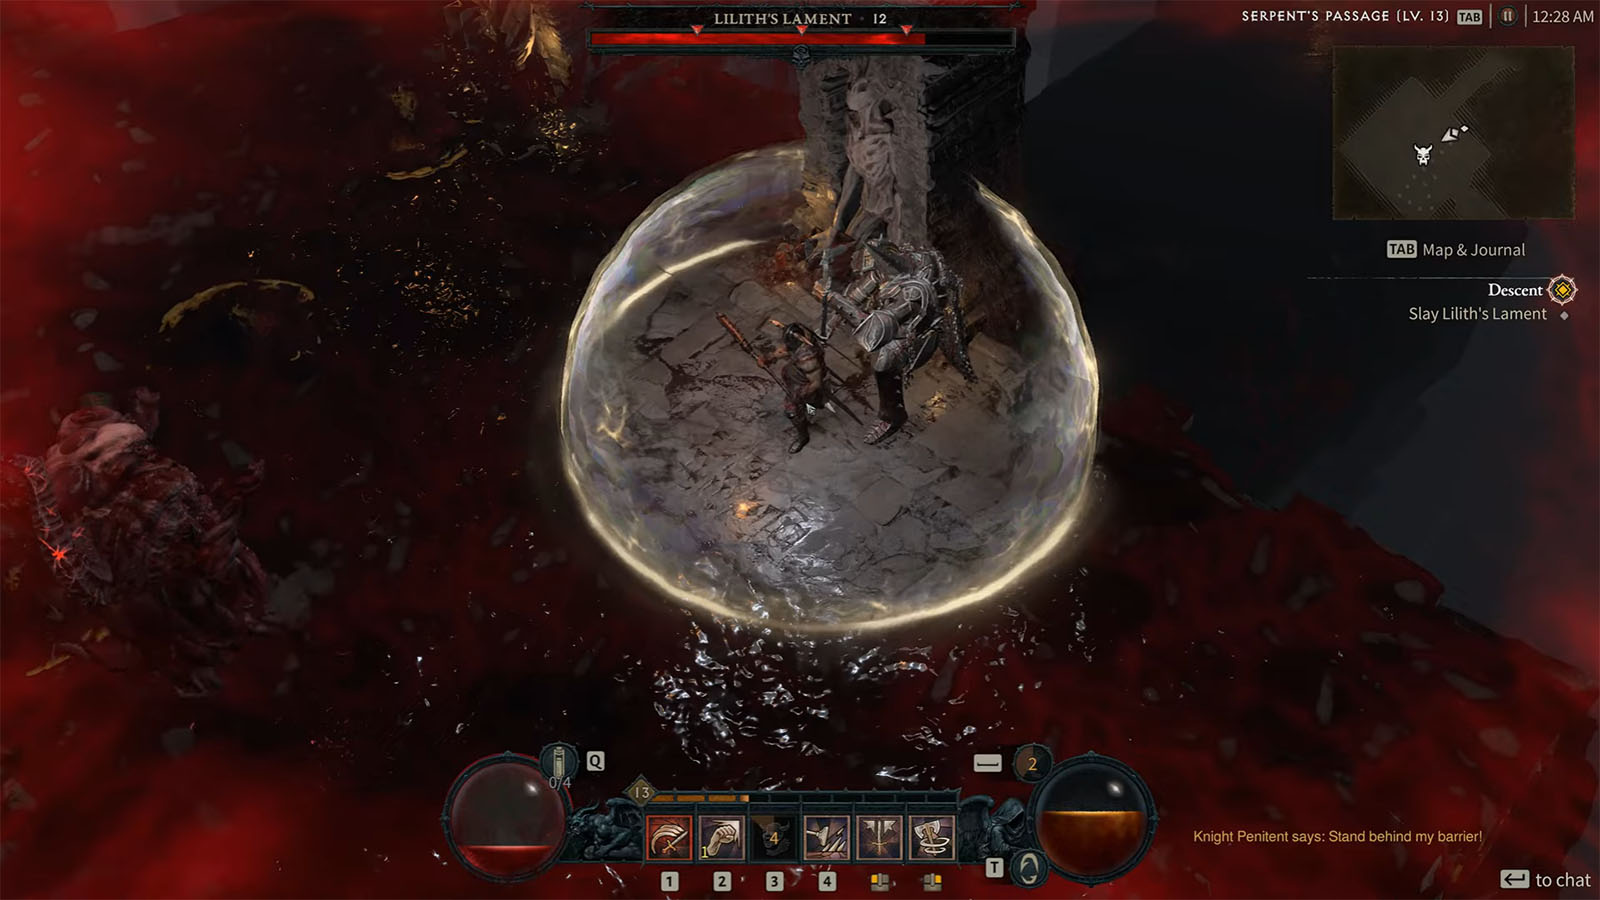
Once its health just about hits the first marker, the boss will do an attack where it covers the ground in blood. An ally will appear dubbed as the Knight Penitent and will call out to you to stay behind his barrier. Immediately do so to avoid taking damage.

Lilith’s Lament Second Phase
After the blood attack, you can then proceed to deal damage against the boss. This time, the Knight Penitent will also be helping out in dealing damage, though you can’t rely on him to do most of the work.
In this phase the boss will do a different attack where it whips its arm in front of it. The good thing is that you can see its range cone before hand so simply move away from the area of the cone and you will be safe.
The boss will also summon rolling waves of blood from the sides of the arena. These waves will also slow you down and deal damage to you if you touch them, but you can tell where they will be coming from in advance, so you can reposition to a safe spot easily.
Lilith’s Lament Third Phase
After doing another blood attack, the boss will enter its third phase where its basic projectile attack gets upgraded. It can now spawn multiple purple projectiles before shooting them one by one towards your direction. Simply keep on moving around the boss and you should be able to avoid all shots.
Also, the arena will be busy at this point with all of the pools and waves occupying almost the entire floor, so pay attention where you walk.
Lilith’s Lament Fourth Phase
The boss will continue to hit you with its attacks which are now more frequent than before. The blood waves will also be covering a lot more space, leaving you with almost no safe spots. Make sure to make all of your attacks connect so that the fight won’t last longer than it needs to. Once the boss is on its final sliver of health, hide under the barrier one last time and you will be able to defeat it.
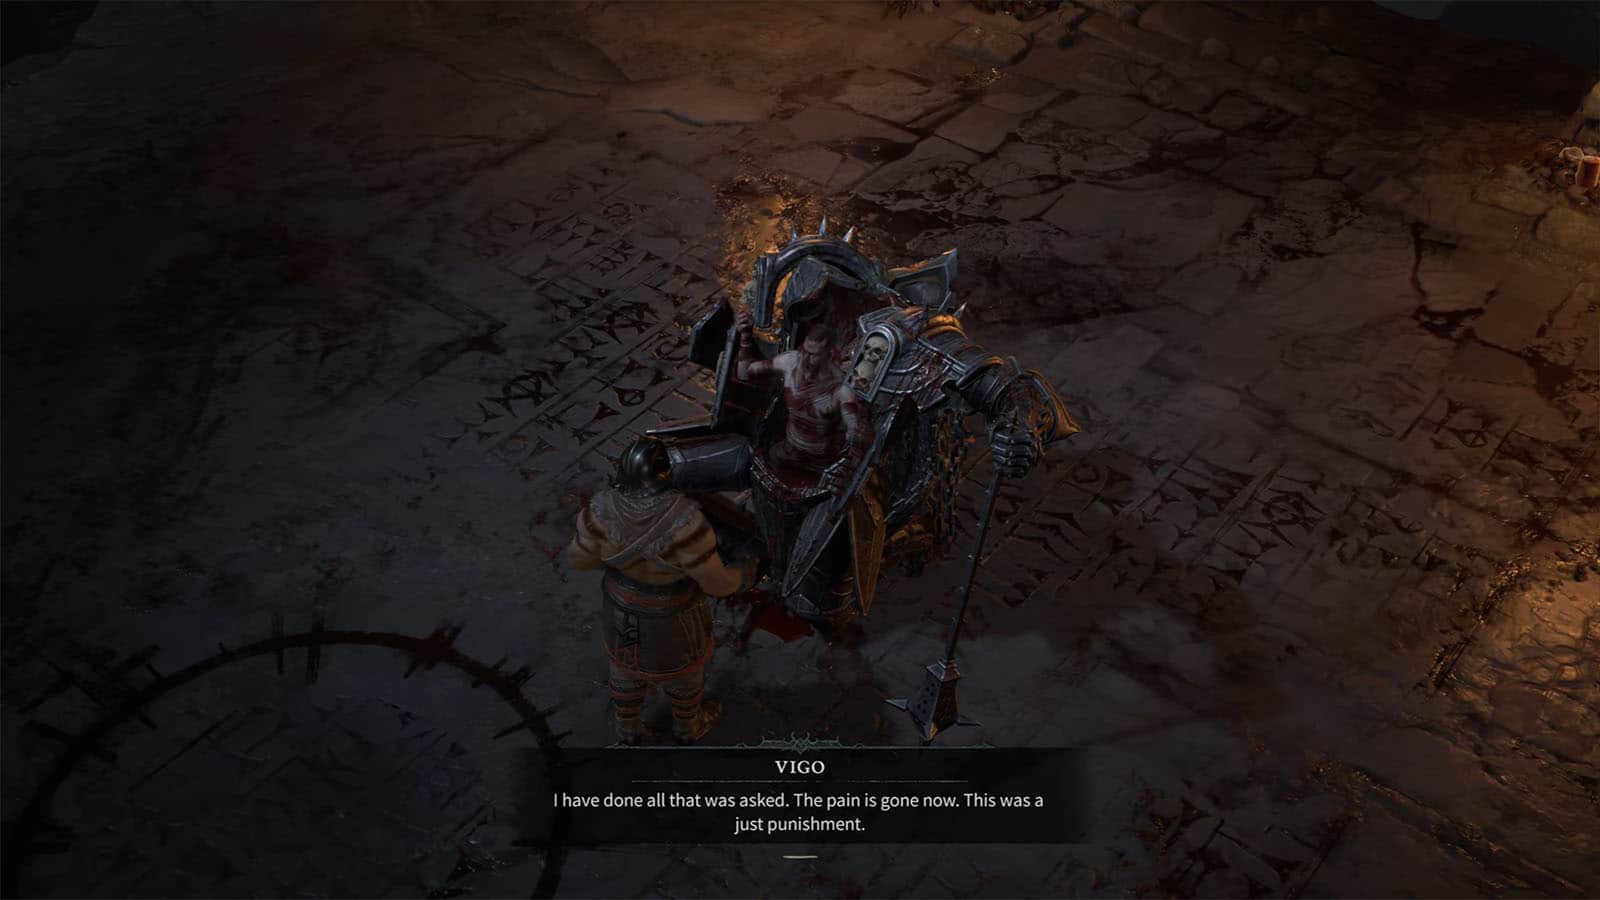
You can then pick up all of the loot on the ground and then proceed to talk to the Knight Penitent to learn about his identity. You can then proceed to make your way to the Balance Sanctum where a cutscene will play showing that Lilith has already come and gone. The act ends as you reunite with Neyrelle.
Check out this video by CCbank showing how to defeat Lilith’s Lament in Diablo 4:


