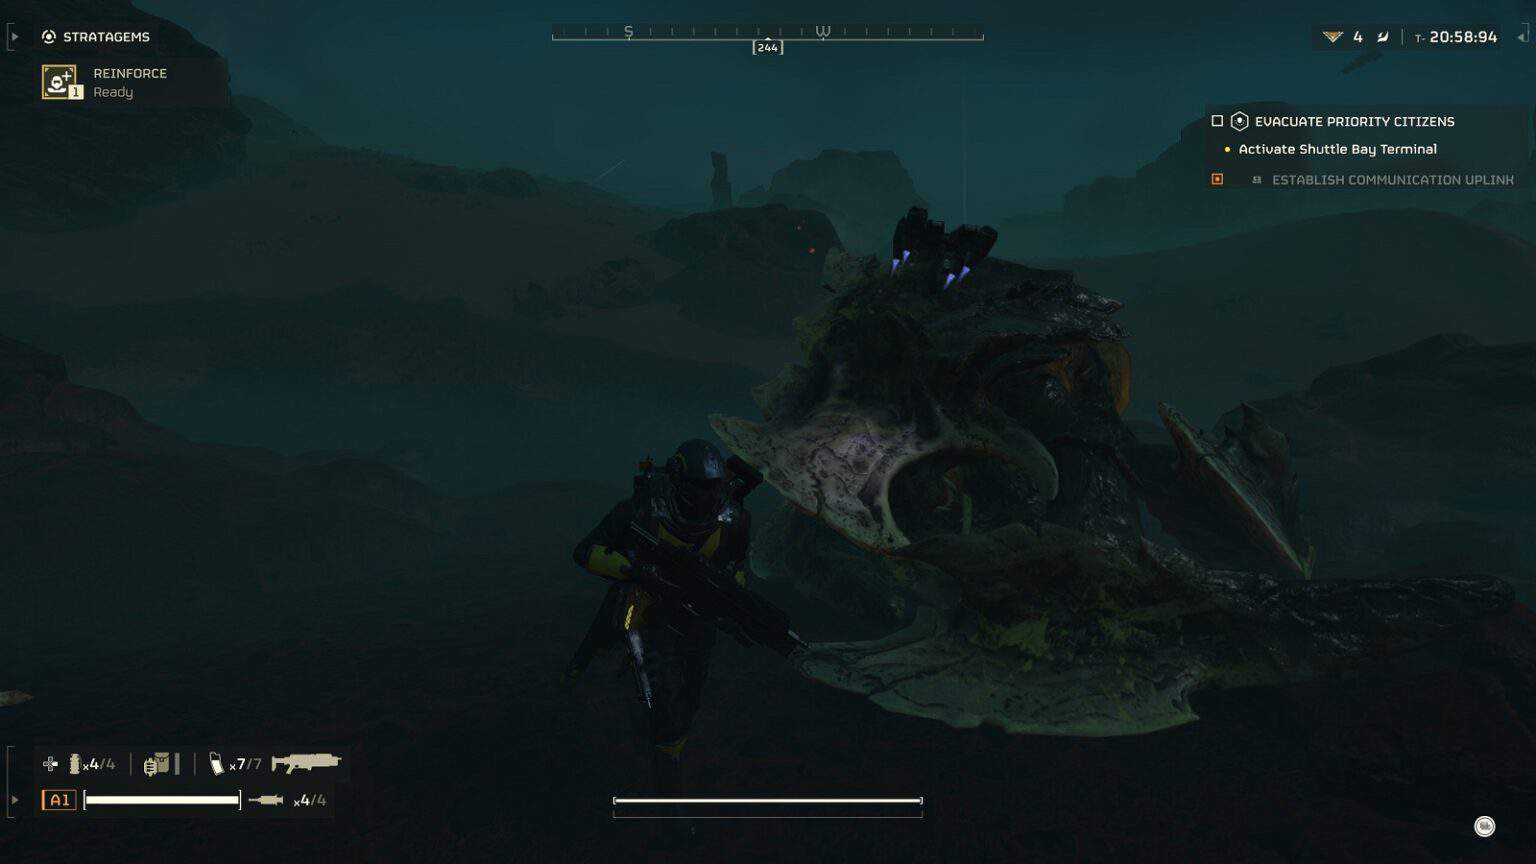
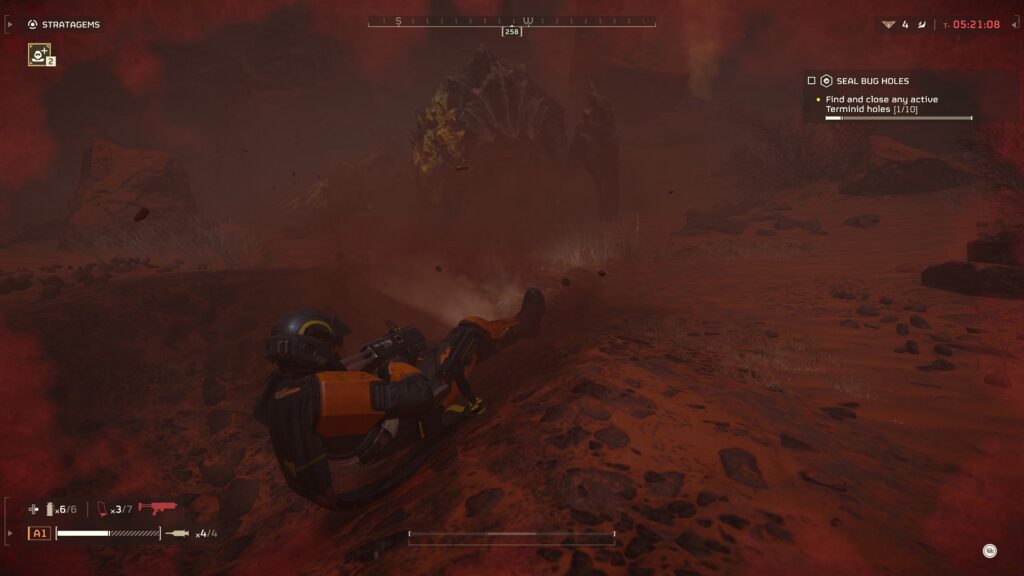
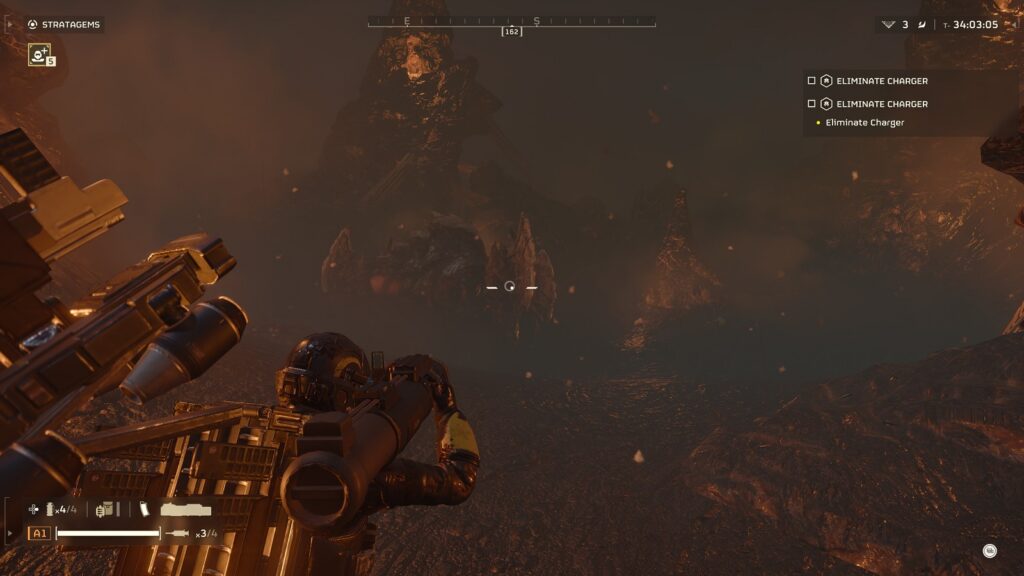
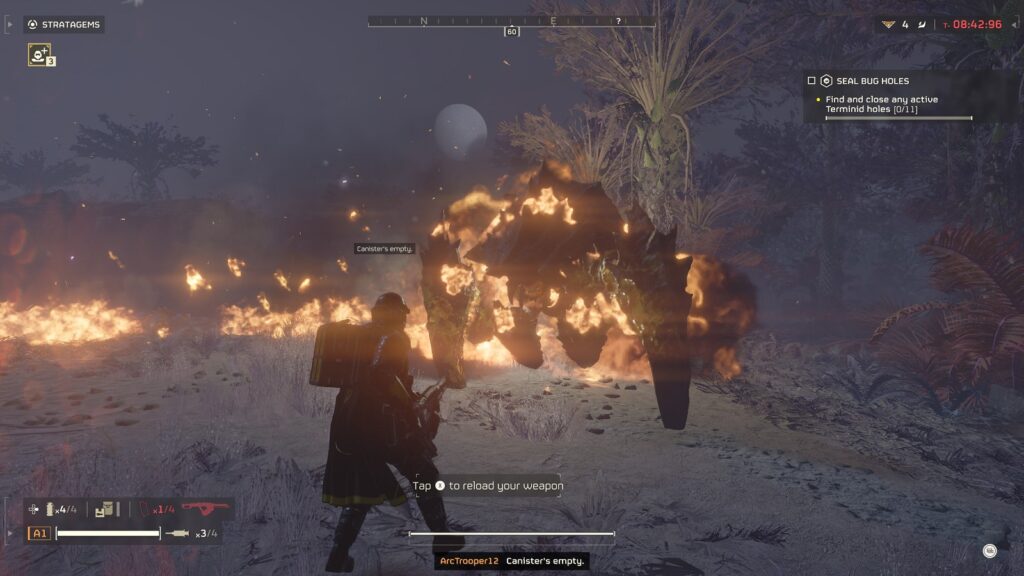
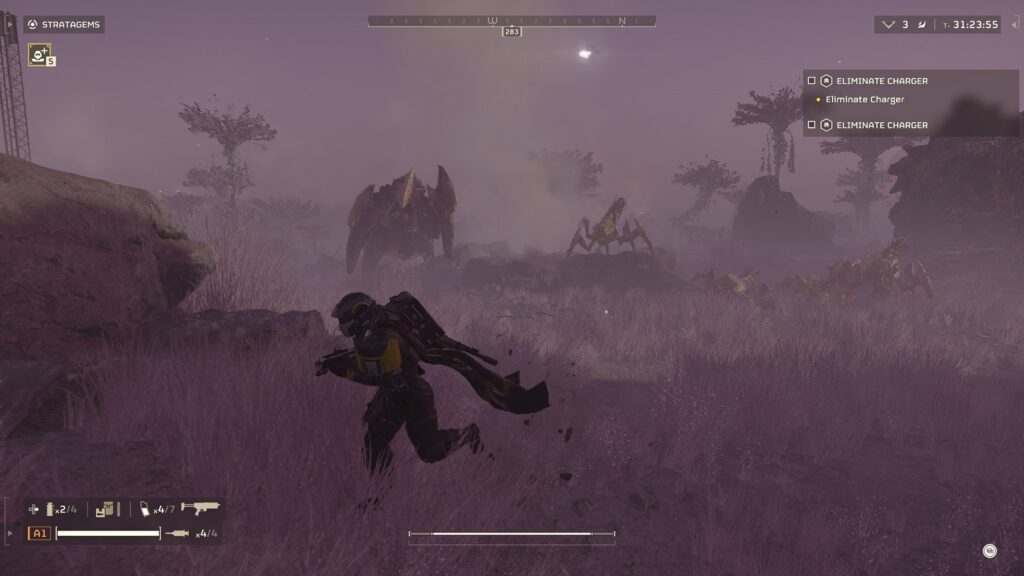
In Helldivers 2, the Charger represents a drastic change in how the Terminids fight the soldiers of Super Earth. Initially, the Terminids we’ve encountered merely throw numbers at us in a desperate bid to drown us in a wave of bug bodies, much like how the Arachnids try to overwhelm their enemies in Starship Troopers. With the addition of the Charger into the fray, however, it is simply not enough to how our ground with small arms fire. More firepower is needed to take down this new threat.
Where to find Chargers in Helldivers 2?
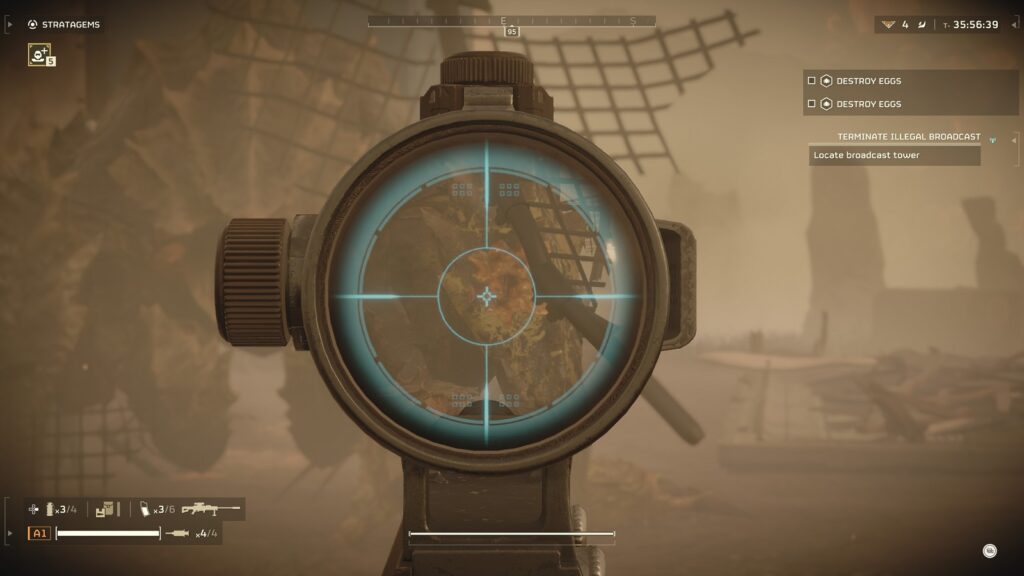
Chargers can be found spawning in maps at challenging difficulty levels, primarily on the Terminid side of the Galactic War map. They often guard Terminid nests or spawn once players engage with objectives like destroying their eggs, making these areas key locations to encounter Chargers during missions in Helldivers 2.
In this guide, I’ll tell you how you can effectively deal with Chargers on any difficulty. The Charger is a hulking mass of armor-plating that does more than mindlessly charge forward. They are as nimble as a gazelle, and if you don’t respect them, they will mop the floor with you. You start encountering Chargers as soon as you reach Difficulty [4] AKA Challenging. In higher difficulties, they start to appear in greater and greater numbers. One method can be effective against a single Charger but it’s not going to be enough when a herd of them comes barreling down on you.
The following pieces of advice apply even to the stronger variant in Helldivers 2, the Charger Behemoth.
How to defeat Chargers in Helldivers 2?
So, how do you easily defeat a Charger? To kill Chargers, you target its front legs with extreme prejudice.
The first thing you need to know is that Chargers are practically immune to most penetrating weapons. Shotgun blasts are a mere inconvenience and shots from an anti-material rifle tickle at best. Furthermore, the Charger doesn’t seem to have a weak spot like other Terminids. Its backside may look an appealing target but it has as much health as its armored parts.
Picture the Charger as a King Tiger from World War 2. The armor is so tough that it’s a waste of time to try and break that armor with RPGs. Instead, you’ll be aiming at the next best thing, the tire threads.
Starting at Level 3, you should already have access to the Expendable Anti-Tank Launcher. This beauty of a stratagem trades sustainability for raw power. When you start aiming the rocket, aim for one of the charger’s front legs. Your goal is to deal enough damage that the fleshy bits underneath get exposed. Once you start seeing the armor give way and be reduced to a bloody mess, keep shooting that leg until the Charger goes down.
If are playing with friends, the Recoilless Rifle is unlocked at the same level. It is more effective at taking down Chargers but it is best used with a partner loading the barrel after each shot.
Don’t forget to dodge at the last second when it is charging. The Charger can turn better than you think. So much so that you’ll begin to wonder if it ever misses the mark. If you dodge too early, the Charger will try to predict where you’ll land and you’ll almost always get hit. I also recommend fighting it close to a rock structure or anything that can hinder its mobility.
So, that’s one way of dealing with a Charger at the lowest level. But what if we start encountering three Chargers at a time? The launcher drops in pairs and you can quickly take down two with enough practice but any more than that, and you’ll be scrambling for a solid solution.
At Level 10, the Flamethrower becomes the best option. The sustained damage is enough to break the Charger’s armor in a few seconds but you also run the risk of setting yourself on fire every time you pick it up. It’s going to take a bit more practice to effectively wield the flames against multiple Chargers.
At this point, I also highly recommend bringing the Rover with you on Terminid missions. The biggest problem that occurs when dueling a Charger is the mob of bugs that try to divert your attention away from the Charger. The Rover is a direct counter to the mobs and will allow you to focus on the biggest threat at that moment.
When you reach Level 20, the Railgun becomes the go-to weapon for dealing with anything that has armor plating. When you see a Charger, aim at one of its legs and shoot it twice. It doesn’t matter if the shots are charged or not, the armor won’t break faster with a charged shot. You might as well double-tap with quick shots. The results will be the same. All that’s left is to shoot the damaged leg with your primary and it’ll go down in record time. It’s almost unfair with how fast the Charger goes down. But seeing as you might be dealing with an entire squad of them, you’ll be thankful for quick kills.
There are other ways of dealing with the Charger at that high level, like the autocannon turret and the tank buster homing missile. Both are viable options in their own right but I’m mostly focused on solo play or when playing with randoms. In truth, you can turn the Charger into a mockery with a skilled enough team. This guide is for those who want to get the job done without having to rely on the luck of the draw.
I can confidently say that ignoring a Charger is akin to shooting oneself in the foot. Much like how you can’t just ignore an Annihilator Tank, a Charger won’t stop until you are dead. You can hope and pray that said Charger will stuck behind a piece of geometry but chances are, you won’t be that lucky. Not only will the encounter last longer than it should have, but the more bug patrols it will draw in as other bugs will investigate the commotion.
Worse still, there is the potential of another Charger joining in the muddying the waters even further. In short, if you see a Charger, don’t draw agro or kill it ASAP. Don’t bother running away and drawing in every bug from all corners of the map. And that’s how you deal with the Charger in Helldivers 2.
Also see:
