
There are a total of 11 gold doubloons to be found in the Medieval Sulfur Fields world in SpongeBob SquarePants: The Cosmic Shake. Read ahead as we share the locations of where they can be found and the steps on how to get to them in this guide.
We recommend to complete the entire story of the game first to unlock all the necessary skills that SpongeBob needs in order to reach the locations of some of these doubloons.
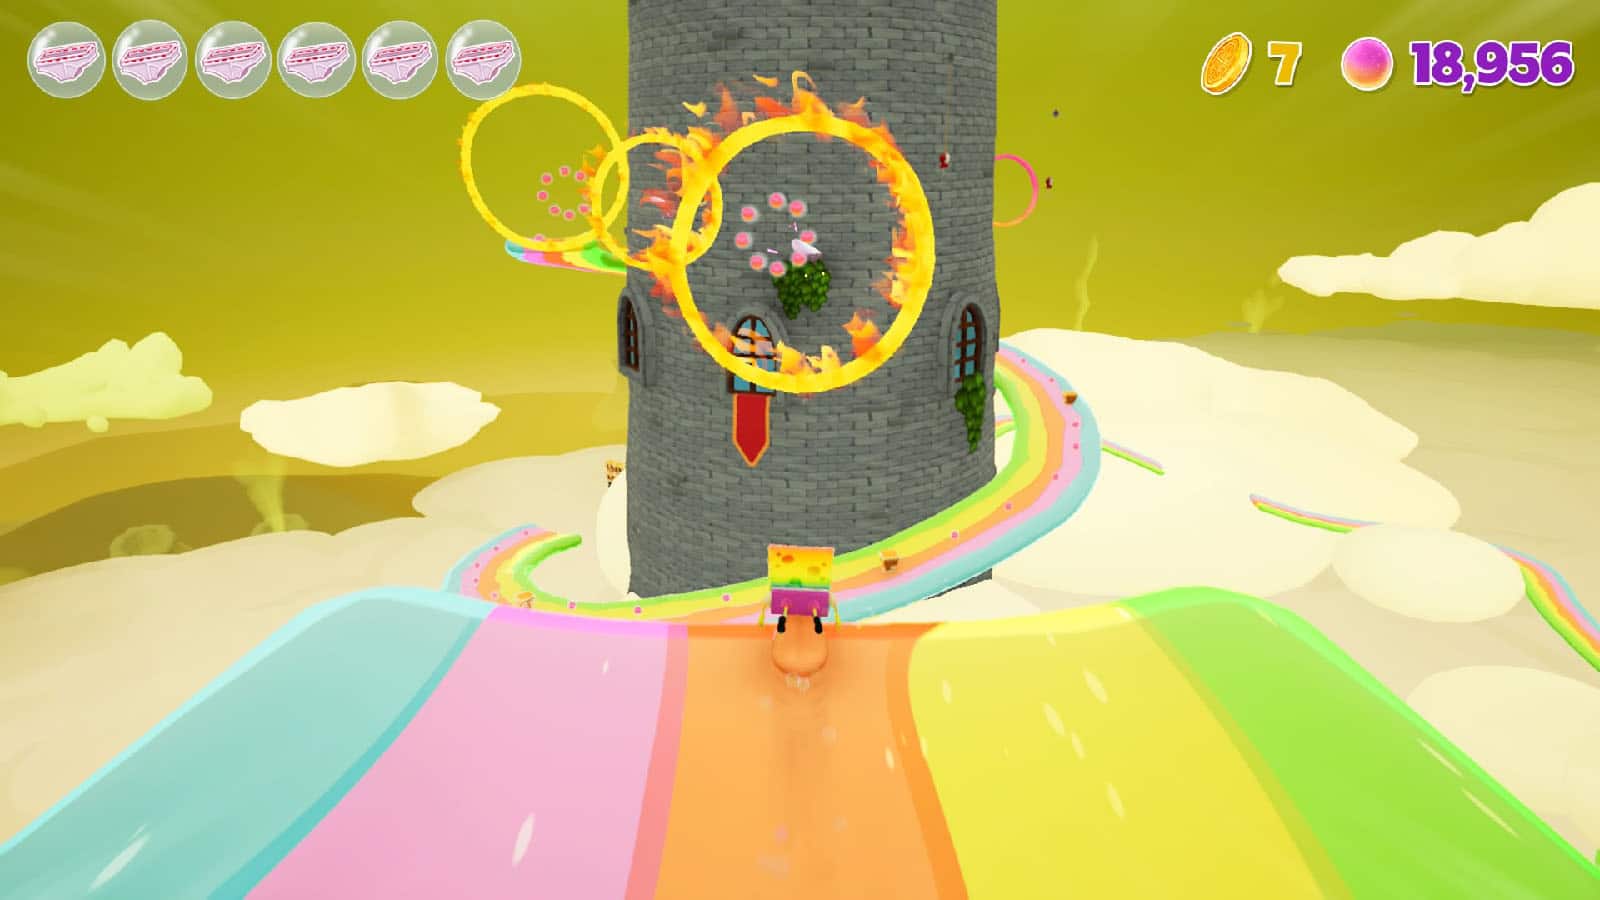

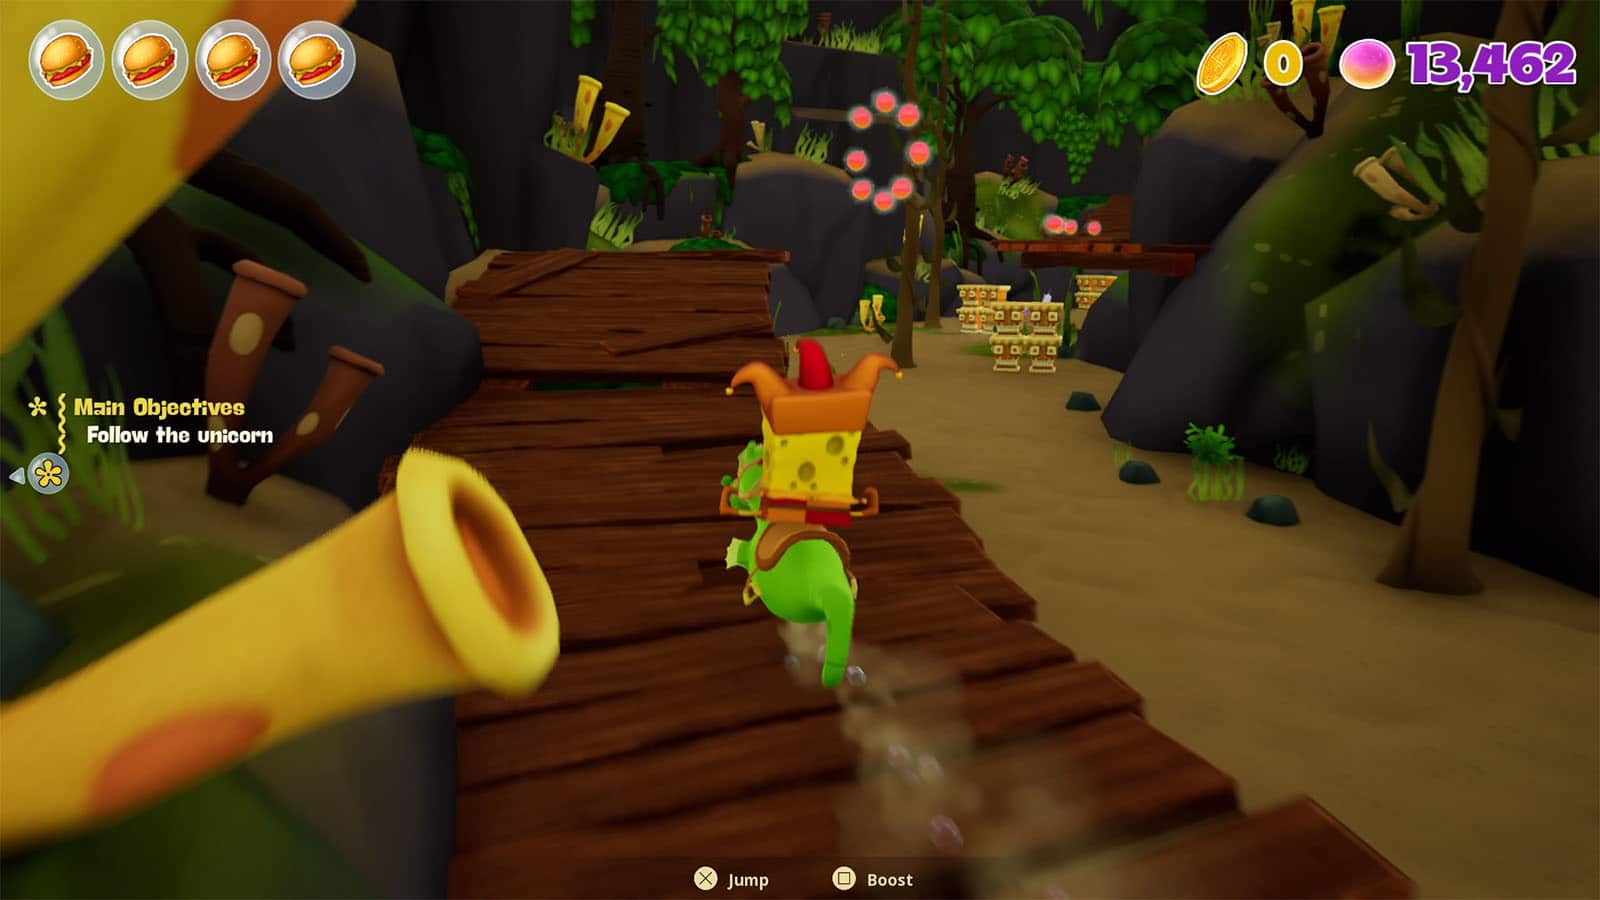
Medieval Sulfur Fields Gold Doubloon #1 – Cloud Slide
On the Cloud Slide, once you reach the bubble board near the tower, drive it to the right path instead and swing towards the next slide. Before the slide converges back into the main path, you’ll have to go through a ring that has a doubloon in the middle of it. In case you miss it, you can just respawn back at the checkpoint.
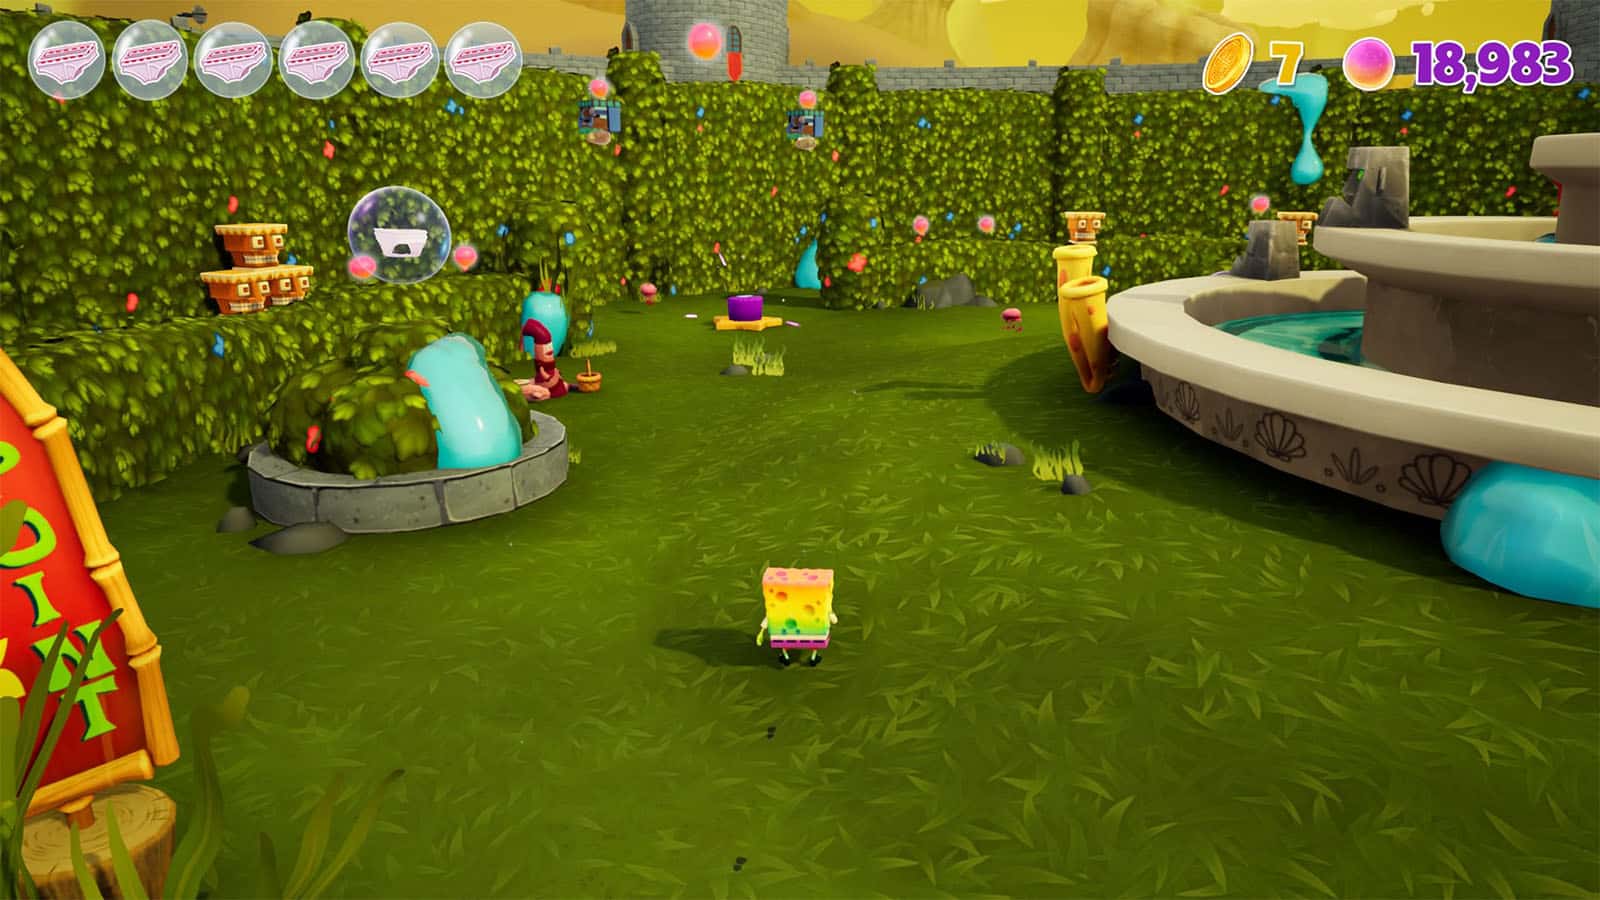
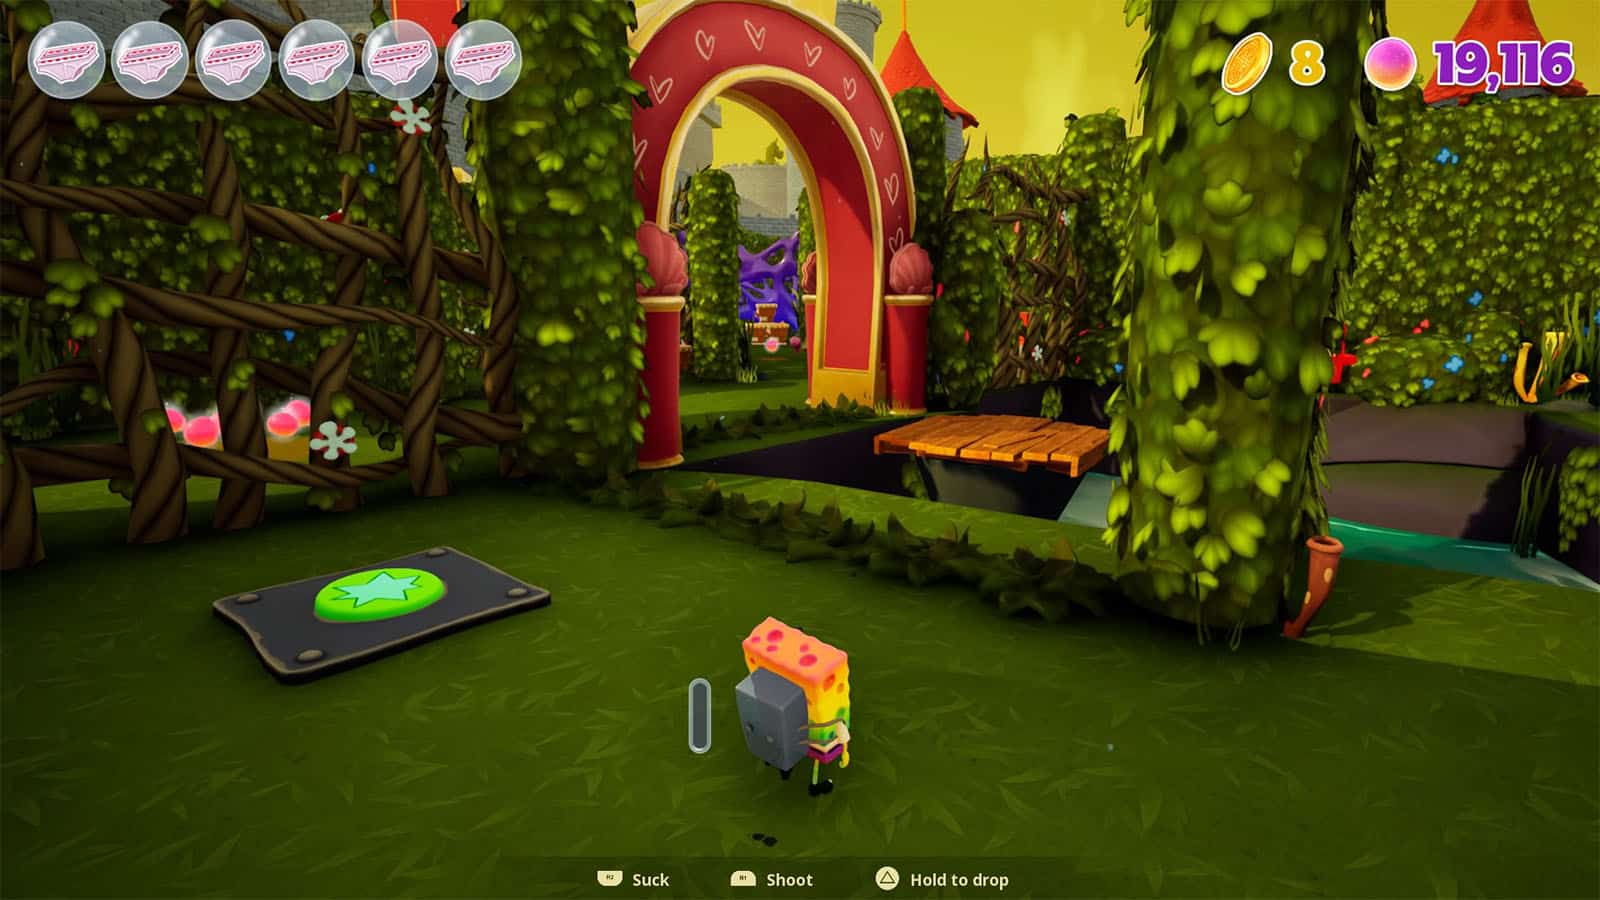
Medieval Sulfur Fields Gold Doubloon #2 – Garden Maze
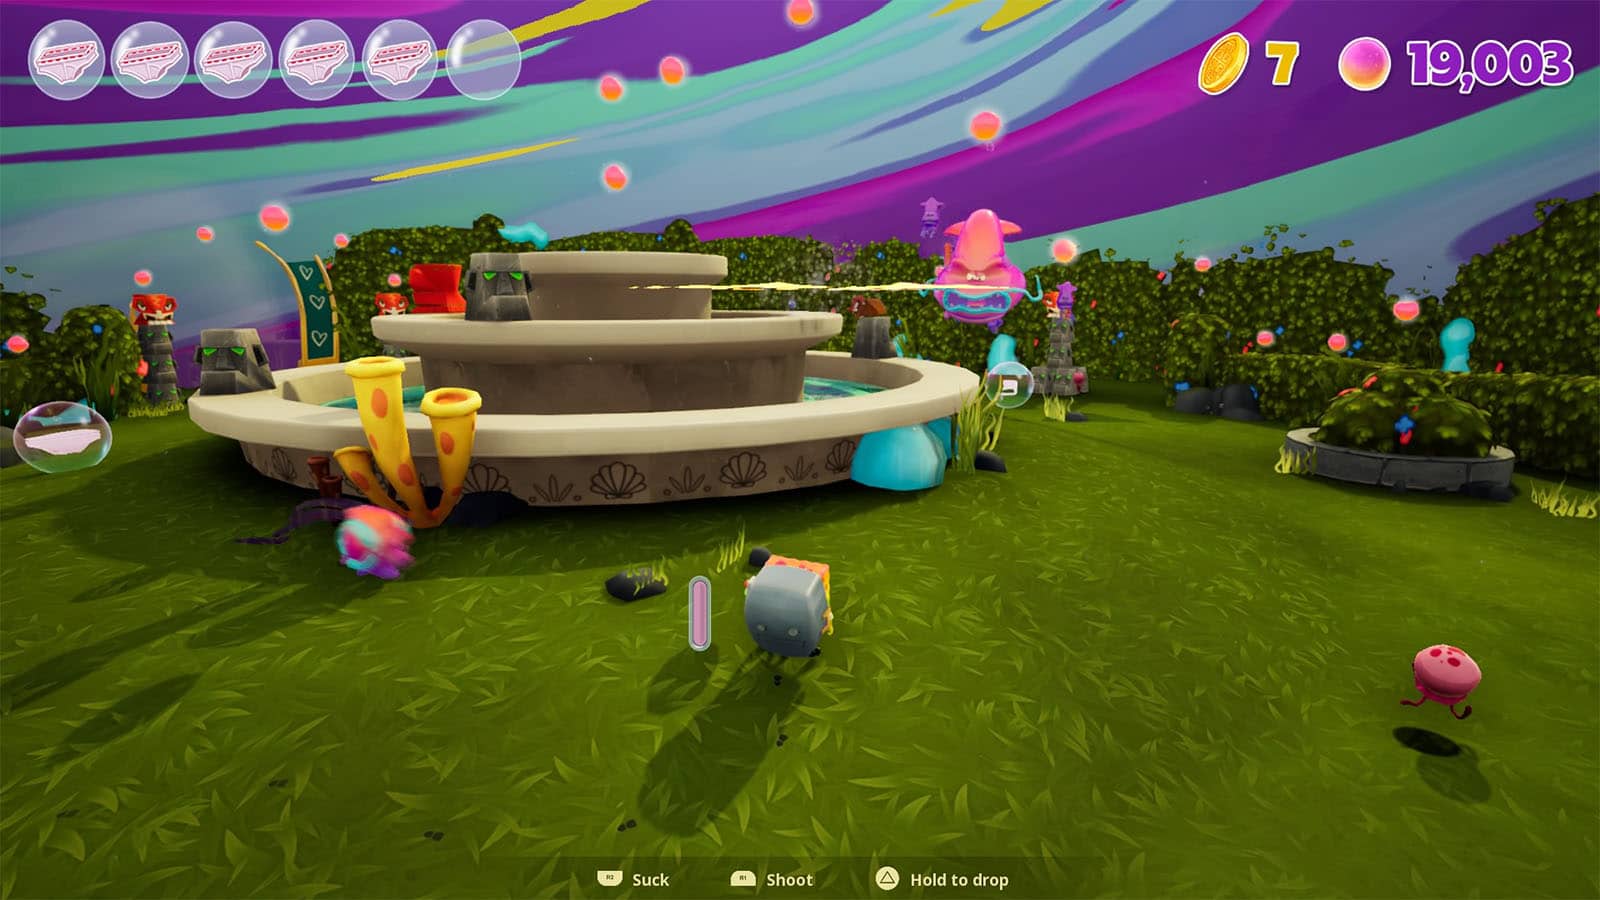
At the Garden Maze, go to the left side of the fountain and press the button to spawn a reef blower. Use the reef blower to defeat all the enemies that will spawn in to get the doubloon.
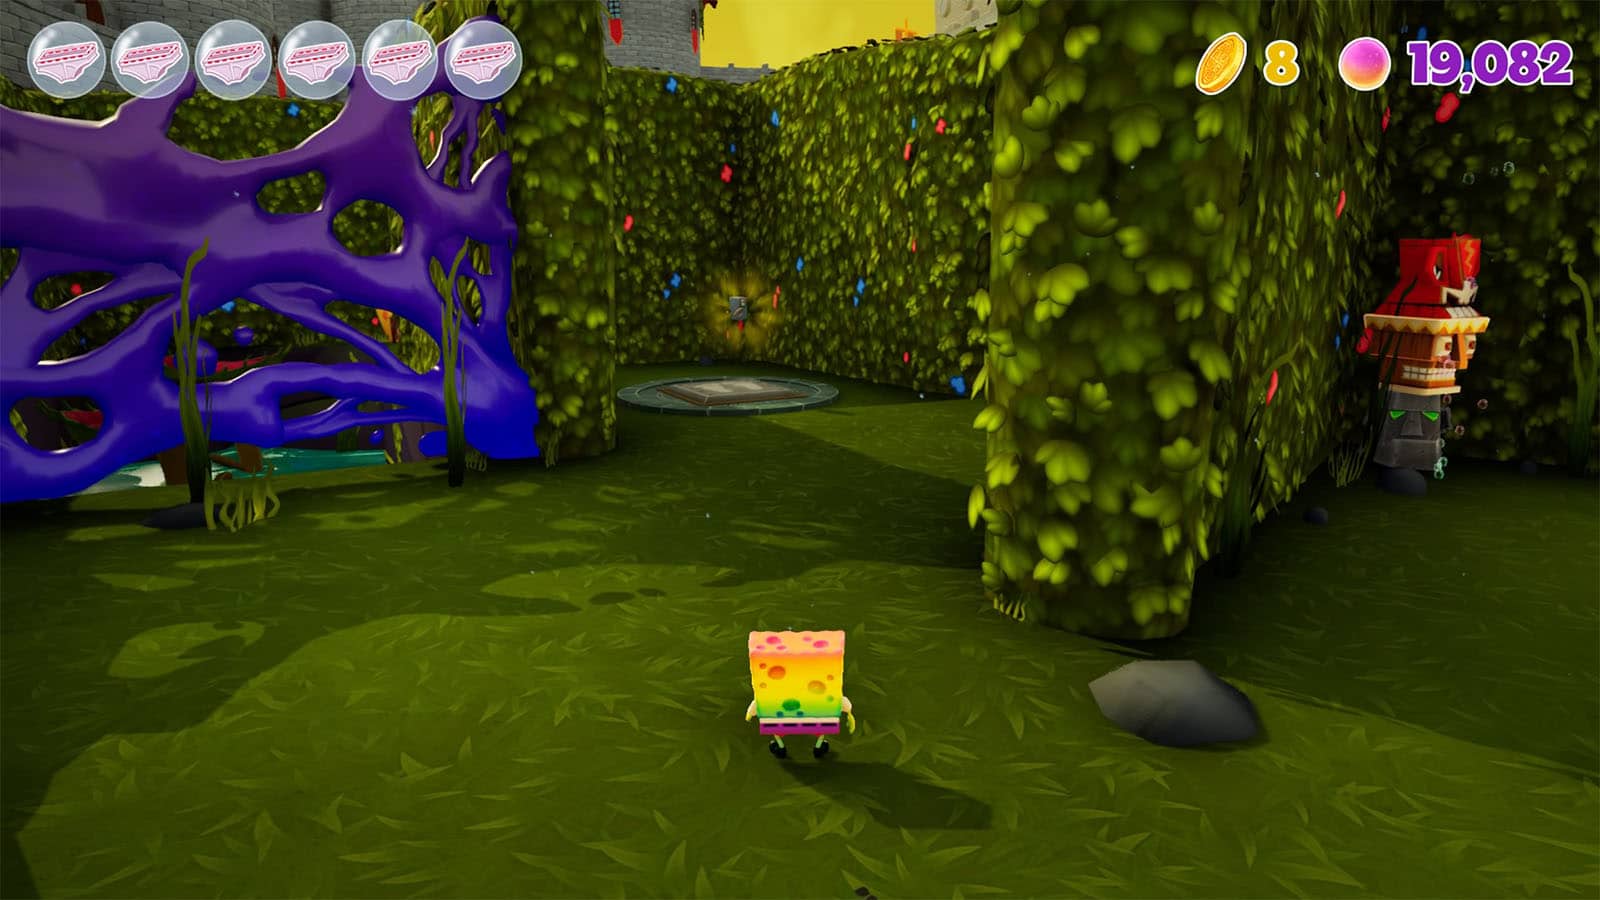
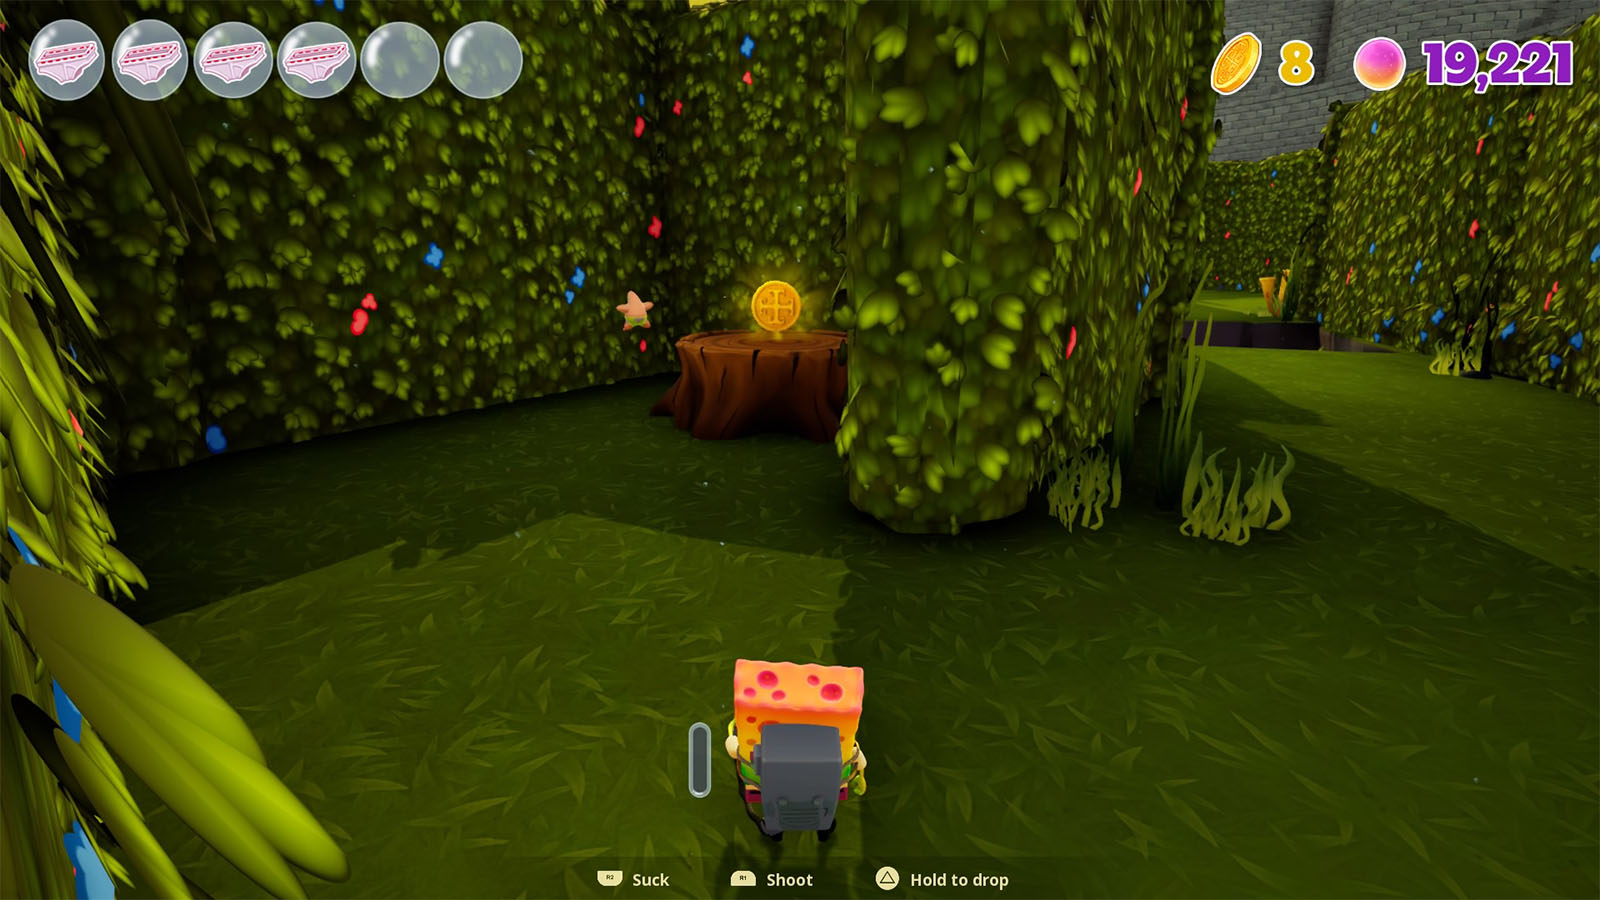
Medieval Sulfur Fields Gold Doubloon #3 – Garden Maze
Go through the next arch of the maze and take a left, right, then another right until you find another reef blower. Use the reef blower and charge it to break the jelly net nearby. Then cross the flytraps and reload your reef blower once more to destroy the next jelly net.
Go through the next arch and continue to the path on the right to the next jelly net. Break the net and follow the path to the left, then to the right to the next jelly net. Break the next net afterwards, jump the gap, and then break the final net. Turn around the corner to find the doubloon.
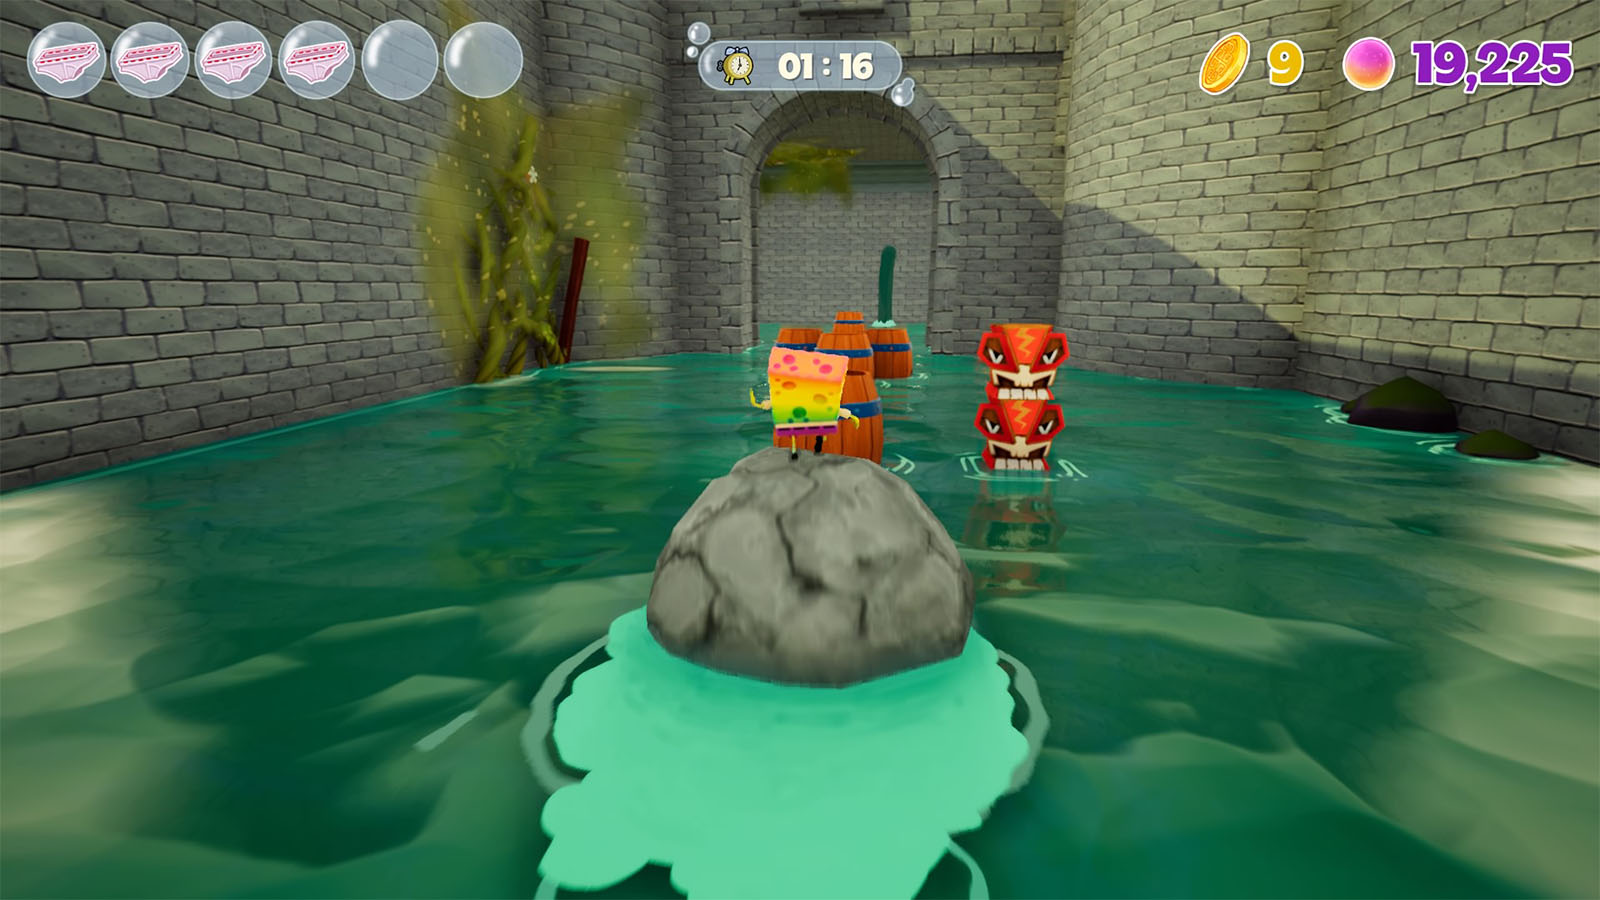
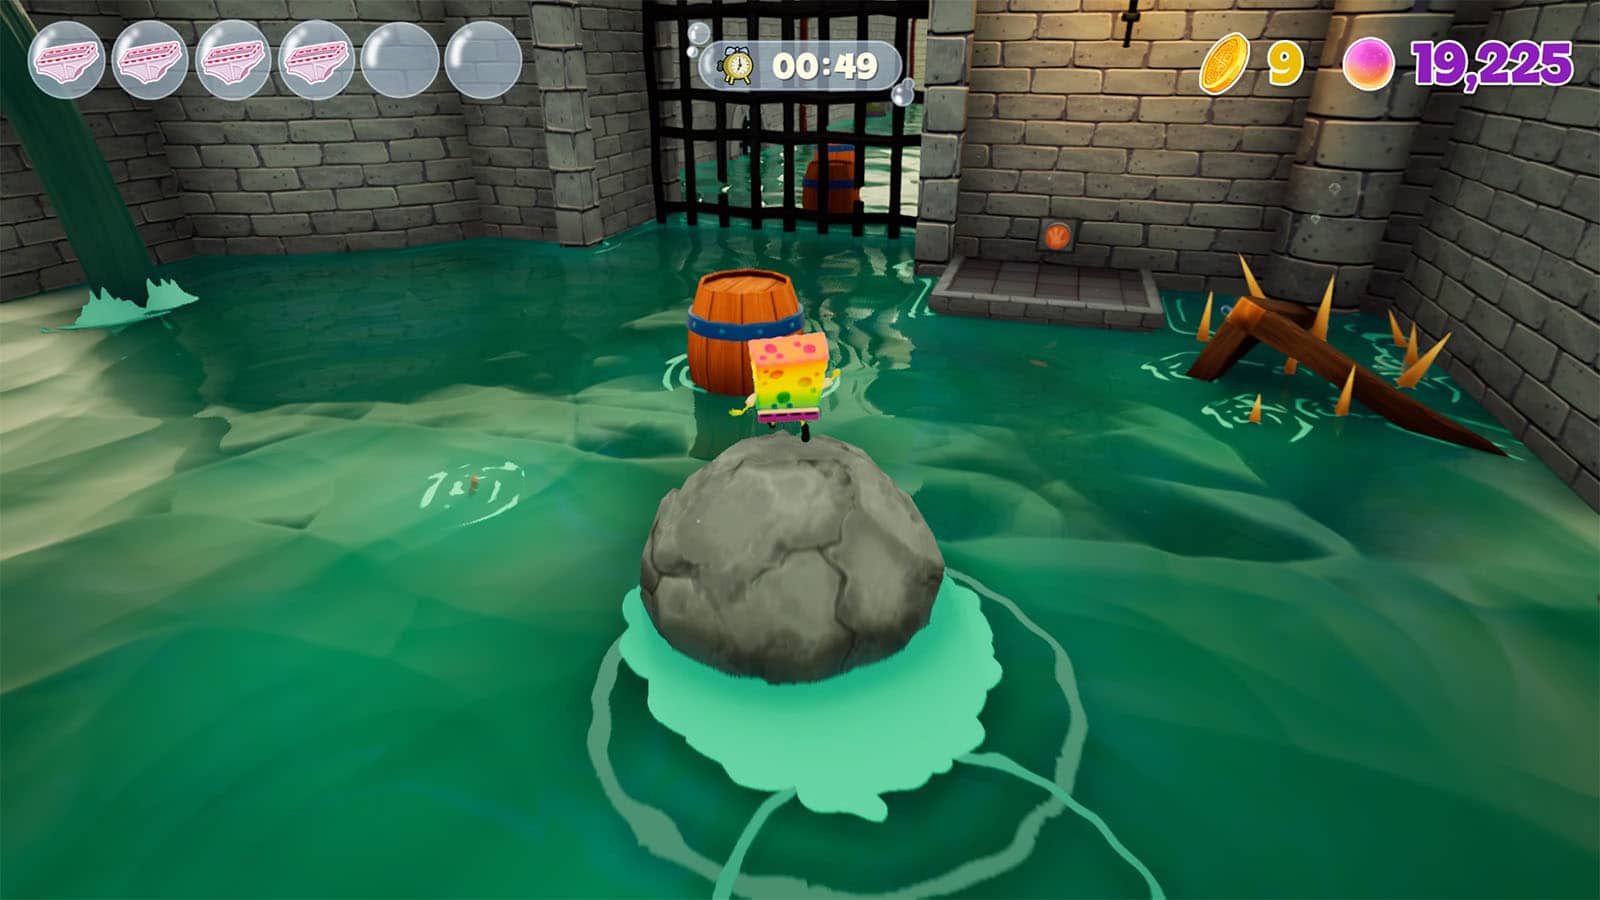

Medieval Sulfur Fields Gold Doubloon #4 – Castle Courtyard
At the Castle Courtyard checkpoint, turn around and ride on top of the boulder on the water. Roll over the nearby barrel to start a timed challenge. You’ll need to roll over the barrels up ahead without missing one. At the mid point of the course, you need to jump off the boulder to open a gate. Once all barrels have been destroyed within the time limit, you’ll get the doubloon.
Medieval Sulfur Fields Gold Doubloon #5 – Castle Courtyard
Still as the Castle Courtyard, ride the seahorse to start the obstacle course. While going through the course, look out for the long ramp on the left side that appears mid way through. Make sure to take this ramp, and then do a jump to the platform on the other side, and finally make a jump to reach the doubloon at the end of the ramp.
Medieval Sulfur Fields Gold Doubloon #6 – Twitchy’s Cottage
At the checkpoint of Twitchy’s Cottage, go to the path on the right to get a reef blower. Head towards the path on the left and charge the reef blower up. Shoot the jelly net on the left that has a pressure pad behind it. Get to the pad and step on it to reveal flytraps back near the checkpoint. Retrace your steps and take the path through the flytraps. Recharge your reef blower once more and break the final jelly net to reach the doubloon.
Medieval Sulfur Fields Gold Doubloon #7 – Twitchy’s Cottage
From the spot where the previous doubloon is, head back to the path where you came from but climb the path that hugs the rock towards Twitchy’s hut. Near the fences at the top, look to the left side where you’ll see a platform and a button nearby it. Glide down the platform then blow a bubble towards the button to reveal a bridge. Use the bridge to reach the doubloon.
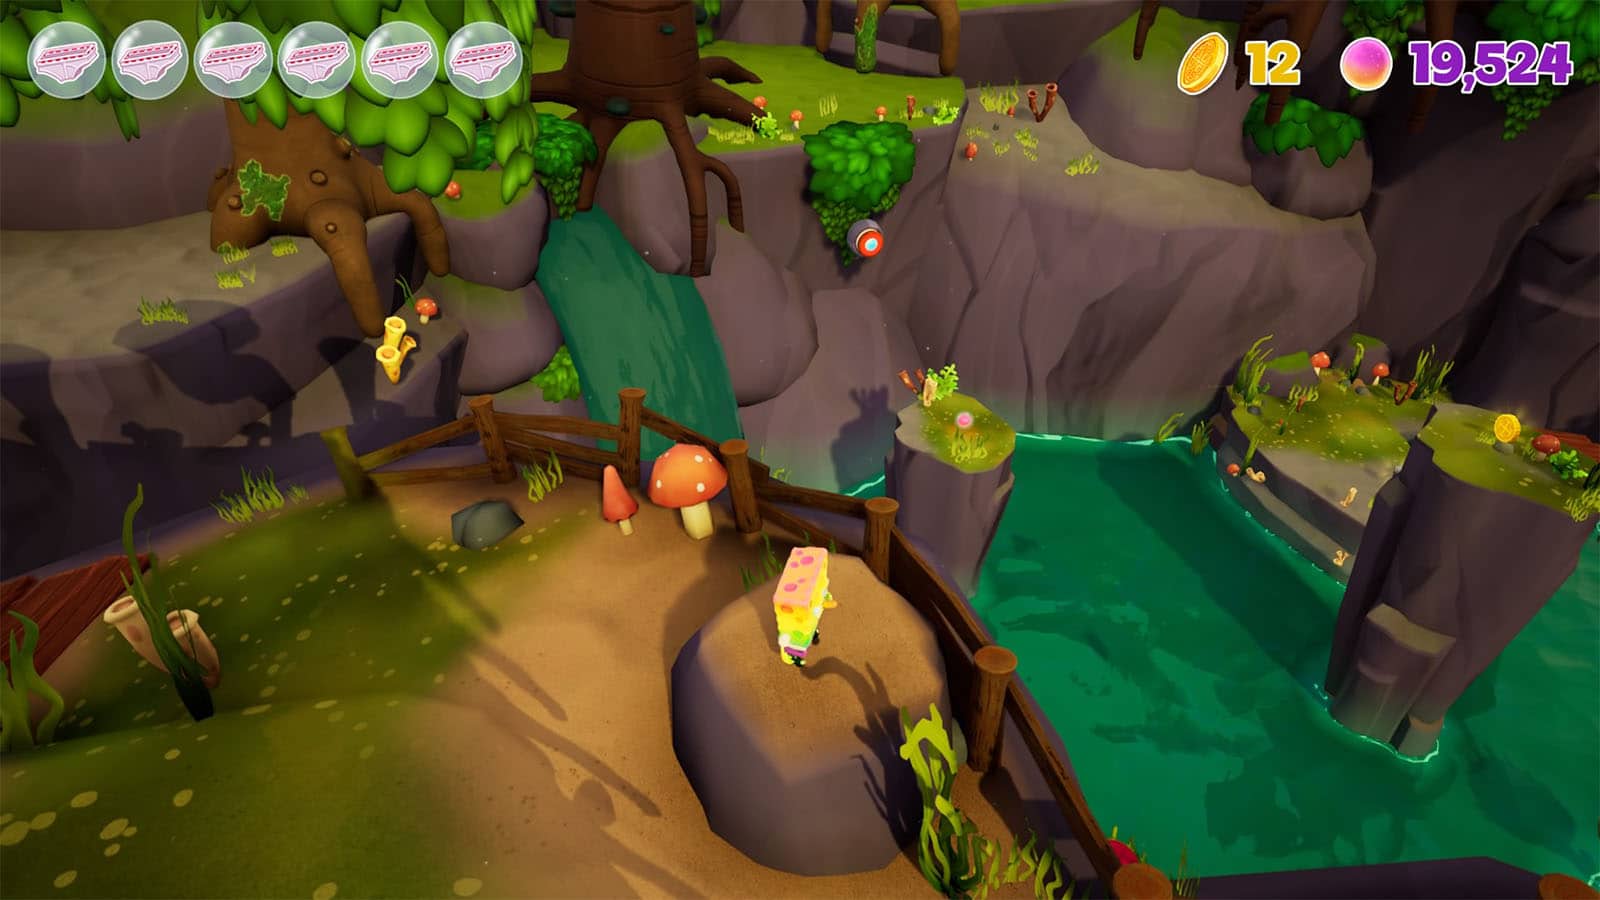
Medieval Sulfur Fields Gold Doubloon #8 – Meanderson River
At the Meanderson River, cross the river then climb the cliffs on the right. Instead of taking the
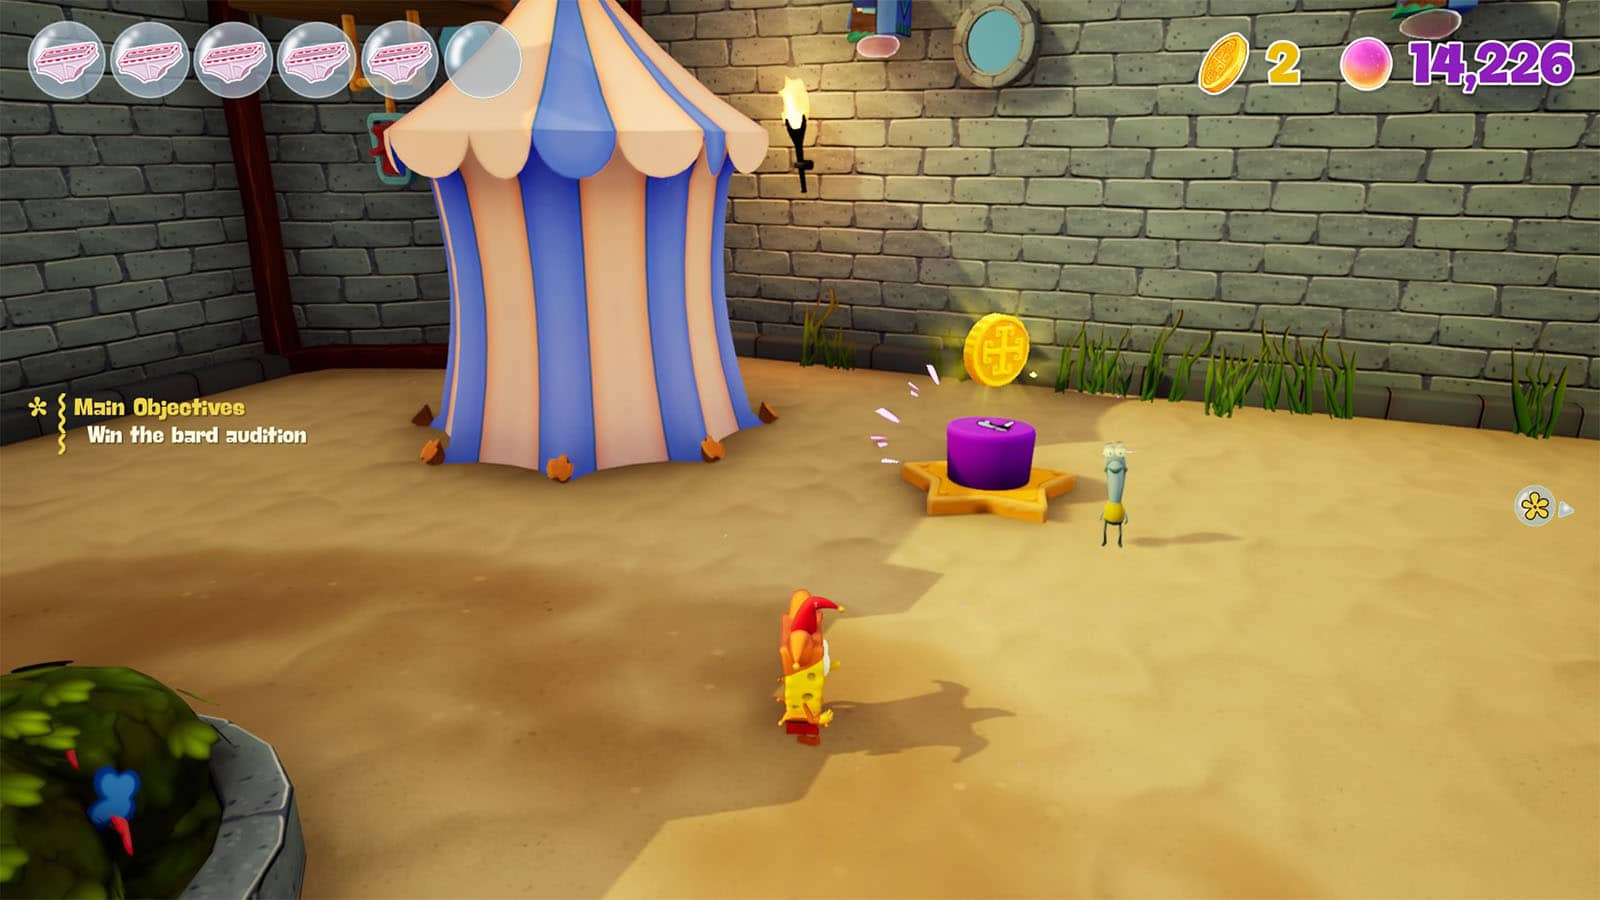
Medieval Sulfur Fields Gold Doubloon #9 – Bard Audition
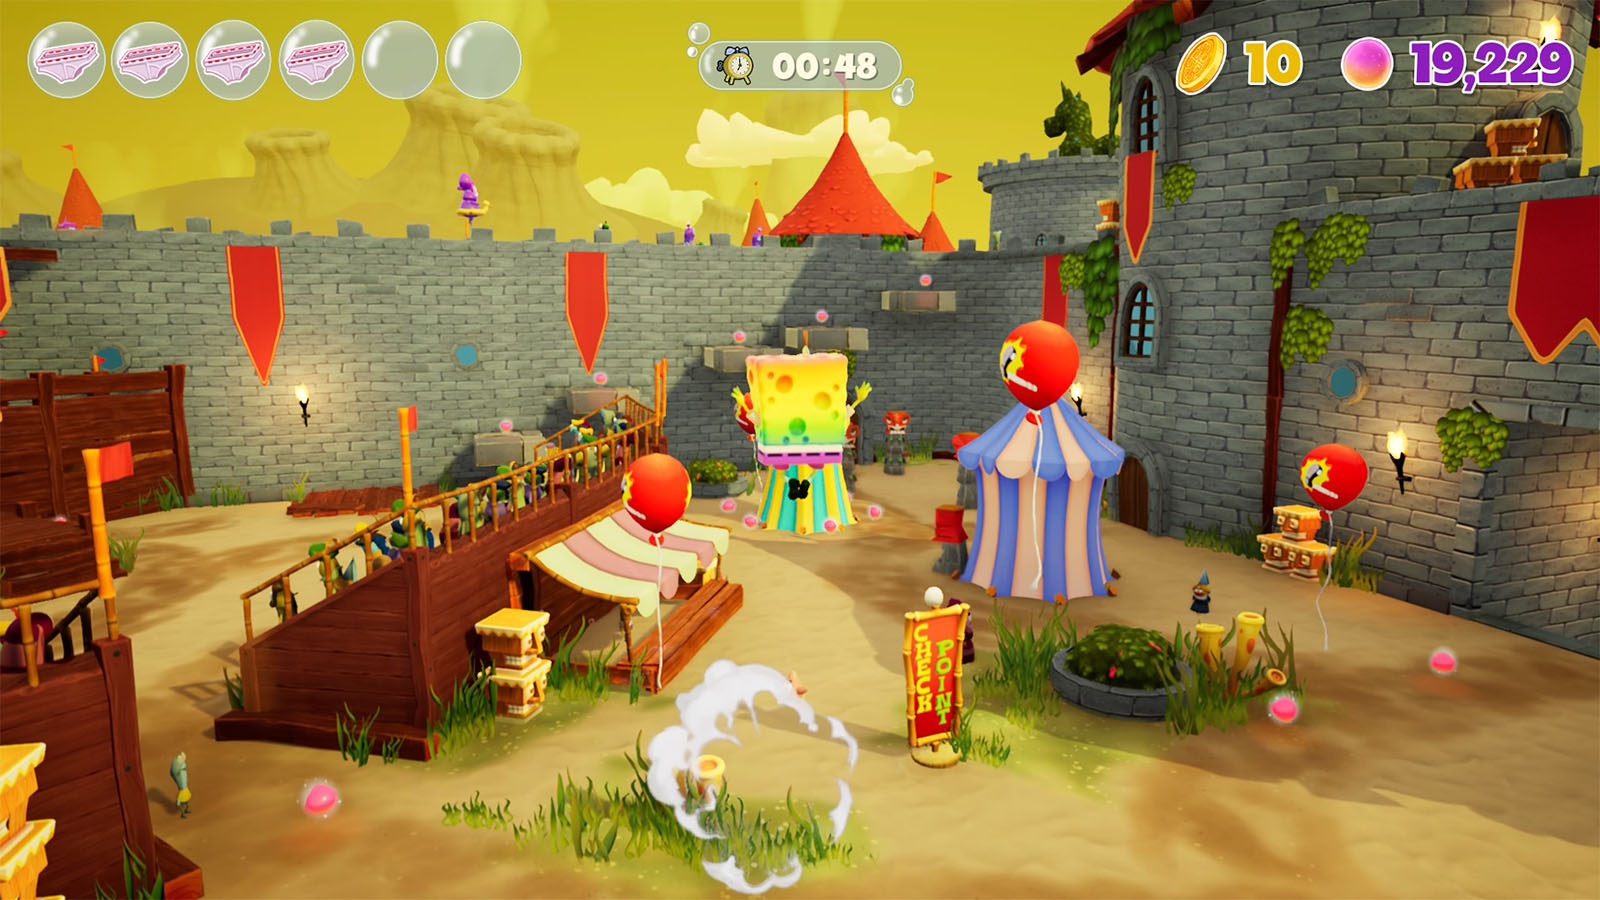
At the Bard Audition, go to the button on the far left side and push it to start a timed challenge. In this challenge, you need to pop all the balloon before the time runs out. Once you’re successful, you’ll get the doubloon.
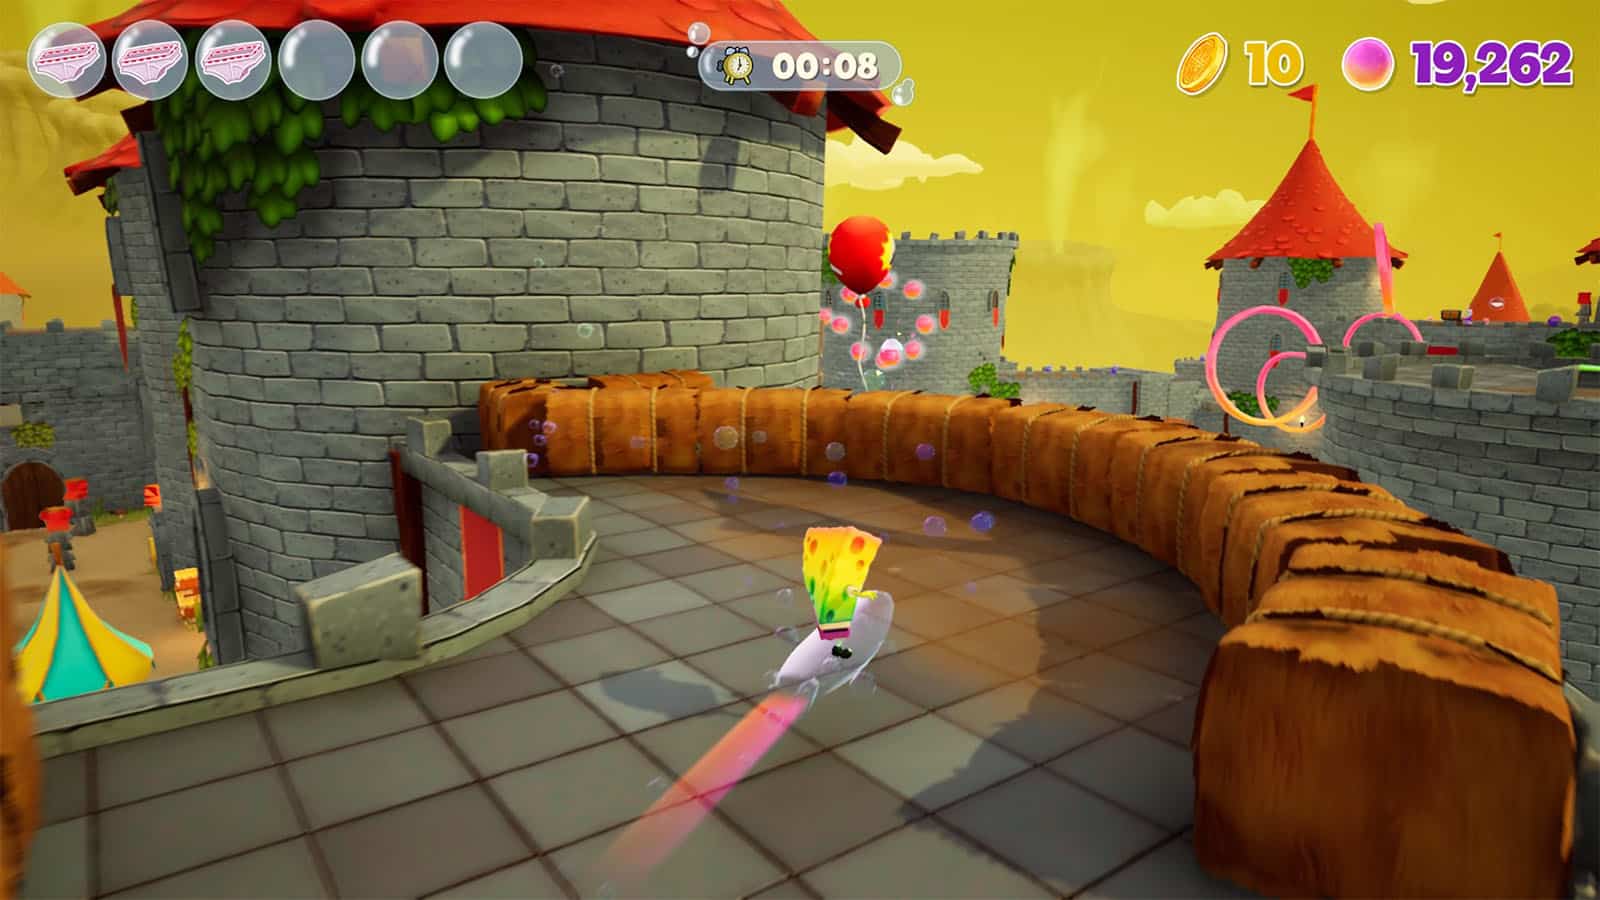
Medieval Sulfur Fields Gold Doubloon #10 – Bard Audition
Still at the Bard Audition, head to the right side where you’ll see moving platforms on the wall. Go up these platforms and take the path to the left until you reach a button. Press the button and then ride the bubble board to start another timed challenge. You’ll need to jump on board to board and reach the finish line before the time runs out. Once you’re successful, you’ll get the doubloon.
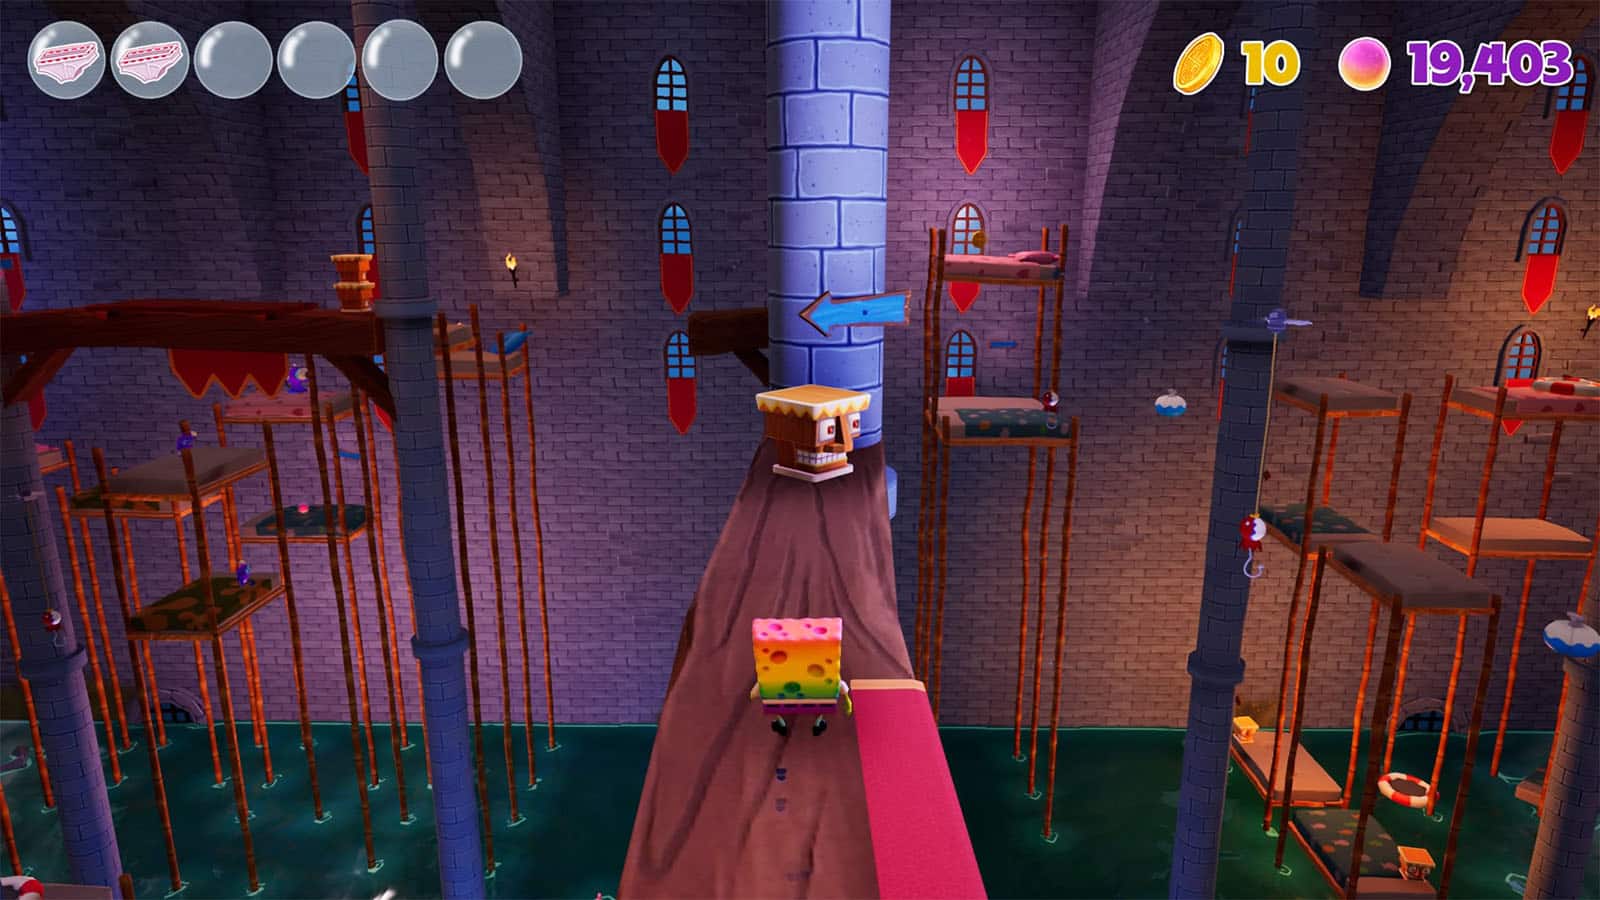
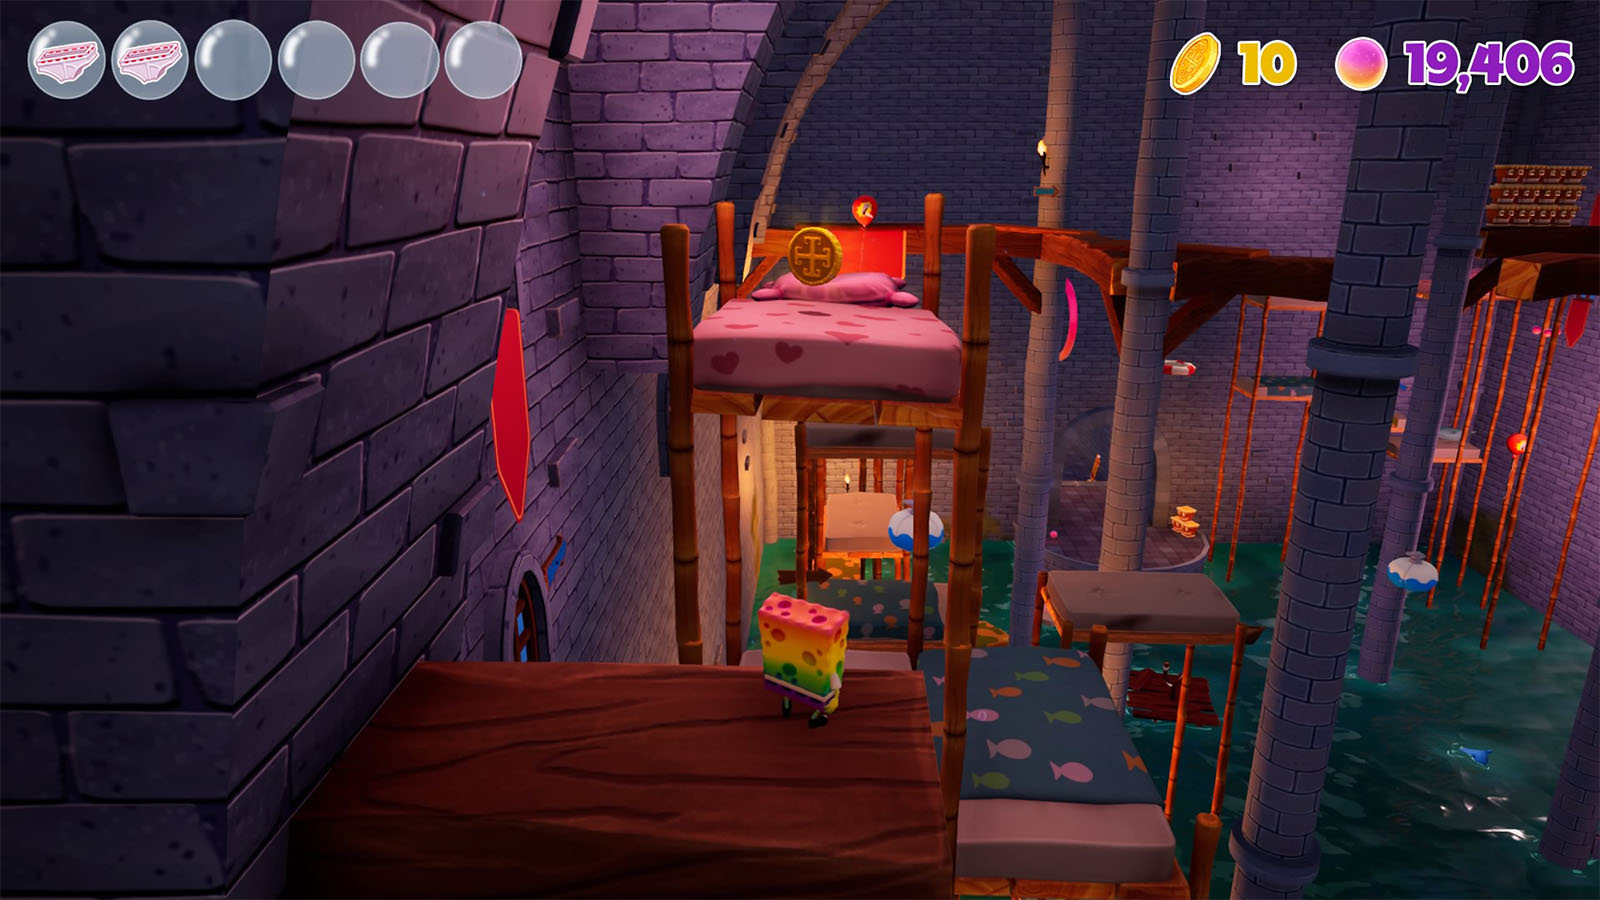
Medieval Sulfur Fields Gold Doubloon #11 – Dormitory Hall
Go to the Dormitory Hall and follow the blue arrows which takes you to the path through the bed platforms. Once you reach the wooden beam where the arrow tells you to jump down, ignore the sign and go towards the next beam behind the blue arrow. Continue following this path and you’ll eventually get to the bed where the doubloon is.
Check out this video by Game Guides Channel showing all the locations of the doubloons in Medieval Sulfur Fields:


