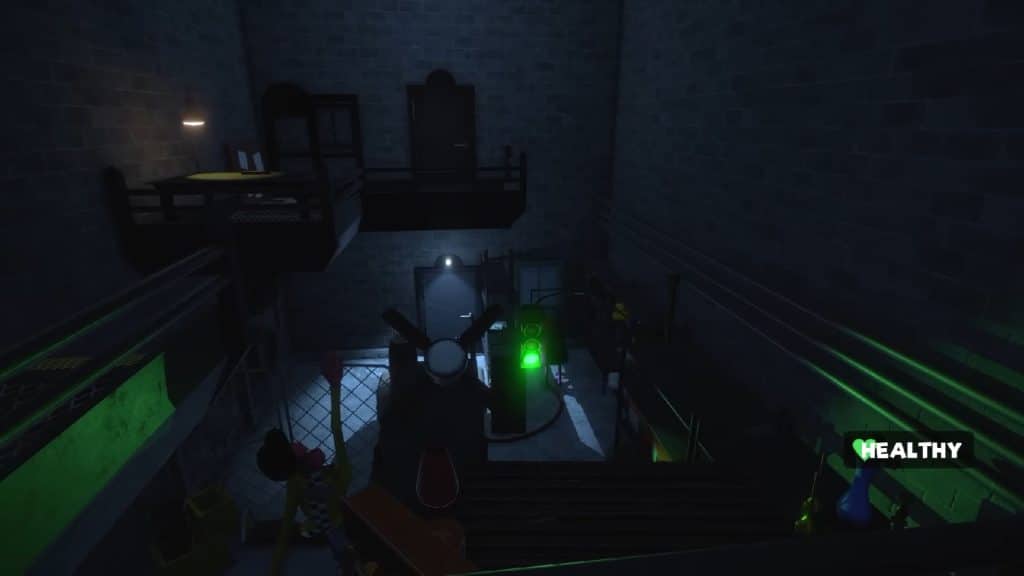
My Friendly Neighborhood is the newest survival horror game that follows the story of a handyman named Gordon who was sent to disable the antenna of a shut-down studio after it mysteriously started broadcasting again. Gordon will have to navigate his way through the different buildings to reach the antenna and complete his job, but the resident puppets who have magically sprung back to life won’t make it easy for him.
Read ahead as we go through the steps on how to complete Part 1: Stage 4 of My Friendly Neighborhood and share the locations of the collectibles that can be found in this segment.
As you start the game, you’re shown with a cutscene of a television showing different channels, presumably inside our protagonist’s home. All of a sudden, one channel’s broadcasting is getting some interference and is showing what appears to be a children’s show before the scene switches to the game’s title card.
You are then able to pick the game’s difficulty that you want to play; only two are available while the others are unlocked after succeeding playthroughs.
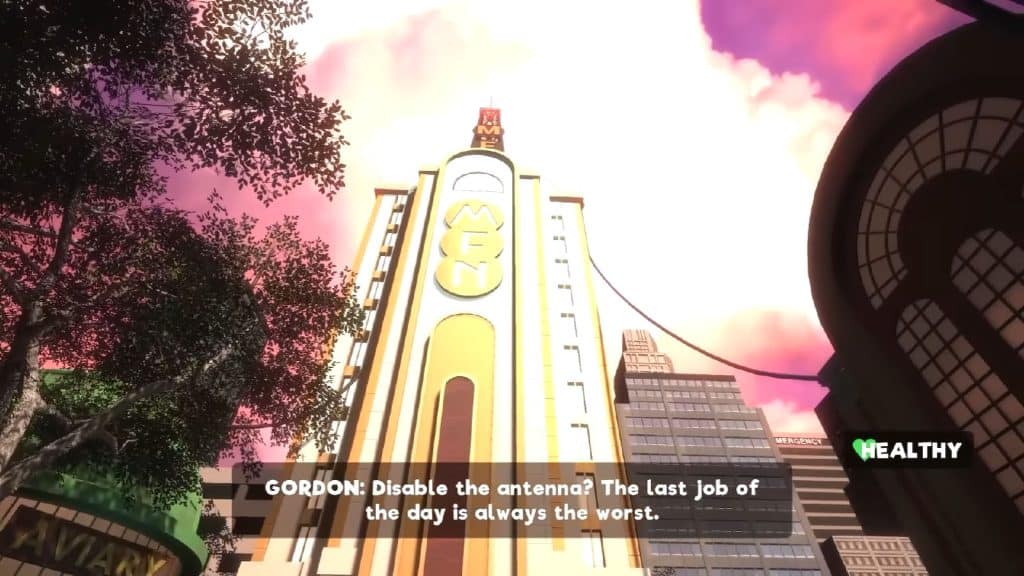
The scene then switches through the eyes of our protagonist, Gordon O’Brien, who is a repairman as he looks at his work order for his final job of the day. In here, we learn that he has to disable the broadcast array of the vacant studio that has been causing the interference we saw from earlier, otherwise Gordon will get fired.
Basics of the game
My Friendly Neighborhood will have you go through the ordeal of completing your job while trying to survive getting killed by animatronics that have come back to life.
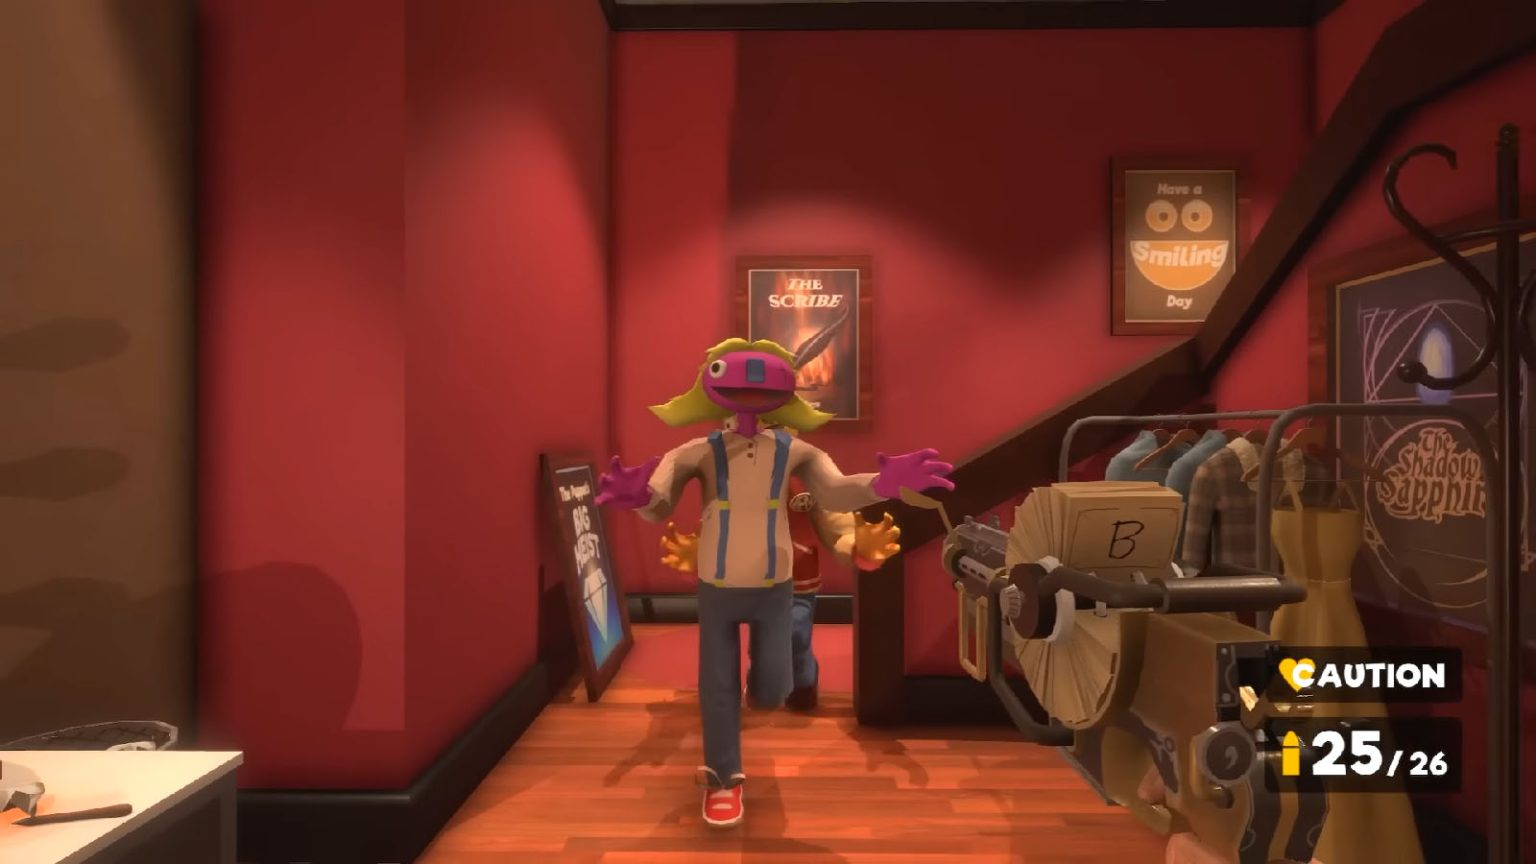
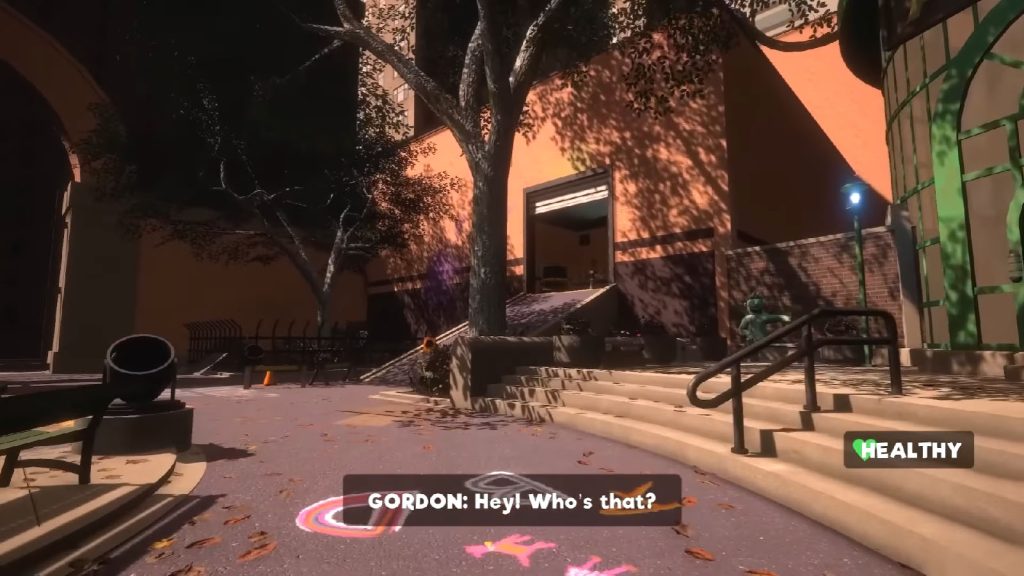
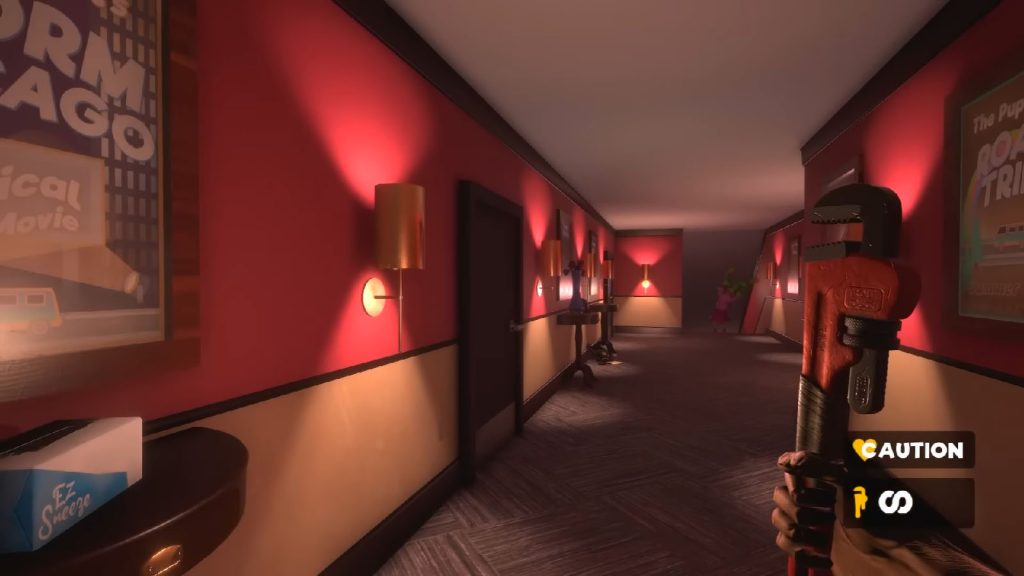
You don’t have the usual health bar, but rather a health status that goes from Healthy > Caution > Danger. Each damage that you sustain will drop your status down to Danger and afterwards you will get killed and start from the last savepoint. There are potions that you can get in the game to restore your health.
As for the weapons, you will start off with nothing, so it is important to get to the first melee weapon at the start of the game to be able to actually confront the enemies and subdue them. You will eventually get access to some ranged weapons that will give you a better advantage. Tapes can be found in certain places which are consumables that you can use on downed enemies to tie them up.
There are also collectibles in the game that will unlock achievements and secrets. You can pick up tokens which serve as currency to get consumables or activate save points. Since you can only activate a save point if you have enough tokens, your opportunities to create saves within a playthrough are limited and you will have to be strategic about it.
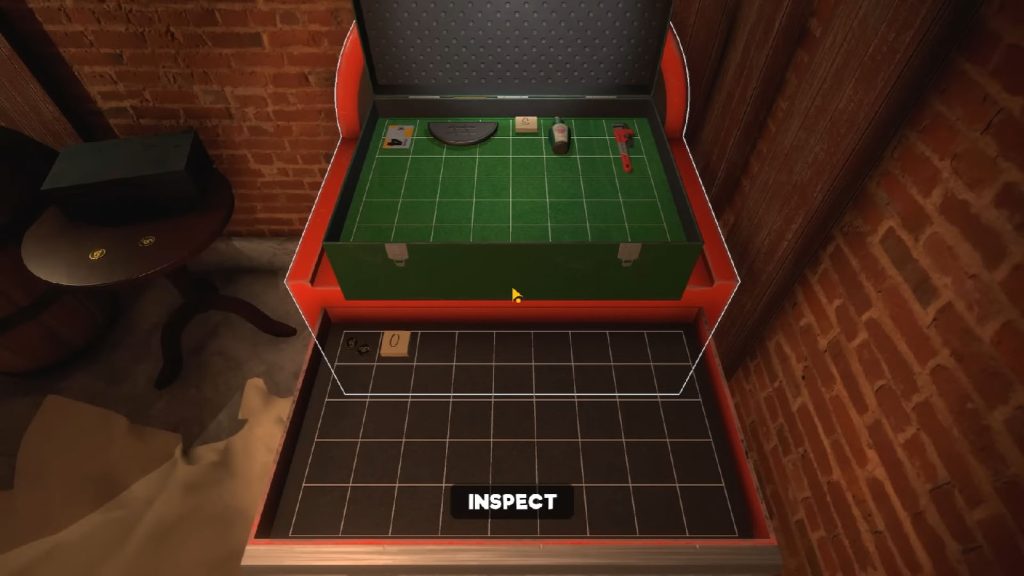
You will have an inventory system similar to the Resident Evil games where you will have to manually manage and arrange the items to make space or simply just to organize everything inside. Toolboxes will also be available in certain areas of the game where you can deposit your items for safekeeping.
My Friendly Neighborhood Part 1: Stage 4 Objectives
Get the Stage 4 Keycard
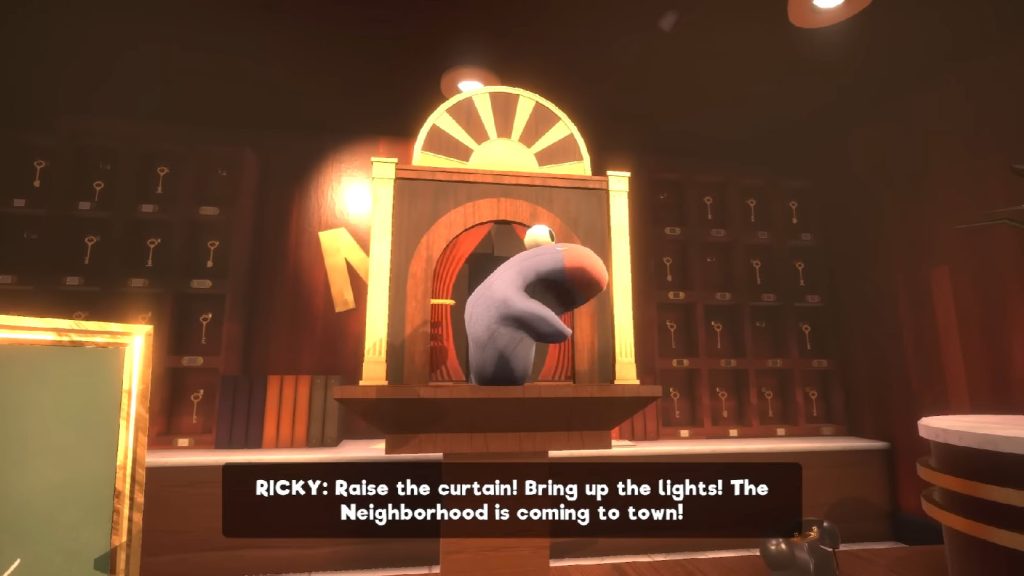
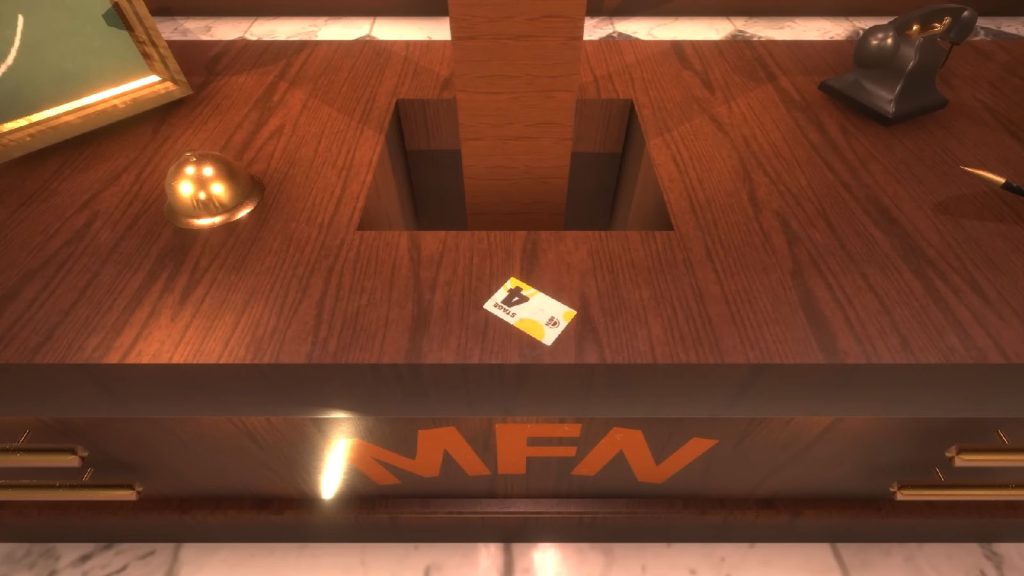
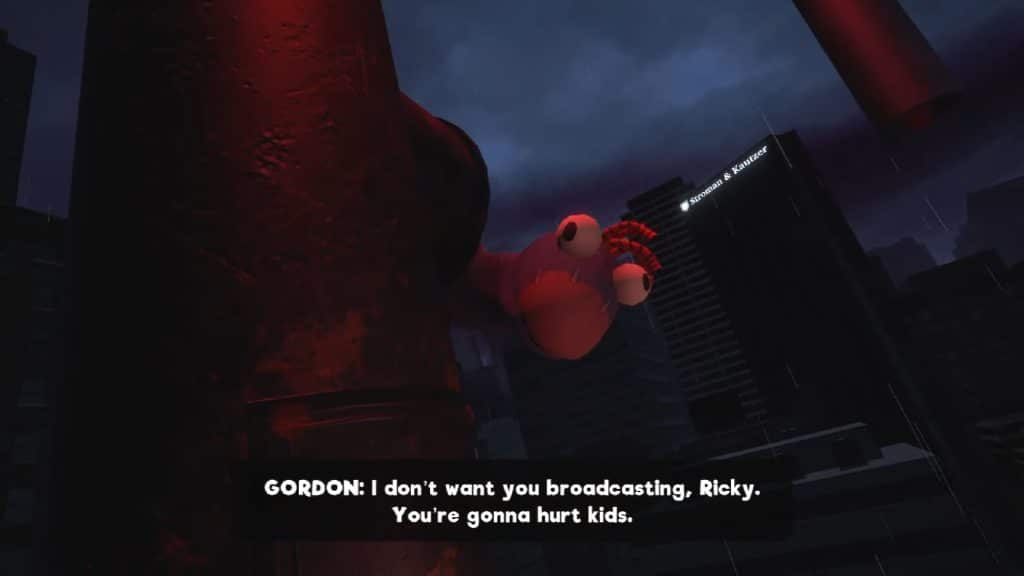
Go through the dialogue with Ricky where you will learn a bit of info such as that the name of their show is called The Neighborhood and that they don’t want you to do your job of disconnecting the antenna. Ricky will then barf up a keycard to get access to Stage 4.
You won’t be able to do much within the hotel right now other than explore the places that you can access such as the upper hallway where the statues are. Right by the staircase is a glass case with your first collectible: Medallion – #. Keep this for now, but be aware that it takes up 6 squares in your inventory.
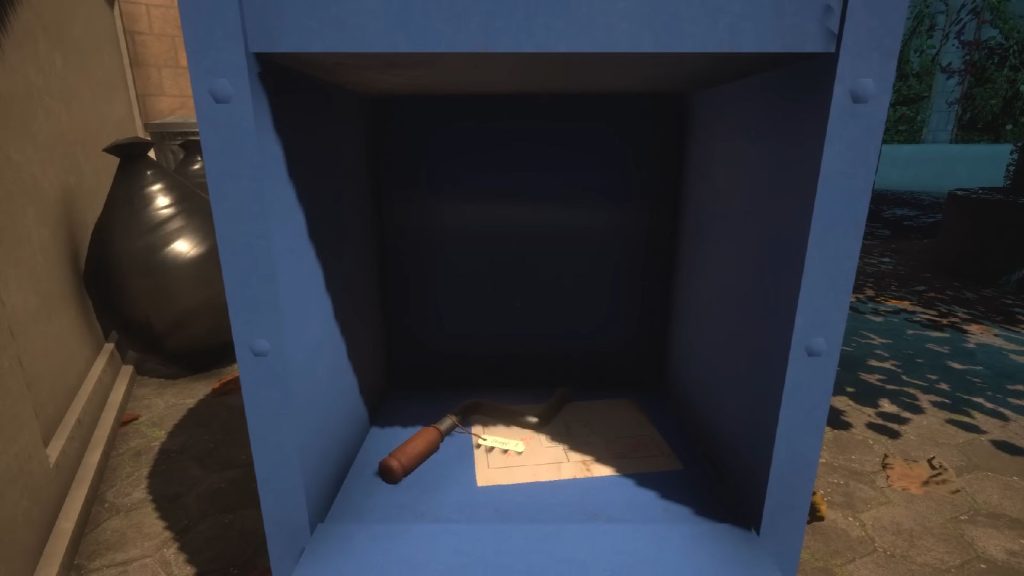
Find the Wrench
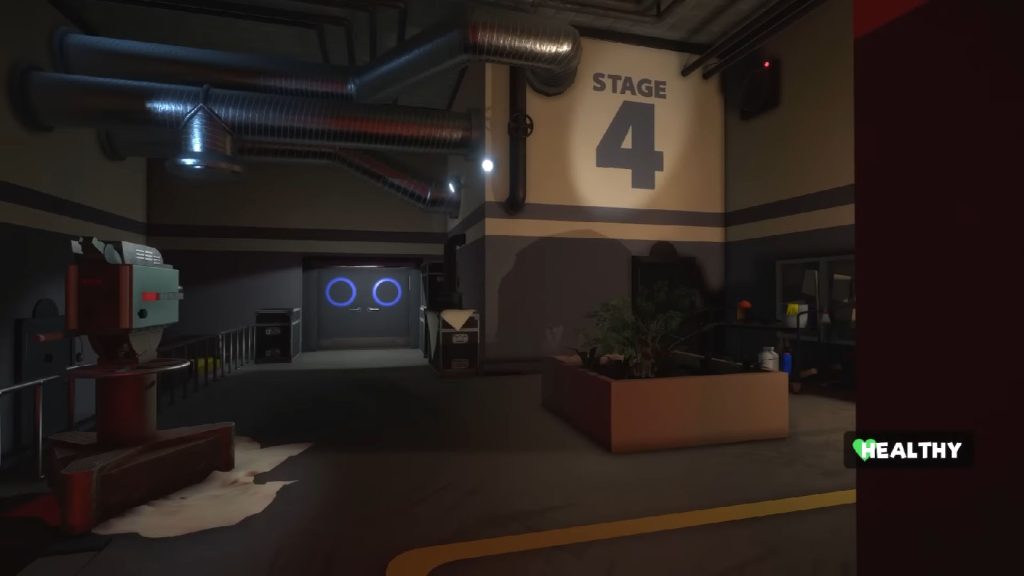
Once you get in, you will arrive at the Stage 4 Atrium. Check the bulletin board to your left to find the Note – First Broadcast.
Go to the next room where you will just briefly see the door on the other side close. Go through that door and to your right, you will find Norman banging his head on the door; don’t engage with him for now. You will also see a double door with two circles on it; take note of this door as we’ll get back to it once we get the right key.
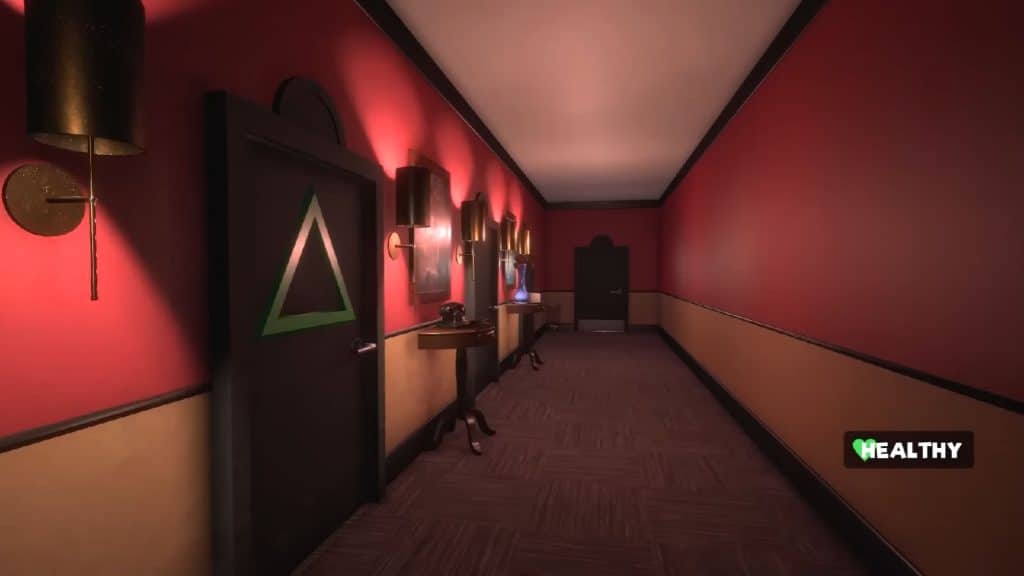
You will then arrive at a hallway where there are doors to the left that leads to different Dressing Rooms. The first door has a green triangle on it which means we’ll have to find the right key for it, so take note of this for now. The next door has a Health-O-Lax potion and a magazine for the gun you’ll be getting later on. You can also find the Note – Ep. 16 Script on the desk. Finally, check the next door to find a toilet that has tape inside it.
Head back to the hallway and take the door on the other end to reach the staircase. There’s another puppet babbling on the upper floor, so take the lower floor for now and go through the door to reach the Grip & Camera Dept.
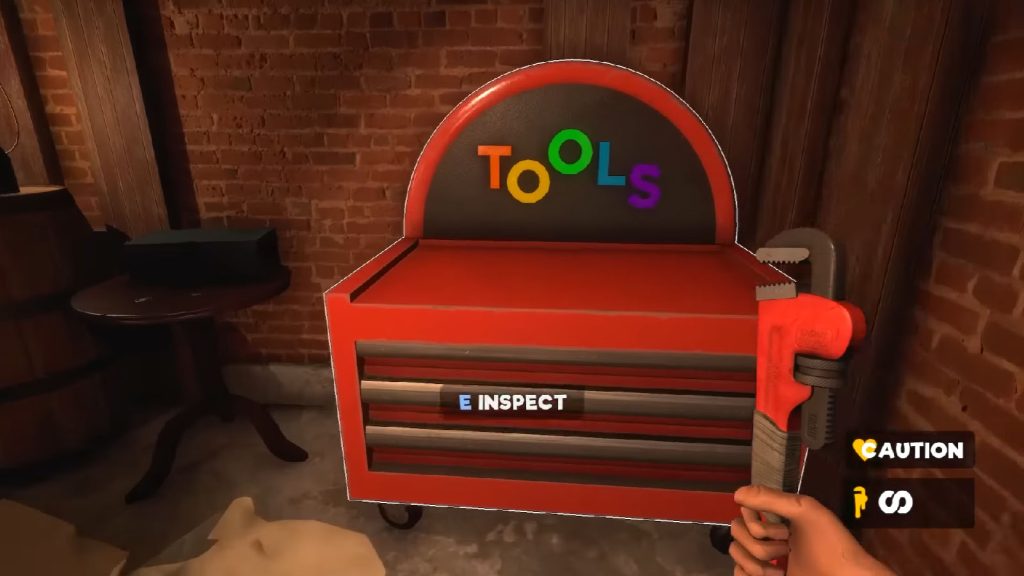
Take the next door and you will arrive at another hall. The door to your left will have a Toolbox where you can store the items you found, and a save station. Open the toolbox to find some extra items in like some tokens and ammo. There are also some tokens on the small table. Take note that the save station requires you to pay up tokens every time you use it. There’s also the Health Dispenser which takes up a token per use.
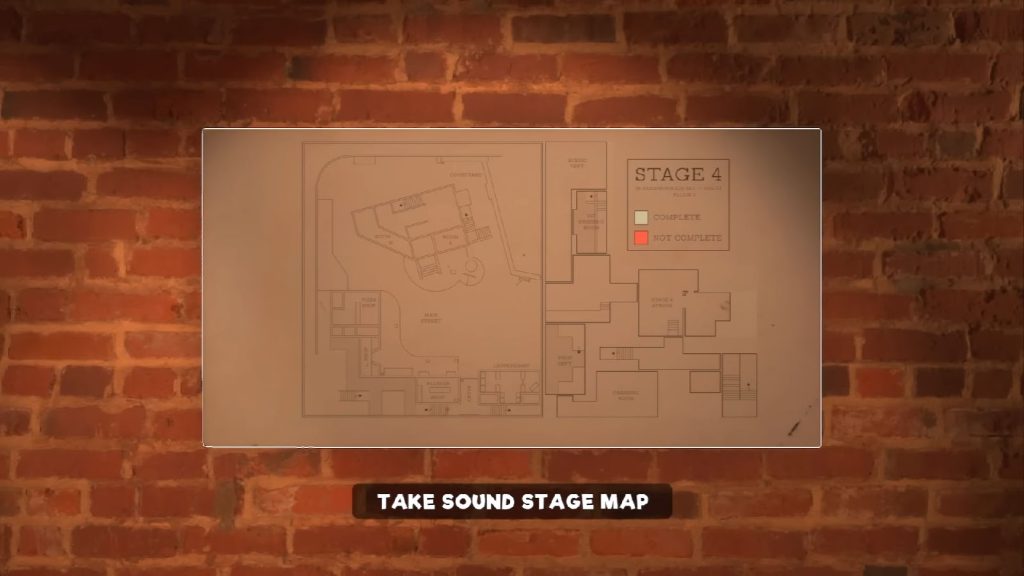
Make sure to take the Stage 4 – Floor 1 Map on the wall as you can use it to know where you are at. Once you have the map, you can take a look at it and see the parts that you have already done and the doors with the kind of keys that open them.
Head back out and you will see another puppet, Junebug, by the stairs. There are also two doors on either side, both are locked and one is marked with the blue circle. Take out Junebug, go down the stairs, take the potion and ammo, and then go through the next door.
You will be back at the Prop Department. Take out Lilianna then head back to the room where you found Norman.
Find The Stenographer Gun
Take out Norman to get access to the door he’s blocking. You will then arrive at the VIP Dressing Room.
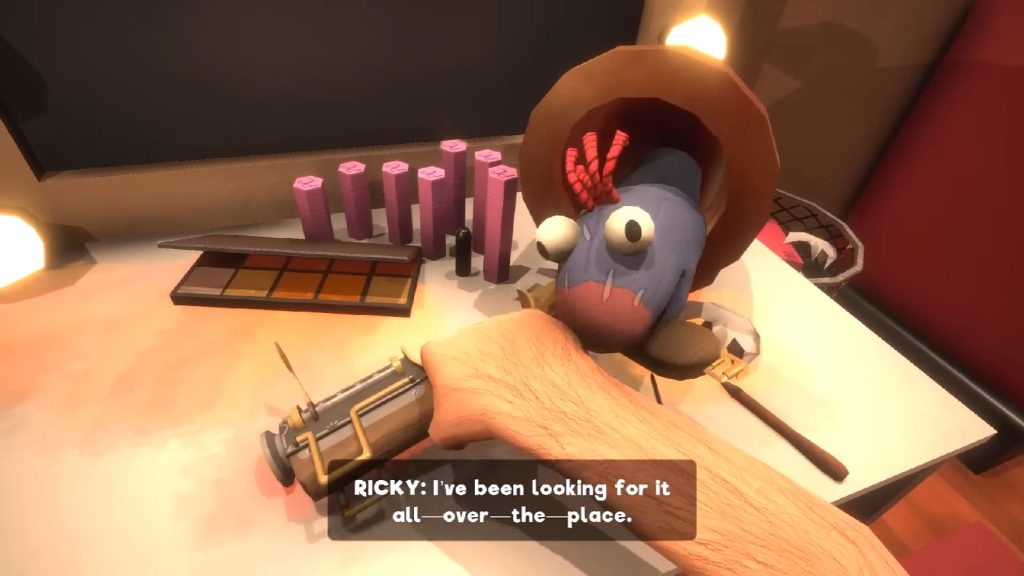
Go down to the lower level an Ricky will pop out of the pipe. You will then see the gun called The Stenographer on the desk which Ricky will try to grab from you. Be prepared as you will be using the gun to knock down the puppets that will be rushing into the room. Once they are down, check the desk again for the Note – The Stenographer.
Find the Blue Circle Key
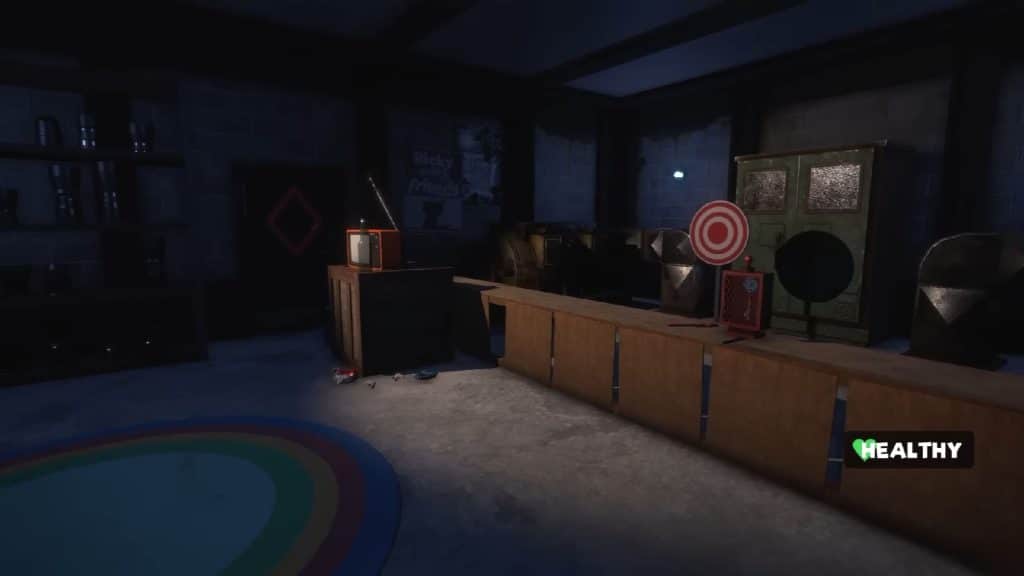
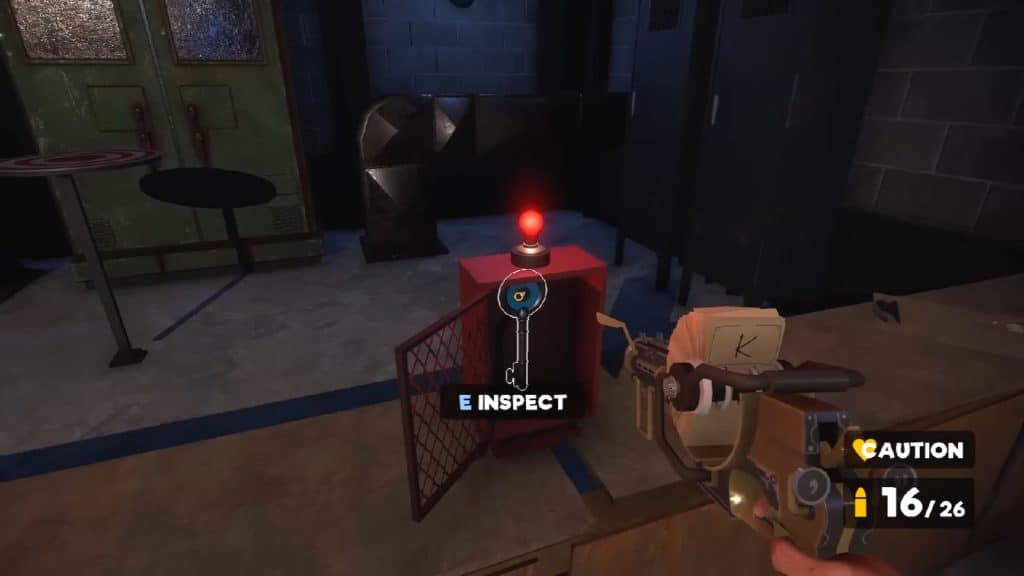
Make your way back to the staircase and into the room where you found the Wrench. Use your gun to shoot at the target and open up the box that has the Blue Circle Key. You can access the blue circle rooms, but for now, head to the door where you found Lilianna before opening the double door.
Head to the blue circle door at the Dressing Room 2F to get to the Costume Room. Inside is a wardrobe that’s taped up, but you can get a tape in one of the drawers. The other door in the room will lead you back to the Prop Department, but on the other side of the platform. Here, you will find the Cheat Tape #1 by the table.
Go to the Main Set
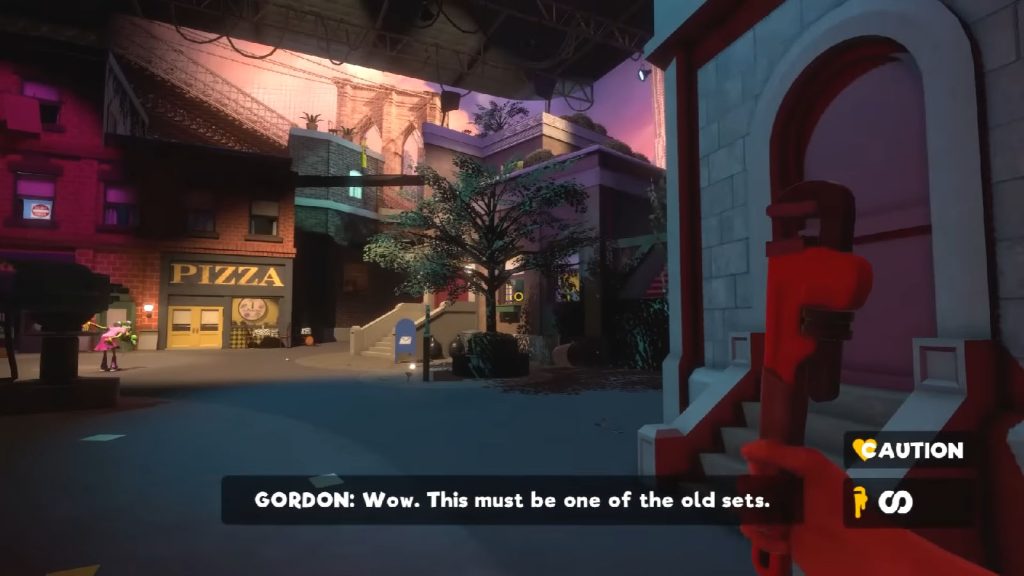
Now head to the double door and open it to get to the Main Set. It’s a huge location with a bunch of puppets just mumbling in place. Be careful as there is a huge bird puppet named Pearl that wanders the set. It is blind so it won’t chase you, so just stay out of its way so that you won’t get trampled. For now, we’ll check the buildings to the left.
Find the Orange Square Key
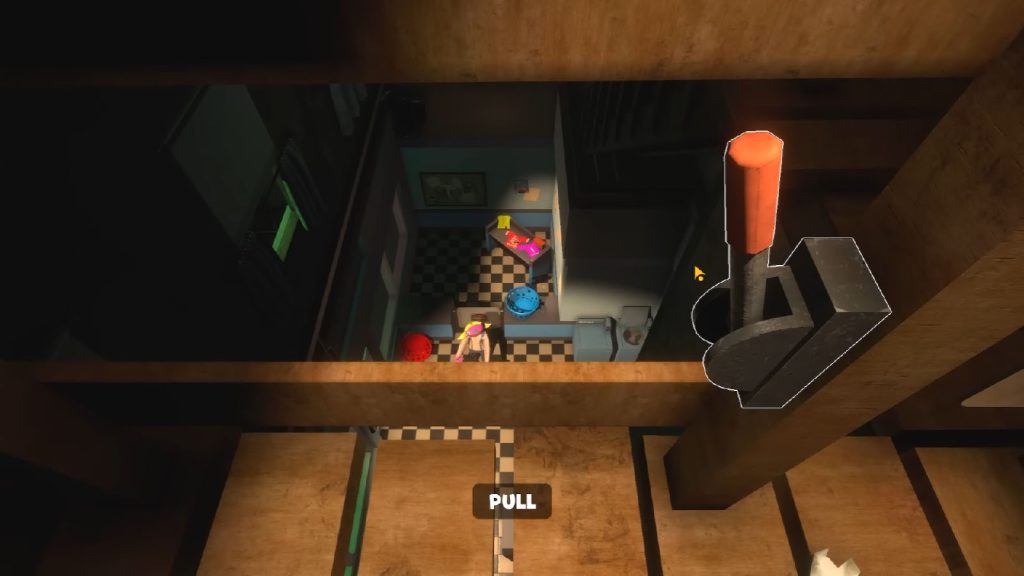
Go past the closed Laundromat and head to the Flower Shop beside it. Inside, go through the next door which leads to the Alley. Take the stairs on the left first to get to the platforms on top of the Laundromat. You will find a lever that will open the door behind the puppet in the Laundromat.
Find the Letter Blocks
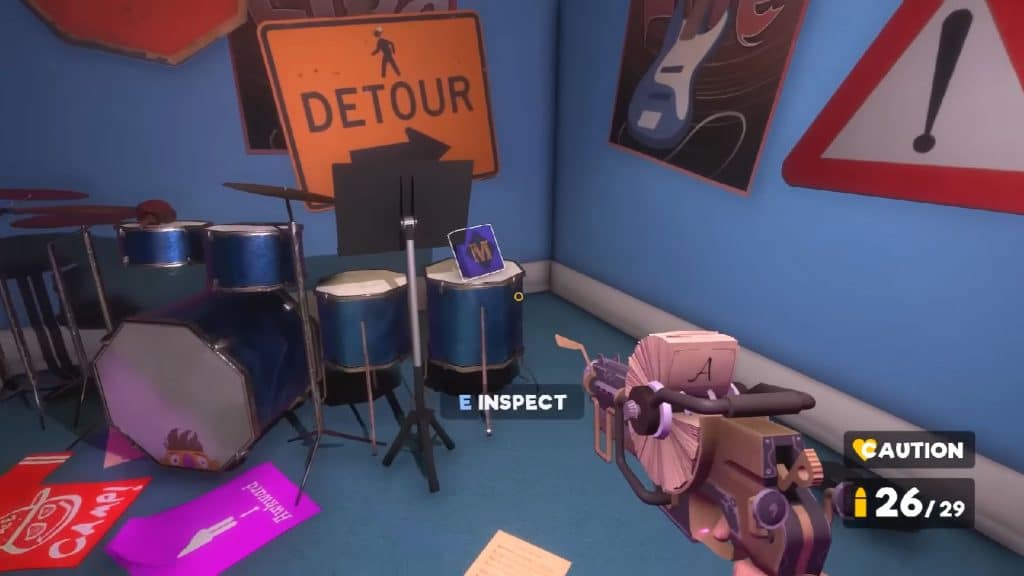
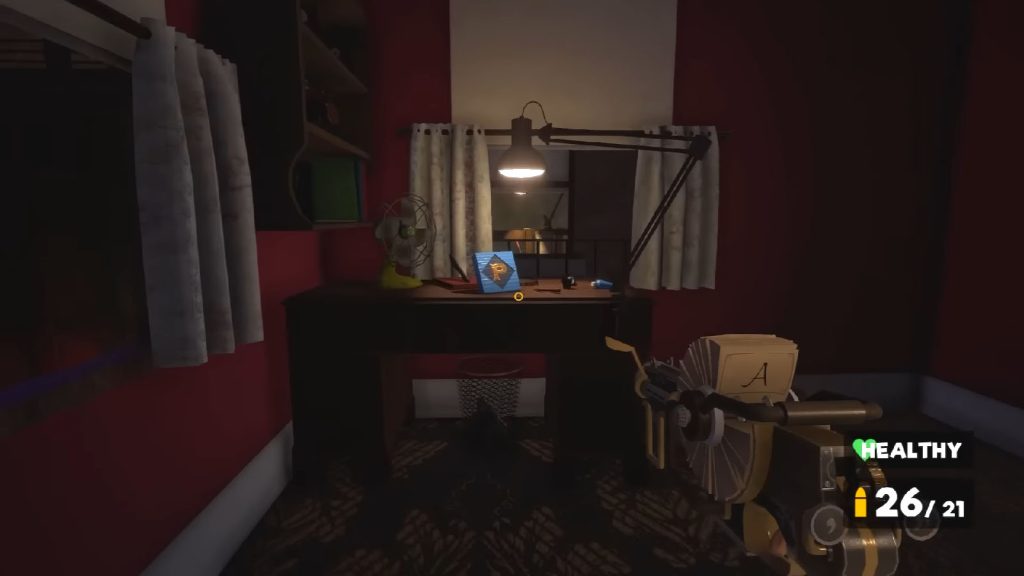
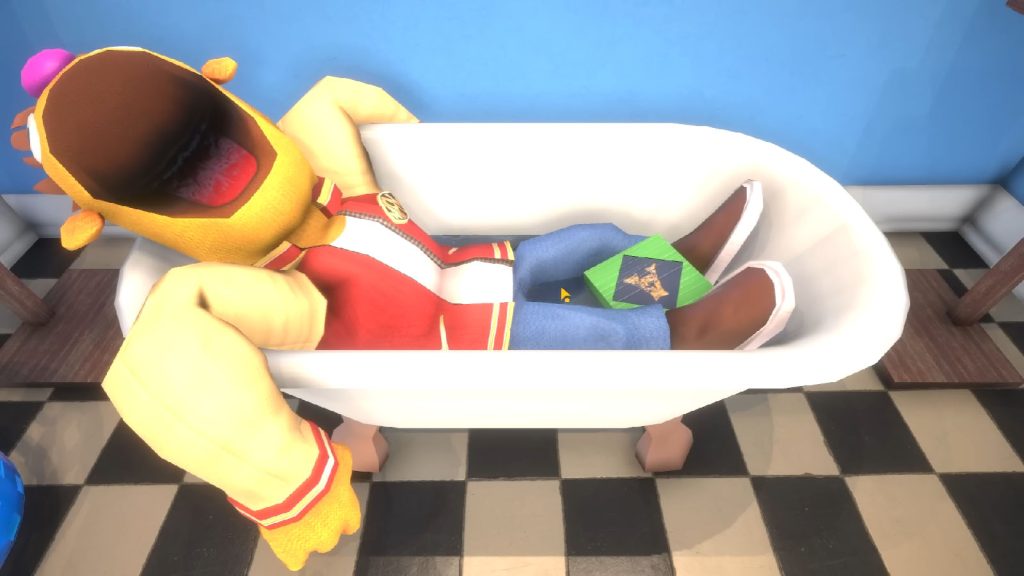
There are 7 letter blocks that you will have to find within the Main Set. These are needed to solve the puzzle which is on the green wooden structure by Lenard’s Shop.
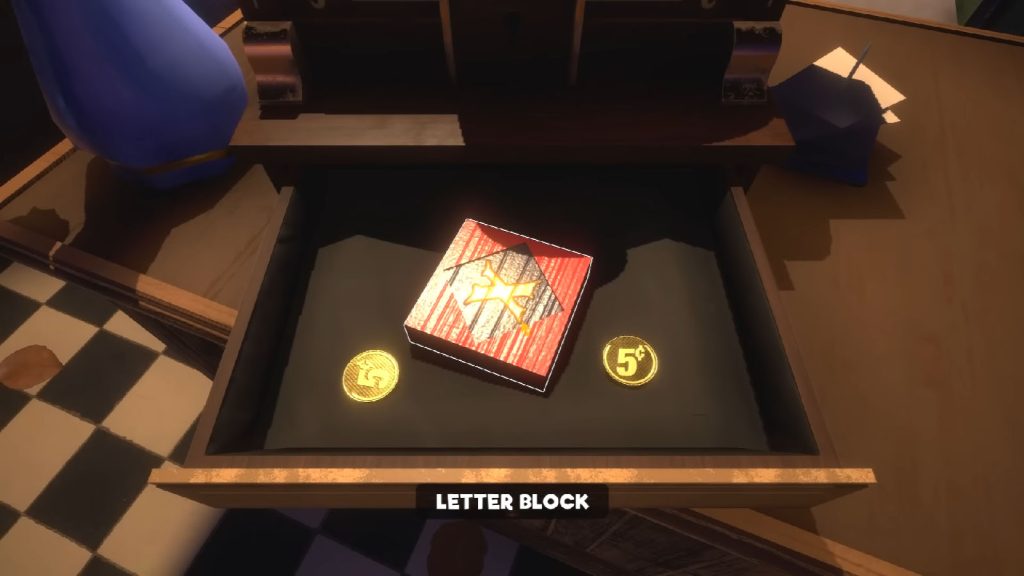
First, head back out to the Main Street, then go back to the Flower Shop and open the cash register using the key. You will find the Letter Block – X and some tokens.
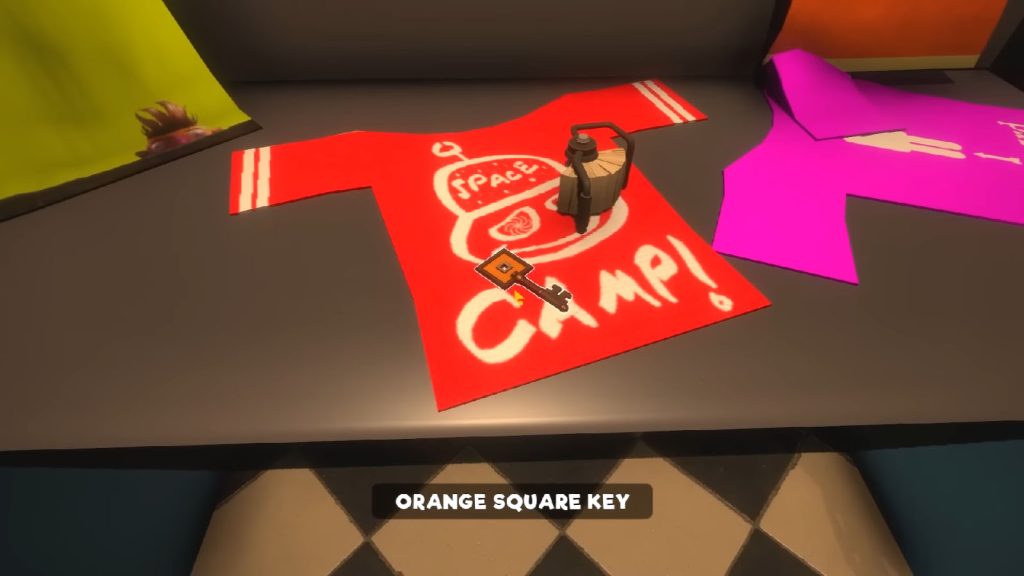
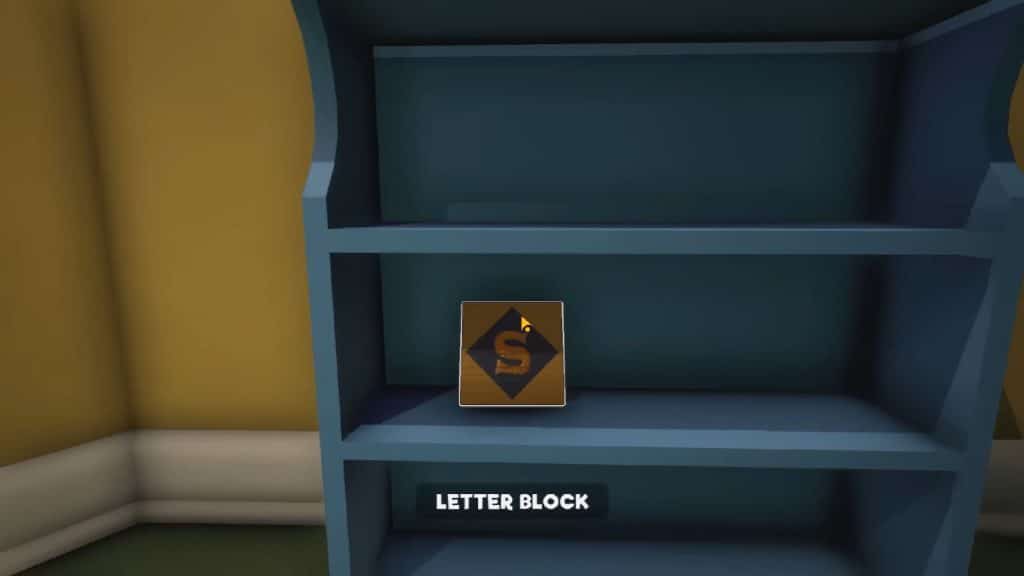
Next, check the ABC Building right across the street. Inside, go find the stairs and to the left is an orange square door. Behind the door is a room that has the Letter Block – S and a token. Take the stairs up to find a safe room with some tape and a token.
You can then head back out and check Lenard’s Shop for some ammo, then check the Pizza Shop next door.
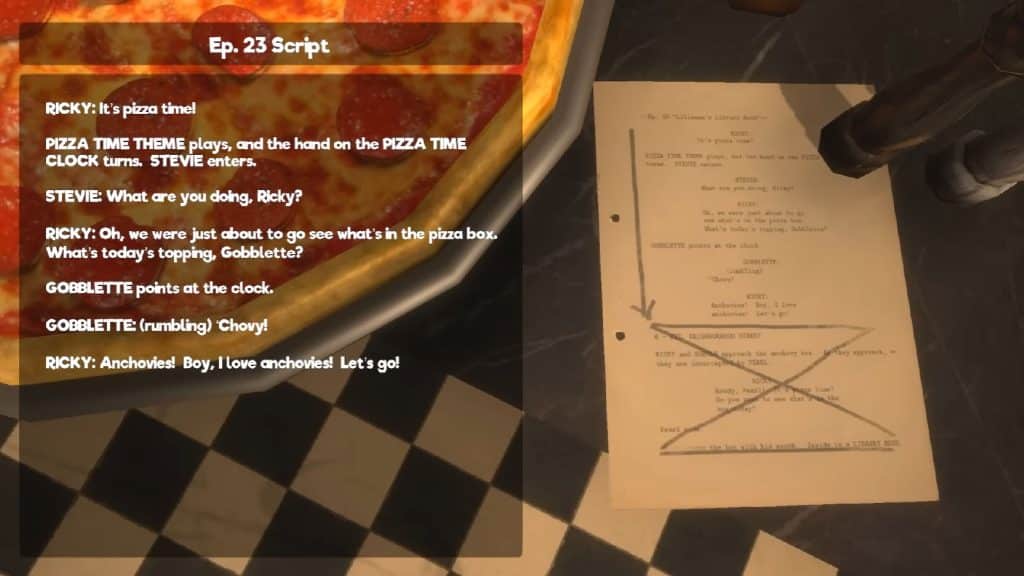
Inside the Pizza Shop, you will find the Note – Ep. 23 Script by the counter. There is also a huge clock that has a hand that you can move. Moving the hand to point at the ingredients will open the boxes that contain items in them. There is one near the green wooden structure that has the anchovy on it, and one on top of the ABC building that has mushroom on it. Set it first to anchovy and get the ammo from the box, then set it to mushroom for later.
The door inside the shop leads back to the backstage that have two puppets and some ammo. There is a door above that you couldn’t open because it has no handle on your side.
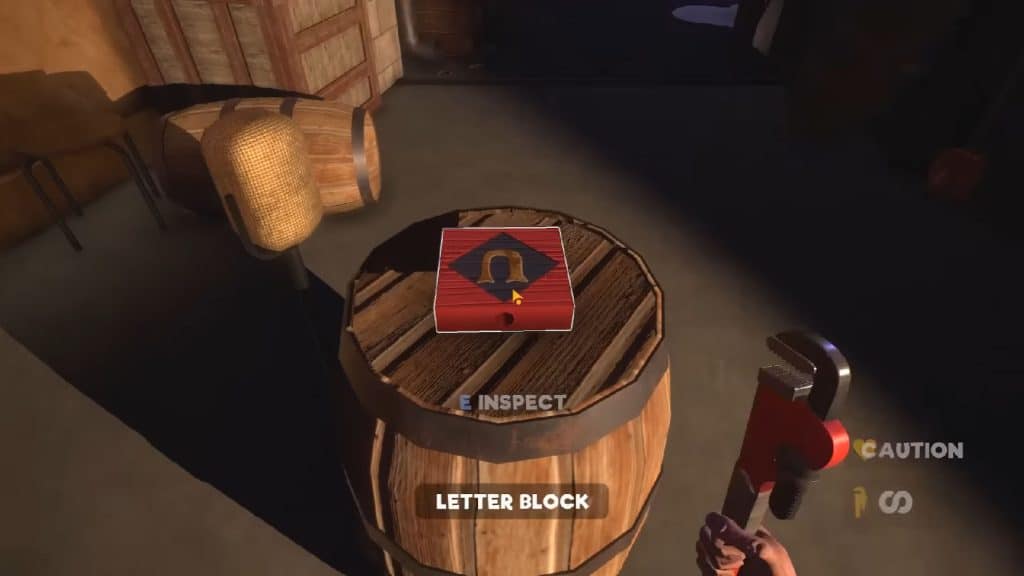
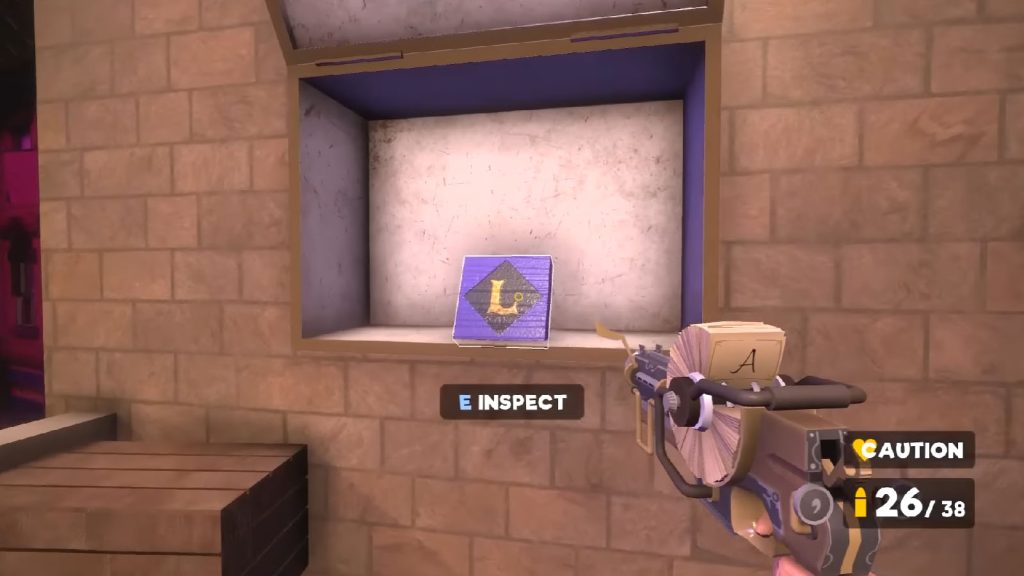
Climb the stairs beside the ABC Building to find another puppet. Knock it down and you will find another box that has the Letter Block – L; just make sure to set the clock to mushroom to open the box.
Go up the next floor to find more puppets. There is a box with pepperoni on it which contains a health potion.
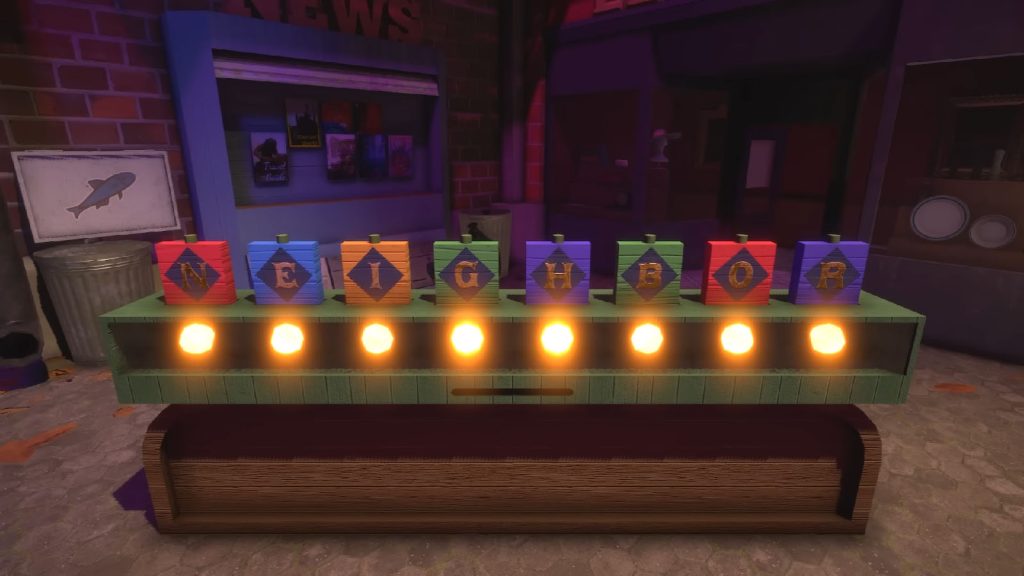
Once you have all seven blocks, head back to the green wooden structure in front of Lenard’s Shop and place all of the blocks on it. The correct word for this puzzle is “NEIGHBOR” and all of the blocks will automatically be placed on the right order, so all you need to do is to flip the ones that are not showing the right letters.
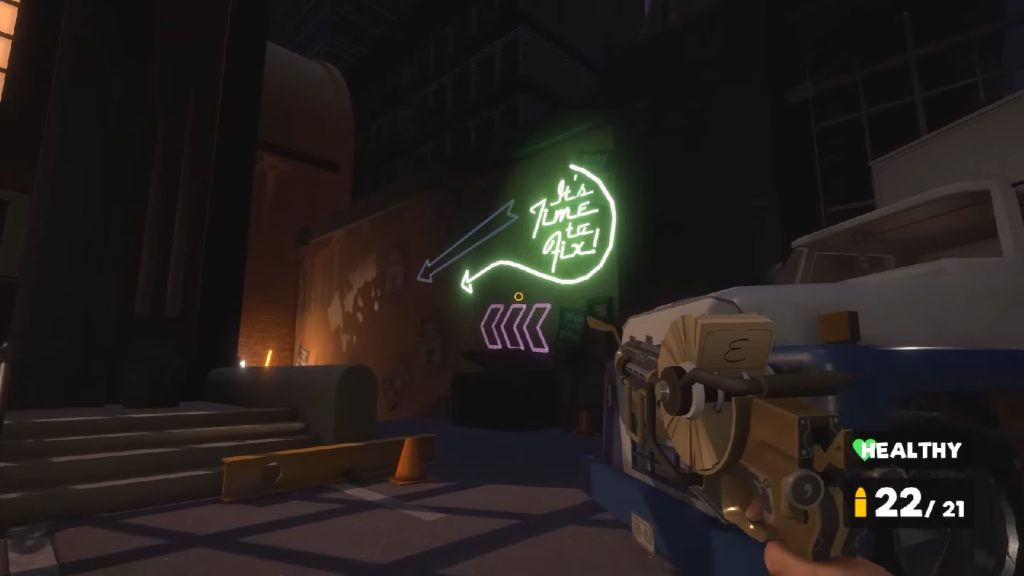
Exit the Stage 4 building and head back out into the lot where you will see that it is already nighttime. You should then see some neon lights pointing to a place next to the Office Building. Follow the lights and you will find a metal box with a hole. Interact with this box to insert the crank which will open the manhole that you are standing on. After falling through the manhole, you will arrive at Ray’s Basement.
How to help Pearl
To help Pearl, you must first locate where her glasses are. To find the glasses, head back to the Pizza Shop and point the arrow to the anchovy. Then, head over to the top of the ABC Building and cross the bridge to reach the door above Lenard’s Shop. Enter the door to reach the backstage and immediately to your right is the lockbox (anchovy) that contains Pearl’s Glasses.
Finally, follow Pearl around and wait for her to lower her head down enough for oyu to reach it. She does it in some areas like in the back of the Alley, but the easiest place to do it is by her make-up station at the back of ABC Building. Once you approach her head, you can then place the glasses and then a cutscene will play. Pearl will no longer run around the set and you will unlock the Looking in the Mirror Achievement.
See next: My Friendly Neighborhood Part 2: Ray’s Basement Guide
