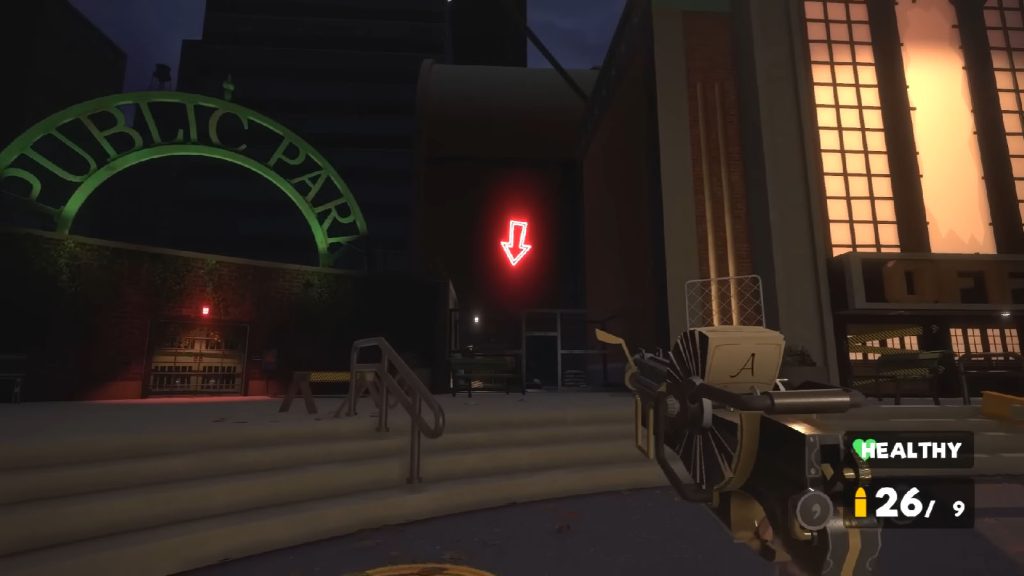
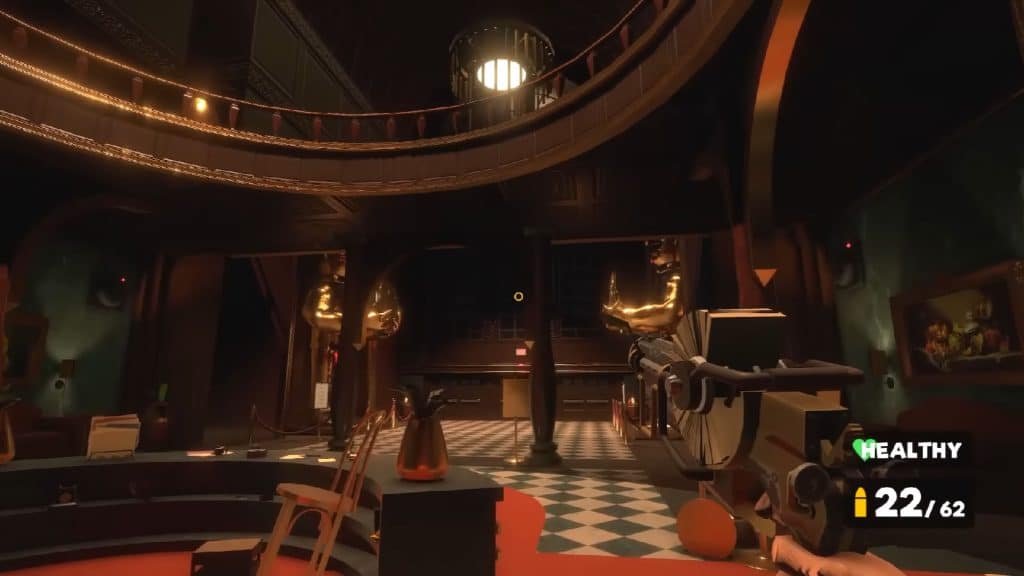
My Friendly Neighborhood is the newest survival horror game that follows the story of a handyman named Gordon who was sent to disable the antenna of a shut-down studio after it mysteriously started broadcasting again. Now that he got the Office Building mostly sorted out, Gordon now has to venture into the Public Park which is being patrolled by its protector hounds.
Read ahead as we go through the steps on how to complete Part 4: Public Park of My Friendly Neighborhood and share the locations of the collectibles that can be found in this segment.
See previous: My Friendly Neighborhood Part 3: MFN Studios Offices Guide
My Friendly Neighborhood Part 4: Public Park Objectives
My Friendly Neighborhood Part 4: Public Park Walkthrough
With the Red Diamond Key on hand, you can access new places that you skipped from earlier. It’s recommended to follow along with the guide first as there would be areas where you will still need to get a different key.
Head to the Greenhouse/Get the Green Triangle Key
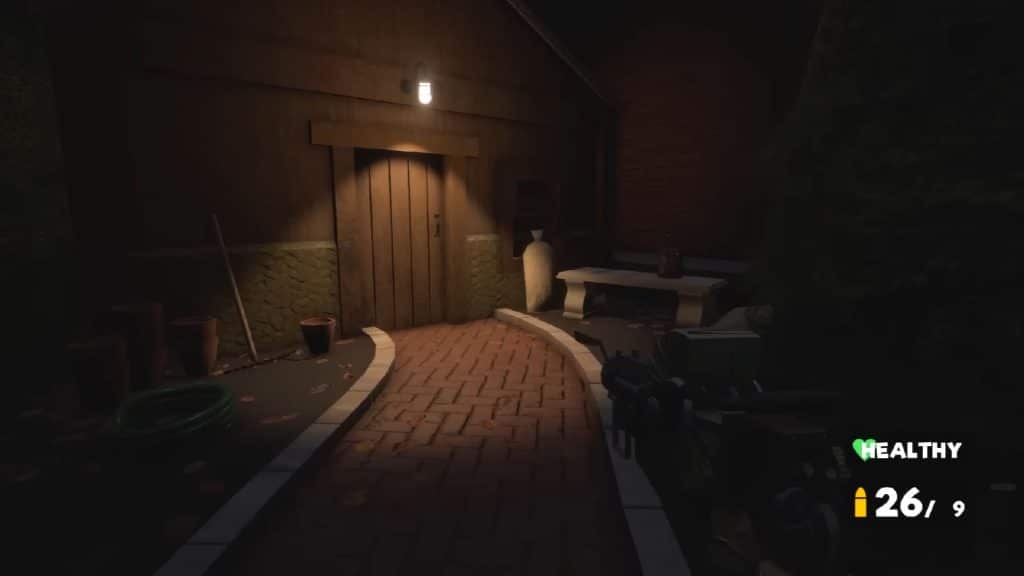
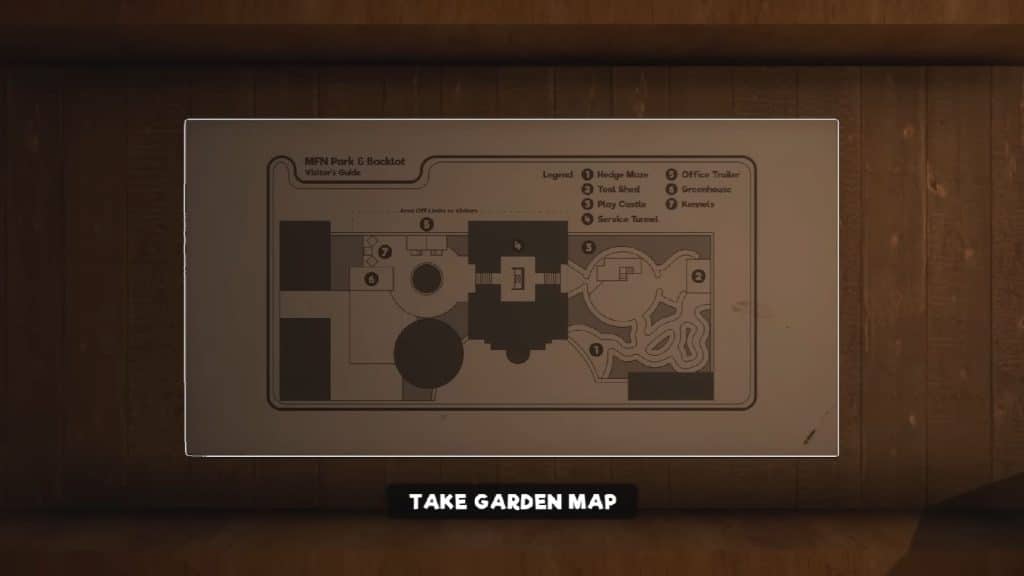
According to the map, the next area that you can visit is the Play Castle, so continue on to the other door in the shed. You will then encounter a short cutscene with Ricky before you can reach the Play Castle. There is not much to do within the Play Castle yet as the door to reach the upper level is locked, so continue heading towards the Service Tunnel.
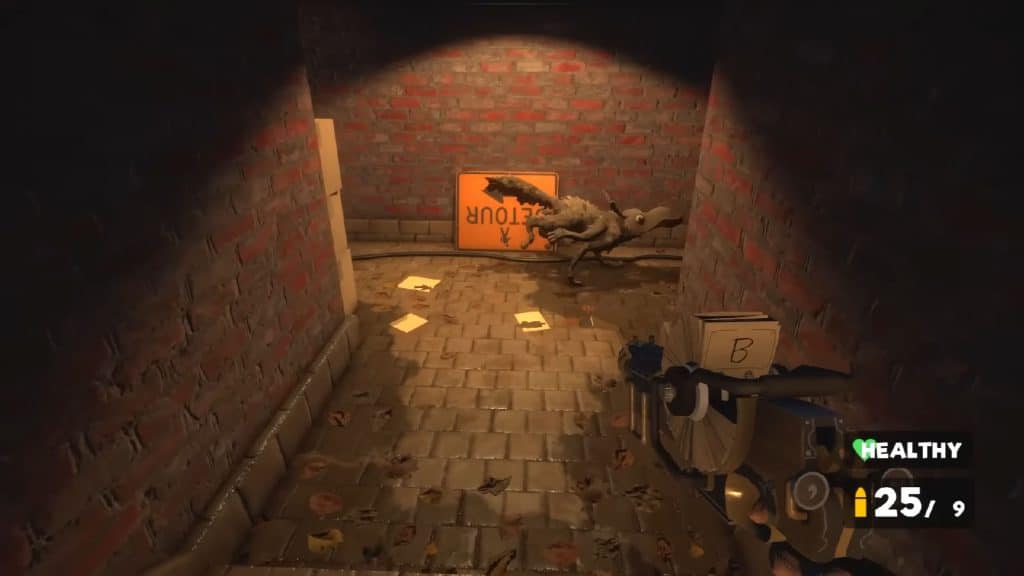
Down at the Service Tunnel is where you will encounter one of the Dogs that roam the park. It will just scurry past you for now, but they will be hunting you down in the next areas and in previous areas, too. Again, there’s not much you can do in here as the elevator that will take you to the top of the hotel is out of order, so head towards the other gate to make it out of the tunnel.
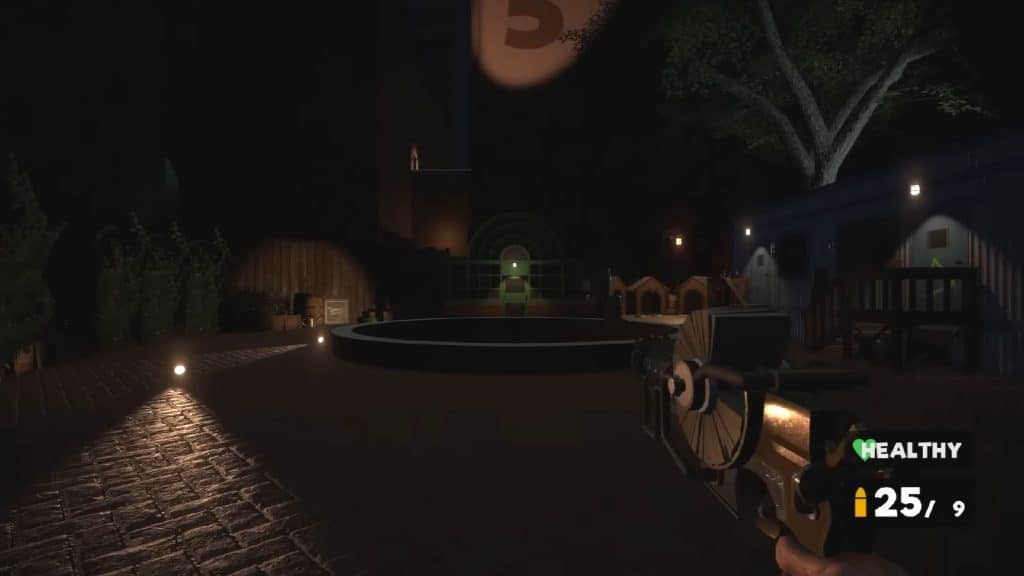
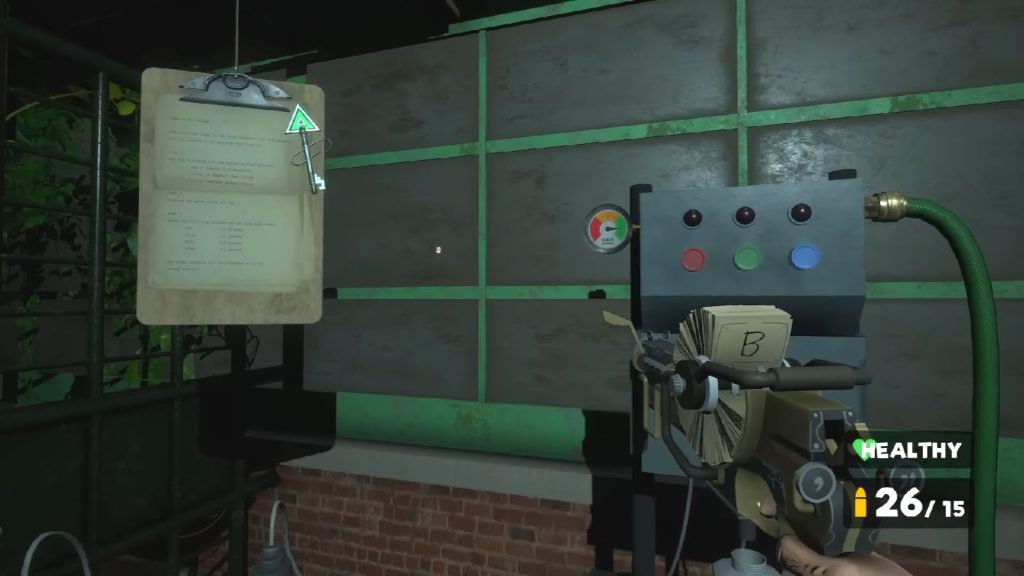
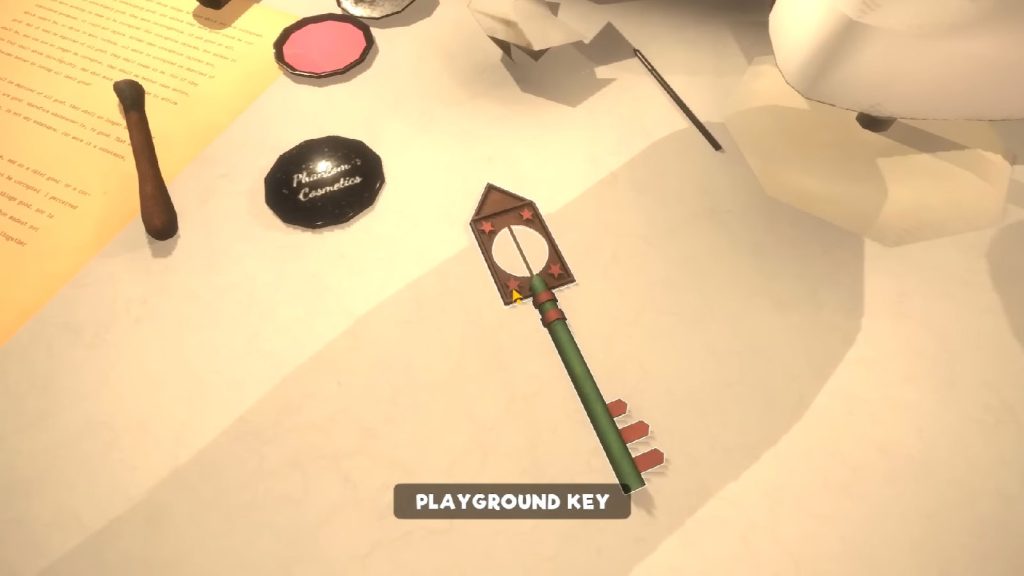
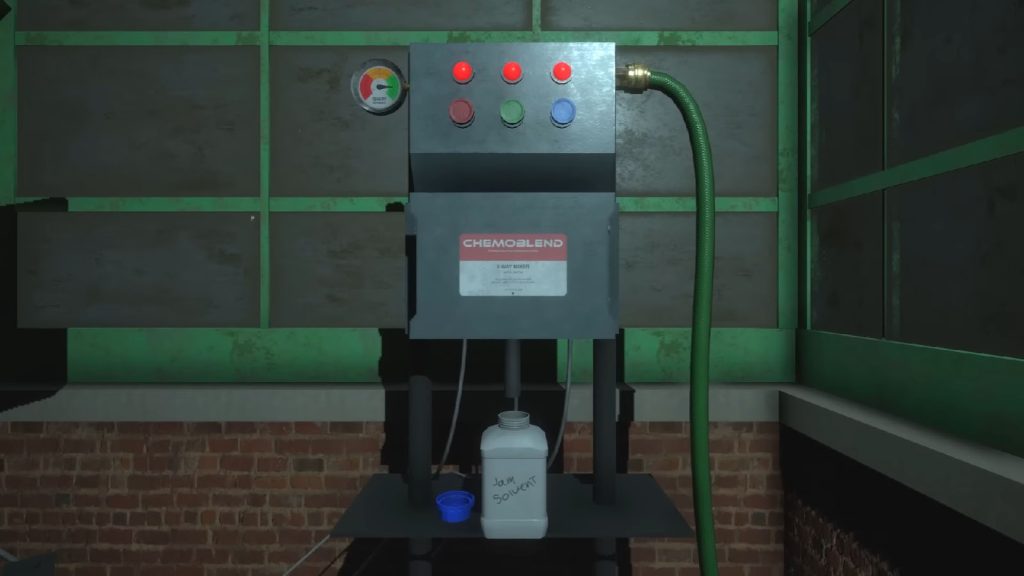
Next to the Kennels is the Greenhouse. Enter the Greenhouse and go to the other end where you will find a Mixing Machine that you will use to mix fluids later. You can also find hanging clipboard with the Green Triangle Key attached to it with the Note – Jam Solvent Instructions. This note provides the instructions on how to create the Jam Solvent that will dissolve the jam that has shut the doors of the elevator inside the hotel.
Ride the Elevator to the Basement
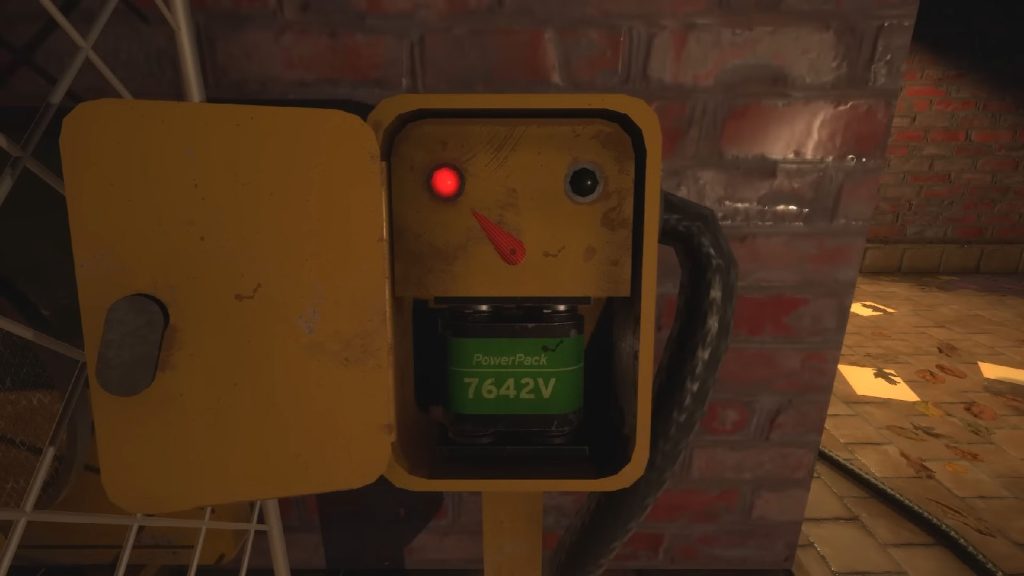
Head back to the Service Tunnel and follow the cable on the ground to find a power box. Place the Battery inside the power box and switch the power on and you will be able to ride the elevator back down to the East Basement.
The elevator will bring you back to the huge room underground. Check your map to see the green triangle marked areas where you can find the liquids that you need for the solvent.
Find the Film Developer
You can head towards the Sound Stage Basement and go to the storage from earlier to find the green triangle lockbox to find the Medallion – ♭♮. There is also a green triangle door nearby that you can unlock that leads to the Film Storage Room. You can find the Note – Market Survey by the shelves, and another Reel #3 by the chair.
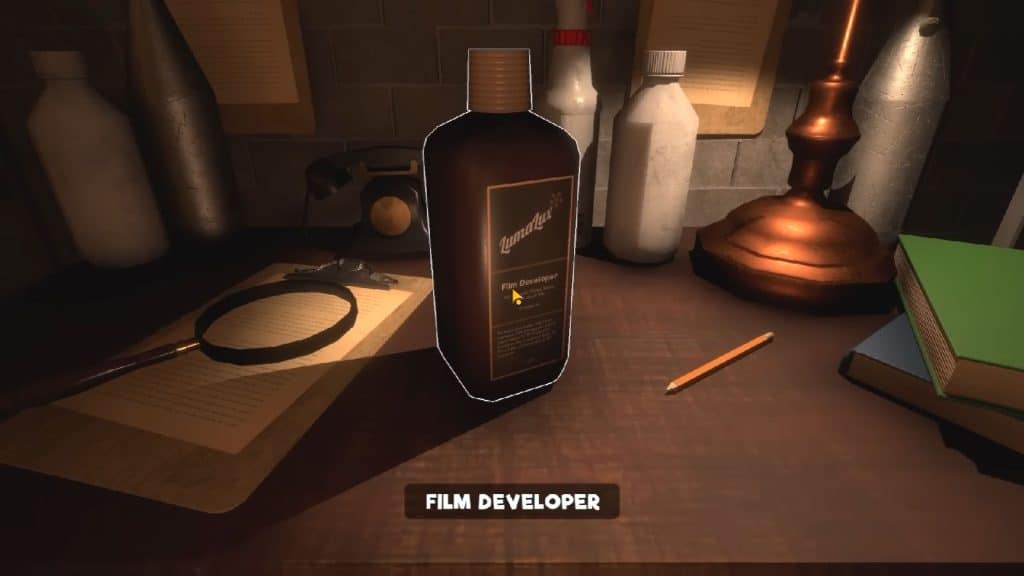
More importantly, check the table up ahead to find the Film Developer which is one of the liquids that you need for the solvent.
Find the Trumpet Polish
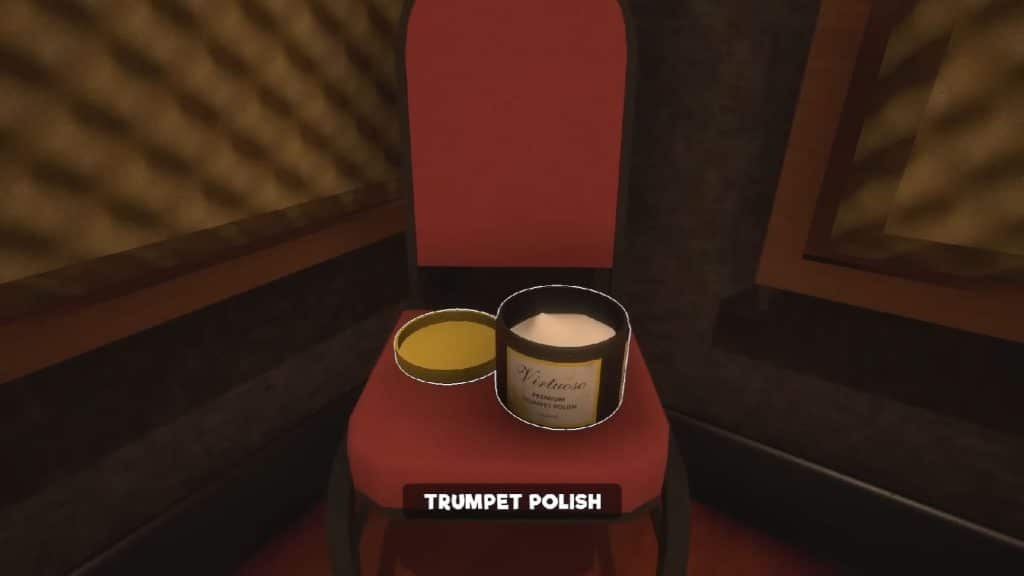
Make your way back to the MFN Studios Offices and go through the Marquee Hall to get to the Music Studio door; unlock the door then head inside. In the studio are some puppets that you can subdue. Head to the room to the right first to find the Note – A Burning Anxiousness. Then go to the other side of the studio inside the room to the left to find the Trumpet Polish.
Solve the Playground Puzzle/Get the Weed Killer
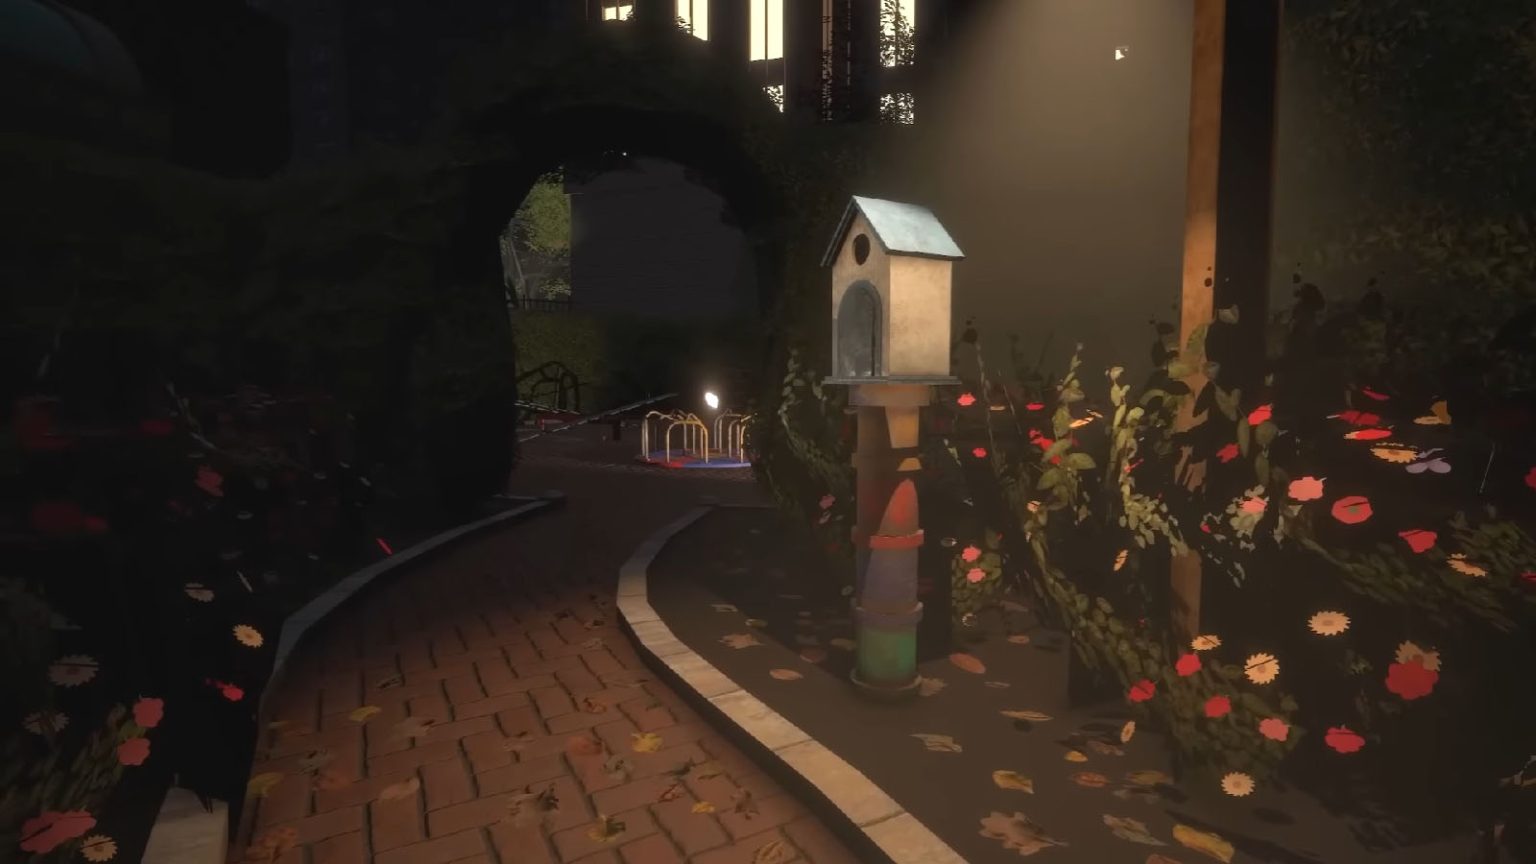
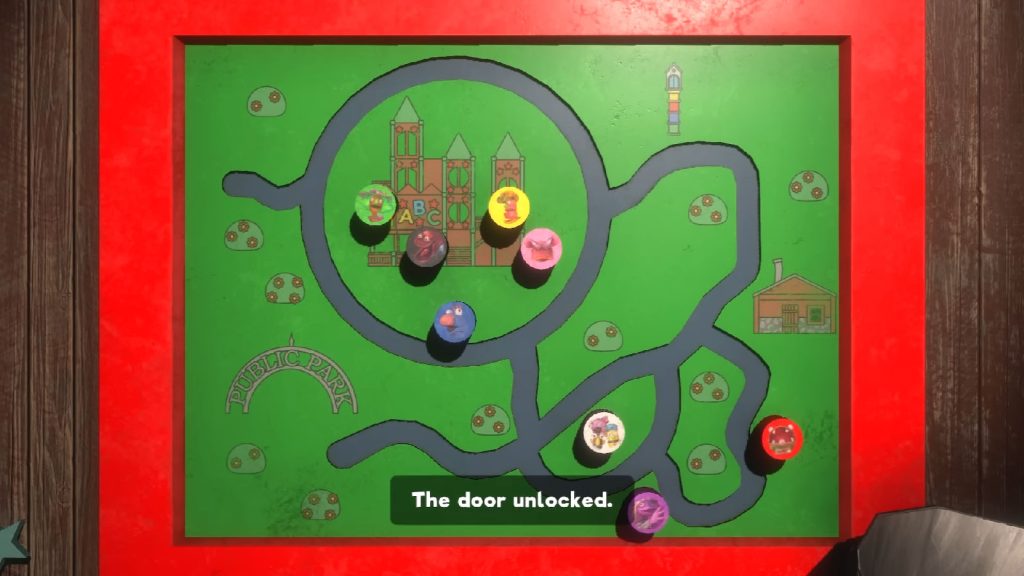
There is a peg board at the top level of the castle and a bucket of pegs nearby. To solve this puzzle, you will need to put the right pegs on the right peg holes based on where the corresponding pictures of the pegs can be found within the Play Castle and within the Hedge Maze.
You can then go around the Playground and the Hedge Maze to note down the positions of the cardboard cutouts, the play the pegs on the right positions. Refer to the image above to see the positions of the pegs.
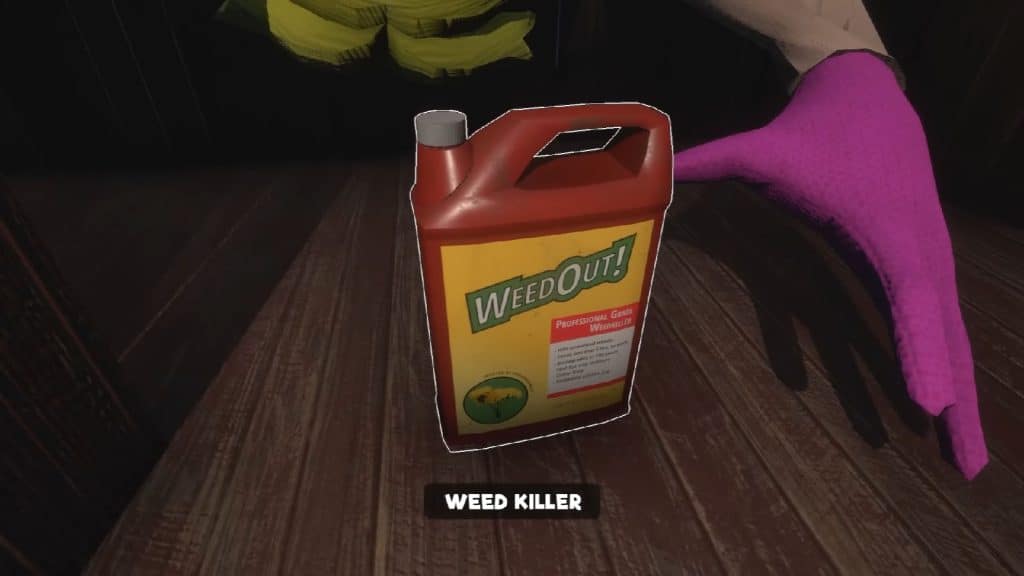
Once you have solved the puzzle, the door behind you will open and reveal the Weed Killer.
Get the Jam Solvent
Head back to the Greenhouse and place the three liquids in their respective containers. Then, follow the next steps to prepare the the Jam Solvent. Press and hold on the buttons for as long as the instructions say. After getting the right mix, you can then get the Jam Solvent to bring to the hotel elevator. Use the solvent to remove the jam, and then ride the elevator to reach the upper level of the MFN Hotel.
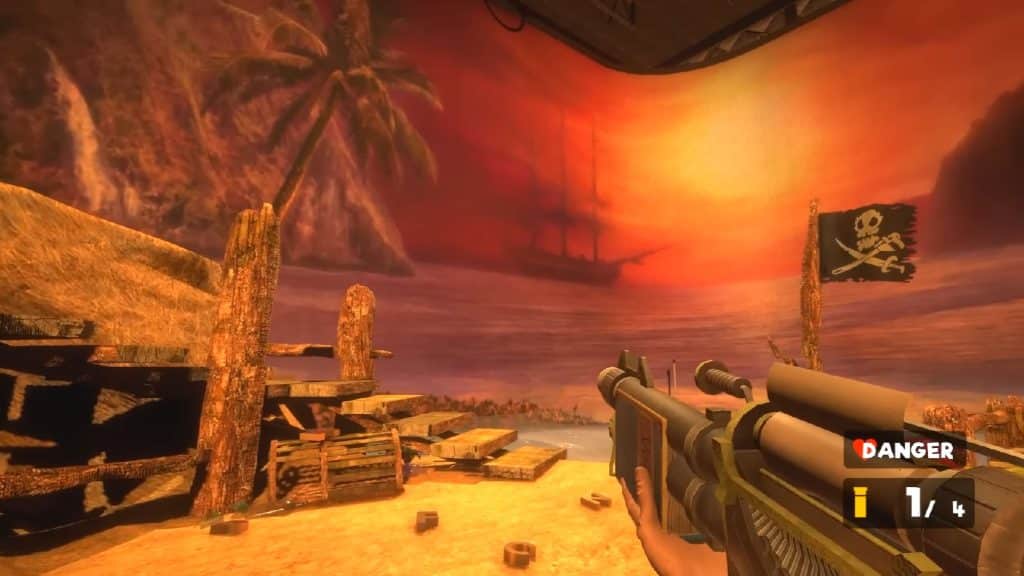
At this point, you may want to take the time to do a detour and follow the path to reach the Secret Stage 5 where you can get the special minigun.
How to help Ray
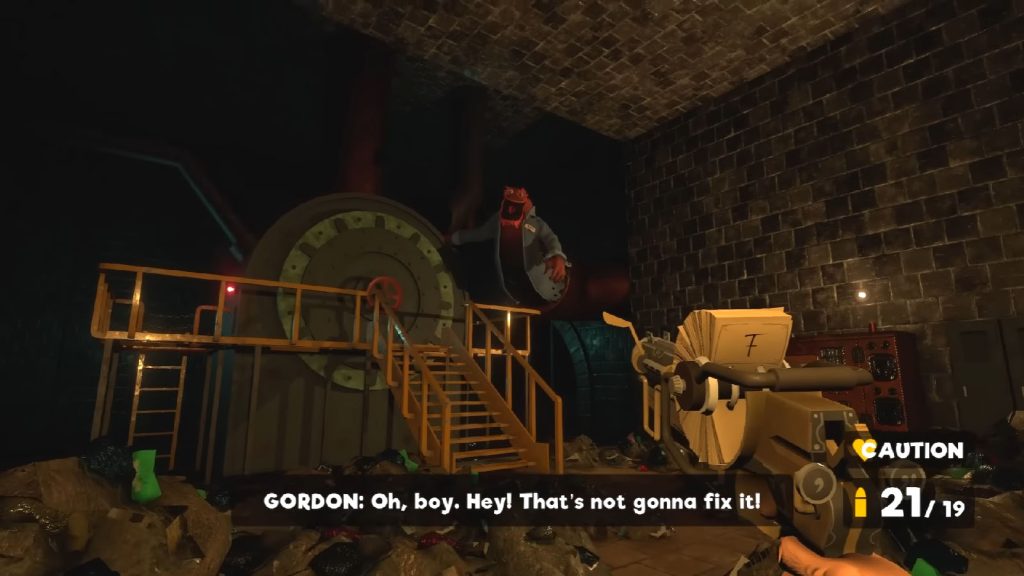
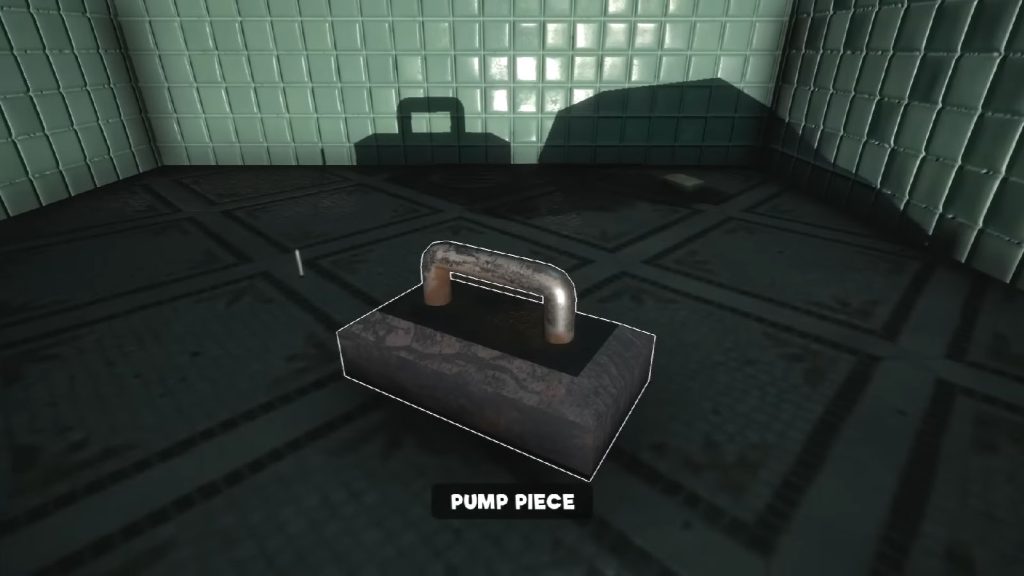
With the Green Diamond Key, you can visit the East Basement again and go to the catwalks and follow it up north to reach Ray’s Lair. Inside you will find Ray bashing on the pump to try and fix it. Gordon will shout at Ray, making him retreat back into his pipe.
This will make the pipes pump out water that will wash out all of the trash in the lair. Ray will then see that you have fixed the pump and he will calm down. At this point, Ray will no longer try and attack you through the pipes if you pass them. You will also unlock the A Purging Tide Achievement.
How to help the Dogs
Now that you have both halves of the medallion with you, head outside and go to the Aviary. Place both medallions on the Avaiary door to open it.
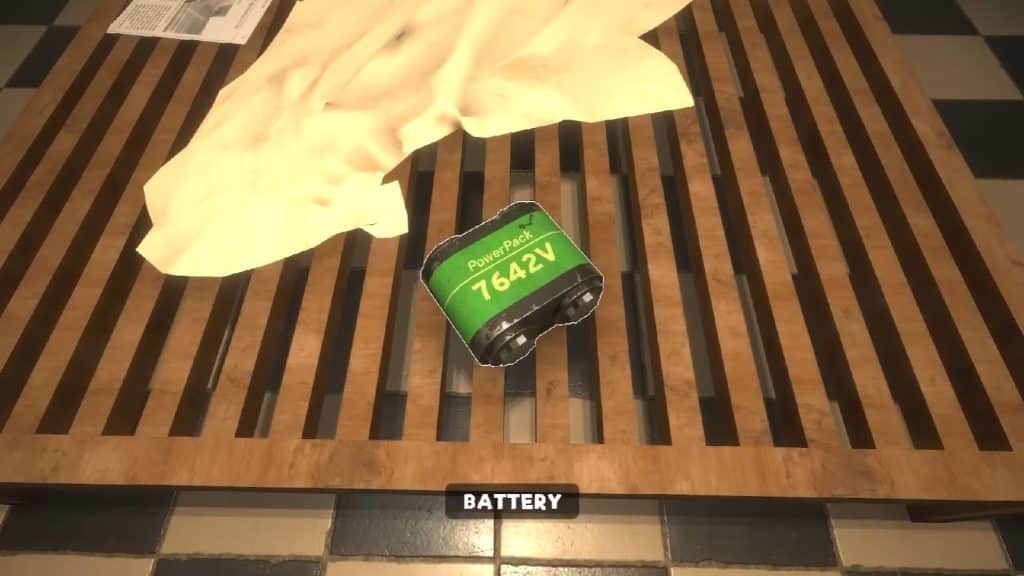
Inside the Aviary, you will find a second toolbox where you can stash more of your items. You will also find a powerbox connected to a storage box. Flip the switch on this powerbox to open the storage box where you can get a Battery. Once done, switch the powerbox back off.
Next, follow the cable from the powerbox to find another empty powerbox. INsert the battery in it and then switch it on. Make sure that the powerbox that is next on this chain is also switched on. If done correctly, the shutter gate near the first powerbox should open up, granting you access to the back area. On the bench, you will find a Bag of Dog Food.
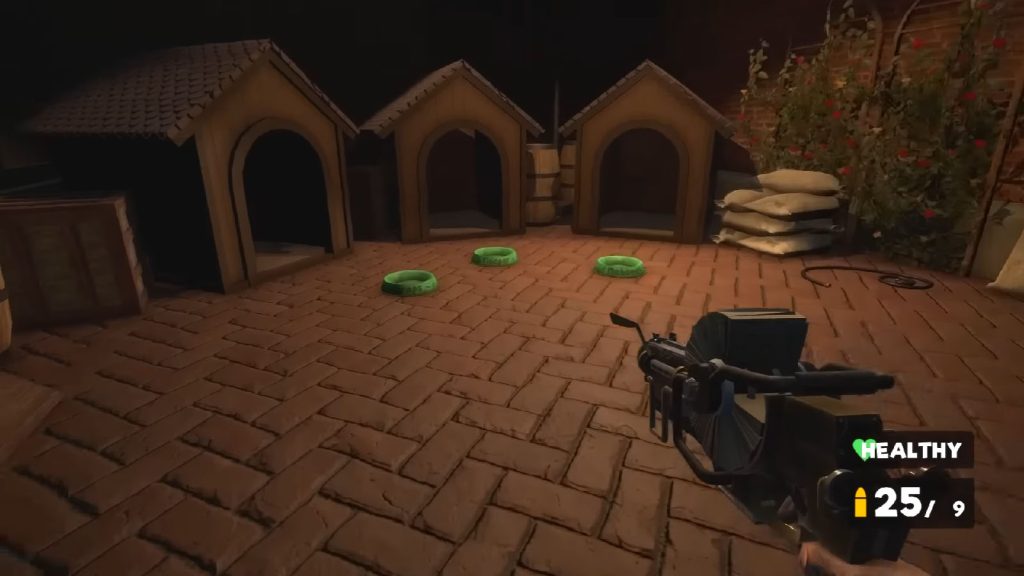
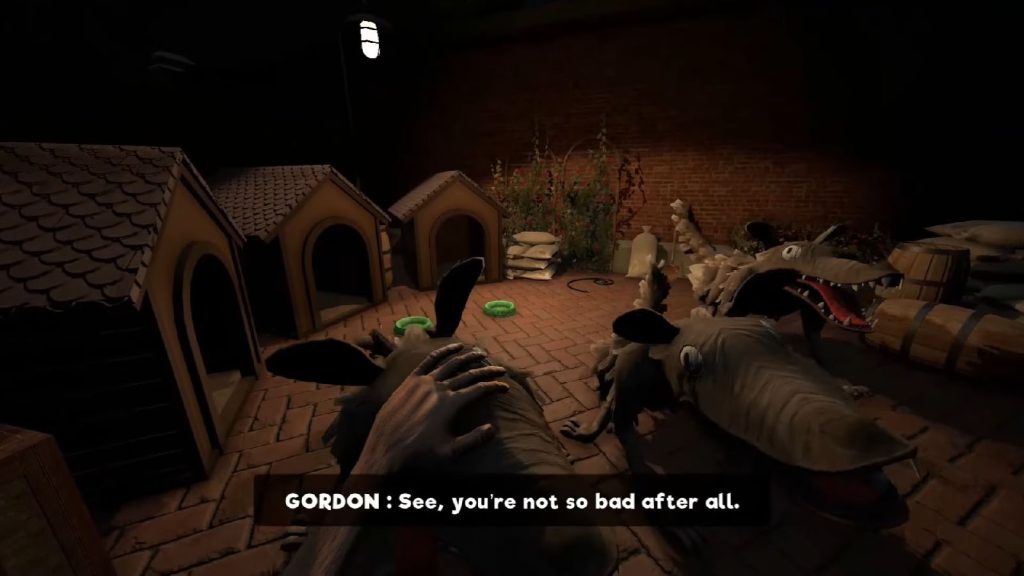
Make your way back to the Kennel and place the dog food on the bowls, then ring the bell to call the Dogs. The Dogs will then eat the food and become friendly with you so they will no longer chase you down. You will also get the A Dog’s Best Friend Achievement.
See next: My Friendly Neighborhood Part 5: MFN Hotel Guide
Also see: How to Get to Secret Stage 5 Guide in My Friendly Neighborhood
