
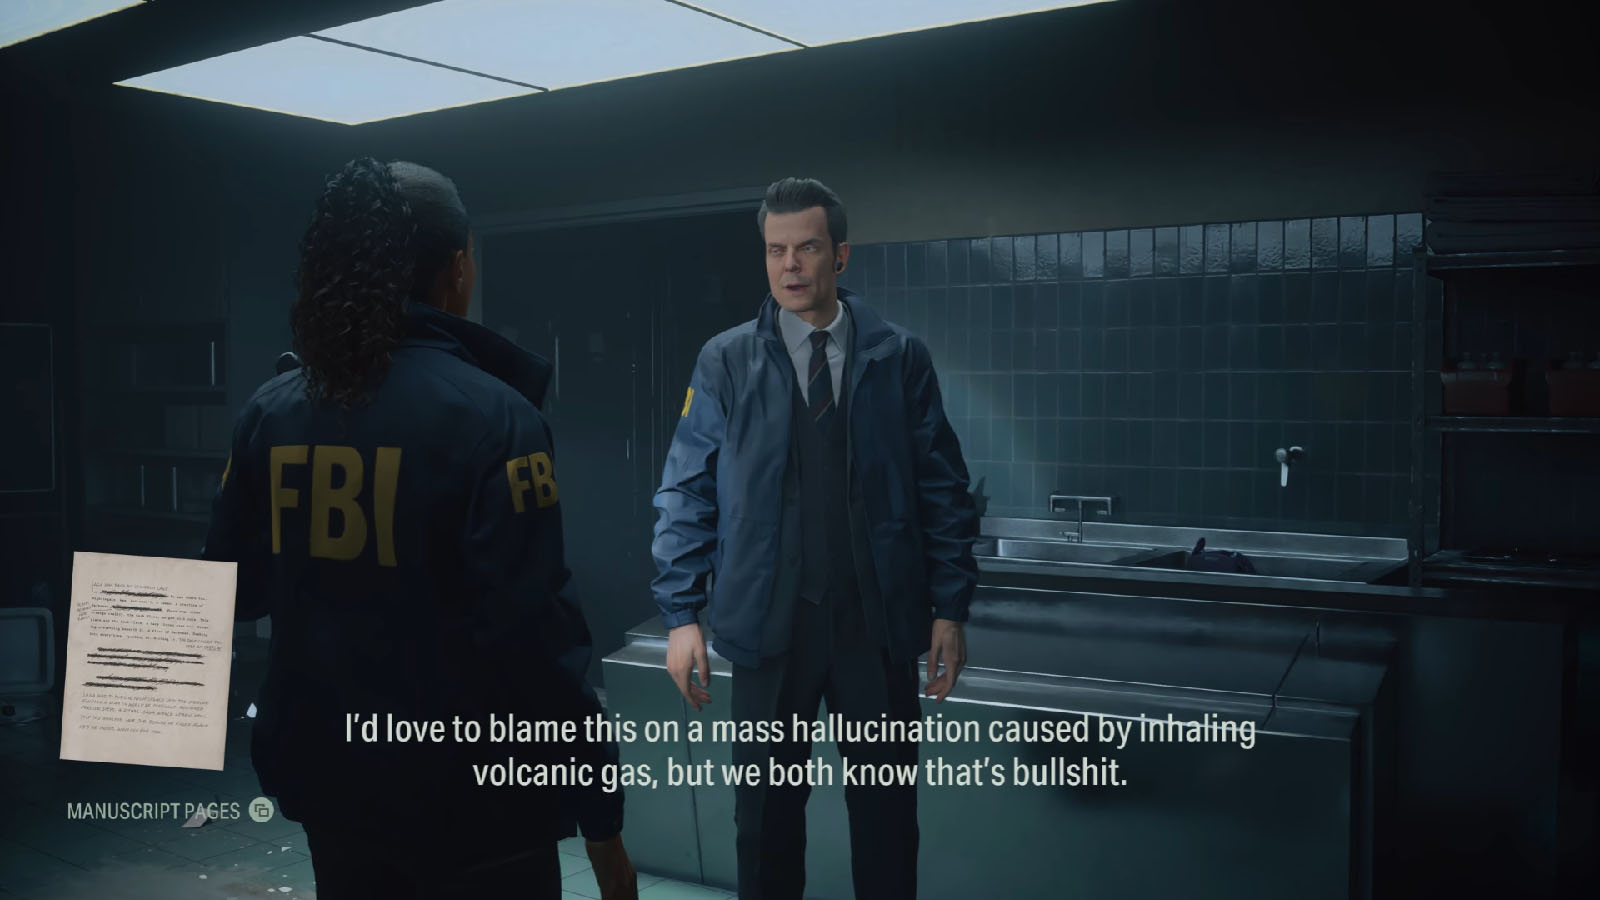
The Heart is the second chapter of Alan Wake 2 and the second chapter for Saga’s side of the game. After surviving a supernatural phenomena involving the reanimation of the possessed corpse of Nightingale, Saga now realizes that she is in some deep mystery which is more than just a murder spree.
Read ahead for a complete walkthrough on the events of Return 2: The Heart in Alan Wake 2, including tips on how to complete every objective.
See previous: Return 1: Invitation Walkthrough
Return 2: The Heart Objectives:
Figure out where Nightingale went
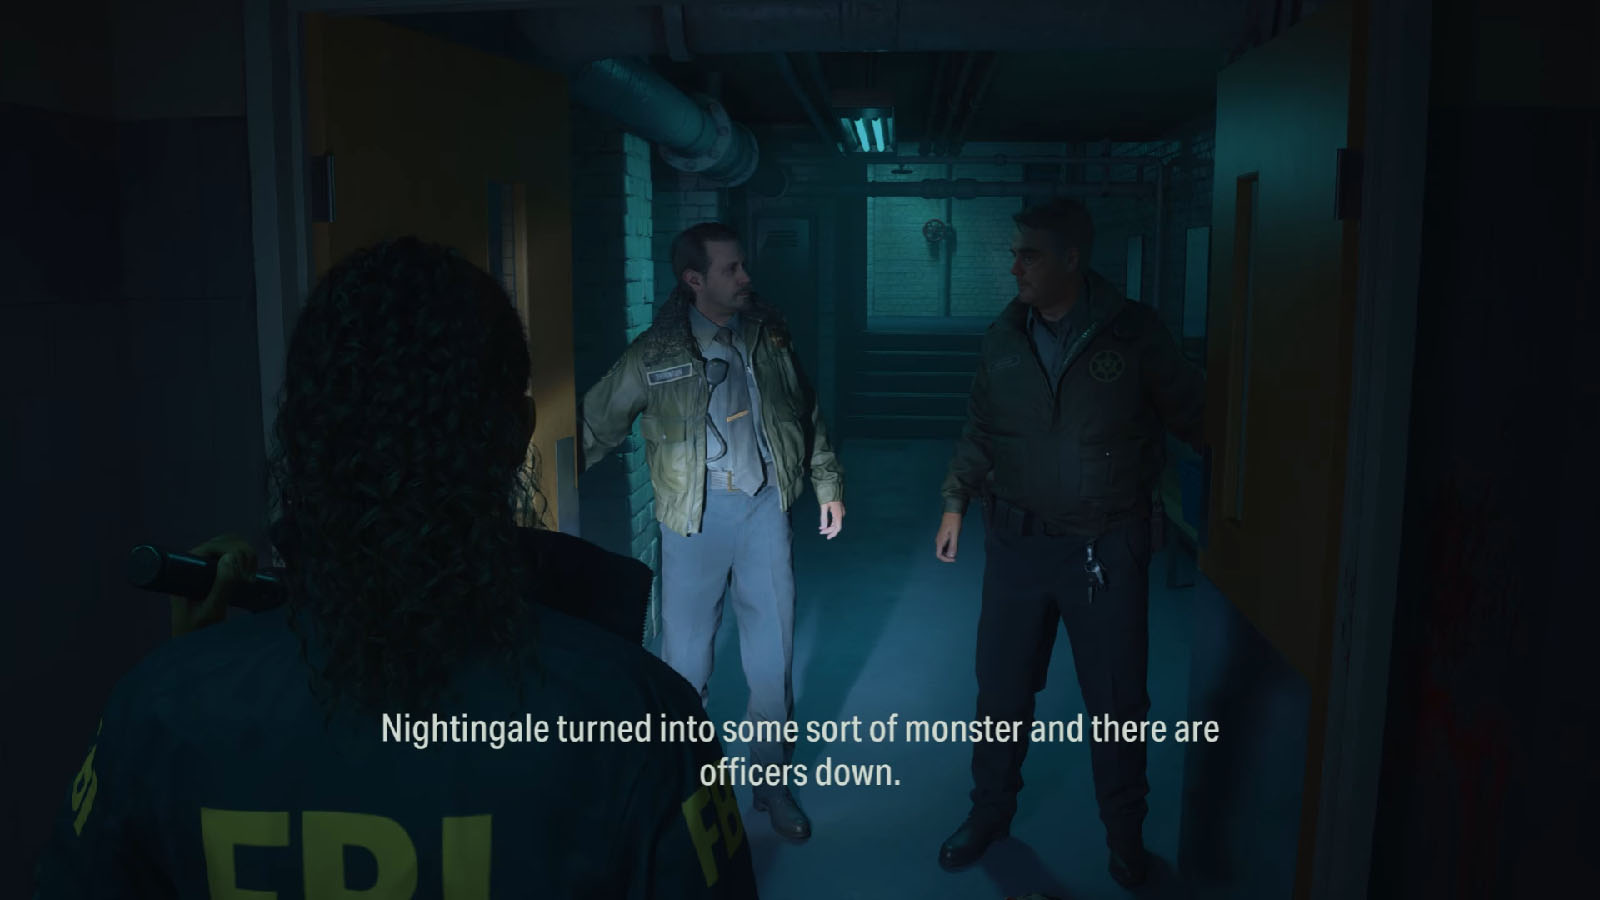
Talk to Casey
Talk to Casey about the attack and what happened to Sheriff Breaker who just disappeared.
Look around for clues
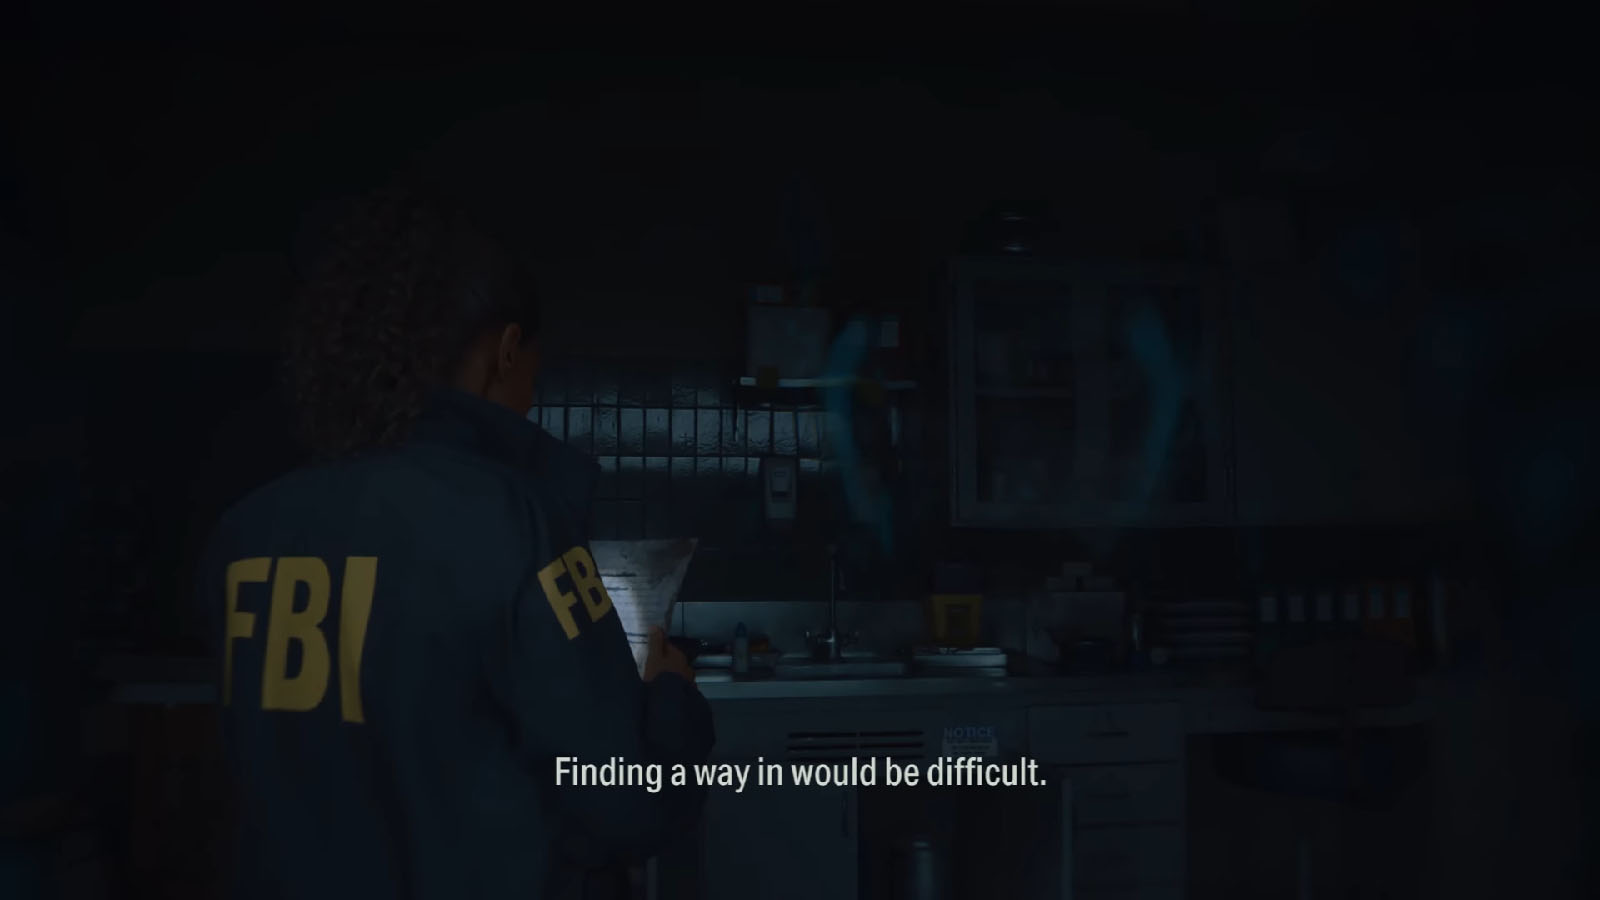
Go near the officer’s body in the morgue to find a piece of paper which has more manuscript writing about what happened.
Clues found:
- Manuscript: Saga was back at Cauldron Lake. He was there too. A Taken. A creature of darkness.
- Manuscript: Saga had to pursue Nightingale. Into the Overlap. Finding a way in would be difficult.
- Casey: The Cult of the Tree is performing rituals to create monsters.

Head back to the case board to open a new lead about Nightingale’s attack. Then, stick the new manuscript clues to answer the question of Where did Nightingale go? Afterwards, talk to Casey once more and tell him that you’ll be going to Cauldron Lake.
You’ll be met by the two deputies as you tell them about what happened. Head back up the ground level of the station, then check the room to the right to find a Koskelas Ad – Adventure Tours; this one can be missed, so try to get it before heading out of the station.
Track Nightingale at Cauldron Lake
Follow Nightingale’s trail
Walk with Casey back to your car at the lodge. During your drive back to the lake, Casey talks about his experience with the Alan Wake case years ago when he somewhat got involved.
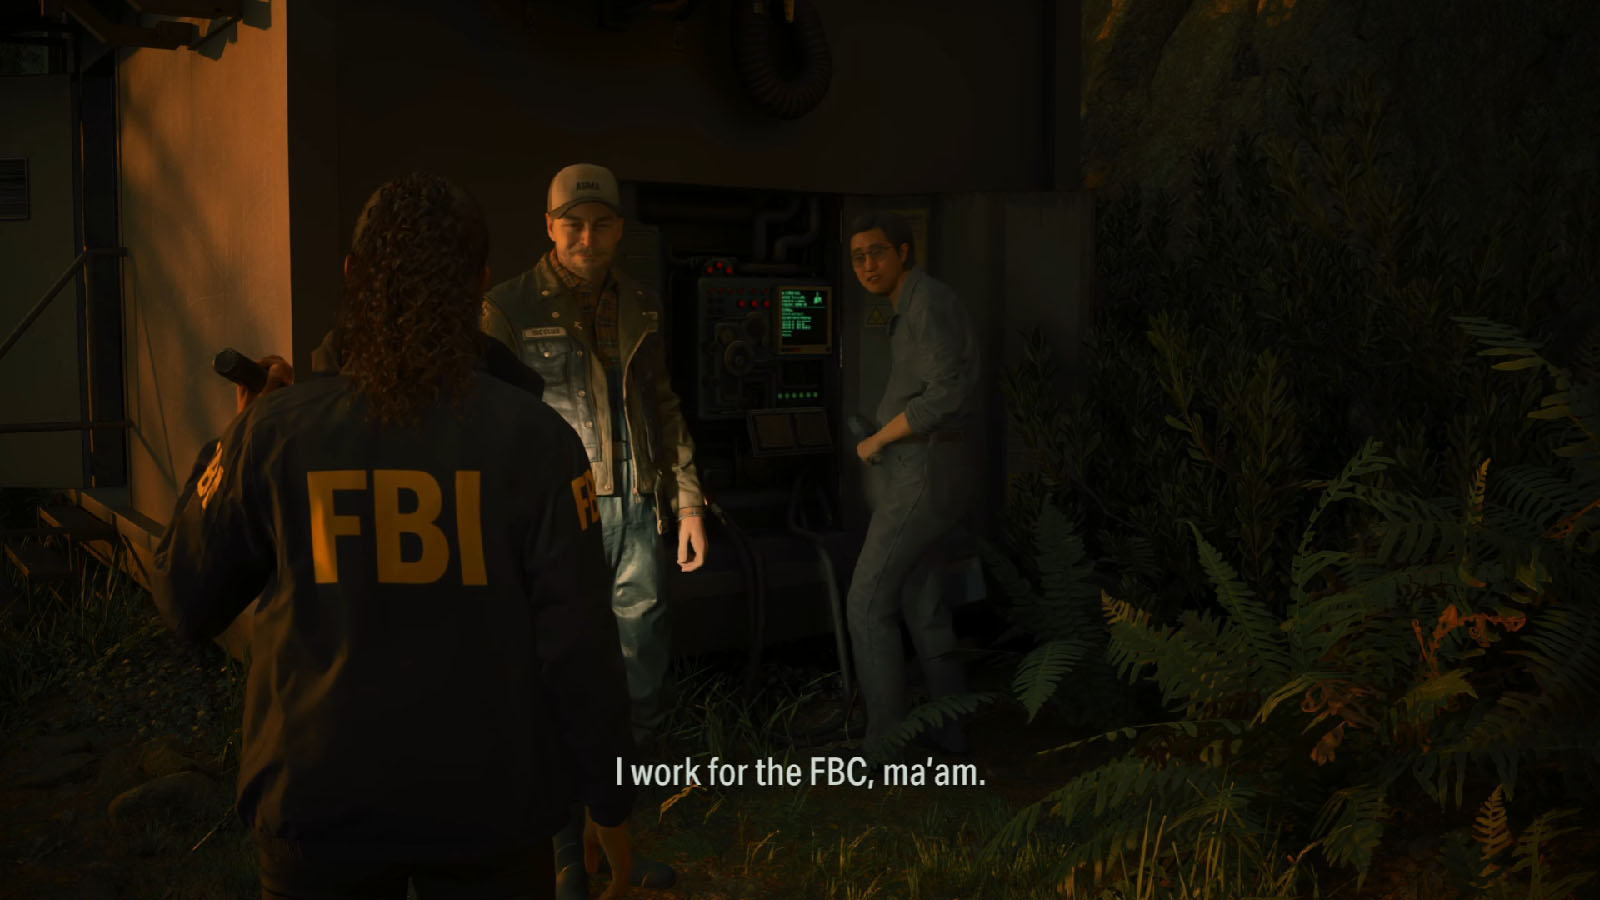
Once you arrive at the top of the lake, follow the same path going down. You’ll see two men by the equipment on the side of the path. Talk to them and one of the men will introduce himself as Ilmo Koskela, while the other guy busy with the equipment is Steven Lin who works for the FBC. The FBC, or Federal Bureau of Control is the same bureau that was central to the events of the game Control.
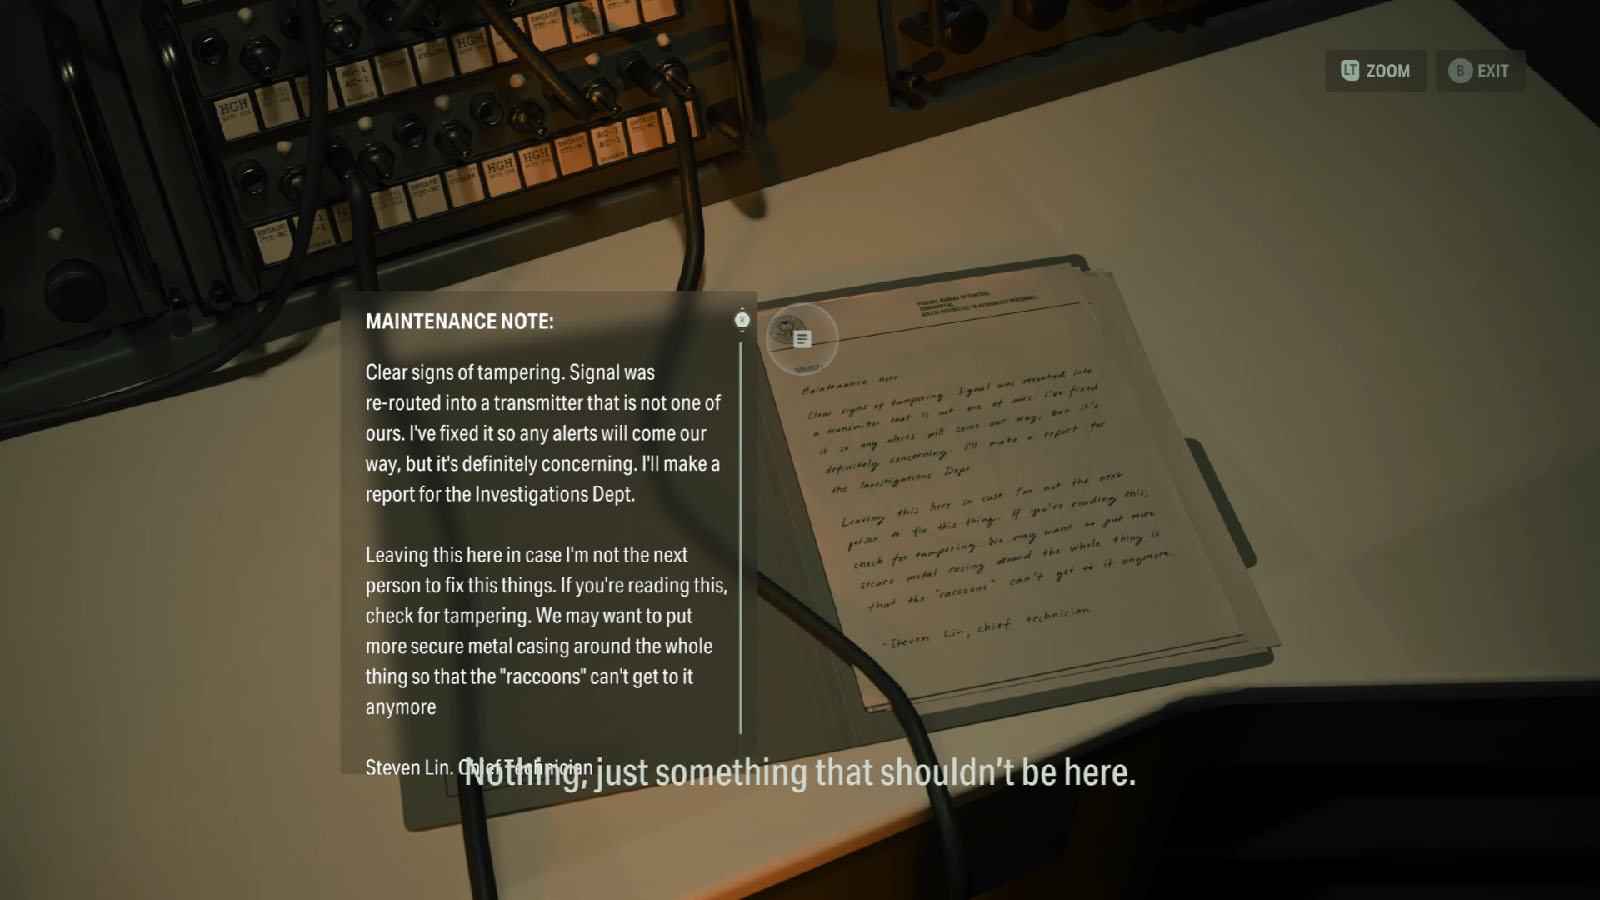
After talking to the men, you can head inside the monitoring station to find Steven’s report.
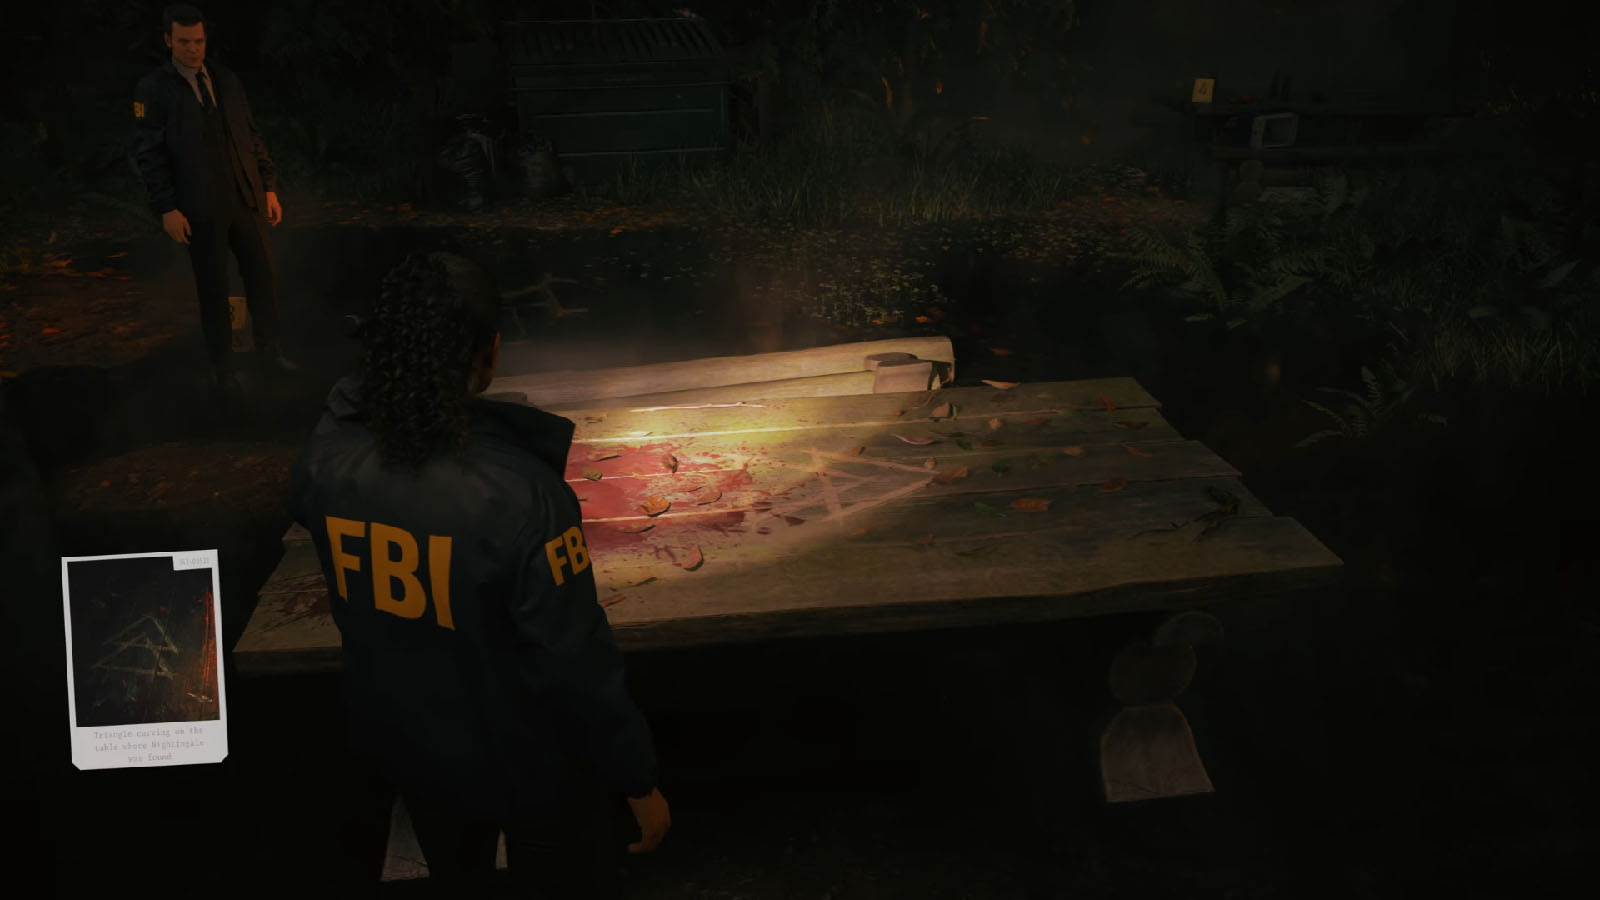
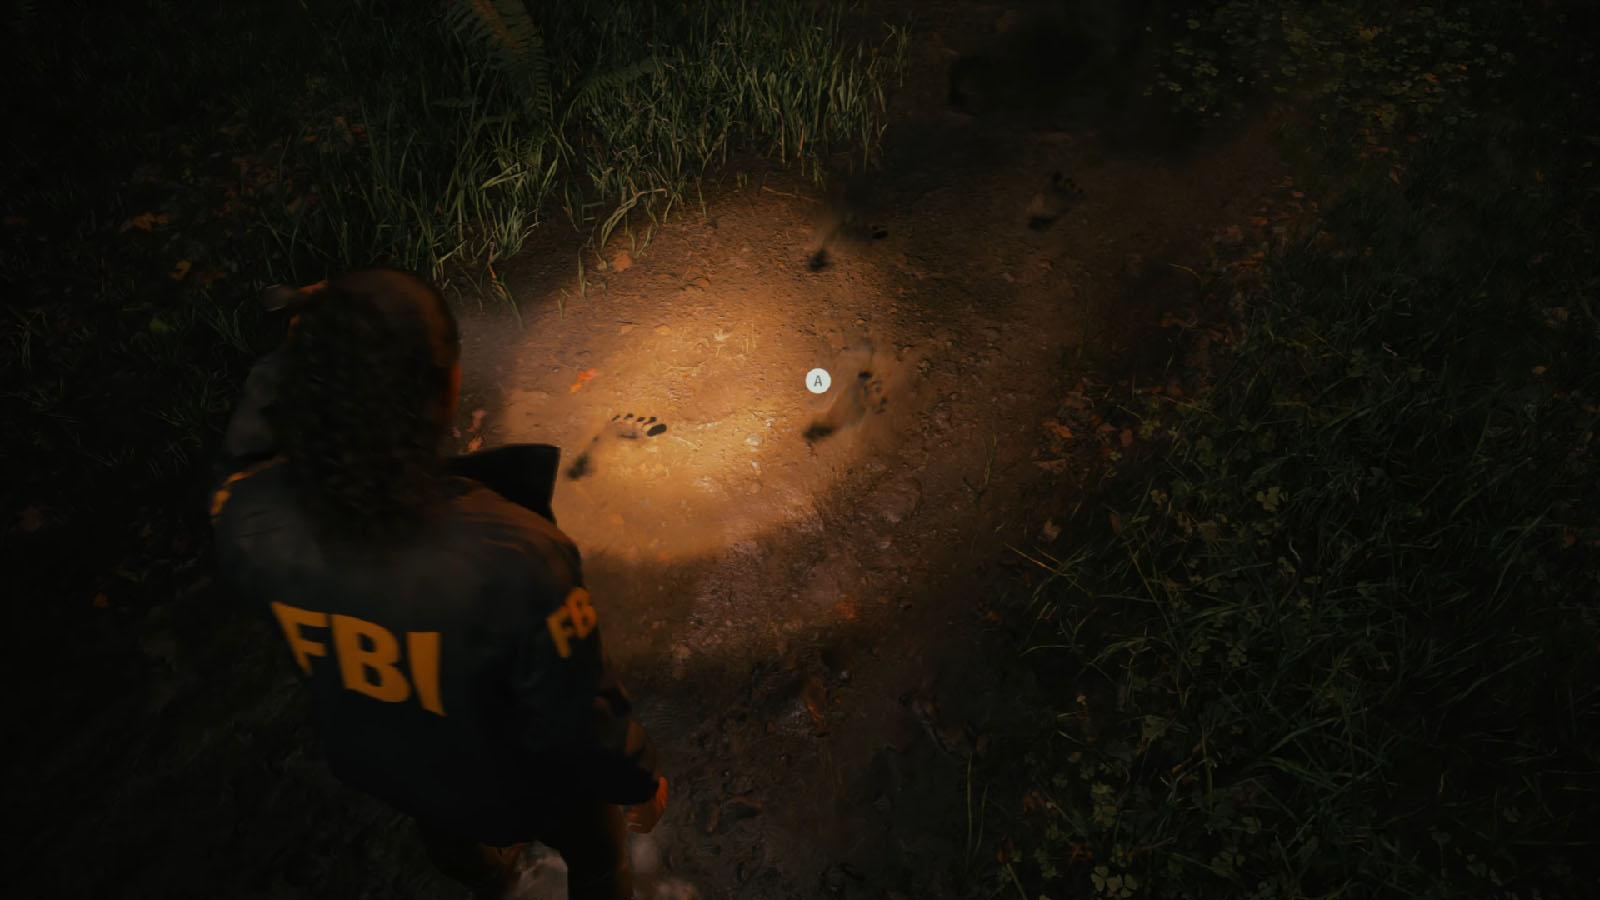
Continue going down the path until you arrive back at the crime scene. Then, talk to Casey about what to do once you catch Nightingale. Afterwards, you can check the table again to see a carving of the cult’s symbol. You can also check on the footsteps on the path up ahead.
Clues found:
- Triangle carving on the table where Nightingale was found
- Footprints leading into the forest
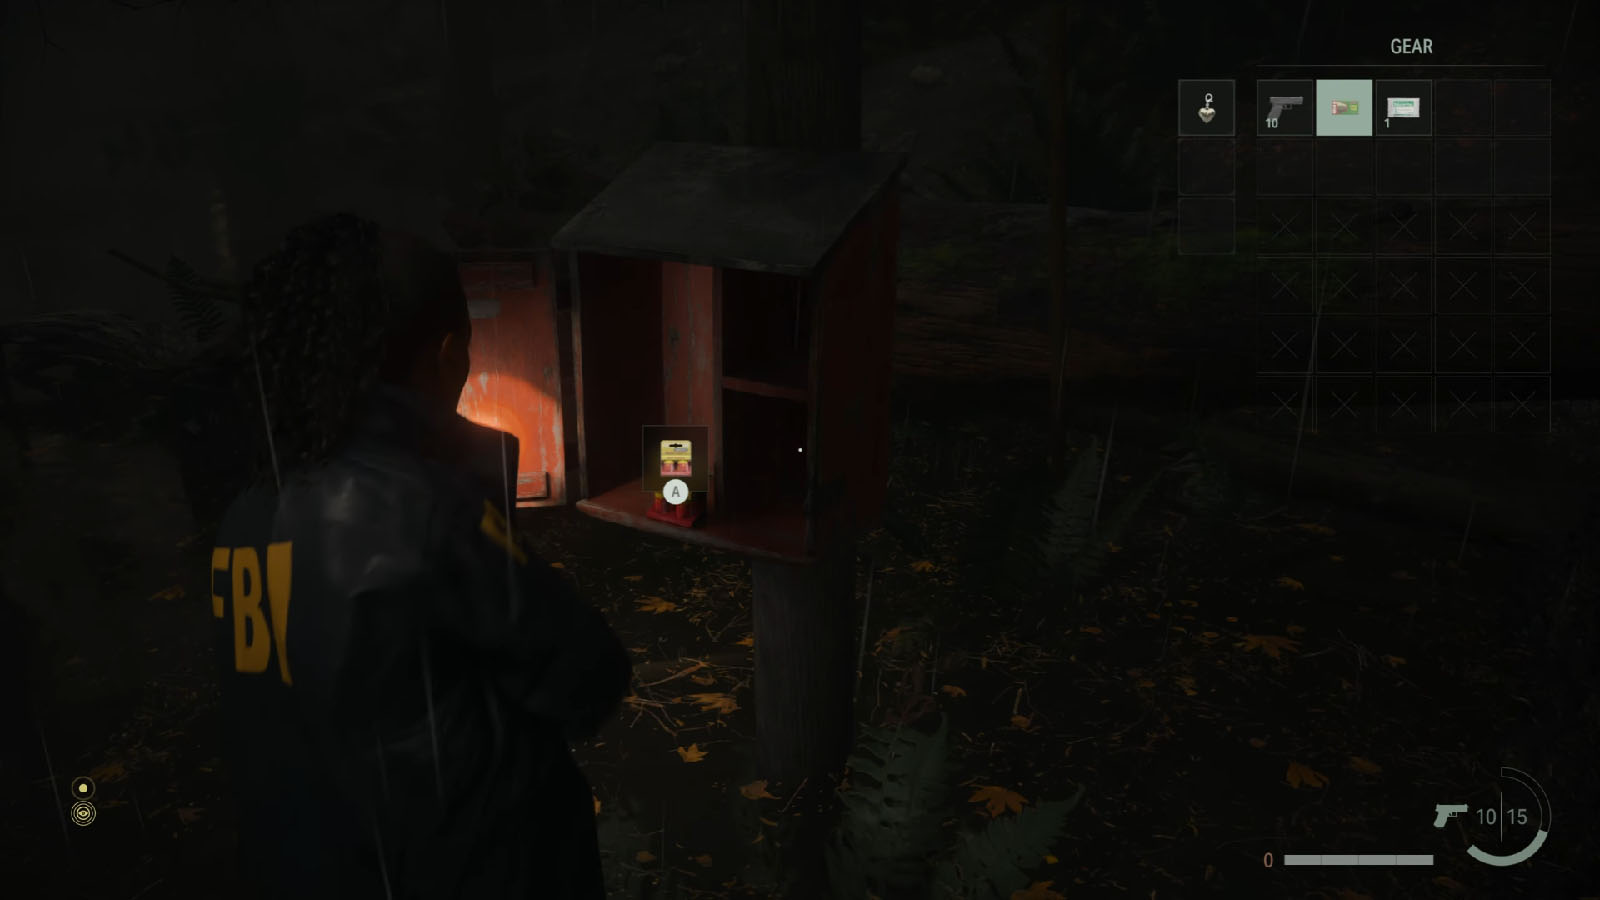
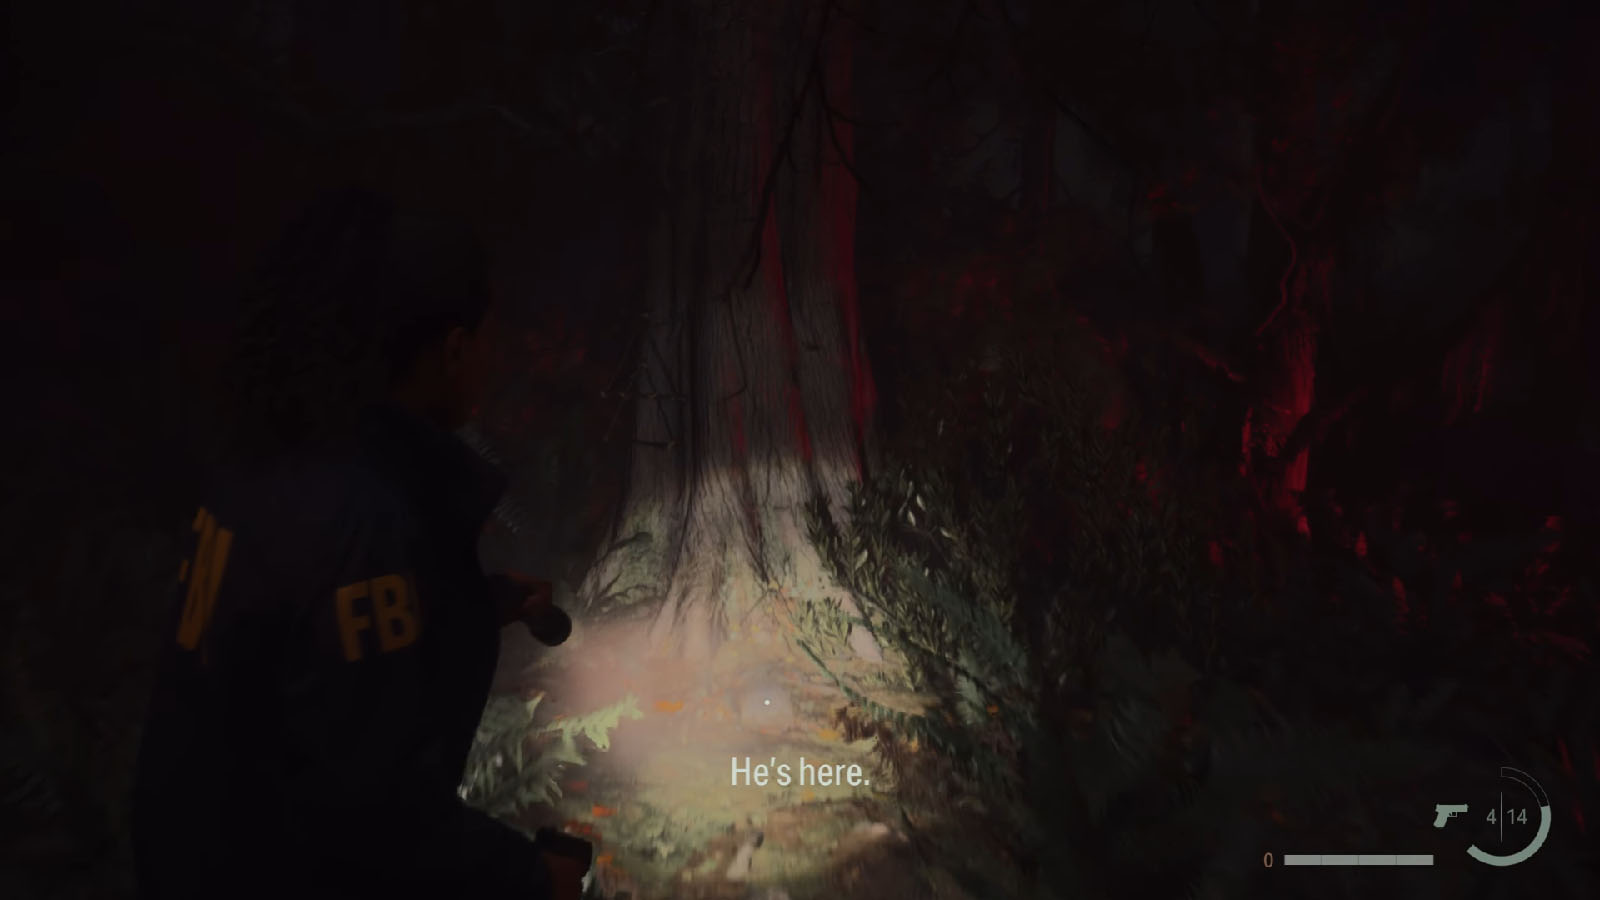
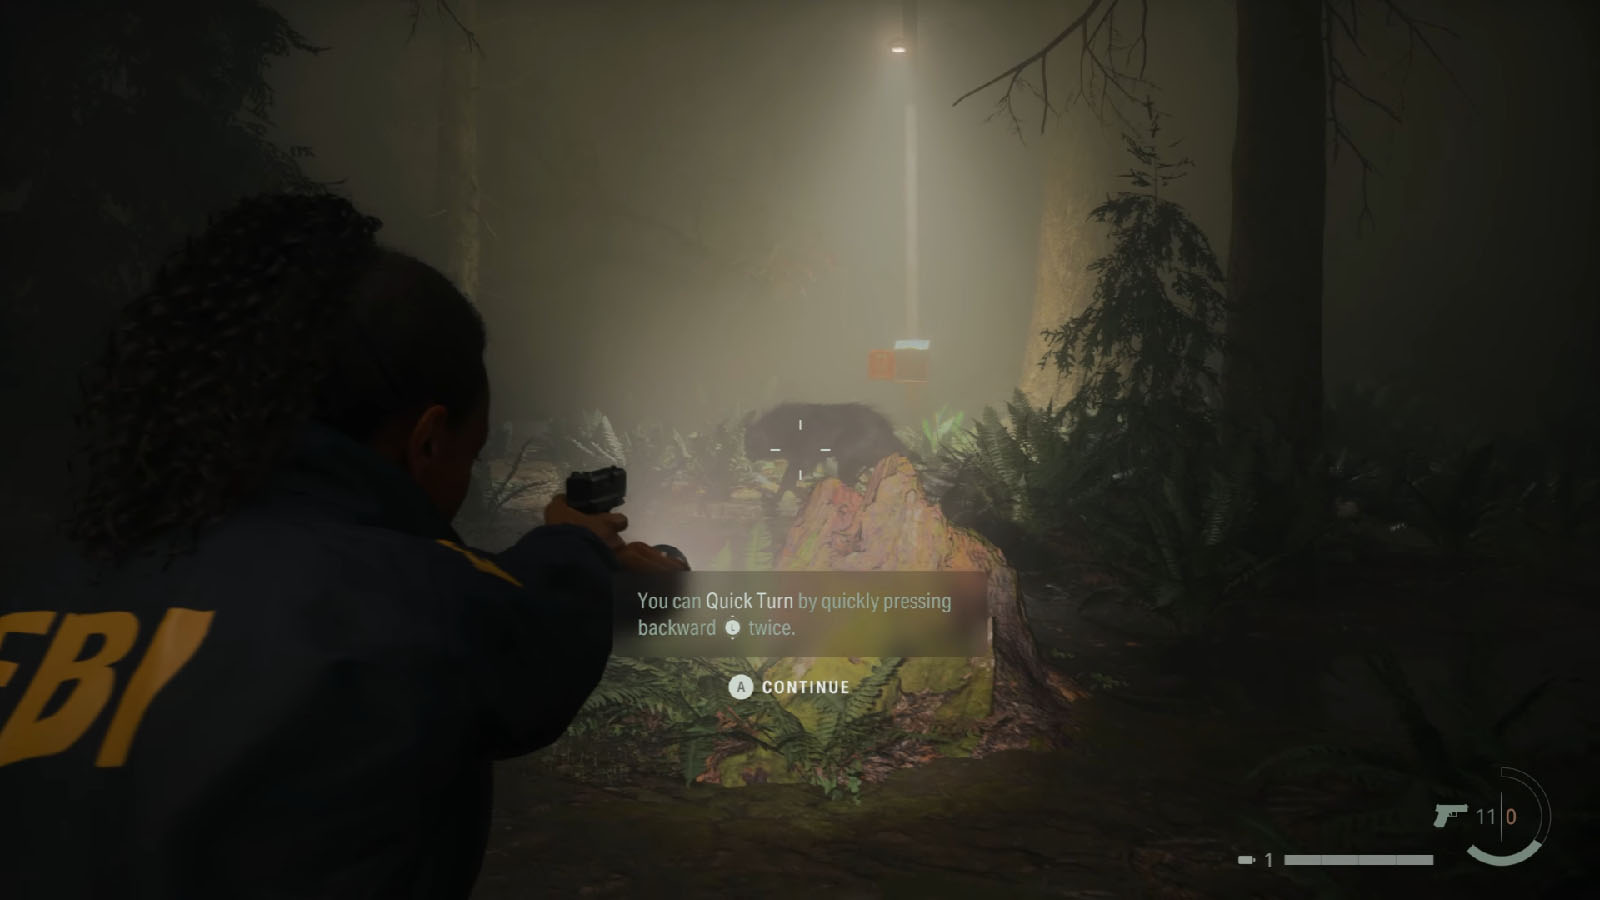
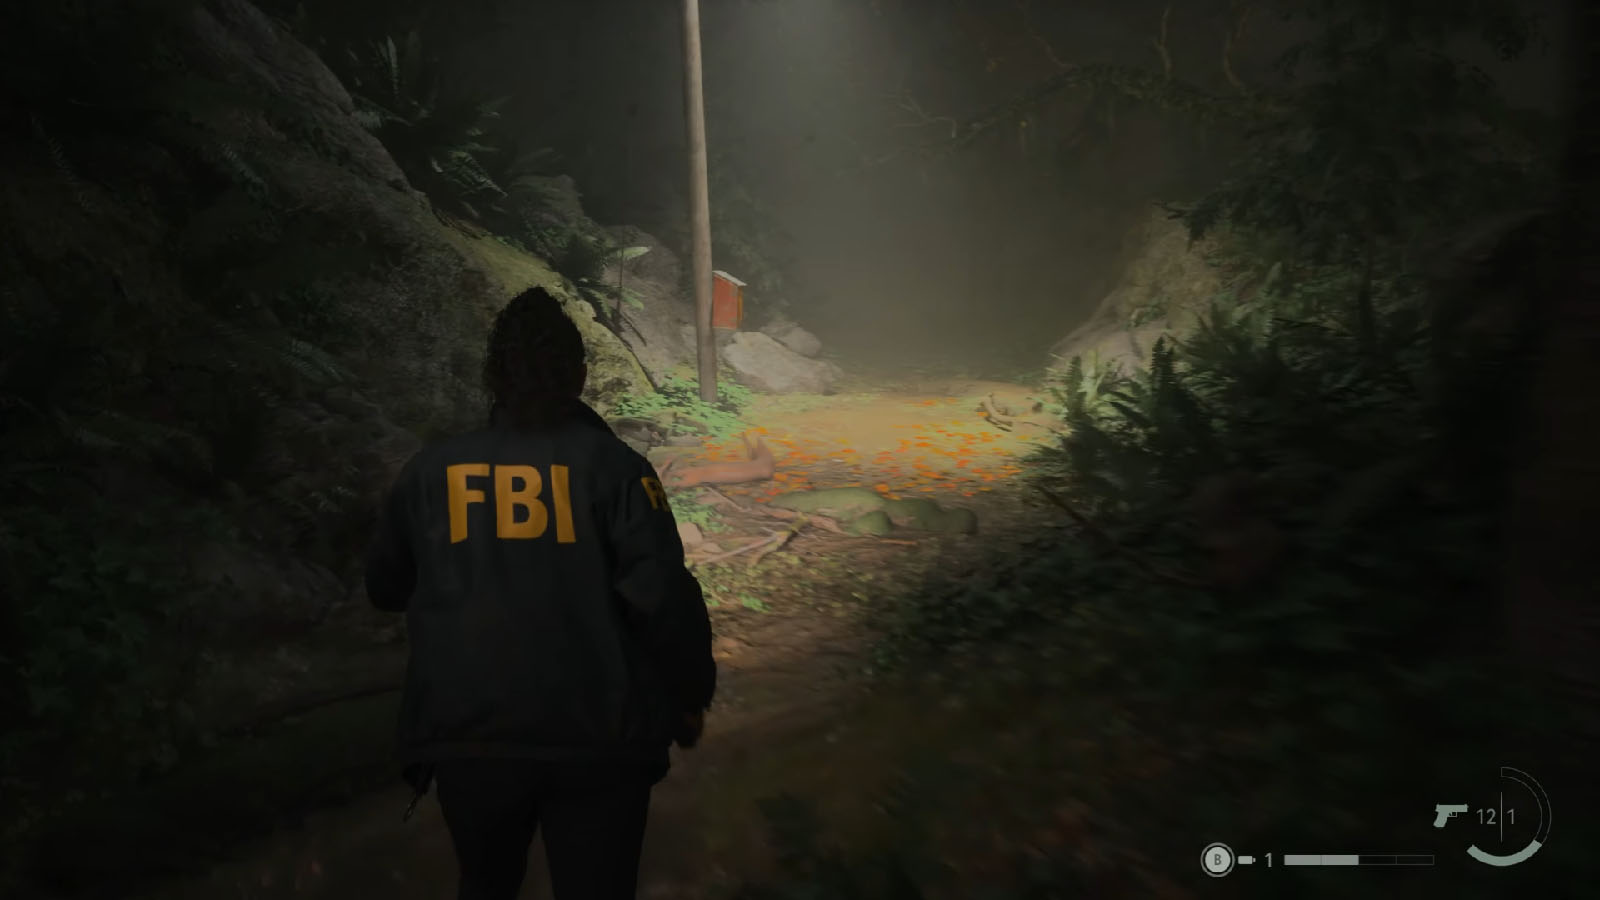
Follow the trail of footprints into the forest. Continue down into the water and check the orange box to find some batteries for your flashlight. Make your way through the flooded path until you reach the huge tree again.
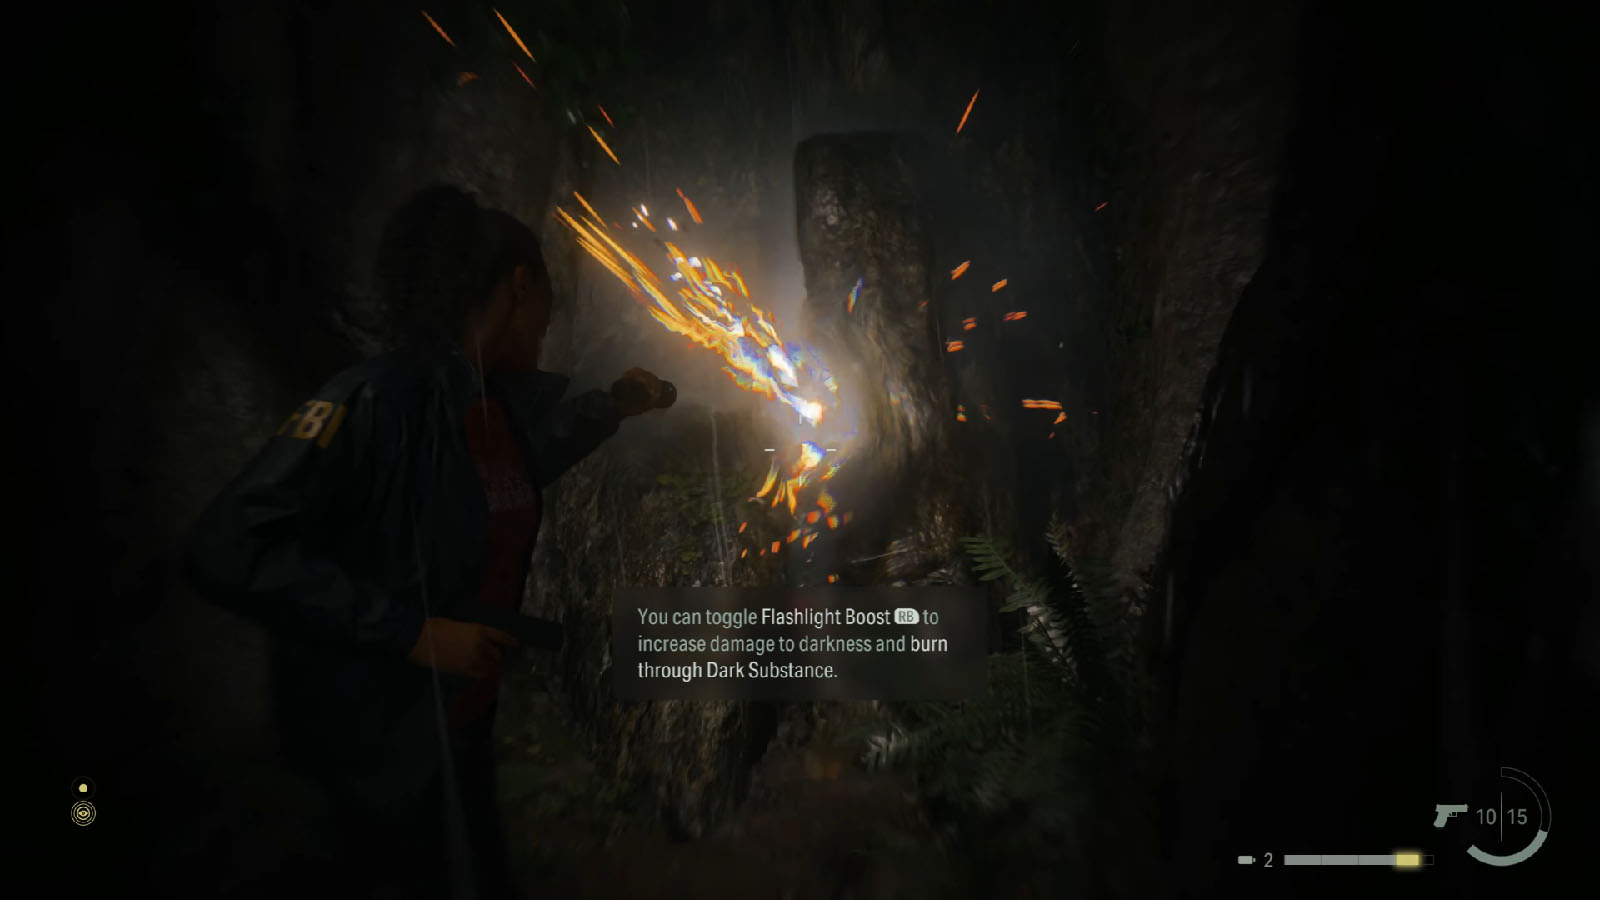
Point your flashlight onto the anomaly on the tree to burn it away. You’ll then see another manuscript page in the crevice.
Clues found:
- Manuscript: Inside a bright light, Saga felt safe. Like nothing could hurt her here.
- Manuscript: The fuse was in place. She has found it among the junk in the forest.
- Nightingale’s trail led to another page
Head back to the case board to place the new clues in place and another question about the Witch’s Hut will appear.
Locate the Witch’s Hut
Check your map to see the path towards the Witch’s Hut, then follow it. You’ll find the ledge that you’ll have to climb in order to get to the right path.
Investigate the Witch’s Hut
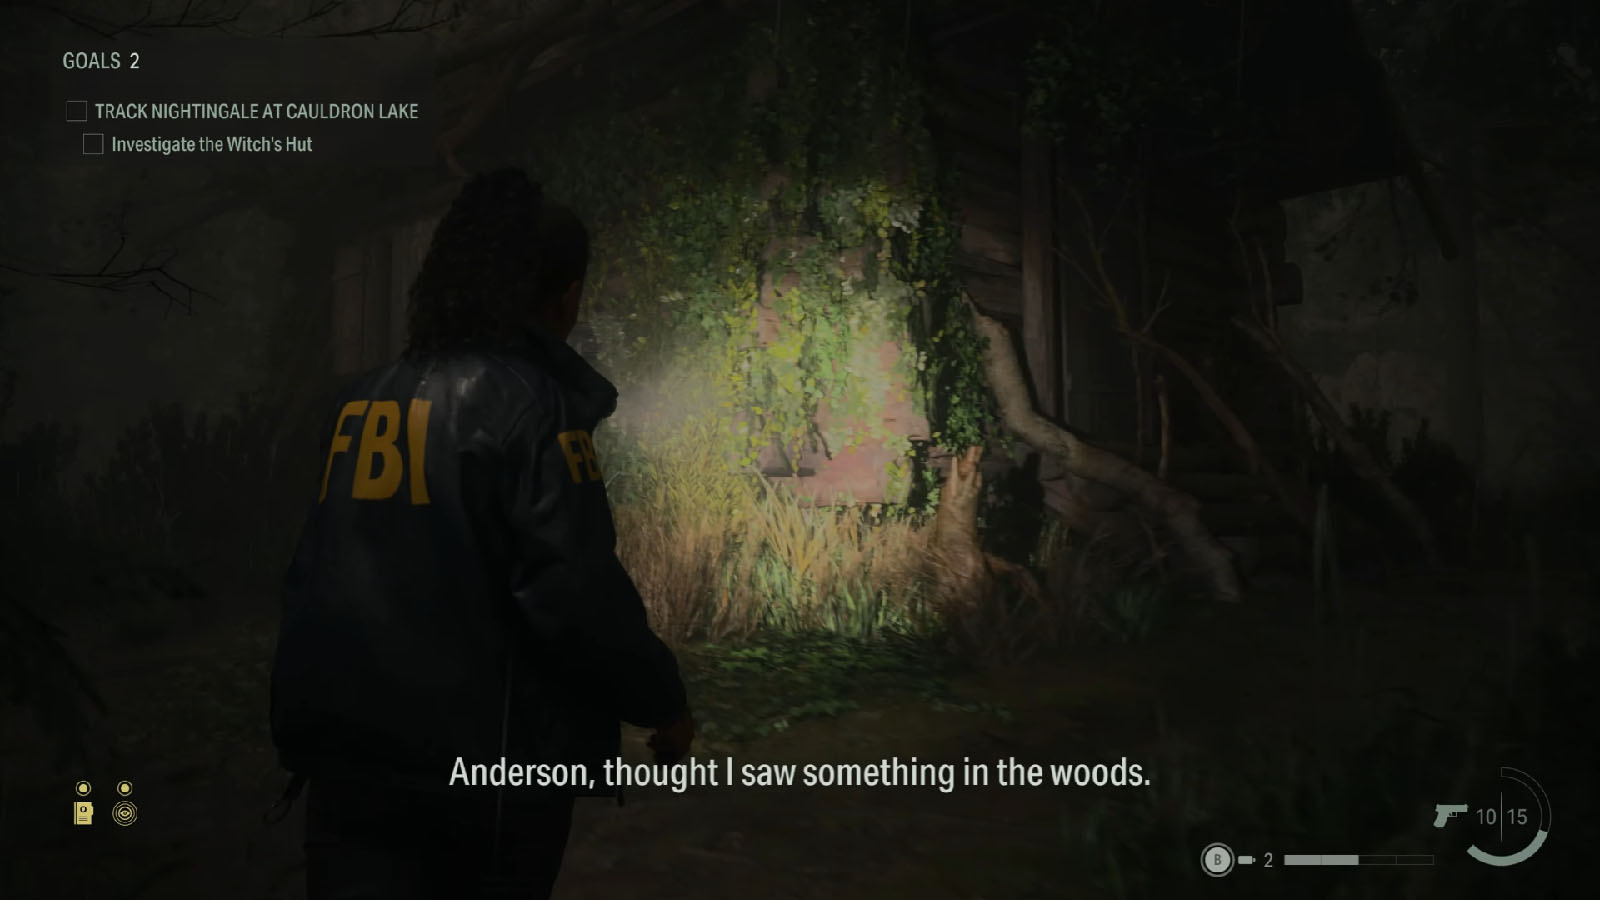
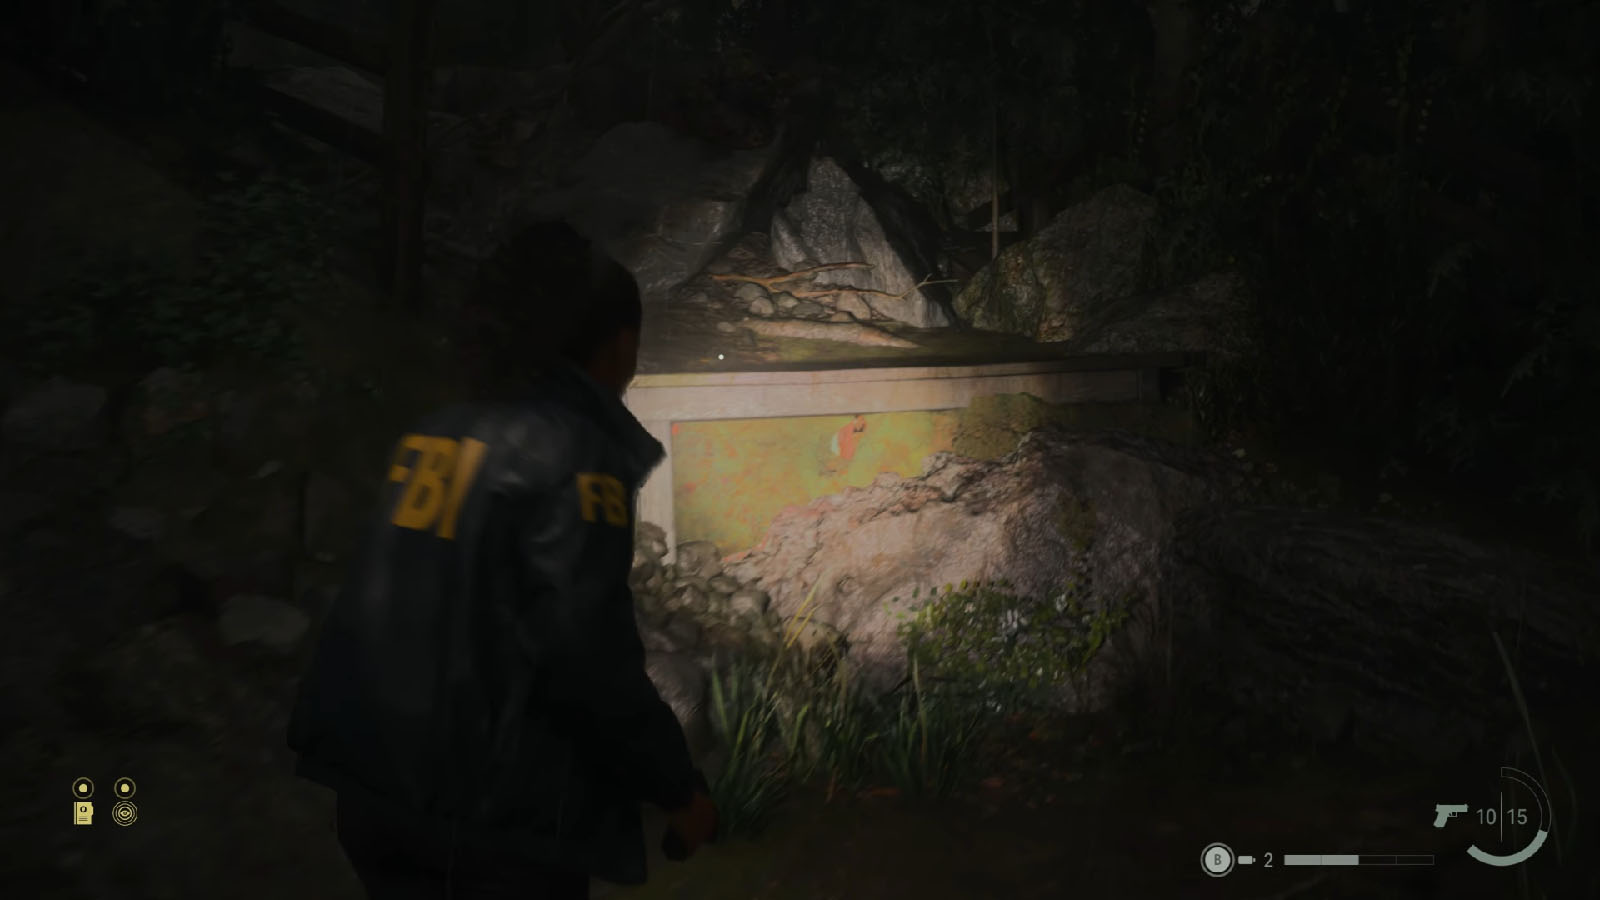
Once you reach the hut, go inside through its front door.
Get the lights working in the Witch’s Hut
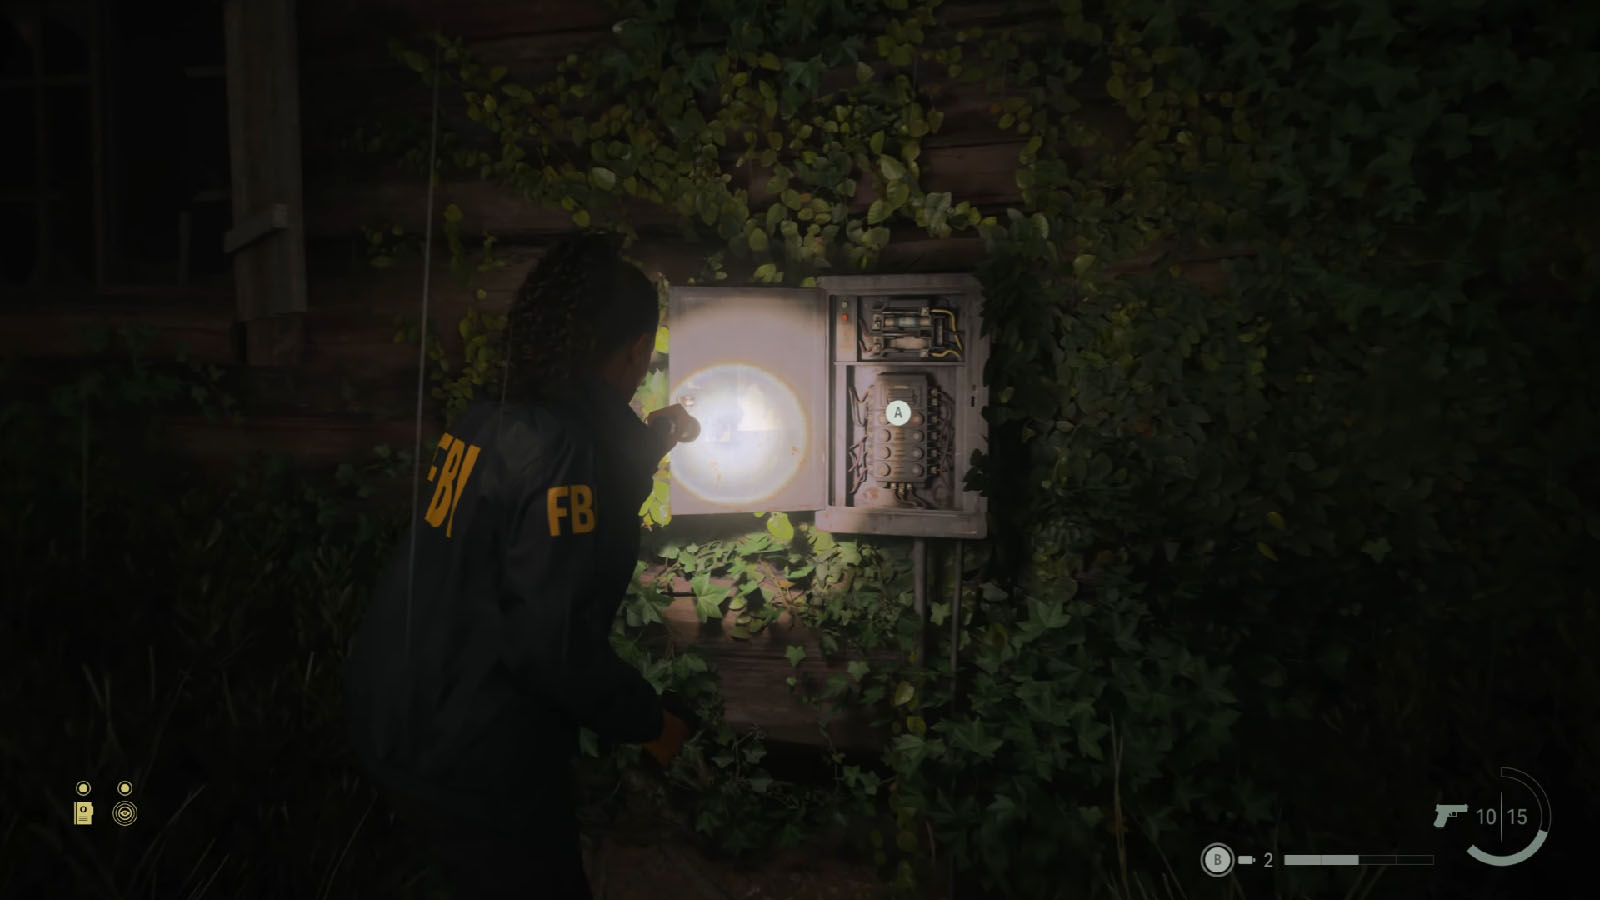
Head back out of the hut and go to the right side to find the fuse box for the hut. It’s missing a fuse and you’ll have to find a replacement.
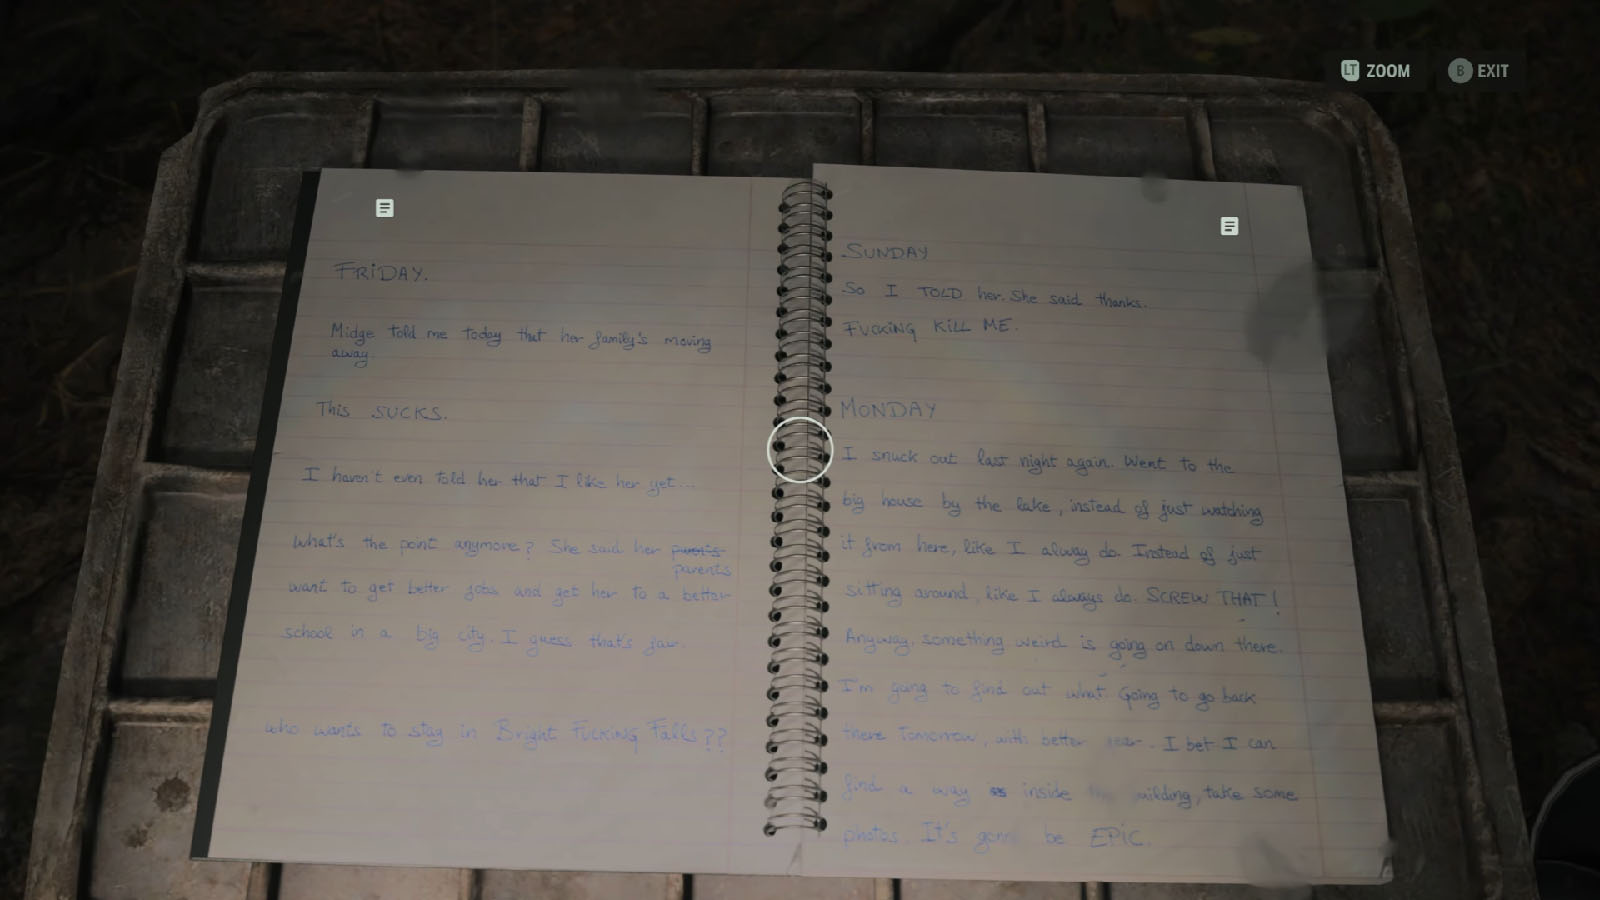
Right across the fuse box is another path. A crate along the path has a fuse, but it’s busted. At the campfire nearby, you’ll find a notebook with some notes. Inside the chest where the notebook is on are some ammo for your gun. Turn around and you’ll find a container that has a working fuse inside.
Explore the area to the right of the campfire and you’ll find Alex Casey Lunchbox #6 which contains x1 Manuscript Fragment.
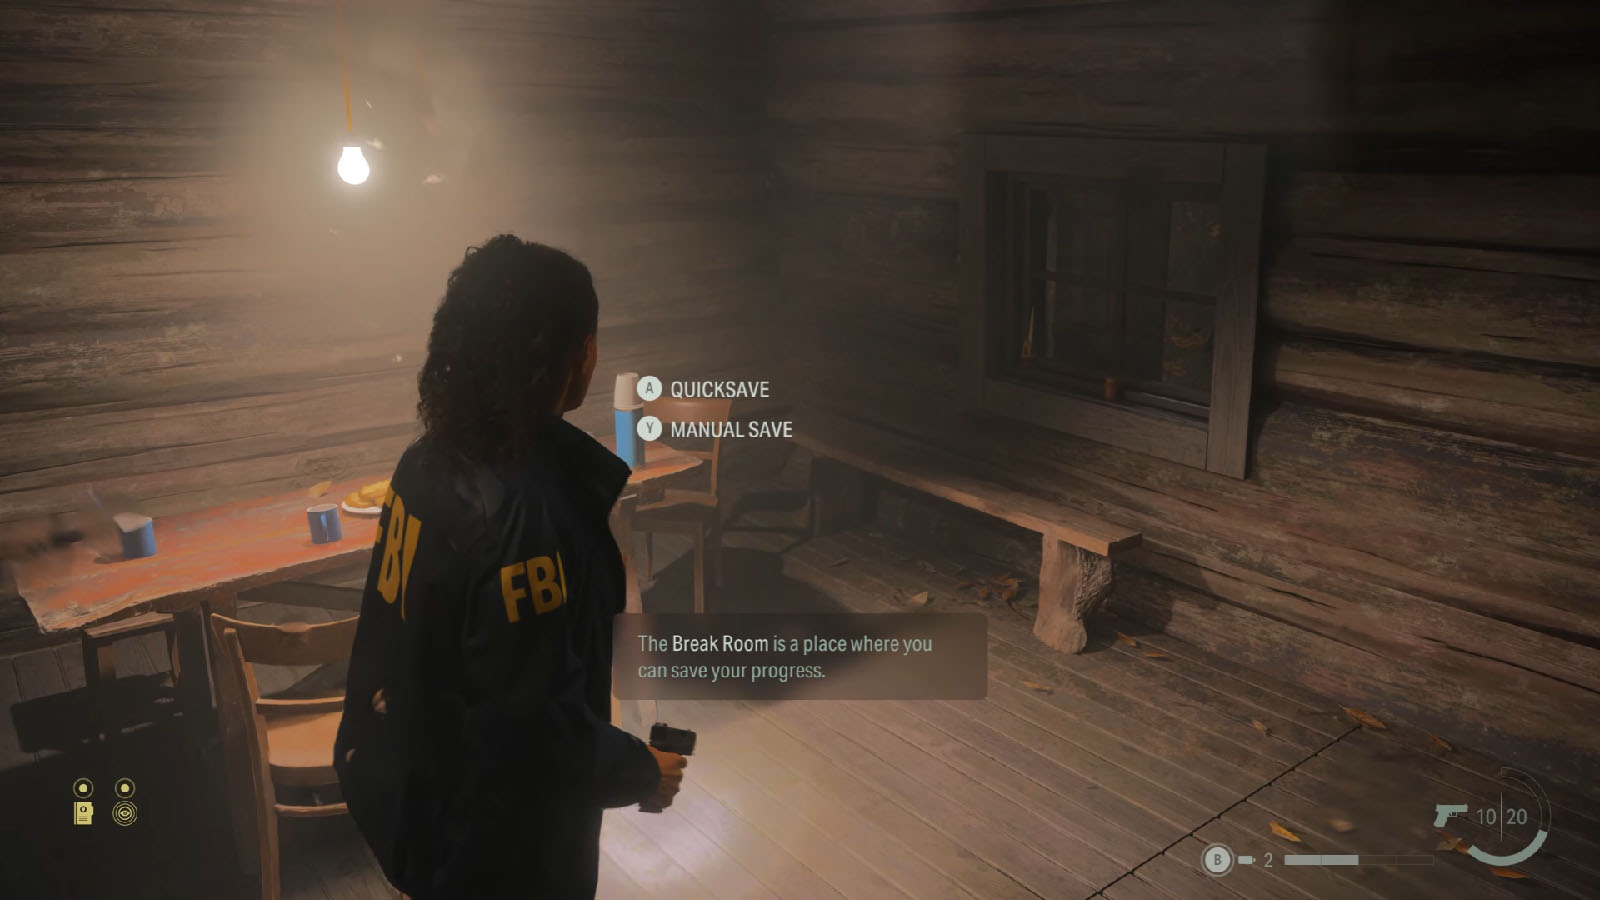
Bring the fuse back to the fuse box and place it in its slot. This will light up the hut and activate a break room where you can save your progress.
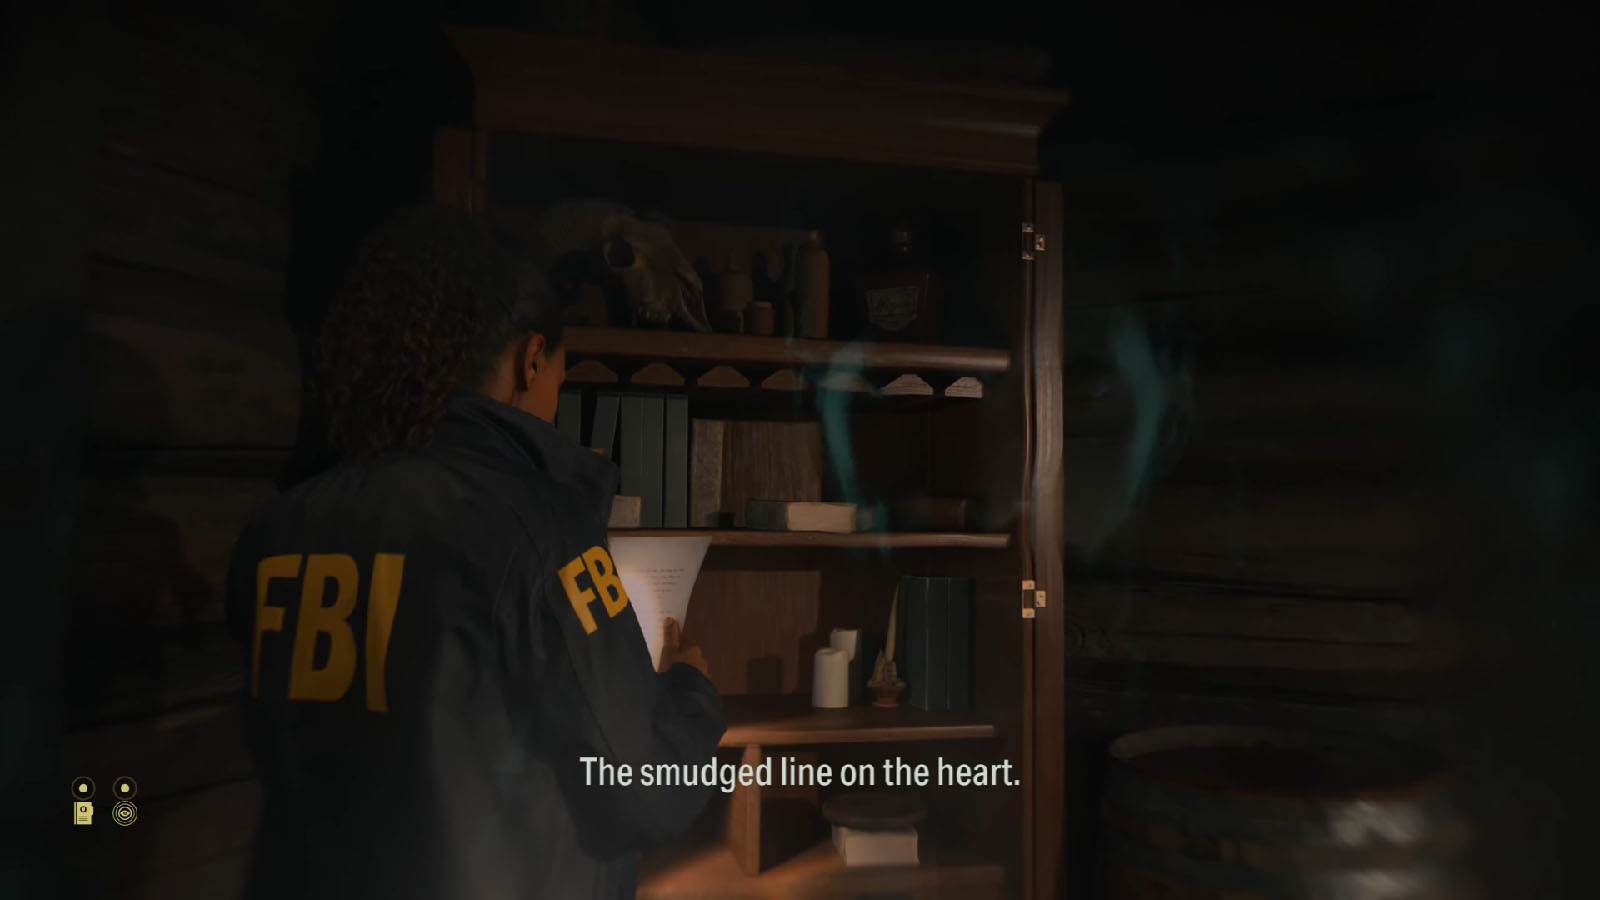
Next, check out the shelves to find another manuscript page and a clue for the hut.
Clues found:
- Cauldon Lake Witch’s Hut
- Manuscript: Witch’s Ladle. Towering over Saga. Watching her and the witch. nightingale’s heart. A cold dead lump in her hand.
- Manuscript: She squinted to read the smudged line on the heart. The second part recited from memory. “I brought you the heart, witch. Show me the terror.”


Go to the case board and place the two manuscript clues about the light and the fuse to answer the Witch’s Hut question. Then, place the clue of the hut to start a new question about the ritual. Next, place the new clues about the heart which will open new questions.
After understanding how the ritual goes, Saga now has to find Nightingale’s heart which has gone missing since Nightingale’s attack.

Next, go to profiling to find more topics for Nightingale.
Choose The Heart and it will open up a new topic for profiling. Follow it and it will reveal that the heart is inside a fridge in the General Store.
Choose The Overlap and you’ll learn that the tree is the threshold between this world and the Dark Place, and you’ll also learn about a new place called the Caldera Street Station.
Clues found:
- The heart is somewhere in the general store.
- Nightingale: Nightingale went through the tree into some other place.
Go to the case board and place the Nightingale clue to fully answer the Where did Nightingale go? question. Then place the note about the heart’s location to answer the Where is the heart? question.
Perform the ritual to open the Overlap
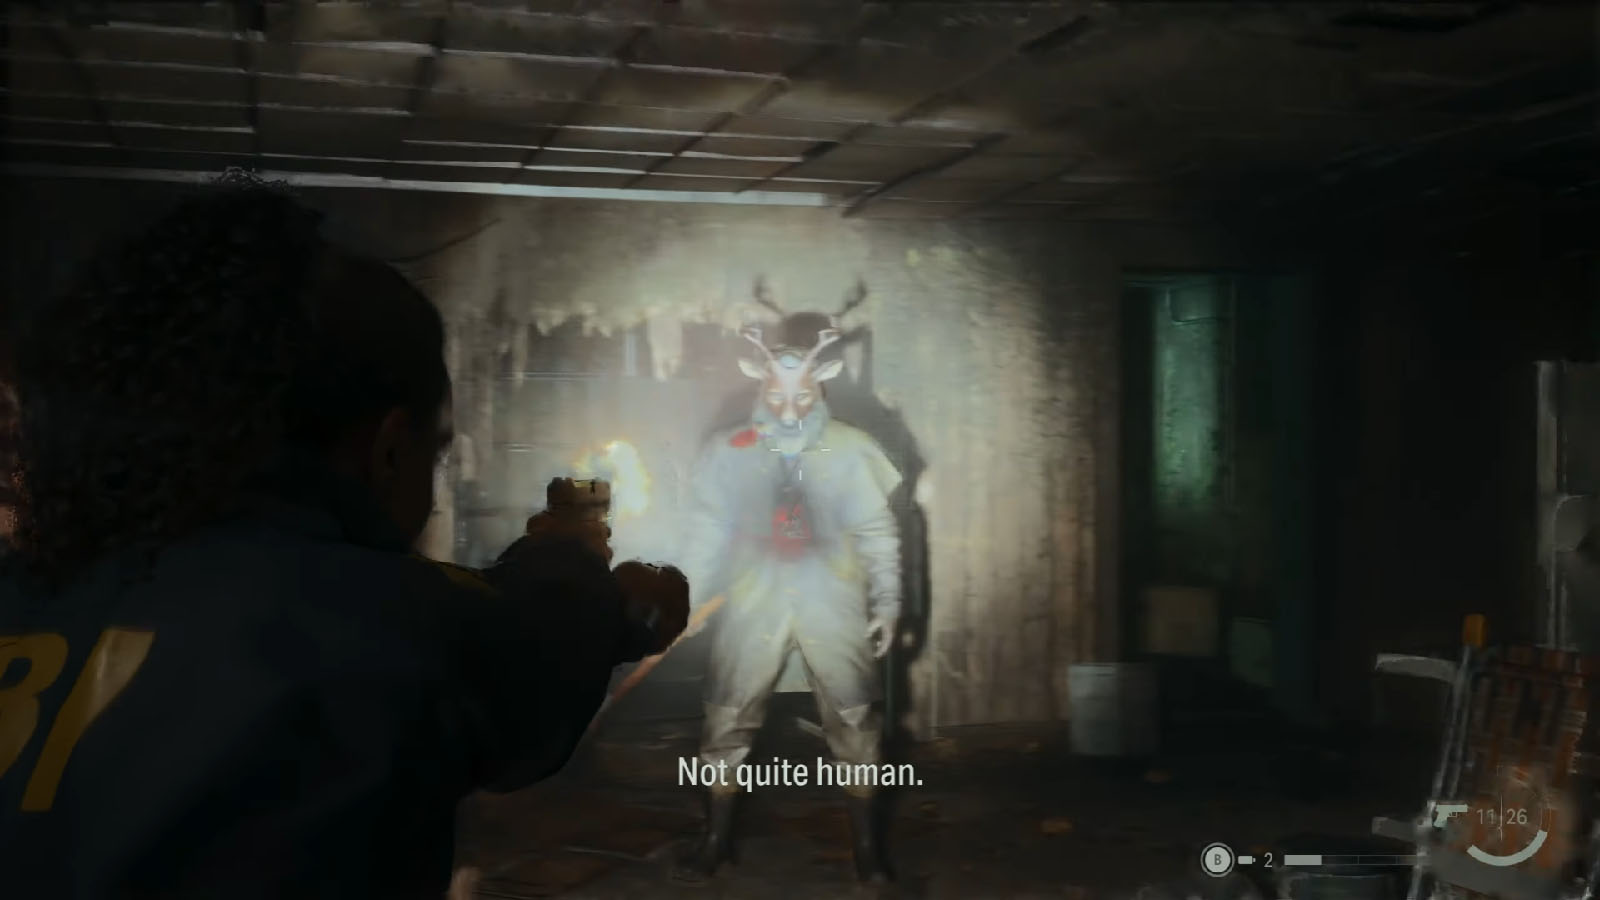
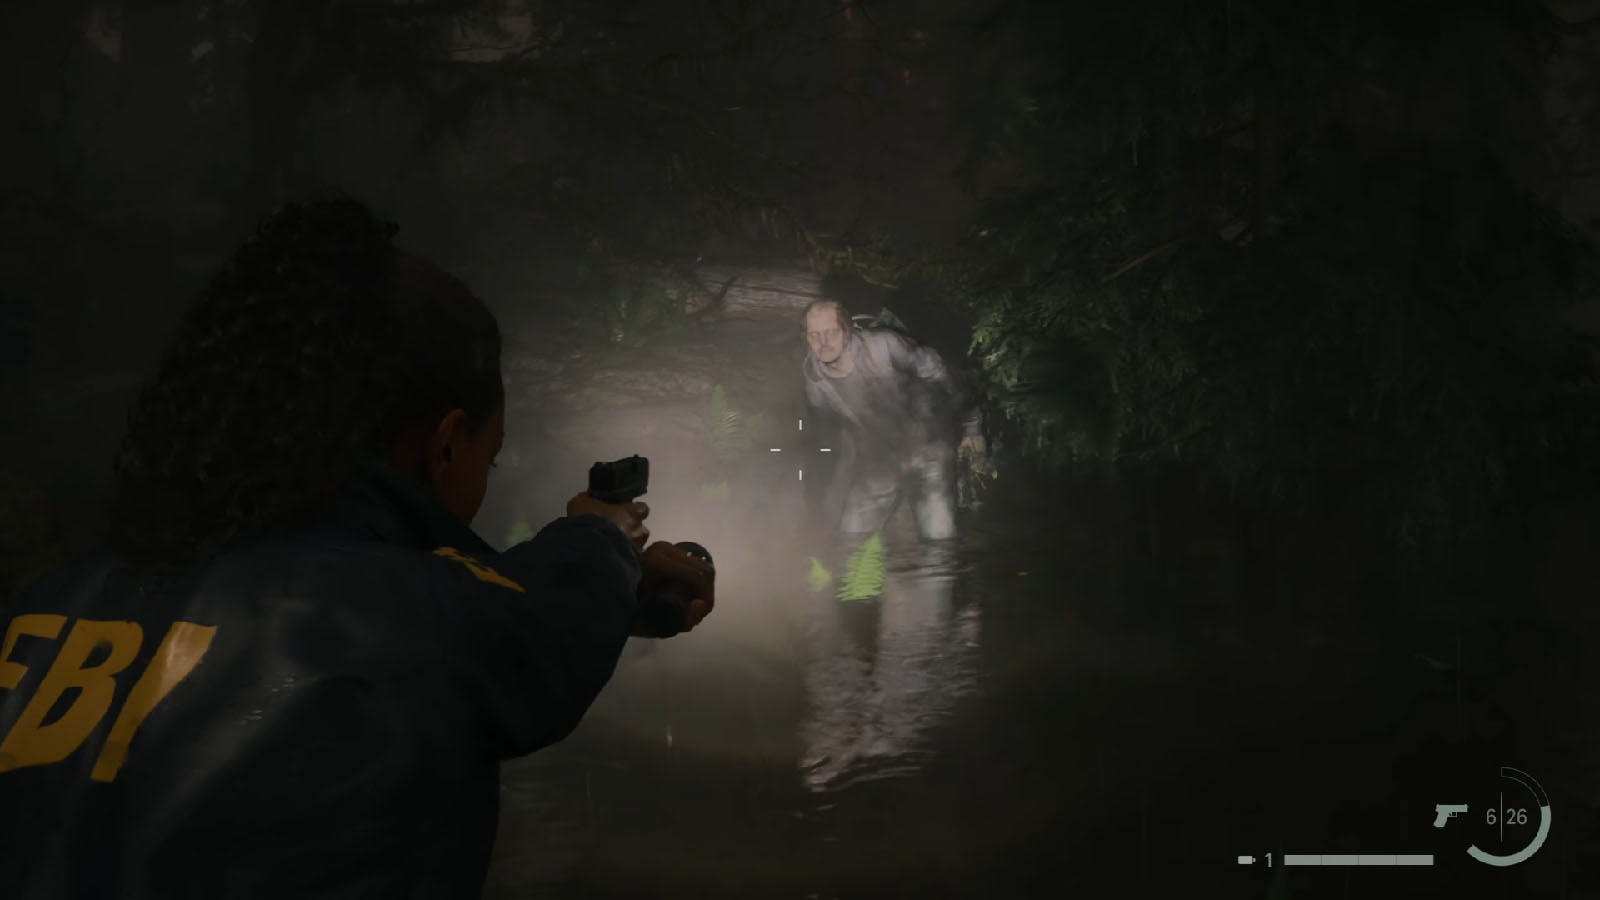
Make your way back to the General Store. Casey is nowhere to be seen, so you’re all along in exploring the place. Once you get in, you’ll startle a deer that’s inside the store.
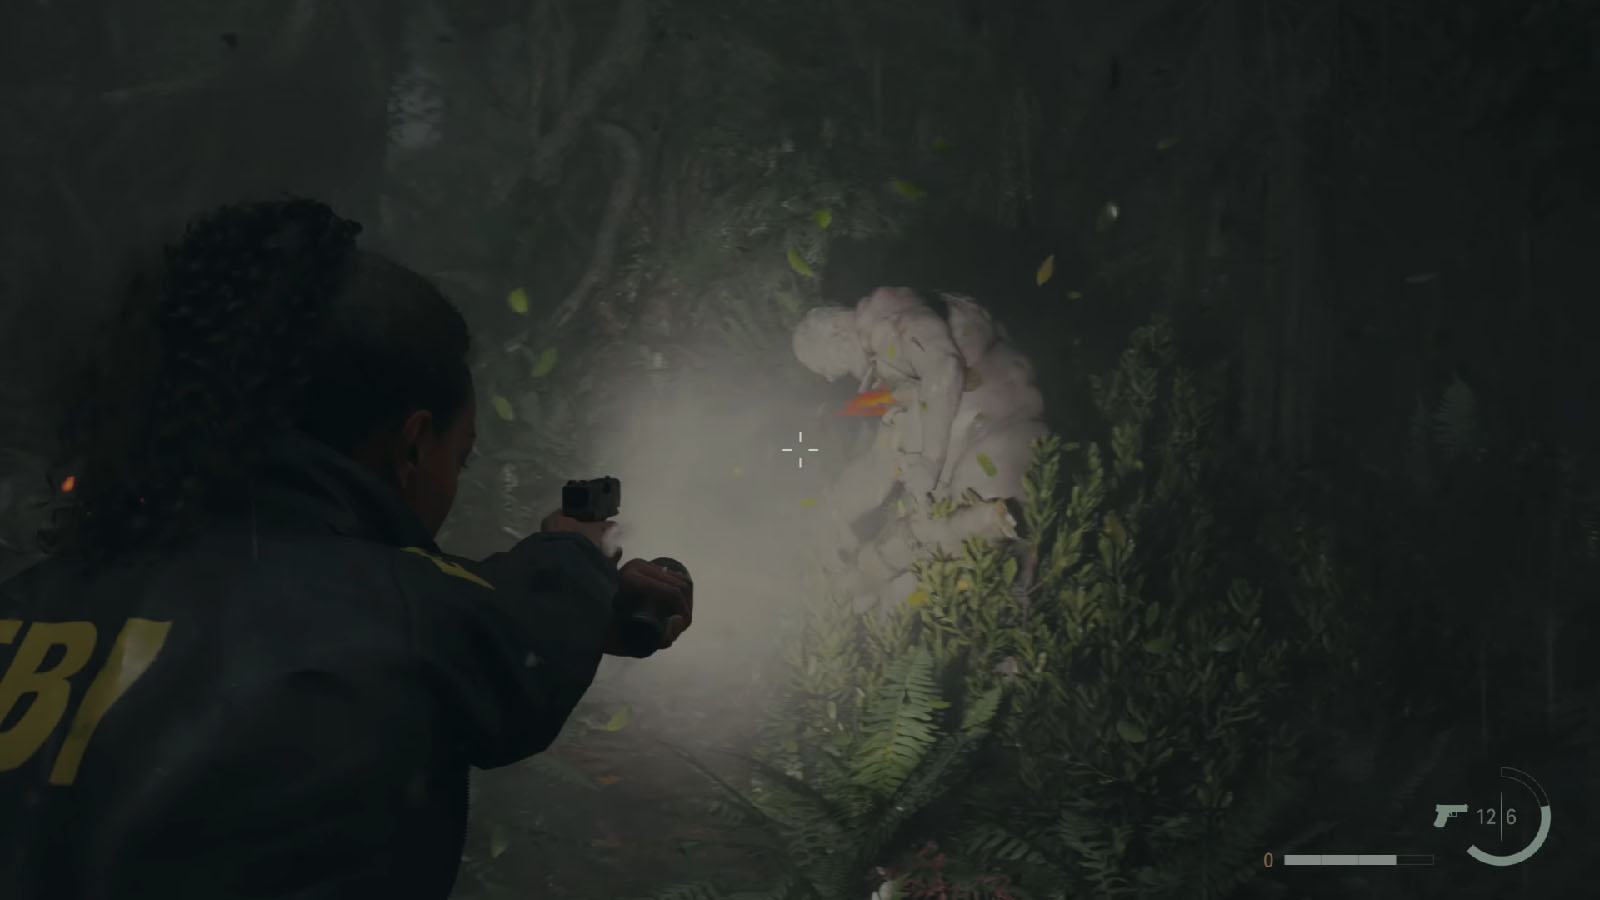
Shortly after, a cultist will burst out of the walls. This cultist is shrouded with darkness, so you will need to use your flashlight to dispel the darkness first. Once done, it will reveal a red spot on its body; this is its weak spot or Source Point that you can shoot to deal significant damage.
Once the cultist is dead, you can explore the room to find a Cult of the Tree clue and some supplies.
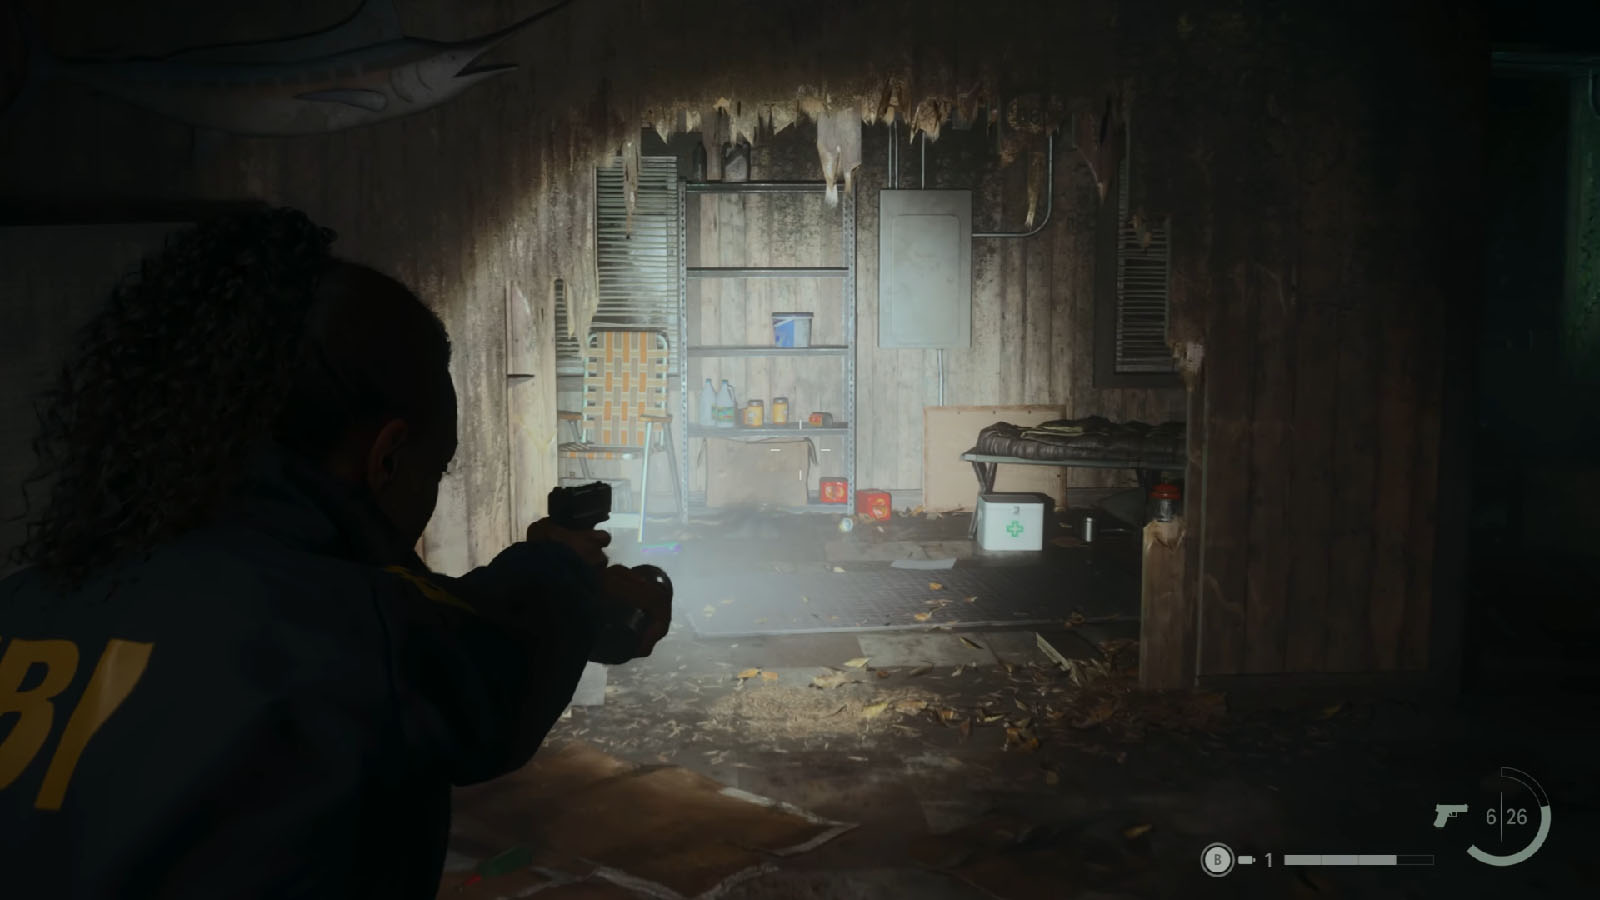
You can then proceed to the room where it came from to find a med box with some trauma pads and batteries; use the pads to heal up in case you suffered some injuries. Next to the pad is another manuscript page.
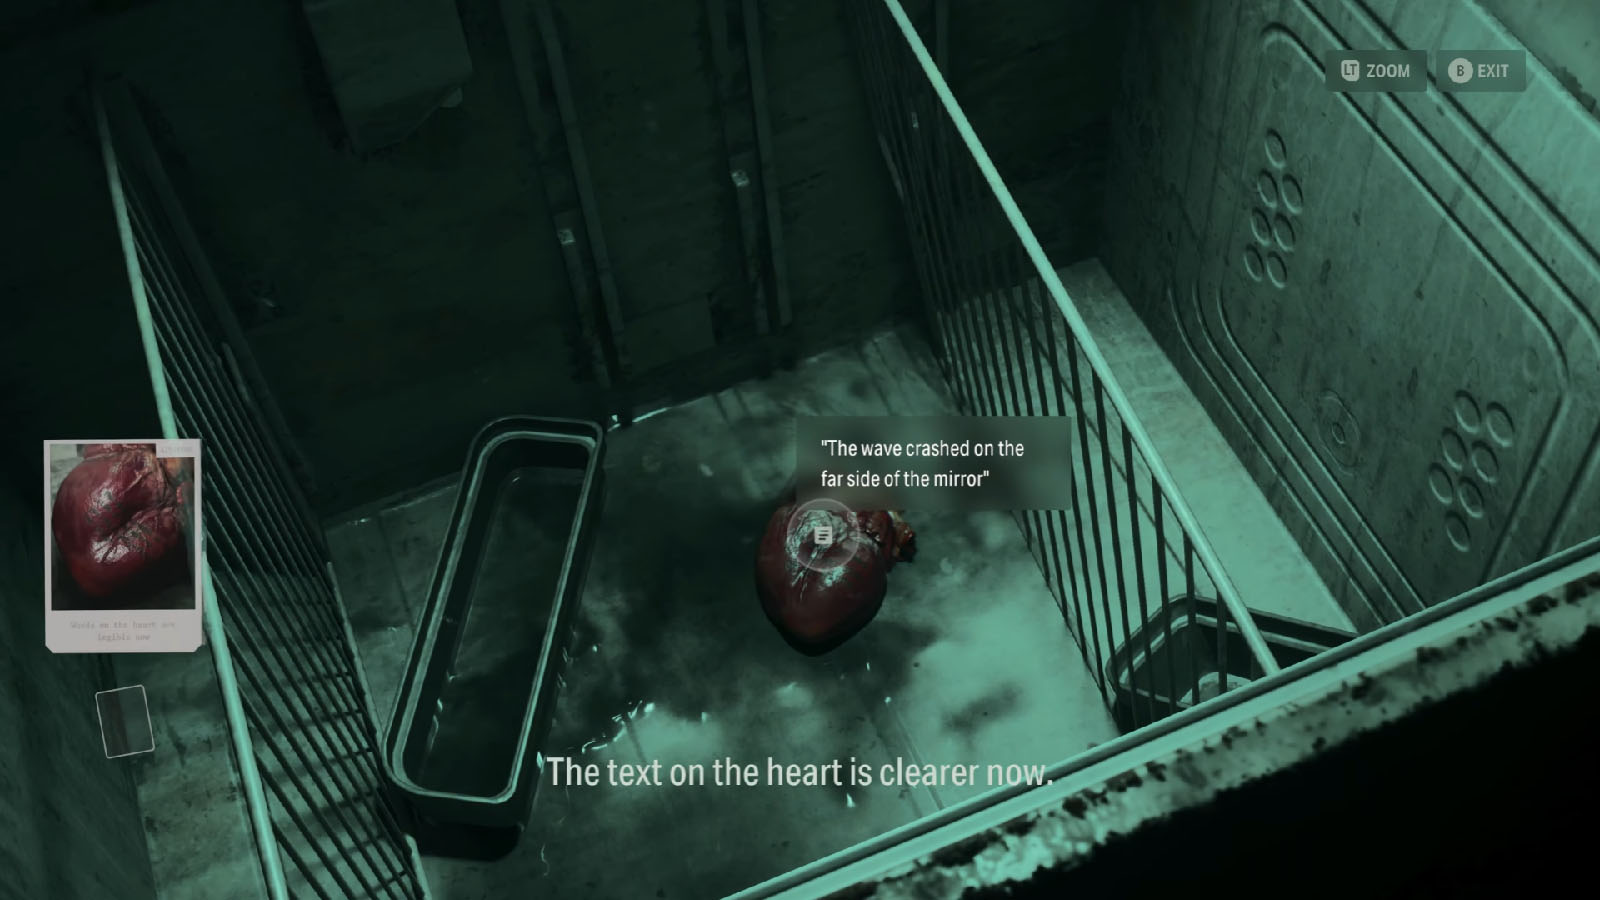
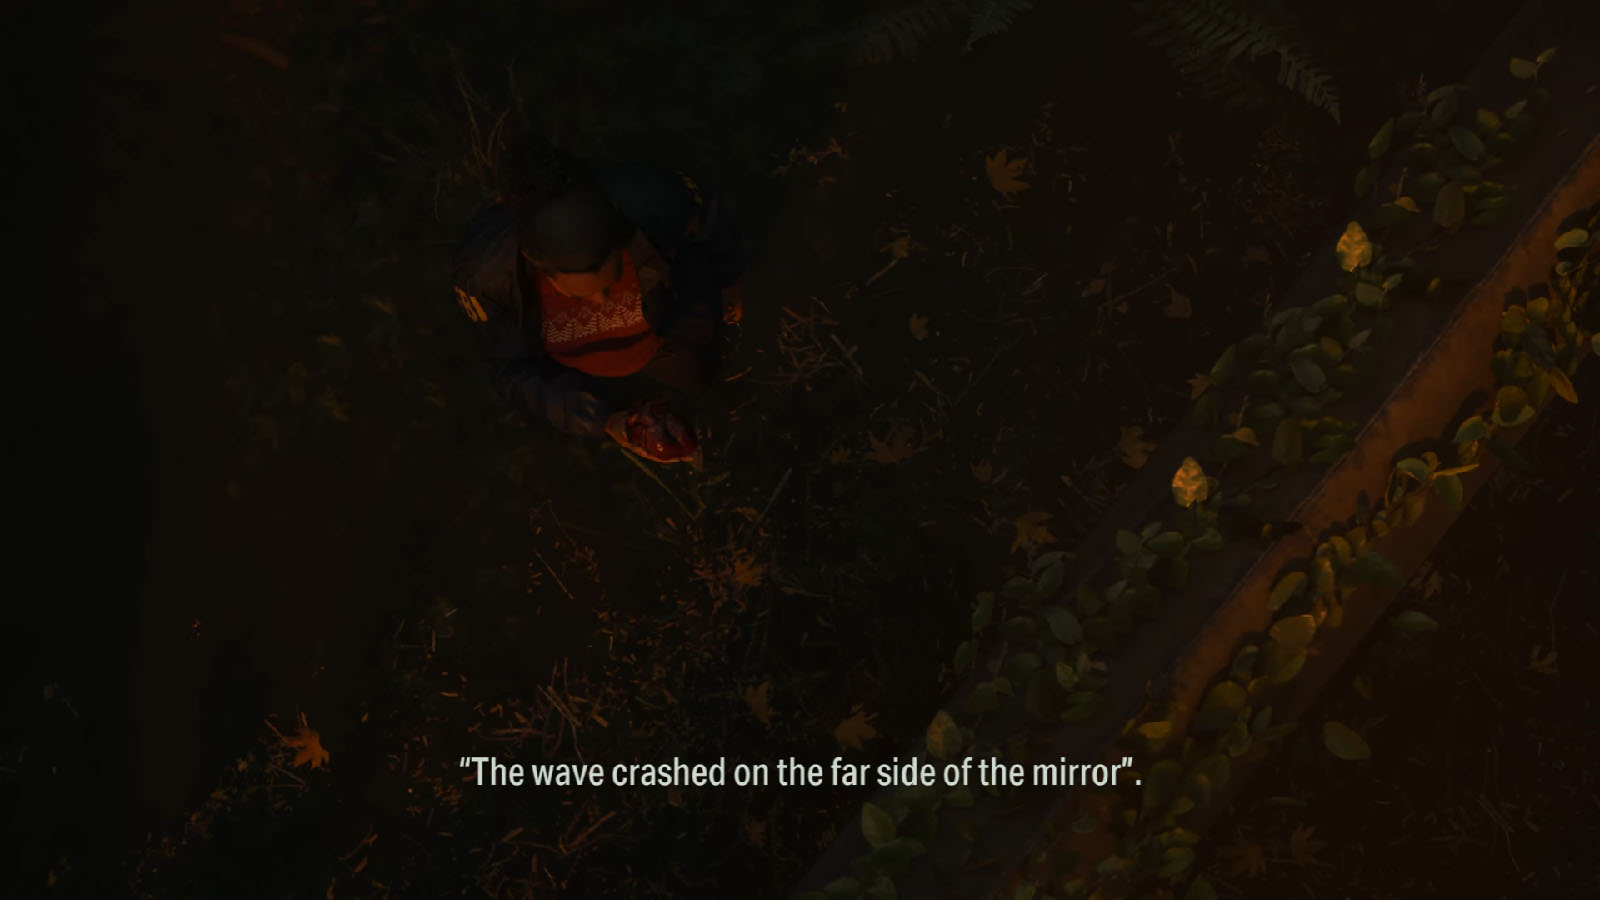
To your left is the fridge you’re looking for. Shine your light on the dark first, then you can see Nightingale’s heart inside. You can also see the text on the heart now which goes “The wave crashed on the far side of the mirror.”
Clues found:
- Words on the heart are legible now
- Heart was left in a refrigerator
On the case board, place the picture of the words on the heart to answer the question about it, then place the picture of the heart in the fridge to fully answer the Where is the heart? question.
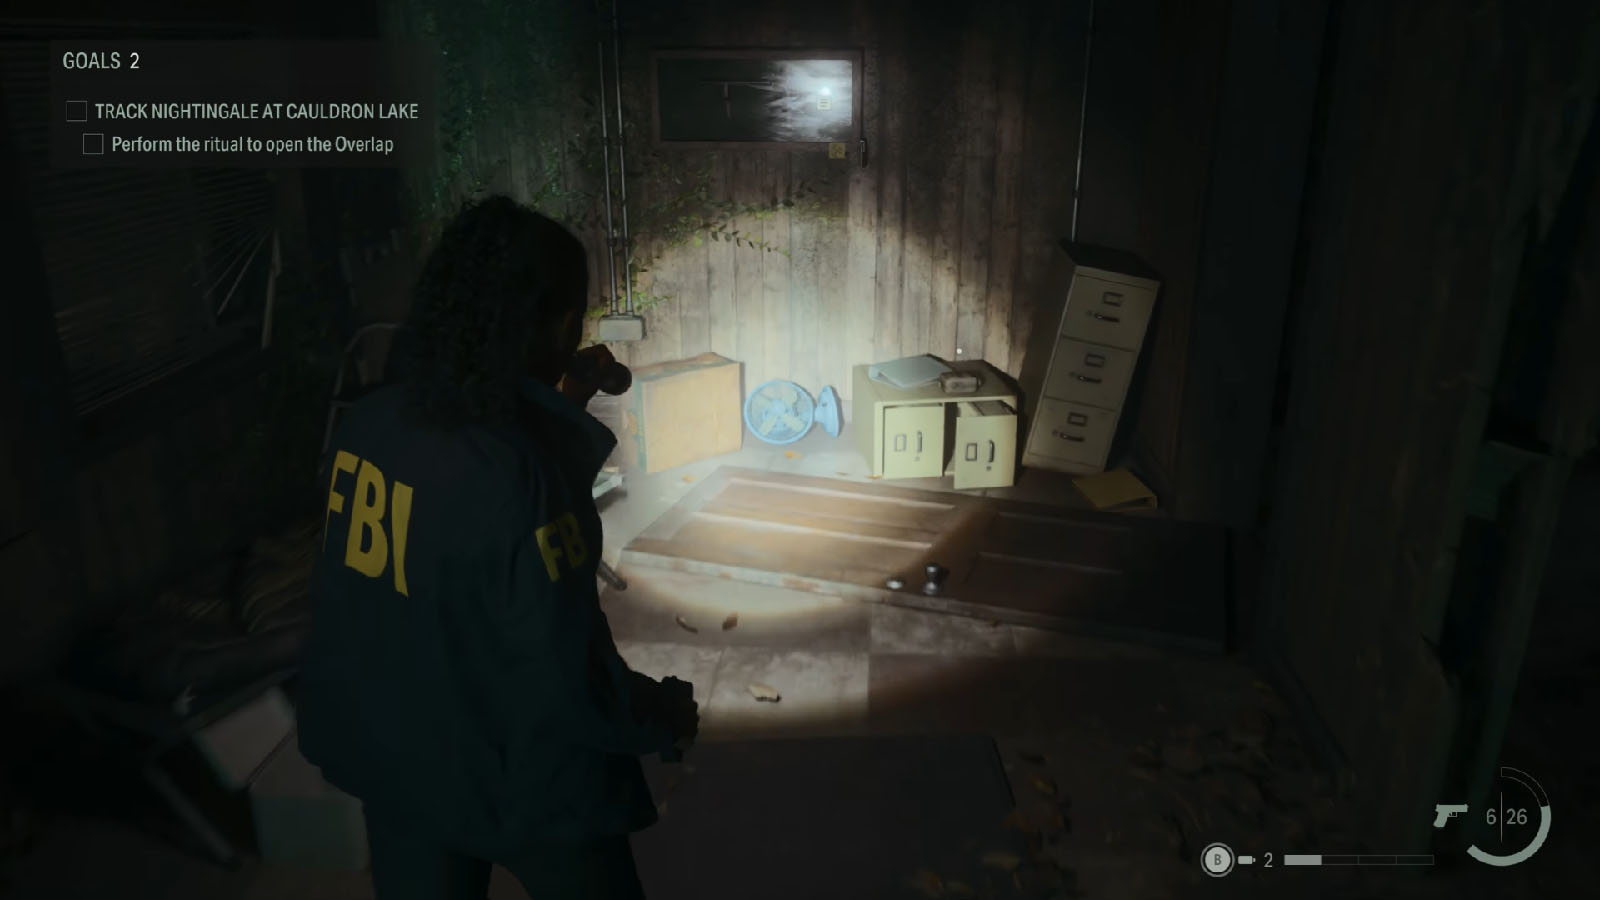
To the right is a pouch or an Inventory Upgrade that you can get to increase your inventory slots by 5 and a Sawed-off Shotgun that is in a locked case. Inspecting the case will only point you to the counter.

Head over to the counter in the main room and you will find a note on the table with crossed off numbers, and a lotto ticket. By checking the numbers on the note and the numbers on the ticket, you’ll see that the numbers match, they’re just affixed by the number 7. Since the note only shows the four numbers crossed, you can then use 739 as the code to open the case and get the shotgun.
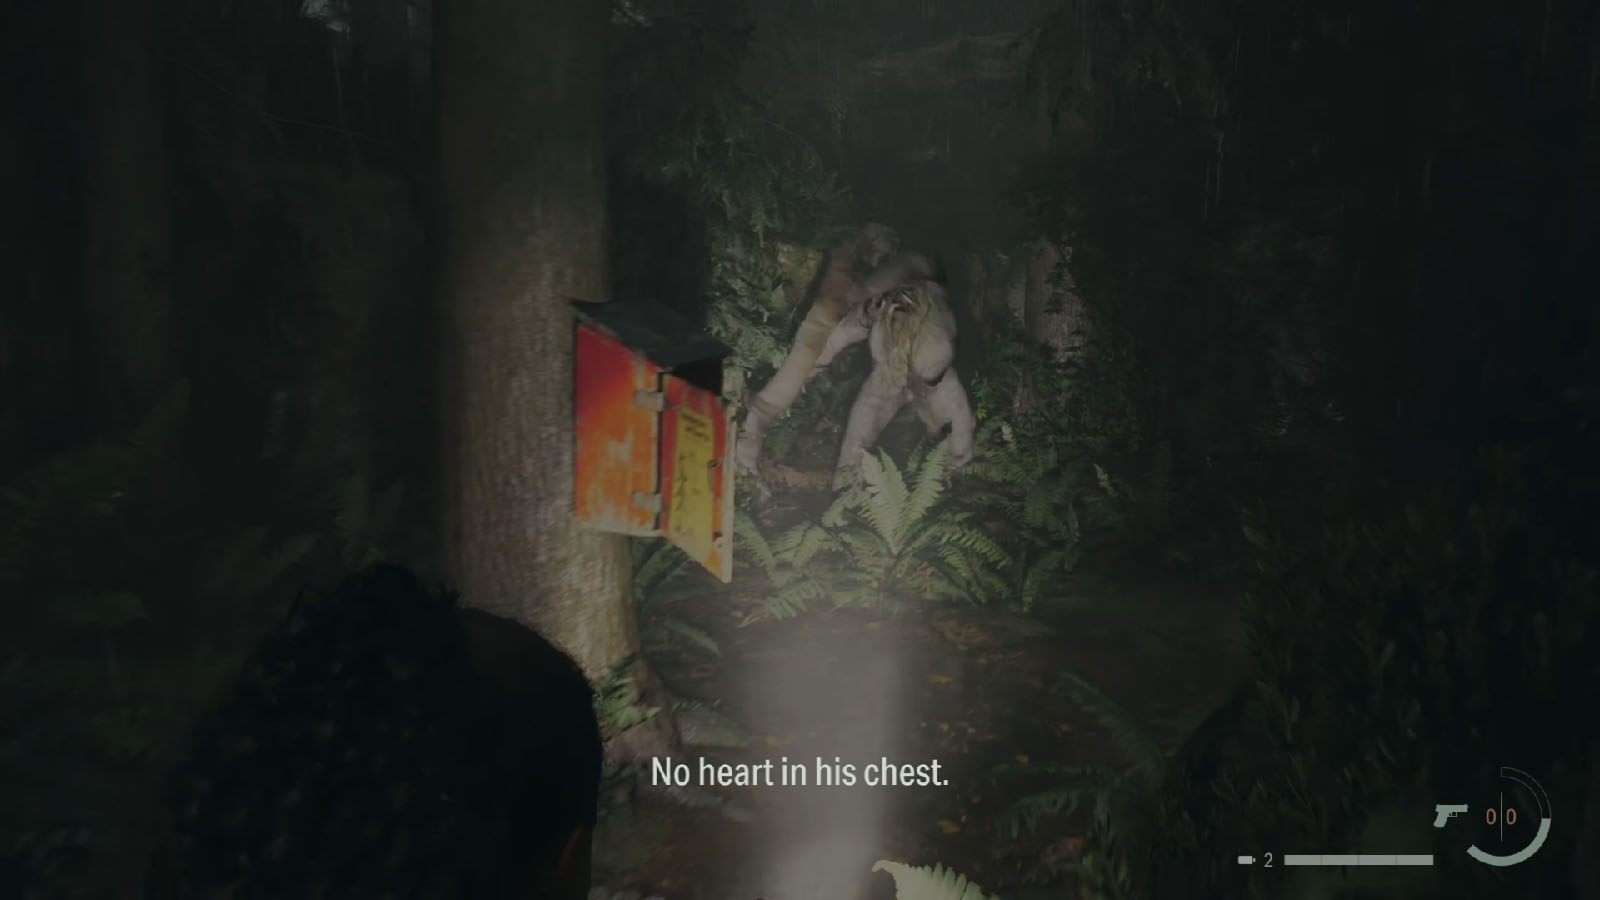
Now, you can head towards the Witch’s Ladle; be sure to take a quick trip over at the hut to save your game. As you waddle through the water again, you’ll be jumped by more Taken. Take them on one by one, and make sure to retreat to the light in case you need a breather.
After defeating the Taken, head to the Witch’s Ladle sign, and as the ritual needs, you will have to put Nightingale’s heart through the hole on the sign.
Enter the Overlap through Witch’s Ladle
Once done, a cave will then appear on the base of the huge tree. Pass through this cave to get to the Dark Place. You’ll lose comms with Casey and you don’t have anywhere else to go but forward.
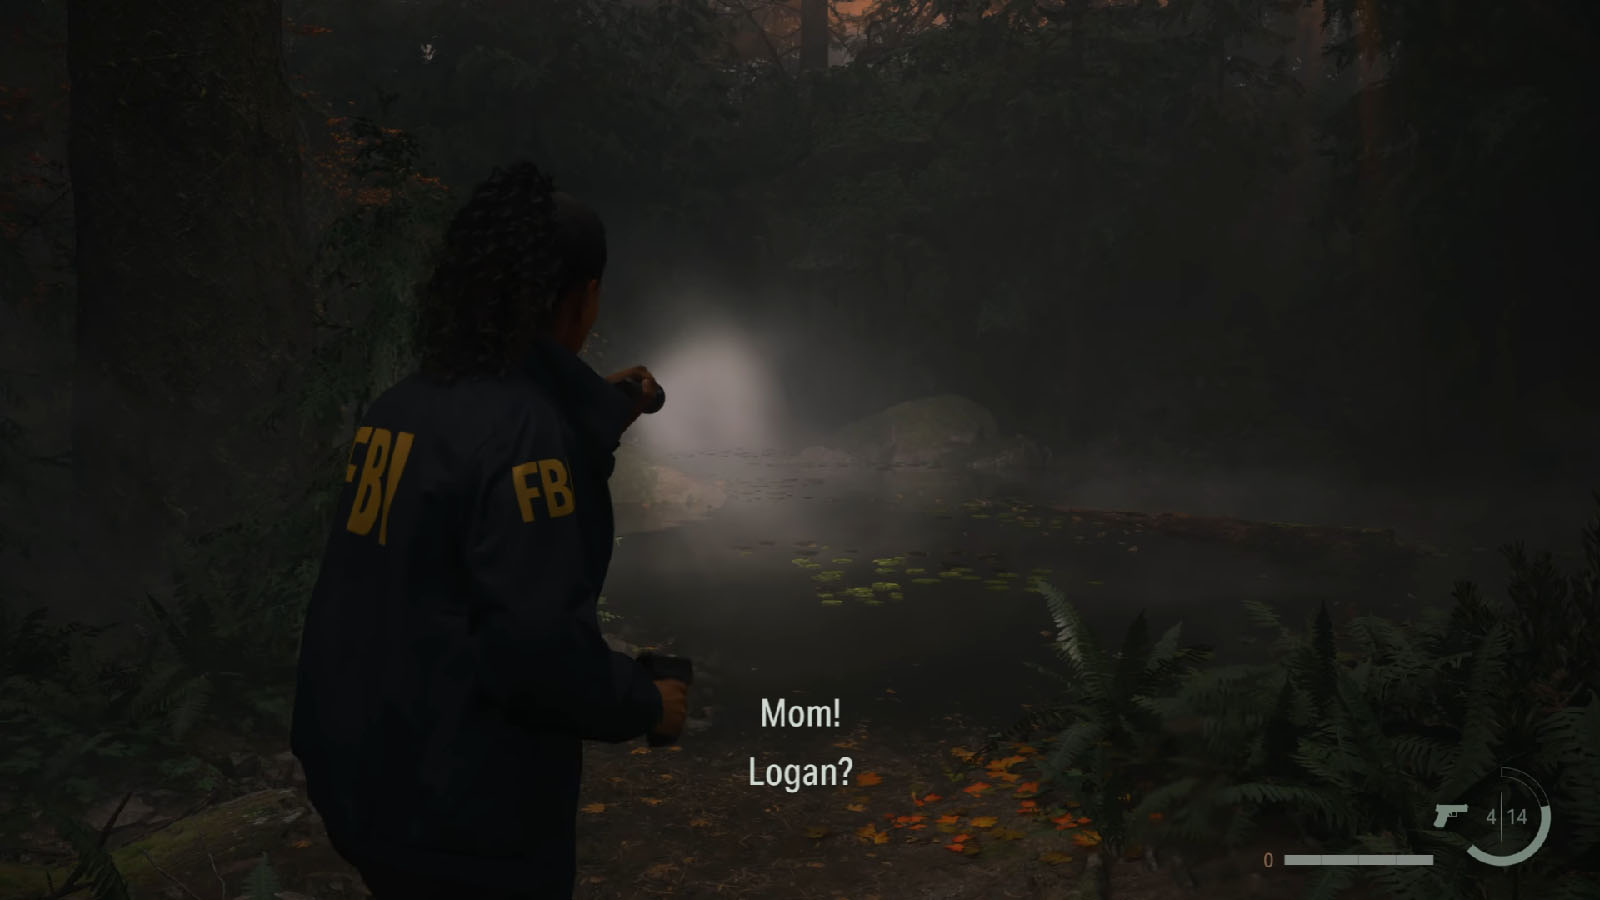
Eventually, you’ll see the same tree even though you’ve moved away from it. Also, Saga will start hearing the voice of her child in distress. Since you have nowhere else to go, head through the tree again.
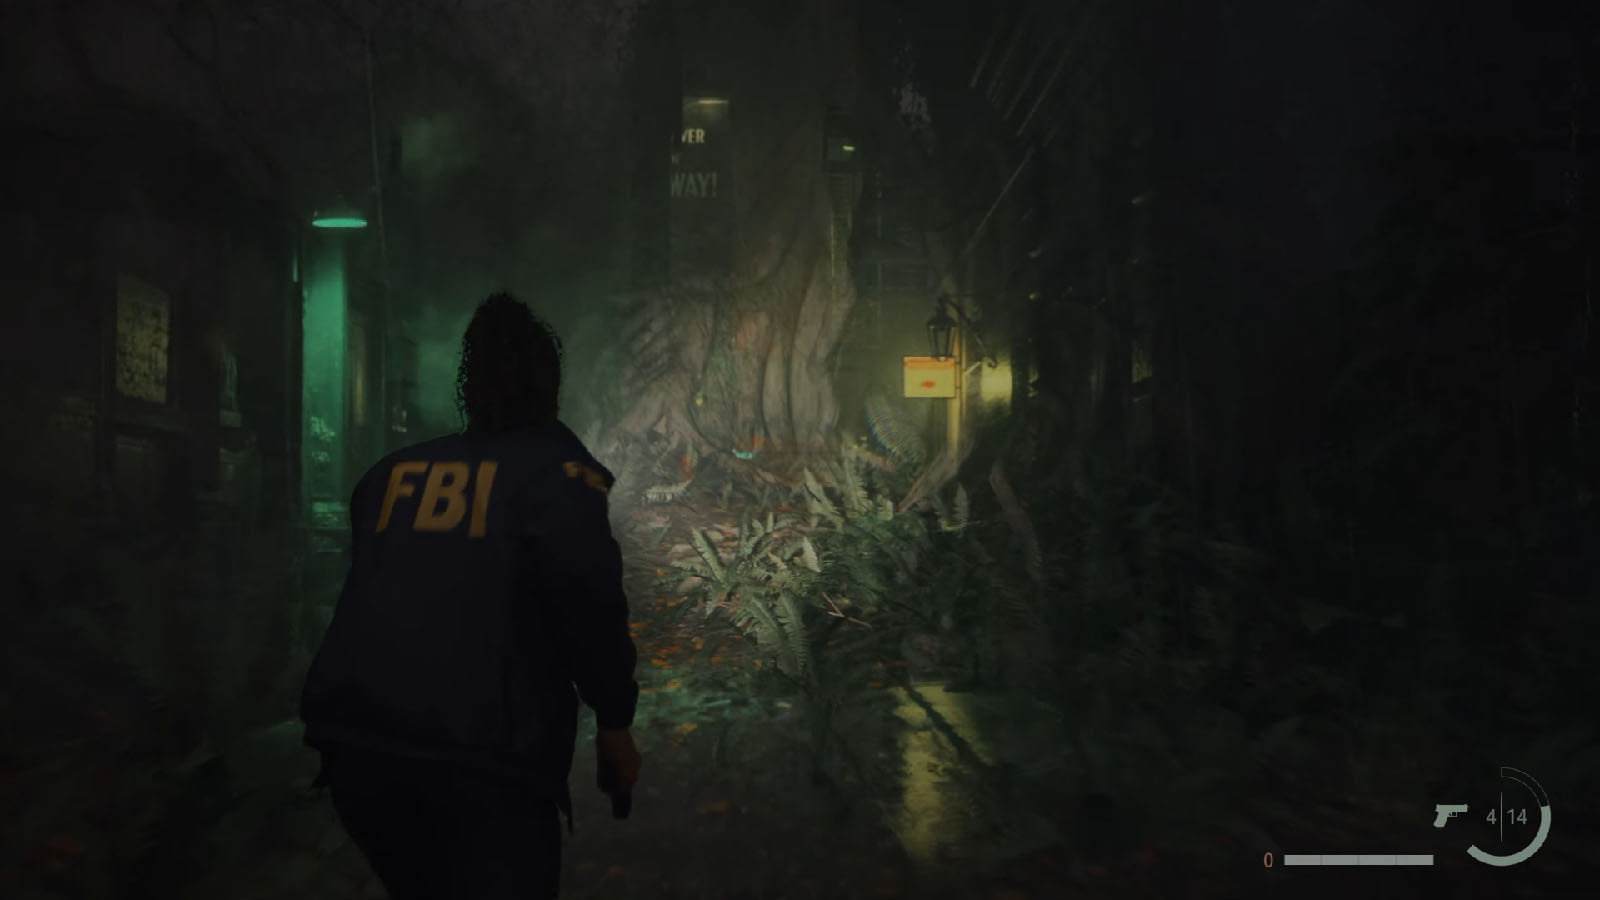
This time, you’ll be in a slightly different forest. You’ll see faint visages of Alan, along with flickering images of what appears to be a city back street. Follow the path up ahead and you’ll start seeing Nightingale from a distance who immediately flickers away.
Before turning right into a brightly lit red spot, you’ll find another manuscript by the base of a tree. Continue following the path through the gap in the boulder and over a stream; before climbing the ledge, check the items nearby to find more ammo and consumables, as well as Nightingale’s Badge. You’ll eventually see another flickering glimpse, this time of a subway tunnel leading to a cave.
As you exit the cave, you’ll finally see Nightingale.
Boss Fight: Nightingale
Defeat Nightingale
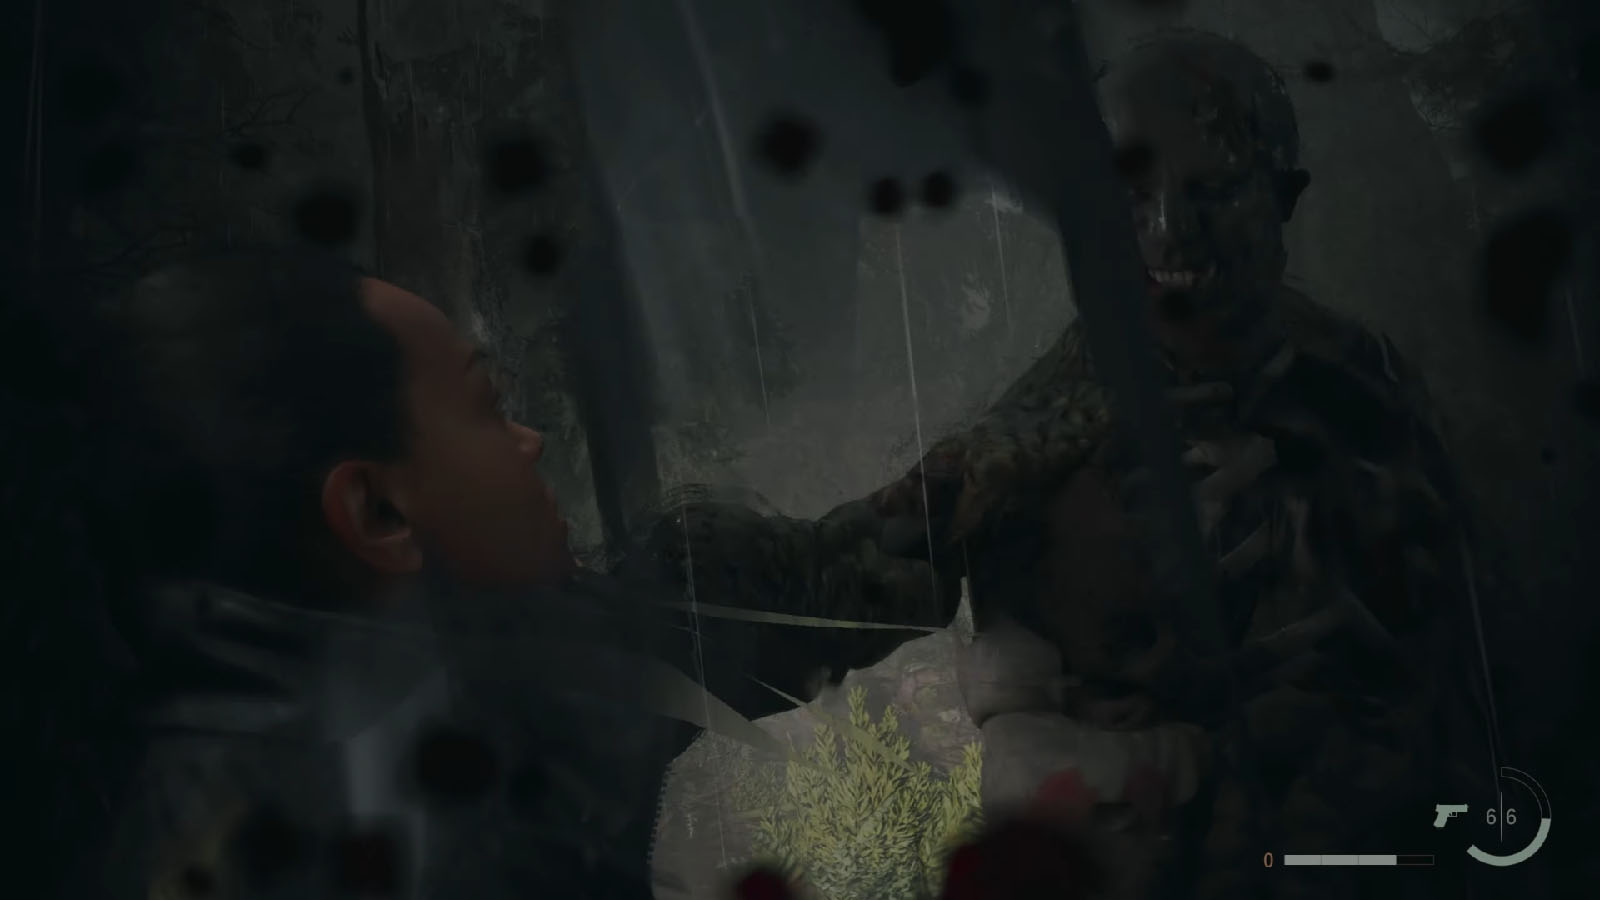
In this fight, you’ll be against a Taken Nightingale, and as most of the Takens you’ve encountered so far, they are susceptible to light. As soon as he charges at you, beam your light at it to reveal the weak spot.
Nightingale wields a log as its club. It also has the ability to charge at you in a blink, so it’s best to keep on moving backwards, sideways, or do your dodge as there’s a split second of pause after its blink before it swings its club. It can also grab you with its hand and you will have to do a button mash to free yourself from its clutch. One of the attacks to look out for is its ground smash that can send a damaging shockwave towards you.
After taking enough hits, Nightingale will vanish and Saga suggests to run. Go through the only path available, but keep your ears peeled as Nightingale will ambush you; it will make some noise, prompting you that it’s nearby.
Look out for chests where you can get more ammo as this fight can get lengthy as Nightingale can take a lot of shots. If you have managed to grab the shotgun from earlier, use it only when you have Nightingale staggered and you’re at close quarter to deal the optimal damage. It’s also best to land your shots to its head if its weak point is not out.
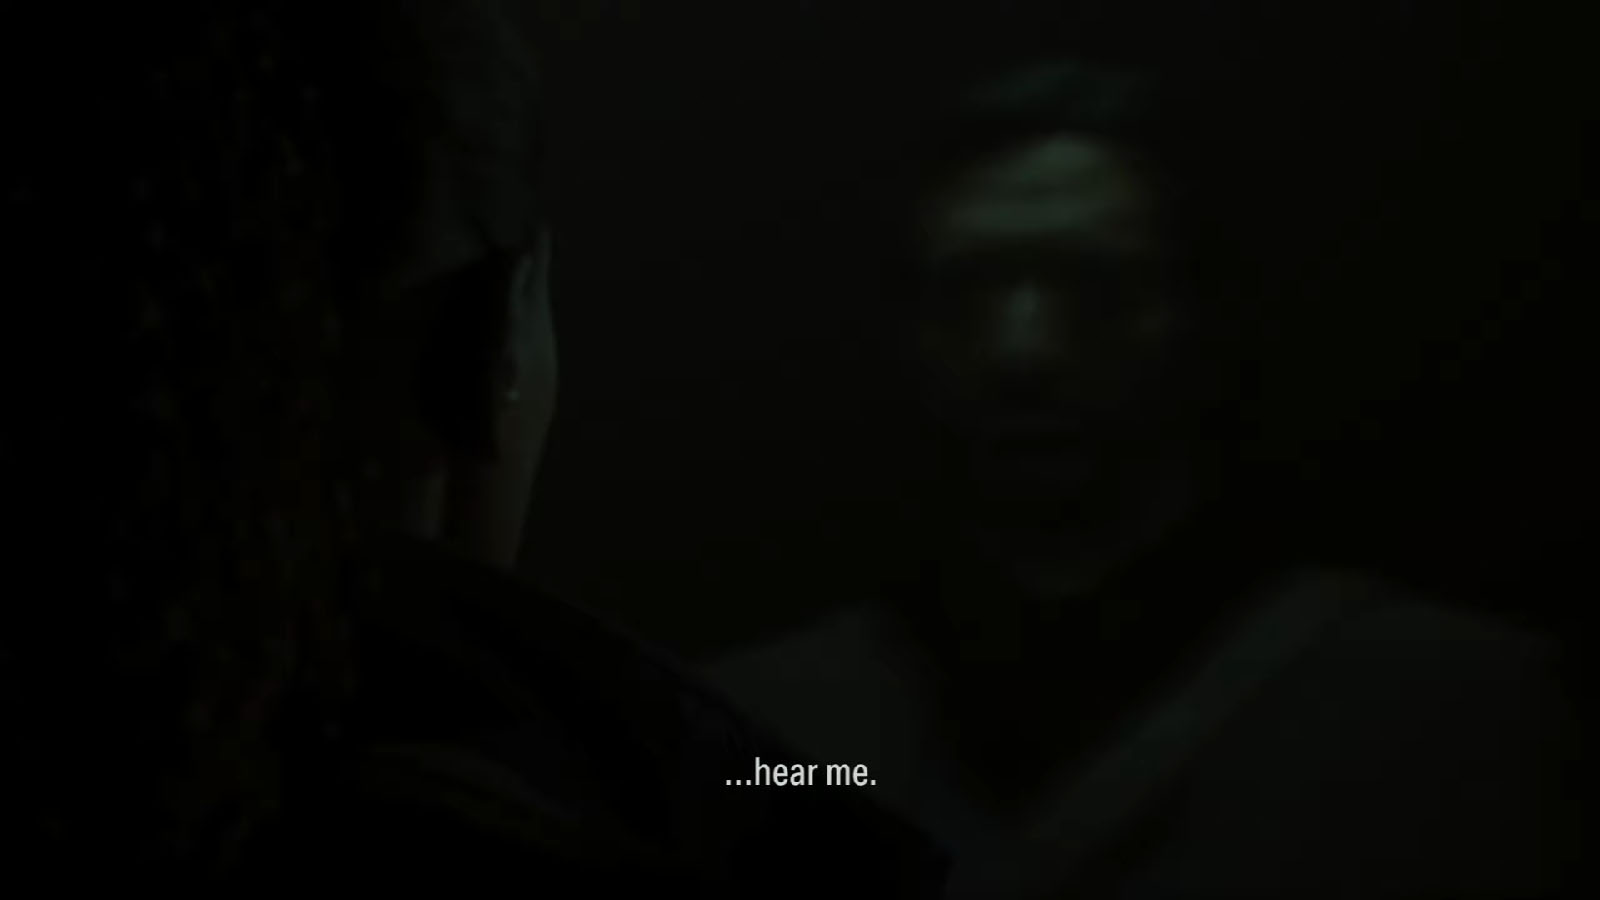
Once Nightingale is finally dead, a cutscene will play where Saga and Alan finally connect and could talk to each other, albeit the connection between them is weak. Saga finds herself back on land again, near the lake and it’s sunrise.
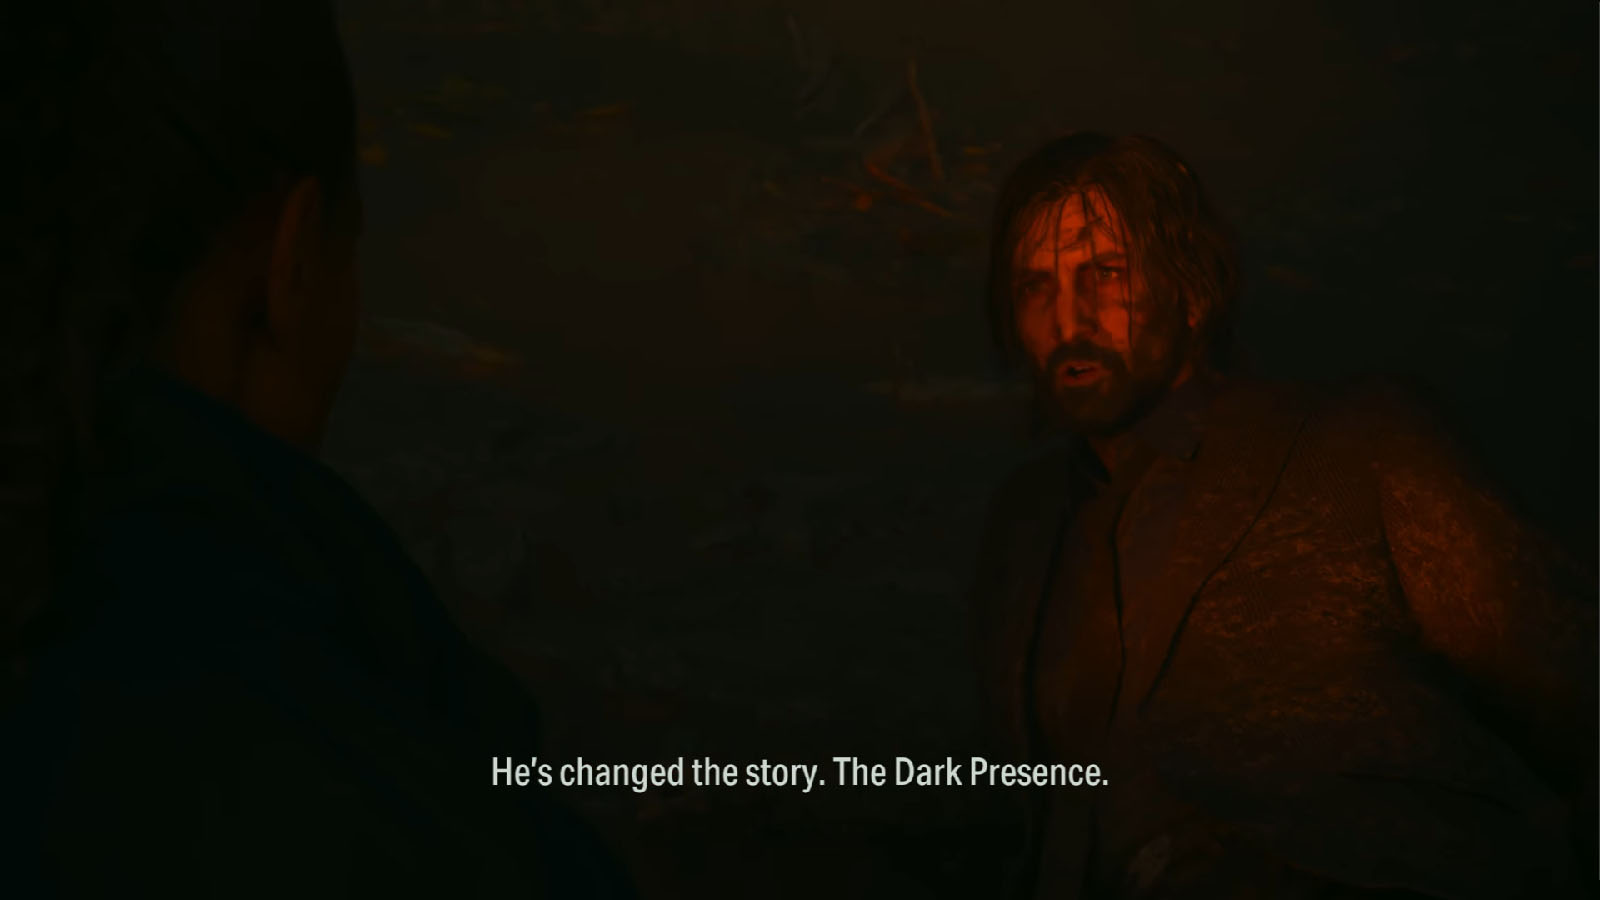
Saga sees a man washed on the shore who turns out to be Alan Wake himself. He appears disoriented, saying that The Dark Presence has altered the story. He’s also too baffled to take in the fact that he’s been gone for thirteen years.
The screen will then say that the chapter has ended, but there’s still a lot to explore an do within the campgrounds. You will also unlock the Lawman Achievement for defeating Nightingale.
Investigate the previously flooded area
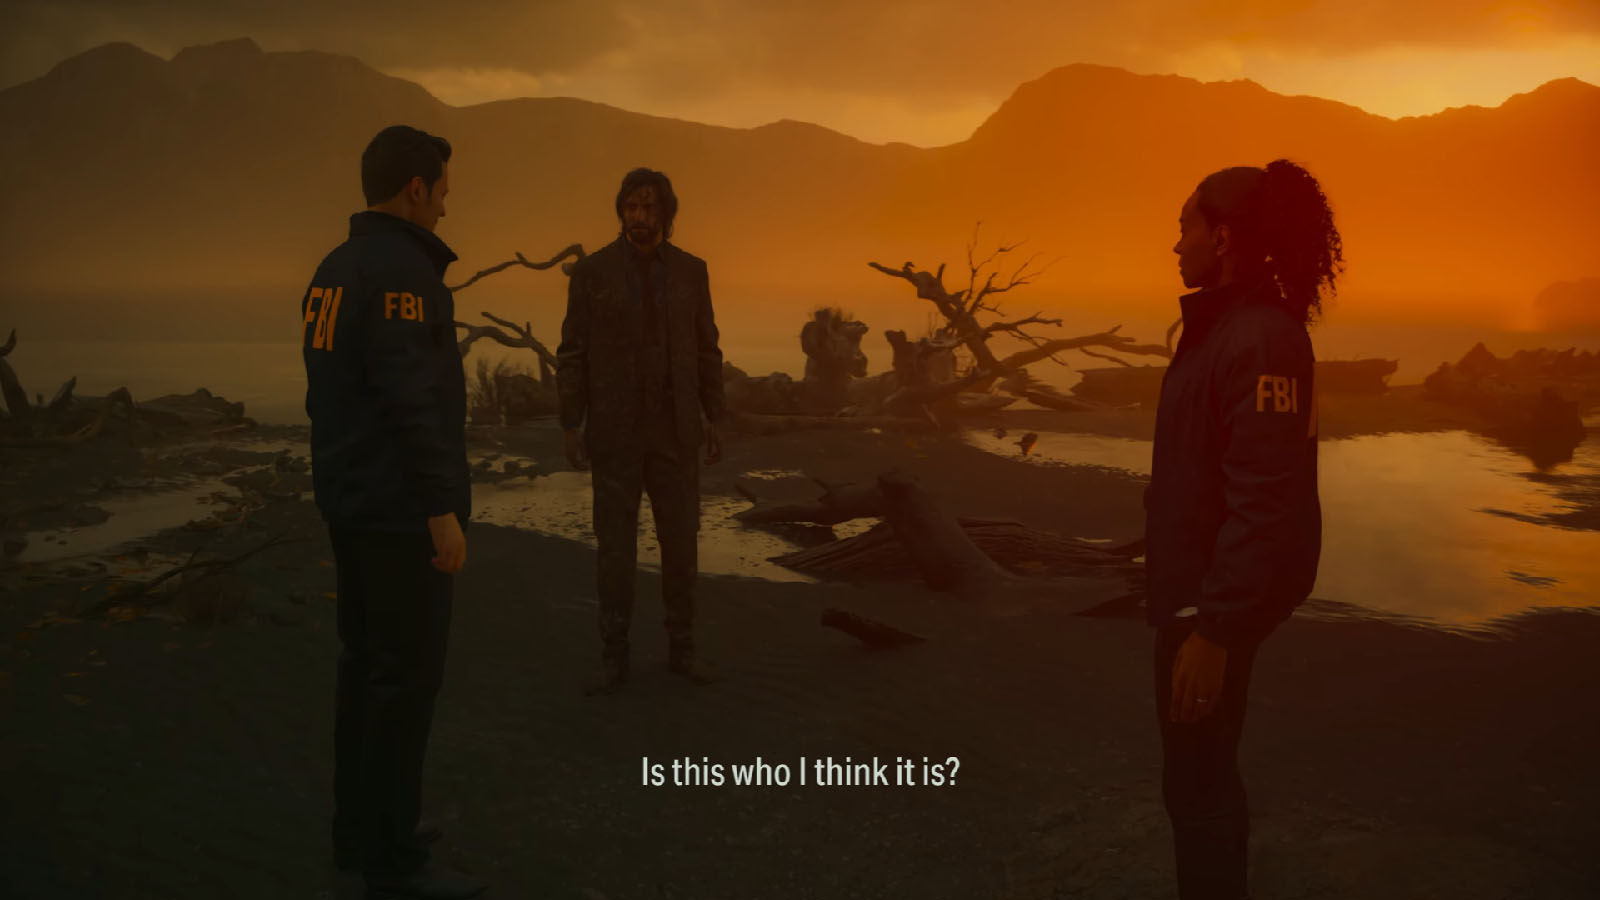
After discovering Alan who has escaped the Dark Place, you now have the option to explore the surrounding area which is now possible as the water has receded. Take the time to stay with Casey and Alan and listen to their dialogue before exploring.
You can also go back to the case board and place the case closed picture of Alan on the shore.

Proceed to the next area behind Casey and duck under the fallen log. As you pass under the fallen log, check the fallen trees near the rocks on the left side to find a manuscript page. Then, make your way to the other shoreline. You’ll find more twig sculptures on the washed logs that you can inspect for additional clues.
Clue found:
- Triangle figures made from twigs
Just up ahead is the Cult Stash #2 – Lakeshore, but it’s locked. To open it, simply observe the lock and follow the order of lights as they go off. Then, press the buttons in the same order and it should open the lock. Inside are more consumables like flares, ammo and a propane tank, plus another Inventory Upgrade. Remember to inspect the note to get another clue from it.
Clue found:
- Note reminding cultists that victims are “like animals”
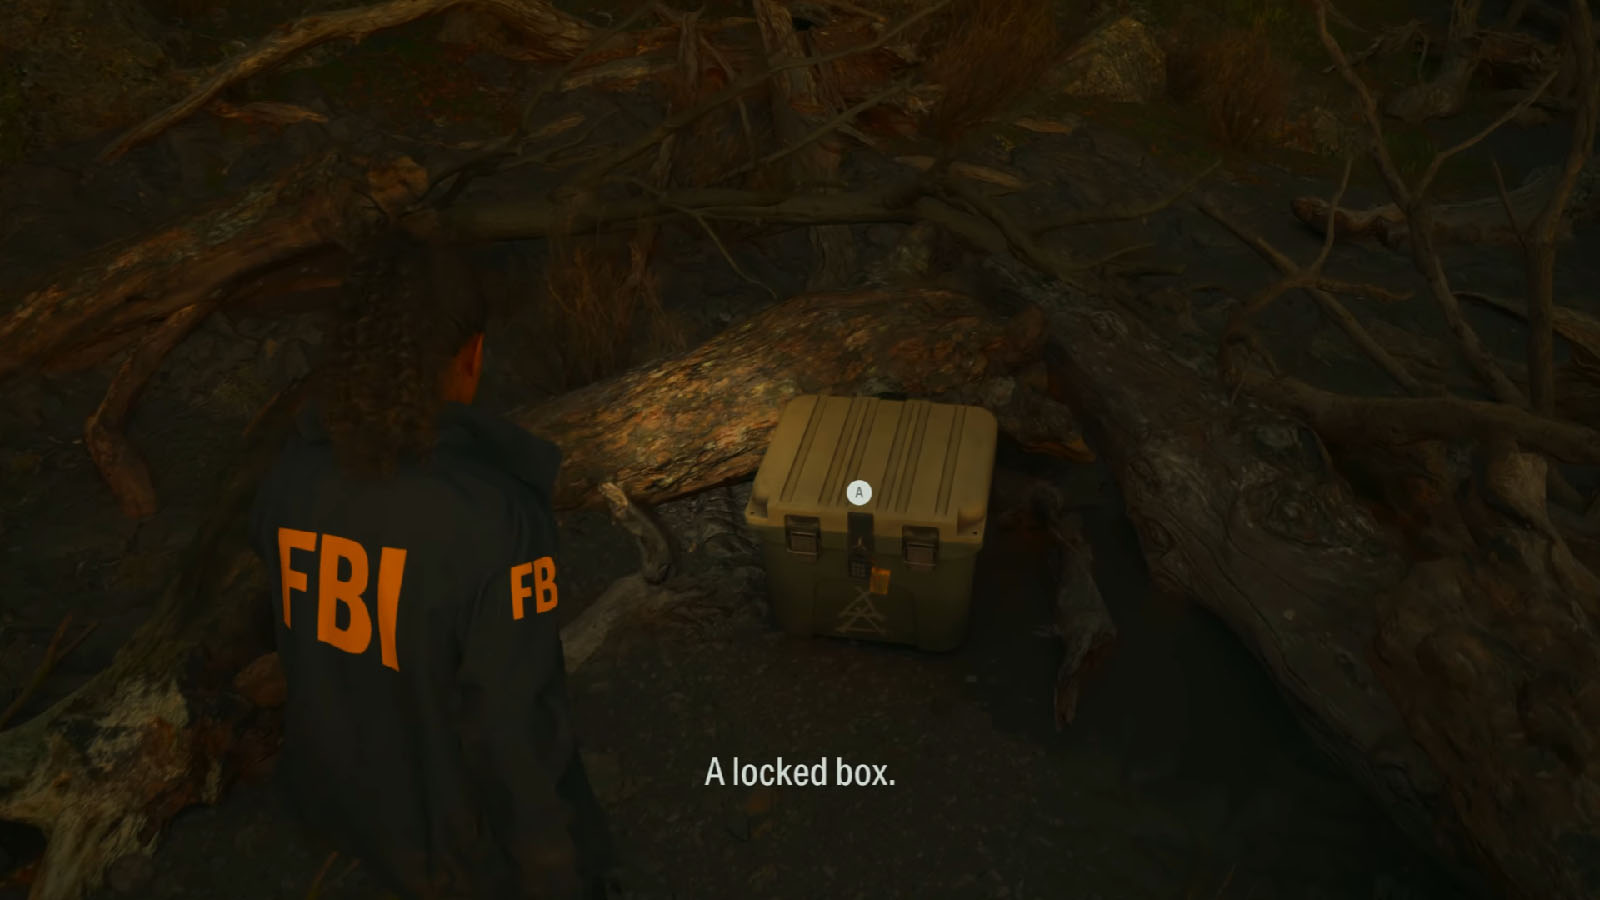
Go back to the previous path and head right to get back to the Witch’s Ladle; you’ll pass by another orange box that has more ammo and consumables.
As you follow the path, you’ll encounter a Taken wolf by the lamppost; take it down before it can get the jump on you.
After the encounter, check the area around the table to find more ammo and another manuscript page.
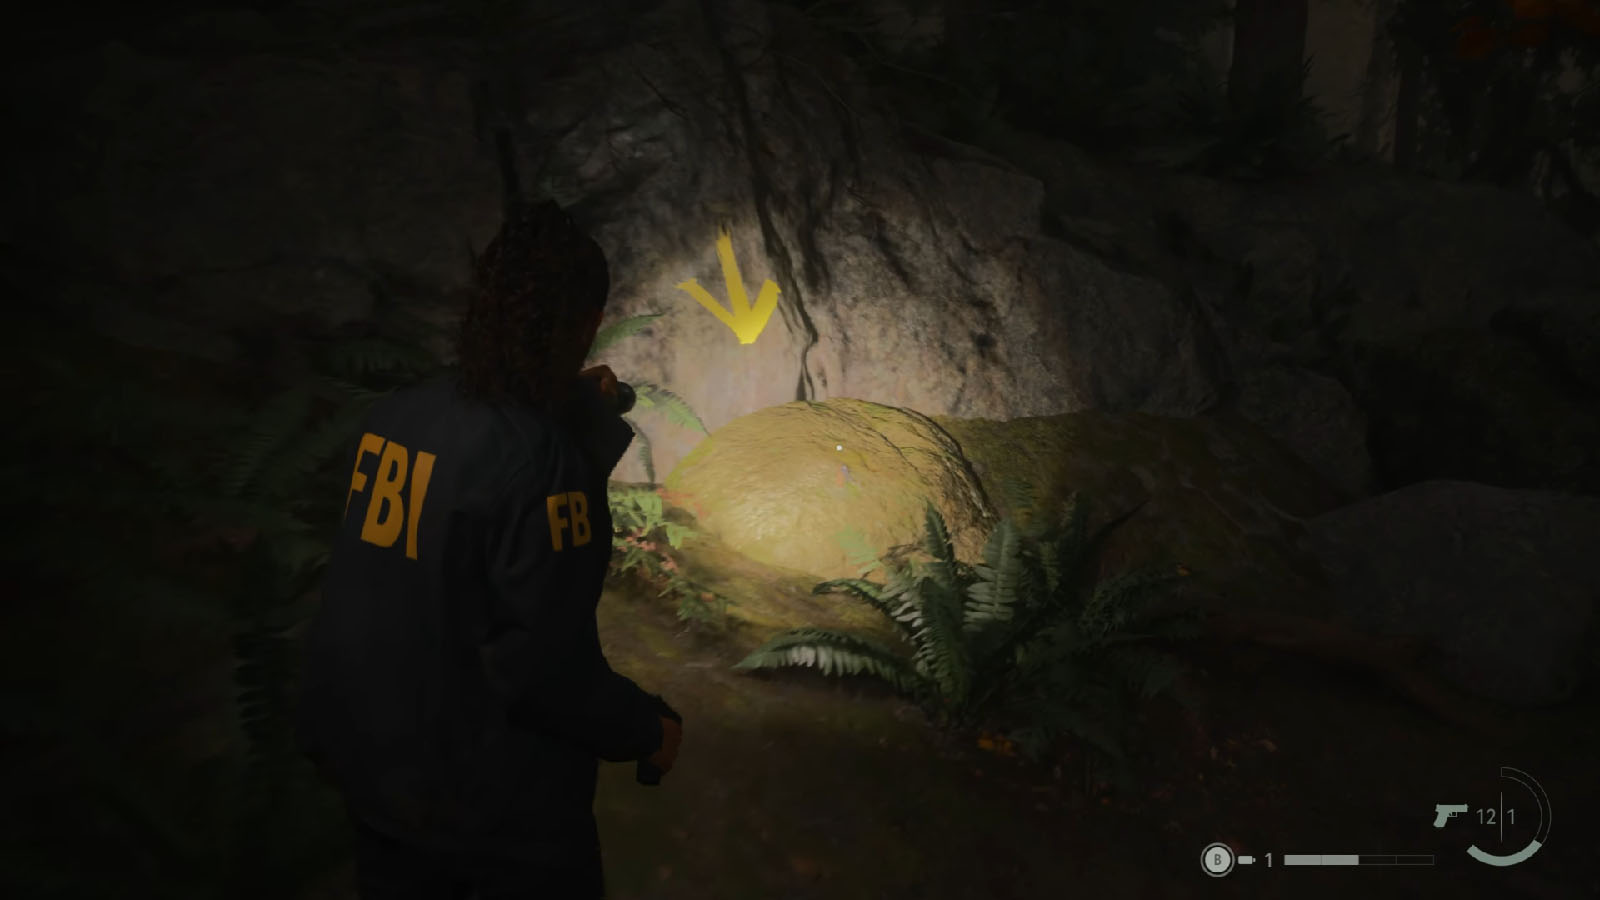
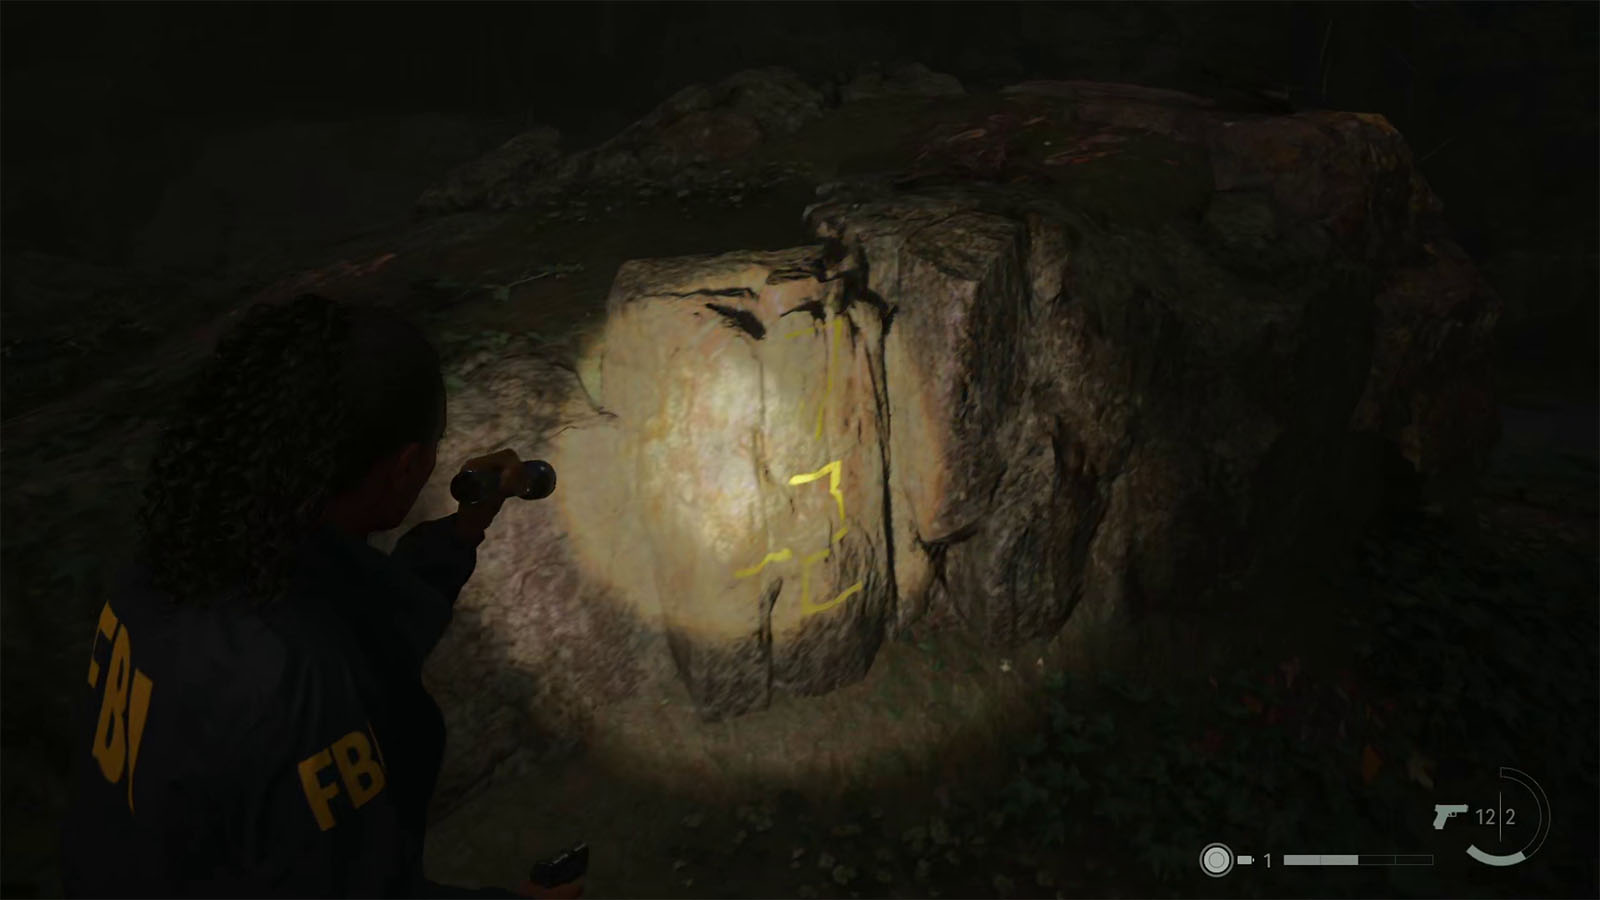
You’ll also see a yellow arrow on the rocks and logs. Follow it around and you will find the Streamside Stash Key. This key will open the Cult Stash #3 – Witch’s Ladle which is just near the campgrounds north of you.
From your map, you’ll see a path circling back to the shore you were at earlier, but it’s blocked. At the end of this path is a the Fisherman’s Note.
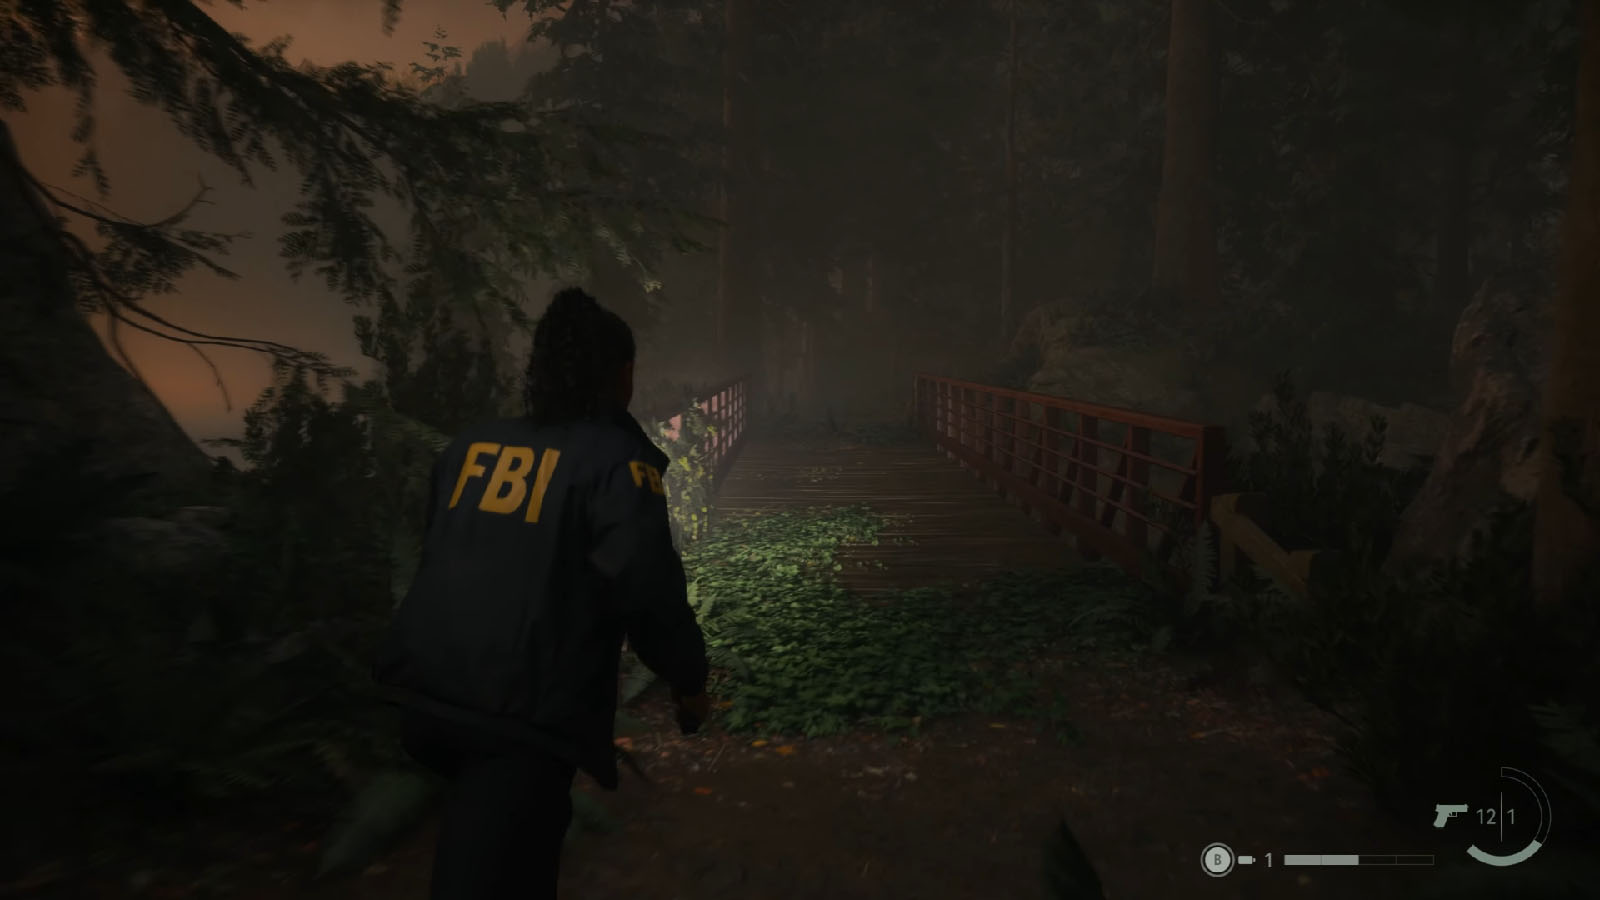
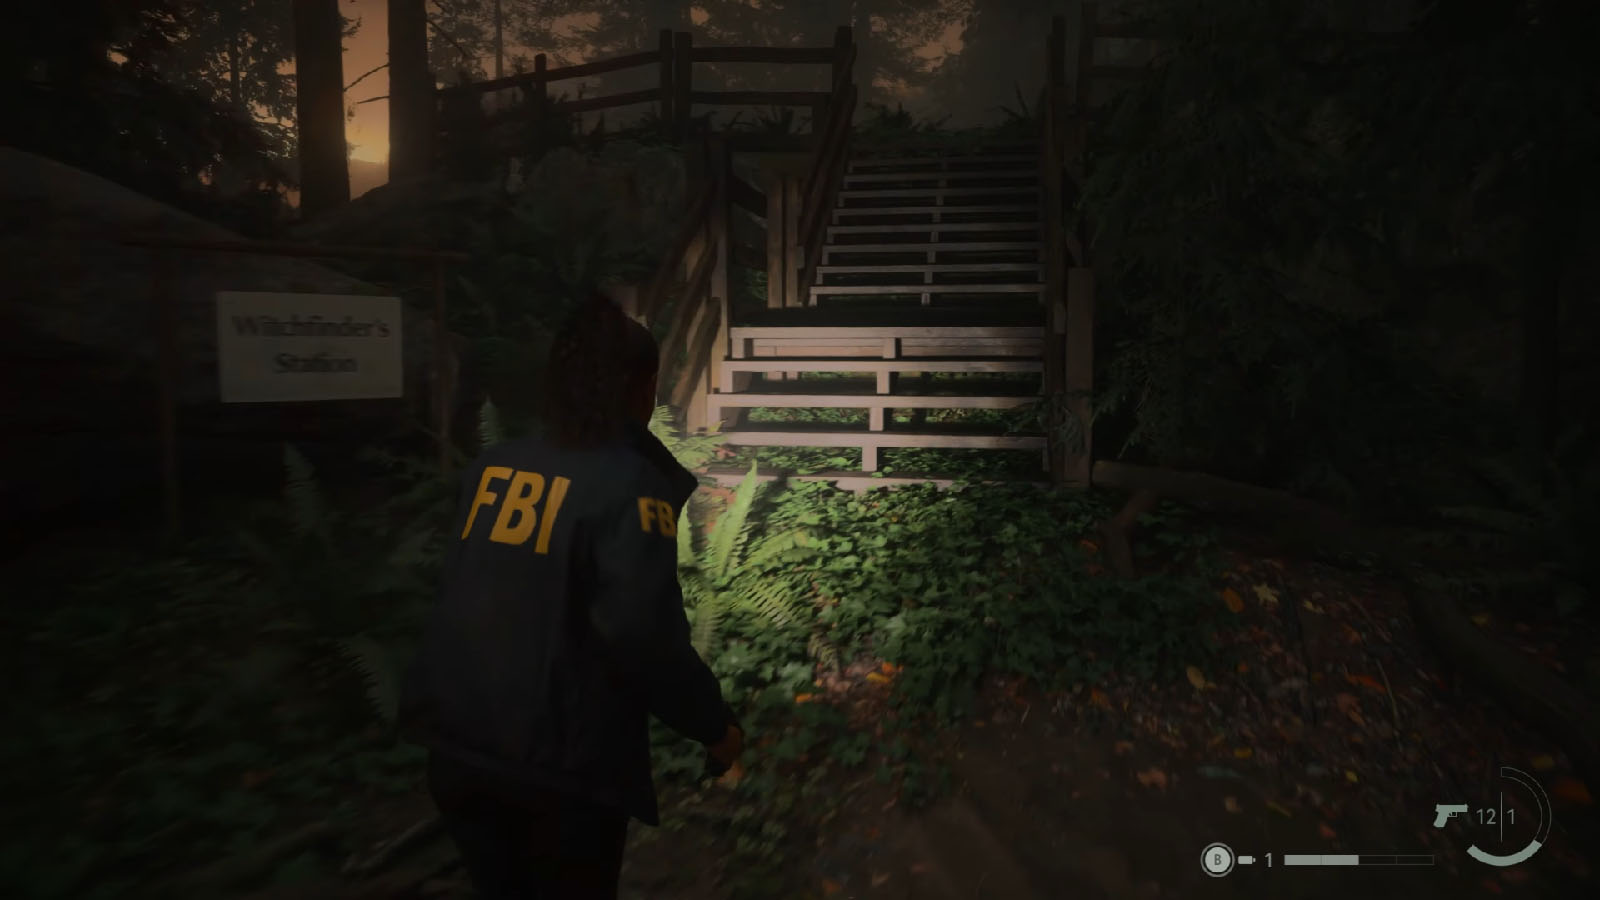
Head back and take the bridge up north which will take you to the Witchfinder’s Station.
Nursery Rhyme #1
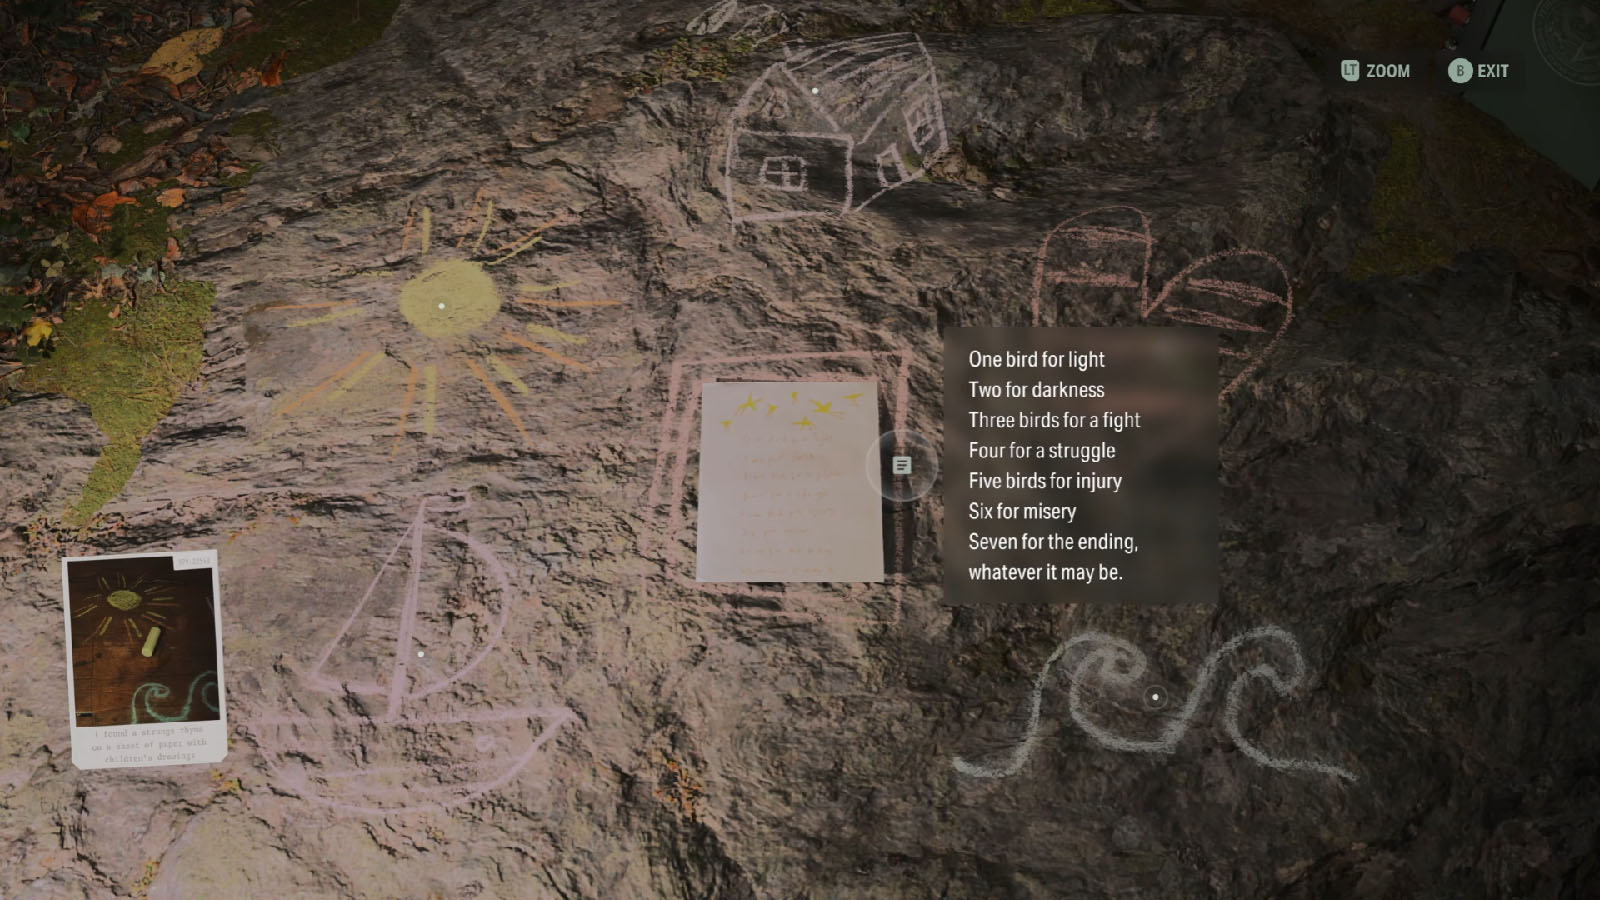
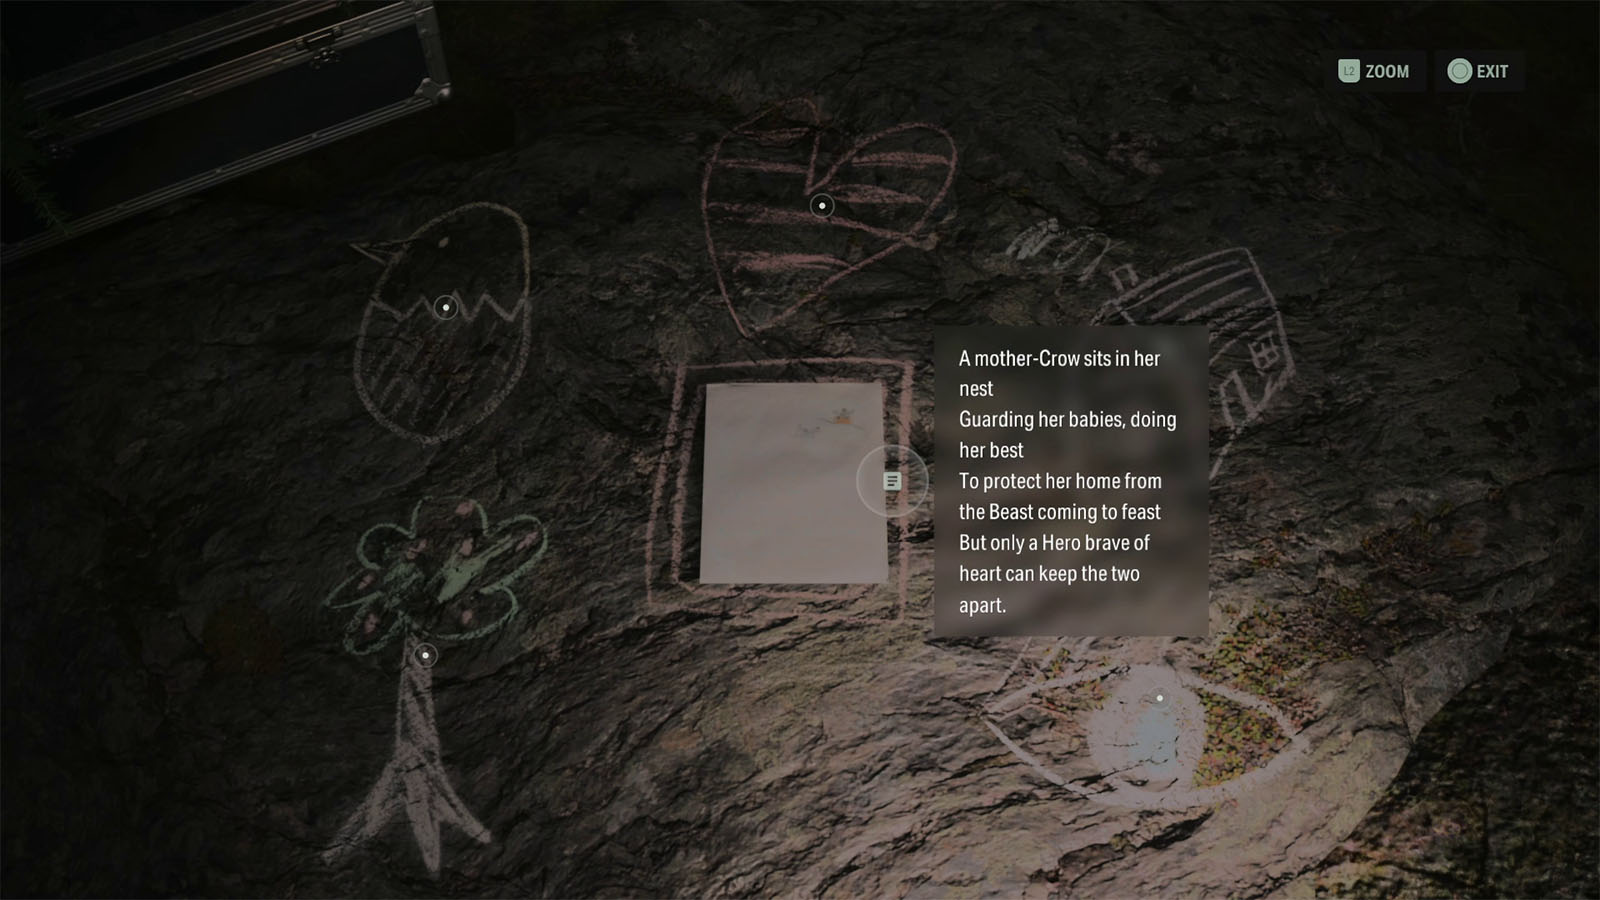
After crossing the bridge, go to the left side area where you’ll find some equipment. Inspect the chalk drawings on the rock to find a note with a riddle or a nursery rhyme. You can also see that you can place items on top of the five drawings around the note.
Clue found:
- I found a strange rhyme on a sheet of paper with children’s drawings
To solve this riddle, go to the table nearby and look for a Crow Doll. Take this doll and place it on the sun drawing according to the rhyme. Something strange will happen, and when you look back at the table, you’ll see an actual crow flying off from it. Inspect the table and you’ll find the Hammer Charm which increase your chances of staggering an enemy when equipped. Pick up the doll again before leaving.
Clue found:
- A charm appeared at the site of the rhyme
Back in your mind place, you’ll have a new case folder for these Nursery Rhymes.
Go back to the main path and head towards the lamppost. There’s a box on this post, but it’s locked and you’ll need something open it. Continue up the path for now, and then take a left to get to the Witchfinder’s Station.
Turn right at the top of the stairs and go to the table where you’ll find a Manuscript Page.
From here, look for colored rocks and mobiles and follow it to find Alex Casey Lunchbox #7 which contains x9 Manuscript Fragments.
Nursery Rhyme #2

Go to the front of the station to where the recording equipment are. There’s another nursery rhyme on the ground about the hero and the wolf. Like before, you’ll need to find specific dolls and place them on top of the drawings that will match the rhyme.

Head inside the station and go up the second floor. Inside the room with a play pen, you will find the Wolf and the Hero Dolls. Take them back to the drawing, then place the Hero on the boat drawing, and the Wolf on the tree drawing. Reality will then shift and you’ll see paw marks leading back into the house.
Go back into the house and in the room with the playpen where you will find the Coffee Mug Charm which is a one-time use charm that can save you from a fatal hit. Pick the dolls back up before leaving.
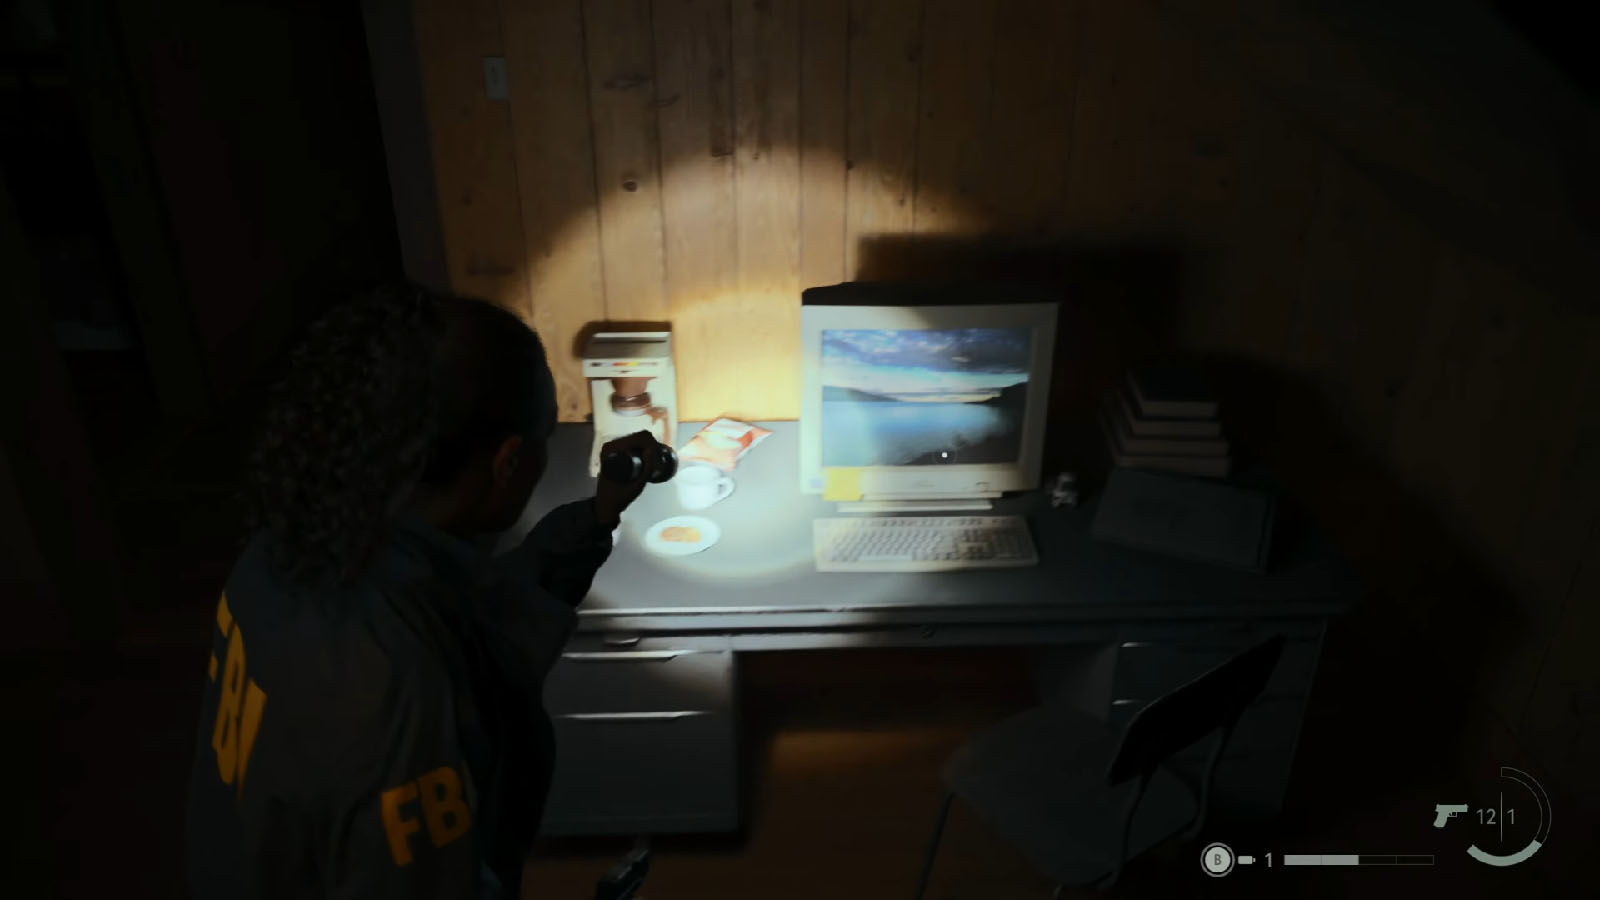
Now you can venture into the house and inspect the other areas if you haven’t yet. Check the computer by the stairs and take note of the code on the note: 2547. Use this code to access the computer to find another clue about the author of the nursery rhymes.
Head upstairs and go to the other room where you’ll find a report about the reality-altering effects of the nursery rhymes on the desk. Then go to the room with the play pen again where you can find another report about the number of “test sites”, or the ones we know as the nursery rhymes, on the bed.
Clue found:
- Test sites in Cauldron Lake
- FBC file on the reality-altering effects of the nursery rhymes
Once you’re done exploring the station, head back down to the fork on the path and take the next path up ahead to get to the Private Cabin.
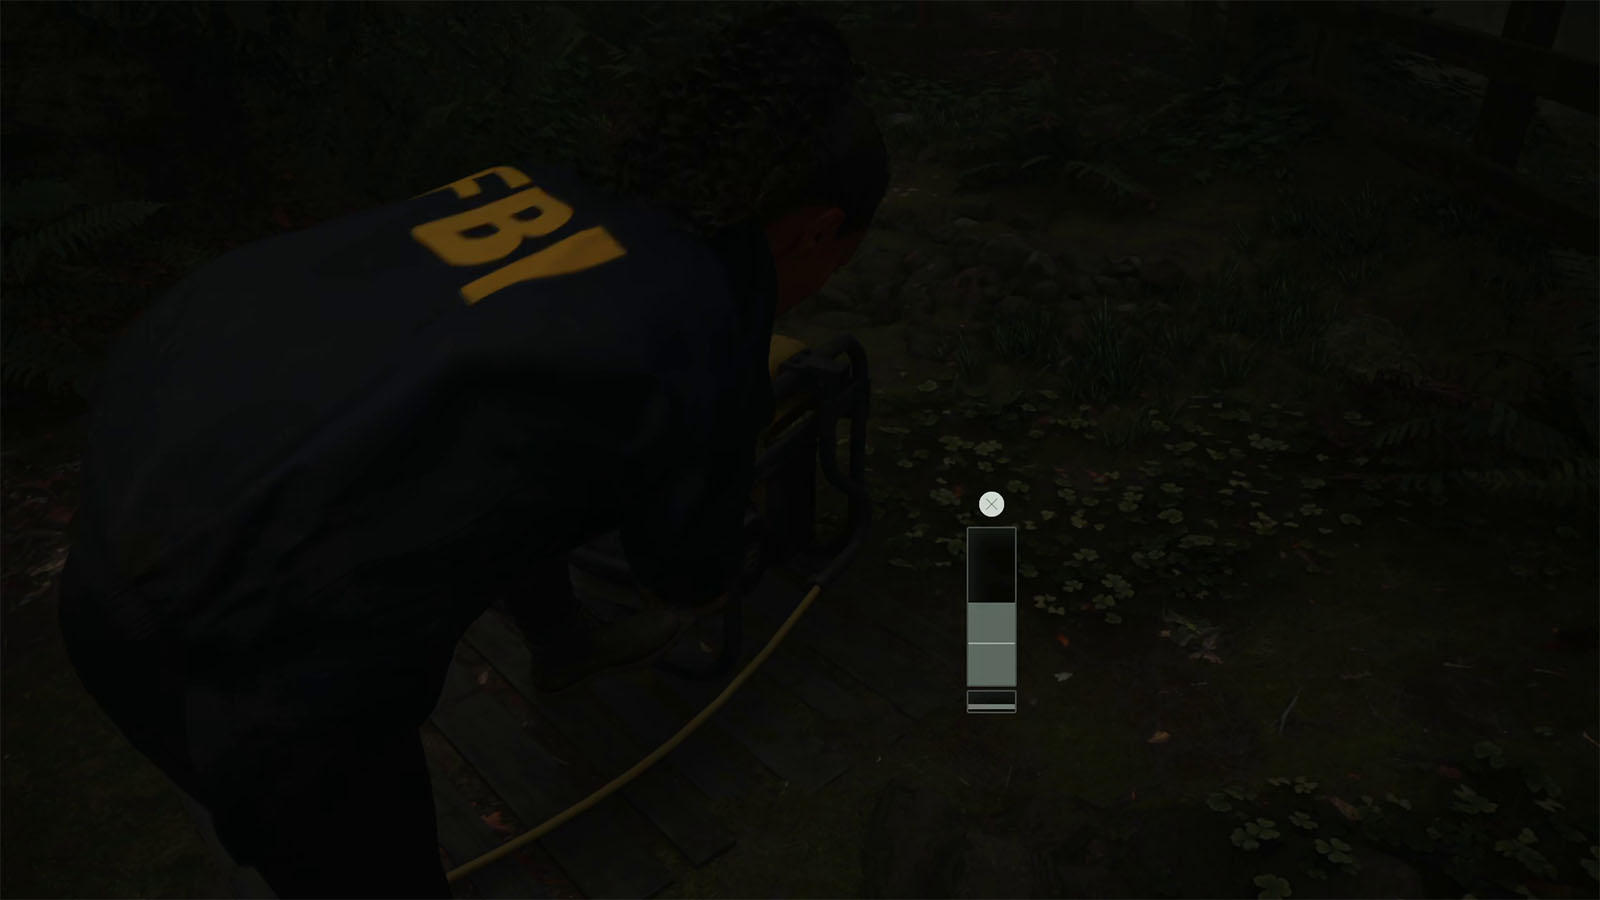
Check the side of the cabin where you will find a generator. To turn the generator on, you will need to hit the button just as the bar reaches the marked area on the meter. Once done, you’ll be able to light up the cabin and turn it into a save point. Inside the cabin, there’s also a Manuscript Page and a Guest Note.
Clue found:
- Manuscript: The Cult of the Tree
Nursery Rhyme #3
Nearby the cabin is where the next nursery rhyme is at. This time, it talks about the same characters that were used before, so better have them on your inventory or head back to the previous test sites and retrieve the dolls.
To solve this riddle, you will need to put the Crow on the chick drawing, the Hero on the heart, and the Wolf of the house.
Reality will shift once more. Make your way up north to the pond nearby where you will hear the growl of a wolf and a crow. Inspect the fallen birdhouse where you will find the Kalevala Knights Charm, but prepare to get jumped by a Taken wolf; defeat the wolf and you can proceed.
From the cabin, head west and turn right just before you get to the stream to find another Cult Stash #4 – Private Cabin with another combination lock and a note with a clue. Look for the glowing numbers nearby and do the simple equations to come up with the numbers from 3+3, 7-2, and 6+2. Then, input code 658, in order of the hint on the note, on the lock to open it and you will find more consumables that you will need later on.
Move upstream follow the source of the flow. Keep an eye out on more colorful stones near the waterfalls which will lead you to the Alex Casey Lunchbox #8 which contains x9 Manuscript Fragments.
Take the car back to Bright Falls
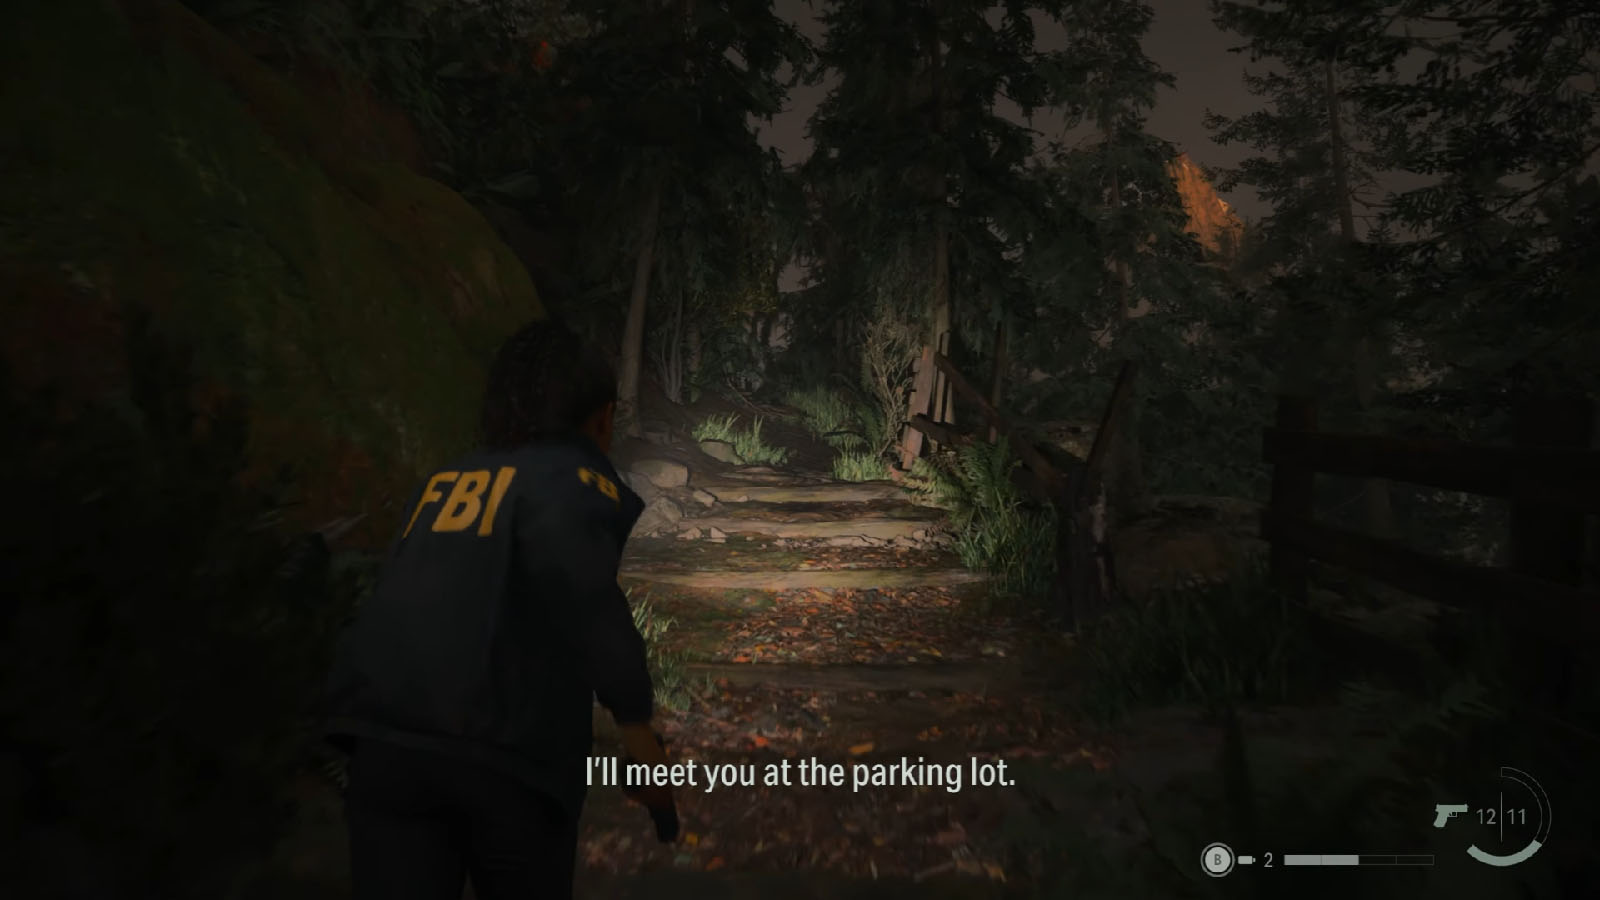
From here on, you can simply make your way back to the parking lot to finally meet up with Casey.
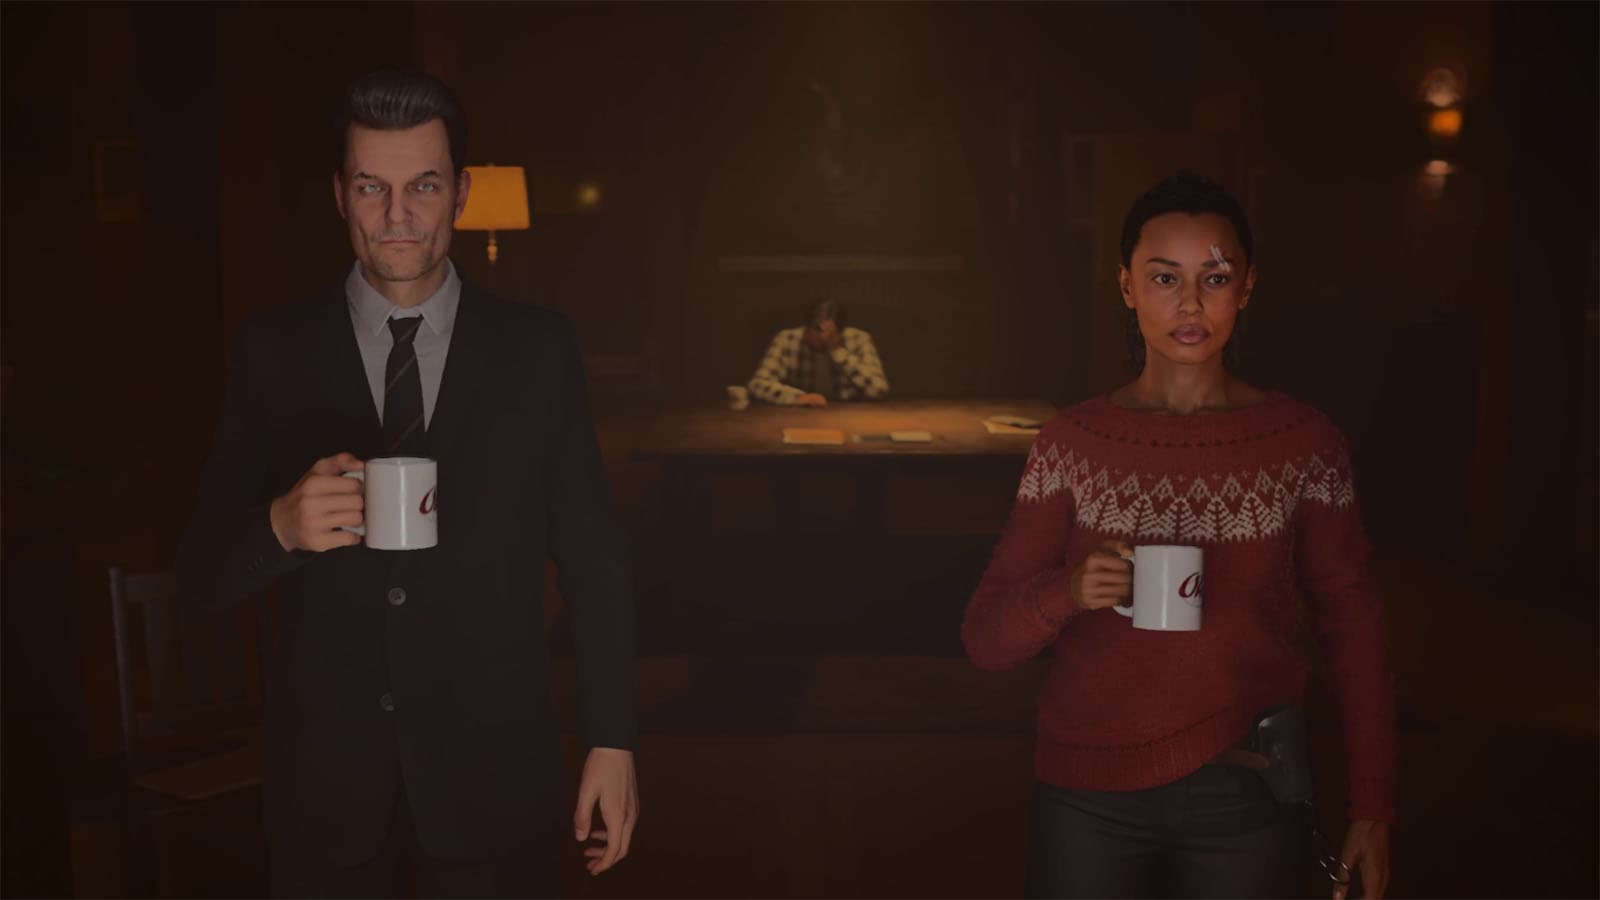
The next part will be a long cutscene where Saga and Casey take Alan back to the lodge and interview him about his long disappearance and his involvement on the strange events that has been happening.

The scene then changes back to Alan’s memories when he was still inside the Dark Place. In it, he sees himself in a talk show talking about a new book he wrote; a book that not even Alan remembers writing. The talk show then ends and you get control over Alan as he wanders through the halls of the studio.
See next: Initiation 1: Late Night Walkthrough


