")
Solstice Shrines in Sea of Stars are comparable to outside training grounds for Solstice Warriors. Not much is known about them except that the Order uses them to become stronger.
In this guide, I’ll tell you where you can find the Solstice Shrines, what to expect to find inside them, and your rewards at the end of everything. This is also integral to getting the Elder Dissed Achievement and the True Ending of the game.
All Solstice Shrine Locations
There are 5 Solstice Shrines in Sea of Stars. There are only a couple of locations accessible to you by the time you’re done with Wraith Island. The others will become accessible after crossing the Sea of Stars.
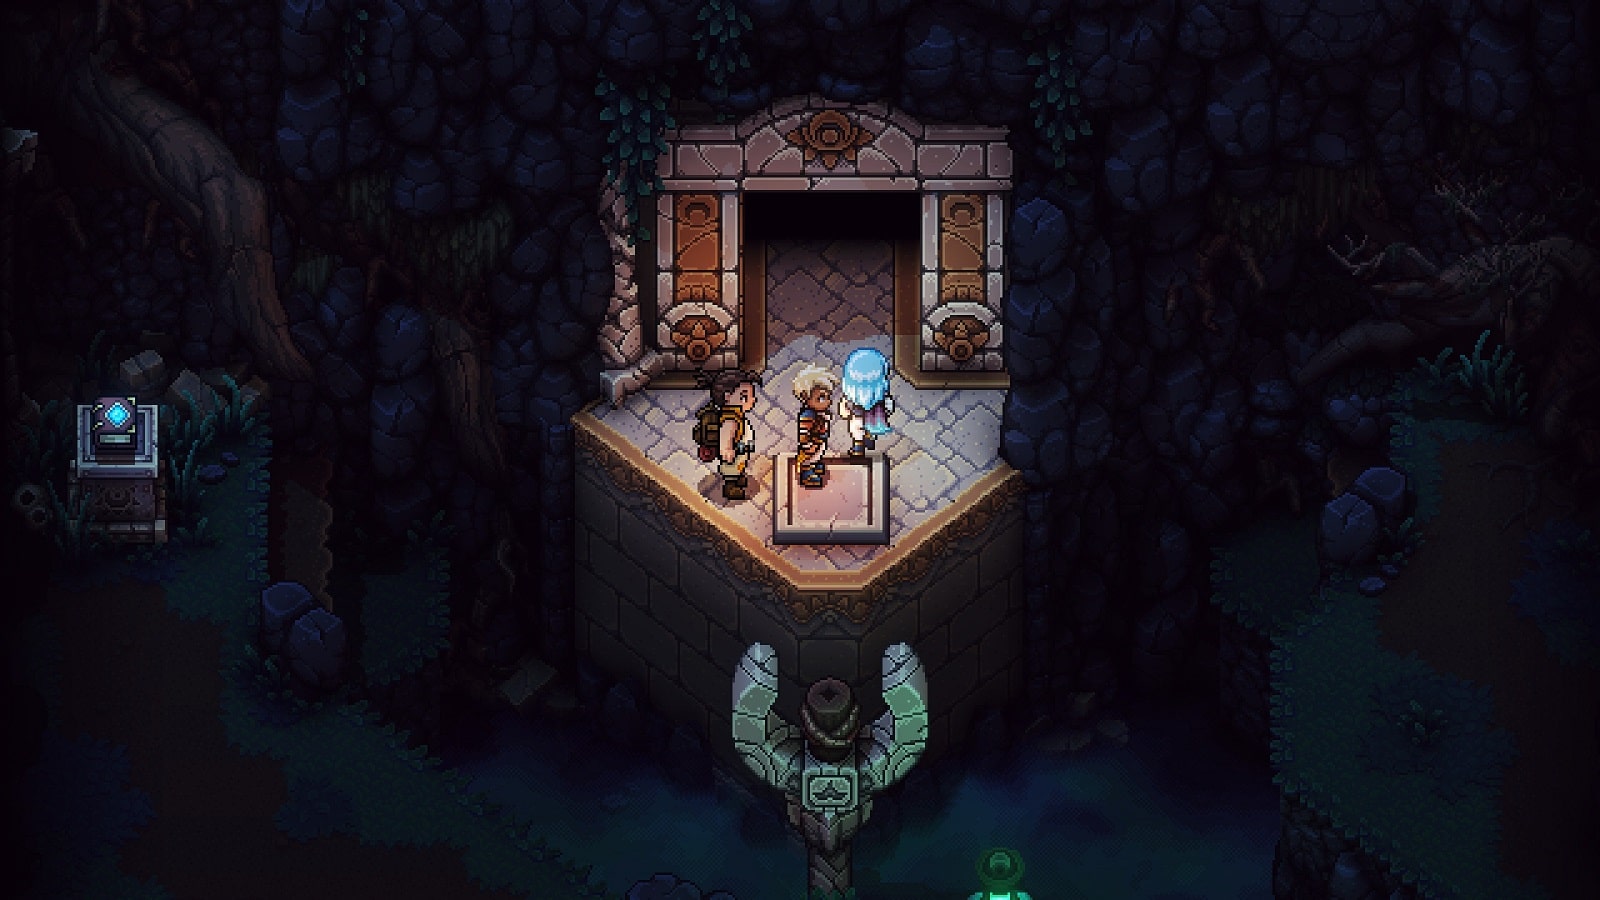
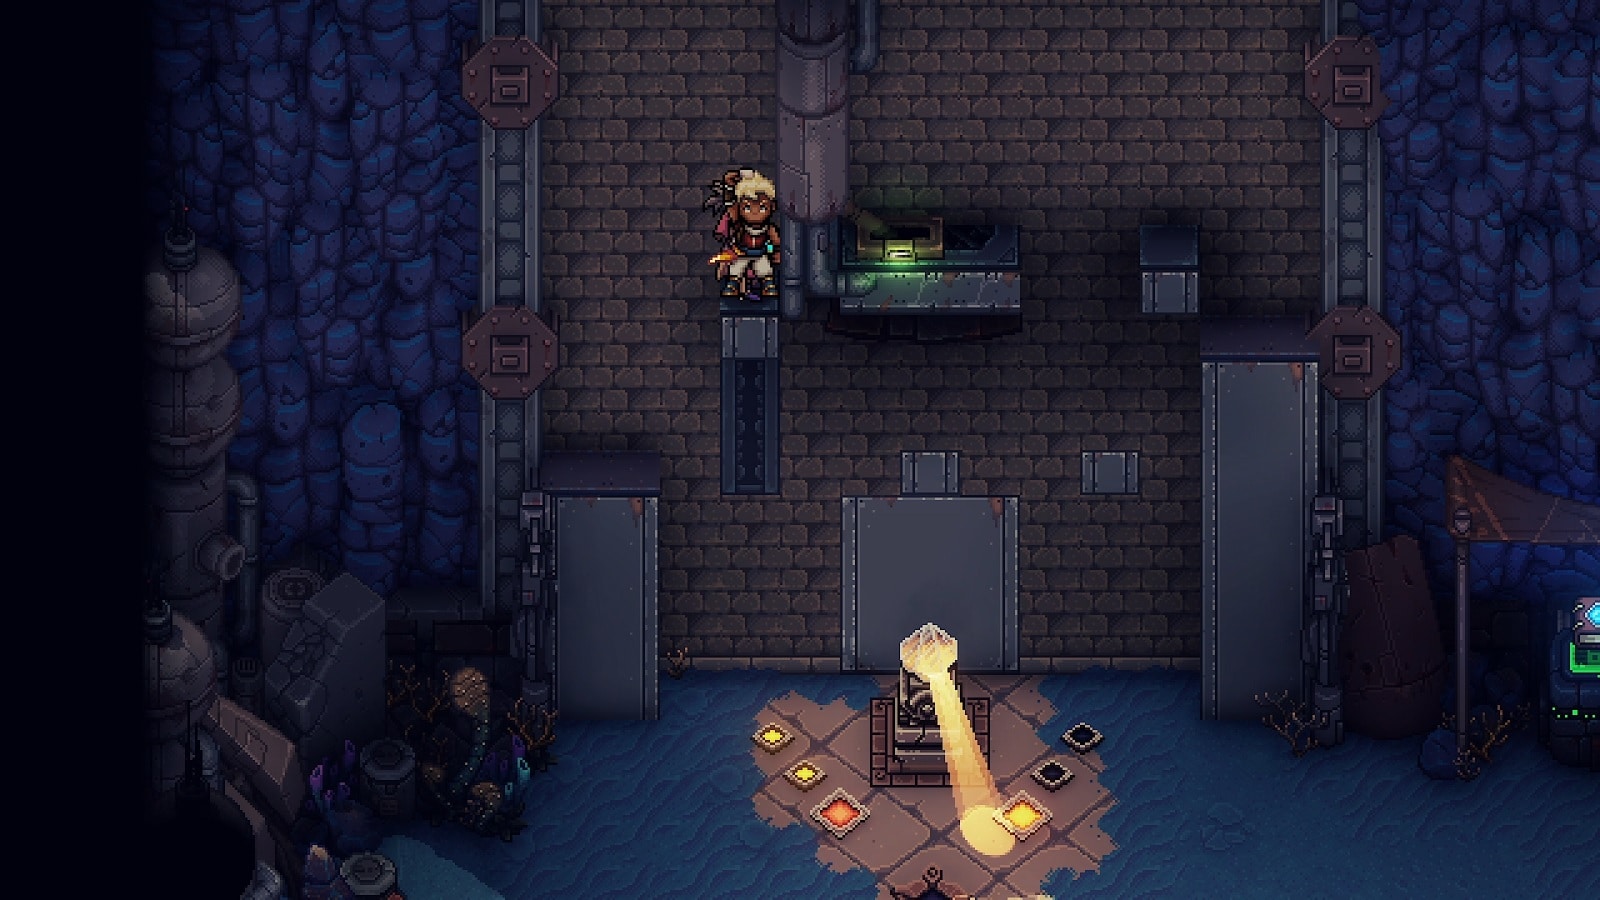
Location #1 – Wraith Island
This is technically the first Solstice Shrine you find in the game. It is located North of the Town of Lucent, just before entering the Cursed Woods. You will need the Graplou to reach the front entrance.
This puzzle is all about pressure plates and slotting in Solstice Shrine Keys to activate different platforms.
Chest: Shimmering Staff
Reward: Solstice Sash
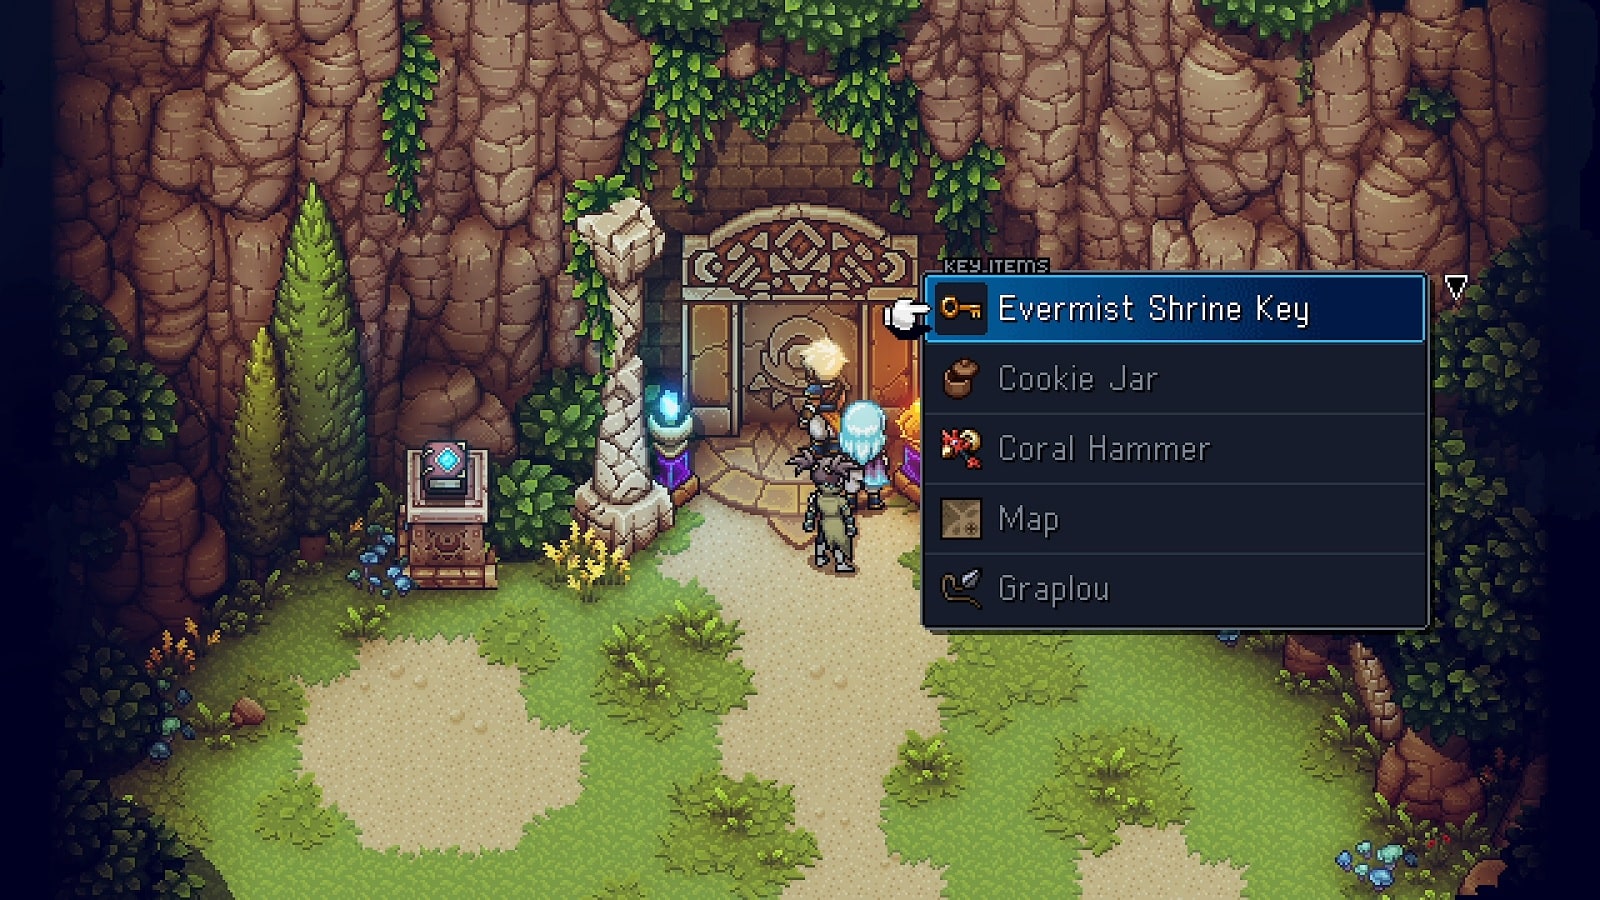
Location #2 – Solstice Island
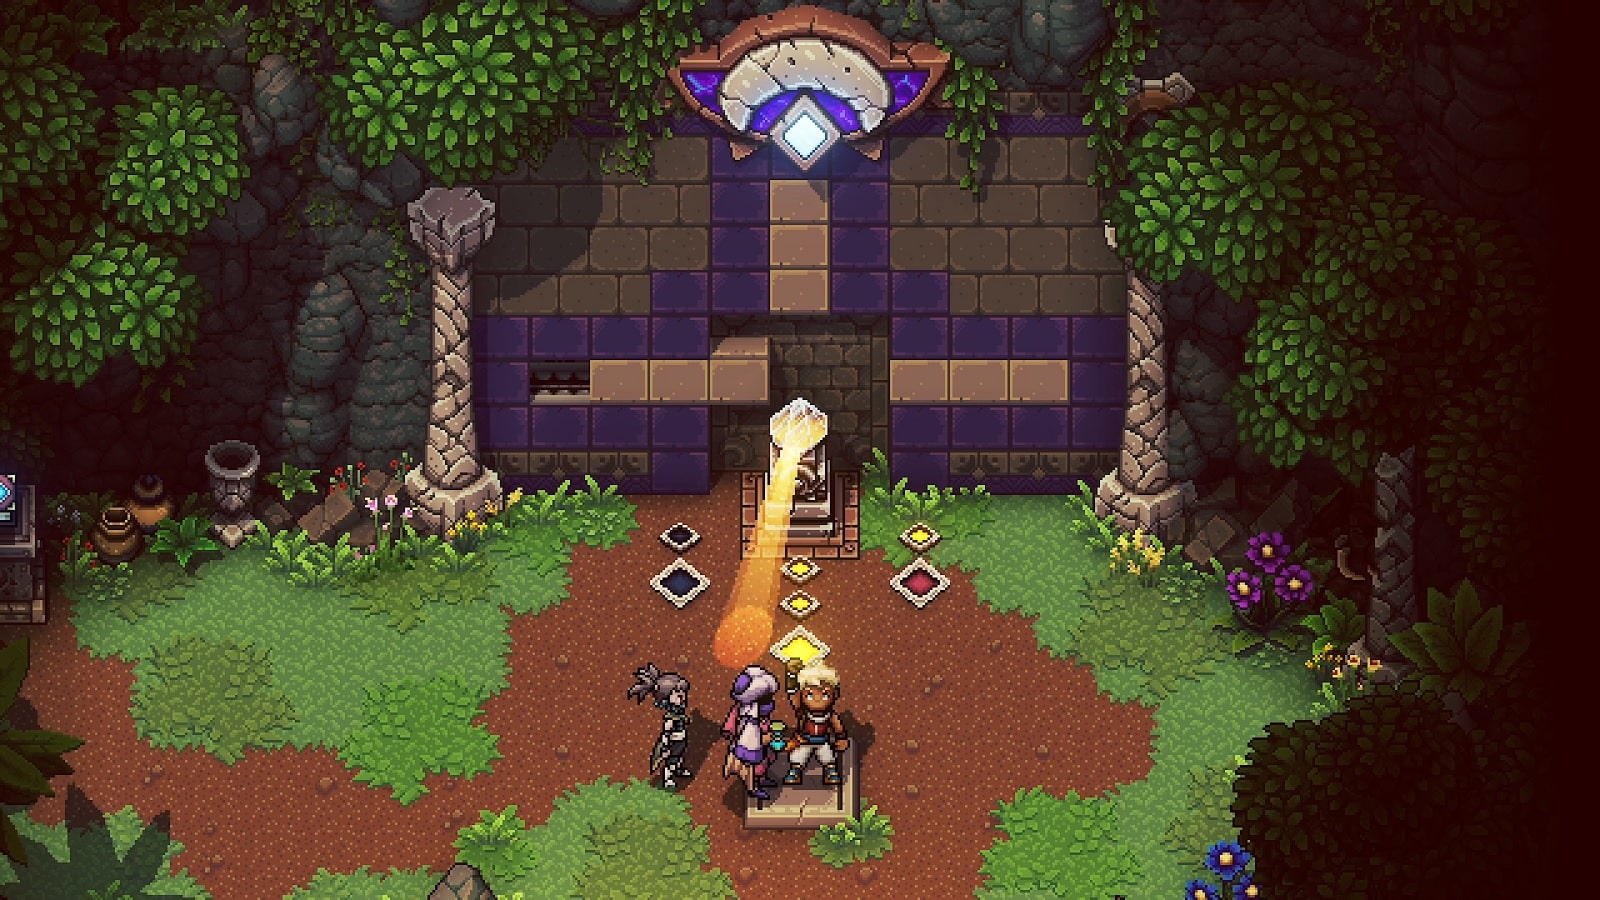
This Shrine is located next to the Mountain Trail on Evermist Island. To get into this one, you’ll need the Evermist Shrine Key. You acquire this key from Moraine after the establishment of Mirth.
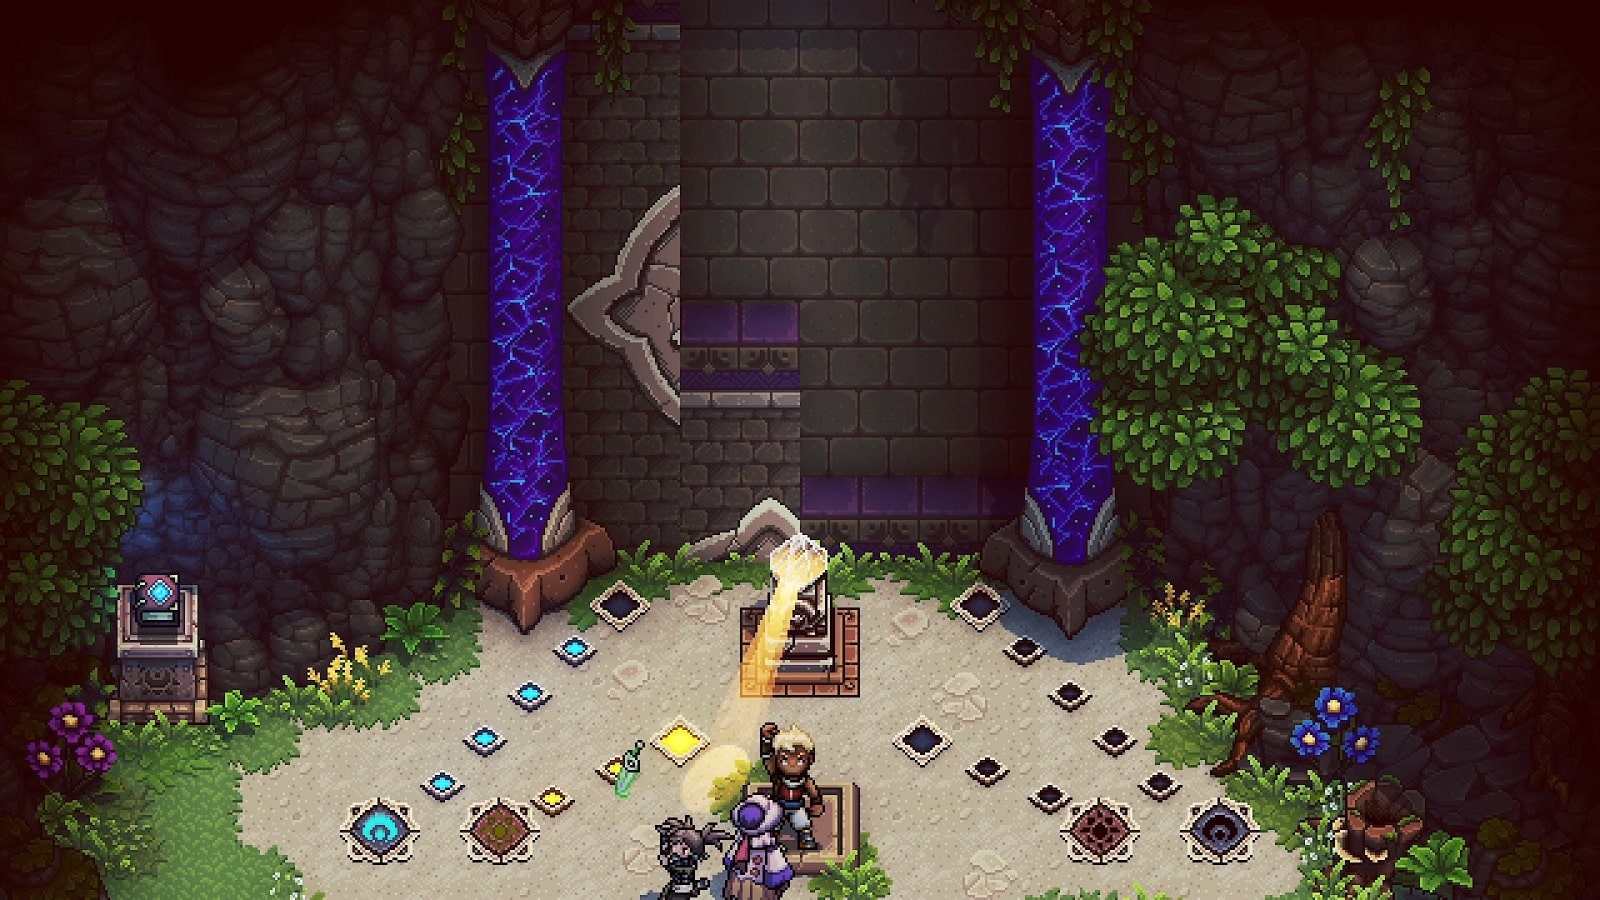
For this puzzle, you’ll need to copy the pattern on the back wall of the shrine. To do this, you’ll need to push the special block to light up the floor while making sure it doesn’t touch the outlying Solstice symbols. Use the stone blocks to dictate where the special block stops. Get the block to the end to complete the puzzle.
Reward: Soonrang Combo Skill
Location #3 – Solstice Shrine Near Settlers Island
This Solstice Shrine is located on an island south of Settlers Island. You’ll need the Fly ability to get close to the entrance. To enter the Shrine, you’ll need to use your Solstice powers to change the Time of Day.
The one requires you to reach the top of the wall to activate a pedestal that frees up the chest. There is a singular Celestial Rune at the base of the wall. The idea is to alternate between timed triggers on either side to activate different traversal mechanics to help you advance.
Reward: Heliacal Earrings
Location #4 – Solstice Shrine Near Sleeper Island
This next Solstice Shrine is on an island south of Sleeper Island. Like the shrine before it, it requires you to have the Fly ability to reach. To open the entrance, you’ll have to keep the runes activated at the same time.
There is a large platform with directional symbols etched on each slab. The platform moves in the direction the arrow points to by one unit. Cross the gap by pressing on the right slabs. Activate both pedestals on the side to lower the bars that bind the chest.
Note: You can reset the puzzle at any time by jumping off the platform and touching the Solstice rune by the entrance.
Reward: Eclipse Armor
Location #5 – Solstice Shrine on Serai’s World
The Solstice Shrine is located on an island in the southwest portion of Serai’s World. You will need the Fly ability to reach the entrance. The door is locked behind a rune puzzle that needs a little bit of timing to solve.
The last puzzle is the hardest of the bunch. There are a couple of stone blocks in a grid of 9 squares. The squares represent the empty spaces in the chasm above. Wherever the blocks land, a bridge will appear. Use this to cross the gap starting on the left side. Hit the switches to remove the barriers to expand your range.
Hint: Halfway through the puzzle, you’ll make a bridge in the middle of the gap. Use the Graplou to reach the climbing all on the other side.
Reward: Celestial Ray
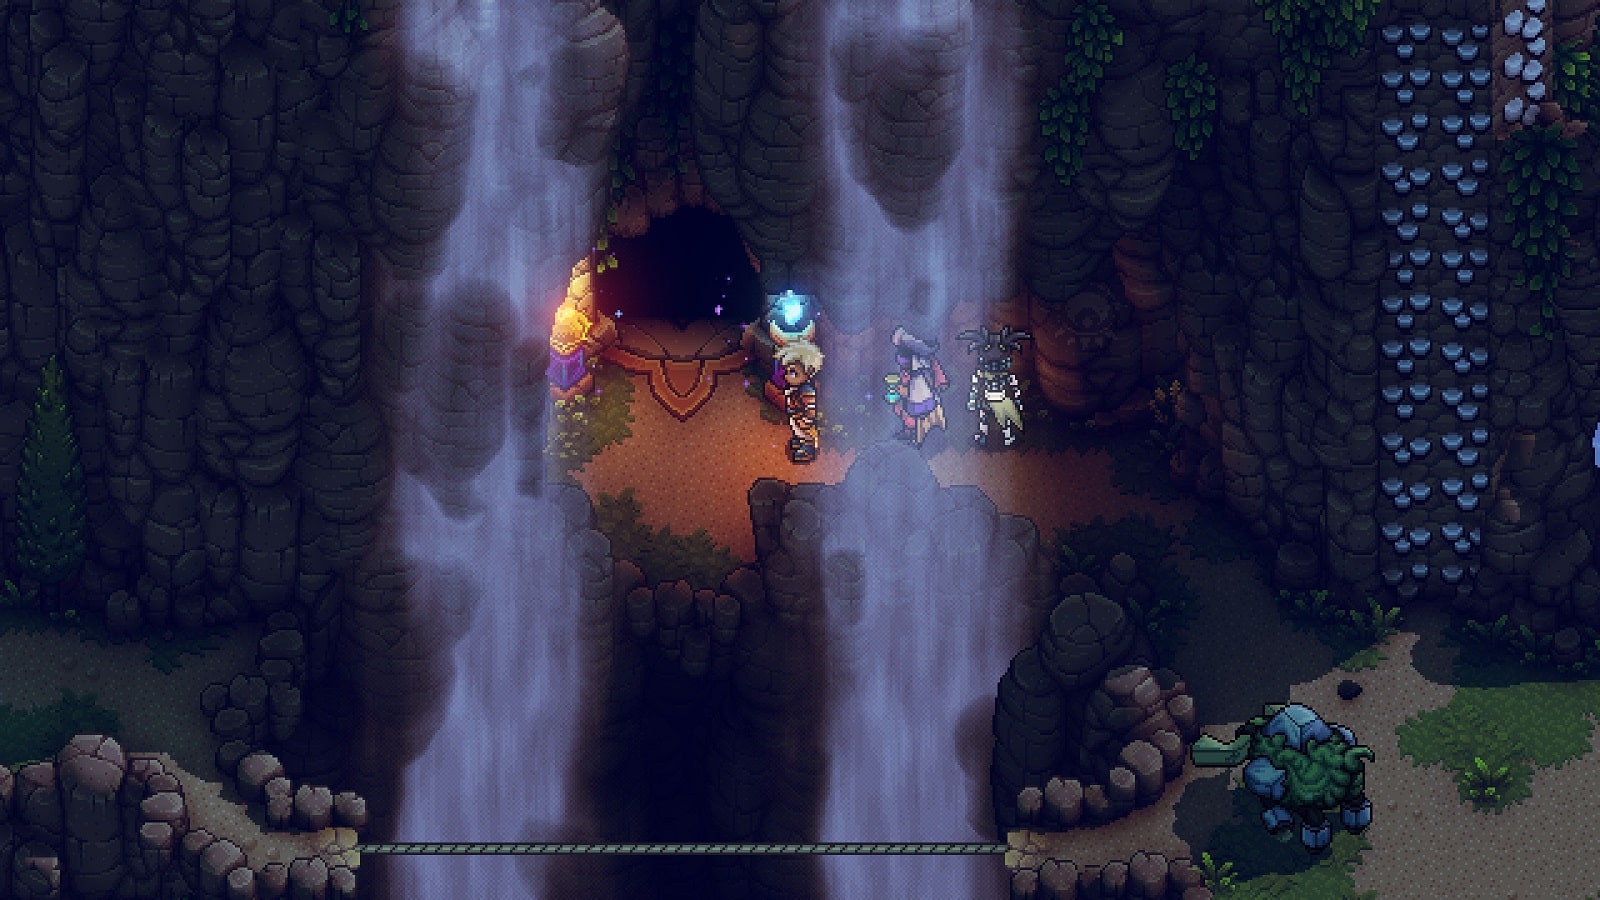
Solstice Warrior Portal Location
If you’ve noticed that every time you open the big chest at the end of each shrine, a mysterious door appears showing you that you’ve deactivated one of the lights. This Portal can be found on the Mountain Trail. The cave where the portal is behind the waterfall that comes from the Elder Mist shrine. Just go down a little bit and you’ll see it in no time.
Once you have cleared all the Solstice Shrines, you’ll be able to go in and face the Elder Mist one last time.
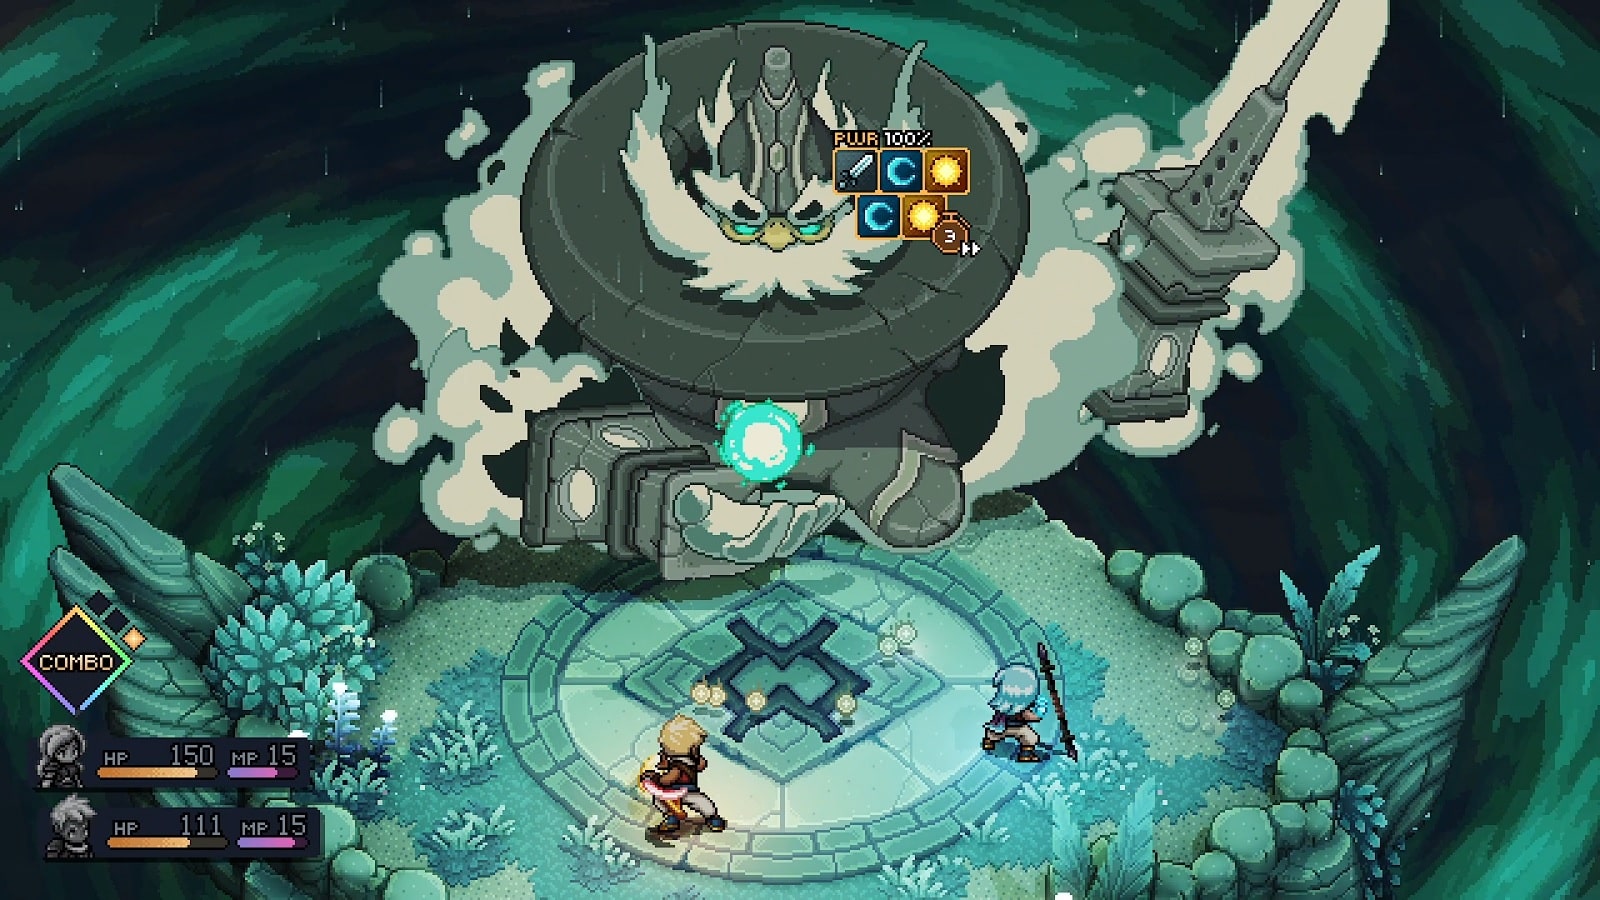
Elder Mist Second Fight
The second Elder Mist fight is very similar to the one at the beginning of the game. He’s of course a lot tougher but it should be no problem for anyone close to the end of the game.
The biggest threat is still the Elder Mist’s Sword. You can’t attack Elder Mist without it triggering a powerful counterattack, even if you use the Soonrang combo to attack both. It may be worth taking it out of the fight as quickly as possible before focusing on the Elder Mist. But sometimes that’s not going to be possible. Elder Mist has a nasty spell or two he’s been holding back since the last encounter. You don’t want him to cast freely either. So, a balanced offense may be wise in this case.
This is a lengthy fight and a single mistake will set you back significantly. You don’t want to be on the back foot while the Elder Mist is casting multi-hit magic. It’s okay to extend the fight a little longer, so make sure your health is topped with Healing Light. Valere’s Lunar Shield also negates the effect of the Sword. And remember, focused attacks from absorbed orbs deal even higher amounts of damage on Elder Mist and his Sword.
Defeating the Elder Mist for the second time will reward you with the Sun Blade and Moon Bo legendary weapons. It will also give you the Elder Dissed Achievement. And that’s everything for this Solstice Shirine Locations guide. Have fun completing the rest of Sea of Stars.
If you want our thoughts on Sea of Stars, check out the review I did for it. You can also check out the trophy guide I’m slowly building towards.


