
Flight Deck is one of the levels that are part of the second Virus Mission of System Shock Remake. After getting a message asking for help from some of the trapped crew of the station, the Hacker decides to heed their call and follow their trail up in the Flight Deck. Read ahead as we go through the Flight Deck level of System Shock Remake and share the location of the key items and collectibles that can be found in the level.
See previous: System Shock Remake Virus Mission Level 4: Storage Walkthrough
System Shock Remake Virus Mission Level 5: Flight Deck Walkthrough
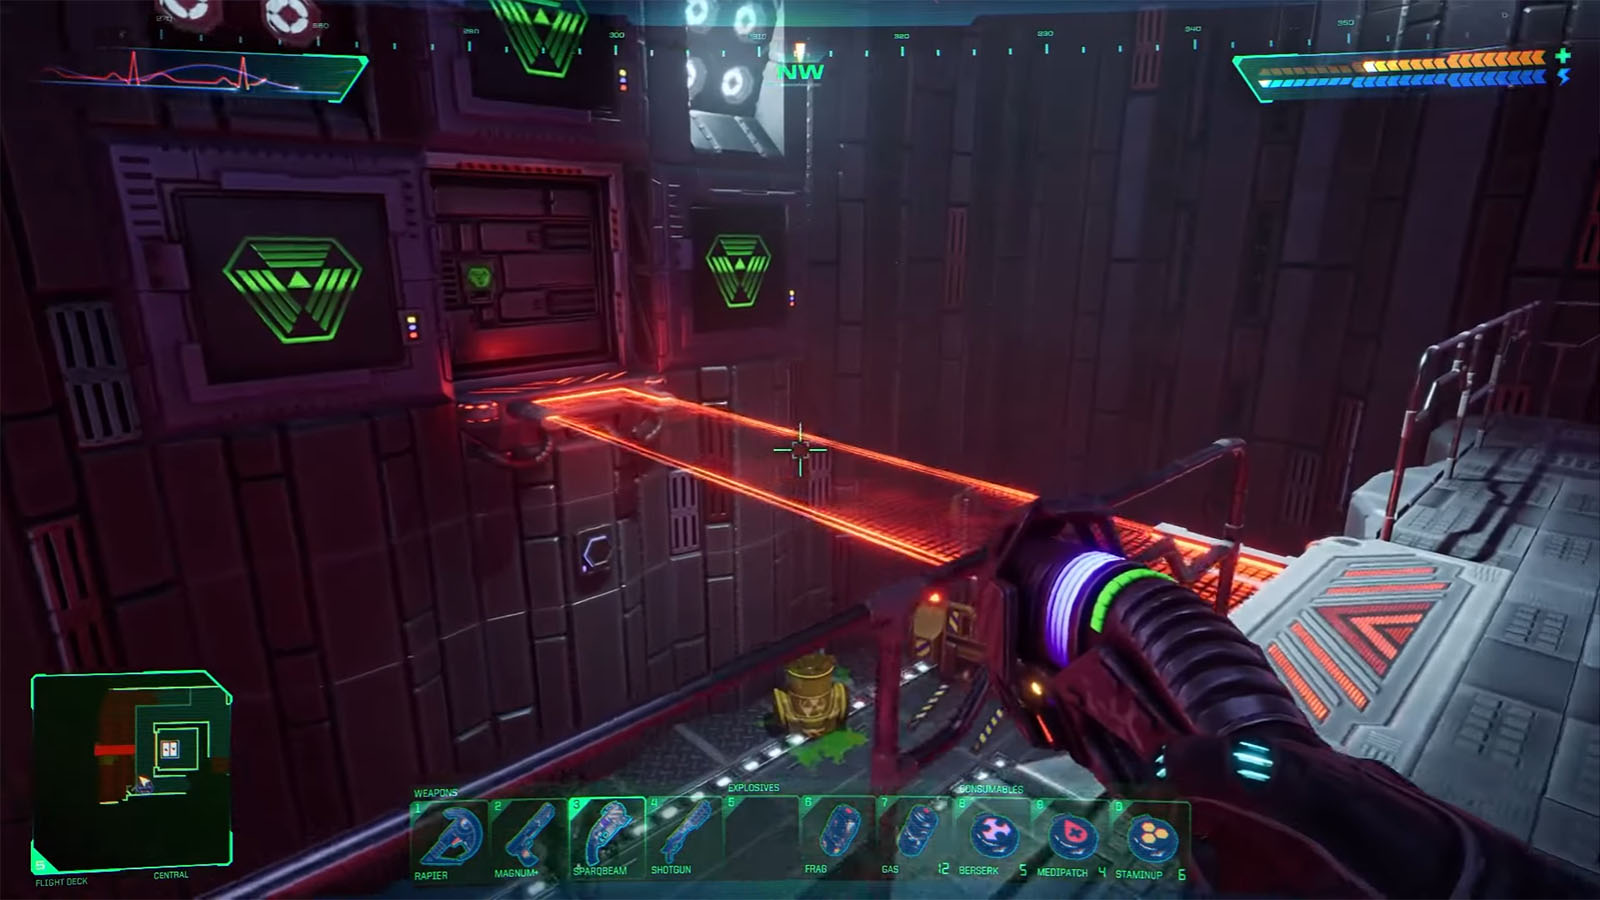
As soon as you head out of the elevator, immediately shoot at the enemy right across you. You will have to be careful when traversing and pay attention to the minimap to see the contaminated areas that you will have to avoid. It’s best to at least have the Environmental Protection Pack V1 that can be obtained in Storage 9 of the Storage Level as it can mitigate the poisoning.
Head to the left side of the elevator first and solve the Junction Box to make a bridge appear across the gap.
CPU Node – South
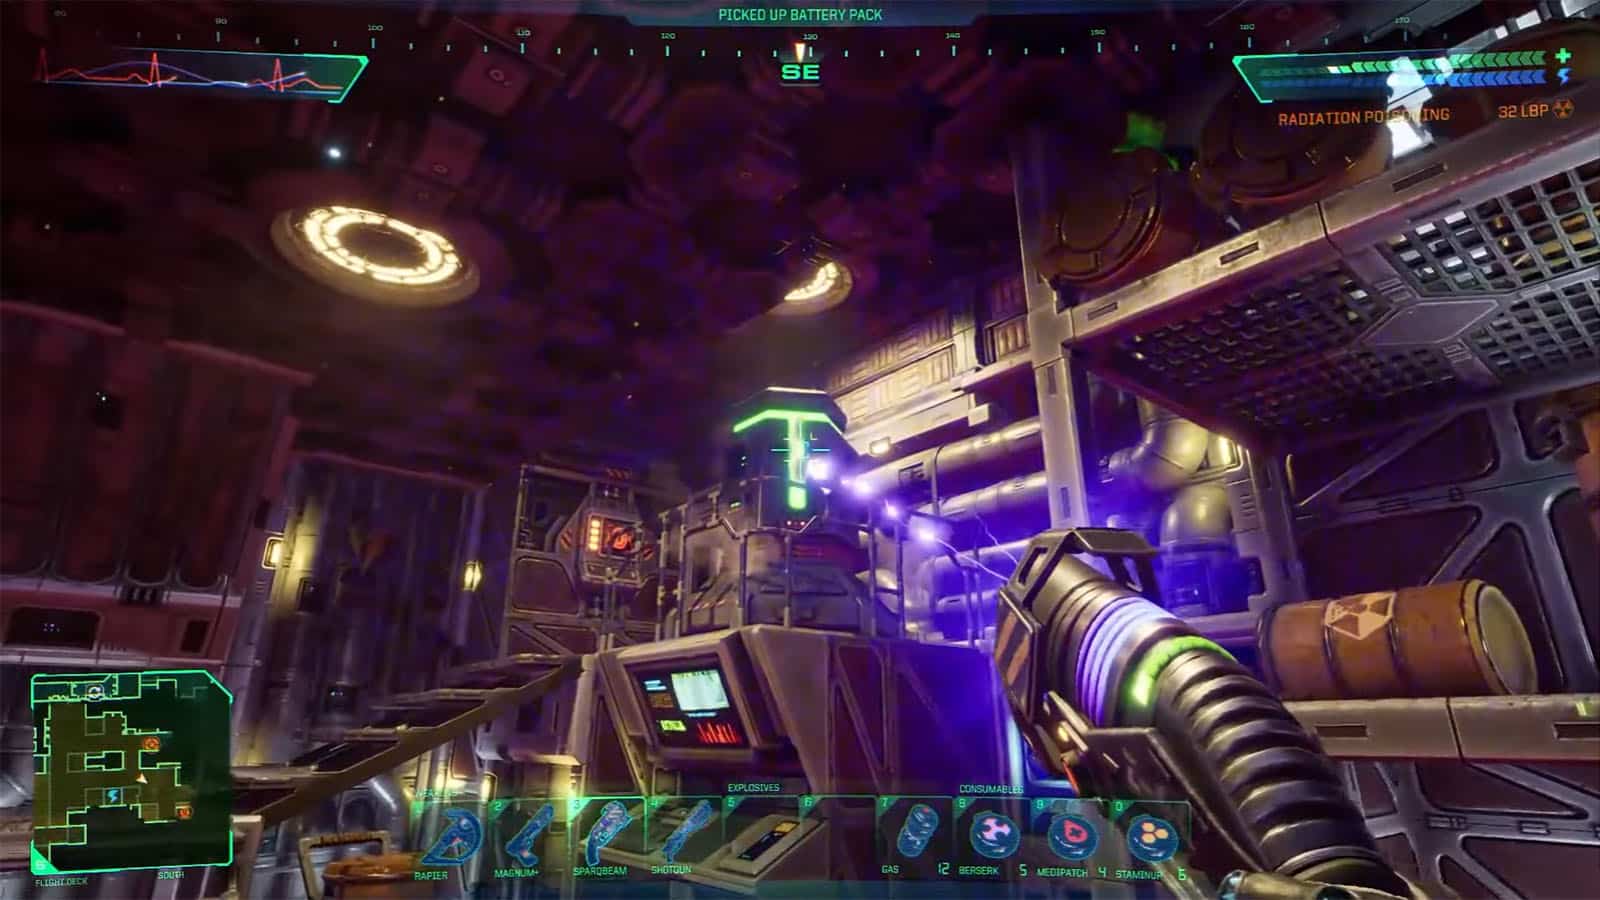
You first objective in this level is to head into the room where the CPU Node is. After crossing the bridge, you can find a ladder to your right that you can climb. Follow this path as it circles around the Central area and leads towards the south. Once you get to the fork in the path, take the left path (east) and you will arrive at the CPU Node room. This room is mostly contaminated, but unlike the previous CPU rooms, you only have to destroy one core. Remember to take note of the number that appears on the screens afterwards.
These are all the steps within the Flight Deck that are necessary for the Virus Mission. You can continue to the north area to find the elevator to the Executive Level, or you can keep on exploring the other areas to get a lay of the level for later. You can also take on the southwest corner of the map and follow the message for help that the crew sent for you.
Before that, do a quick trip over at Flight Bay 4 on the west side via the north path. You will find four levers behind a window overlooking the actual flight deck. Pull the rightmost lever as this will help in reaching some gadgets later on.
Cortex Reaver
Past the CPU room, follow the path and you will find the door marked GRAY. Follow it all the way through the gravlifts until you reach the barriers. For this hallway, you will need to solve three Junction Boxes to disable each of the barriers.
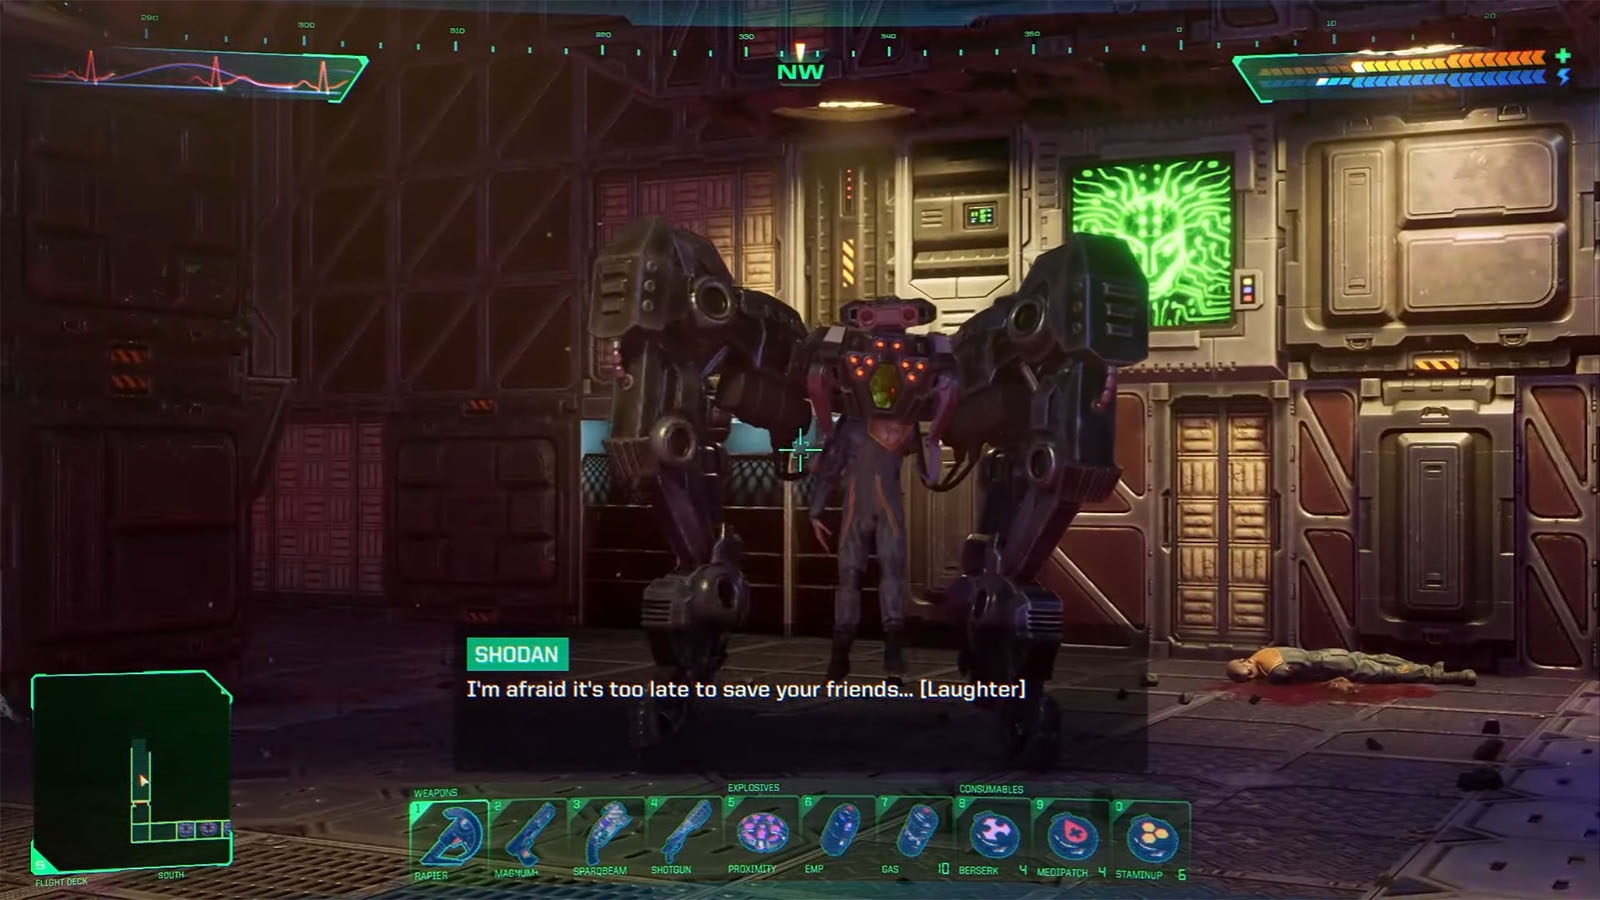
Once solved, the next connecting room will have you fight against the Cortex Reaver boss. It’s the same kind of boss that shows up in death animations. You can easily rush it with your melee attack, or be tactical and shoot it from afar and behind cover. After defeating it, check its loot to find the Audio Log – Too Late For Us.
The next connecting room to the west contains the Turbo Motion Boots V2 if you have not obtained the one in Storage, and the Target Identifier V2, as well as the Mark III Assault Rifle.
See next: System Shock Remake Virus Mission Level 6: Executive Walkthrough


