If you’re fond of grinding and fattening up your character in Genshin Impact, you should make it a point to collect all of the Anemoculus in the game. These items are some of the most challenging ones to find in the game’s world, as there are 66 of them scattered in four regions in the world map.
If this is one of your pet peeves in Genshin Impact, then you need not worry anymore! We’ll walk you through the process of obtaining all 66 of the Anemoculus in Genshin Impact. Are you ready? Read on!
What Is an Anemoculus?

The Anemoculus is one of the many Adventure items in Genshin Impact that you can collect while roaming the overworld. Unlike most items, they can be obtained exclusively by roaming the world map. They cannot be collected from treasure chests and battles, which is why they are some of the most difficult collectible items to complete in Genshin Impact.
To look for an Anemoculus in the open world of Genshin Impact, you’ll need to equip an Anemoculus Resonance Stone. The Stone acts as a sort-of radar for you in your quest for these Oculi. You’ll hear a specific alert tone and an icon in the mini-map when the Stone detects the Anemoculus nearby.
Of course, that takes a lot of time, and even more amounts of guesswork to find all 66 Anemoculus, even with the Resonance Stone equipped. With this step-by-step guide, however, you’ll find all of these items in a much lesser time.
Where Can We Find these Oculi?
The 66 Anemoculus are scattered across the four regions of Mondstandt in Genshin Impact, namely:
- Starfell Valley (14 Anemoculus)
- Windwail Highlands (18 Anemoculus)
- Galesong Hill (13 Anemoculus)
- Brightcrown Mountains (20 Anemoculus)
Let’s begin with the Anemoculus in the Starfell Valley region.
Starfell Valley Anemoculus Locations
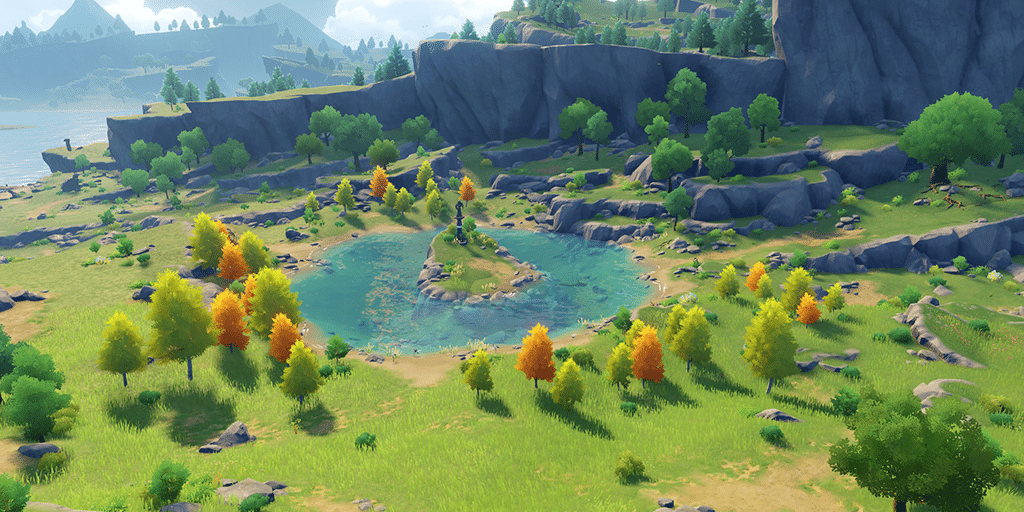
Here’s a breakdown of the exact locations of each of the 14 Anemoculus in the Starfell Valley area of Genshin Impact:
- Anemoculus #1
Location: Near three Anemo Slimes
While roaming the region, you will find three Anemo Slimes. Don’t approach yet. If you look closely, you will find the Anemoculus floating above the Slimes. You don’t need to fight them if you don’t want to. Make a dash, jump, and grab the Anemoculus.
- Anemoculus #2:
Location: Floating in midair
This one is a little tricky. You will need an Anemo skill equipped. You’ll need to find an Anemograna to create a wind current that will take you upstream. You’ll need to fly northwest of Stormbearer Mountain in order to find the Anemoculus.
- Anemoculus #3:
Location: West of a Wooden Tower
Find a nearby tower with wooden planks, and look to the West. The Anemoculus will be floating right in front of you. All you have to do is just jump and grab it.
- Anemoculus #4:
Location: At the edge of the northern cliffs
Head to the extreme north of the region, where you can find cliffs and ravines. You will need to have a gliding skill equipped. Once you’ve started to glide, turn West and you’ll find the Anemoculus.
- Anemoculus #5:
Location: Floating above a stone pillar to the South
Walk south until you reach a stone pillar made up of three boulders. The Anemoculus is directly above this very accessible pillar.
- Anemoculus #6:
Location: Between two trees in a small wilderness in the South
Head South until you see a road on the map. You should then enter a small forest on the right side of that road. Look for the Anemoculus in between two trees.
- Anemoculus #7:
Location: Under the branch of a tree to the West
After collecting Anemoculus #5, follow the road West until you find the Anemoculus hanging out under a tree branch.
- Anemoculus #8:
Location: On top of an abandoned ruins in the South
Follow the southbound road. When you reach the ruins, climb up to the tallest pillar. You will find the Anemoculus there.
- Anemoculus #9:
Location: Near the ruins
You don’t need to go anywhere else for this. Just turn North until you see the Anemoculus. You might have to find a formidable monster there, so watch out.
- Anemoculus #10:
Location: Under a cliff
Break off from the eastbound round, and turn South again. You’ll come to the edge of a grassy plateau with a cliff face in front. The Anemoculus will be waiting for you there.
- Anemoculus #11:
Location: Across the sea to the east, in the Unnamed Island
The Unnamed Island is a bit away to the east. You’ll have to cross the Sea, either by gliding from Starsnatch Cliff, or to activate any Cryo skills at your disposal.
- Anemoculus #12:
Location: In between two small islands
From the Unnamed Island, you must glide to the northeast until you encounter two islands. Use the Anemo monument in one of the islands as a beacon, and you’ll fly straight through the floating Anemoculus.
- Anemoculus #13:
Location: Near Cider Lake
Go to the City of Mondstandt, which is in the center of Cider Lake, and turn South. You’ll need to glide in order to reach the Anemoculus.
- Anemoculus #14:
Location: On a barren tree on the western shore of Lake Cider, across a small island
Head northwest from Mondstadt City until you reach the northwestern shores of Lake Cider, just off a small island. You will find a dead tree. Because you cannot climb up the tree from the ground, you’ll need to look for a ledge nearby that’s high enough for you to glide.
Windwail Highlands
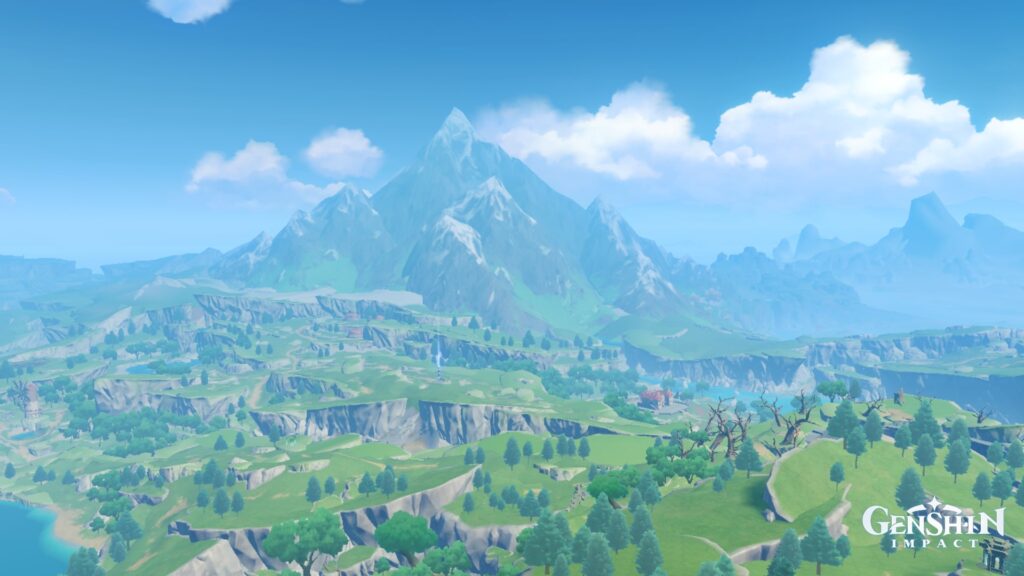
Here are the locations of 18 Anemoculi in Windwail Highlands, and how you can obtain them in Genshin Impact:
- Anemoculus #1
Location: Under a rubble of rocks northeast of Wolvendom
The first Anemoculus is buried under a pile of rocks on the northeastern tip of the Windwail Highlands. You’ll need to break apart the rocks before you can uncover and grab the Anemoculus.
- Anemoculus #2:
Location: Southwestern shores of Cider Lake, just opposite Mondstandt Island
Walk a short distance southeast until you see the Western tip of Mondstandt Island. You can also see the Anemoculus floating above the cliffs. You will once need the help of 3 Anemogranas to create an updrift current of air and reach the Anemoculus.
- Anemoculus #3:
Location: Southeast of the cliffs
After collecting Anemoculus #2, walk southeast again a short distance until you reach a group of trees. The Anemoculus is floating on a branch low enough for you to jump onto. You’ll know you’re in the right place if you encounter a Hilichurl camp.
- Anemoculus #4:
Location: The Wolvendom ravine
In the ravine, which sits to the southwest of the cliffs, you’ll find a group of four rock pillars. Climb one of the higher ledges nearby and glide down to the pillars and the Anemoculus floating above it.
- Anemoculus #5
Location: Wolvendom Ravine
Go down to the southern edge of the Wolvendom Ravine, where you’ll find large stone pillars along a ledge. One of these pillars has thorns on it, and above it you’ll find the Anemoculus suspended in mid-air. You can either incinerate the thorns, or look for a taller pillar from which to glide.
- Anemoculus #6
Location: The northern cliffs opposite Mondstandt Island
From Wolvendom Ravine, go east to reach the northern coast of the Windwail Highlands. Turn around to the north until you’re facing Mondstant Island’s southern tip. The Anemoculus is floating over the water just off the cliffs.
- Anemoculus #7
Location: Near an enemy camp
Move southwest until you find an enemy camp near an East-West road. There will be a cliff overlooking the enemy camp, and the Anemoculus will be at the bottom of one. Glide down, but be careful not to alert the enemy if you’ve no plans of including that in your grind.
- Anemoculus #8
Location: Near the Dawn Winery
Go further southwest until you reach the Dawn Winery. You can also choose to follow the road west and then south if you don’t want to do a detour. There is a river next to the Dawn Winery, which you can freeze using Cryo skills to grab the Anemoculus.
- Anemoculus #9
Location: Rooftop of the Dawn Winery
This one’s a no-brainer. Get up to the roof of the Dawn Winery, and grab the Anemoculus from there.
- Anemolucus #10
Location: The dead-end path south of the Dawn Winery
Follow the road south from the winery until you reach a dead-end. The Anemoculus here is hidden in the meadow, but you’ll have to decipher a puzzle before it appears for you.
- Anemoculus #11
Location: Grasslands west of the road near Springvale
Turn west just before the northern road crosses with the east-west road heading to Springvale. The Anemoculus will be floating above the grasslands. Make use of a nearby Anemograna as the Anemoculus is flying high above the meadow.
- Anemoculus #12
Location: In the cliffs southwest of Springvale
Springvale is located to the Northeast of the Dawn Winery. Before you reach the city, there will be a number of cliffs to its southwest. Activate an Anemograna so you can fly up and grab the Anemoculus.
- Anemoculus #13
Location: East of Springvale
Move east again, and cross another north-south road. You’ll find the Anemoculus is one of the houses in the area.
- Anemoculus #14
Location: Dead-end road east of Springvale
Move further east from the cluster of houses and reach a dead-end. Look for a ledge with a grassy growth, and you’ll find the Anemoculus there.
- Anemoculus #15
Location: A cliff southeast of Springvale
From the dead-end, walk southwest until you reach a cliff. You’ll know that you’re in the right place if the cliff overlooks a house. The Anemoculus will be at the cliff, and not floating off it.
- Anemoculus #16
Location: East of the cliff that overlooks a house
To get to #16, walk a short distance east. You’ll find a crag, with the Anemoculus at the bottom. You can glide down to it from ledge to ledge.
- Anemoculus #17
Location: Southwest of the crag
You only need to walk a short distance southwest to reach #17. The Anemoculus is floating over another meadow, which means you’ll have to activate an Anemograna again to fly the requisite height to the item.
- Anemoculus #18
Location: In the border with Dragonspire
The final Anemoculus in Windwail Highlands is southeast of the meadow where #17 is found. Find a huge boulder from which you can glide down to the Anemoculus.
Brightcrown Canyons
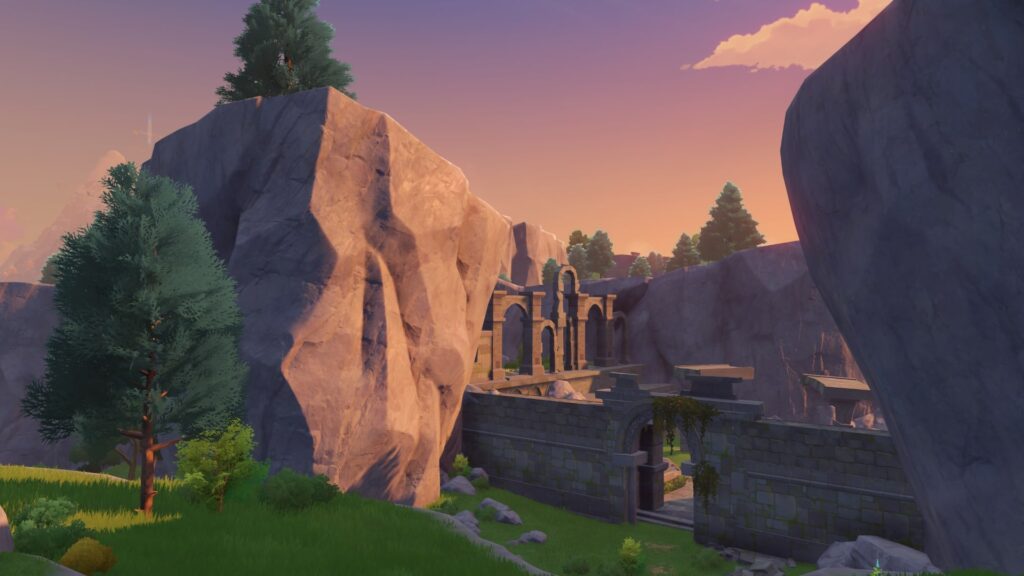
The Brightcrown Mountains comprise of two regions: Brightcrown Canyons and Stormterror’s Lair. First, here are the locations of the 8 Anemoculus in the Brightcrown Canyons area of Genshin Impact:
- Anemoculus #1
Location: Southeast of the entrance to Stormterror’s Lair
Before you enter the Stormterror’s Lair, go southwest. Follow the north-south road until you see some cliffs on the western side. The Anemoculus will be there.
- Anemoculus #2
Location: Entrance to the North-South road
Go back north to the entrance of the road. You’ll find another cliff there, and some ledges from which you can glide to get the Anemoculus.
- Anemoculus #3
Location: Northeast of the Road
Go northeast, until you come across a meadow. The Anemoculus is cleverly hidden in the grass here, so you’ll have to do a little exploring. Three Anemo slimes will be here as well, which you might want to take on if you want to do some looting.
- Anemoculus #4
Location: Ledge overlooking a castle to the northeast
Continue your northeast travels until you reach a grassy ledge. Look towards the castle, and you’ll find the Anemoculus near that part of the ledge.
- Anemoculus #5
Location: A pile of rocks to the East
Move to the east now, and keep walking until you find a pile of rocks. It’s time for some blasting, as the pile of rocks covers the Anemoculus that you want to find.
- Anemoculus #6
Location: North, on top of a protruding rock formation
Go north from where you picked up #5. You have to look out for a rock formation that juts out of the ground. You’ll need to use an Anemograna to fly up to the tip of the rock and grab the Anemoculus.
- Anemoculus #7
Location: Inside a wind barrier to the west
Walk west this time until you find a wind barrier. You can get past the barrier by gliding from a higher location.
- Anemoculus #8
Location: Inside a rock up North and guarded by a Ruin Guard
Get ready for a battle. Travel North for a short distance until you find a huge rock that you have to shatter open. Don’t let your guard down! A Ruin Guard stands over the Anemoculus.
Stormterror’s Lair
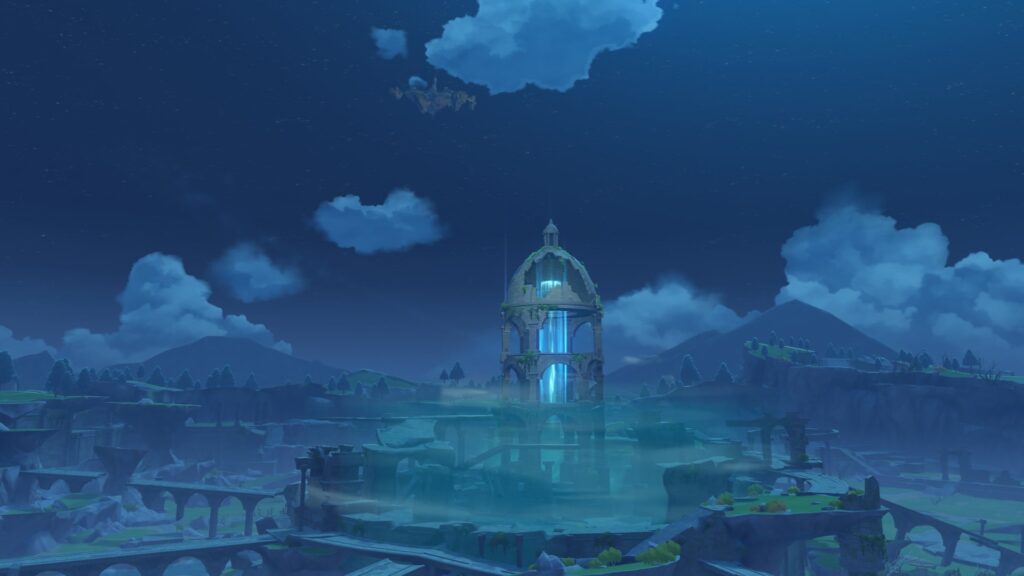
When you’re ready, you can enter Stormterror’s Lair and collect all the 12 Anemoculi there. Here are where they are located:
- Anemoculus #1:
Enter Stormterror’s Lair and head northeast a little bit. When you find the Monument hiding the Anemoculus, use the Anemograna to get a lift.
- Anemoculus #2
Head further northwest, hugging the walls of the area. Stop when you find a large stone pillar. Look closely, and, when you find a crack, find a way to glide inside the opening to get the Anemoculus.
- Anemoculus #3
Move southeast close to the center of the Lair. An Anemoculus is hidden under a stone archway, near some ruins. Create a wind current once again to get to the item.
- Anemoculus #4
It’s time to move northwest again, but stay close to the center of the map. You’ll find the Anemoculus in a crag. Look for a tall ledge from which to jump or glide down.
- Anemoculus #5
Move a considerable distance to the West until you come to a large ring of stone pillars. You’ll have to climb these to get to the Anemoculus.
- Anemoculus #6
Once again, hug the walls of Stormterror’s Lair and move southwest. You’ll find a tree, obviously misplaced inside the Lair, on top of which is the Anemoculus.
- Anemoculus #7
Head southeast until you find another set of stone pillars. Climb to the top and grab the Anemoculus.
- Anemoculus #8
Head northwest again, and find a tall ledge overlooking an area teleport. The Anemoculus sits cleverly on top of the teleport hub. You’ll need to glide, but be careful.
- Anemoculus #9
Head north, close to the center of Stormterror’s Lair. Look for a niche set under a cliff, and you’ll find the Anemoculus.
- Anemoculus #10
Go to the ruins northeast of Anemoculus #9. You’ll find more cliffs, under which you’ll find the Anemoculus. You’ll have to look closely, because its perch is secluded from view.
- Anemoculus #11
It’s to head to the center of the map. You’ll find the second to the last Anemoculus in this area on the lower level. A Ruin Guard sits there, waiting to take on anybody who comes near.
- Anemoculus #12
After defeating the Ruin Guard, simply go to the stone pagoda at the center of the chamber. The Anemoculus is hidden below the structure.
Galesong Hill
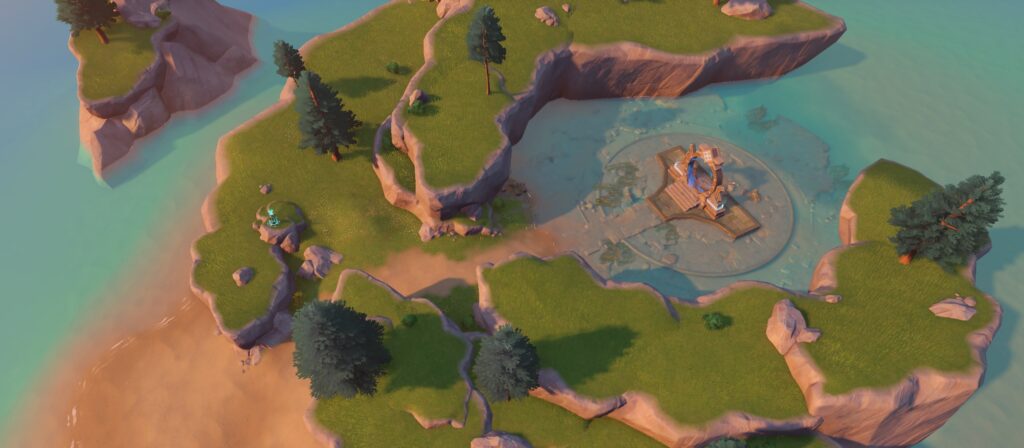
The final area in Genshin Impact that we will be looking for Anemoculus in is Galesong Hill. Here are the locations where you can find the 12 Anemoculus of Galesong Hill in Genshin Impact:
- Anemoculus #1
Location: Near the Statue of the Seven in Windrise
Your first Anemoculus is in the Northern slopes of Galesong Hill. You’ll need to find a Statue of the Seven. Look around, because the item is nearby.
- Anemoculus #2
Location: Behind the statue
Walk a few meters south of the Statue of the Seven. You’ll need to look up to the tree branches, as one of them holds the Anemoculus.
- Anemoculus #3
Location: East over the strait
You will need to cross a small strait to the East to find the Anemoculus. There’s a ledge nearby that you can use as a jumping point for your glide.
- Anemoculus #4
Location: Western end of the strait
You’ll have to go back west to where the strait meets the road that goes south. This one is flying a little high. You know the drill – let the anemograna give you a lift!
- Anemoculus #5
Location: Southeast, opposite Falcon Coast
You can follow the road, or cross the country to the southeast. Just northwest of the southern end of this path, you’ll find the Falcon Coast. Look for a small hill with ruins. The Anemoculus is floating high above the ruins, which will require the use of the Anemograna again.
- Anemoculus #6
Location: Temple of the Lion
You’ll find the Temple of the Lion at the end of the road. Look for the Anemograna between a pair of trees.
- Anemoculus #7
Location: Dadaupa Gorge
The Dadaupa Gorge is located southwest of the Temple of the Lion. The first Anemoculus in the Gorge is in the clearing. You can solve a short puzzle, or you can simply use an Anemograna to rocket over to the Anemoculus.
- Anemoculus #8
Location: A crater within Dadaupa Gorge
Go southwest and cross the ancient log archway. The Anemoculus is in the ruins of an old bridge in the crater, and requires gliding from any of the overlooking ledges nearby.
- Anemoculus #9
Location: Center of Dadaupa Gorge
You’ll need to look for two Ancient tree trunks to find the Anemoculus. Before you can grab the Oculus, however, you’ll need to finish the Seal of the Sword Cemetary first.
- Anemoculus #10
Location: Hilichurl settlement south of the crater
Go further south until you find a Hilichurl hut. Step inside – you’ll find the Anemoculus there.
- Anemoculus #11
Location: East of Dadaupa Gorge
Go back to Dadaupa Gorge. Look for a tall pillar, and then move to a cliff overlooking that pillar. You’ll have to glide down to reach the Anemoculus on top of it.
- Anemoculus #12
Location: Northeastern coast of Galesong hill
Keep your eye on the map until you reach the fringes of the coast. Look for a grassy ledge – that’s where the Anemoculus will be, and you’ll have to glide to it.
- Anemoculus #13
Location: Musk Reef, on the eastern coast of Galesong Hill
This one will take a little bit of traveling from your last location. Go northeast until you reach Cape Oath. Look for three Seelies in one of the cliffs overlooking the water. They will help you activate a wind current that will fly you over to a warp hole. Enter the warp hole to go to Musk Reef, collect the Anemoculus and come back.
So, you see, it’s not that difficult to gather all the 66 Anemoculus in Genshin Impact. It does take a lot of time, but you can save a lot of time if you know where to look. We hope this guide has been very helpful to you in this part of your Genshin journey.


