
The Prologue of Aliens: Dark Descent follows Maeko Hayes as she investigates an anomaly in the cargo deposited at Pioneer Station. She later finds out that Xenomorphs are being smuggled out of planet Lethe, while some of them have been let loose to massacre everyone on the station. It’s up to Hayes to figure out how to survive the lethal creatures and get help figuring out who is behind this plan.
Read ahead as we go through the events of the prologue of Aliens: Dark Descent and share some tips on how to navigate and go through the level easily.
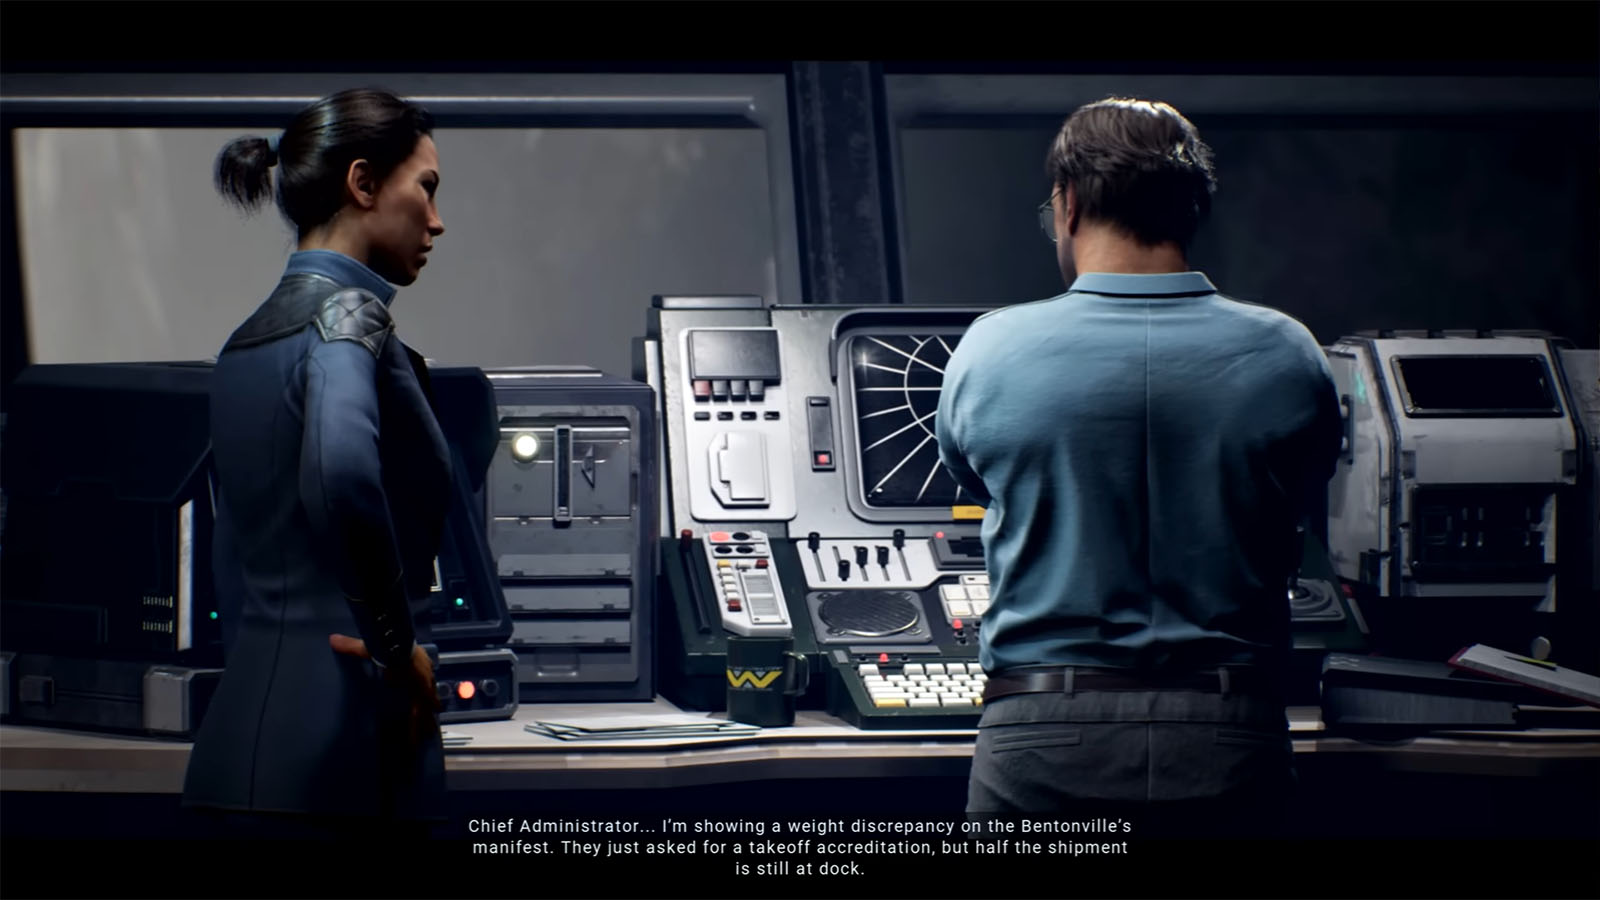
We start off the story with a cutscene showing some stowaways who managed to open a container inside the Pioneer Station. This container appears to be housing a live specimen of a Xenomorph. The scene shifts to our protagonist, Deputy Administrator Maeko Hayes, who enters the bridge to report a weight discrepancy related to the Bentonville, but she is immediately dismissed by the chief administrator. Hayes then sets out to do her own investigation into the matter.
Investigate the Supply Shuttle Bentonville

Your first objective is to reach your office to check the camera feed for Cargo Bay 4. You’ll learn more about the controls as you progress. Exit the bridge for now, and you will get a cutscene with a synth named Daniel. You can’t progress through the corridor to your office, so you will have to take a detour through the Cafeteria, which is just through the door nearby.
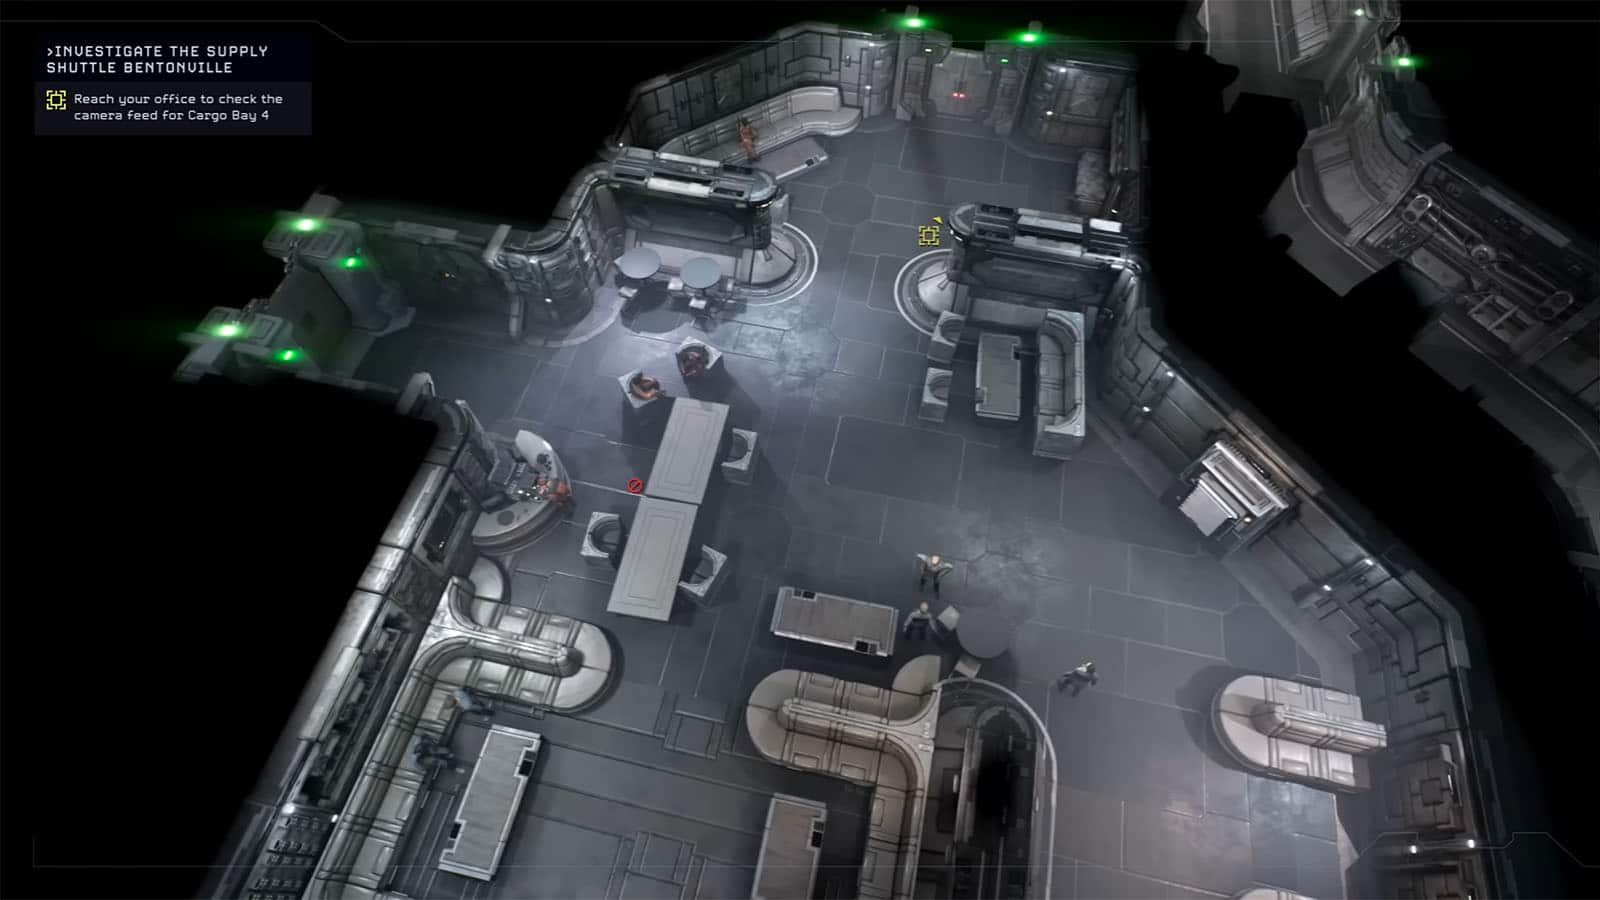
From the Cafeteria, you can take either door to proceed. You will then get an advisory that the ship will be launching soon, so you won’t have time to explore the other areas. Keep following the marker until you reach your office.
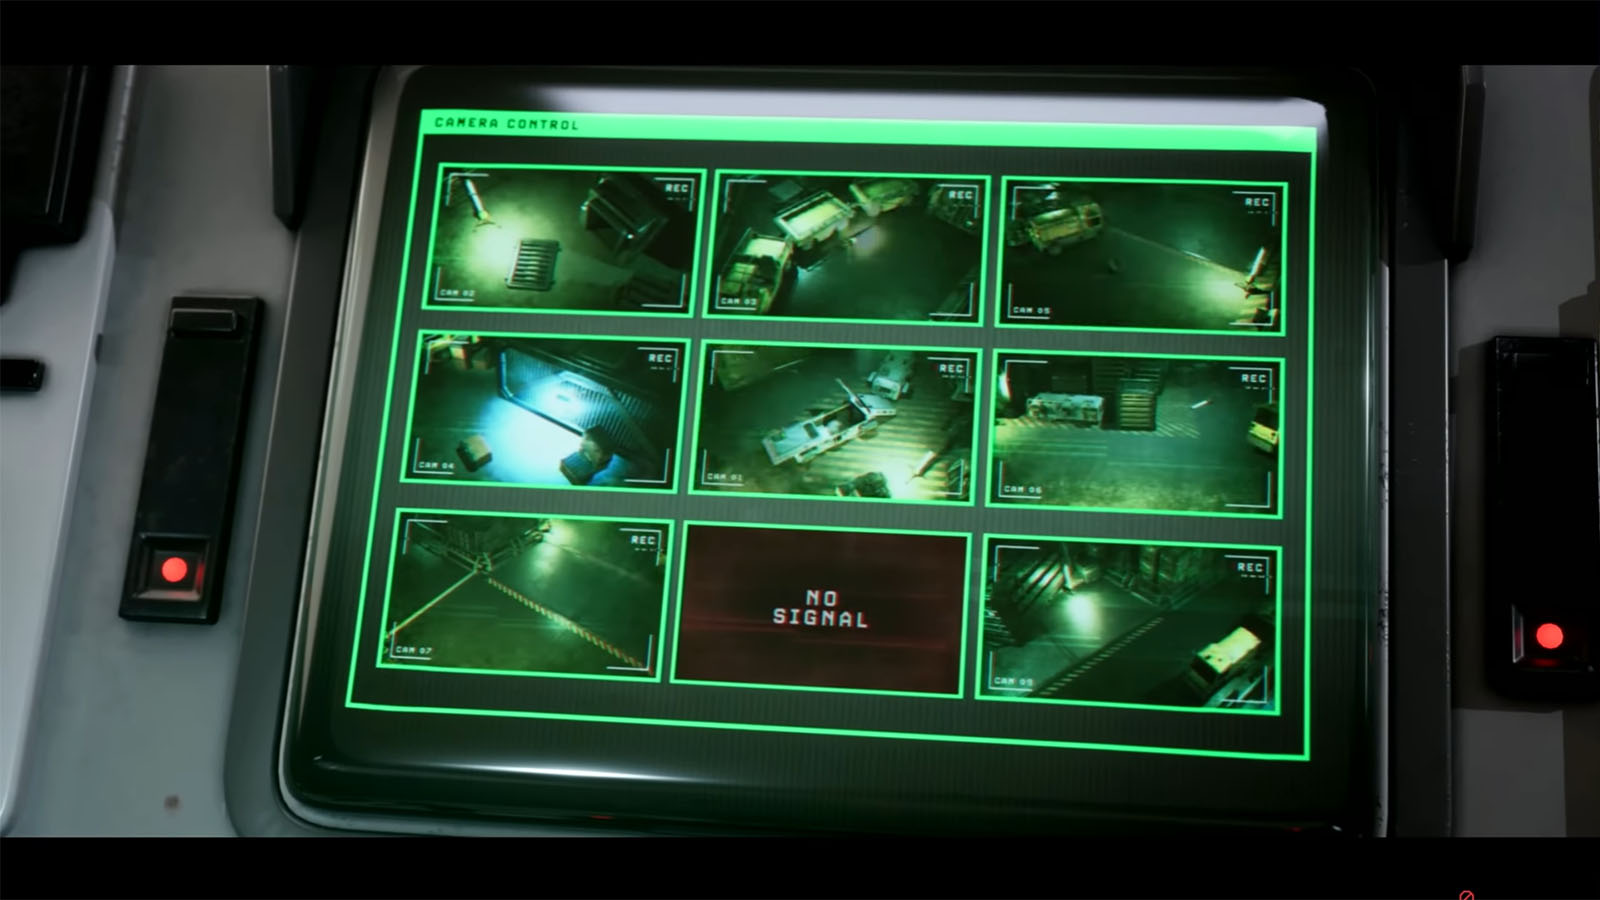
Once inside the office, check the camera feed. You’ll then see that the cargo bay is now in disarray, with crewmembers screaming all over and the container that was opened earlier now empty.
Investigate the Cargo Bay
Your objectives will now be updated, and your next location is Cargo Bay. Make your way back to the main hall earlier and take the door at the end of it. Head towards the elevator just up ahead to get to the Cargo Bay.
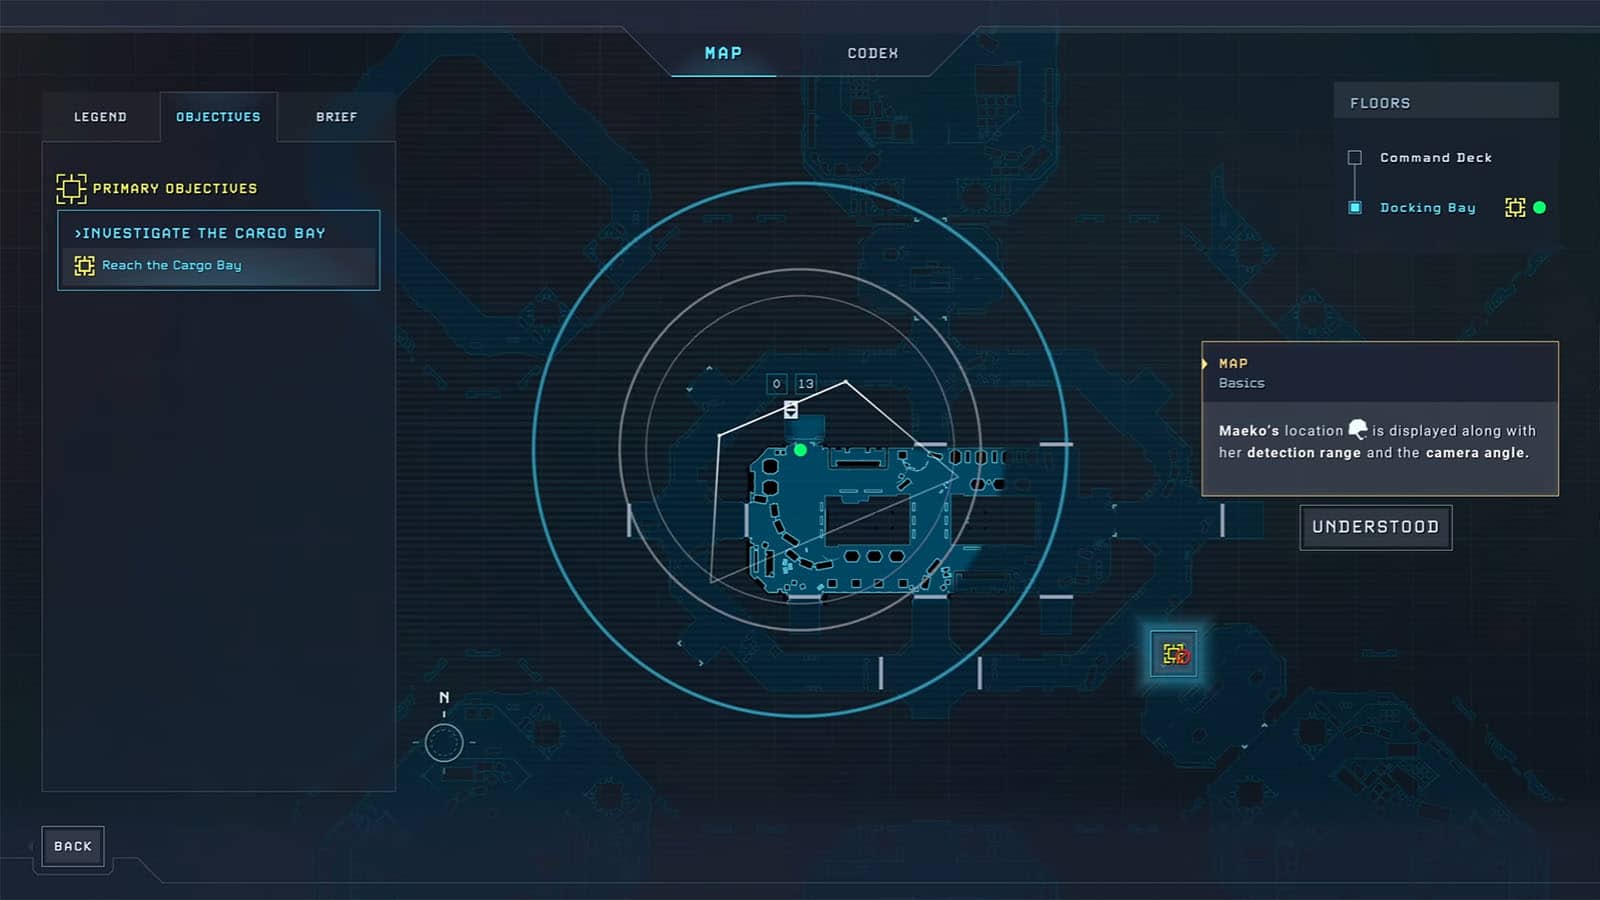
Once you get down, you will get a short tutorial on how to use the map. Take the time to learn what path to take to your next objective, which is at Landing Pad 04.

Inside the landing bay is where you’ll meet the first casualty, who tells Hayes about what he saw before he finally expires.
Find a gun
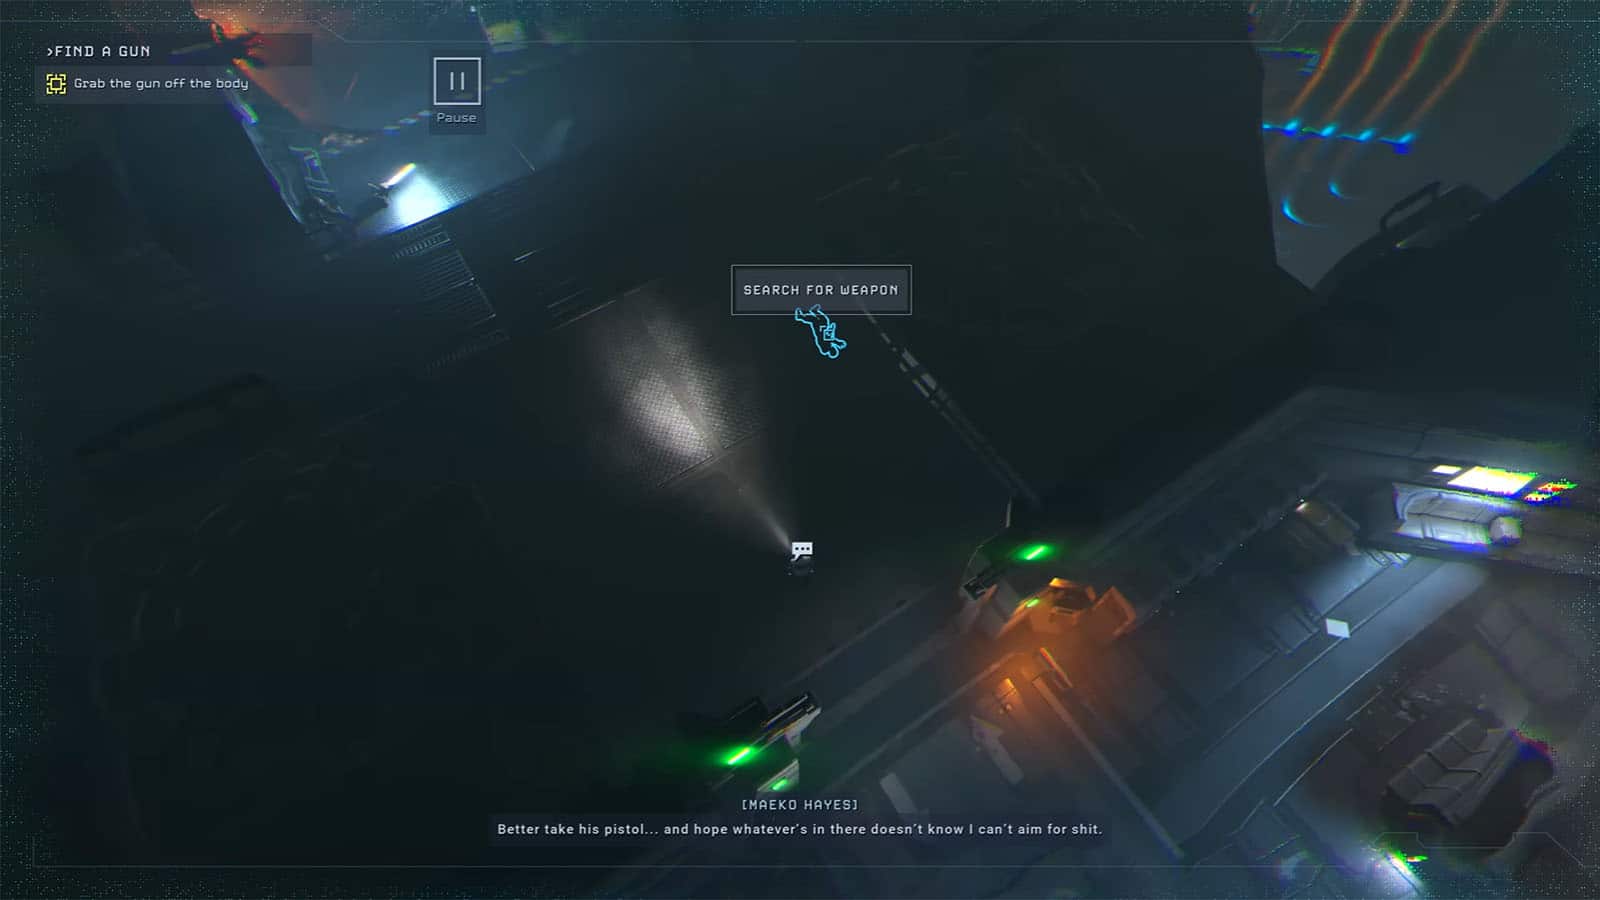
In the next section, you’ll find more dead bodies. Investigate the one nearest you where you can get the option to search for a weapon. Do so to find a pistol.
Investigate the Cargo Bay
Continue exploring the cargo bay and follow the marker to the Hypersleep Chambers. A cutscene will play where Hayes will find some mysterious liquid that leads to a larger container. Inside the container are hatched Xenomorph eggs.
Lock the Cargo Bay
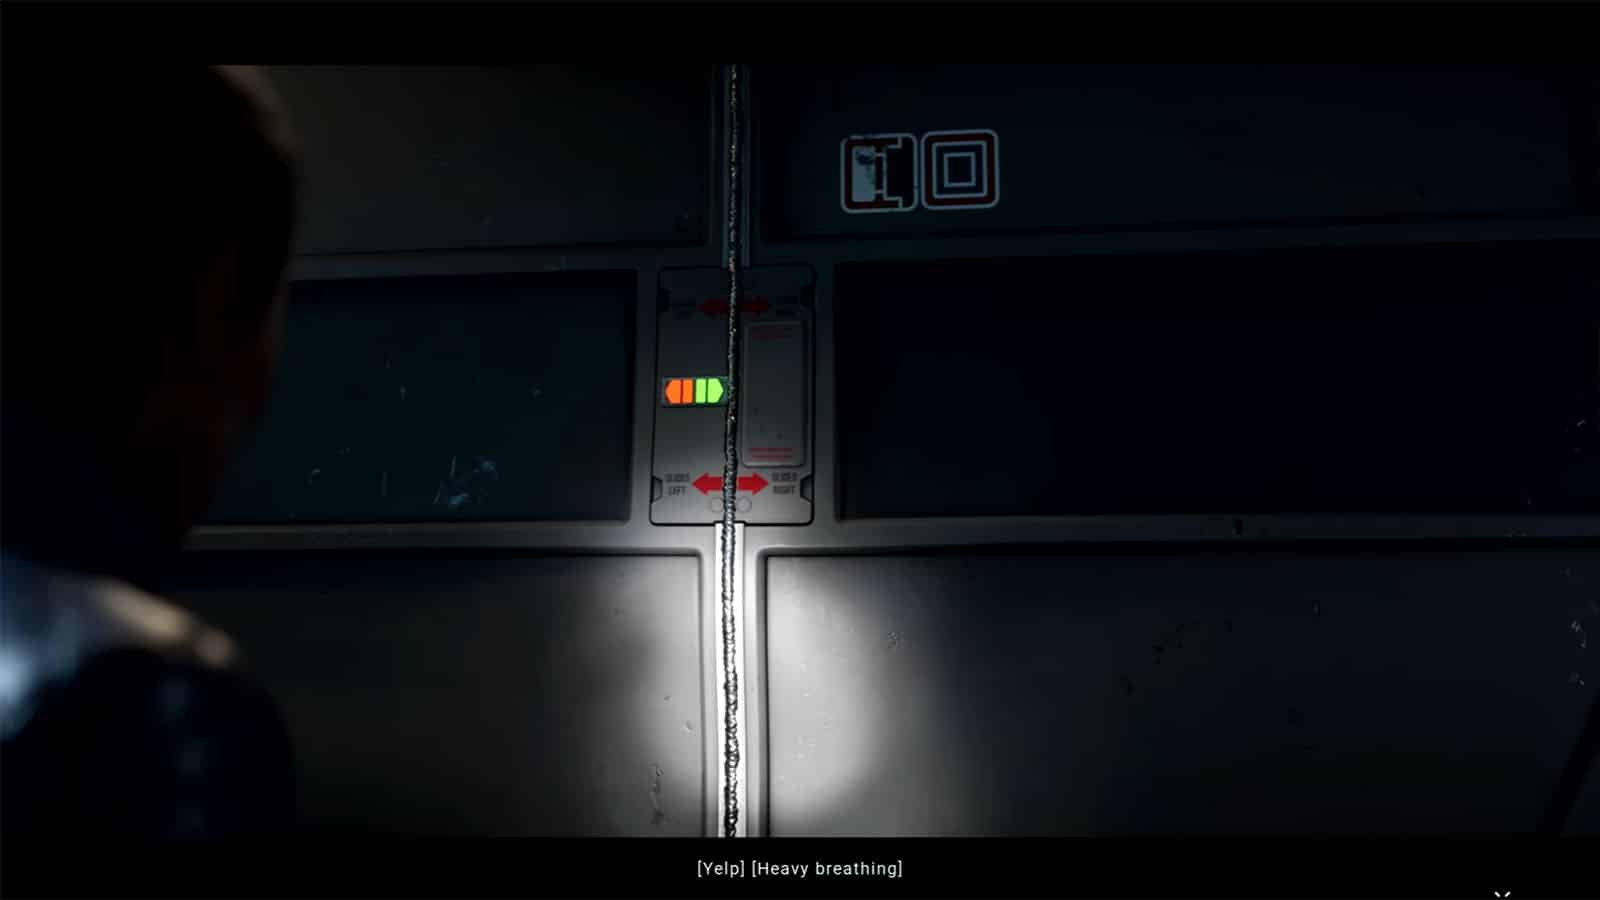
To keep the creatures from spreading to other parts of the station, you will have to shut the door to the cargo bay. Look for the body of the technician and grab the Welder from it. Make your way out of the cargo bay, then use the welder on the door to weld it shut. Another cutscene will play, showing that the creature is trying to bust out of the gate. Hayes manages to get back to the bridge, but the power gets cut off.

Suddenly, the bridge gets swarmed by Facehuggers, who attach themselves to every crewmember, including the chief. Hayes barely manages to thwart a Facehugger from getting her as she makes it out of the bridge.
Get to the Security Room and ask the guards for help
Go back through the main hall and head back towards the elevator where you first saw some guards. Sadly, they, too, get killed by the creatures. You will then hear a transmission coming from the USS Otago as well as the Bentonville flying off from the station. You try to respond to the transmission, but the comms are down, and you’ll have to find another way to respond.
Get into the Comms Room and contact the Otago
Go back through the main hall and make your way to the door on the far right. You’ll trigger a cutscene with another crewmate behind the door, but he gets attacked by the creatures. Your path will also get blocked, so you’ll need to go through the Cafeteria again. Go through the next halls to get around the fire blockade and finally get to the next door.

Once you get to the Comms Room, you’ll meet up with Daniel again, who reports that the creatures have destroyed the station’s communications system. As the Bentonville makes its escape, Hayes is left with no choice but to activate the Cerberus Protocol to stop the creatures from getting out of the system.
Activate the Cerberus Protocol
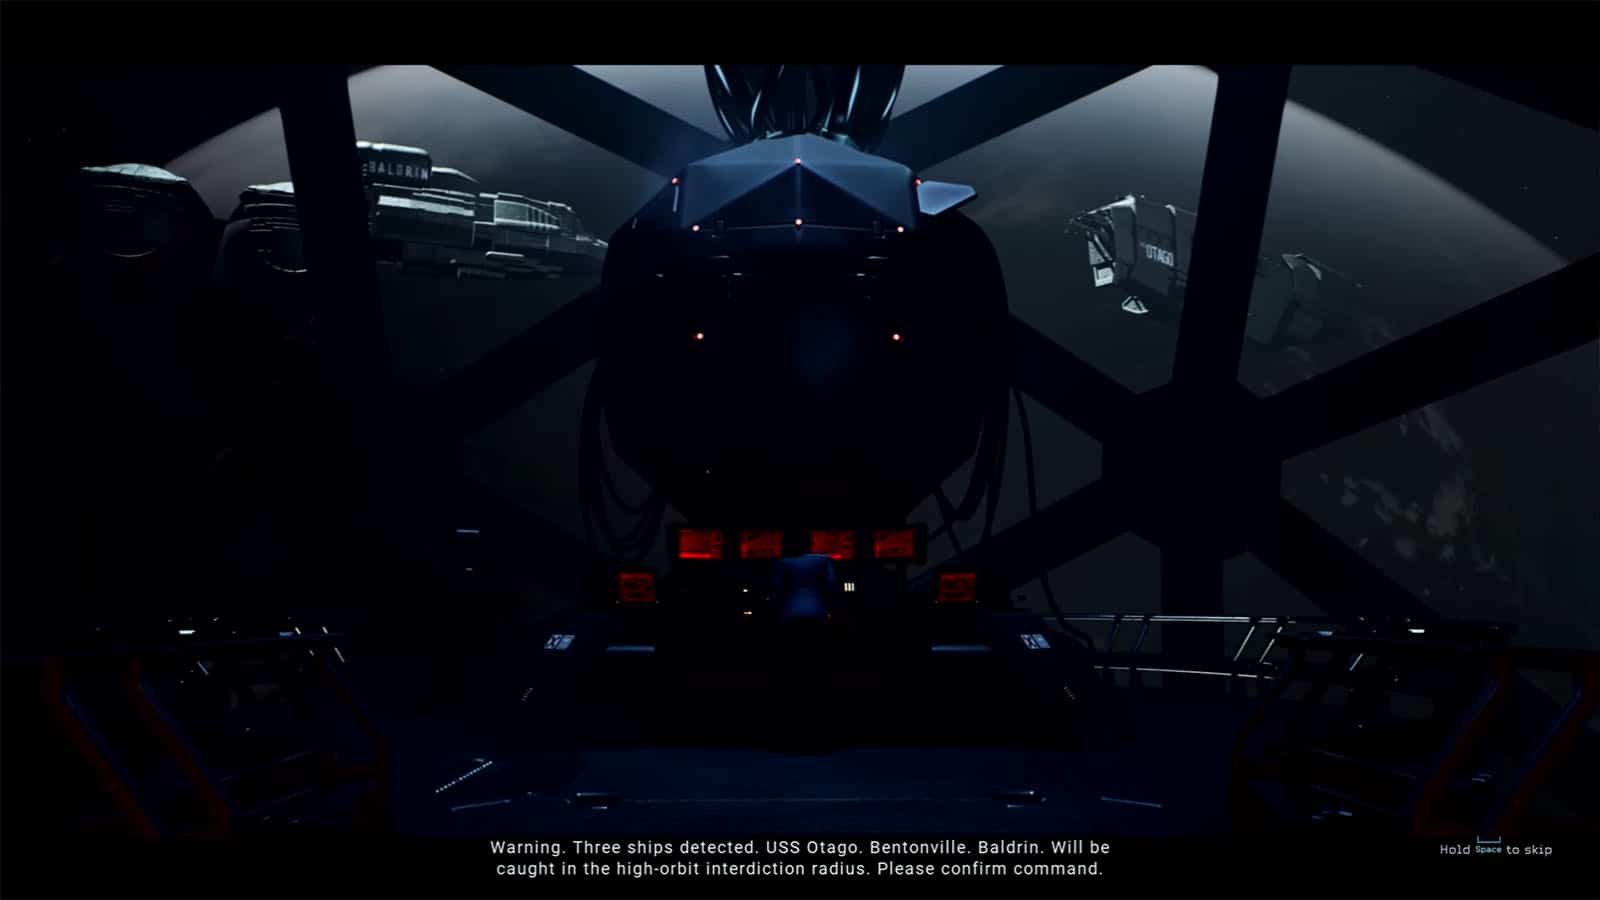
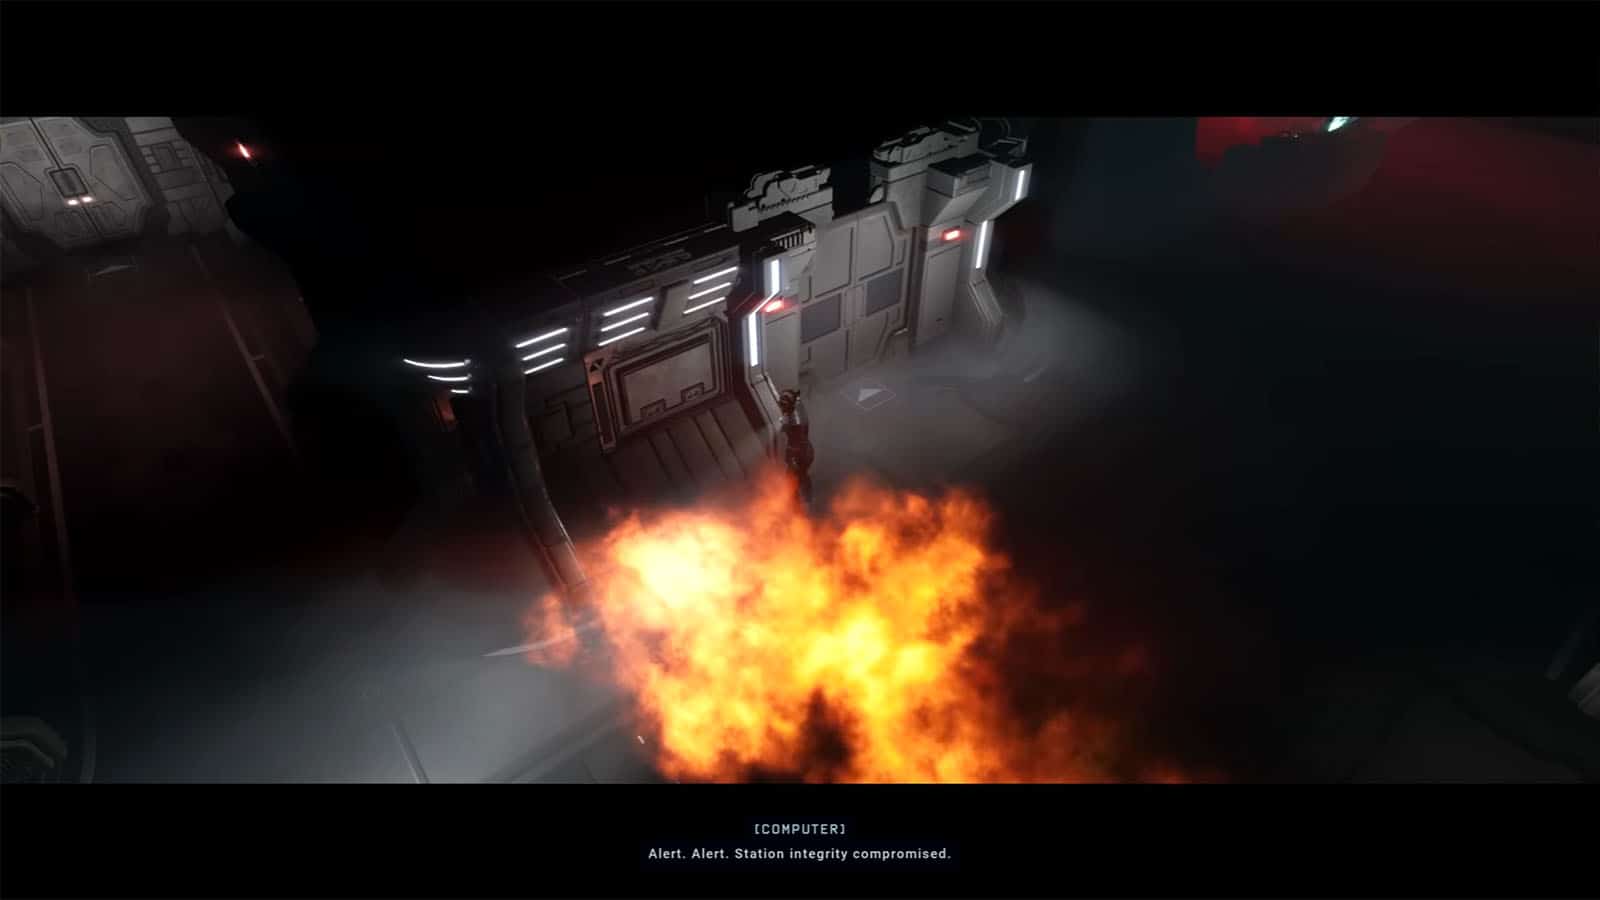
You will then need to make your way to the Cerberus Room to start working on the protocol. Follow the marker through the hallways and other sections of the station until you reach the room where the core of the protocol is. A cutscene will then play showing Hayes executing the protocol, which activates the satellite defense system. The Bentonville gets destroyed, however, two other ships, including the USS Otago, also get destroyed by the hail of missiles.
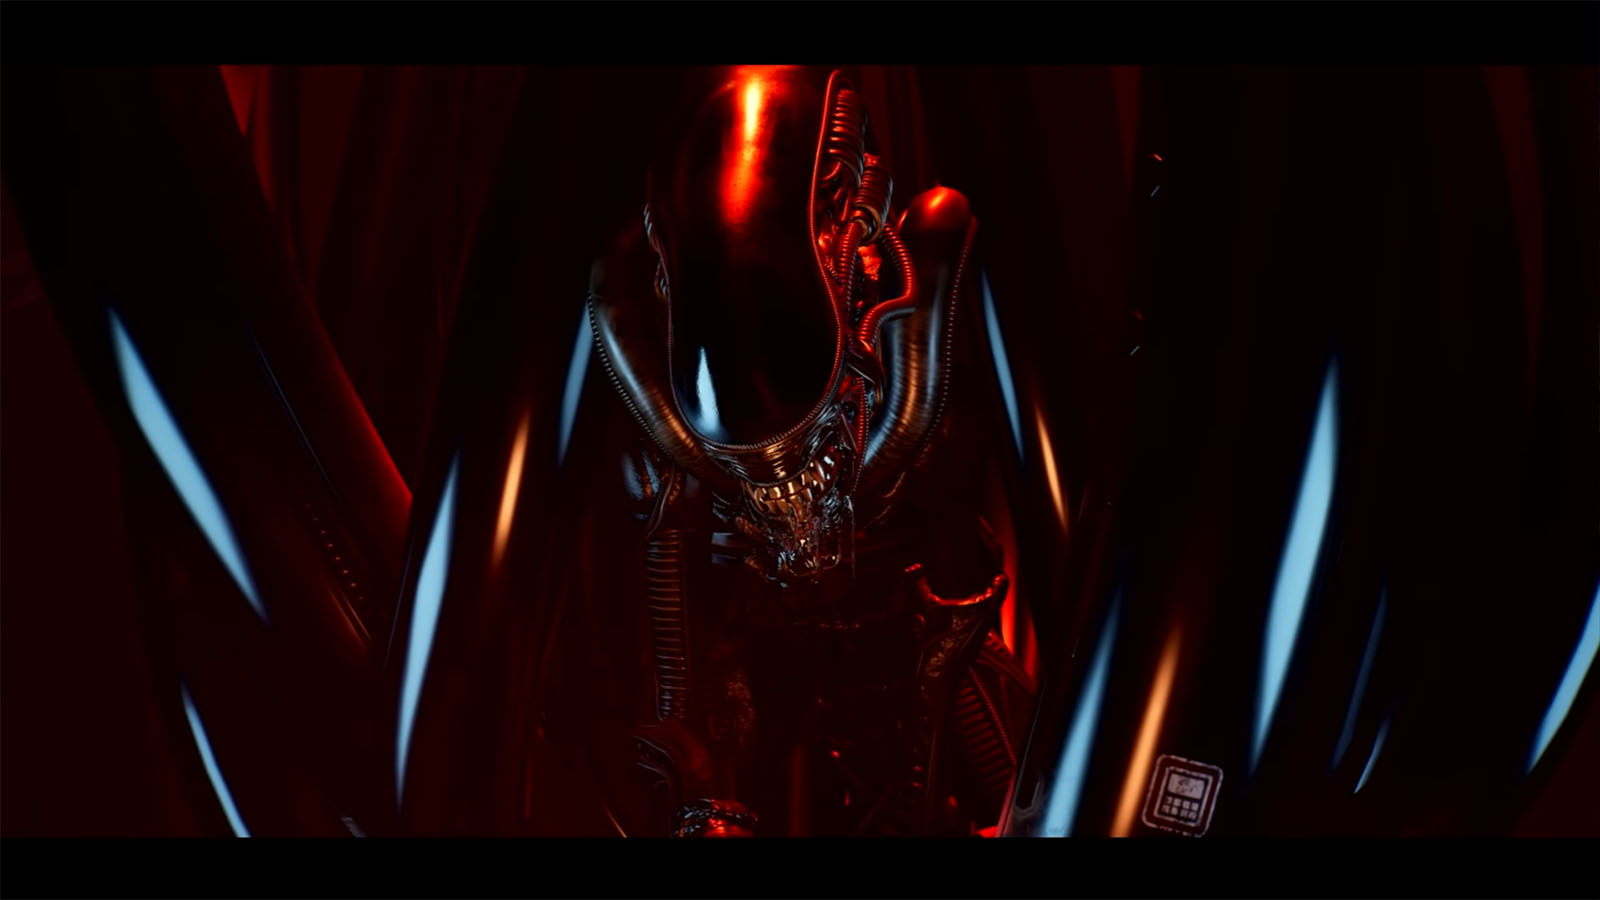
Little did Hayes know that a Xenomorph had been watching her from the top of the core. It shows itself ready to attack, but Hayes manages to get out of the room.
Escape the Server Room
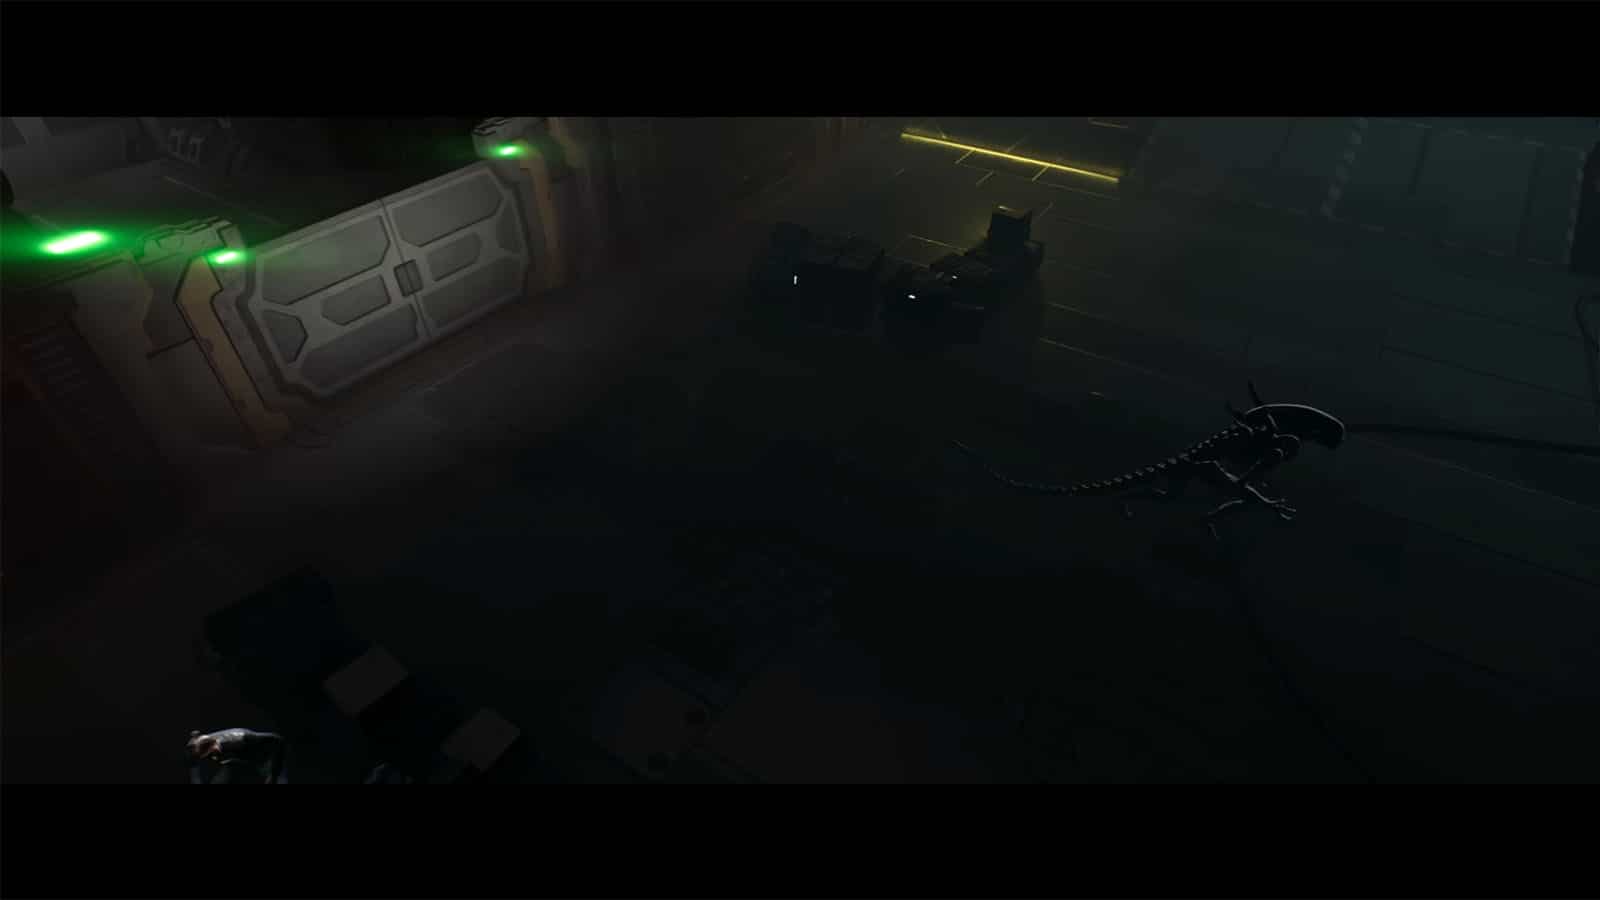
This part will be your first playable encounter, where you will be engaged in a game of hide-and-seek against the hunting Xenomorph. The Server Room will be dark and spacious, but there are also lots of places to hide behind.
Pay attention to the markers on the screen; aside from the yellow objective marker that marks where your goal is, there’s also a red marker that shows the general direction of where the Xenomorph is. You can always pan to any part of the current room to see where the Xenomorph is facing or moving. Be careful, as your sight has limited range. Once the creature goes out of your range, you won’t be able to see it or its marker.
Once the Xenomorph sees you, a yellow line will show between it and you, signaling that it has been alerted. Once this line turns fully red, the creature will start to chase you down. You will have better ways to stop it from chasing you down in later encounters, but for now, you only have an ineffective gun, so try to avoid being spotted as you get to the goal.

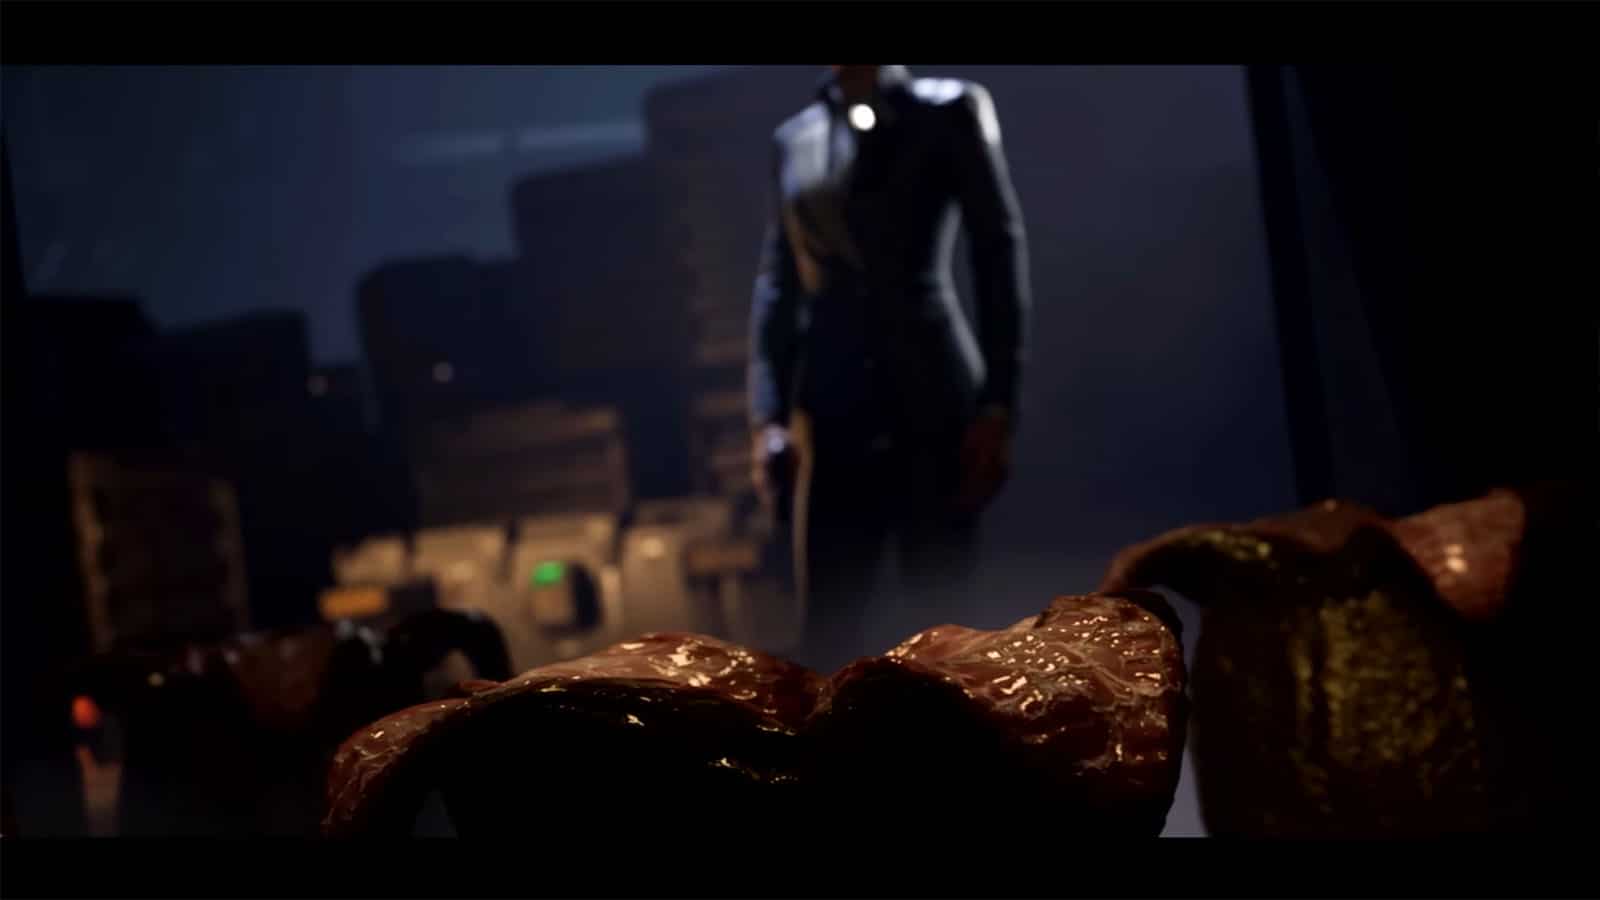
As you reach the goal, you will trigger another cutscene where Hayes gets cornered by the Xenomorph. Luckily, Sergeant Jonas Harper and his team come to the rescue and get you out of the room safely.
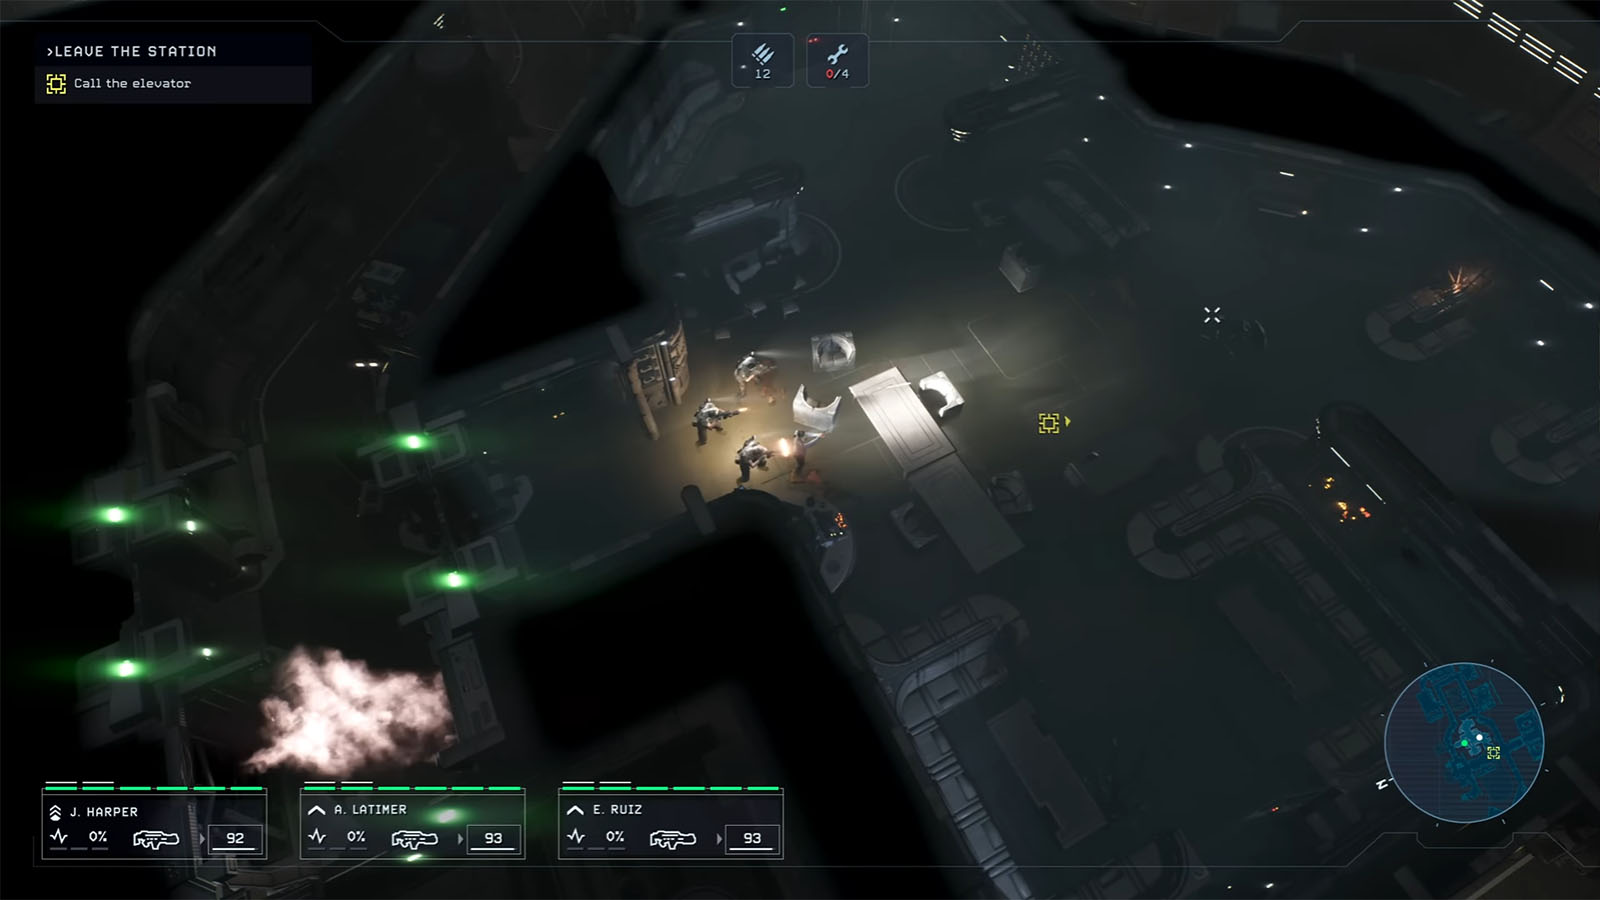
Leave the Station
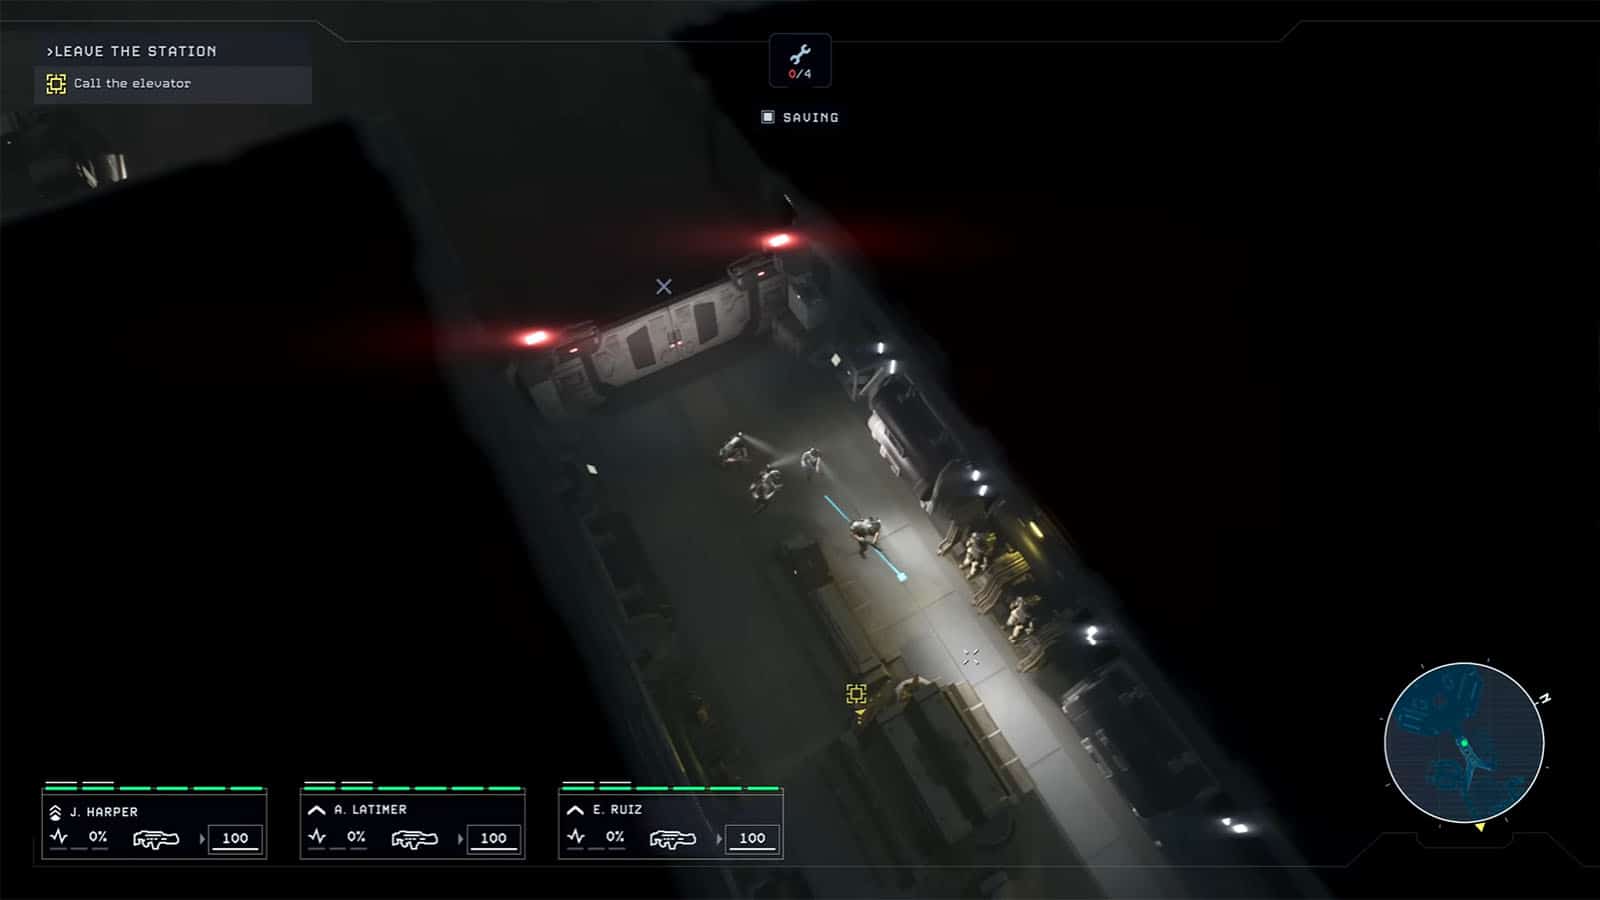
Now that you have the USCM troops with you, you can now control them as one unit. Make your way back to Hayes’ office, but take the door up ahead instead. Take the long route back to the Cafeteria. Along the way, Harper will sense something, and the motion trackers will detect something as well. Pay attention to the minimap, where it will show a blinking white dot located inside the Cafeteria.
You’ll run into Manning from earlier again, but he gets hunted down by the Xenomorph. You’ll get a tutorial about the troops auto-fire mechanic, where your units will automatically fire at a creature once you have been spotted. Be aware that you can still shoot while walking, but not while running.
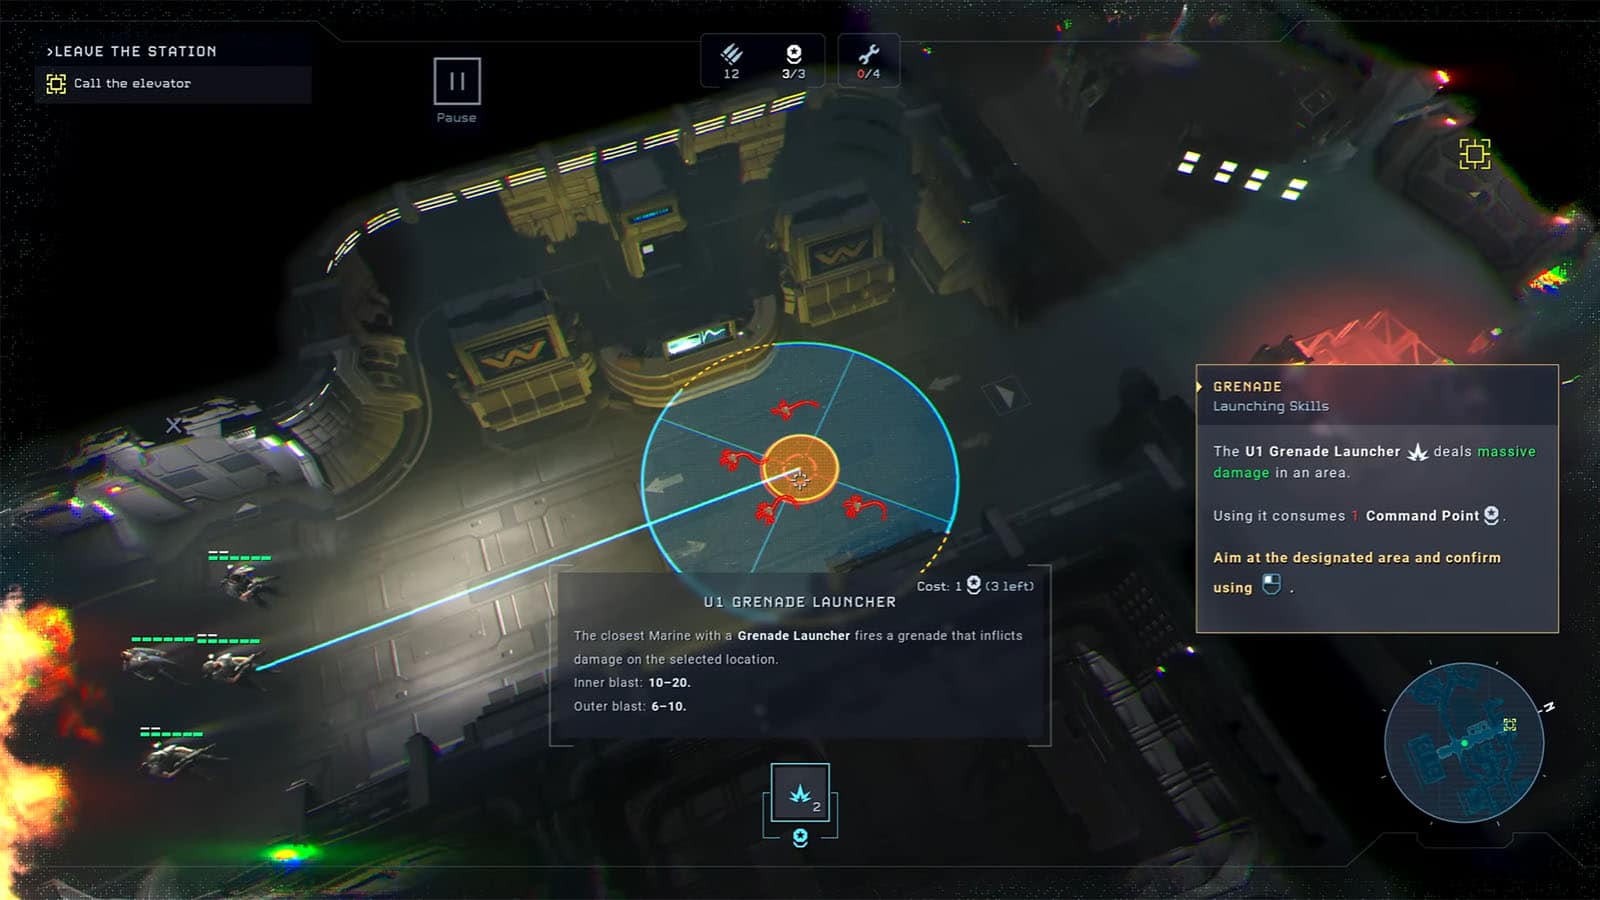
After shooting the Xenomorph, it will run away. Make your way out of the room, and you will encounter some Facehuggers. Use one of your unit’s grenade skills to take them all out in one shot.
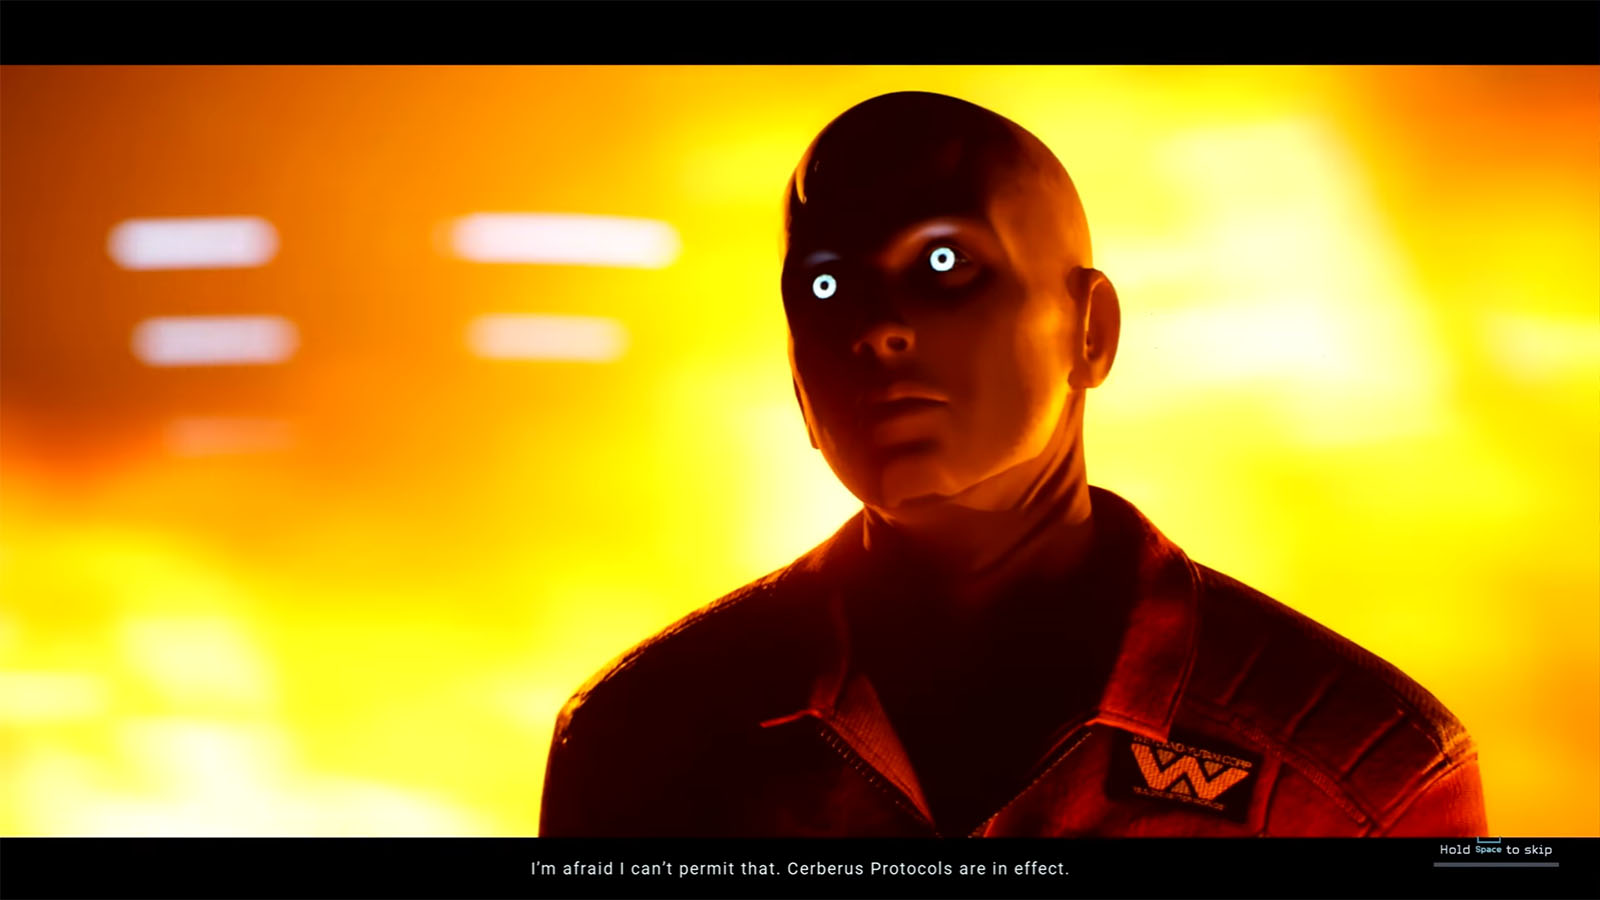
Once you reach the elevator, call it back up. You will encounter Daniel once again, but because of how it’s programmed to abide by the protocol, the synth starts to go aggressive, causing your unit to fire at it. Once the synth is down, continue into the elevator and go down to the Docking Bay.
Another Xenomorph will ambush your team as you exit the elevator. Latimer will take some damage, but he is still alive. You’ll now have to pay attention to any Xenomorph that you kill, as their acidic blood can scatter and cause acid damage to anyone nearby.
You will also learn about healing and keeping an eye out for your wounded units. Heal Latimer back up to get her walking fast again. As you get back out into the next hall, another ambush will happen. Use your shotgun once the Xenomorph is within short range to kill it right away.
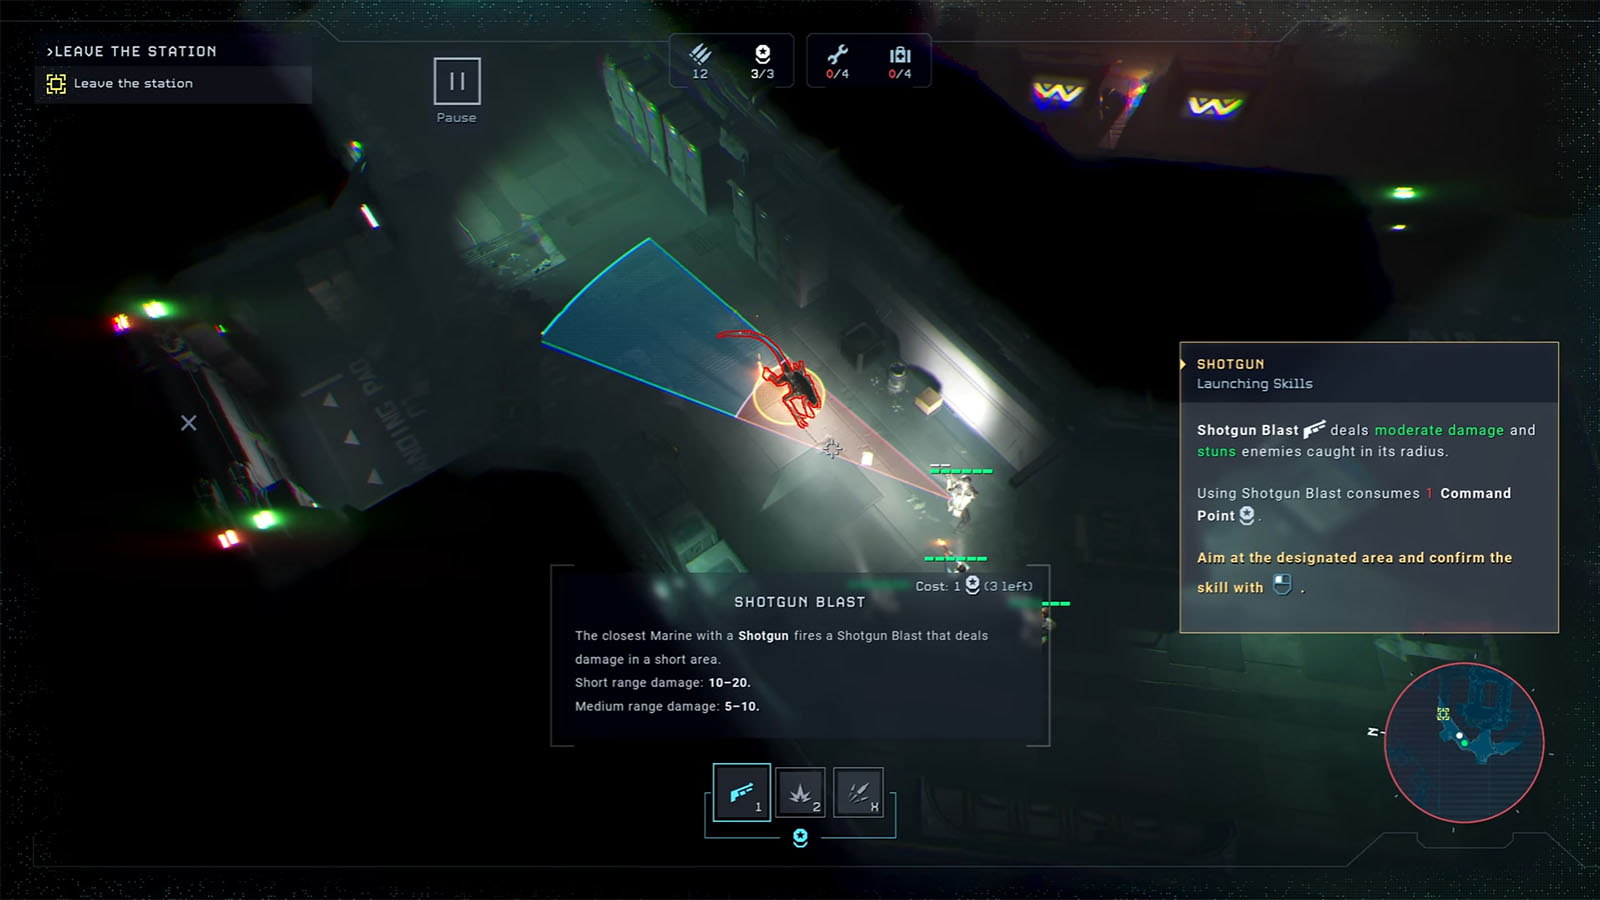
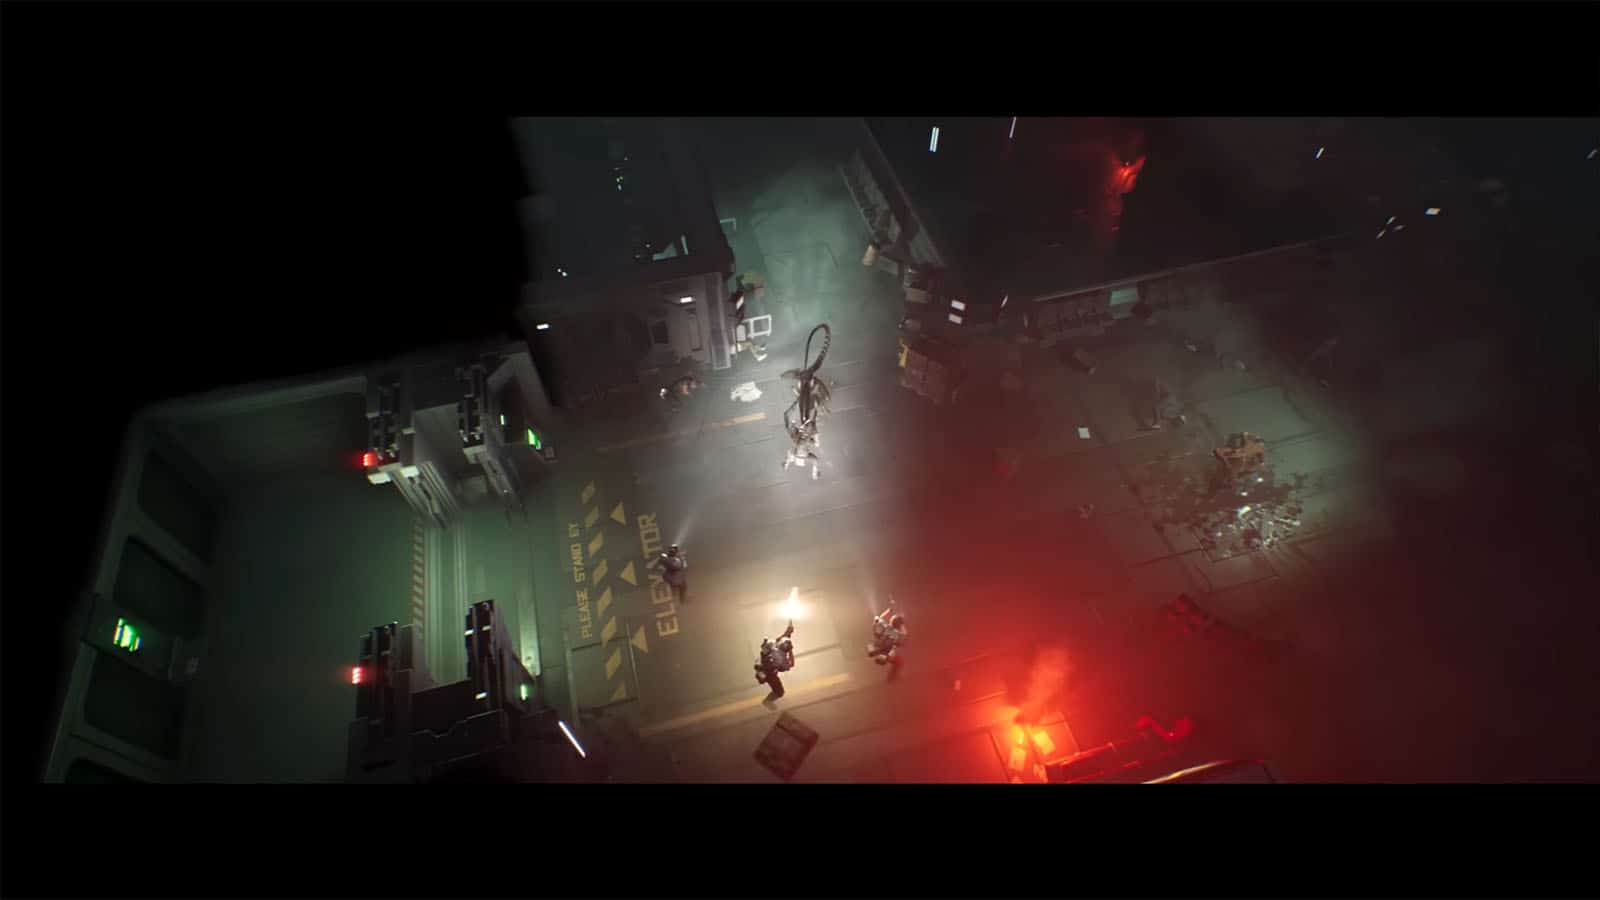
Once you arrive at the extraction point and are waiting for the drop ship, prepare your troops for another wave of Xenomorphs. Have someone switch to suppressive fire facing the way you just came from while the rest prepare to use their shotguns for those that get too close. After the second wave, the dropship will pick you up.
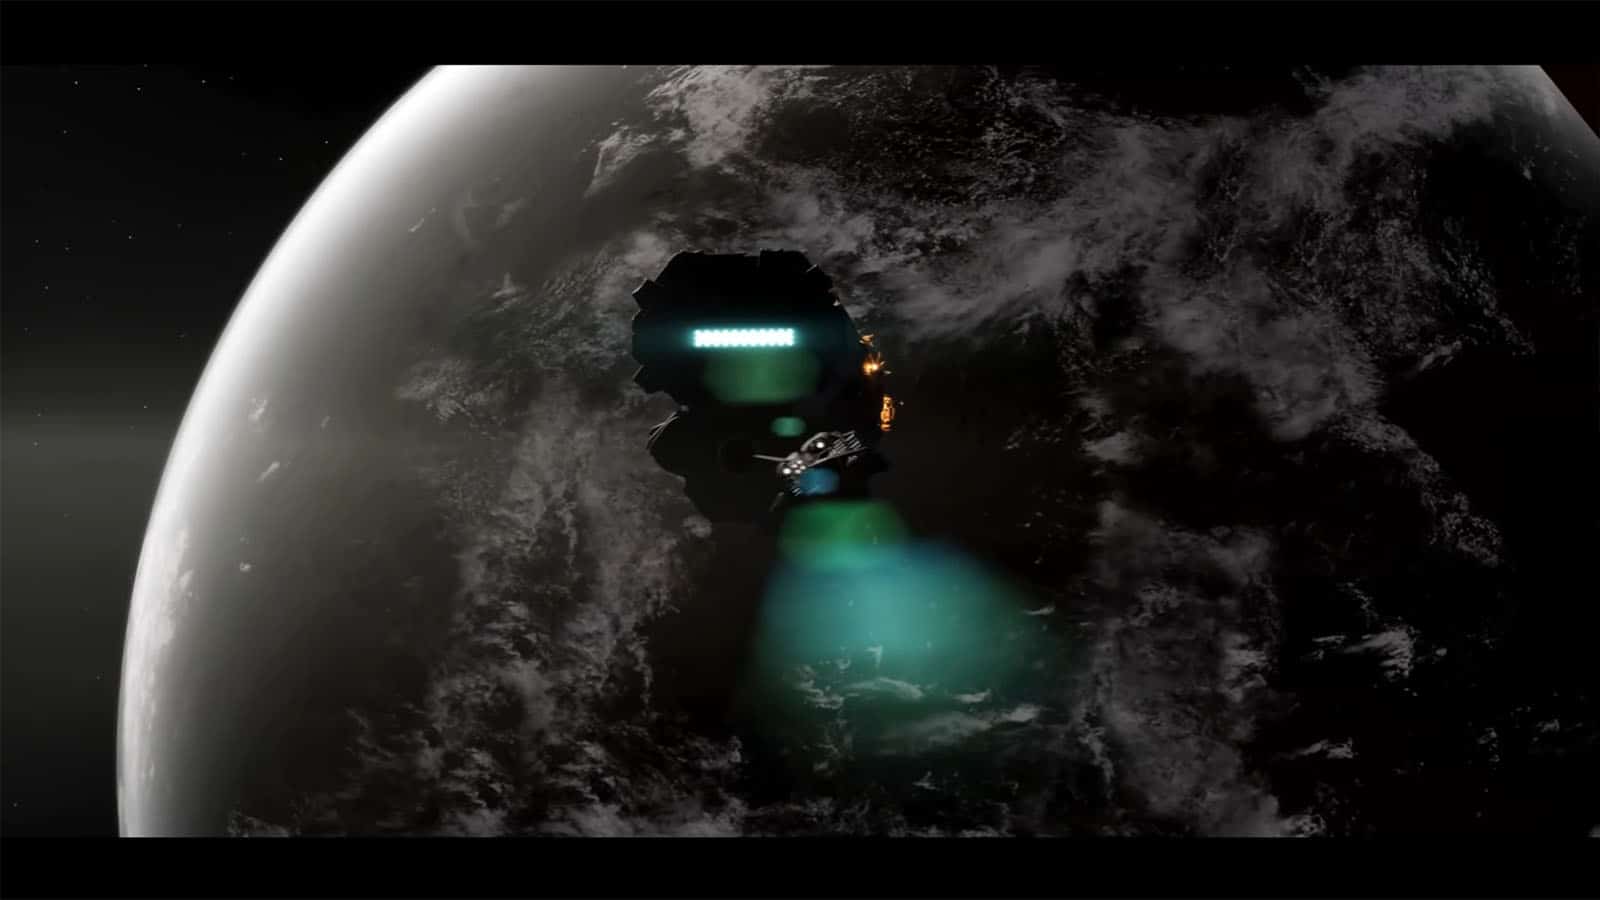
As you fly through the dropship, you’ll see the Otago preparing to crash land back onto the planet. Harper decides to follow the ship back down to look for survivors.
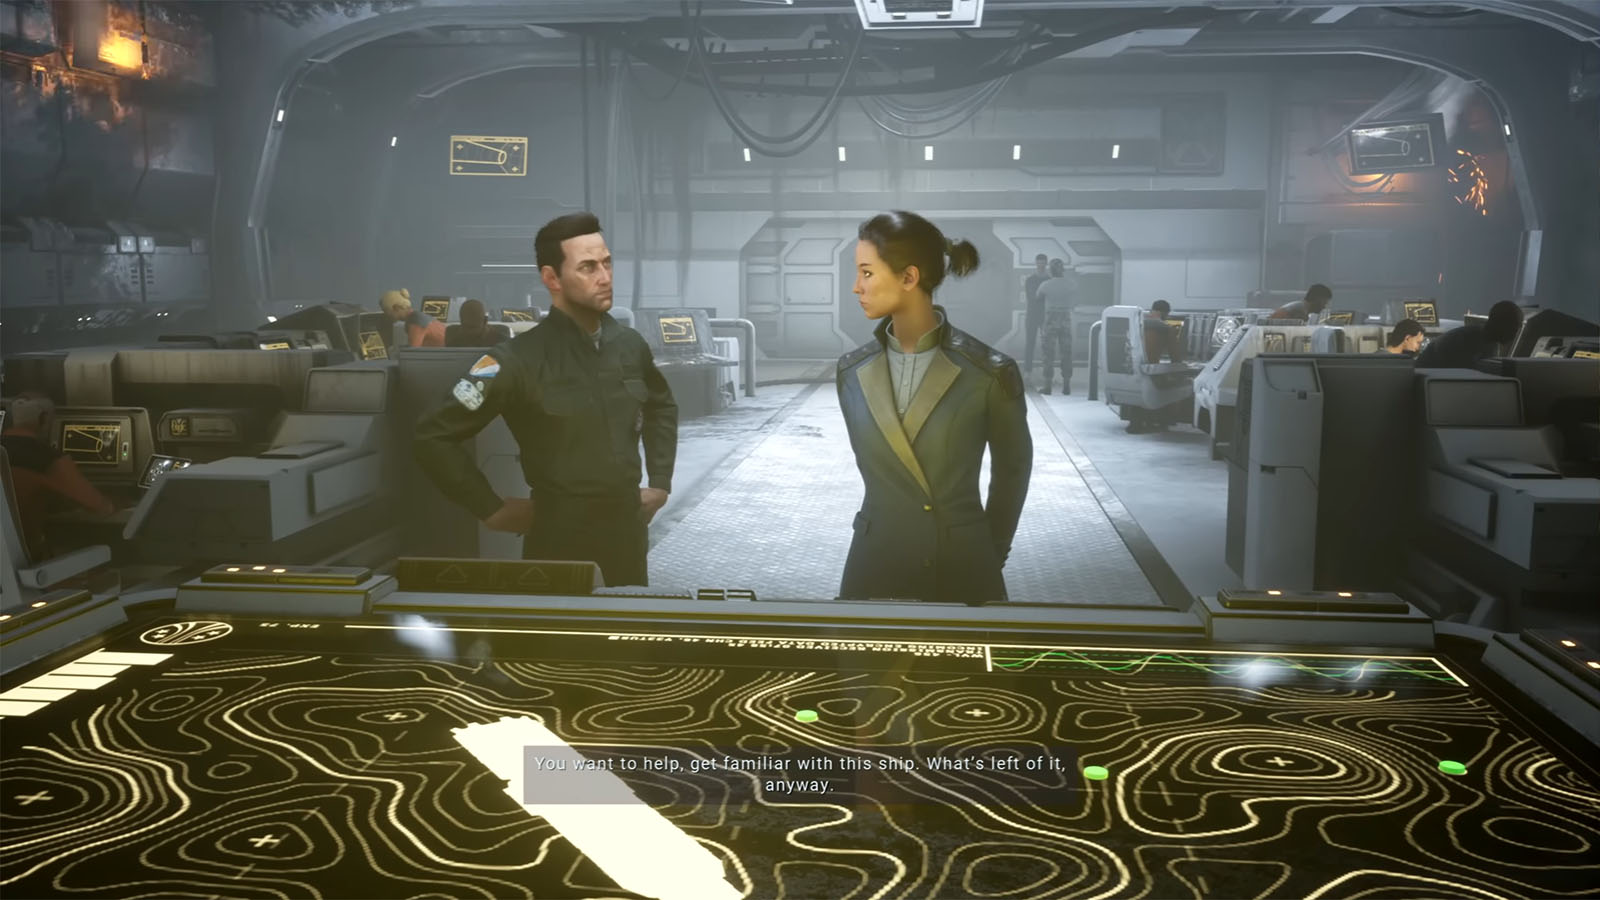
Down in the Otago, Harper becomes the new captain of the ship after the entire commanding team has died. After a cutscene between Harper and Hayes, you will then get to explore Otago as your new base of operations. Check out the Medical Quarters, Workshop, and Laboratory to learn about their functions.
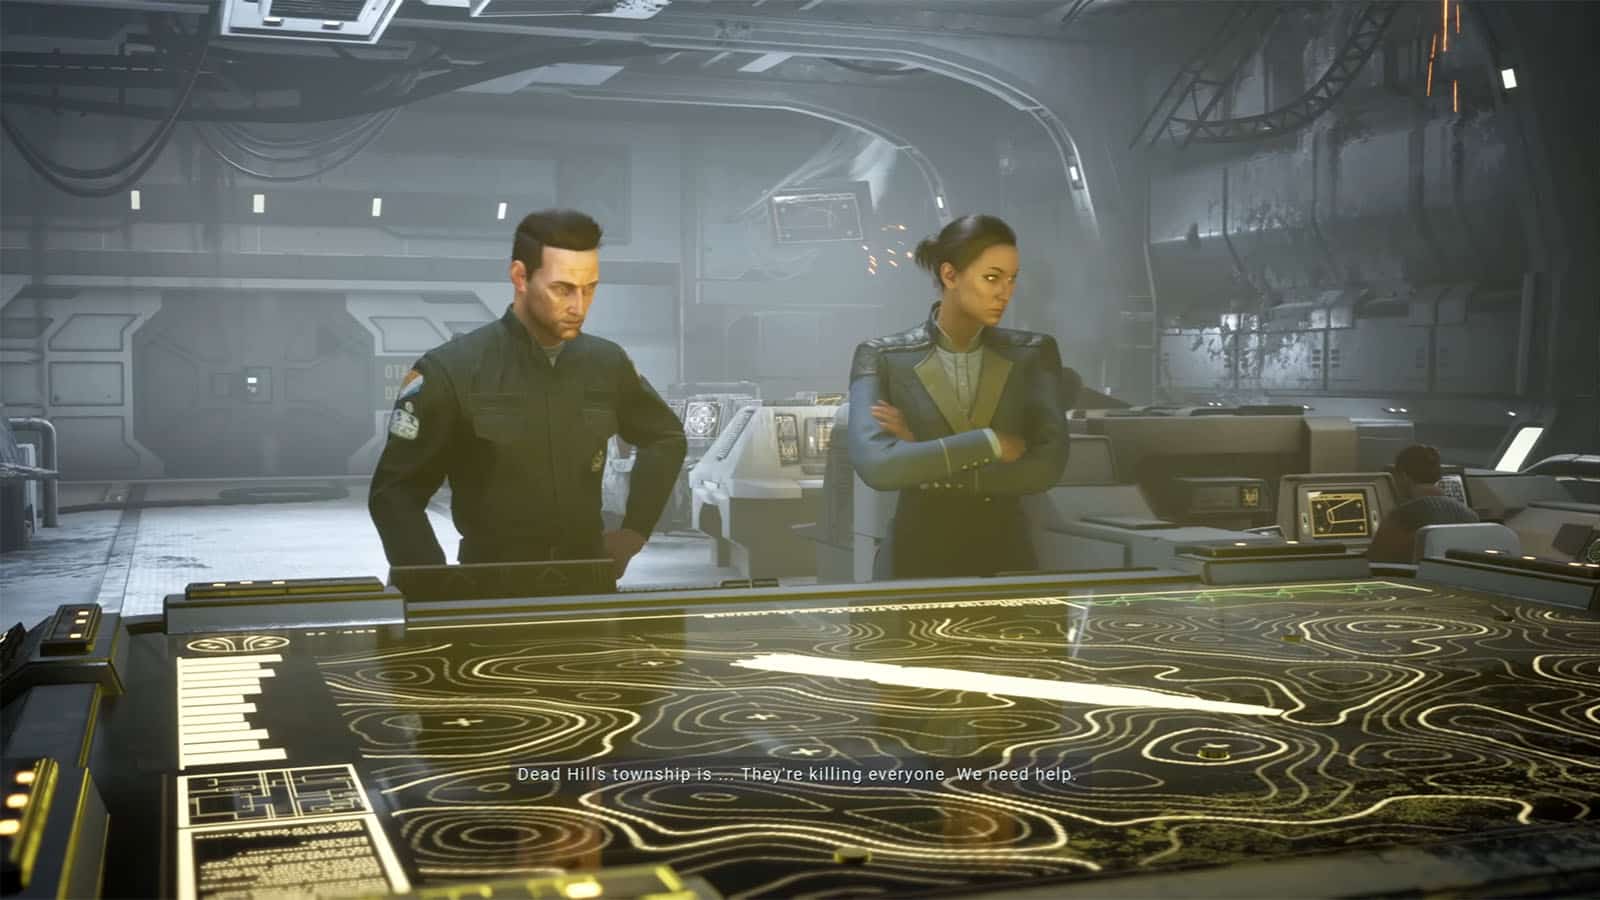
You’ll then head back to the command center, where a distress signal has been picked up from one of the colonies nearby. Harper and Hayes then agree to send units there to help and find out what’s happening.
See next: Aliens: Dark Descent Dead Hills Mission 01 Walkthrough


