
Otago’s Last Stand is the fourth mission in Aliens: Dark Descent. Due to the previous missions, the infestation has now set its sights on attacking the Otago directly. The ship’s defenses are way beyond operable, so Harper and his troops must find another way to defend the ship’s perimeter from the hordes.
Read ahead as we go through Otago’s Last Stand Mission 04 in Aliens: Dark Descent and share some tips on how to complete the objectives, as well as the locations of the collectibles and blueprints in the level.
See previous: Aliens Dark Descent Harper’s Hell Mission 03 Walkthrough
Otago’s Last Stand Objectives
- Deploy the first heavy turret
- Deploy the second heavy turret
- Secure the perimeter: deploy the long-range motion trackers
- Bomb the caves
Otago’s Last Stand Mission 04 Walkthrough
Your troops will be deployed out in the field, where the Xenomorphs have started to spread. Because of how open the area is, you can expect them to come from the north and east sides of the map. It’s best to set up sentries along the path you take to serve as fallback points away from the ARC.
Deploy the first heavy turret
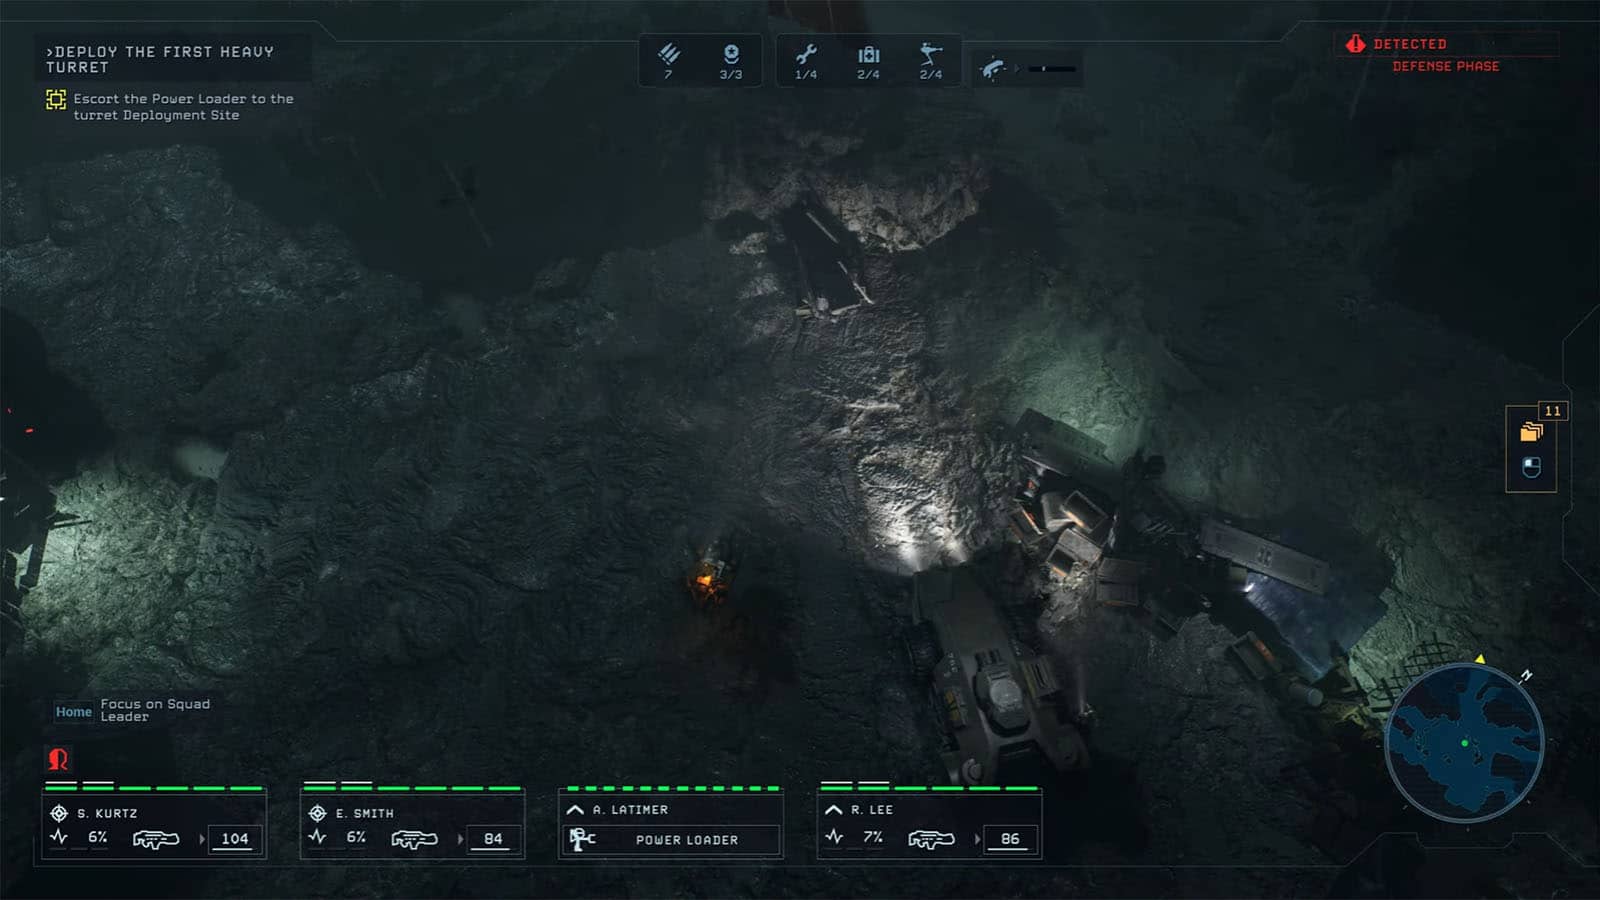
At the start of the mission, you will have new equipment to use, which is the Power Loader. You can select one unit in your squad to operate it. It will then proceed to do its first task, which is to pick up the heavy turret and automatically deliver it to the deployment site. You will have to escort it along the way as the Drones start converging in your area. Make sure to pick up Otago’s Last Stand Datapad #1 near the starting area before leaving.
Once you have arrived at the site, have someone else activate the heavy turret. You can also request a dropship barrage to attack an area full of Drones. The turret should also start shooting down any enemies that come within its range.
Deploy the second heavy turret
Follow the Power Loader back to the starting area, where it will pick up the second heavy turret. Escort it to the next site, then activate the turret.
Secure the perimeter: deploy the long-range motion trackers
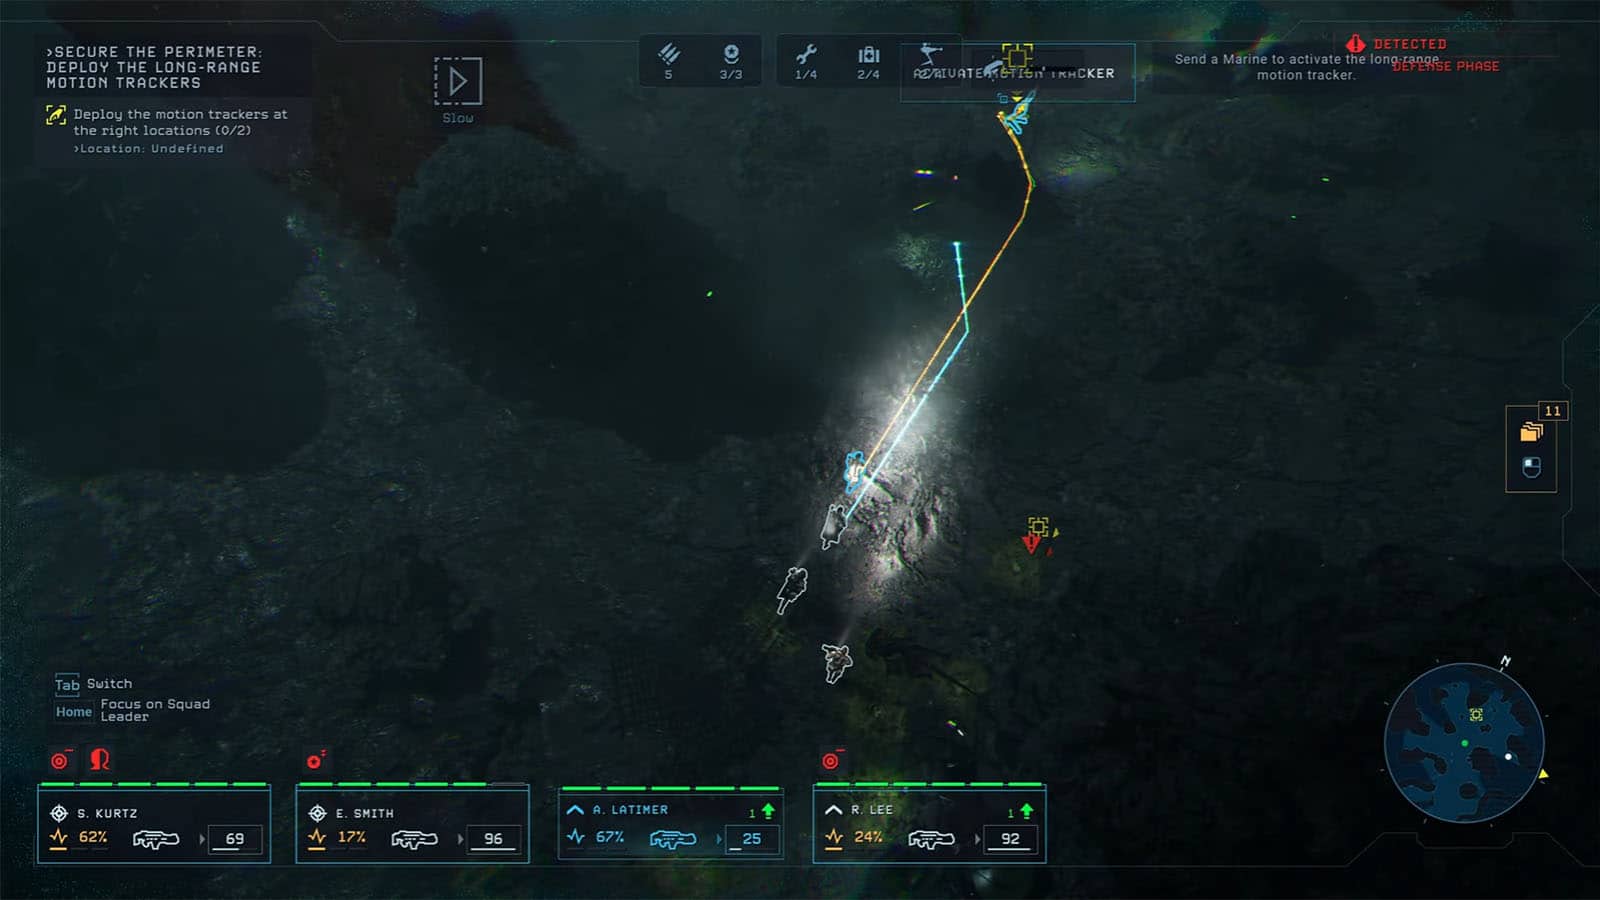
A storm is coming that will mess up the sensors of the turrets, so you will need to go back to the ARC and pick up some long-range motion trackers to use. Then, you will have to set a tracker at two locations marked on the map.
Bomb the caves
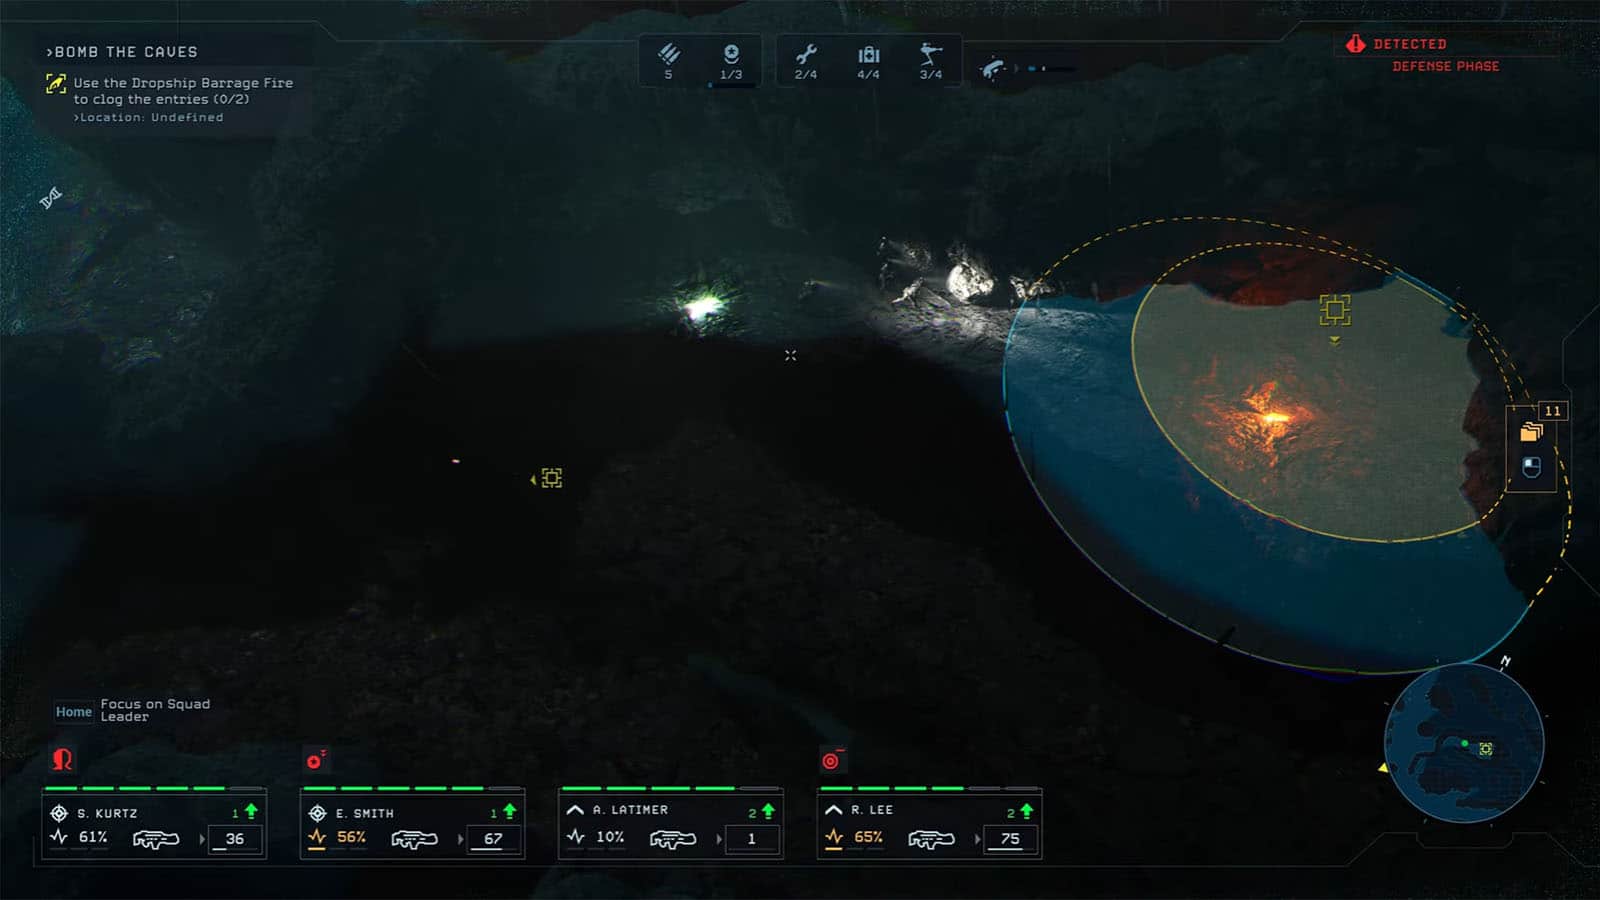
The Xenomorphs are using the underground tunnels to get into the perimeter of the Otago. You will need to get close to the cave entrances and block them. Go to the marked locations on the map and request a dropship barrage fire on each of them to close up the caves.
After sealing both caves, head back to the ARC and request an extraction to complete the mission.
See next: Aliens Dark Descent Nuclear Protocol Mission 05 Walkthrough


