Welcome to the Resistance is the third chapter in Avatar: Frontiers of Pandora. So’lek reports that the other Sarentu has safely reached the Resistance HQ, but the danger is not over yet as they spot more RDA personnel getting extremely close to their headquarters. Read ahead as we go through the events of Welcome to the Resistance in Avatar: Frontiers of Pandora and share some tips on how to complete the chapter.
See previous: Chapter 2 – Pandora
Objectives:
Locate the Resistance Headquarters
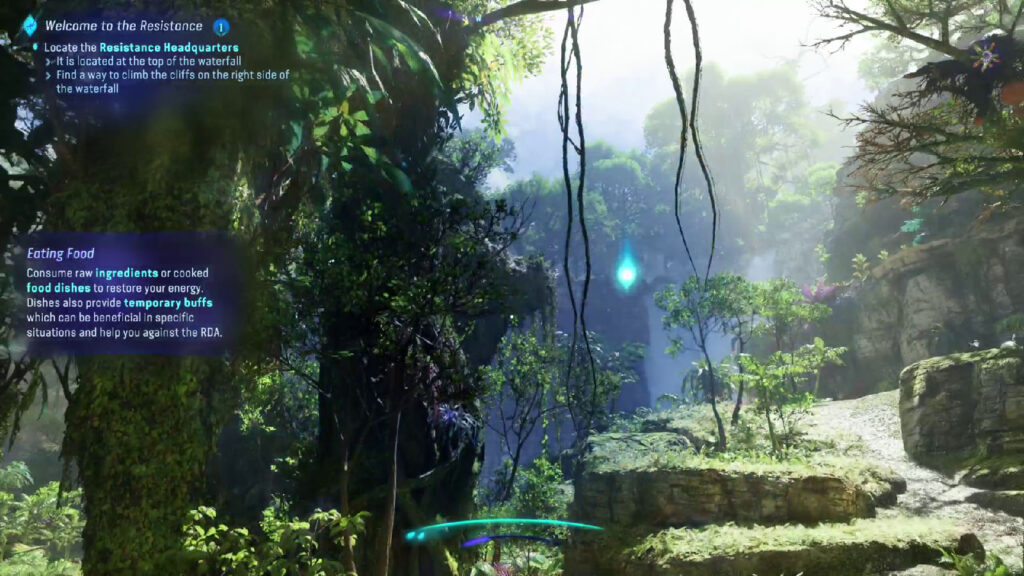
After parting ways with So’lek, you will need to head over to the Resistance Headquarters, which can be found at the top of the waterfall. Open the map to find its location, or you can also use your senses to see the objective’s marker through your vision.
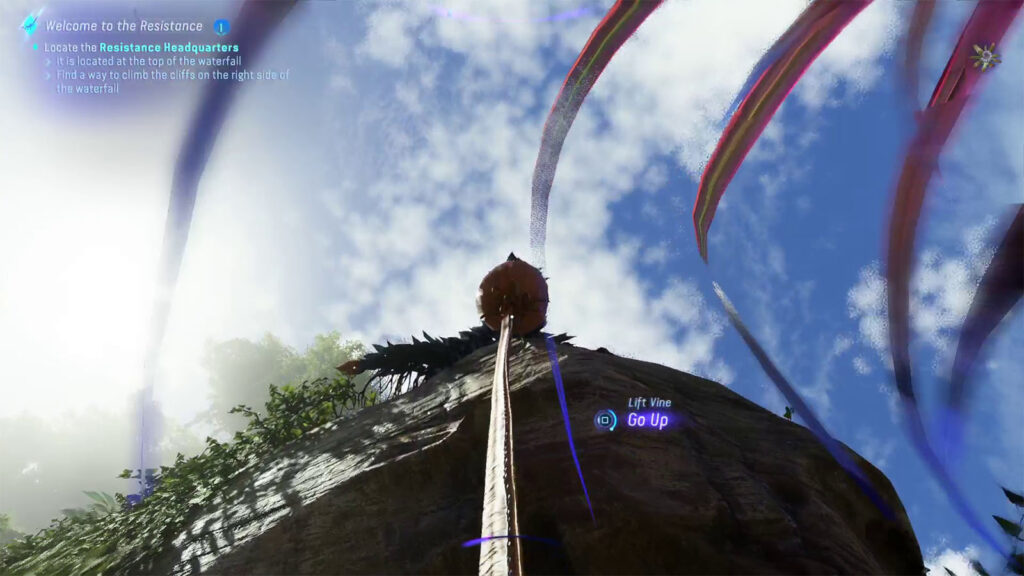
You’ll need to find a way to climb the cliffs to reach the headquarters. Head over to the cliffs, and you will find Vine Lifts. Grab hold of a vine, and it will lift you up to the base of the plant.
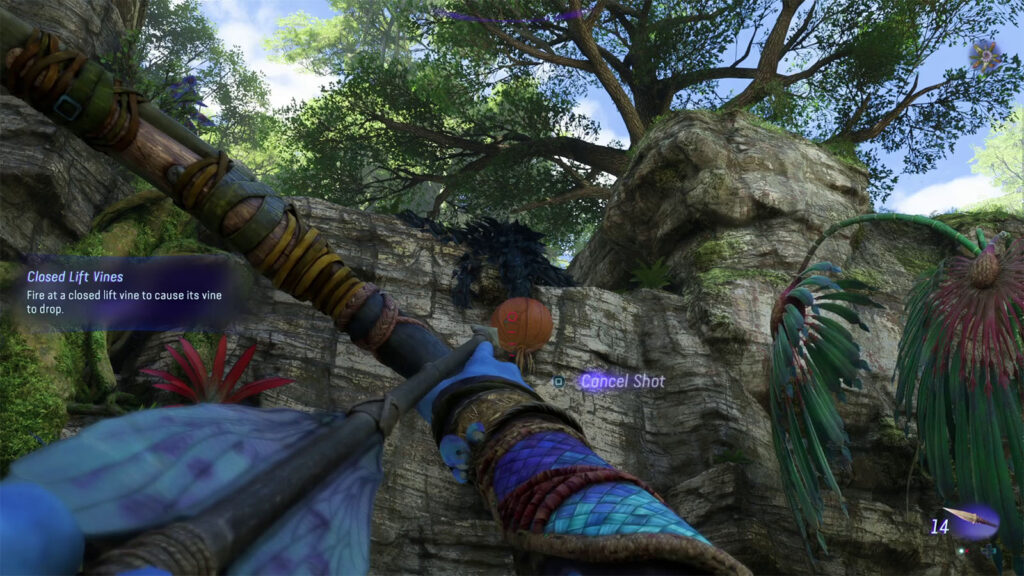
Up the next ledge, you will find another Vine Lifts, but it is closed. Shoot an arrow at its bulb to make it release a vine that you can use to climb up.
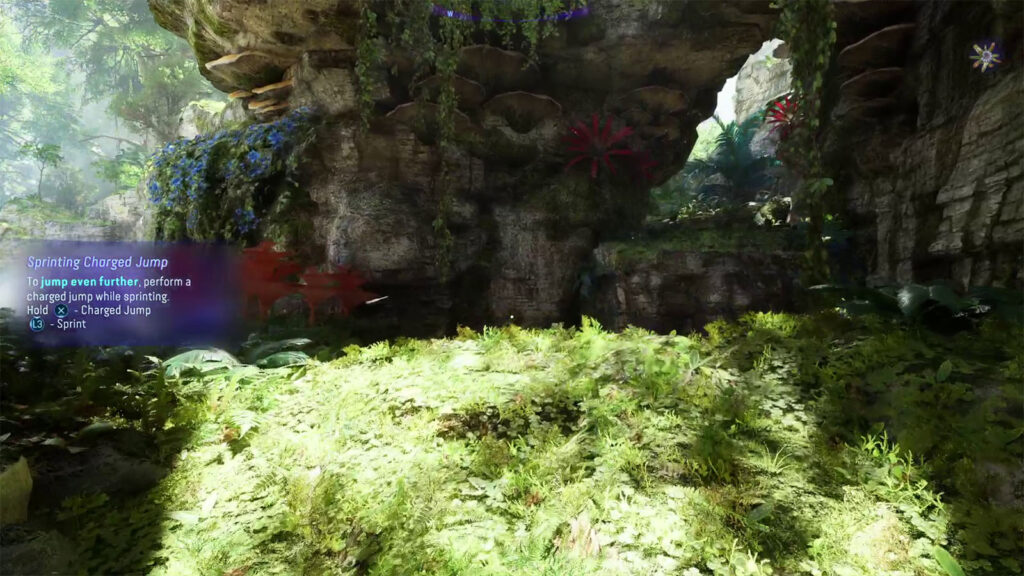
Next, you will need to perform a Sprinting Charged Jump in order to clear the gap and reach the next ledge. Sprint first by holding L3, then perform a Charged Jump by holding X.
Approach So’lek at Resistance Headquarters
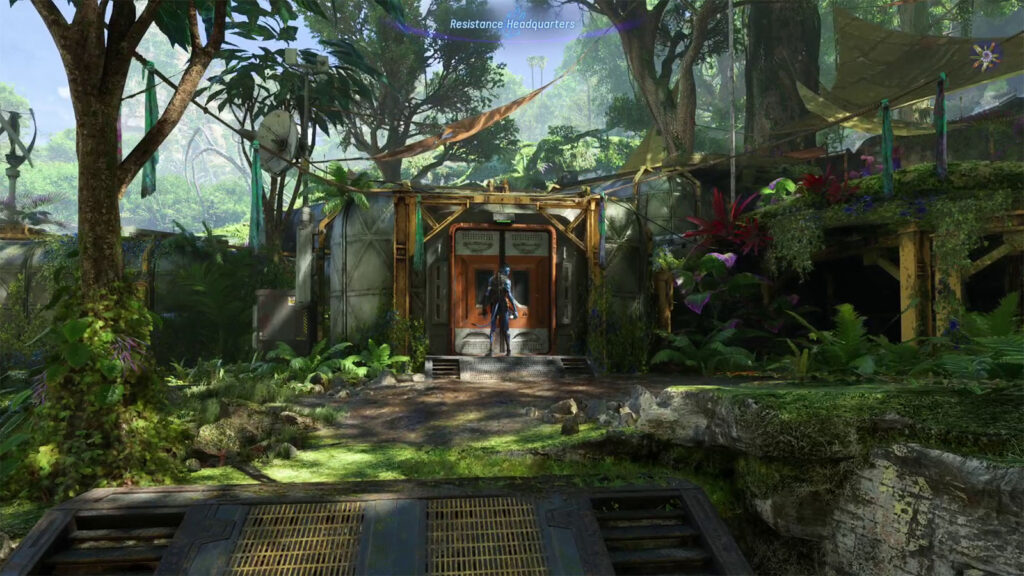
After clearing the gap, you will reach the Resistance Headquarters. Meet up with So’lek by the building.
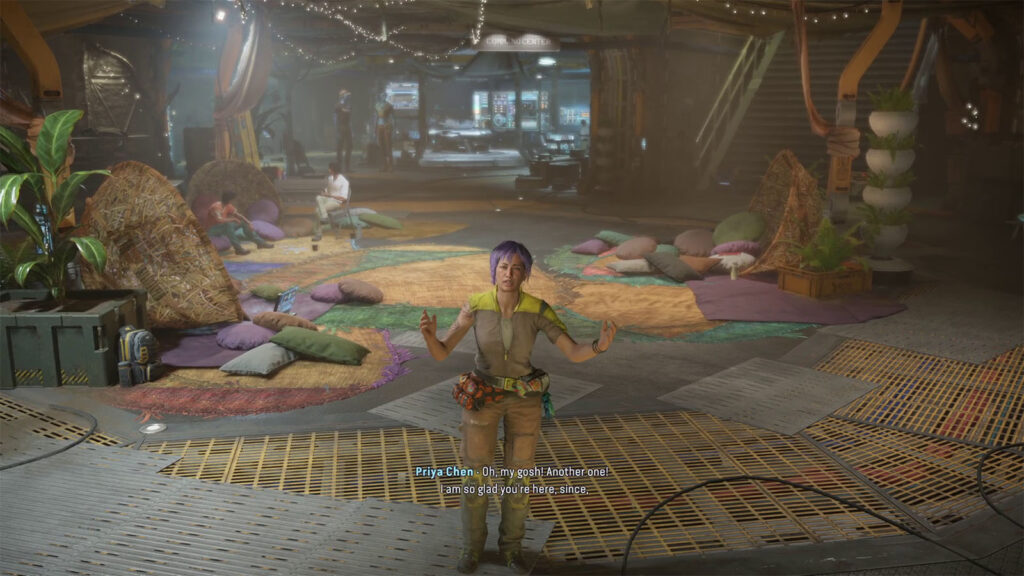
You will then get introduced to Priya Chen, who welcomes you to the Resistance HQ.
Talk to Alma and Teylan in the Command Center
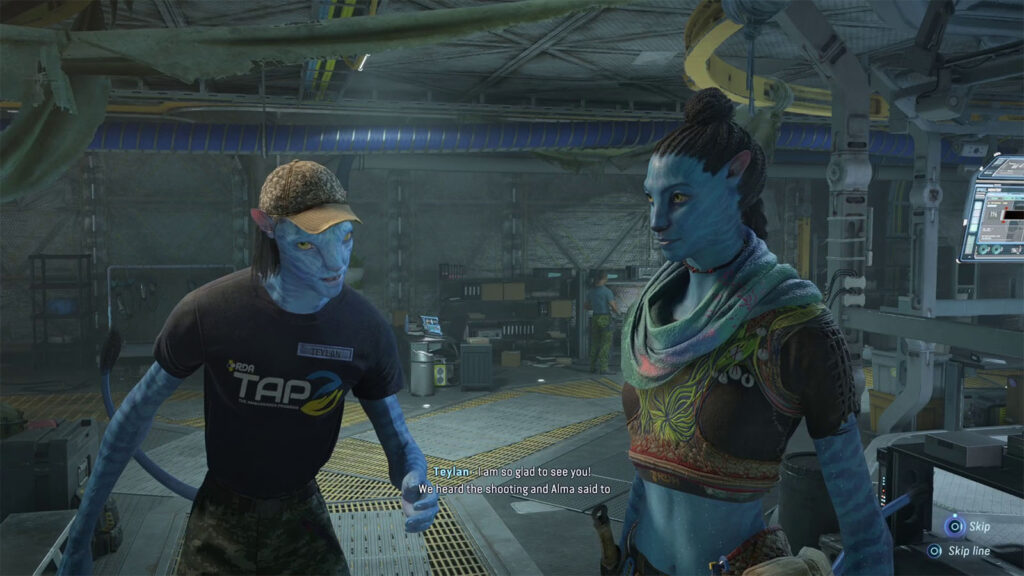
Go towards the Command Center to reunite with Alma and Teylan. Alma reveals what happened to TAP and that it was Mercer who commanded to destroy the facility after the evacuation.
She also reveals that sixteen years have passed since you and the rest of the Na’vi in TAP entered cryostasis. To help ease up after the revelation, Alma advises having Teylan guide you through the HQ and to go and meet up with Raj.
Walk with Teylan to Rajinder in the Living Quarters
Follow Teylan as he walks through the HQ. Along the way, you can start finding notes that you can check within your Journal by tapping the touchpad. You’ll find the Note – Turning the Tables near the rebreathers.
Talk to Rajinder in the Living Quarters
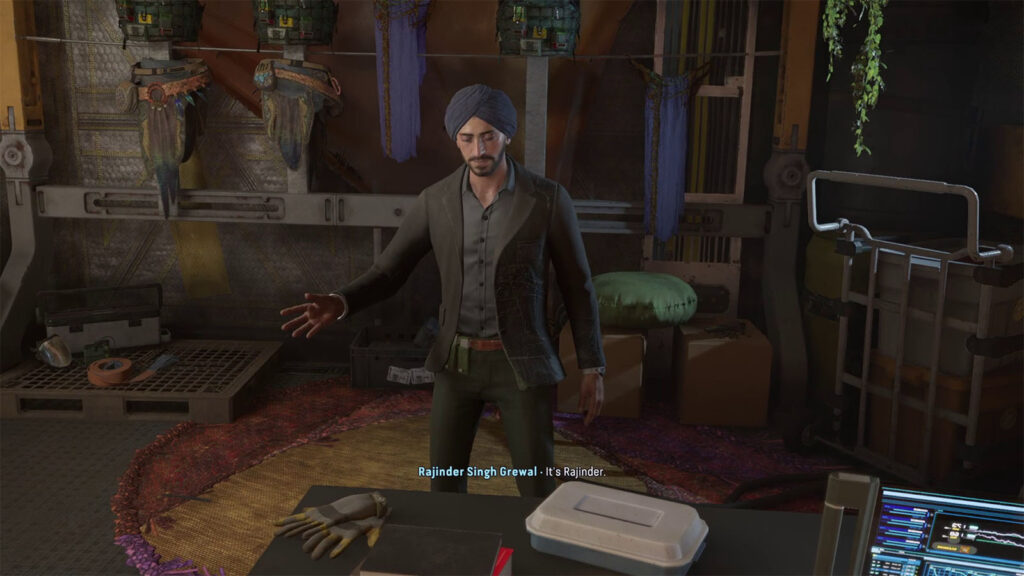
You’ll meet up with Rajinder Singh Grewal or Raj, who is busy with his work at the Living Quarters. He tells you that he has clothes and gear prepared for you.
Receive new gear from Rajinder in the Living Quarters
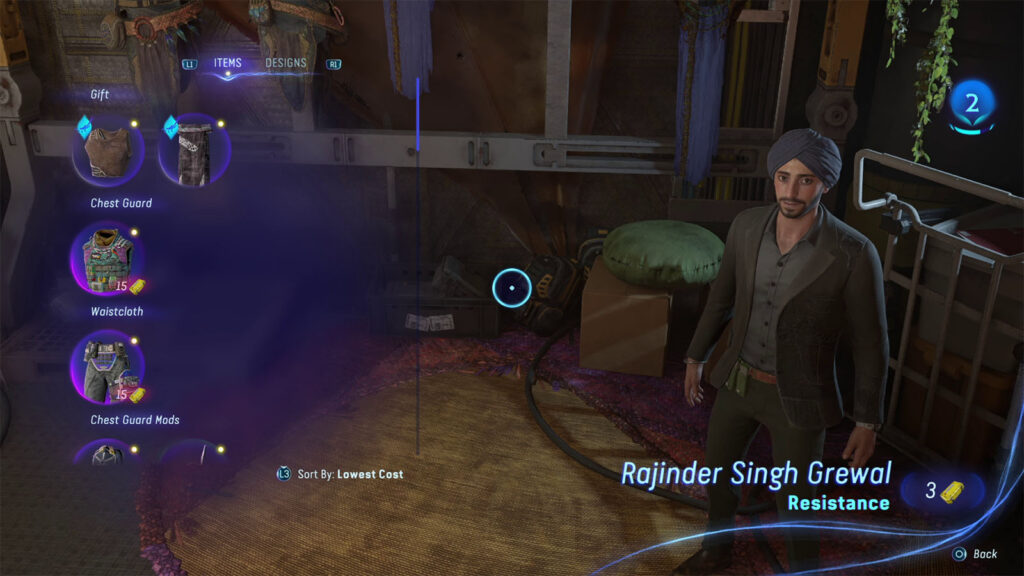
Talk to Raj again to open up the Gear Shop. You can purchase new gear from him in exchange for spare parts. You can also take the free Researcher Shirt and Field Waistcloth. Equipping this gear will raise your Combat Strength rank, which also determines the amount of health you have.
Change into Na’vi clothing
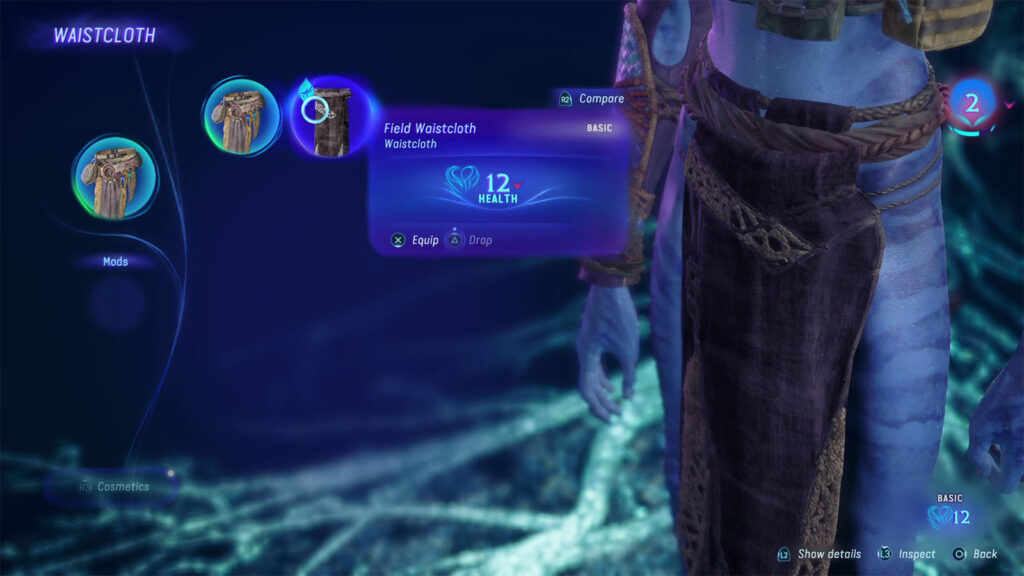
Go to the Character menu, and then wear the new gear that you obtained. You only need to wear them at least once to fulfill the objective, and then you can switch back to your original or higher-tiered gear afterwards.
Talk to Rajinder
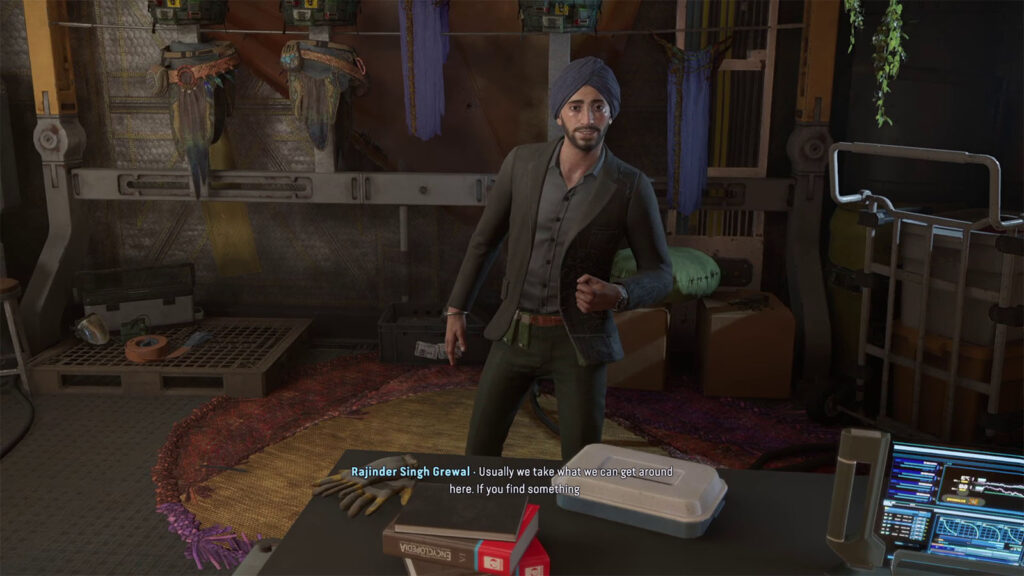
Talk to Raj once again, and he will tell you that you will get the gear for free this time. You can talk to him again once you have enough spare parts to purchase some of the other gear in stock.
Follow Teylan to Maintenance
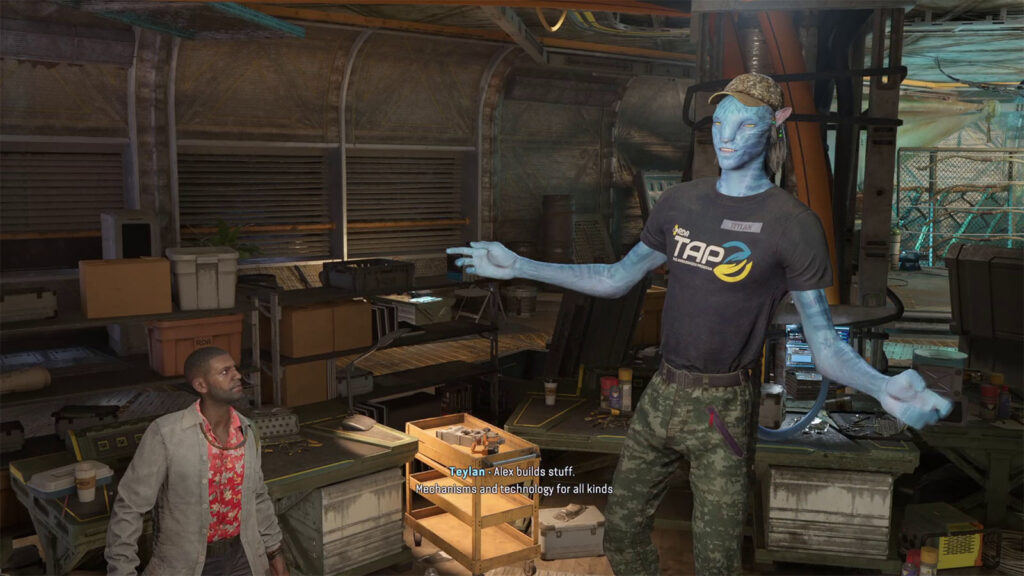
Follow Teylan once again, and you will be introduced to Alexander Tremayne or Alex. He is an engineer who makes devices that help out the resistance. He also introduces you to one of his inventions, called the Systems Interrogation Device or SID. This will be one of your basic tools that you can use to scan for stuff. Teylan suggests that you should test it out and see how it works.
Equip SID
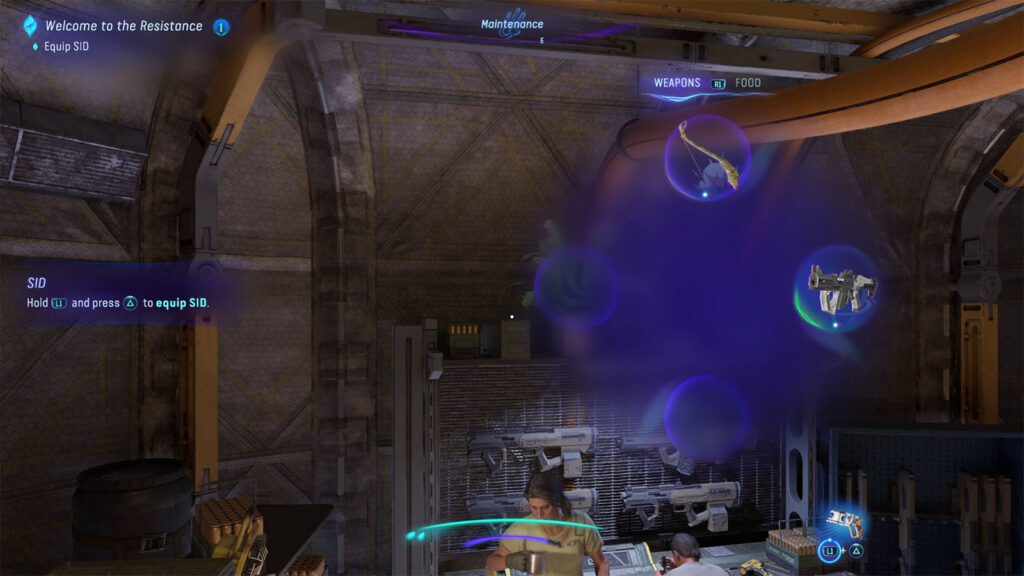
Press and hold L1, then press Triangle to equip SID from the Weapons menu.
Use SID to fix the node in Maintenance
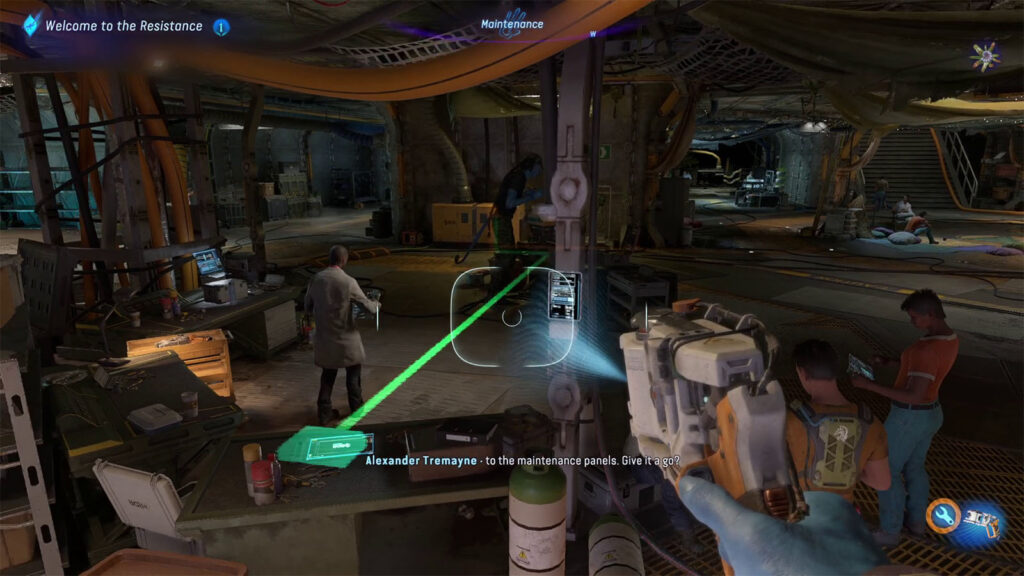
While having SID equipped, look towards the floor to find the green wire running along the ground. Follow it to find the faulty node.
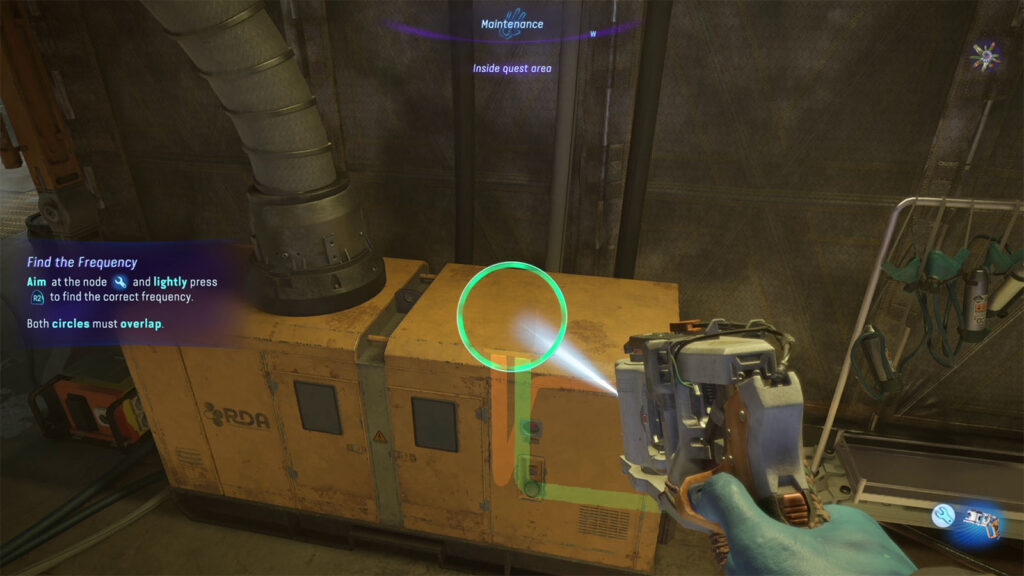
To find the right frequency of the faulty node, you will need to aim your SID at the faulty node, then press R2 with the right pressure so that the rings will overlap.
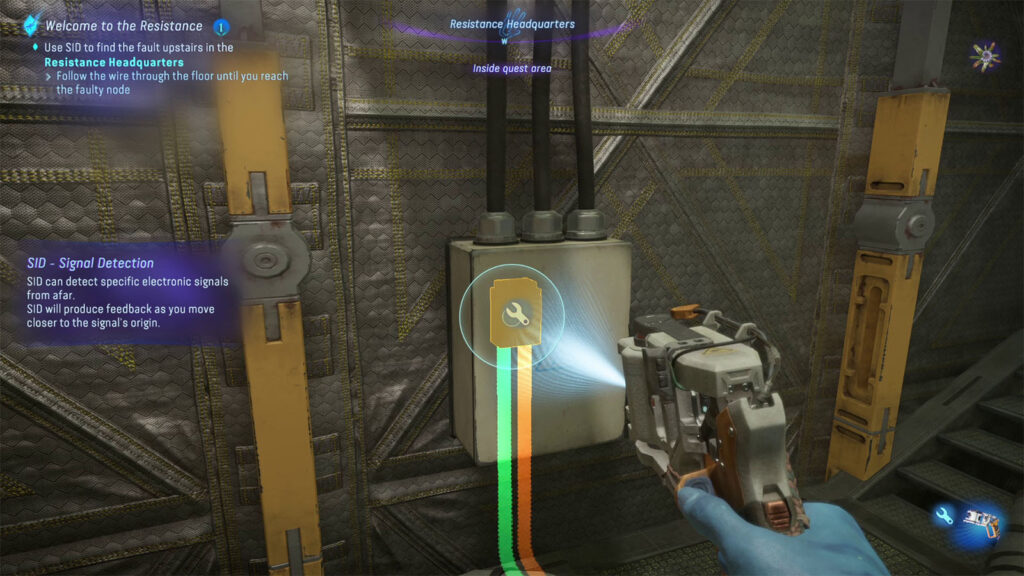
After finding the frequency from the first node, continue following the wire upstairs until you reach the next node, then search for the right frequency again.
Use SID to find the fault upstairs in the Resistance Headquarters
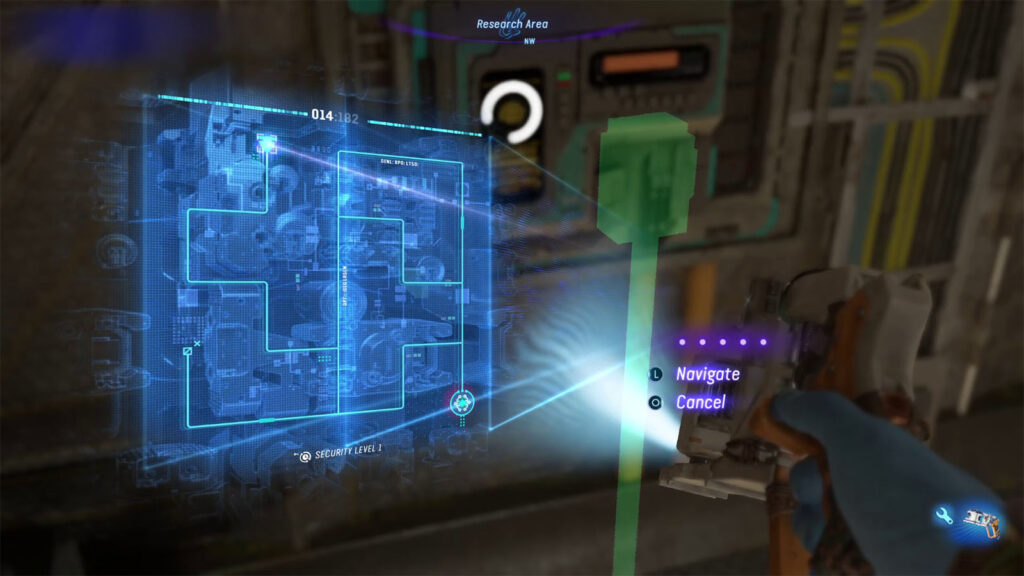
Continue following the wire until you reach the faulty base node. Find the frequency to access the hacking screen.
While on the hacking screen, you will simply need to navigate through the path to reach the node. Once done, the node will be fixed.
Meet the Sarentu outside Resistance Headquarters
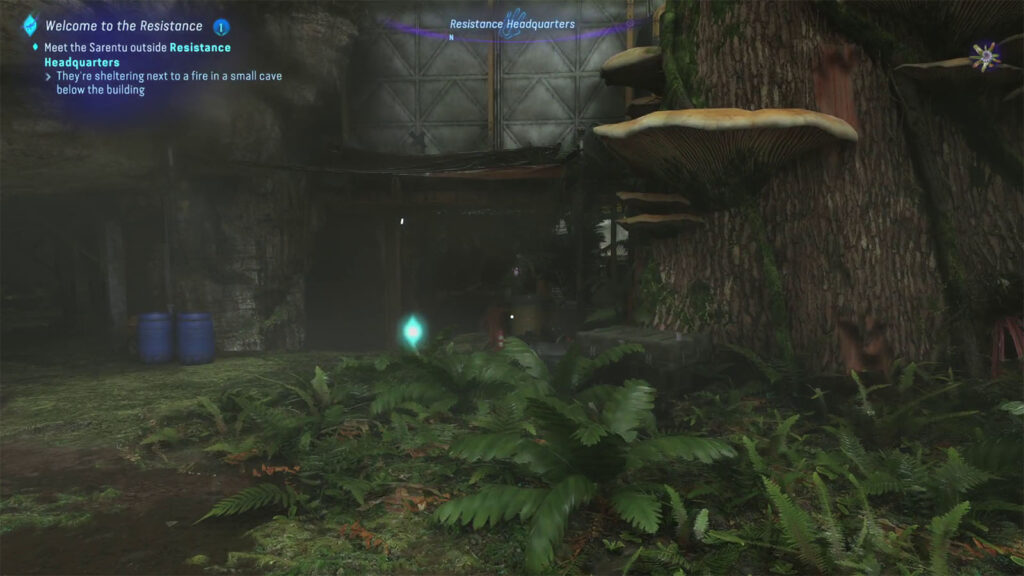
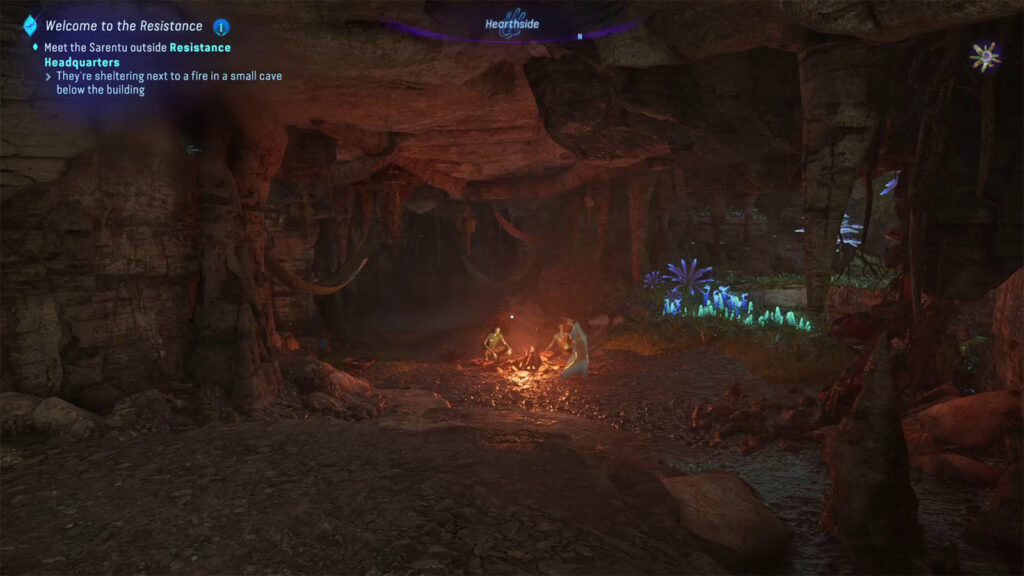
Head back down and take the airlock on the right side to get back outdoors. Follow the marker and go underneath the HQ to find your fellow Sarentu sitting by the fire. They then discuss their longing to return to Pandora’s nature after being trapped in TAP.

Nor suggests that now that they’re free, they could simply choose to leave and go wherever they desire. However, you, Ri’nela, and Teylan wanted to stay with Alma, as it appears that she genuinely wants to help the Na’vi. Alma also wants to talk to everybody about something.
Before heading back to the Command Center, go and check the basket nearby to get an entry for the Crimson Mushroom and an Egg-Stuffed Mushroom.
Go to the briefing in the Command Center
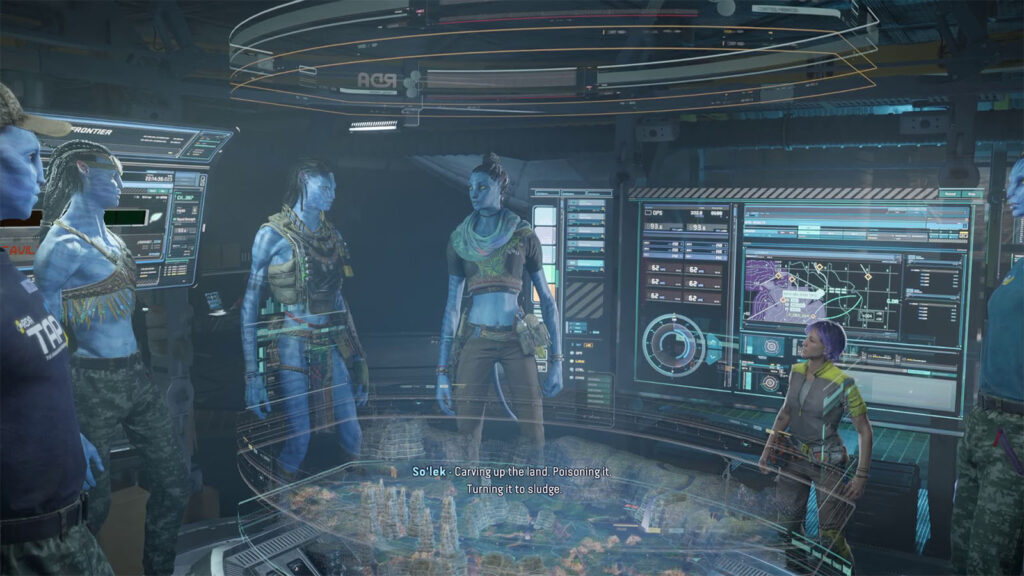
Back in the Command Center, Alma briefs everyone about Mercer’s return to Pandora. She also gives an update on their outreach to the other Na’vi clans, which has not gone well. She hopes that the Sarentu can become a bridge and convince the other clans to help in their resistance.
Priya then reports that there has been a detected spike in pollution levels, and the group surmises that the RDA is setting up a new drill site nearby. The resistance then scrambles up to create a safe perimeter so that the HQ won’t be discovered. Despite Alma’s hesitance, she allows you to raid the RDA site to protect the HQ from Mercer’s people.
Defeat Pneumatic Tower Echo
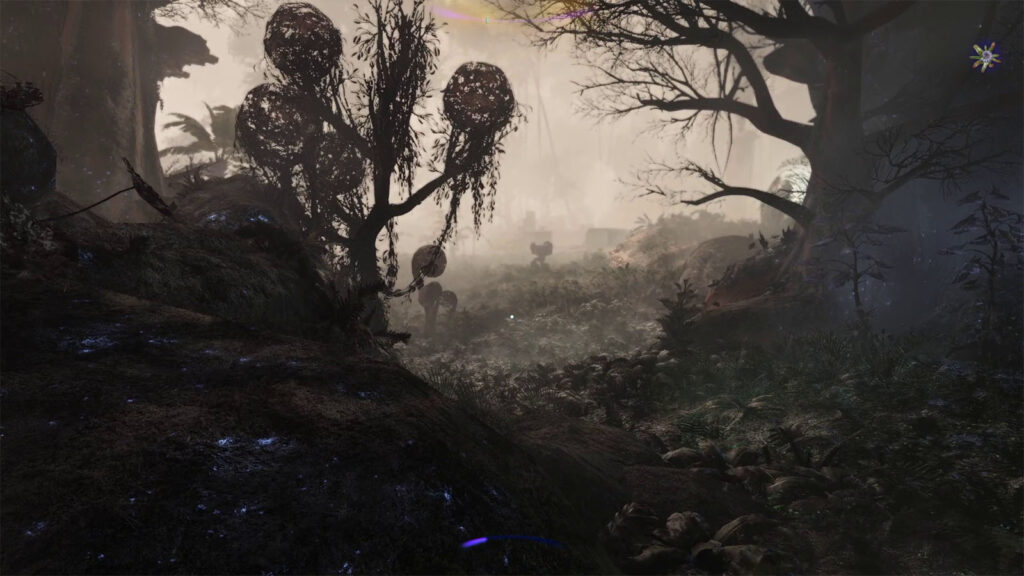
As you prepare to set out, take the time to check the HQ for some mods, collectibles, and other supplies. Use your senses to find a chest in Maintenance that contains the Waistcloth Mod, and just across is where you can find Audio Log – Alma’s personal log: Supply Chains. There are also some Stun Grenades by the door at the Entry Hub and some Sulphur Pods to create some grenade arrows.
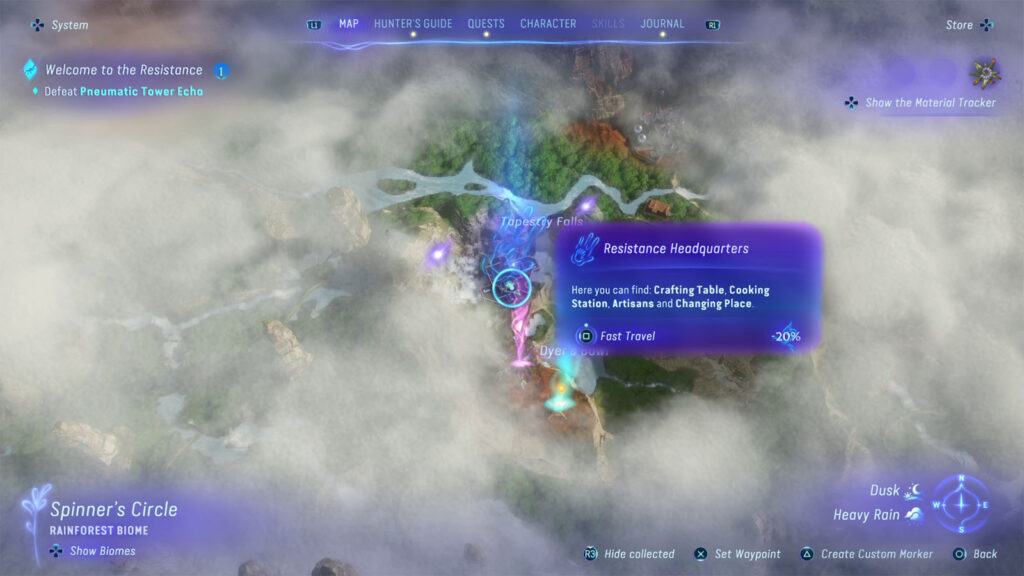
Make your way to the marked location to reach the drill site. Along the way, you will notice that the area around the site is polluted. Priya will get in contact with you and give you some intel on how to destroy the pneumatic tower.
You will need to locate two parts, which are the cooling unit and the generator. The site is heavily guarded by RDA, but you have the option to carry out your mission stealthily or just engage them right away.
Destroy the generator
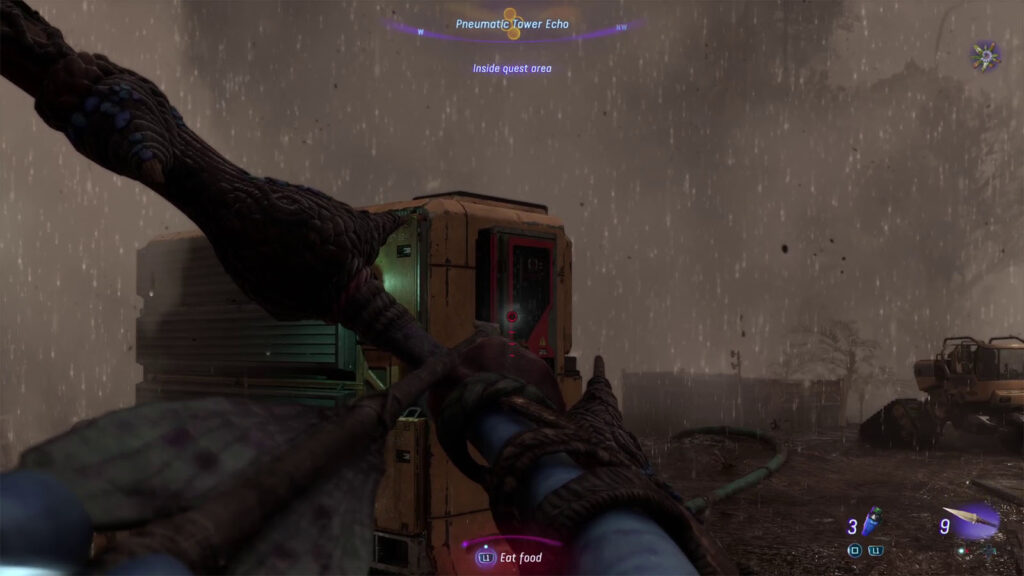
The generator is located in the higher area next to the drill; your senses should be able to pick it up, and you will see it as a yellow machine. Once you find the generator, locate the red panel on its narrow side and then shoot it to disable the generator.
Hack and destroy the cooling unit
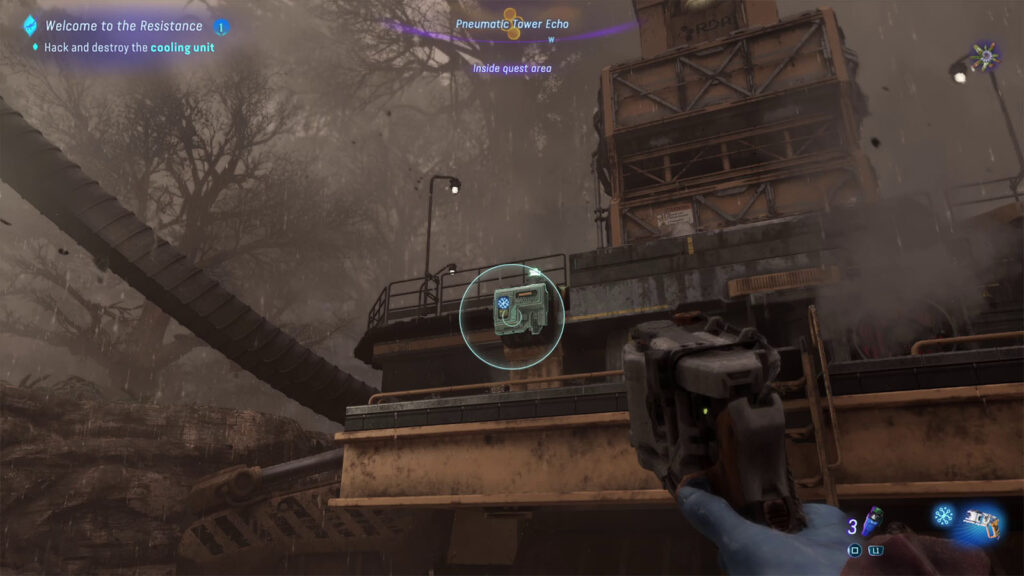
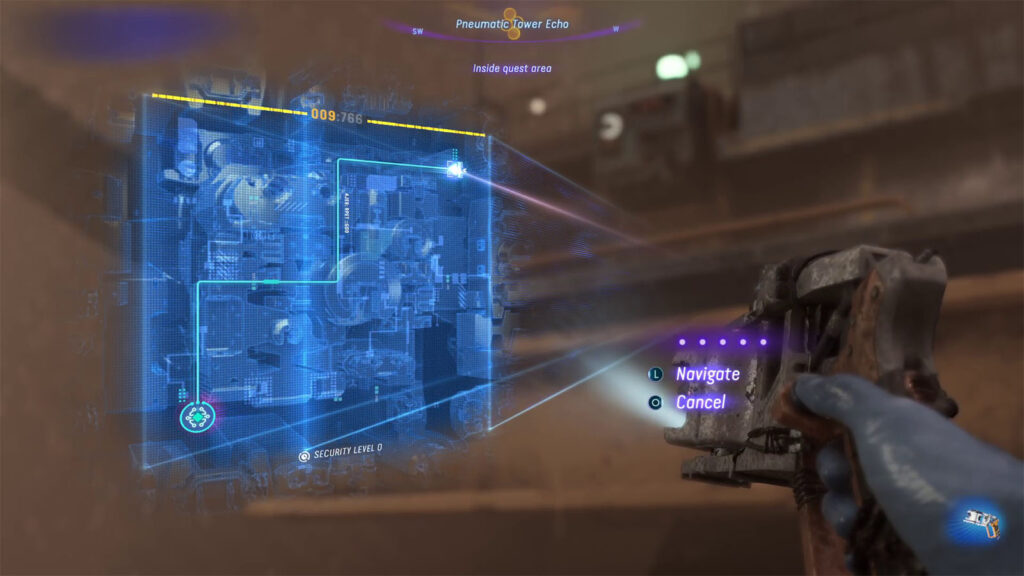
The cooling unit can be found on the east side of the drill. Once located, use your SID to hack into it. You only have 10 seconds to perform the hack, or it will reset.
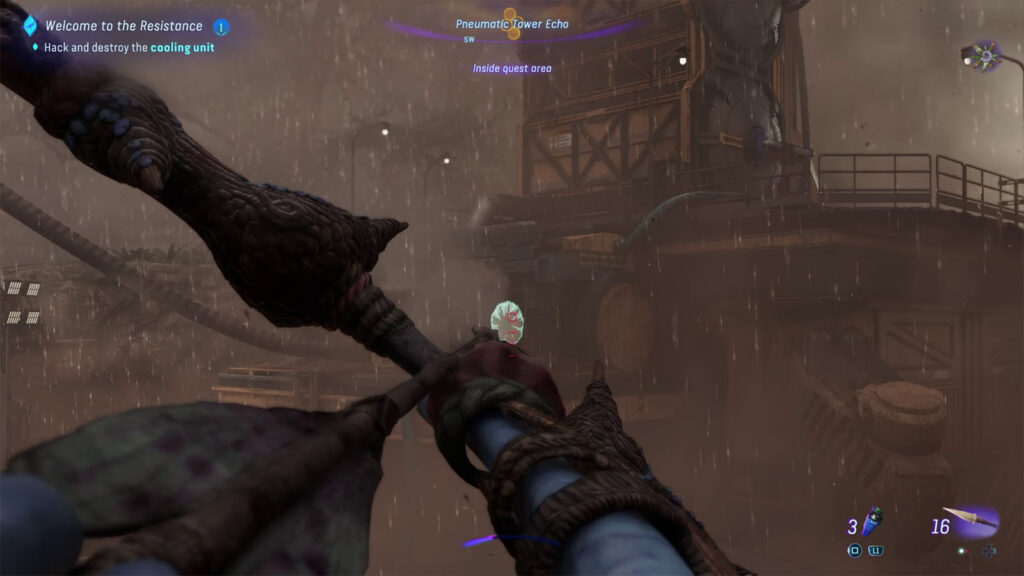
After completing the hacking, the drill will start overloading. Look to the right side of the hacked panel and shoot at the cooling fan to destroy it.
Destroy the emergency flare
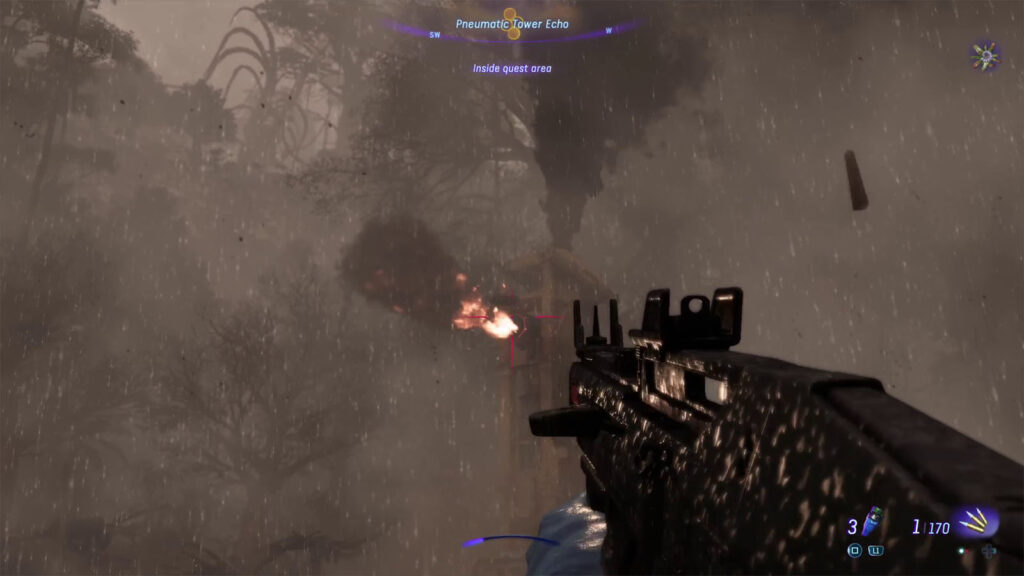
The drill will then shoot out its emergency flare, which is located at the top. Relocate to a position where you can see its opening as it shoots out. Once it opens, use your gun to shoot at the flare to destroy it.
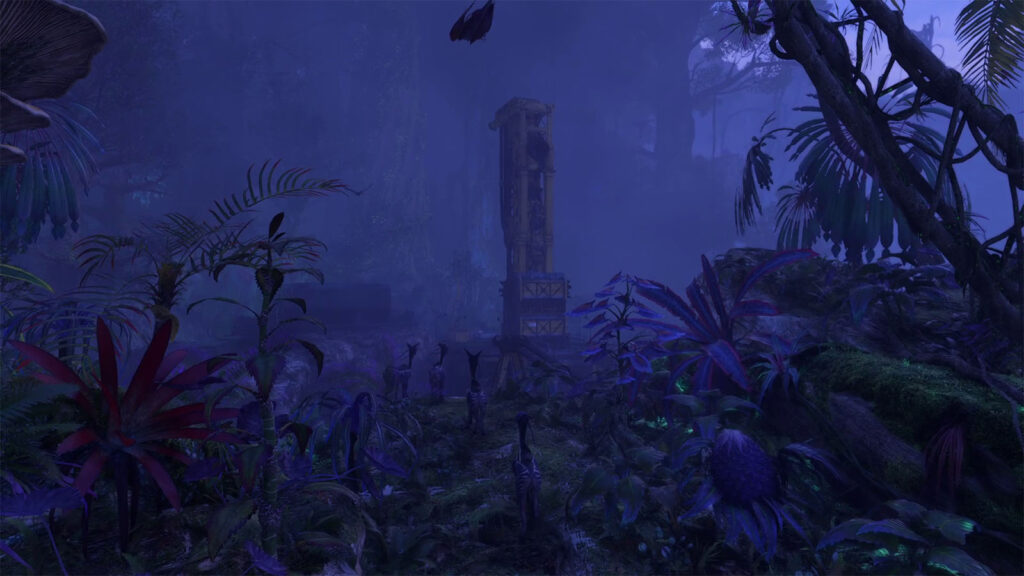
The drill then gets destroyed and shut down, reclaiming the drill site back to Pandora. Priya also confirms that the pollution in the area is going down. Teylan will get in touch with you to tell you about a big flower that they have discovered near the drill site.
See next: Chapter 4 – Songs of the Ancestor


