
One of the best things about Helldivers 2 is how rewarding it becomes the longer you play it. You start the game as a newly minted Helldiver armed with little more than a standard auto rifle and the ability to call in air strikes. By the time you’ve reached the higher ranks, you’ll have access to some of the most satisfying pieces of hardware dedicated to eradicating the enemies of humanity in the most destructive of ways. So, it’s no surprise there are a good number of players who want to get access to the good stuff ASAP.
In this guide, I’ll tell you the best way to level up in the most efficient way possible until you reach level 20. This guide will not cover ways to farm samples as you will be in the Easy difficulty and most of the Super Samples are locked to the harder difficulties. You may also include your lower level friends to participate as well. The only effect is your team having an easier time dealing with mobs. In theory. In practice, that might look completely different.
How to Level Up Fast in Helldivers 2
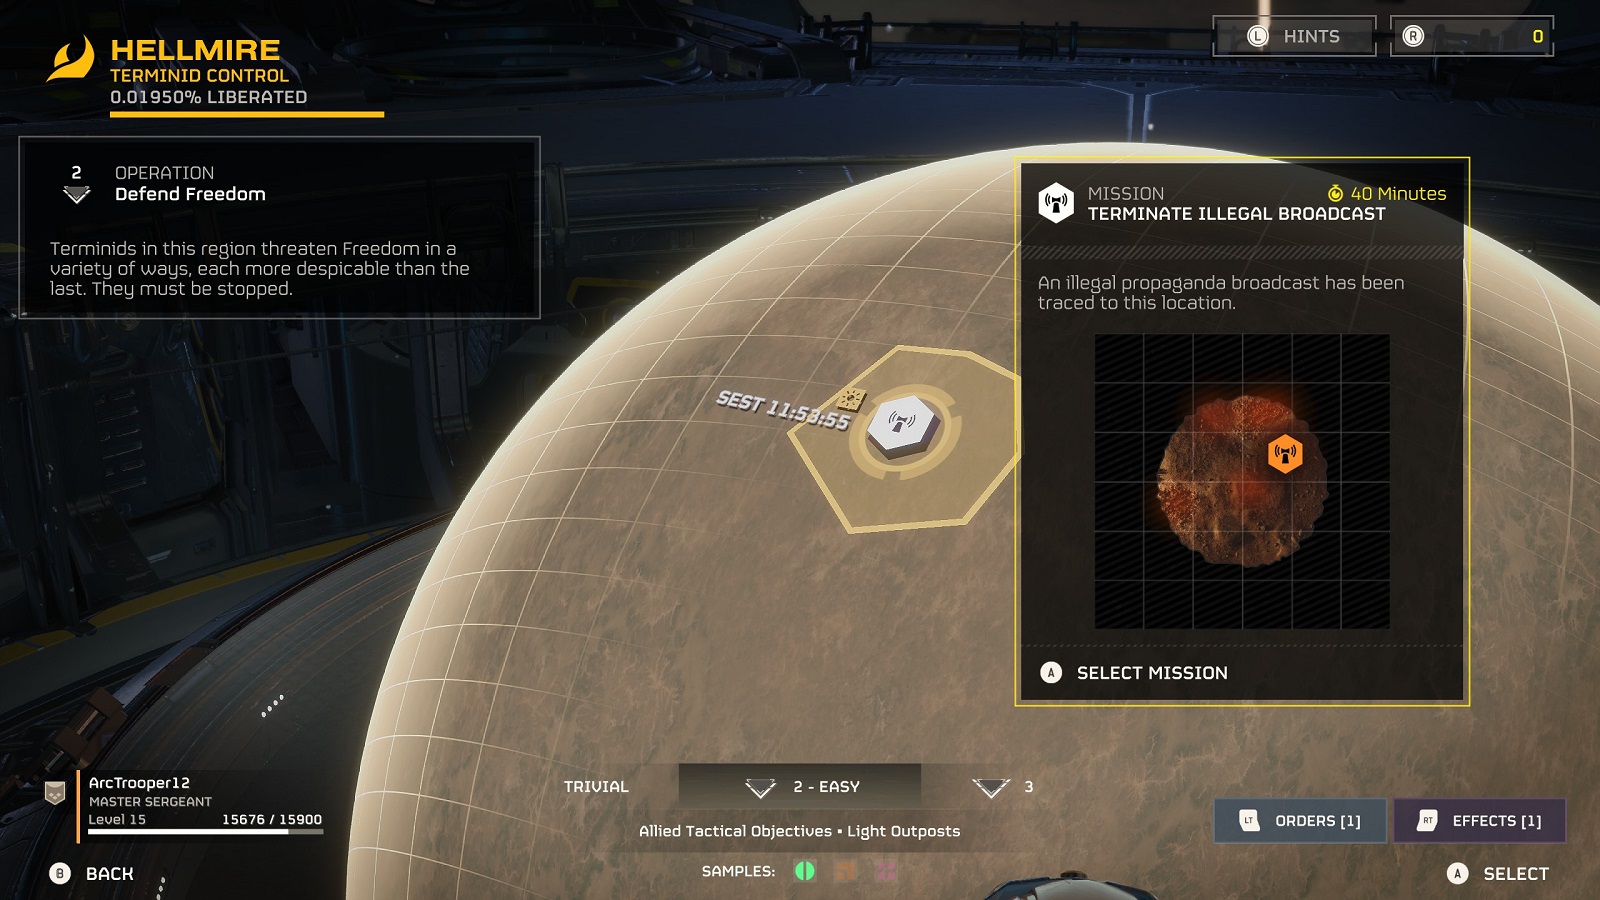
The fastest way to level up in Helldivers is to complete missions with the fastest time possible. To this end, we’ll need to choose the right missions from the mission selector. What you’re going to be looking for are the ‘Terminate Illegal Broadcast’ missions on the Easy Difficulty for Terminid and Automatons. The reason why we’re choosing this is it is one of the few missions that can be done in less than 5 minutes. We’re also doing this on Easy as the mission type doesn’t appear on Medium Difficulty and higher.
Because of its high demand, there will be times when the mission becomes unavailable for one reason or another. If you cannot find the mission, look for Brood Commander or Egg Termination missions instead. They are not as short as the Illegal Broadcast missions but it is short enough to fulfill our current needs.
Now, let’s go over the equipment you’ll need for the missions.
Preferred Helldiver Equipment: Weapons, Armor, and Stratagems
Note: All pieces of gear you need to begin farming are unlocked once you've reached Level 5.
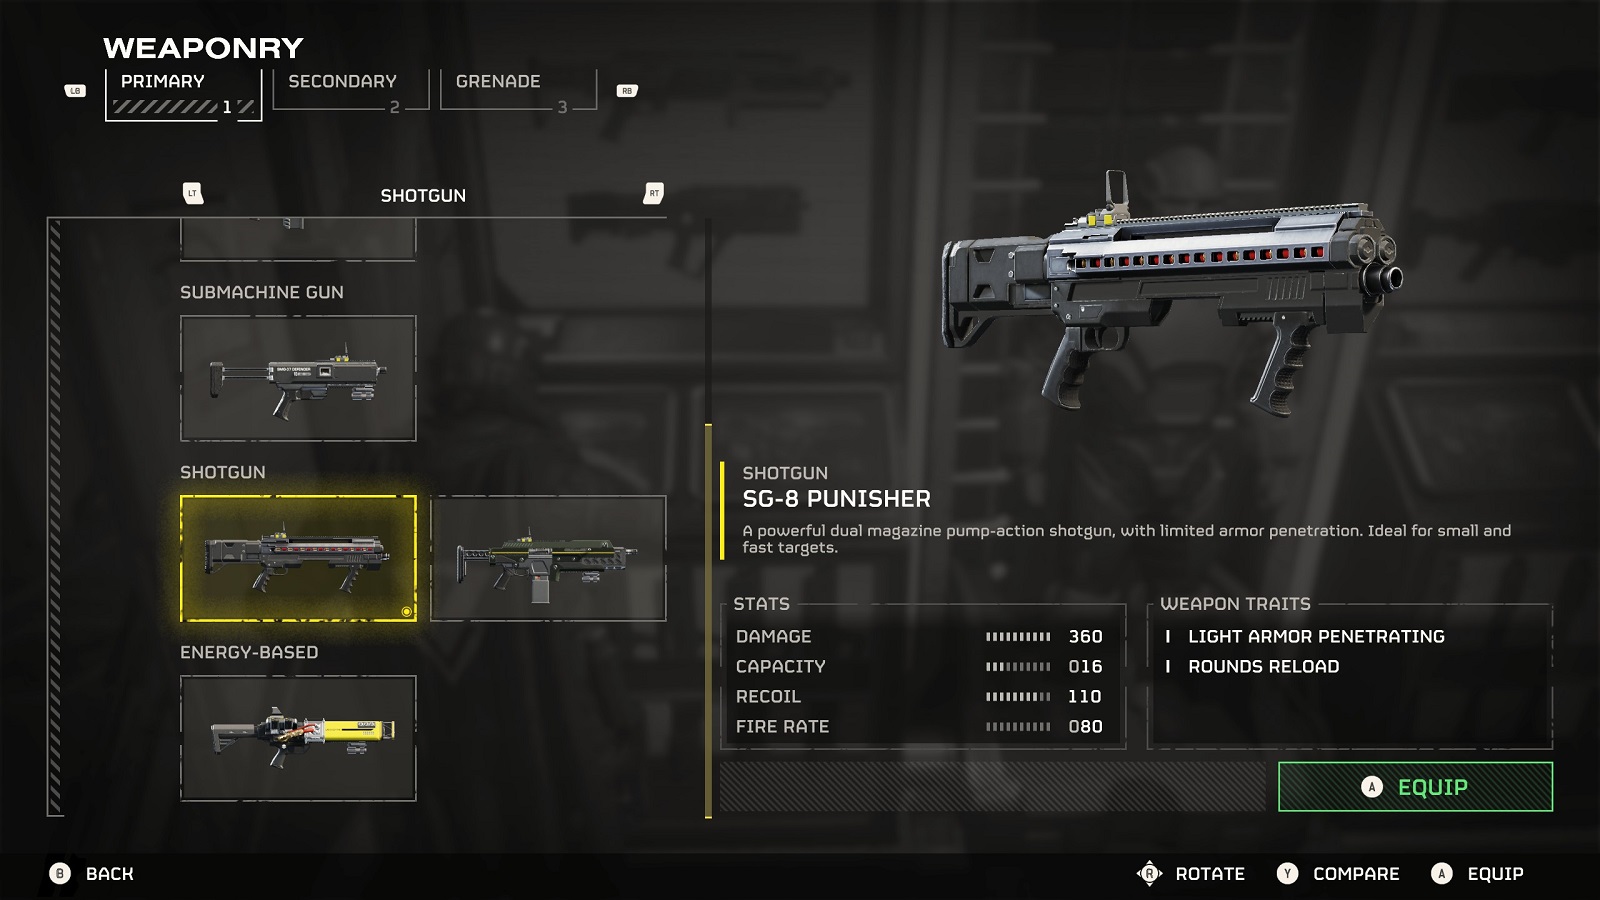
Ideally, you’ll want to use a shotgun to blast your way through bugs and automatons alike. But there’s no reason why you shouldn’t use the auto rifle or the submachine gun if that’s more your speed. The pair of shotguns we’ll be focusing on are the SG-8 Punisher and the SG-225 Breaker.
The Punisher is a great early game weapon due to its sheer stopping power. It also benefits from having hand-loaded rounds instead of the magazine where you run the risk of COD reloading after a bug kill. The only drawback is the low fire rate that makes you feel like you have to make all your shots count. You can drop all that once you’ve unlocked the Breaker. The Breaker is the most consistent weapon in the Warbonds lineup. I don’t know if it is because the weapon is so good or the other weapons are situational by nature. Looking at the beam weapons, that might be the case.

For the armor, I’m going to suggest the SC-34 Infiltrator. For one, it is lightweight, meaning that you have slightly better speed while going between objective points. Secondly, its passive skills allow you to ping far places on the map for potential targets, and wearing it reduces the detection range of enemies by 30%. Think of it as going Naked Snake behind enemy lines… until the shooting starts.
Of course, feel free to change the armor to suit your own personal playstyle. If you want to bring a boatload of grenades or have better healing capabilities, do so without hesitation. The problem with lightweight armor is its low survivability. As good as it is for sneaking around, the armor won’t keep you alive for long under intense pressure.
The stratagems you’ll want to bring are as follows:
- Eagle Cluster Bomb
- B-1 Supply Pack
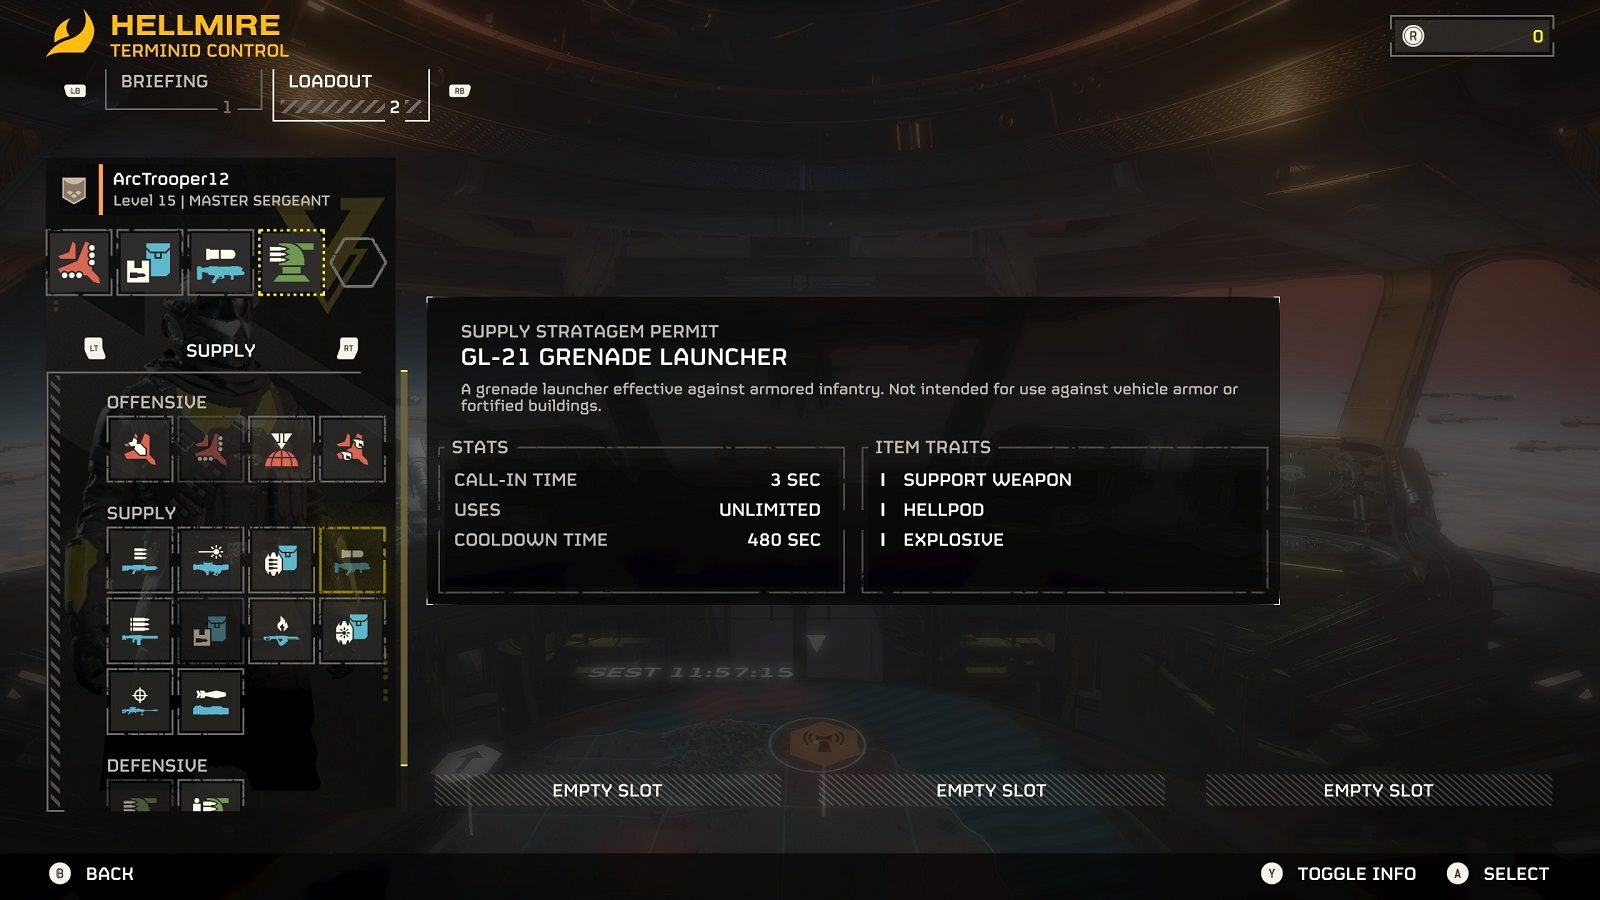
- GL-21 Grenade Launcher
- Machine Gun or Gatling Sentry
- Hellpod Space Optimization Booster
The Cluster Bomb is the best stratagem for clearing large clumps of enemies. Coincidently, it also has a high friendly kill rate. It also has a relatively low cooldown so that you can immediately go back to decimating your frie- I mean, the enemies of Super Earth.
The Grenade Launcher is the linchpin of this entire farming strategy. As soon as it is available, you should try and get it before anything else. The strategy won’t be as effective without it. To supplement your mini-grenades, we’ll be using the B-1 Supply Pack as your support backpack. You can opt for the guard dog packs once you’ve reached level 10 but we’re going for speed above all else, even going so far as foregoing enemy outposts.
The sentries are completely optional. I use them to cover the extraction point and prevent it from being overrun. You’d be surprised how easily it is for multiple groups of tiny bugs to dislodge you from a defensive position. The same also applies to your chosen Booster. It’s not that important but getting into fights with a full ammo reserve takes a bit of the edge off.
Into the fray
You will want to choose a landing spot that’s relatively close to the objective. But you don’t want it too close where the first thing you see is a group of enemies all up in your face. It’s ok to drop from a distance away as long as it’s safe enough to bring in your support gear.
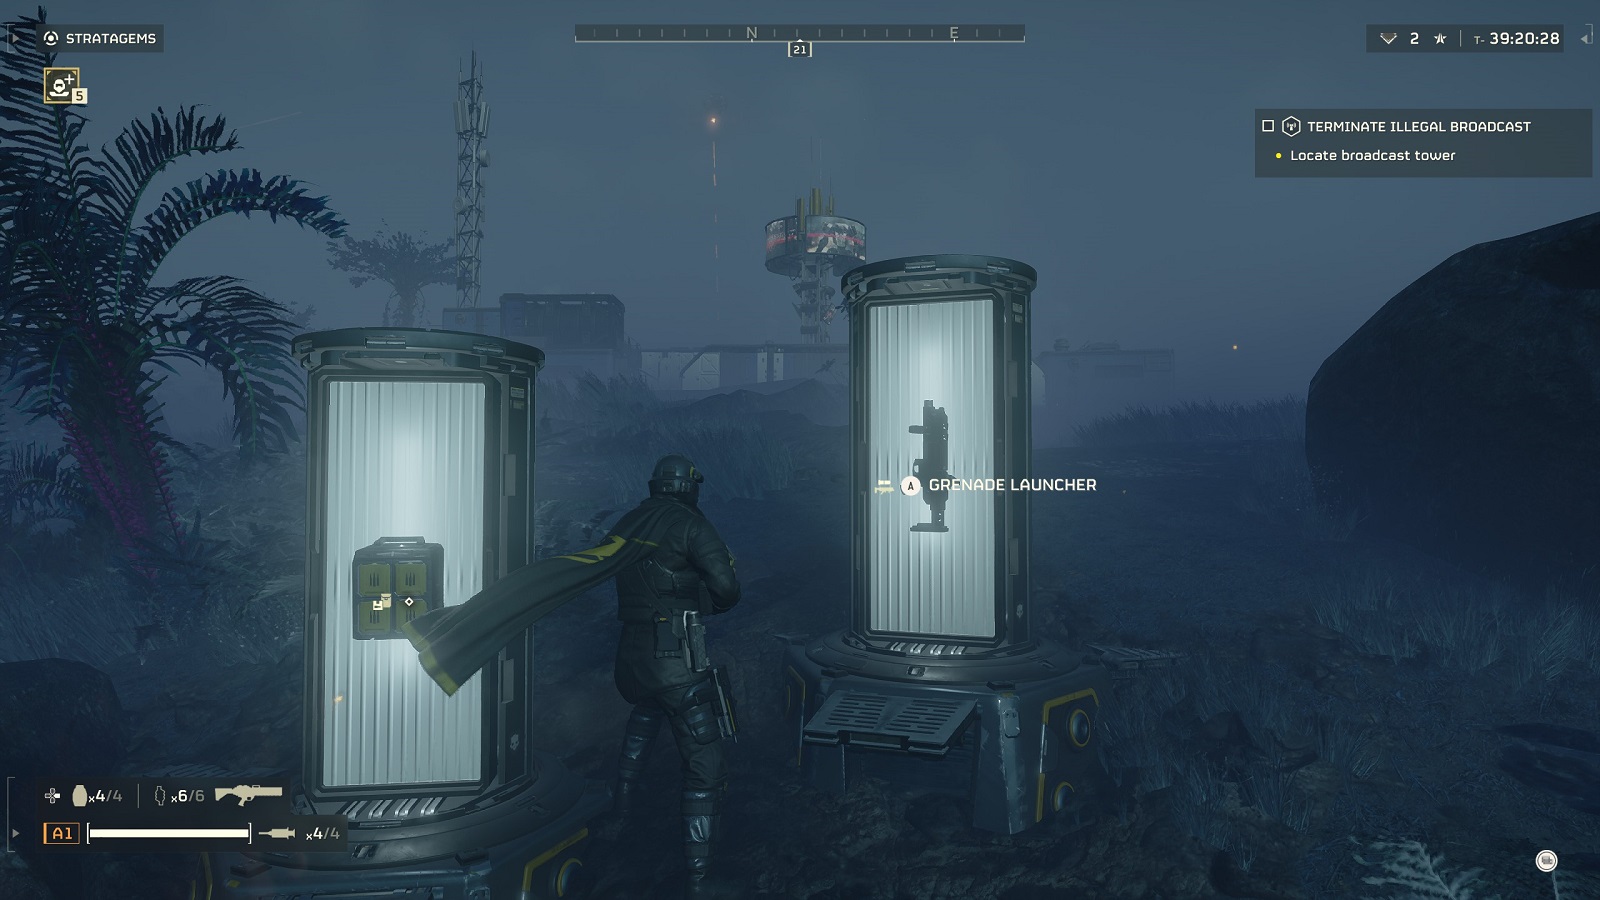
Next, call in your grenade launcher and supply pack. Don’t forget to equip them before walking towards the objective.
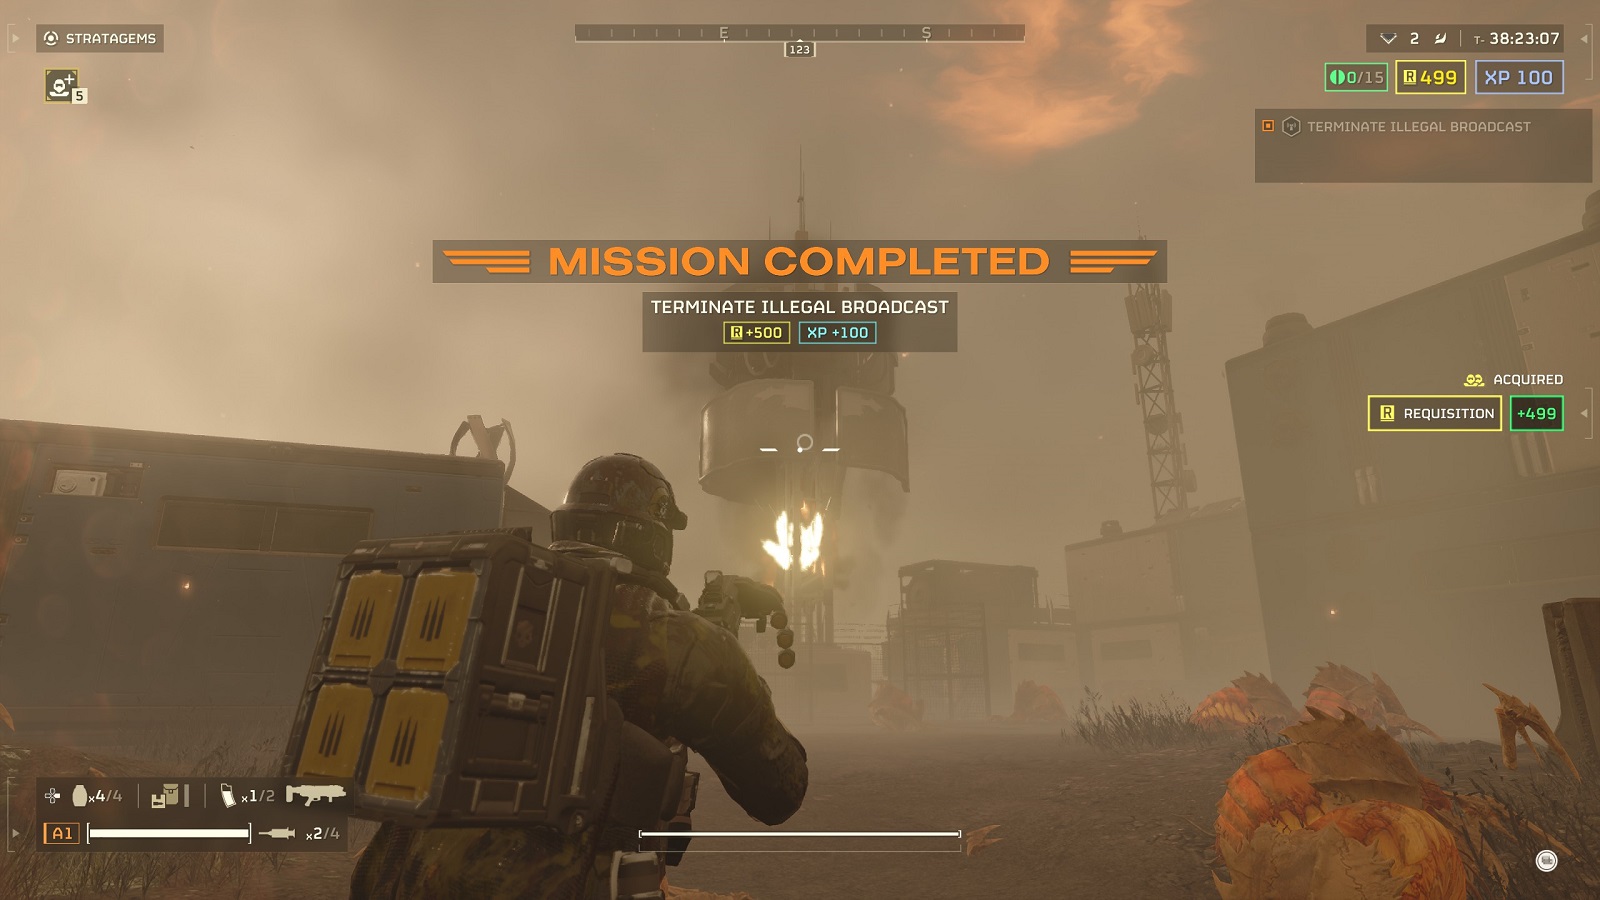
From the relative safety beyond the walls, take out your grenade launcher and shoot a grenade into the broadcast tower. You’ll want to aim for the rotating screens for a maximum chance of hitting the target. And that’s it. You have effectively beaten the mission in less than 3 minutes. All you need to do is to make your way to the extract.
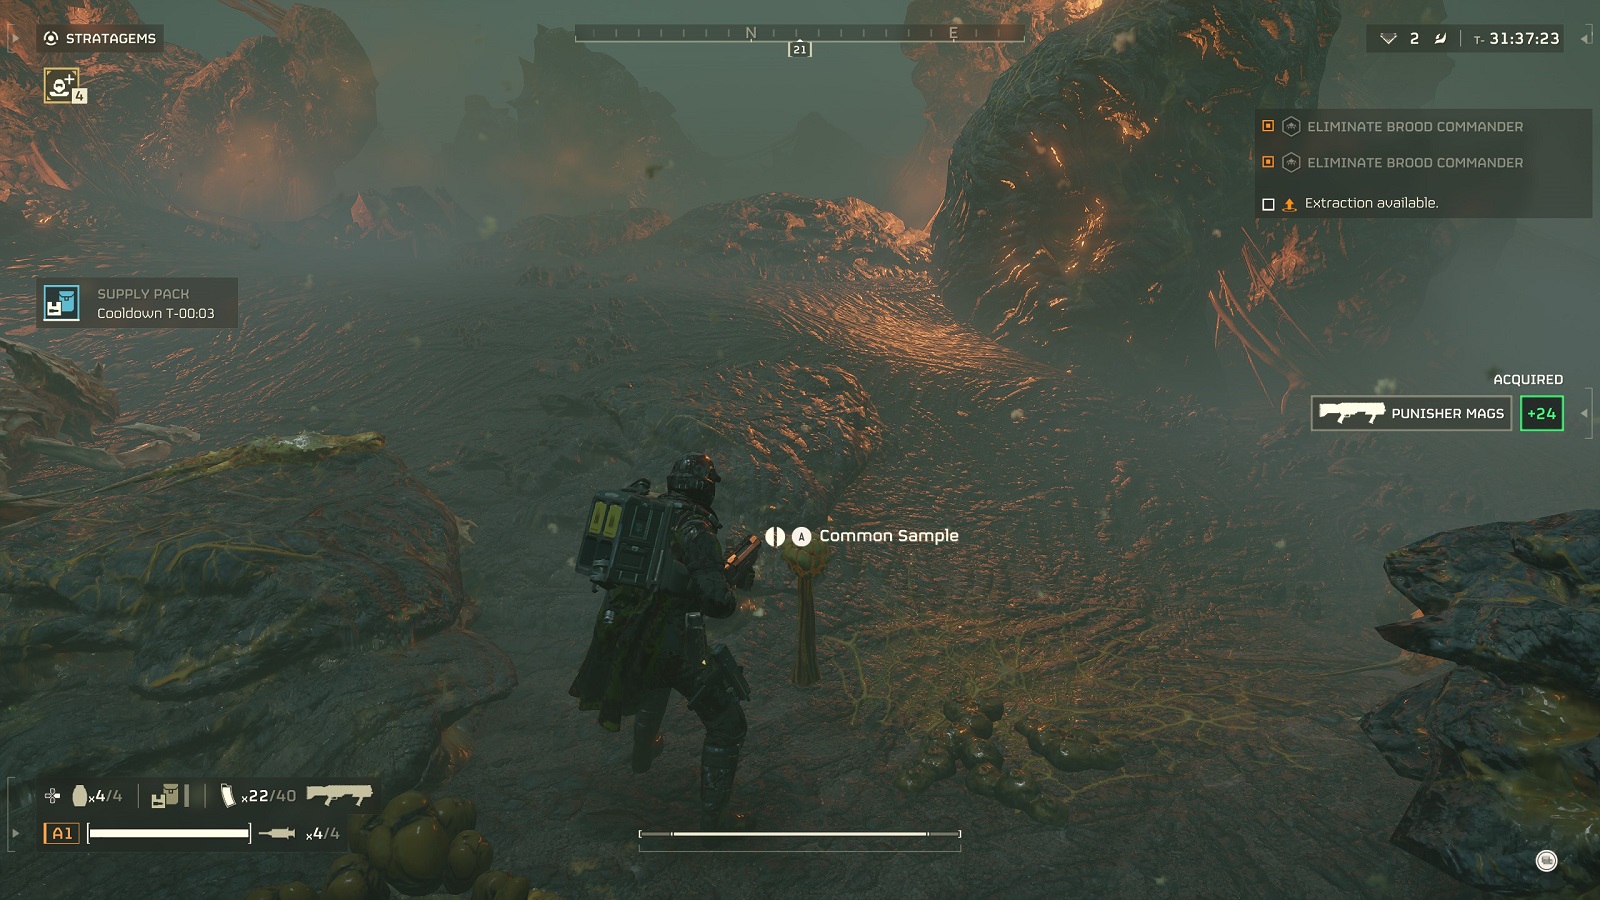
If are looking to purely level up your character, ignore everything and head straight for the extraction point. You can get to level 20 that way the quickest. But if you ask me, you should at least take down one bug outpost and then look for Common Samples. Samples are going to be the resource you will be hurting for the most later on in the game. To get all the best ship upgrades, you not only need to get Rare and Super Samples, but you also need to have a lot of common samples in your possession.
In short, you might as well get started while you level up. But don’t go so far as to visit every single outpost on the map for them. That totally defeats the purpose of the farm. At that point, you might as well go into the harder difficulties and spend 15 minutes of your time clearing outposts for samples. In fact, that’s the best way to farm samples.
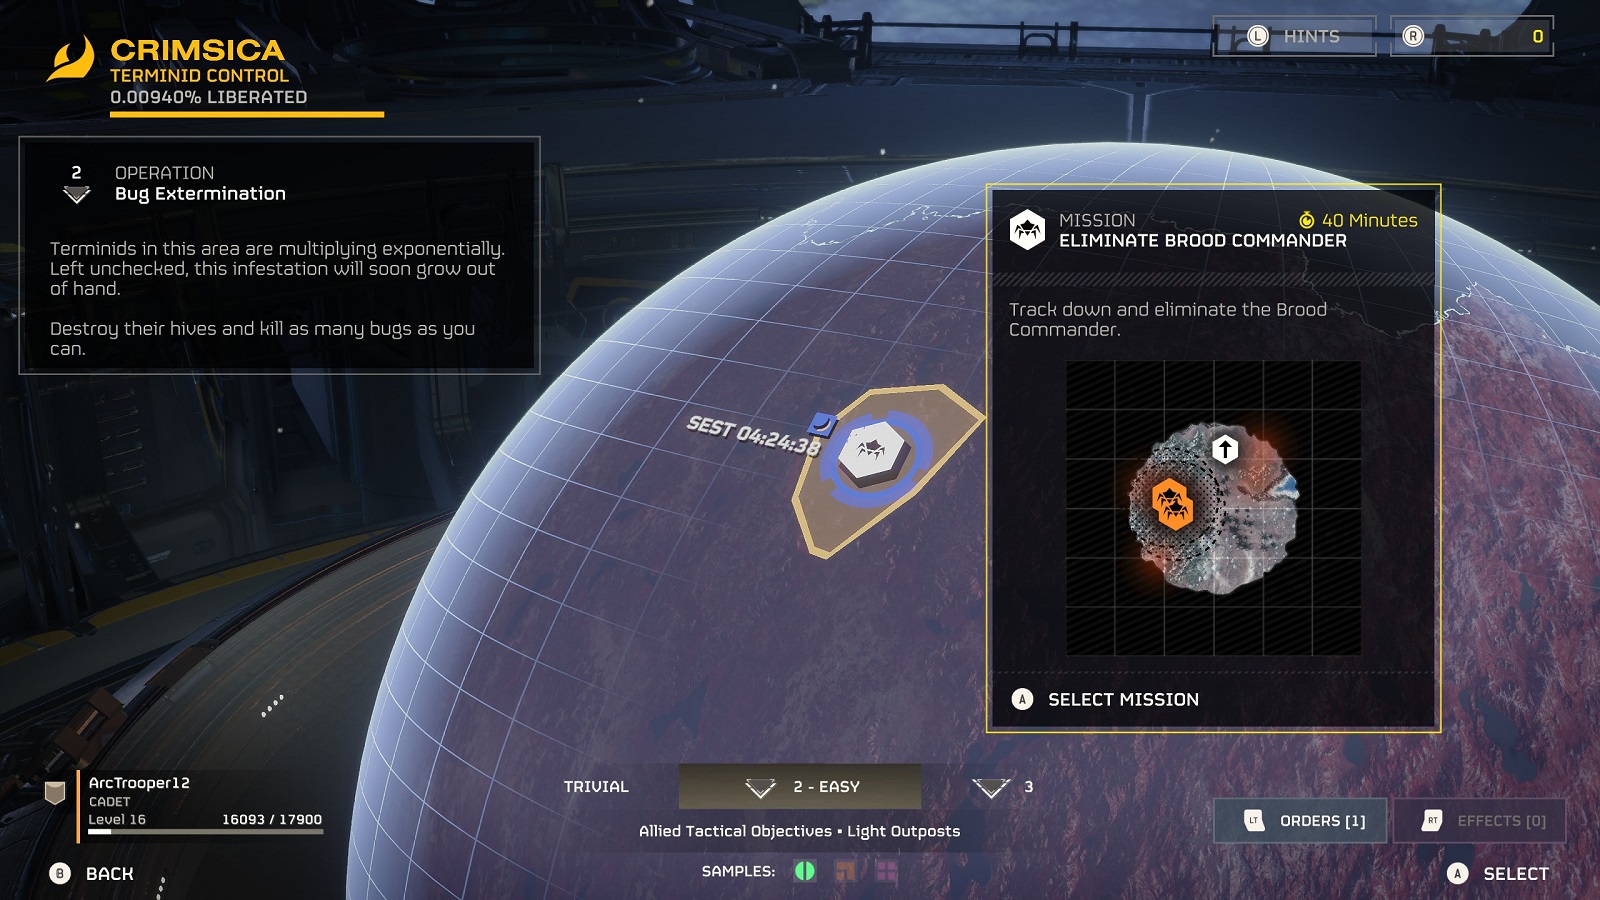
As an alternative, the ‘Eliminate Brood Commander’ missions are fairly straightforward. It is hampered only by the fact that you need to locate your targets by a process of elimination, AKA destroy bug nests. This is where the Infiltrator’s passive skill comes in handy. When you ping a bug nest on the map, you can guess the location of Brood Commanders by looking for the largest red dots in the group and then going towards it.
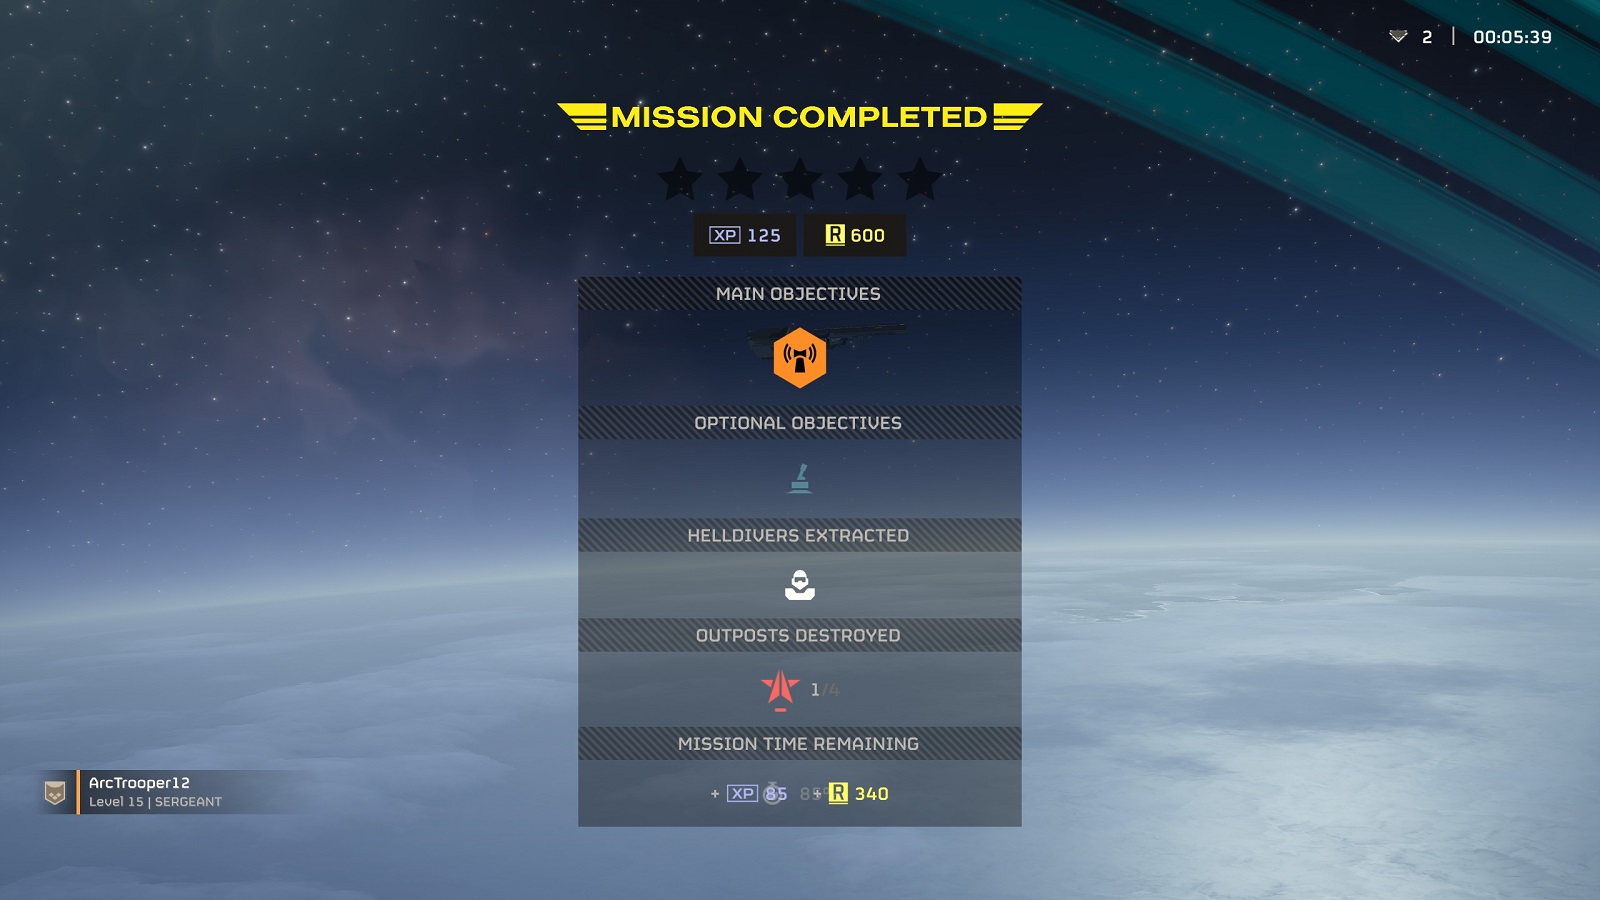
Killing a Brood Commander is an equally easy task when you have the grenade launcher equipped. Simply shoot three rounds at its center and it should go down faster than a sack of potatoes. Do it again for the other bug commander and you can go back to the ship in less than 10 minutes. This also applies to the Egg Extermination missions but at least you can use Cluster Bombs to clear out nests.
And that’s about it for quickly leveling up in Helldivers 2. There are other ways of farming for points and resources but those often involve going into Impossible difficulty and above to clear map side objectives for 40 minutes at a time. This method is meant to get players to level 20 as quickly as possible so that they can start to have options for their preferred playstyle, instead of being shackled to the default stratagems any longer than they need to.

