
Over the course of the month, Destiny 2 has slowly provided the locations of Neomuna’s most curious collectible, Cloudstrider Action Figures. As of last week, all the clues have been revealed and challenges initiated. This guide will tell you where you can find all the Destiny 2 Action Figure locations on Neomuna. This is your best chance to get some extra Neomuna Ranks and Glimmer. But importantly, getting the ‘They’re Not Dolls’ triumph.
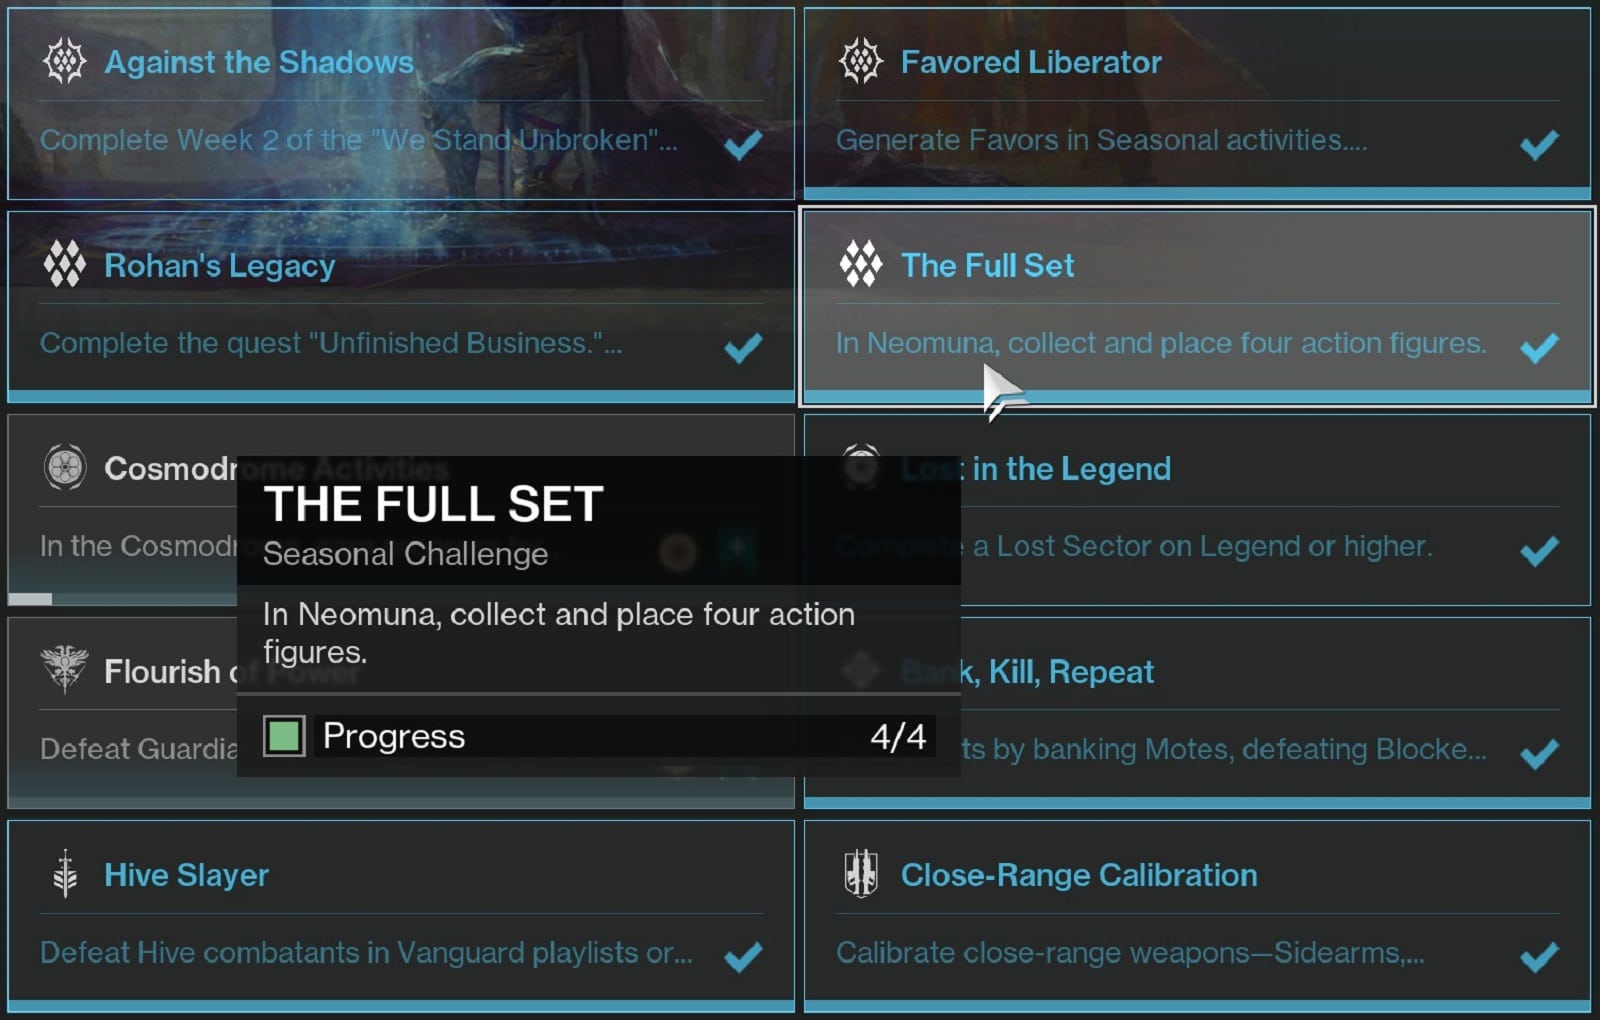
The Full Set Seasonal Challenge
The Full Set Seasonal challenge is one of ten challenges that you can do starting from the second week of Season of Defiance. The challenge tasks you to collect and place four action figures in the apartment in Neomuna. In the beginning weeks of the season, the action figure locations were revealed incrementally. But by the season’s end, the locations for all the figures have been made known.
Finding all 9 Action Figures isn’t as easy as finding them on the ground. Almost all of the Action Figures have a challenge attached to them. You have to do the challenge before the Action Figure reveals itself to you. They’re quite doable and some are just plain fun to do.
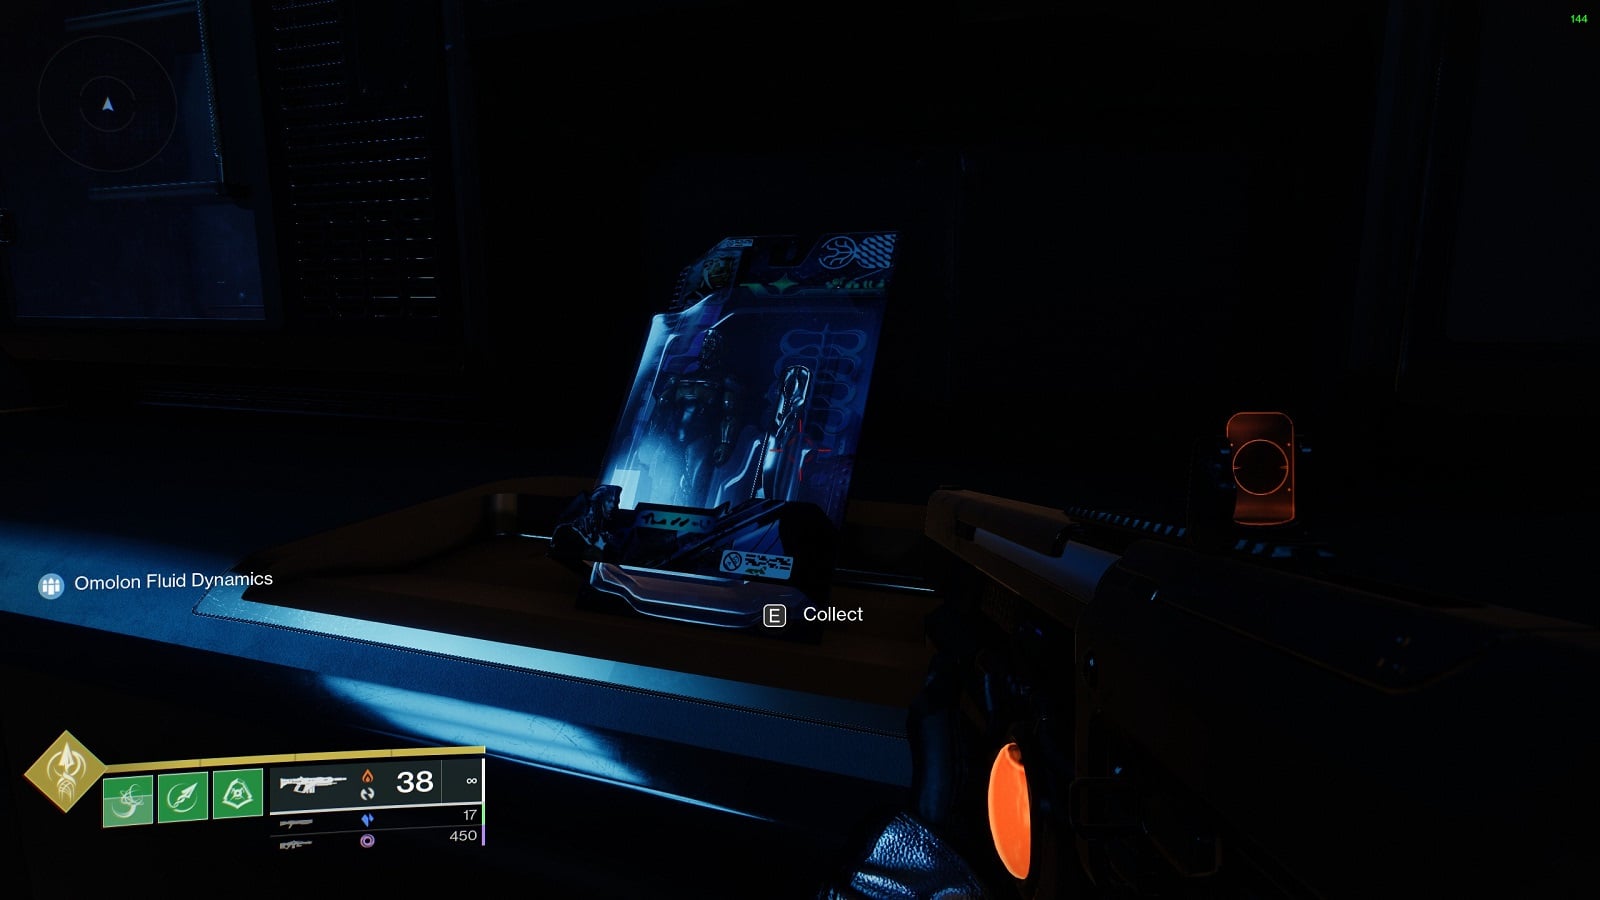
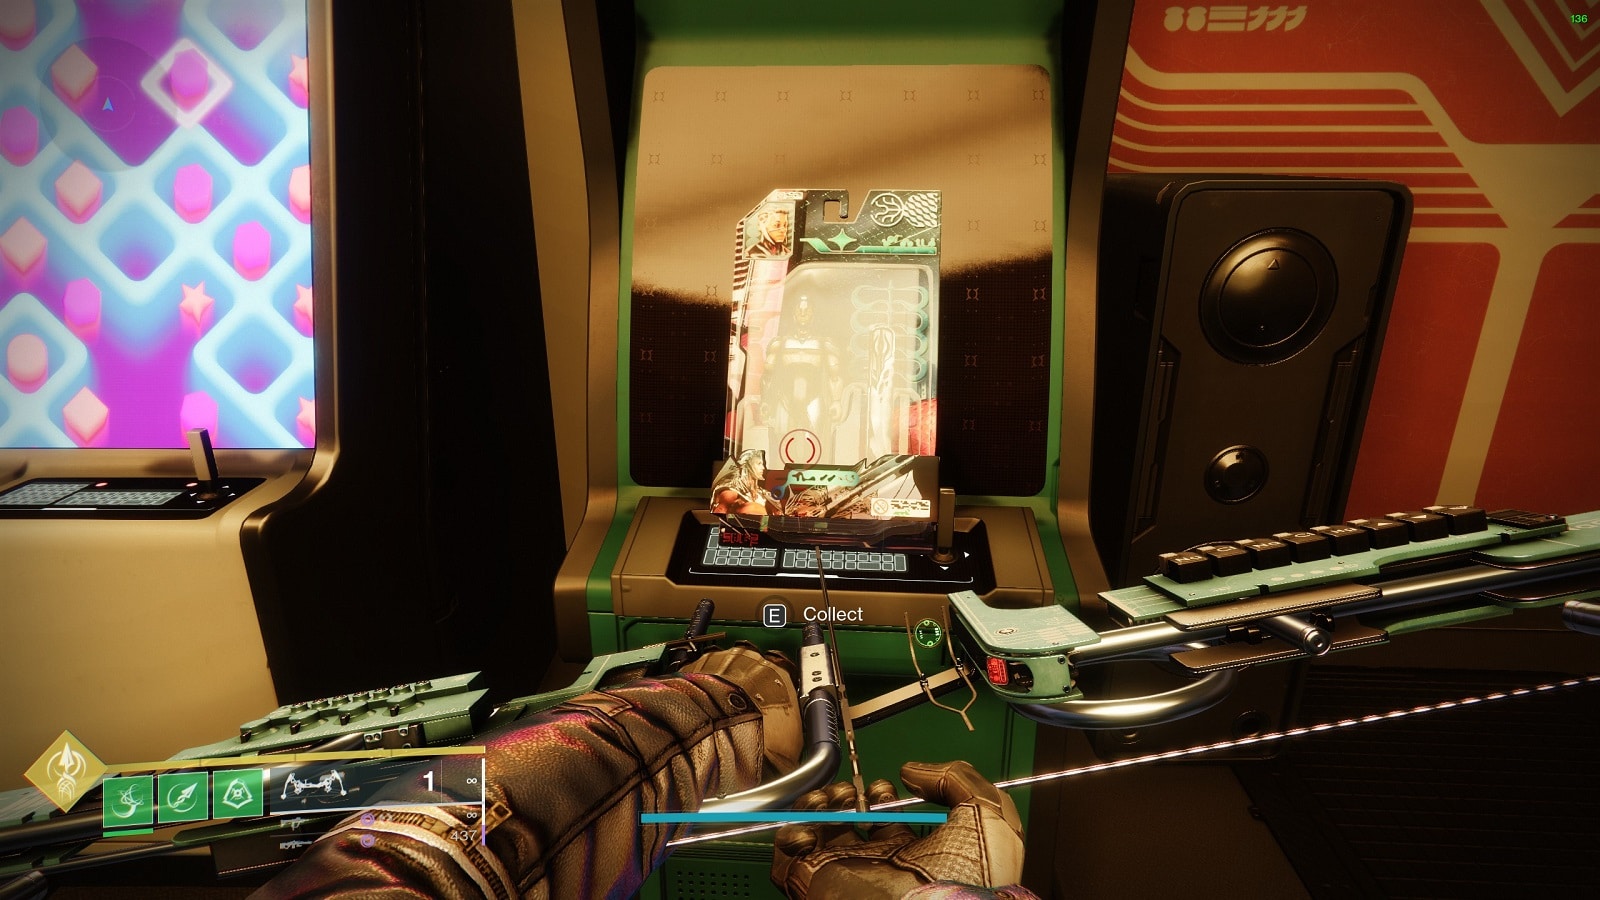
Collecting an action figure will you +150 Neomuna Rank and 3000 Glimmer. Not bad, for the trouble they put us through.
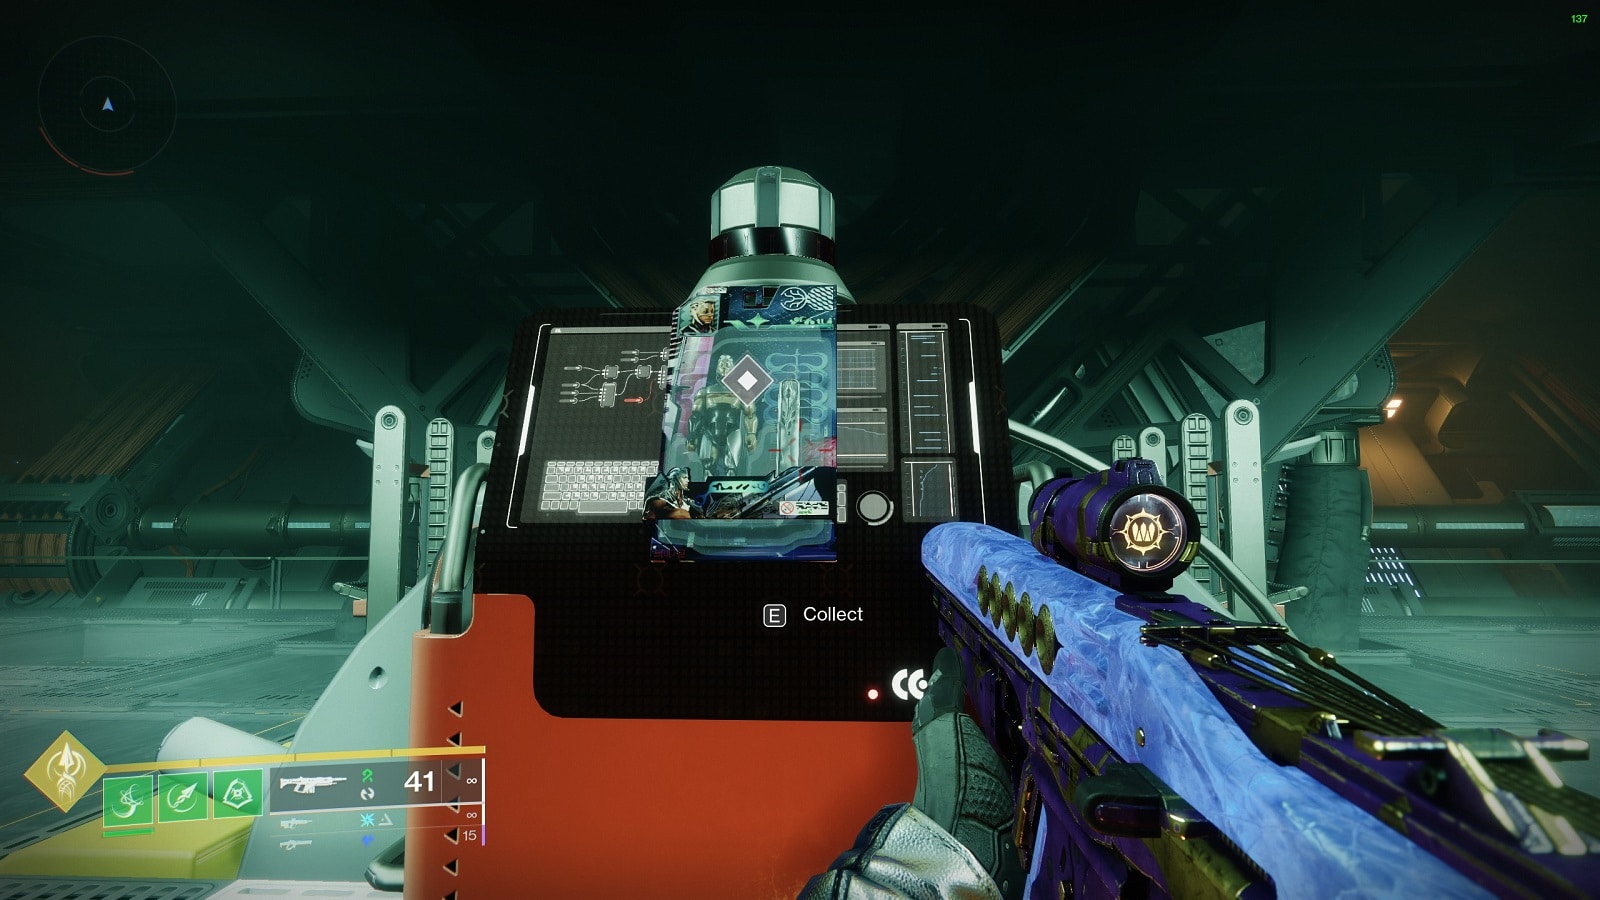
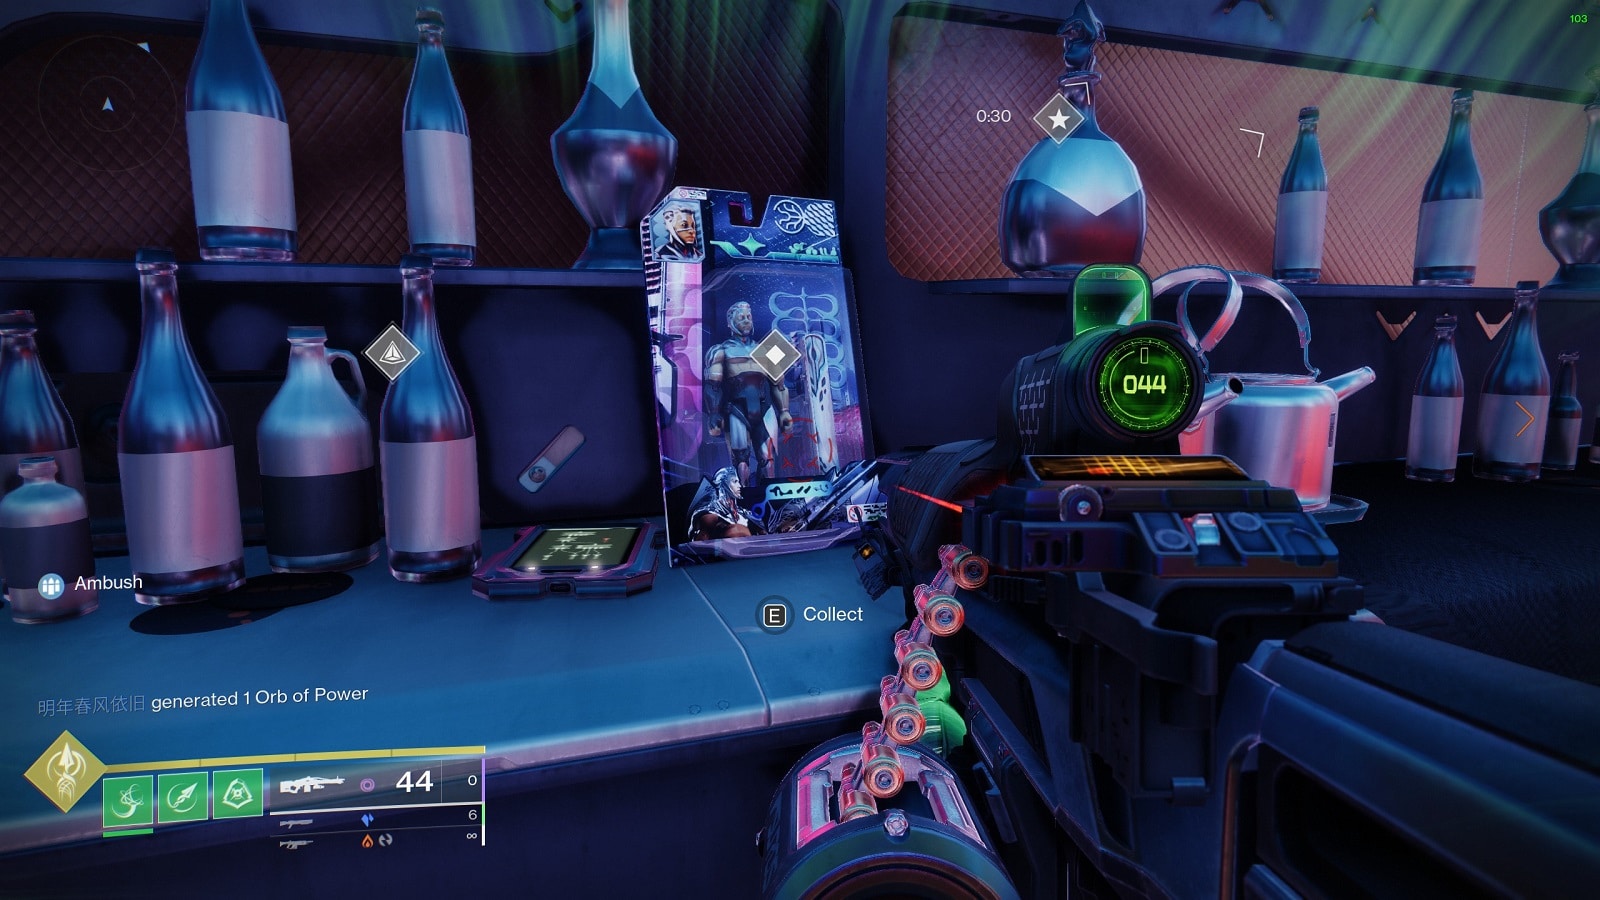
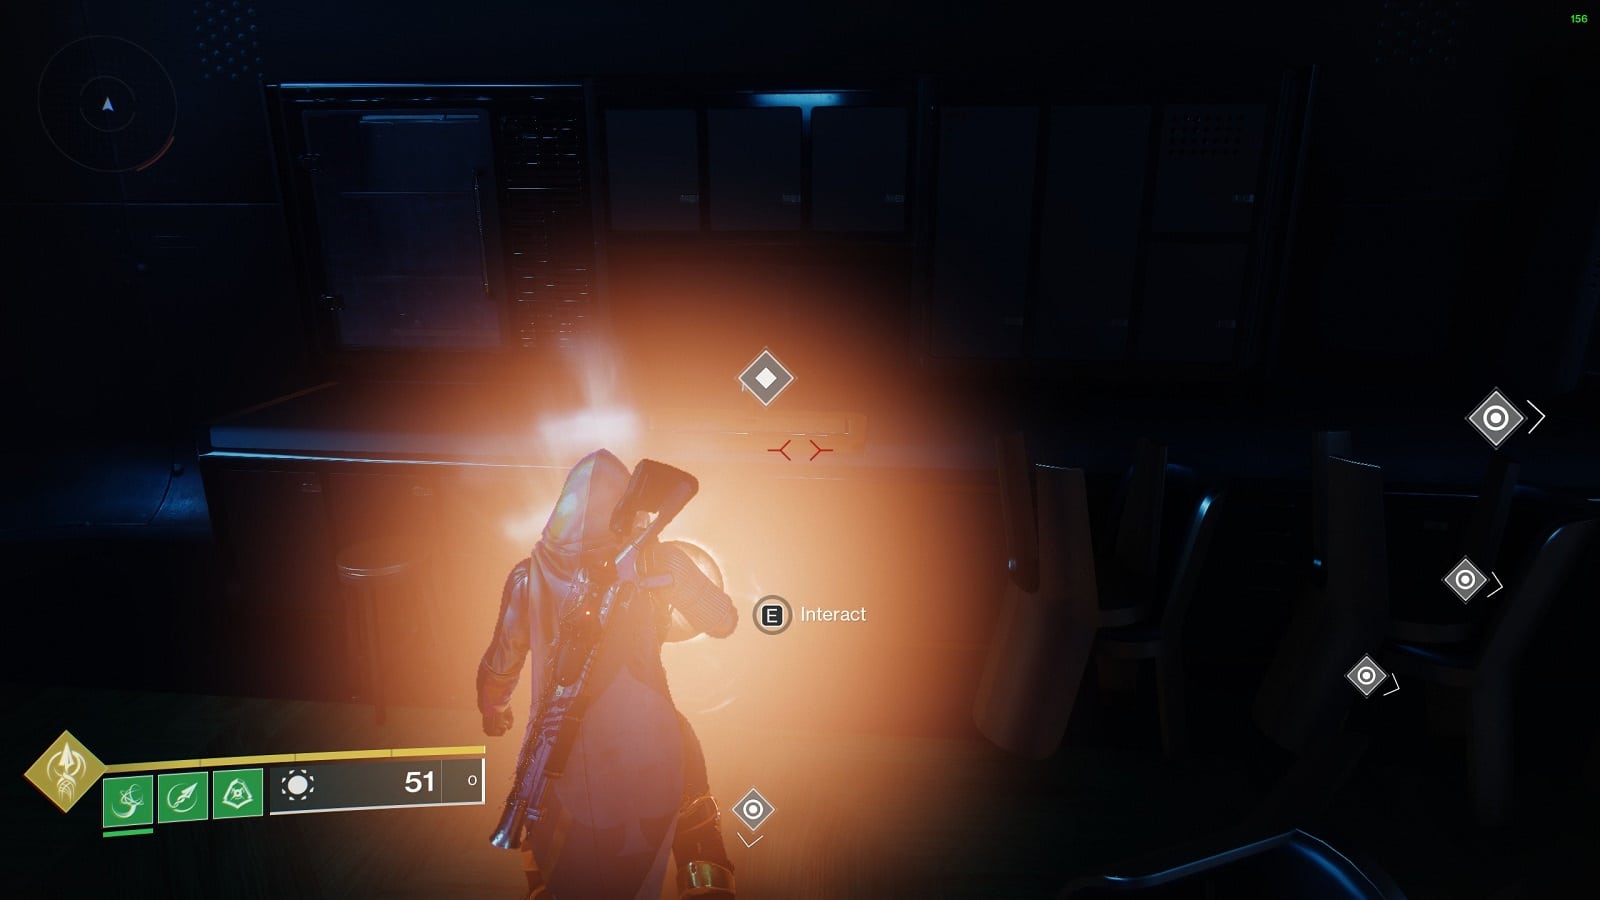
Merely collecting the toys isn’t enough, however. To count toward the Triumph, you need to go to the apartment right of Strider’s Gate. You have to put them in their designated spots around the room one by one until they are all safe and sound.
Destiny 2 Action Figure Locations Neomuna
Action Figure #01 – Ahimsa Park
This action figure is found underneath the staircase of the circular building in the middle of Ahimsa Park. It is the same place where the Guardians fight during the finish stage of a Terminal Overload event.
Action Figure #02 – Typhon Imperator
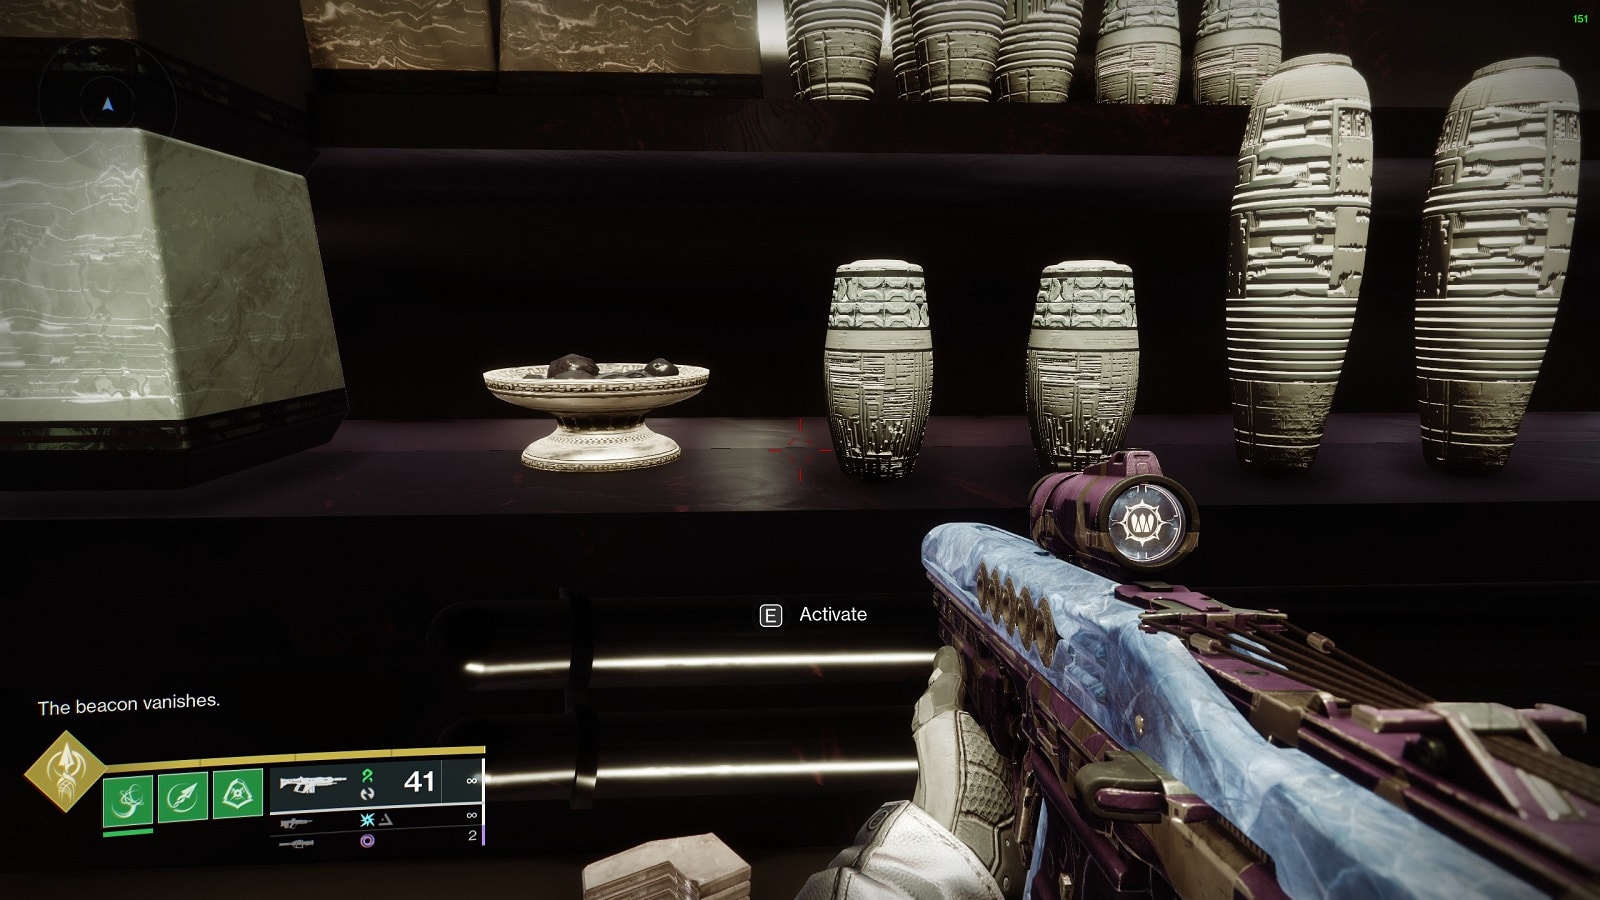
Clue – Typohon Imperator: In the Colosseum, a golden offering to the Radial Mast rests upon a perimeter shelf.
This one will ask you to do a little challenge before revealing its location. You need to go to the heart of the treasure room and interact with the display panel on the right side of the room. Interacting with the panel activates a time trial where you have to touch 11 data cubes in a short amount of time. The next cube will appear once you touch the last one. It’ll take a few tries but once you get a feel for it, it should be easy. Strand grapple helps too. When you have proven your worth, the Action Figure will appear in front of you.
Action Figure #03 – Liming Harbor
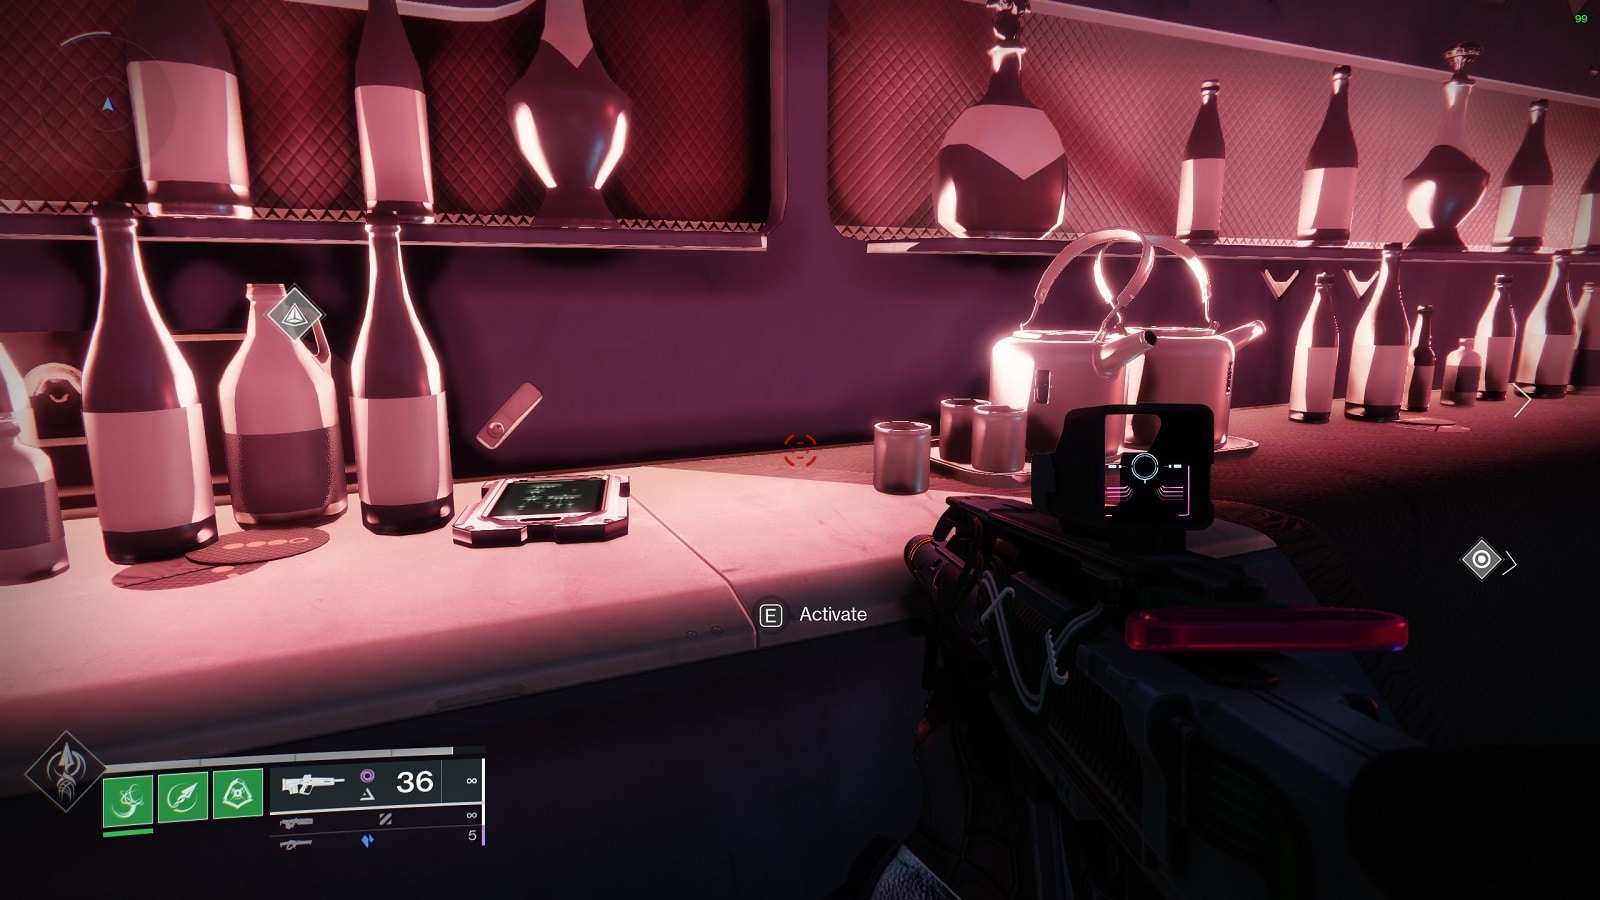
Clue – Liming Harbor: Security needed at the central office to keep out intruders. Check the PDA on the crescent desk.
This challenge takes place in the heart of the Liming Harbor. Actually, it’s the security desk at the entrance of the Radiosonde. To start it, you need to interact with the PDA on the security desk. Once the challenge starts, you are not allowed to move from your spot. Several waves of Vex will try to enter the door behind the desk. It’s your job to keep them out.
The waves start off easy. A fanatic here and there but cranking up the difficulty with Hobgoblins and Minotaurs. A void weapon is recommended to burst down the shields but is not necessary. But really, anything that kills fast and effectively is needed here. We advise making use of your best machine gun.
Once you’ve dealt with the Minotaurs, the Action Figure will reveal itself in front of you.
Action Figure #04 – Radiosonde
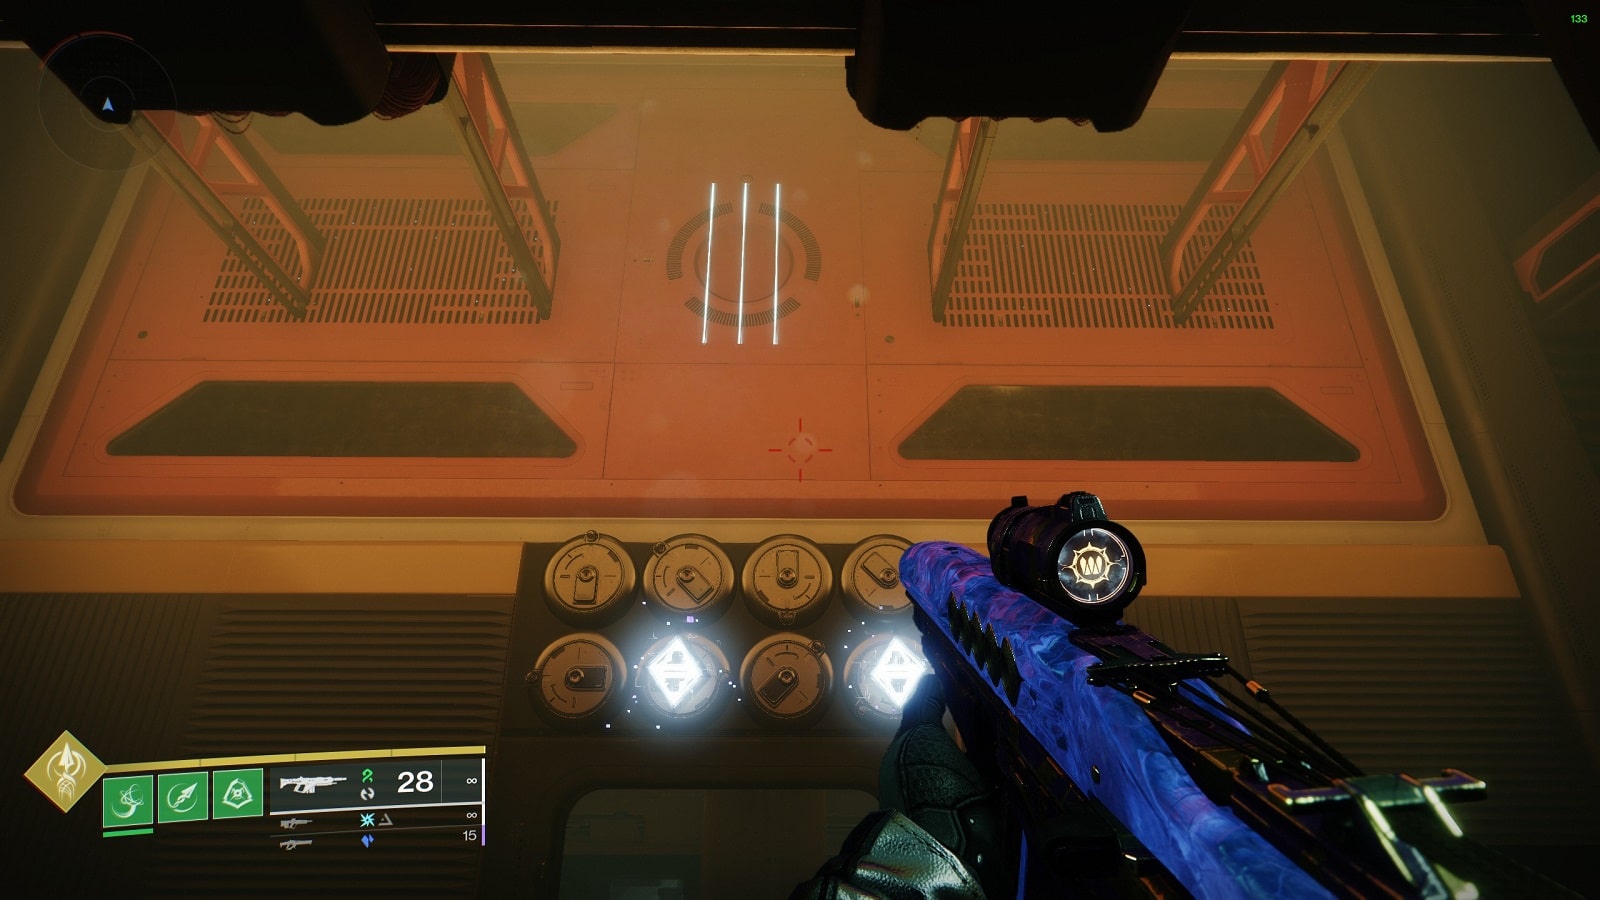
Clue – Radiosonde: In the mechanical heart of Radiosonde, mark time by a golden engine’s screen, and set it with unconventional dials.
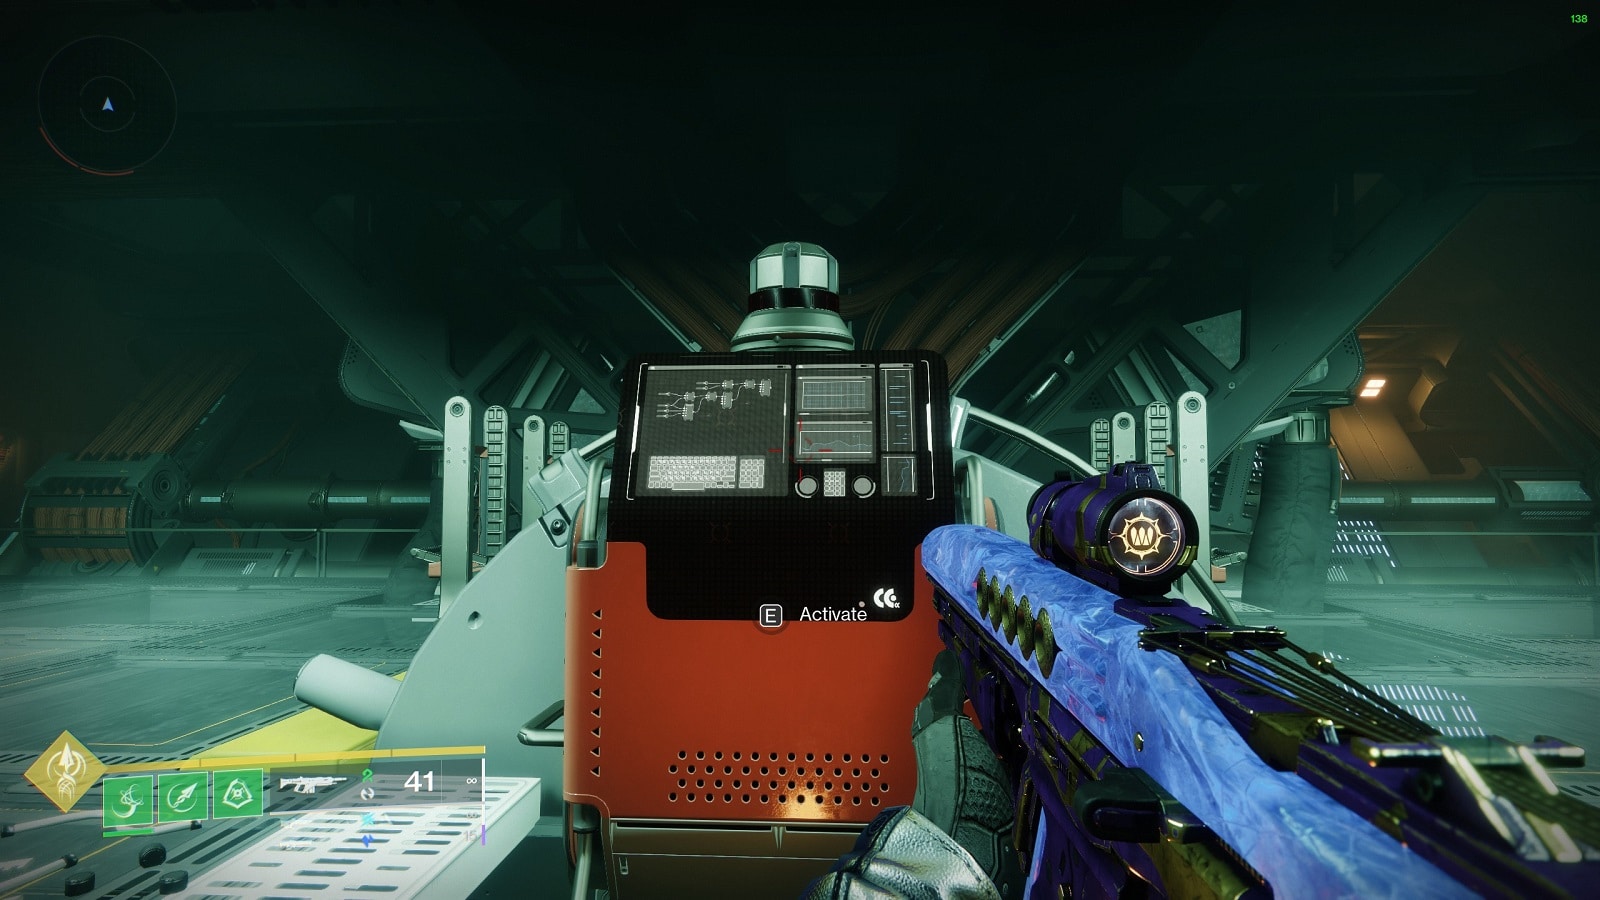
For this next challenge, you be asked to go to the Radiosonde’s engine room. The same place where Osiris and Nimbus had a meeting. Interact with the control panel to start the challenge.
High above the wall above you, a series of lines will flash one after another. You need to shoot the gauges in the order the combination appears. The trick to figuring this out lies in the clue – each line represents a tally line, and the direction the gauges are pointing at are the numbers on the clock. For example, the first one pointing down is 6:00 on a clock. Etc, etc.
Shoot the gauges in this order:
- 9:00
- 2:00
- 10:00
- 3:00
- 5:00
- 7:00
- 12:00
- 6:00
If you get it the first time, you can always interact with the control panel to restart the sequence. Once you get all 8 in order, the Action Figure will reveal itself on top of the control panel.
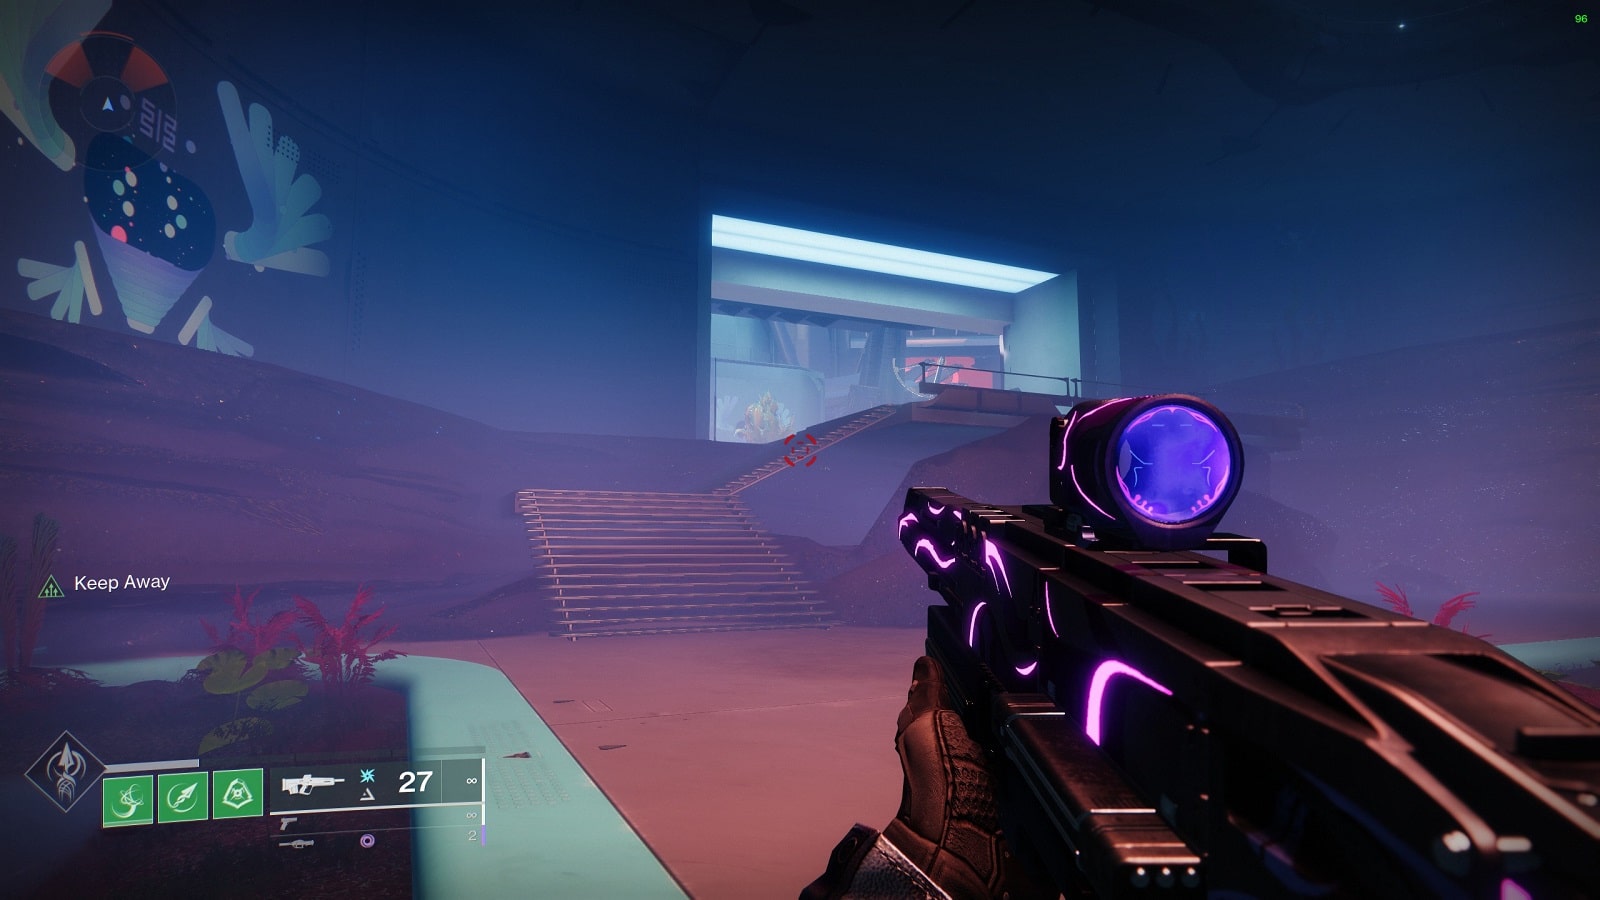
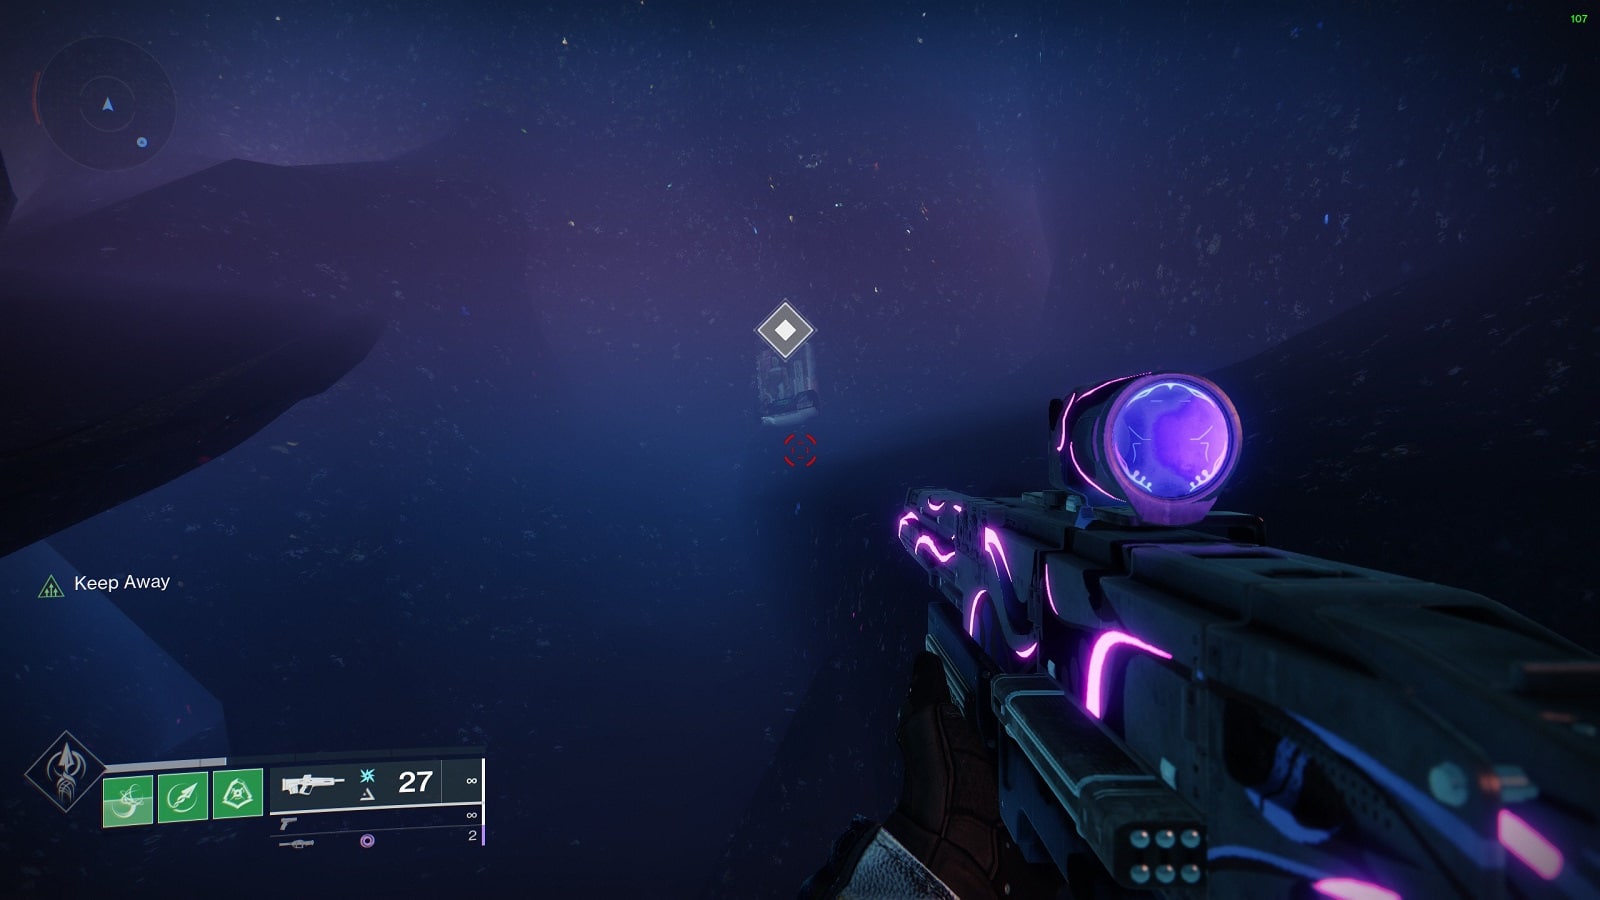
Action Figure #05 – Maya’s Retreat
Clue – Maya’s Retreat: “Three caves; three flames.” -A note found on the greater bridge.
This challenge takes us all the way to the second suspension bridge over at Maya’s Retreat. It asks the Guardians to light the flame of 3 braziers. All 3 are along the same ridge line. The first one is located inside the cave on the way to Maya’s Retreat. But instead of going up, you should see it a little way inside. The second one is located in another cave to the bottom right of the initial cave. The third one is across the canyon. You may want to grapple to get to this one.
Once you’ve lit all three flames, the Action Figure should reveal itself at the foot of the third brazier.
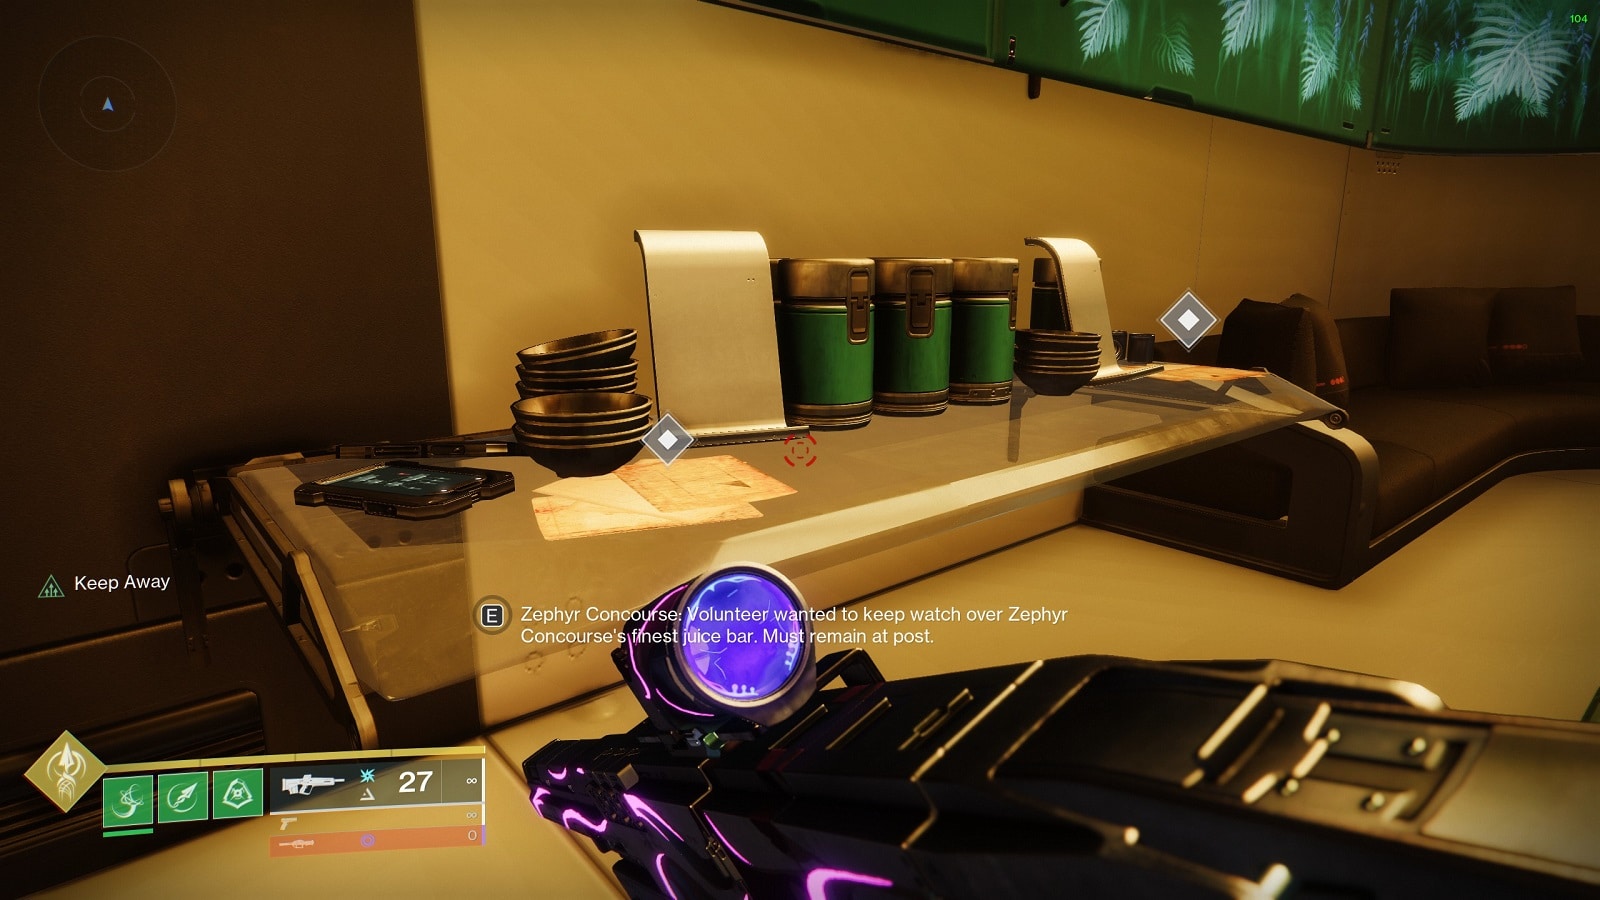
Action Figure #06 – Zephyr Concourse
Clue – Zephyr Concourse: Volunteer wanted to keep watch over Zephyr Concourse’s finest juice bar. Must remain at post.
This challenge asks the Guardian to “serve” bar patrons. The bar is located on the East side of Zephyr Concourse. Your station is behind the counter. If you leave the area, you’ll fail the challenge. We have found machine guns and shotguns to be useful for this challenge.
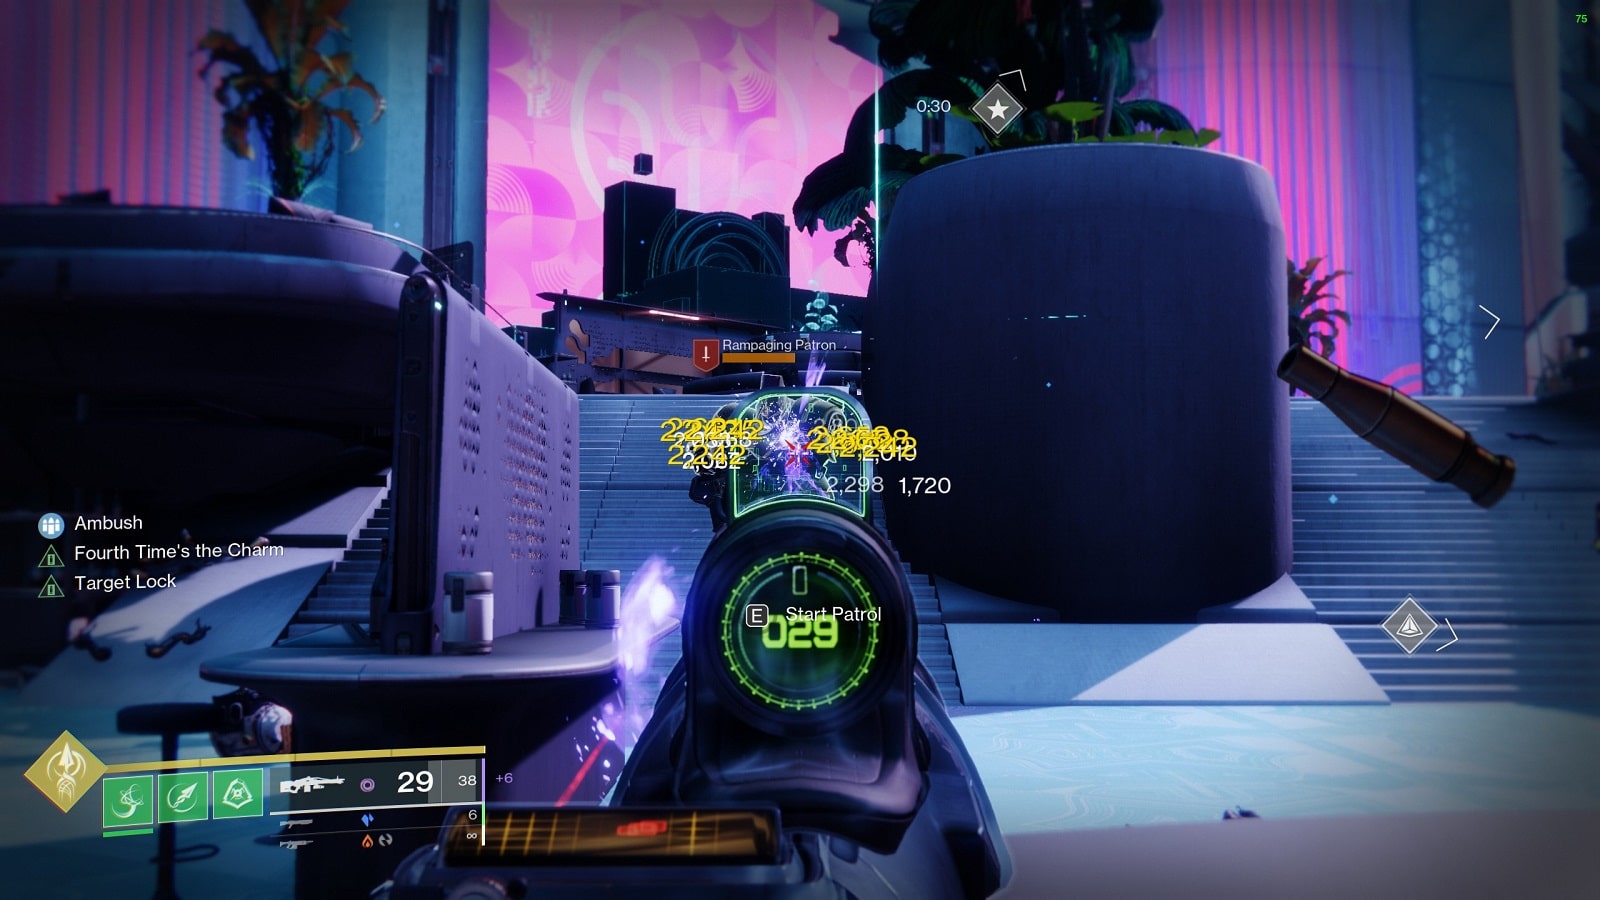
Essentially, Cabal troopers of gradually increasing difficulty will approach the bar one by one. It is up to you to take them down before they reach the front desk and overwhelm you. It’ll be a few legionaries to start and then Incenarators will join the fray. (Don’t forget their crit spot is on their back.) And finally, a Cabal Colossus will rampage toward the bar. Defeat him and the Action Figure will reveal itself on the register.
Action Figure #07 – Esi Terminal
Clue – Esi Terminal: A fashionable restaurant with a striking crimson hallway is looking to hire a dishwasher.
The challenge location is the restaurant left of the entrance of Esi Terminal. When you enter the area, take a left and as you approach the descending entrance, the restaurant is the doorway on the left.
For this challenge, the Guardian has to pick up “dishes” and dunk them into the sink. Angry Sous Chefs will try to stop you. And by “stop” you, we mean slash you to death. Up to three sous chefs can appear in the challenge as you dunk dishes. Use the melee tech to boost your way out of danger. Dunk all the dishes and the Action Figure will reveal itself beside the sink.
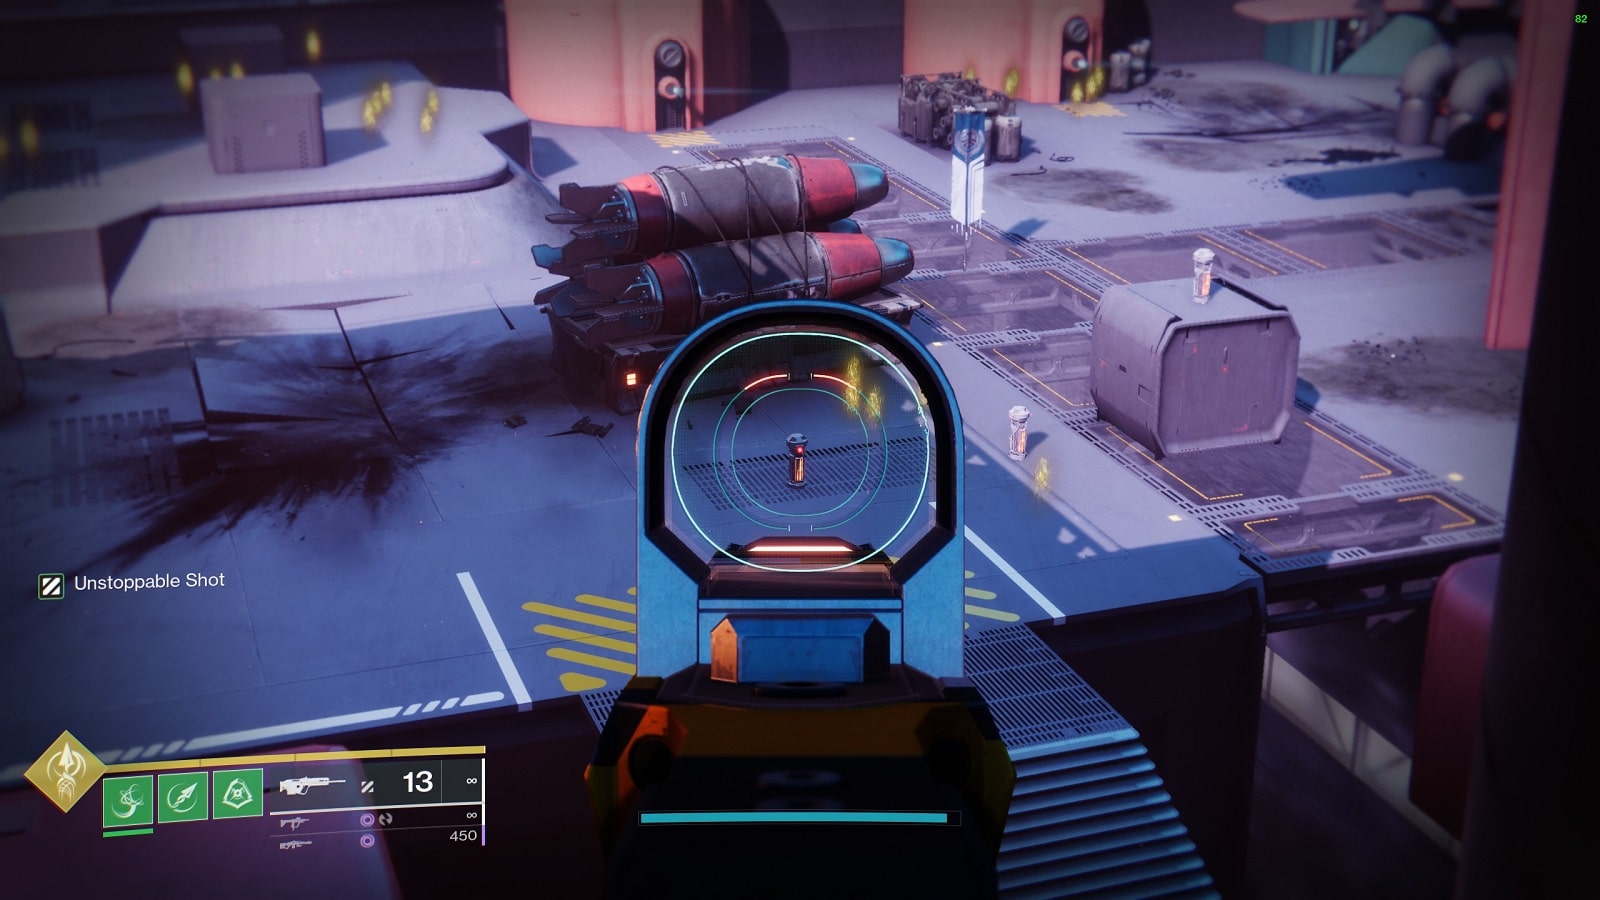
Action Figure #08 – Irkalla Complex


Clue – Irkalla Complex: Atop the towering rampart, three stalwart defenders stand watch. From muzzle to target; ready, aim – fire!
This challenge is a nice and easy one, albeit a little vague. It asks the Guardian to go to the Irkalla Complex’s ramparts and stand at the tip of the destroyed cannons. Stay in place for a second or two and a target will appear in the distance. Shoot down this target with a scout rifle or a sniper rifle. Repeat the process for the other two cannons and the Action Figure will reveal itself beneath your feet.
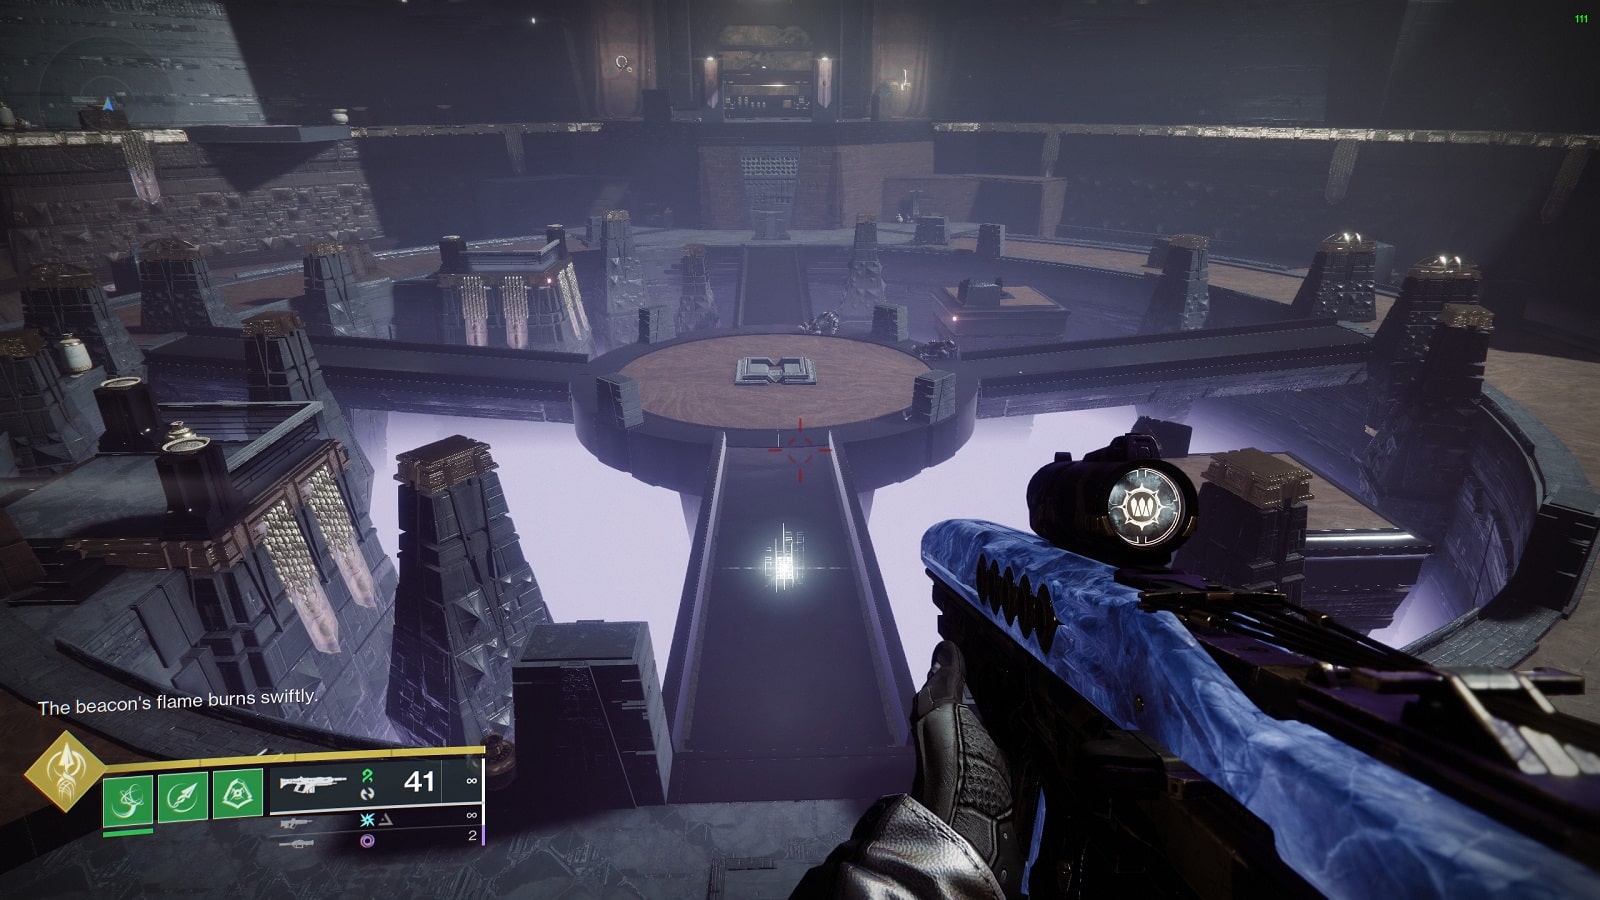
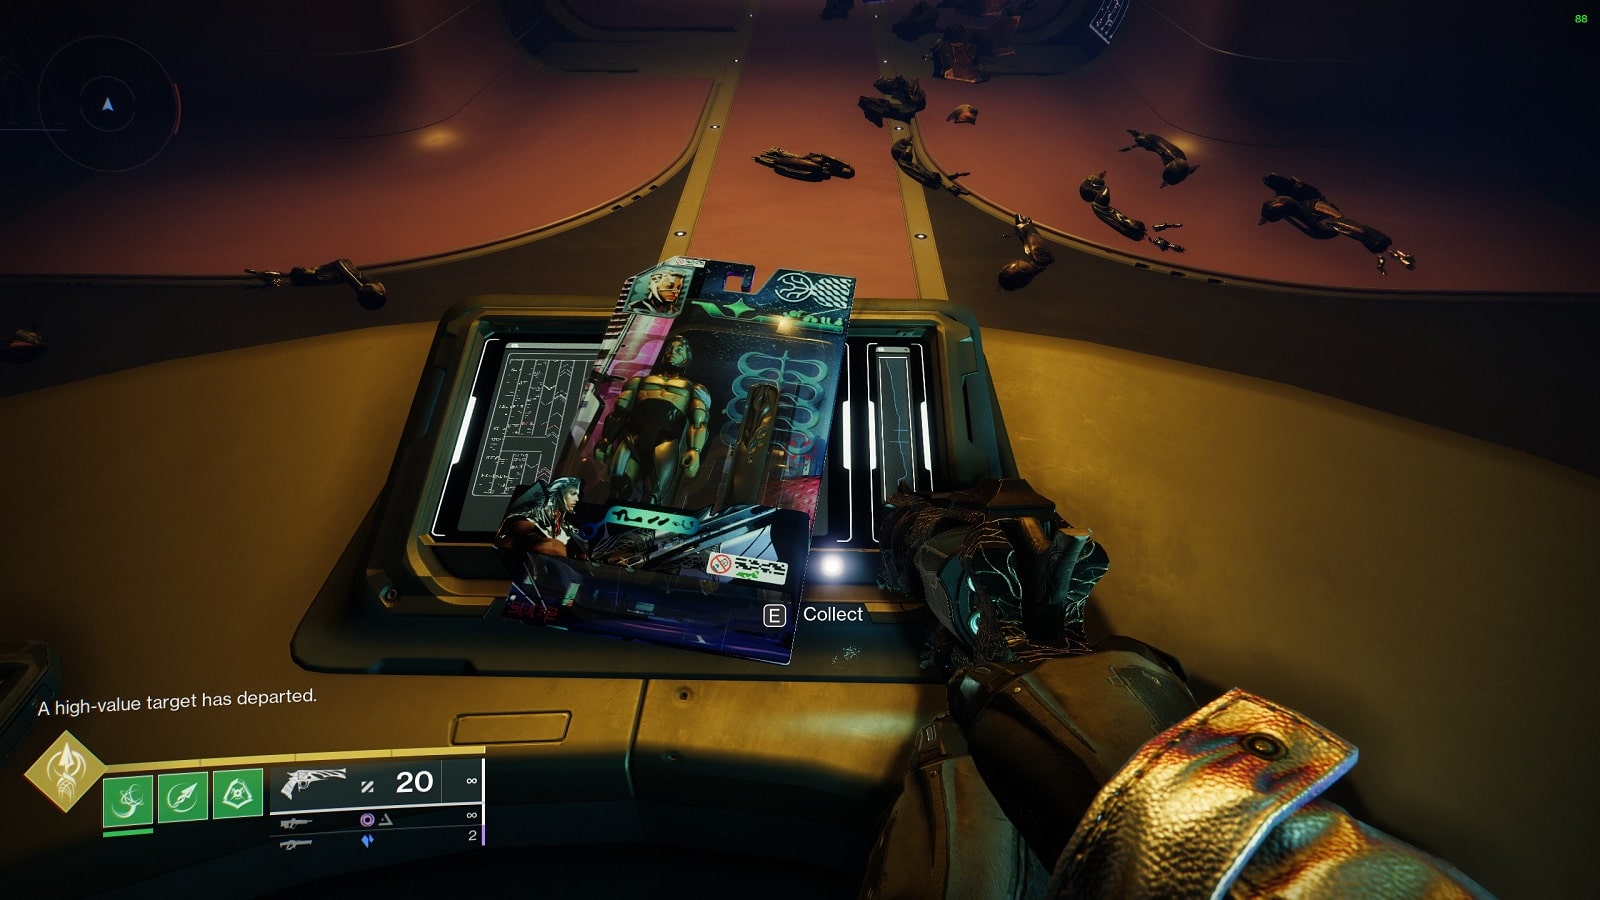
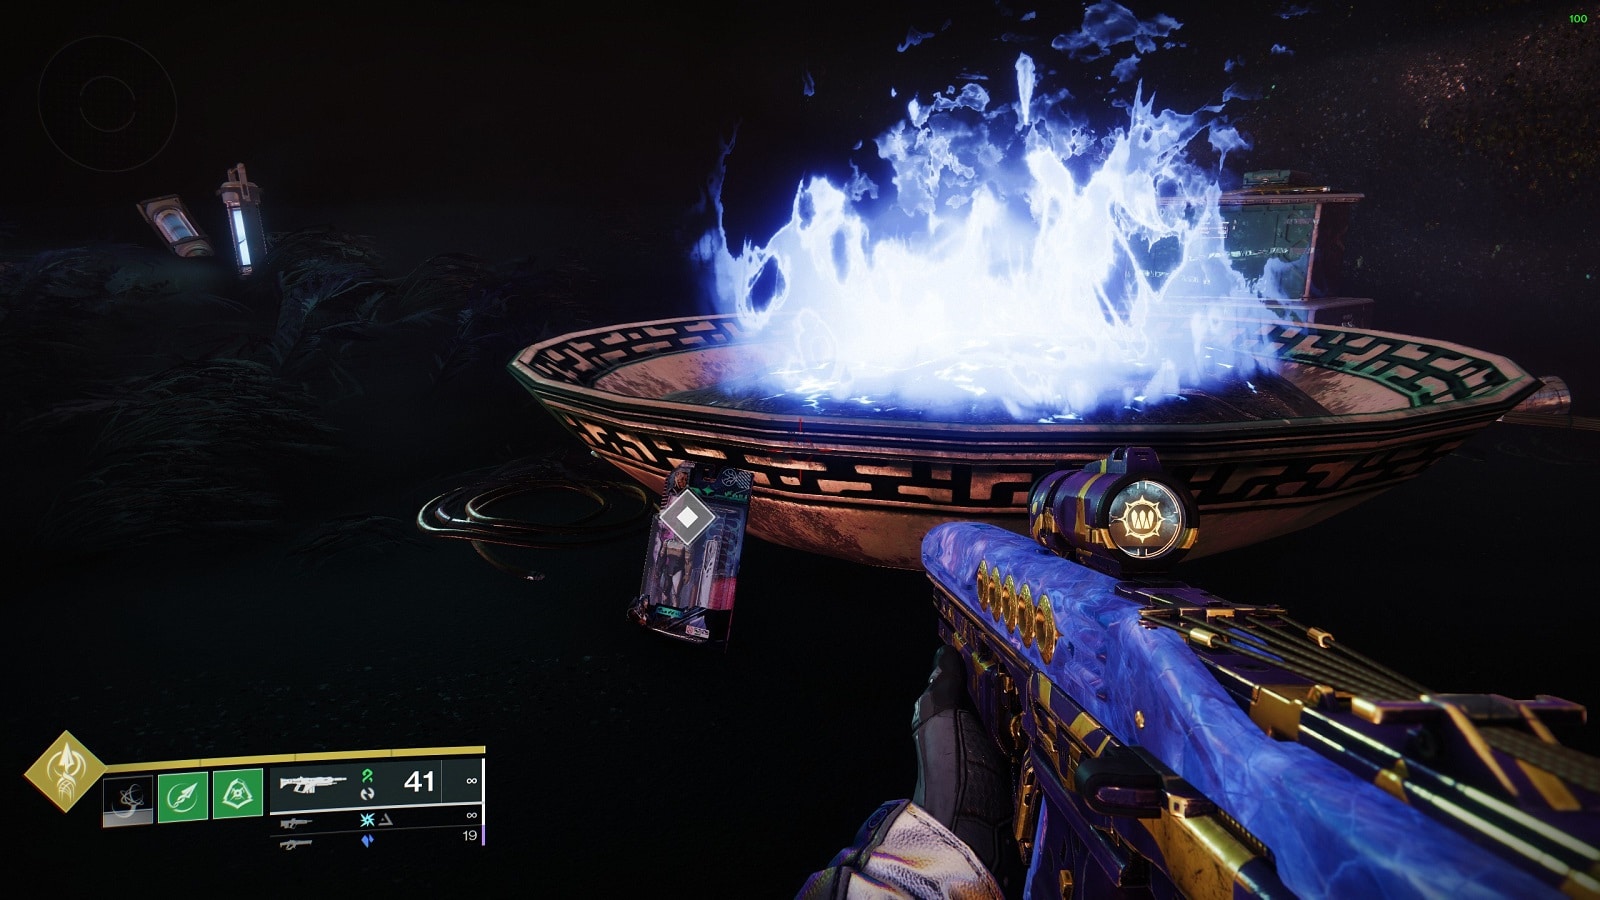
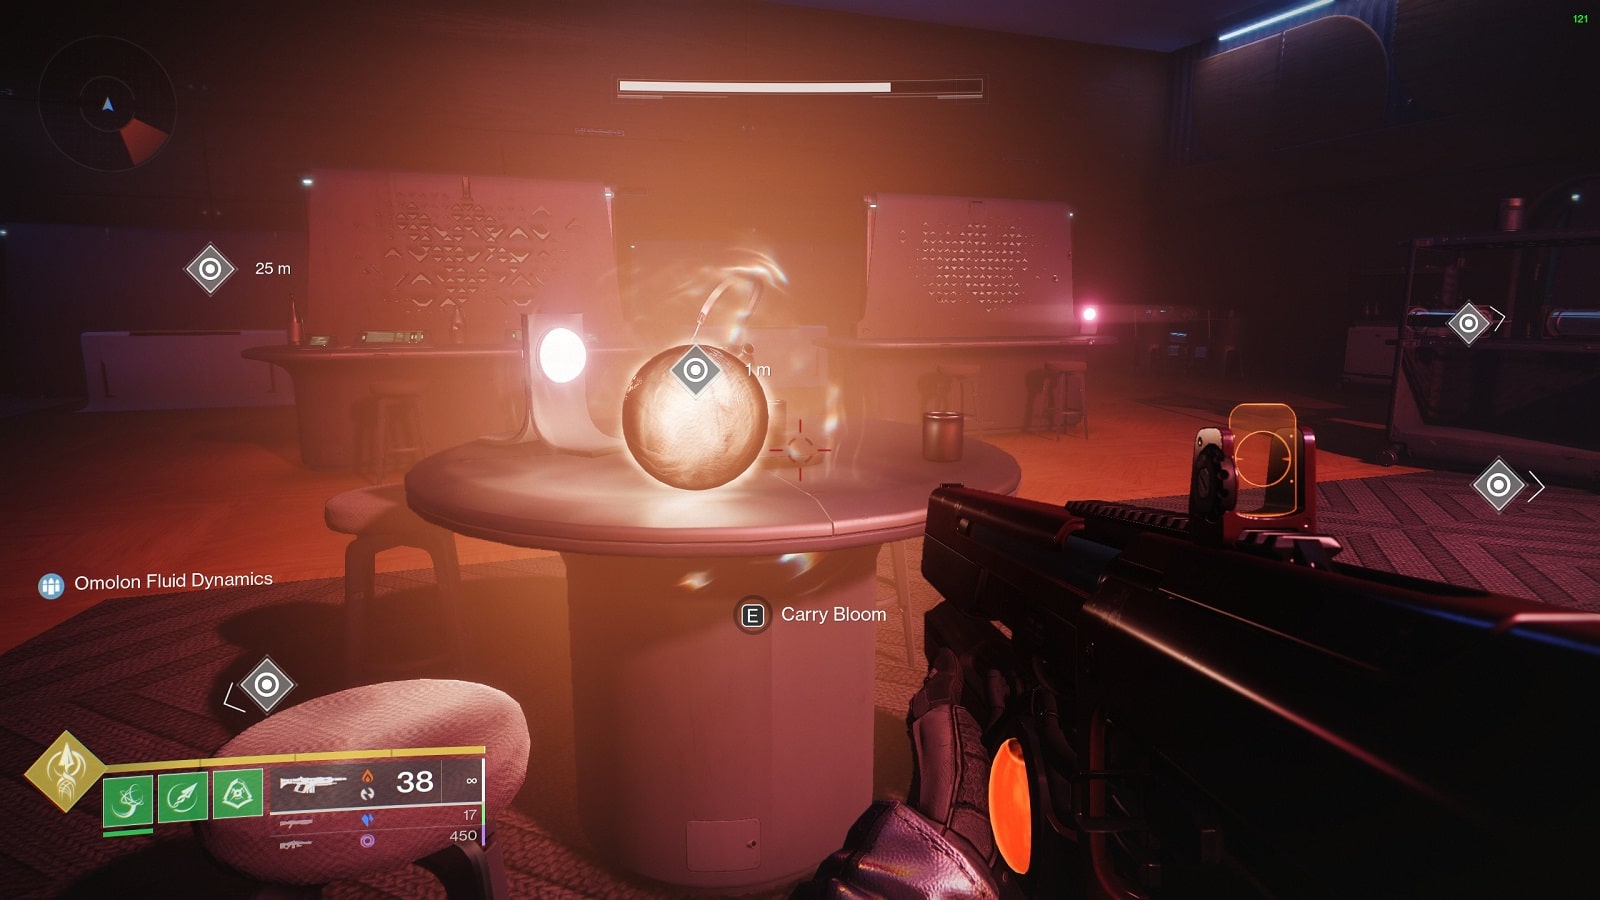
Action Figure #09 – Striders’ Gate
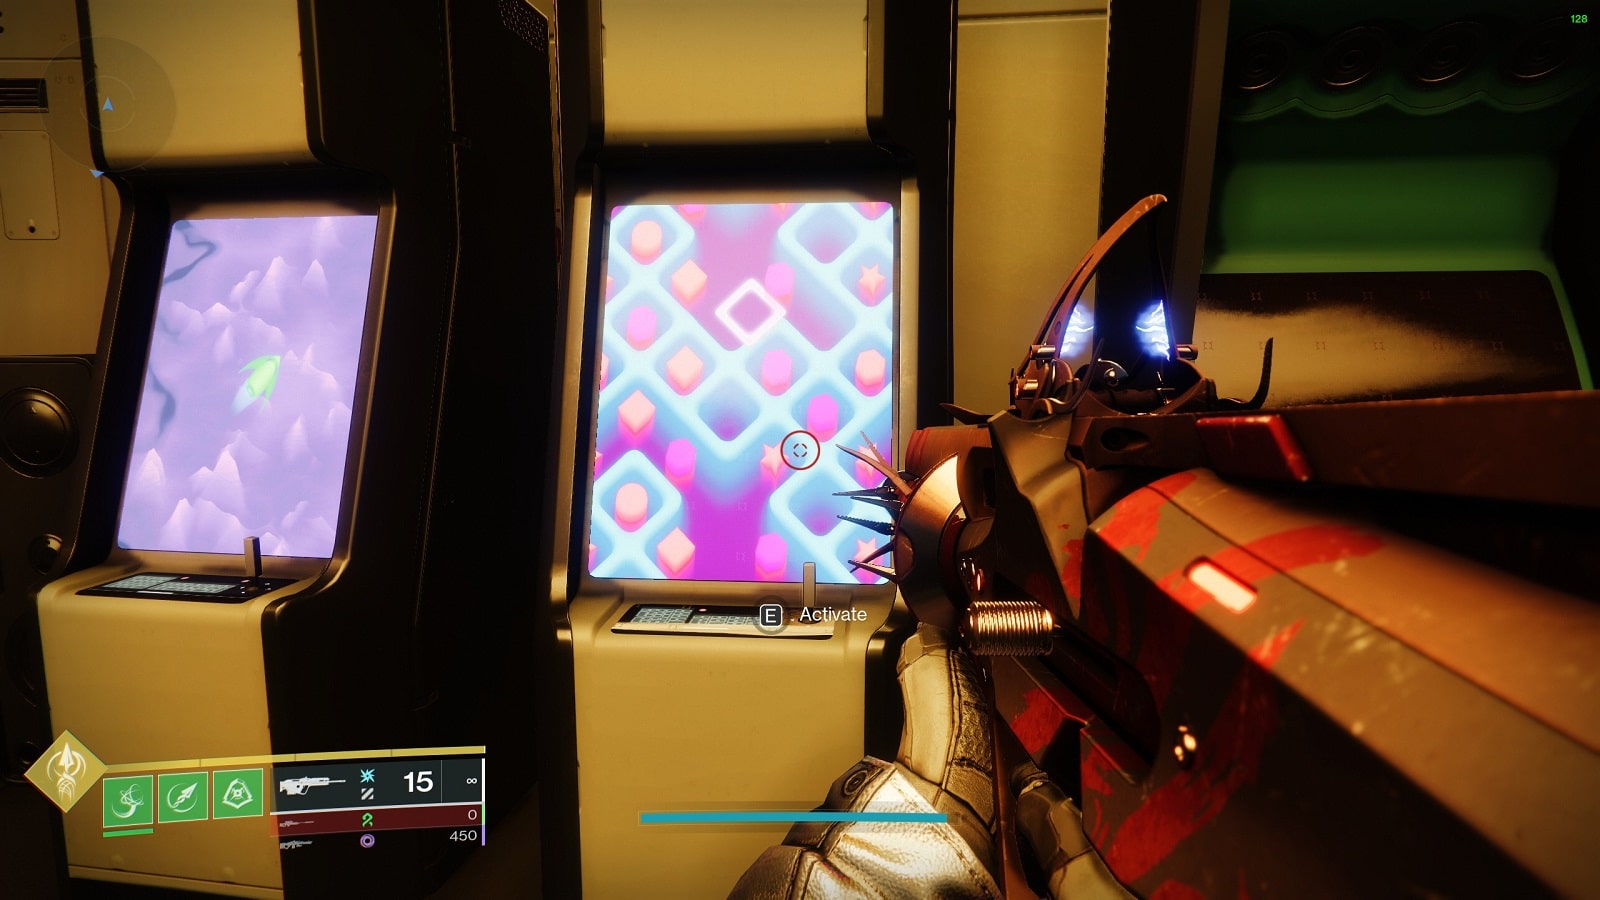
Clue – Striders’ Gate: Shall we play a game? A target gallery awaits; your time in lights.
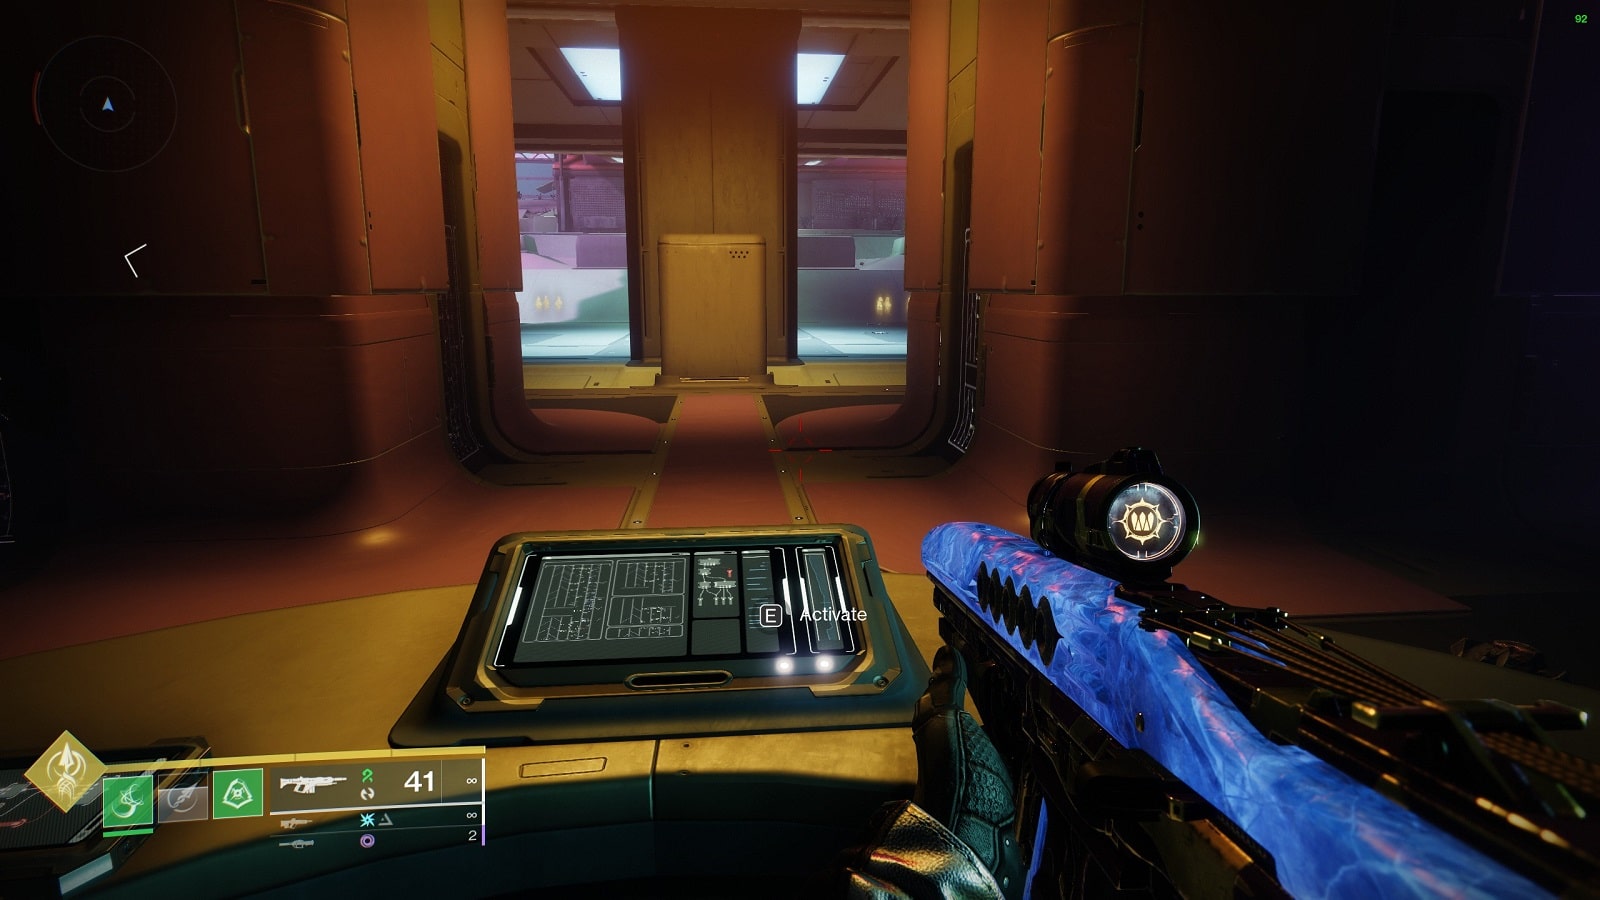
This last challenge takes place at the arcade machine at Striders’ Gate. Technically, you can do this one first if you haven’t already since the challenge wasn’t unlocked until a little while ago.
For this challenge, you will be teleported to the building across the courtyard and partake in a skills challenge. Explosive cylinders will appear in the courtyard below An initial set will appear and another one take its place once you shot down the last cylinder. A countdown timer will hang above the grounds, telling you how much time is left. When the last diamond disappears, you’ll be teleported back into the room to try again.
The challenge here is that the cylinders are small and sometimes hard to see. You may need to familiarize yourself with the pattern of appearance of each set of cylinders. Thankfully, a black diamond occasionally appears to give you a chance to extend your run. But it disappears if you wait too long. It appears randomly in three specific spots, so don’t hesitate to shoot if you see it. You’ll need it.
Our final bit of advice is that keep an eye out for the walls too. When the final set of cylinders spawn, two sets will appear on walls to the left and right of the courtyard. Be careful not to miss them.
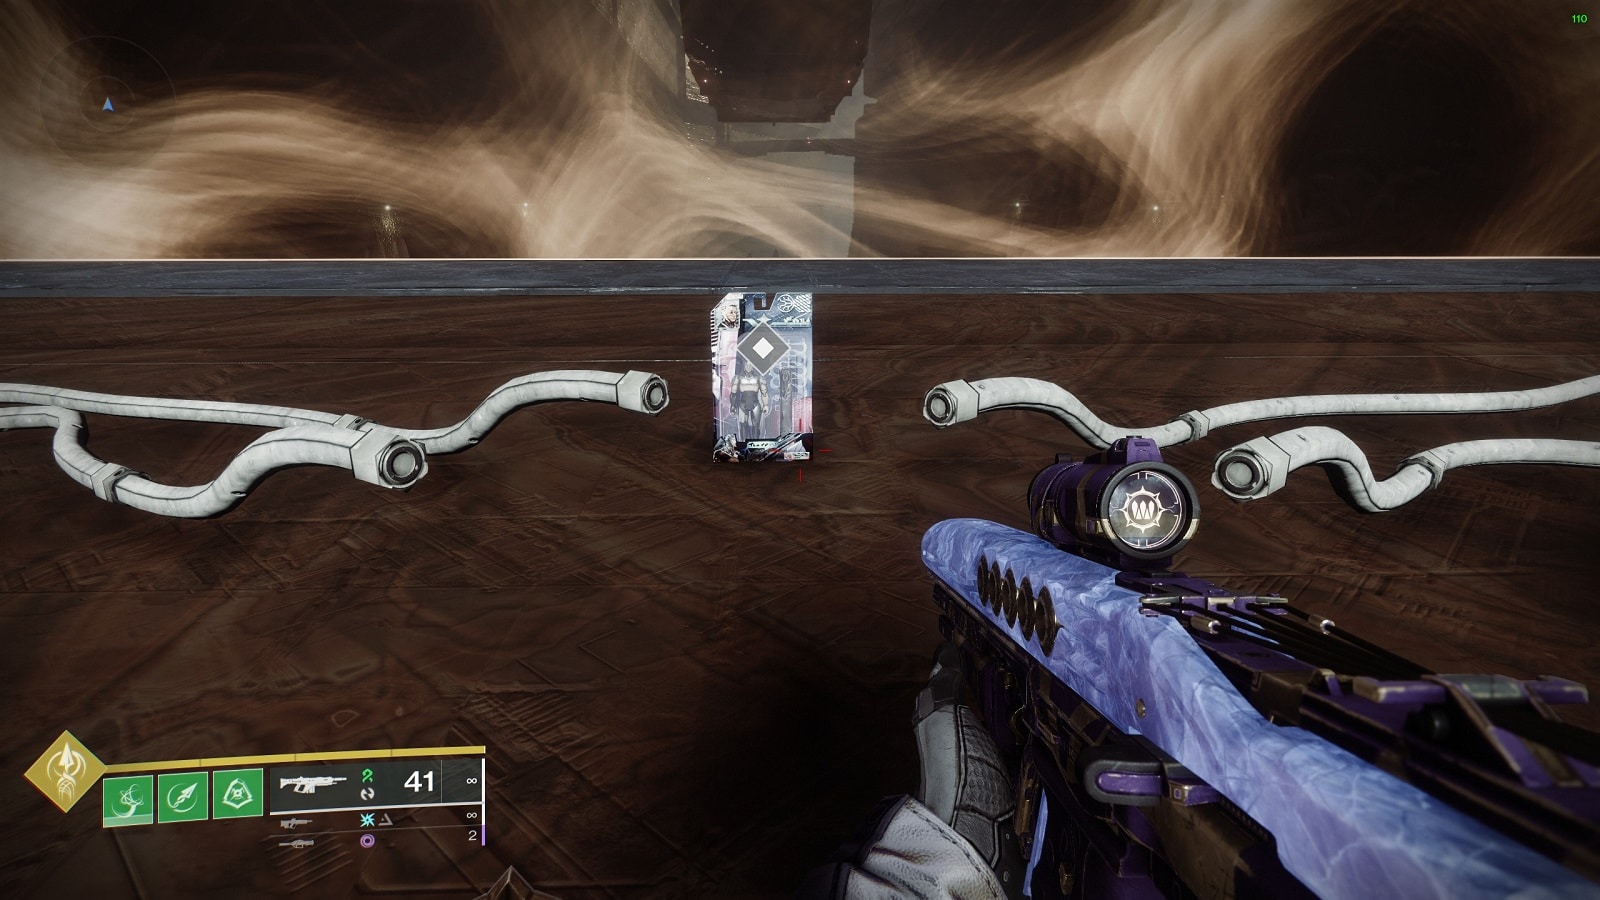
Destroy all the targets in a timely manner and an Action Figure will be waiting for you on the dashboard when you return.
And that’s everything you need to know about the Destiny 2 Action Figure locations and how to complete their challenges. Some may be a bit challenging but take heart in the fact that almost all of the challenges require you to know patterns. You’ll get all of them eventually. Good hunting out there, Guardians.
Check out this video from YouTuber Esoterickk showing you where to find the challenge locations and how you can complete all of them.
")
")
