
The Unmoored World is also known as the True Ending of Dragon’s Dogma 2. It is the world plunging into oblivion as the Arisen has chosen to break the cycle by ending both the dragon and their life at the same time. Read ahead as we go through the steps of how to reach the Unmoored World in Dragon’s Dogma 2.
How to reach the Unmoored World in Dragon’s Dogma 2
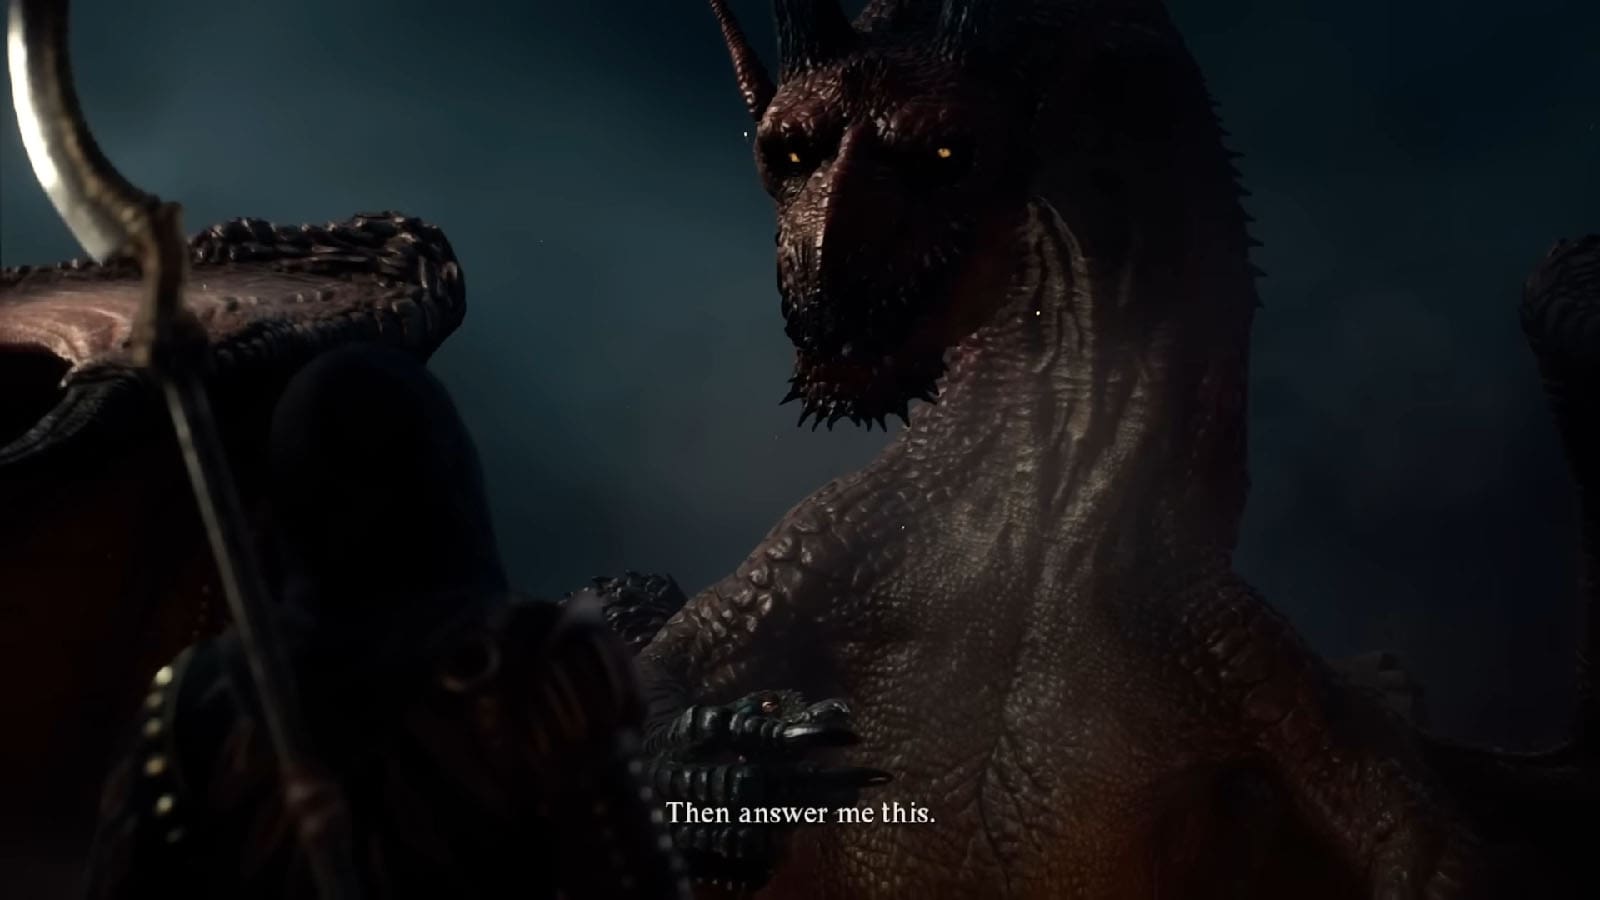
To reach the Unmoored World, you must complete the main quest until you reach the point where you have to defeat The Dragon or the final boss of the game. Choose to save your Beloved and accept The Dragon’s invitation for your final battle. Once you do so, The Dragon will let you climb on its back as it flies you to the final battlefield.
Be aware that, at this point, if this is your first playthrough, it is recommended to play through the initial fight against The Dragon first to experience the standard “good” ending of Dragon’s Dogma 2. It is possible to skip this “good” ending, skip The Dragon boss fight, and go straight to the true ending, but you will need to go through a New Game+ playthrough if you wish to experience the boss fight.
As you ride The Dragon to the battlefield, your chest will glow which will serve as your signal to trigger the true ending. Open your inventory and choose the Empowered Godsbane Blade, then choose to use it on yourself. Your character will then stab the blade on to their chest which will also cause your heart inside The Dragon to be stabbed. Both you and The Dragon will fall from the sky and into the brine-infested waters.
Take note that if you chose to fight The Dragon, during the ending credits, there will be a brief moment where you can control your character as you approach the throne. Use this opportunity to walk over to the Pathfinder and talk to them. The Pathfinder will then make a comment about your character never being satisfied, so it sends you back to the moment when you are riding The Dragon, after which you can trigger going into the true ending.
Unmoored World Basics and Objectives
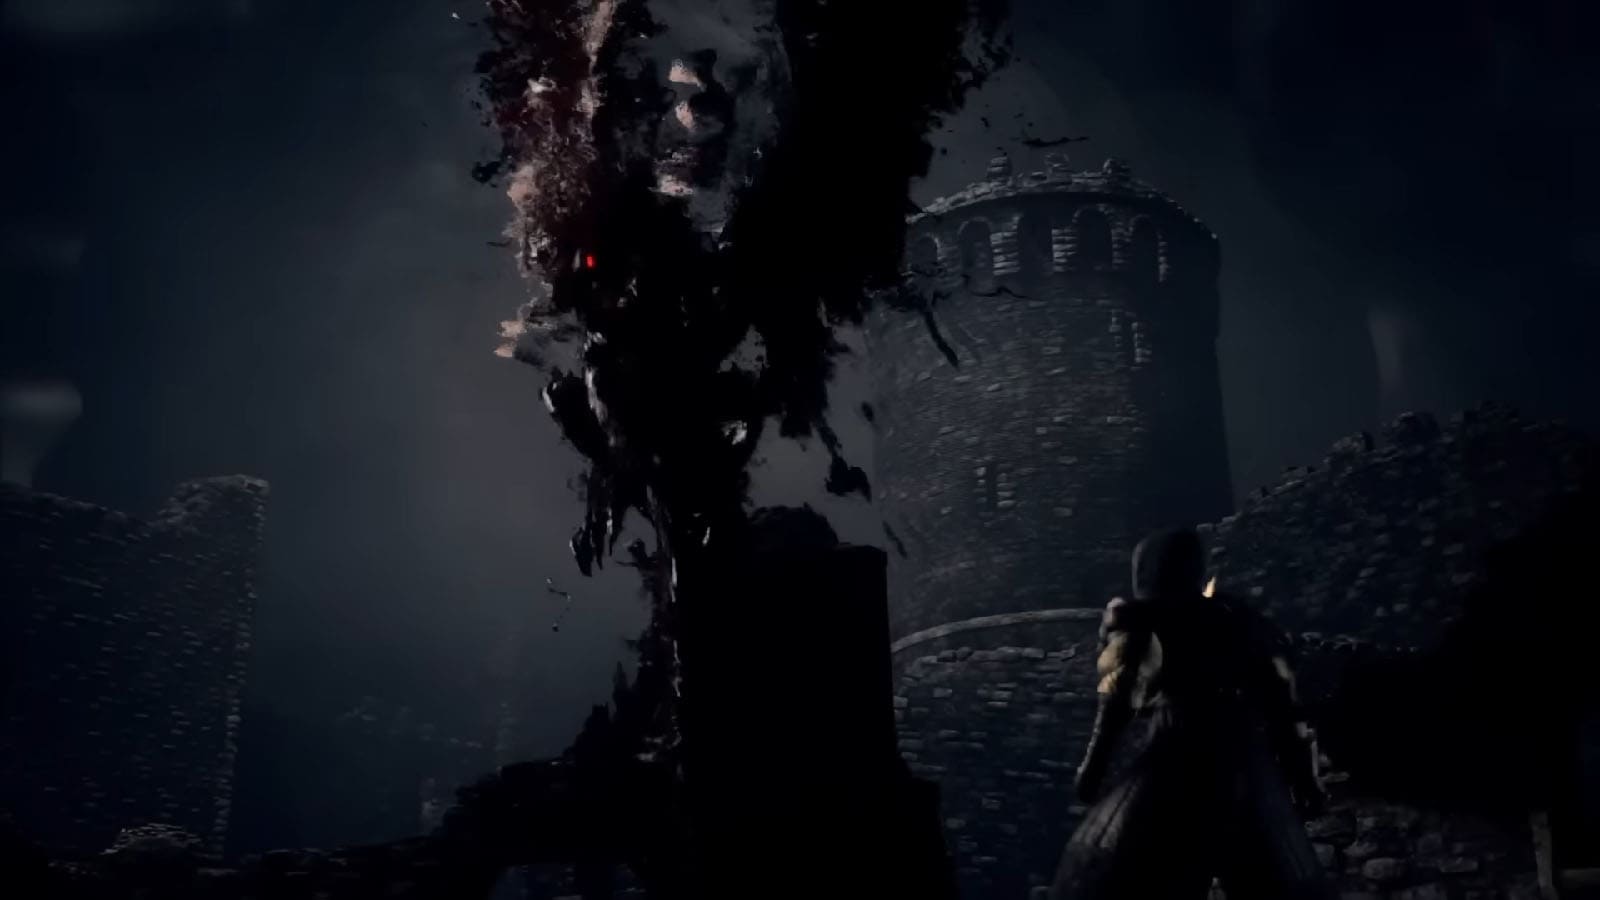
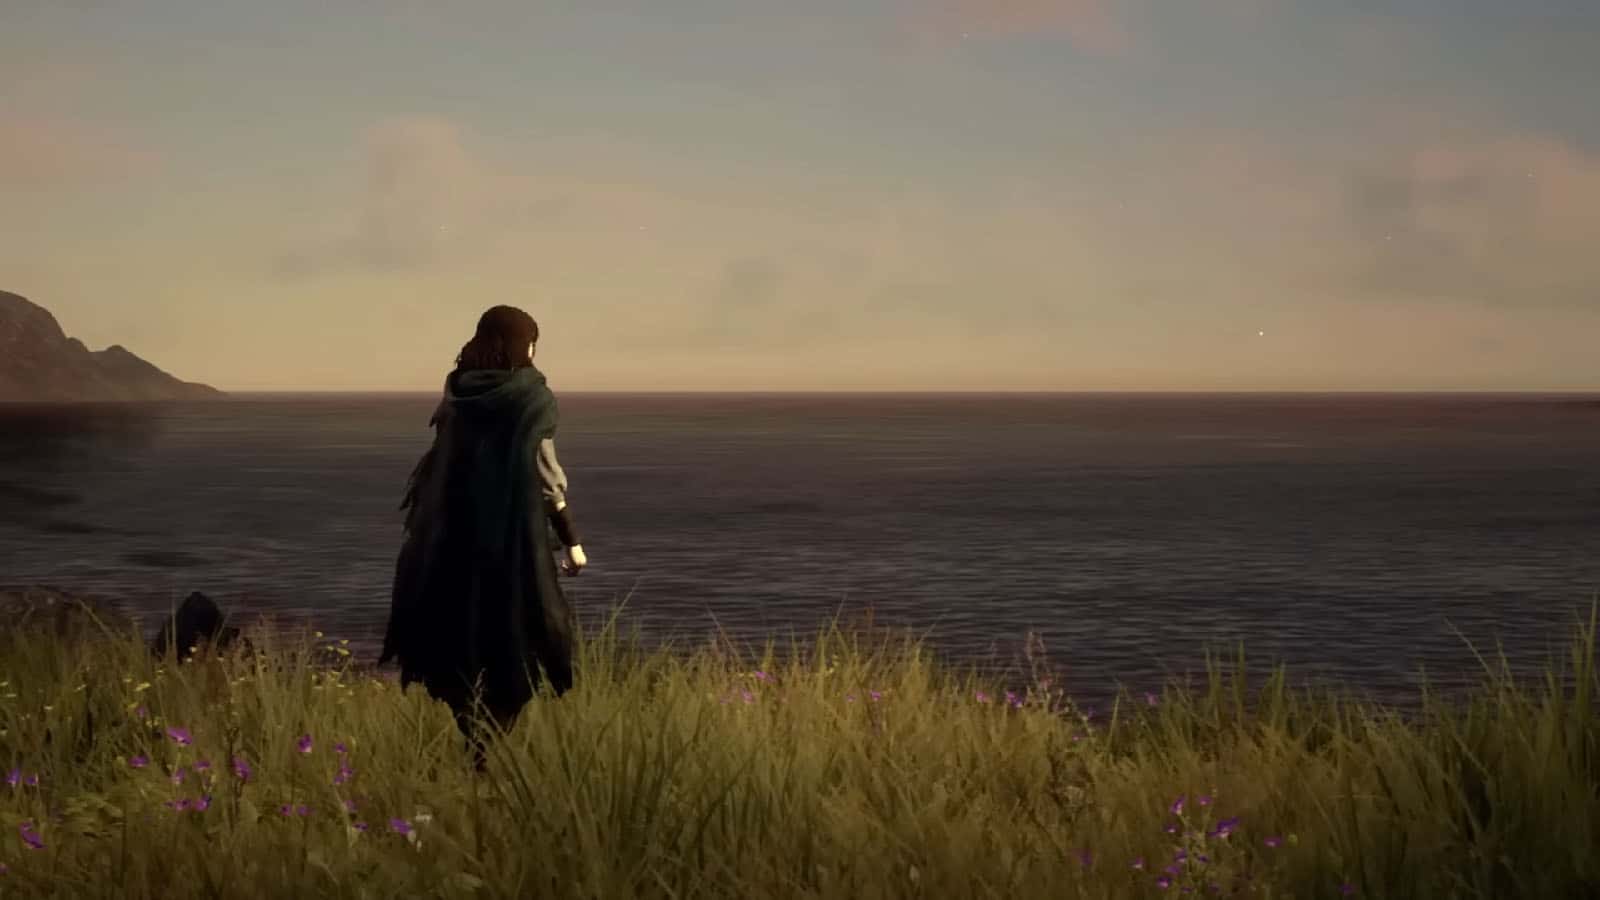
After your fall into the brine, you will wake up a month after and find that the entire world has fallen into calamity, with the seas and rivers drained of water. A cutscene will show a dragon descending from the skies and destroying Melve, showing that this will be the fate of the other cities and towns that gets consumed by the red fog.
Because of the red fog, you will only have a limited time in the Unmoored World before you are either forced to go into a new world (New Game+) or defeat the Pathfinder’s dragon form. Resting on benches will not be possible, and sleeping in inns or your house will pass the time, but it would also make the red fog progress, potentially losing important locations from it if the red fog is not halted.
Due to this limitation, it is important to lose as little health as possible when going through the world as you can only rely on your stock of Allheal Elixirs and other health potions to top up. You will have to find the right balance of completing objectives and staying alive since you will only have a limited amount of times to create a save, and death can potentially set your progress back by a lot.
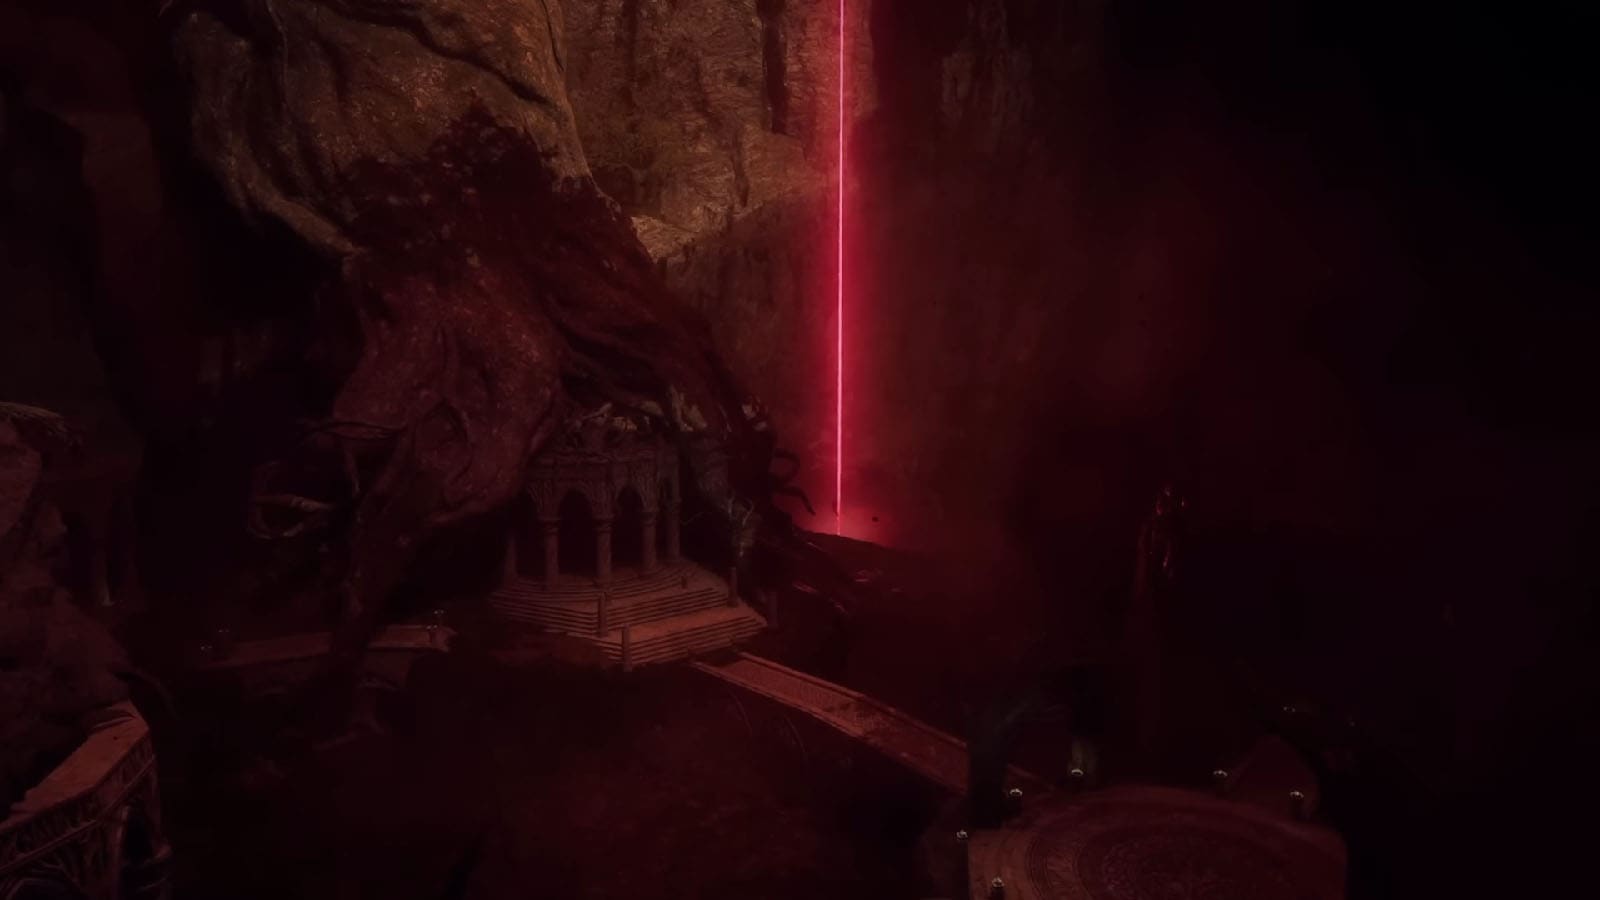
Your first major objective after you have reunited with your pawn is to prevent the destruction of the towns and cities. In every major city and location, there are red beacons of light which will serve as trials and they summon dragons after they are interacted with. Defeating these dragons will prevent the area from getting destroyed, giving you time to evacuate the citizens safely, and also delay and even stop the red fog from spreading further.
Resting too much and letting days pass will make the red fog progress and destroy the locations it covers, so it is important to prioritize clearing the trials of the beacons first before exploring the rest of the land.
Evacuated citizens will then relocate to the Seafloor Shrine which will then serve as you main base of operations. Eventually, after the evacuations have been successful, all the important NPCs and merchants will be accessible within the Seafloor Shrine, removing the need to travel to the other locations for specific needs.
Once all of the dragons from the red light beacons have been defeated, the red fog will no longer progress and another beacon will appear in the Seafloor Shrine. Interacting with this beacon will initiate the final cutscene that ends the story within the Unmoored World.
Prior to interacting with the final beacon, you can continue on exploring the rest of the Unmoored World and look for the special equipment that you can only get during this period, mainly because most of them can only be found in areas that are normally flooded by water.
Unmoored World Quests
There are three major quests to take within the Unmoored World, each of which will serve as your initial guide on how to tread through the Unmoored World:
- Dreams Apart – An unmissable quest where the Arisen reunites with their Pawn.
- A Scholarly Pursuit – This quest introduces the trial beacons.
- Halls of the First Dawn – This quest introduces the Seafloor Shrine and focuses on the evacuation efforts.
The first two quests will be quick and simple, so most of your time in the Unmoored World will be completing the Halls of the First Dawn and figuring out how to evacuate the people to the Seafloor Shrine.
As a quick guide to the Halls of the First Dawn quest, if you want to save as much people as you can, this is the order of the locations that you have to help with the evacuations:
- Excavation Site
- Sacred Arbor
- Vernworth/Harve
- Volcanic Island Camp
- Bakbattahl/Checkpoint Rest Town
With this order, you will be able to deal with both the trials and the evacuations in an efficient manner; you can also choose to deal with the trials first then work with the evacuations next when the red fog has finally been stopped. If you choose to follow this order, however, it is important to complete the evacuations within four days as that is how much time it would take for the red fog to destroy all the locations if the trails are left undone.
As for The Guardian Achievement, you only need to evacuate Vernworth, Sacred Arbor, and Bakbattahl in order to get it.
When it comes to the trials, save for one, they are also located in Vernworth, Sacred Arbor, and Bakbattahl. In each trial, you will have to defeat the powerful dragons that are bound to destroy the locations. The fourth trial is part of the When Wills Collide quest where your pawn revives Talos’ body and uses it to destroy two dragons. Clearing all of the trials will unlock The Hero Achievement.
Unmoored World True Ending
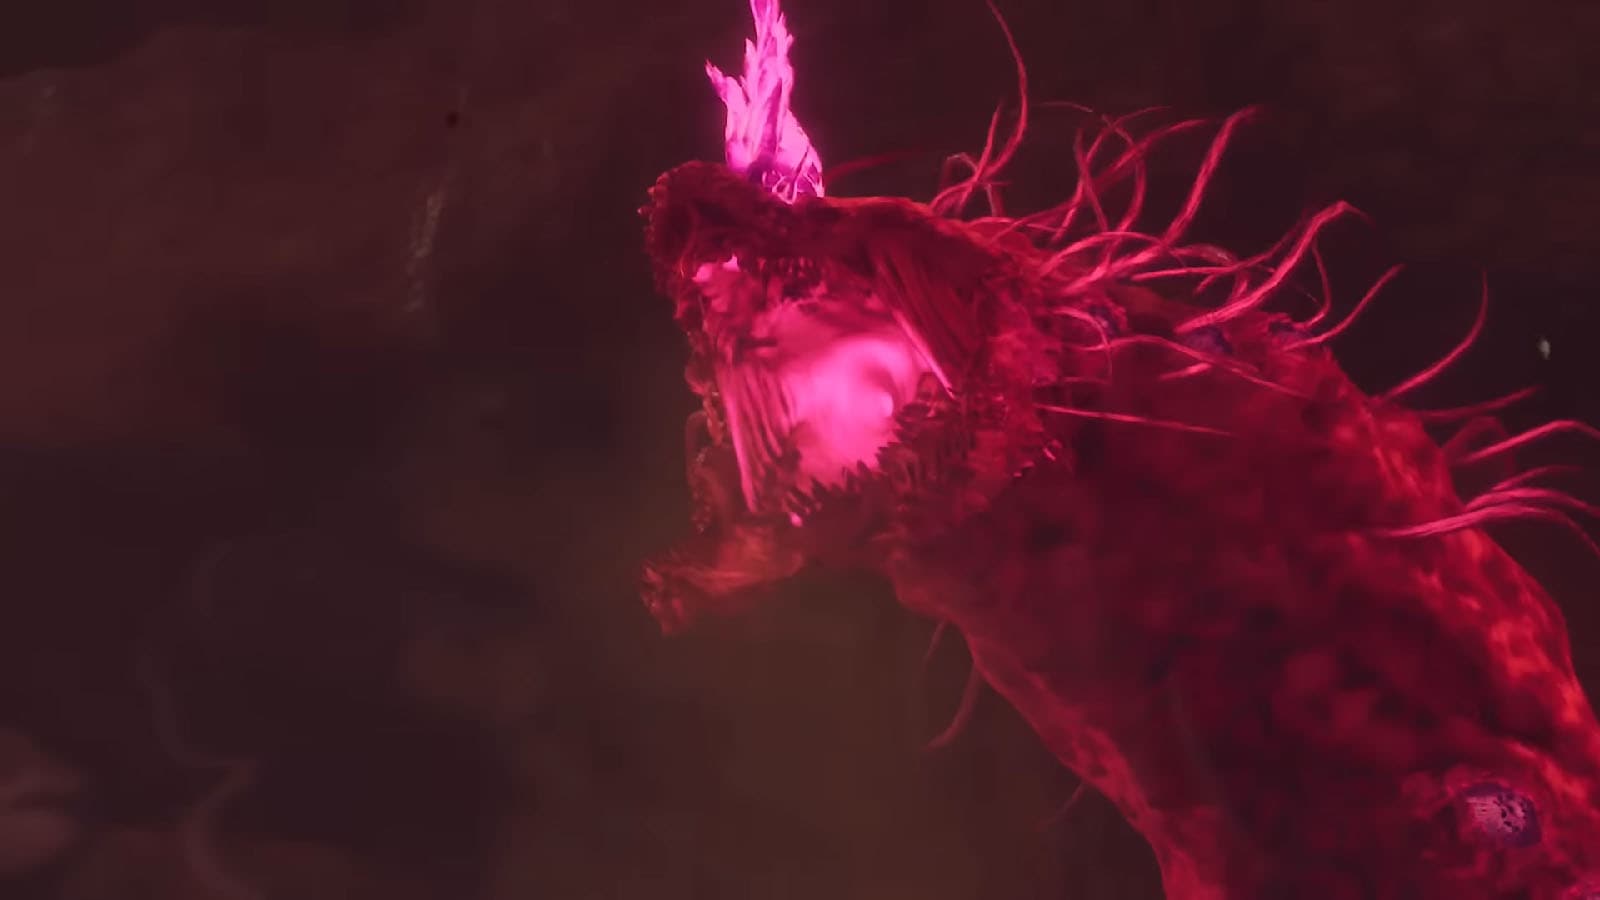
After completing every trial, a final beacon will appear in the Seafloor Shrine. Interacting with the beacon will start your final encounter where the Pathfinder’s dragon form will descend from the sky.
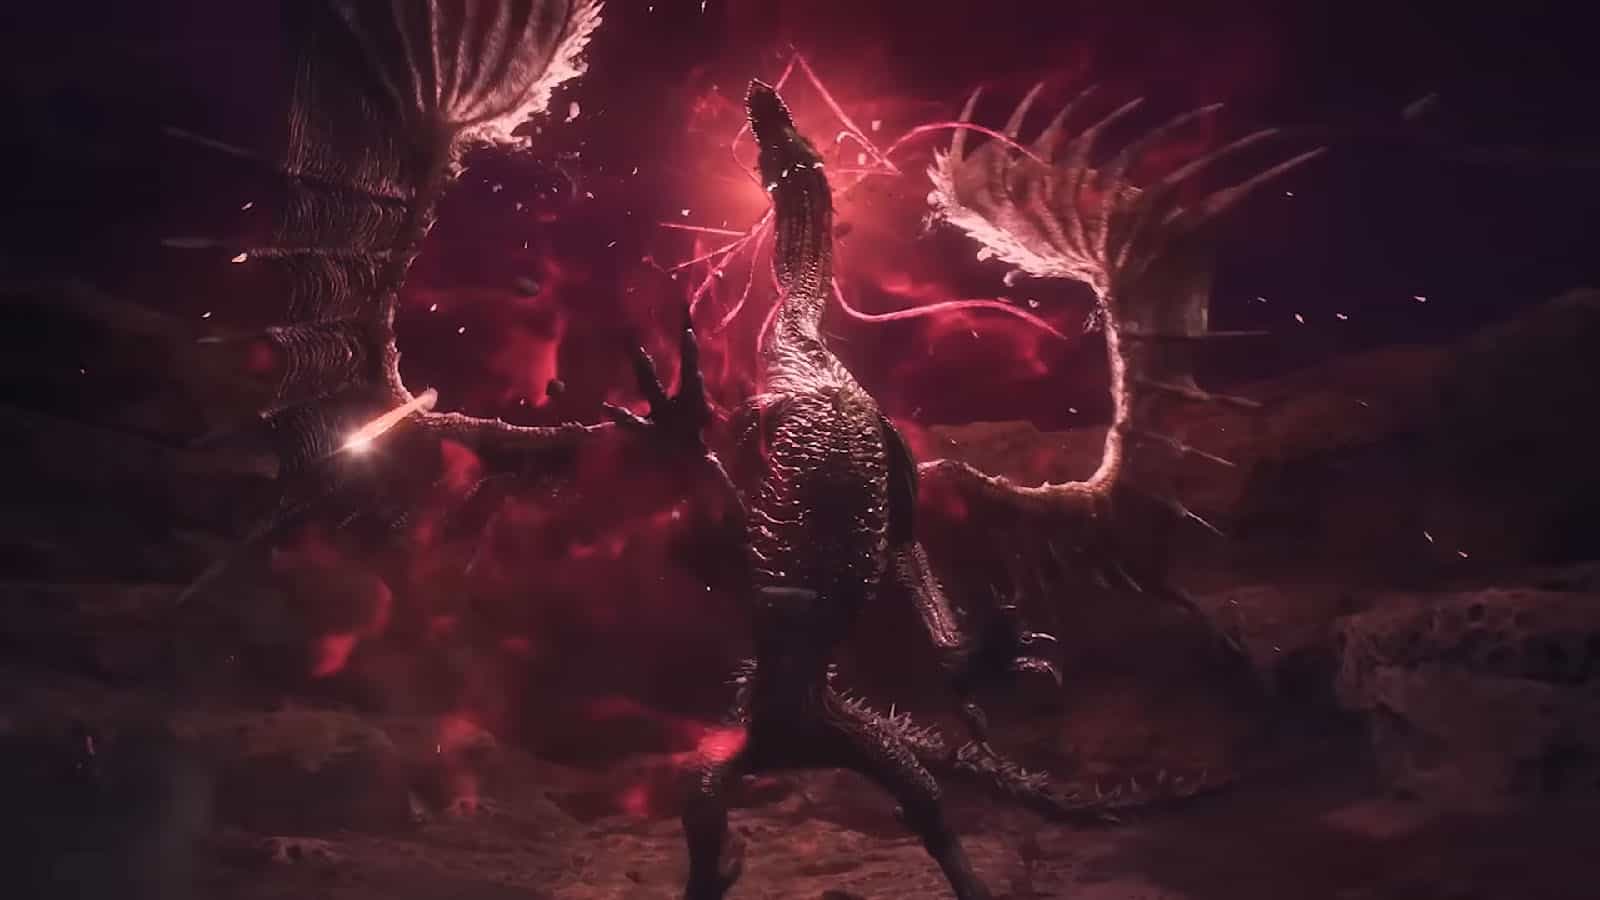
This part is not much of a fight, but rather an obstacle course as you make your way to a marker placed on the dragon. During the cutscene, your pawn will transform into their dragon form, presumably the same form that they take when they are taken over by the Dragonsplague. Your pawn will then take you to the skies and drop you on the dragon’s back.
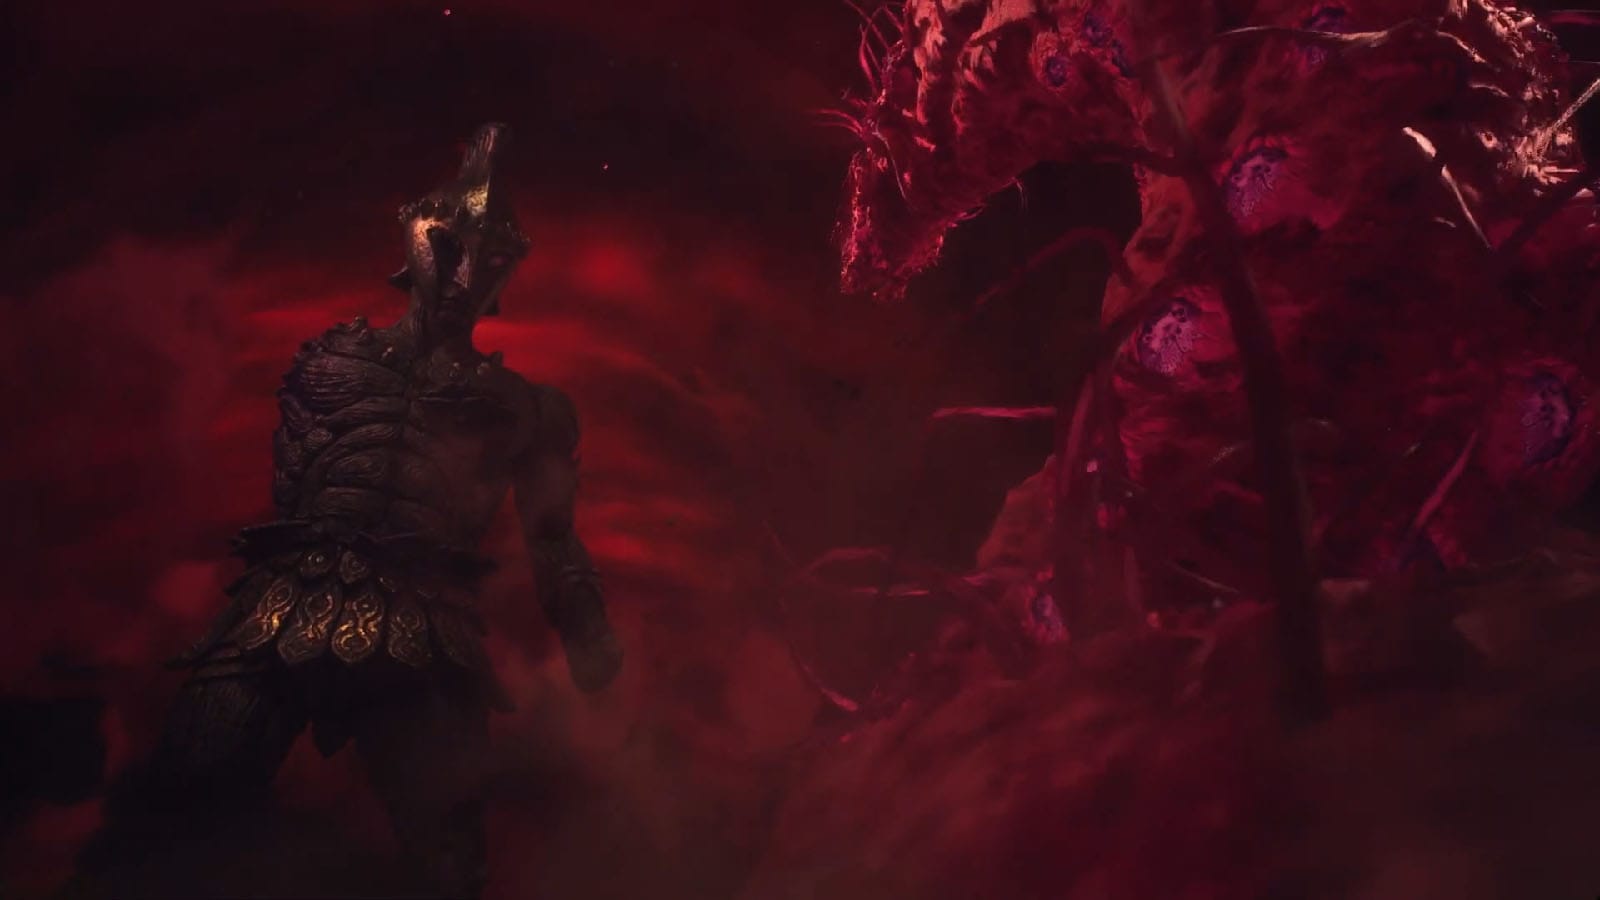
Once you are on the dragon, you need to make your way to the marked spot on the dragon’s neck. From time to time, the dragon will turn its head and breathe fire towards you. You will need to hide behind its spikes to avoid getting burned, then continue on once it’s clear.
Once you reach the spot, another cutscene will play where your pawn will manage to hit the dragon’s eye, flipping the dragon while in the air. You then go into a freefall as your pawn latches on to the dragon’s open chest. At this point, if you have maxed out your pawn’s affinity, you will see a special scene where they return back into their non-dragon form as they are thankful about how much will they have obtained from being with you. Otherwise, your pawn will simply remain in their dragonform throughout the scene.
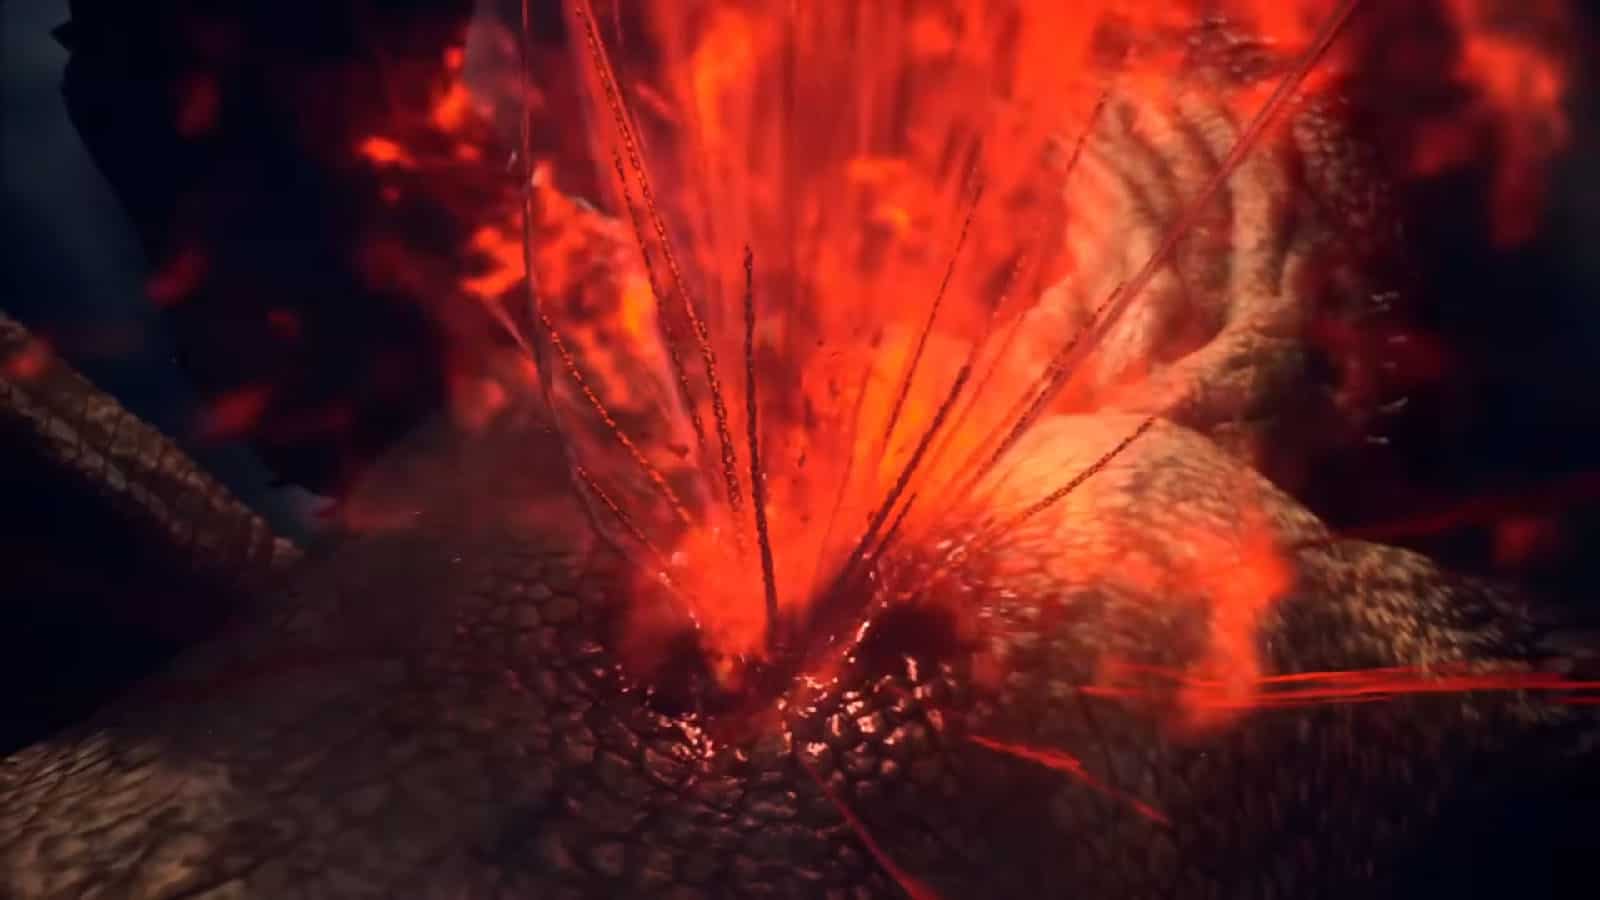
The final scene will show you drawing the Godsbane Blade again as you plunge it on to the dragon’s heart, presumably killing you and the dragon, and breaking the entire cycle of the Arisen and the Dragon once and for all. The credits then roll while showing everyone busy rebuilding their houses in a world that is back to normal and its seas free from brine.


