Stances are the different positions a martial artist takes to prepare themselves to attack, defend, advance, or retreat. In the case of Ghost of Tsushima, stances are used to effectively counter certain infantry types.
There are 4 stances in the game; Stone, Water, Wind, and Moon. Each stance has a different kind of Heavy Attack that deals with extra Stagger damage. In addition, they all have a 3 combo Heavy Attack and a charge up ability that activates once the player lets go of the Heavy Attack button.
Quick attacks (Square button) do not generally change depending on the stance. Changing directions contribute to a different quick attack, but it’s more on visuals than actual damage changes.
Although it is mentioned that the stances are effective on certain types, it does not necessarily mean that you’ll be powerless if you aren’t using the right stance. It is possible to kill a Shieldman using Stone Stance, even if the shield completely blocks [Piercing Strike].
With that being said, let’s go into detail with how each stance deals with each infantry type.
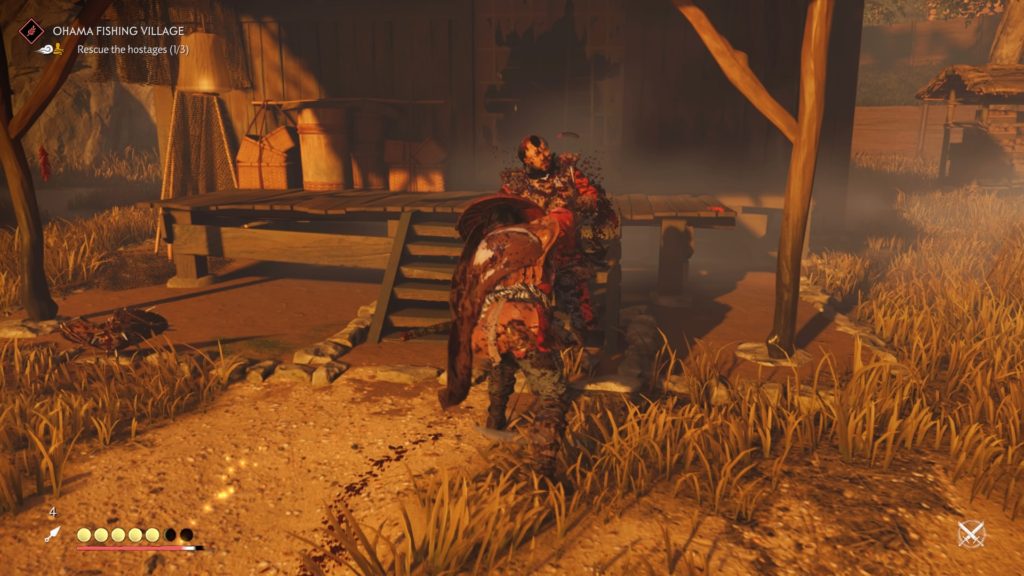
Stone Stance:
The most basic, yet flexible of the combat stances. Stone Stance counters the most common infantry type in the game, Swordsmen. It doesn’t matter if the enemy holds a katana, duo swords, or heavy saber – Stone Stance easily counters them all.
Upgrading its techniques gives you a better edge against other infantry types. Speed buffs to beat Spearmen to the punch and extended combos that are somewhat effective against Brutes.
[Swordbreaker], like any other Heavy Attack, is capable of dealing damage to a staggered enemy. The move itself is designed to overwhelm a Swordsman’s defense, breaking them to the point that they are completely open to follow up damage.
[Piercing Strike] does a lot of damage per strike, especially if you charge up the attack even further. Multiple piercing strikes are enough to kill anyone outright. However, elite swordsmen do not allow multiple attacks to land unless staggered.
Use [Piercing Strike] to burst down staggered enemies.
Shieldmen can easily [Piercing Strike] with their wide shields. But you can still catch other enemies like Spearmen off guard.
The [Full Puncture] technique delivers piercing strikes fast enough to kill an unarmored Brute. It’s one of the more useful techniques to have before having access to Moon Stance attacks.
With the [Momentum] technique, it is possible to beat most swordsmen to the draw with the quickness of your blade work.
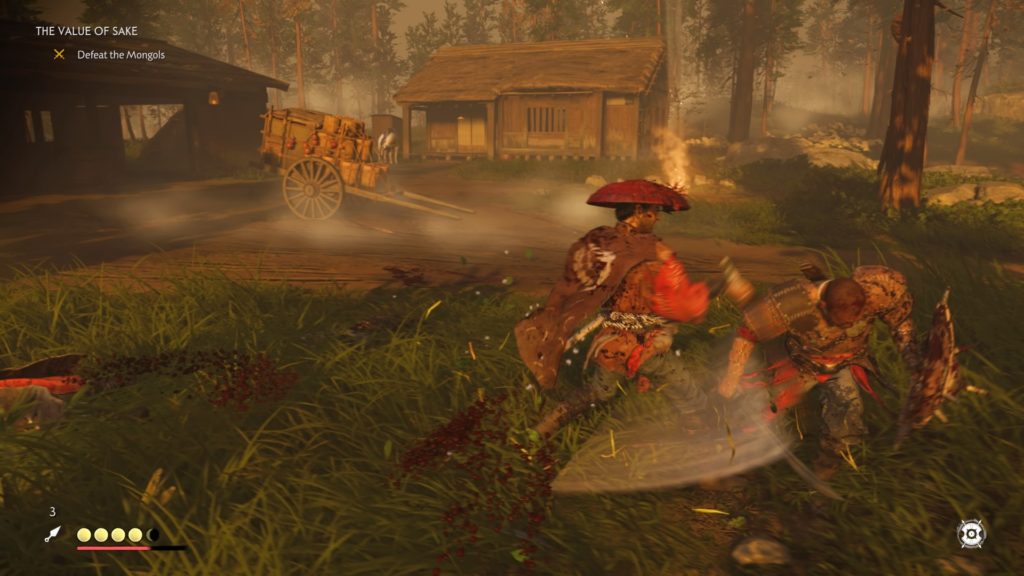
Water Stance:
Simple, yet brutal. That’s probably the best way to describe the Water Stance stance. At its core, this stance is capable of unleashing a torrent of strikes in rapid succession.
[Flurry Strike] is this stance’s charge attack. Holding down the Heavy Attack button builds up an initial attack that can potentially stagger enemies. Tapping Heavy Attack unleashes rapid strikes that do a decent amount of damage within a short span of time.
Learning techniques like [Flowing Strikes] and [Surging Strikes] increases the number of strikes you are able to unleash from [Flurry Strike].
[Flurry Strike] also works well on Swordsmen and Spearmen. It’s capable of staggering them through the sheer number of hits. The only drawback is that you’ll be standing still while delivering those strikes.
The charge attack works somewhat on Brutes. However, Brutes are able to power through attacks, essentially countering you.
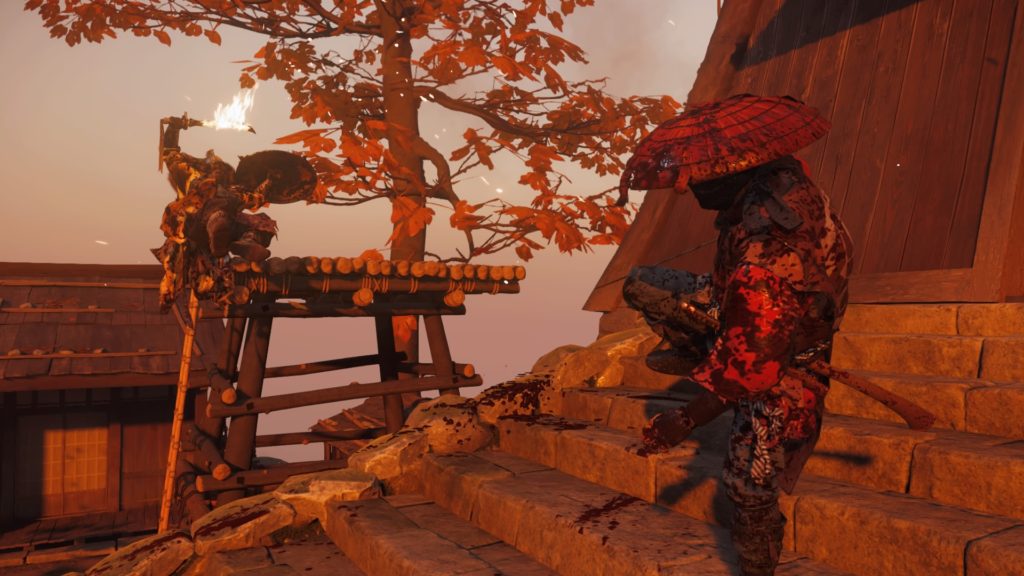
Wind Stance:
Wind Stance is a movement intensive stance that incorporates kicks with sword combos.
The [Spearbreaker] combo has a long wind up attack that leaves you open to quick attacks. It’s most useful in quickly breaking down a Spearman’s defense.
Holding down the Heavy Attack button unleashes a [Typhoon Kick]. This attack able to launch enemies by quite a distance. Strengthening it will make it easier to launch enemies off of cliffs on top of doing extra Stagger damage.
[Spear Defense] allows the player to automatically Parry spear attacks by initiating a [Spearbreaker] combo.
[Typhoon Kick Finisher] knocks down thrown enemies. Essentially removing a threat from battle. Knocked down enemies are open to Assassination attacks.
[Typhoon Kick] is also effective on Swordsmen and Shieldmen. Does not do anything when used on Brutes though. Maybe annoys them a little.
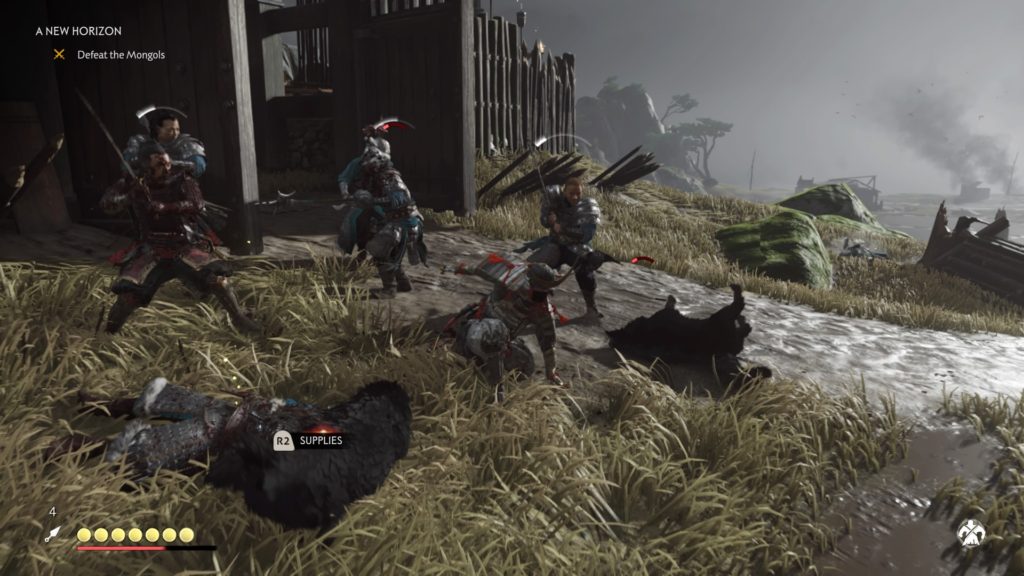
Moon Stance:
For some reason, using Moon Stance makes me feel like a lumberjack cutting down Redwood. I have no other way of describing it.
[Heavy Strike] unleashes a 2 quick kicks followed by a heavy slash. Learning the [Finishing Strike] technique enhances the heavy slash by dealing with extra Melee damage and Stagger damage.
[Spinning Strike] allows you to quickly strike in a circular fashion. This charge attack is also capable of inflicting a slight Area of Effect damage on nearby enemies.
Learning [Tornado] allows you to perform 3 circular strikes in rapid succession. Use it on one enemy to deal damage, then continue moving towards another enemy to increase its effectiveness. Can Stagger multiple Brutes at once.
[Heavy Strike] works well on Shieldmen. Forcing them into the defensive, much like Water Stance attacks.
Since Brutes take a second to launch an attack, it is possible to land a [Heavy Strike] combo on them before they even finish winding up their attack.
Though Moon Stance attacks are designed to quickly Stagger Brutes, relying on stance alone is not enough to quickly kill them. Switching to stances that deal burst damage like the Stone Stance will make quick work of any Brute.
