
The Automatons have returned with a vengeance. They have overrun the outer rim worlds, including the Cyborg homeworld of Cyberstan. In this sudden and unprovoked invasion, Super Earth is left with little choice but to evacuate high-value assets before they are lost to the cold-metallic hands of the enemy.
In this guide, I’ll tell you what you need to about the new ‘Evacuate High-Value Assets’ mission in Helldivers 2. This will include the mission parameters and how best to prepare your defenses. And don’t worry, I too thought of the Terminid defense mission when I saw it but rest assured, it is not the case. If you know what you’re doing, the mission can be a fun experience, even in the higher difficulties.
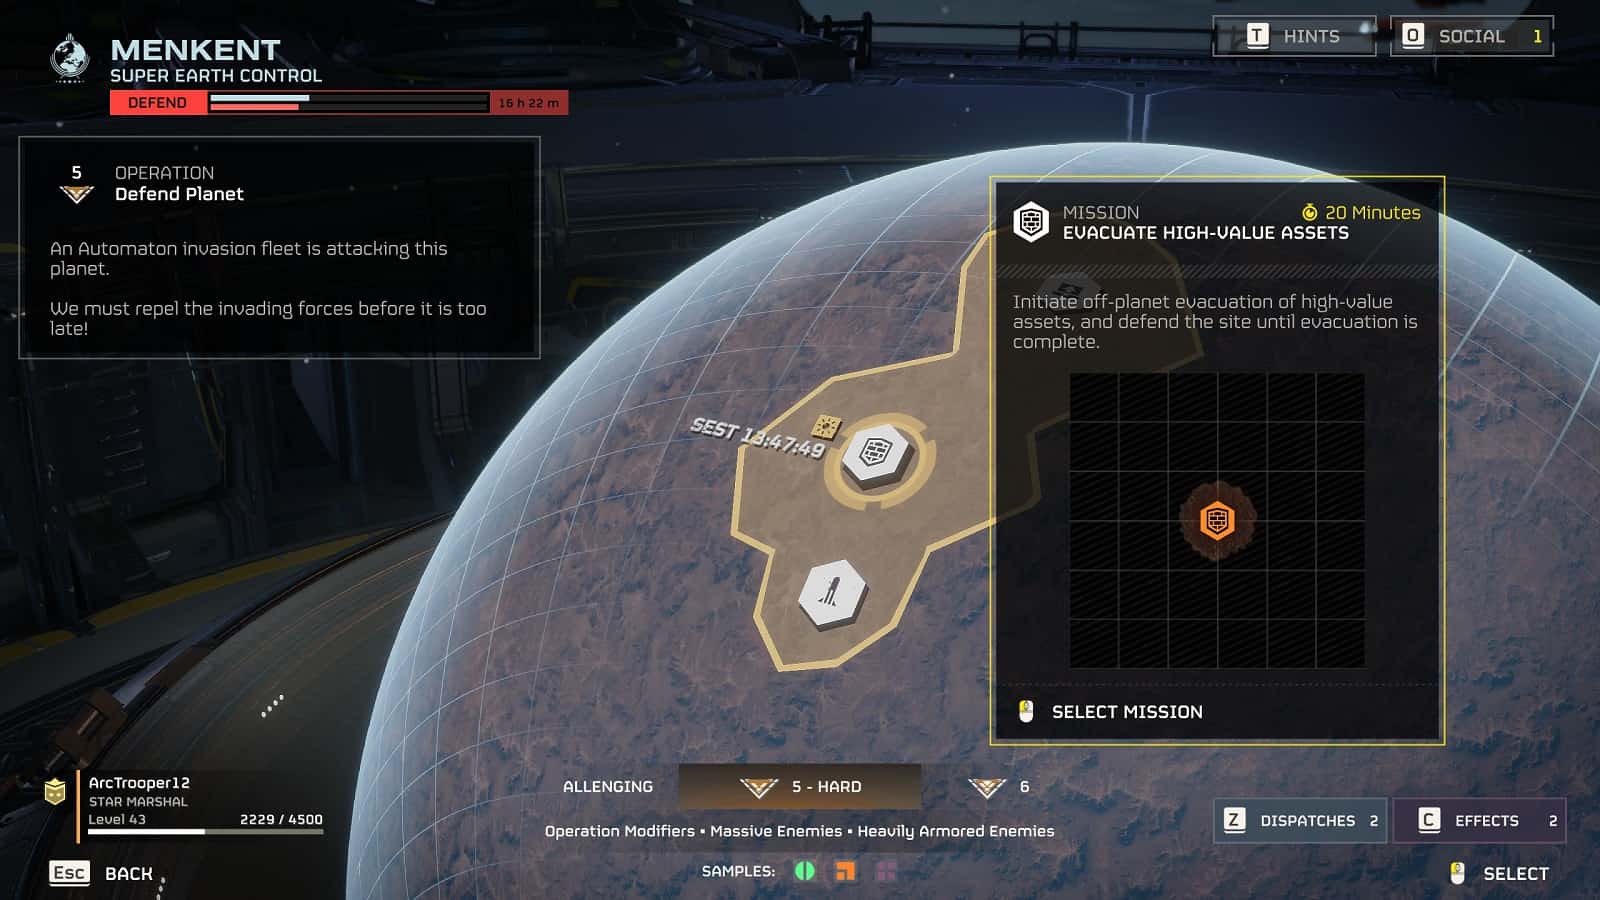
How to Access Evacuate High-Value Assets Mission
The ‘Evacuate High-Value Assets’ mission is accessible on worlds with an active Defense Campaign. They first appear on Difficulty 5 missions and above as part of the mission set.
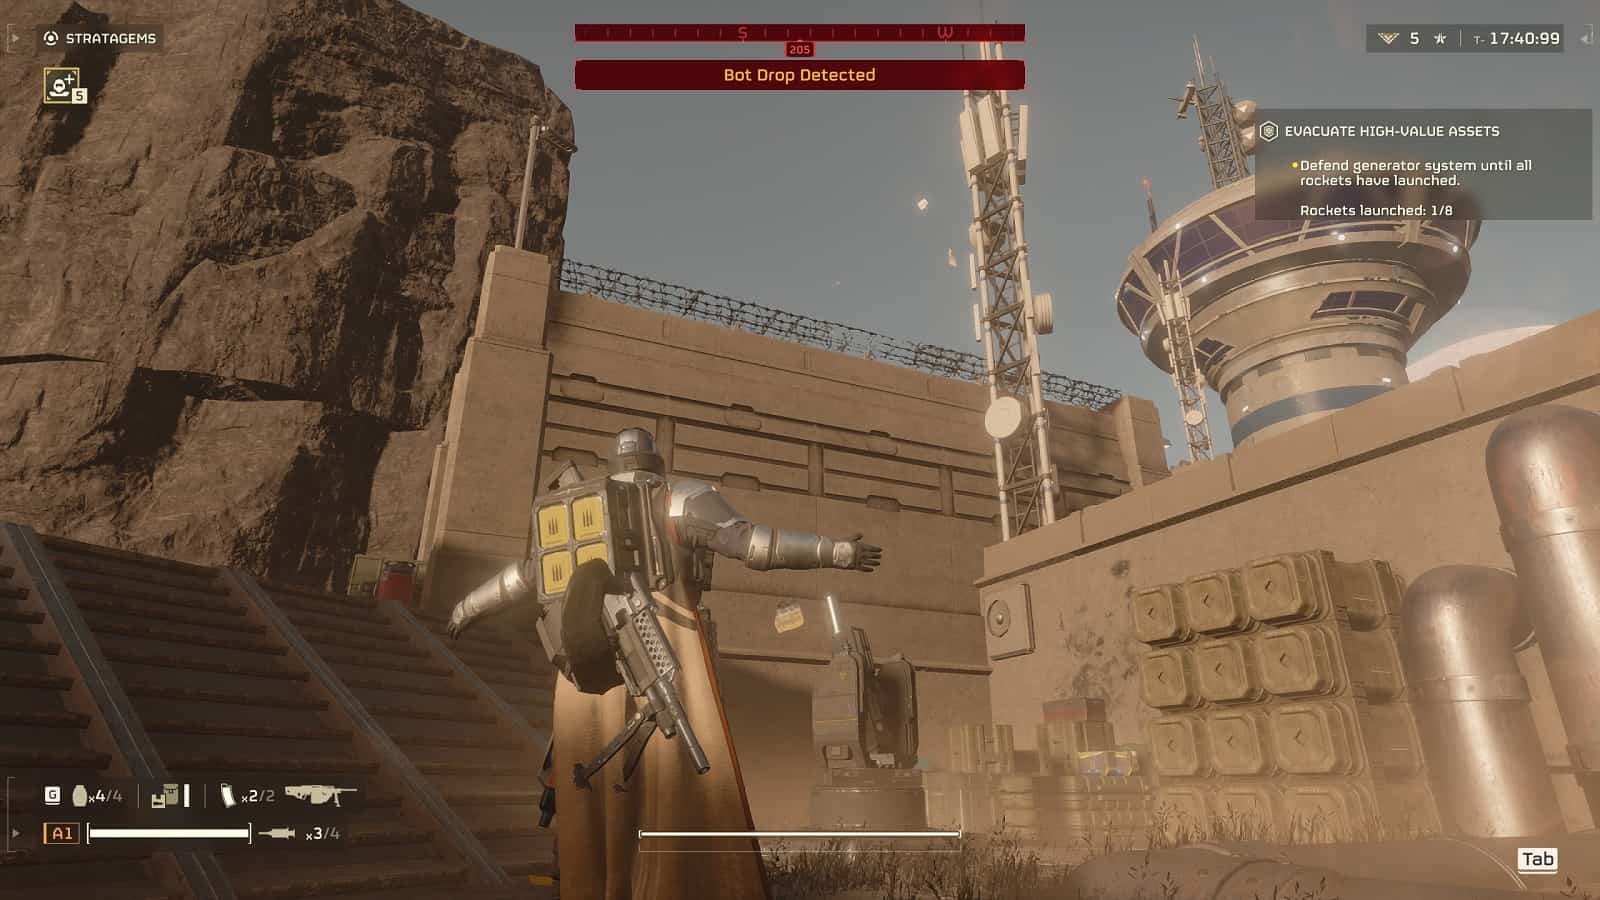
In this mission, you must defend a pair of generators against an onslaught of Automaton forces. The mission is set in a facility with high walls from which you can shoot enemies. A series of gates separate three different sections which play an important part in the layered defense of the fortress.
- An outer section with two gates to defend.
- A middle section where all the enemies from both gates are funneled into.
- An inner section where the generators are located.
The goal is to hold off any bot drops until 8 rockets loaded with valuable assets can launch. This usually takes between 15-20 minutes depending on how good your defense of the area was. Afterward, you can leave the mission area via the landing pad next to the generator area. Failure is preventing the destruction of the generators before all rockets launch.
Start of the mission:
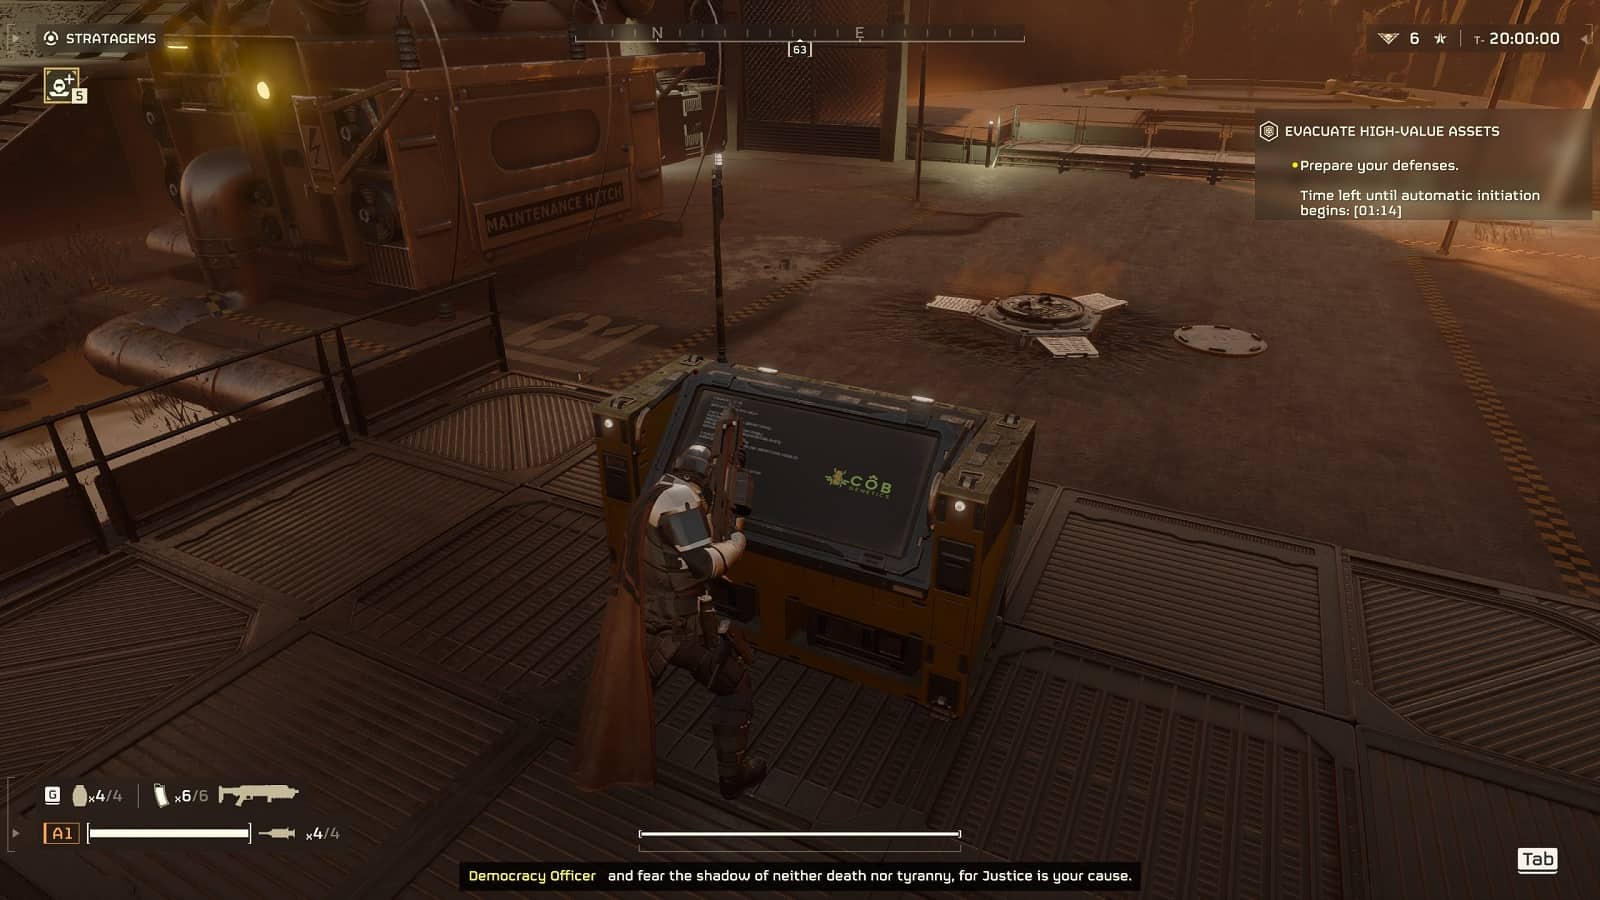
When you land on the AO, you will have around 1 minute and 20 seconds to set up your defenses. You can skip the setup phase by going to the console by the generators and inputting commands to fast-track the preparation stage.
After the preparation phase, dropships will constantly arrive, and drop Automaton forces in an attempt to destroy the generators at the heart of the facility. The number of dropships arriving per wave depends on the mission‘s difficulty. On the higher end of the spectrum, you will see upwards of 3 drops at a time, with Annihilator Tanks and Hulks leading the charge.
Mission Tactics:
You’d usually want to set up behind the outer walls to shoot down drops as they arrive. The dropships are vulnerable to rocket attacks on one of their four thrusters. One good rocket from the disposable anti-tank launcher or the recoilless rifle is enough to down one of these dropships.
Next, you’ll want to close the right or the left gate to start filtering enemies mostly to the open gate. For some reason, the bots are more concerned with the closed gate and will target it even if they are already inside the defensive perimeter. There is also a main gate for the midsection and inner section.
Mortal turrets and heavy machine gun emplacement truly shine in these missions. The mortal can decimate groups of enemies behind walls and the heavy machine gun can stop everything that wanders into its sights short of an Annihilator Tank.
In difficulty 7 and above, you’d want to rely more on heavy-hitting weapons as tanks will appear one after another. The machine gun emplacement retains value in the higher difficulties but only after you’ve dealt with the tanks first. Since the emplacement is so seldom used, some players might not even be aware that you can shred a Hulk’s eye with a few well-placed shots.
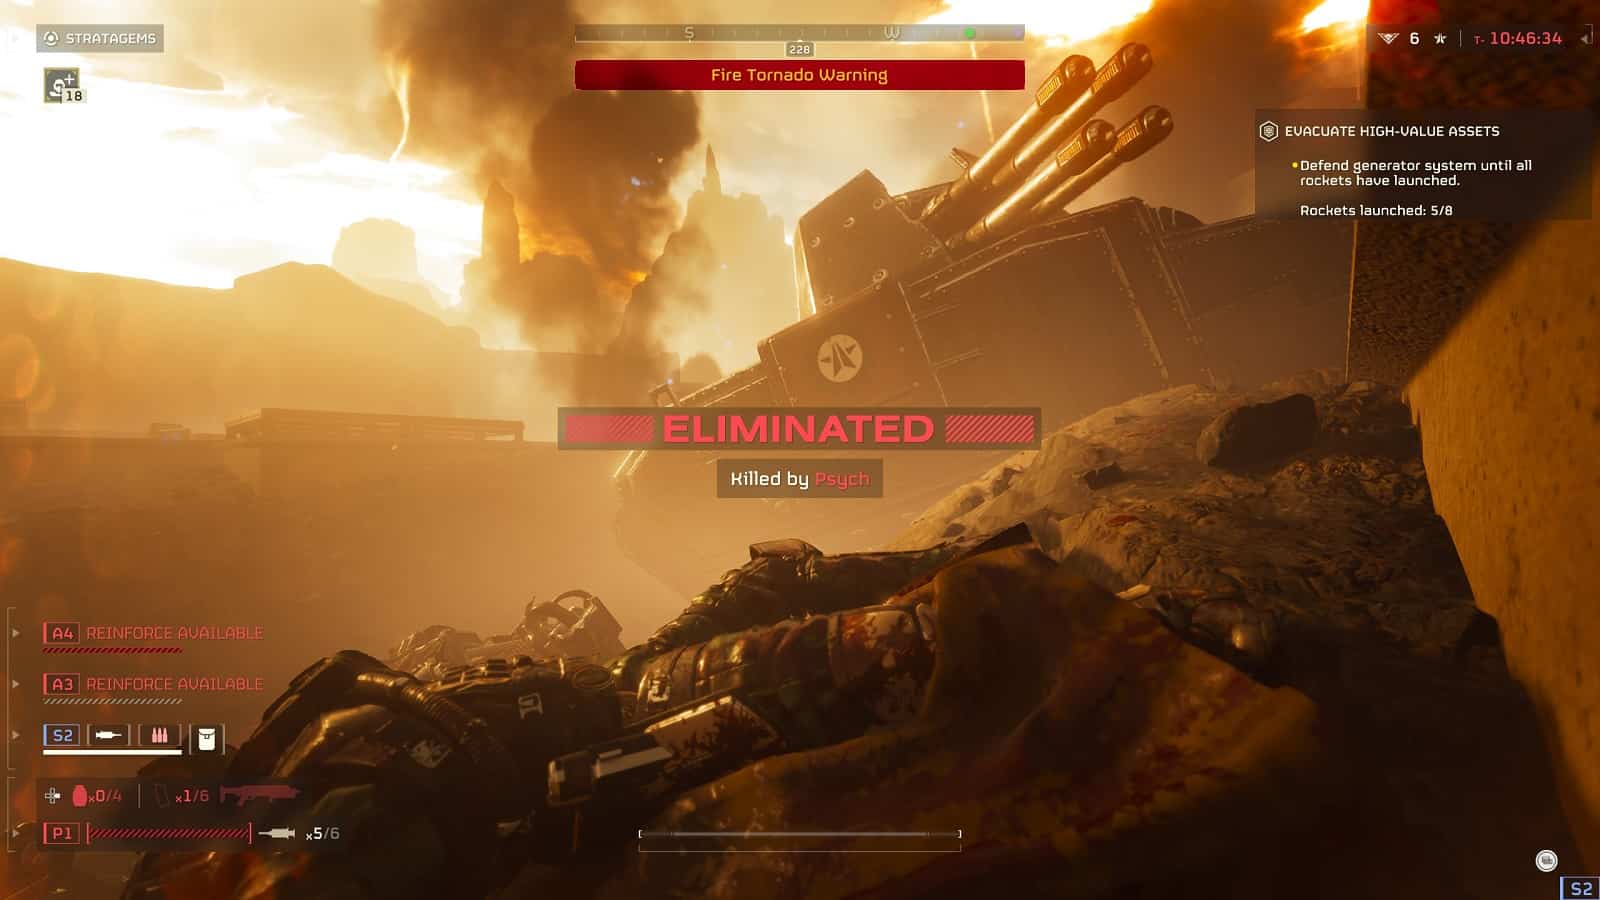
If you are overrun at one section of the defense, don’t panic. Simply relocate to the next section behind its walls and close the gate behind you to buy you some time. The bots will be preoccupied with destroying the gate, giving you time to set up your next set of defenses. Don’t forget to destroy any Berserkers that may be trying to slice their way through.
You can always tell if the gates are being damaged if sparks are flying out from the gate. When you see that, it usually means Berserkers are knocking or a tank is shooting away at it. In any case, it doesn’t take much to destroy the gates but having it intact means the bots’ attention won’t be on you so much.

One tactic I’ve found useful is stuffing the gates with the wrecks of tanks. This works better on the smaller bots effectively confusing their pathfinding. Of course, the wrecks will drop into the ground eventually. You can consider it a reprieve than anything else. Hulks will also smash through the makeshift barricade like it was made of paper.
This is also why you should be destroying dropships as they arrive. Not only does it delay the bots’ approach, but the twisted frame also delays the approach of the next dropship that arrives.
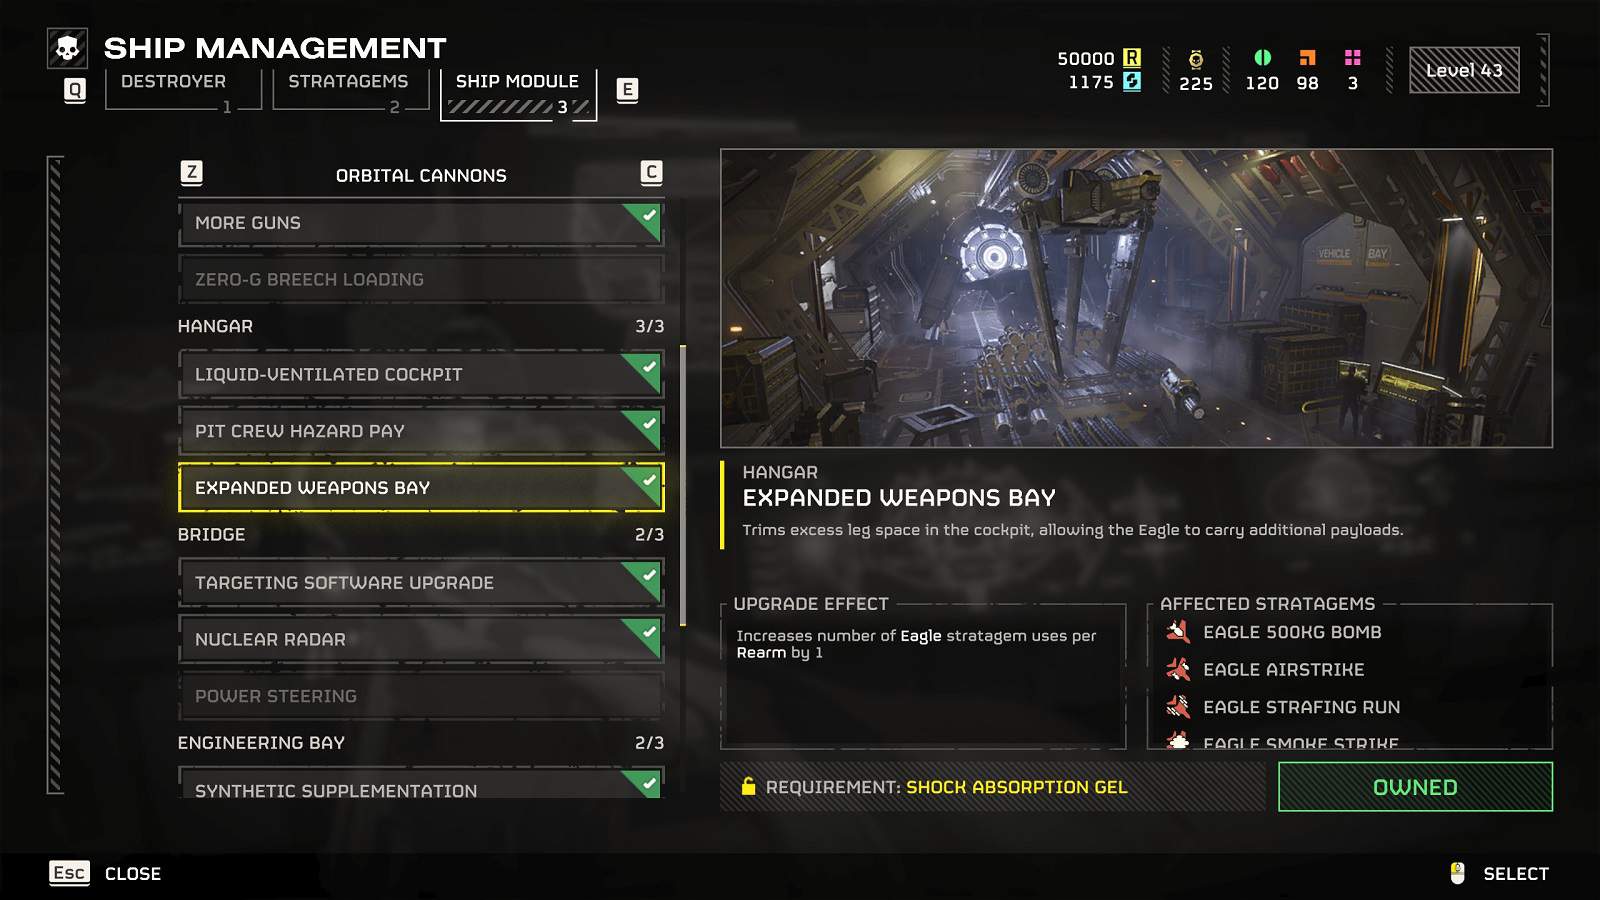
Like everything in the game, ship upgrades and team size will have a great effect on the effectiveness of your defense. The more mortals there are on the field, the easier it is to hold the gates. You can also go as far as coordinating 500 KG bombs to start pushing back with the hope of reclaiming the midsection from bot forces.
When it comes to troop composition, you all want to have anti-armor weapons all around. Everything else is gravy at that point.
Note: It doesn't matter what section you are in the defense, the bots will always drop from beyond the outer walls. They will then work their way to the generators with all haste.
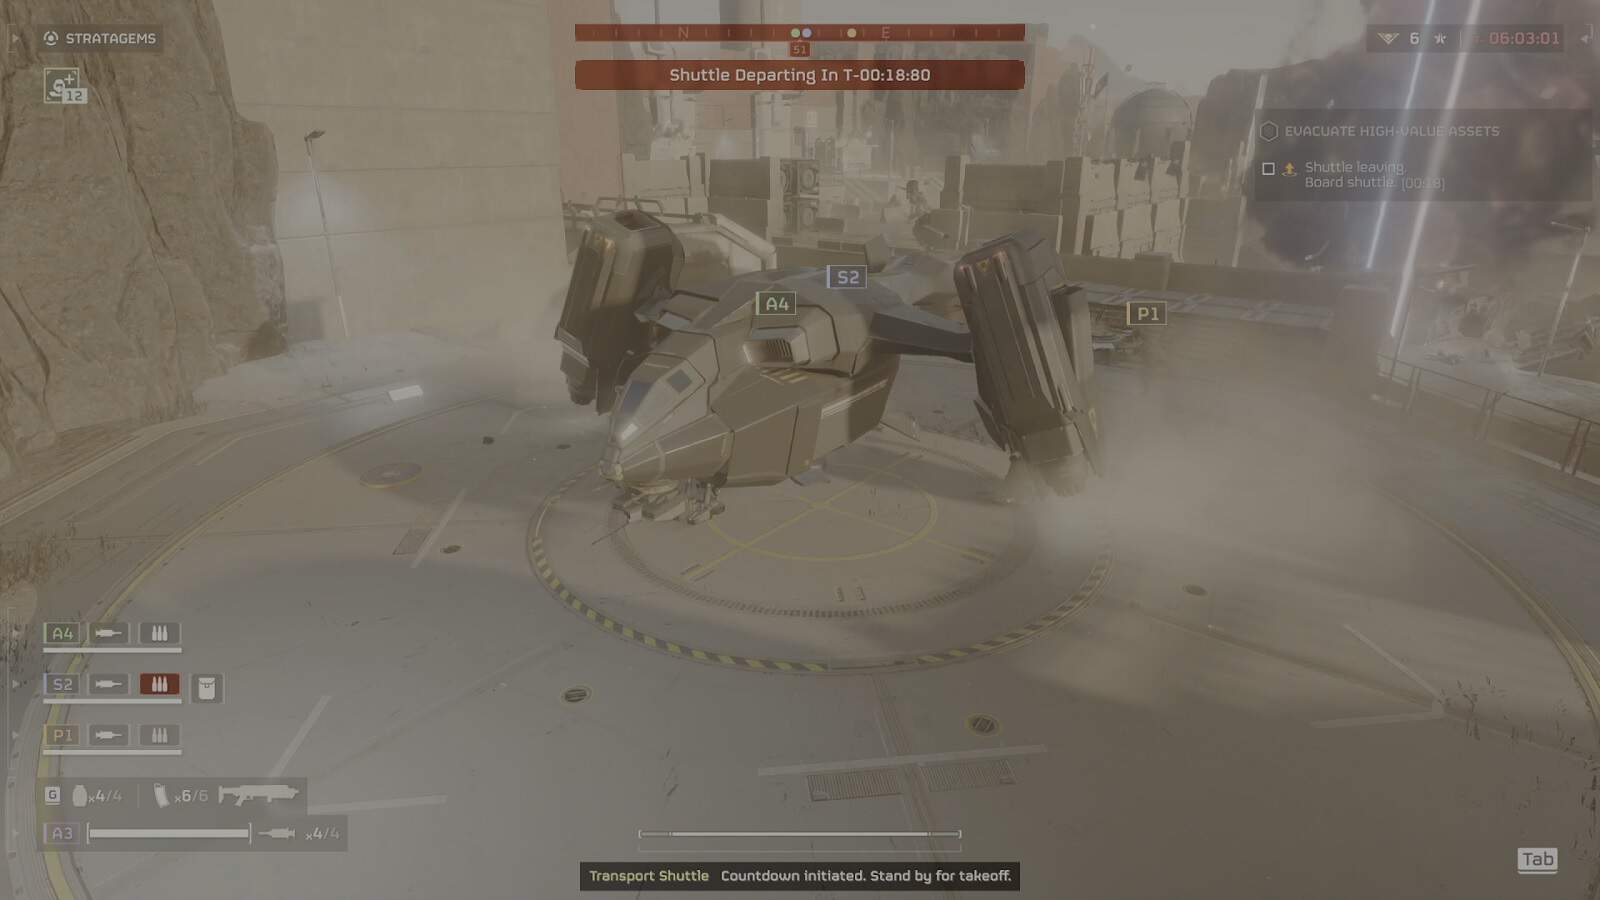
After the eighth and final rocket launches, Pelican-1 will initiate extraction procedures. The transport will be waiting for the team on the landing platform on the right side of the generators. If the Automatons manage to break through and destroy the generators, an emergency evac will initiate. You and your team will have to find a way to stay out of sight long enough for transport to arrive. Failure to extract is an instant failure in the operation.
On a final note, there are no samples to collect during an ‘Evacuate High-Value Assets’ mission. You are mostly there for experience, medals, and advancing Super Earth’s cause.
And that’s everything you need to know about the new defensive mission on the Automaton’s side. Truly, it is such a good mission compared to the Hell that was the Termicide missions. I hope we can get the job done and kick the bots out of the galaxy. The sooner, the better. You don’t know who or what could be waiting at the fringes of the conflict.

