
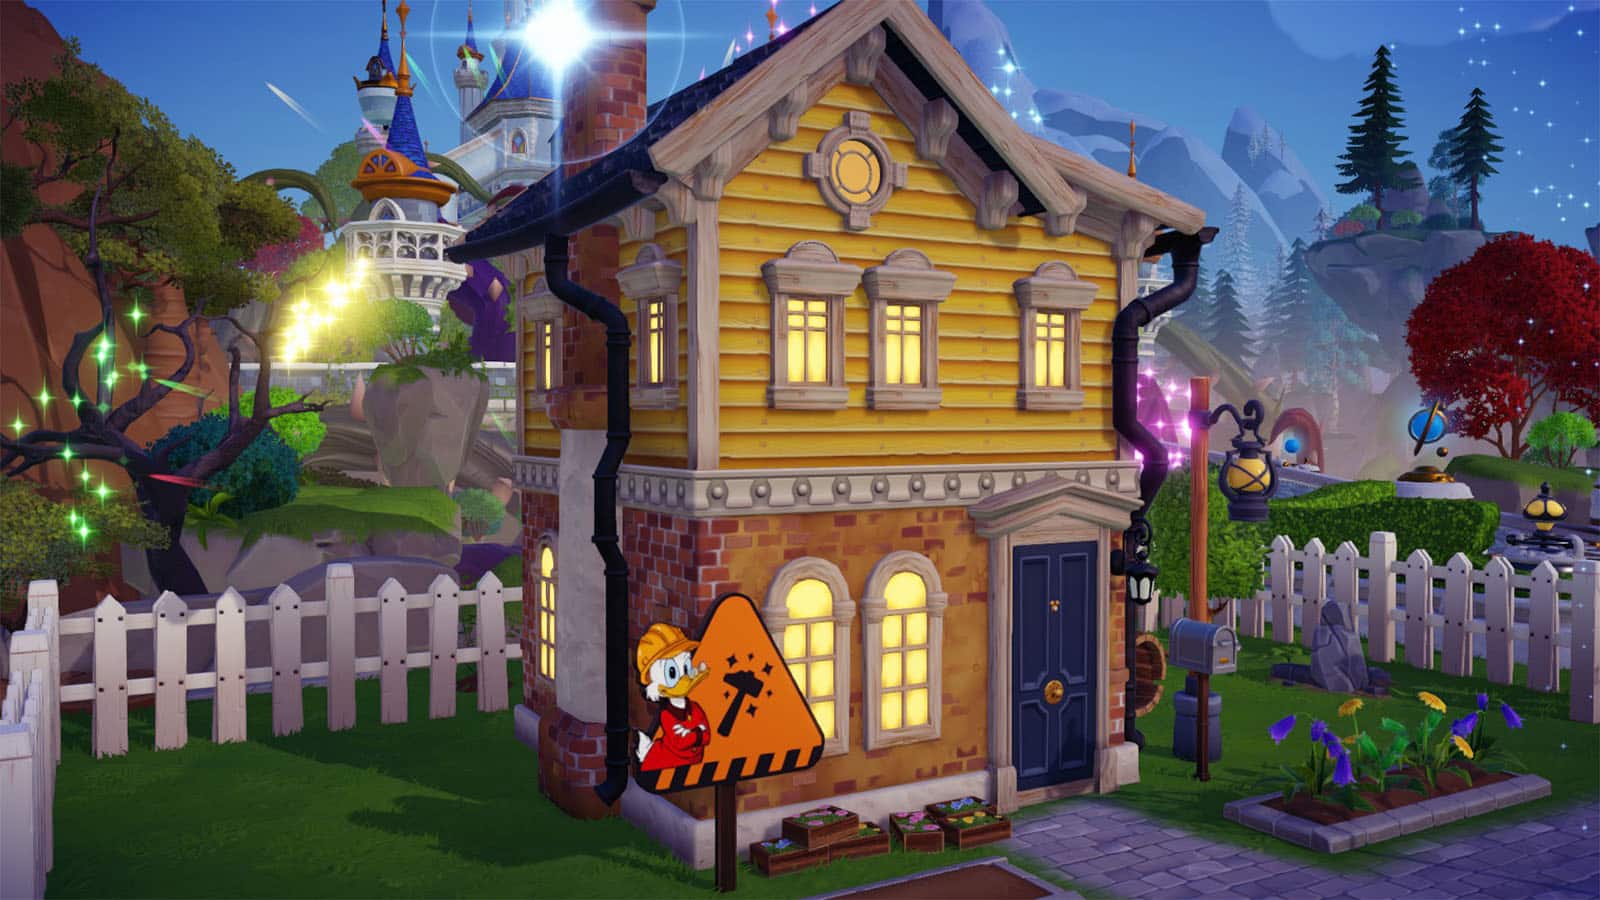
Part of the experience living in Dreamlight Valley is having a house that can be customized in many ways. As players start their new life in the village, the house that will be given to them is a bit rundown and one that definitely needs some renovation work. As players progress through the game and complete quests, they’ll be able to restore their houses to its former glory, and maybe even upgrade it some more.
In this guide, we will be talking about the ways on how to customize and expand the player houses in Disney Dreamlight Valley.
This guide will be a work in progress. It will still be updated with additional information as we progress through the game.
How to expand the house in Disney Dreamlight Valley
As you start living in the Valley, your house will just be a small 6×6 house with old furnishings inside. To expand your house, you will need to progress through the story and you will get a quest from Scrooge McDuck called Dreamlight Valley Economy 101. This quest will first require you to sell 7 gems at Goofy’s store, followed by the task to expand your house.
Upon entering your house, you will see that there will be an elevator pad that will appear right on the doorway. Stepping on this pad will allow you to access the house expansion window where you can expand your current room. After doing two expansions to the main room, you will be able to add more rooms to your house and decide on how big they will be.
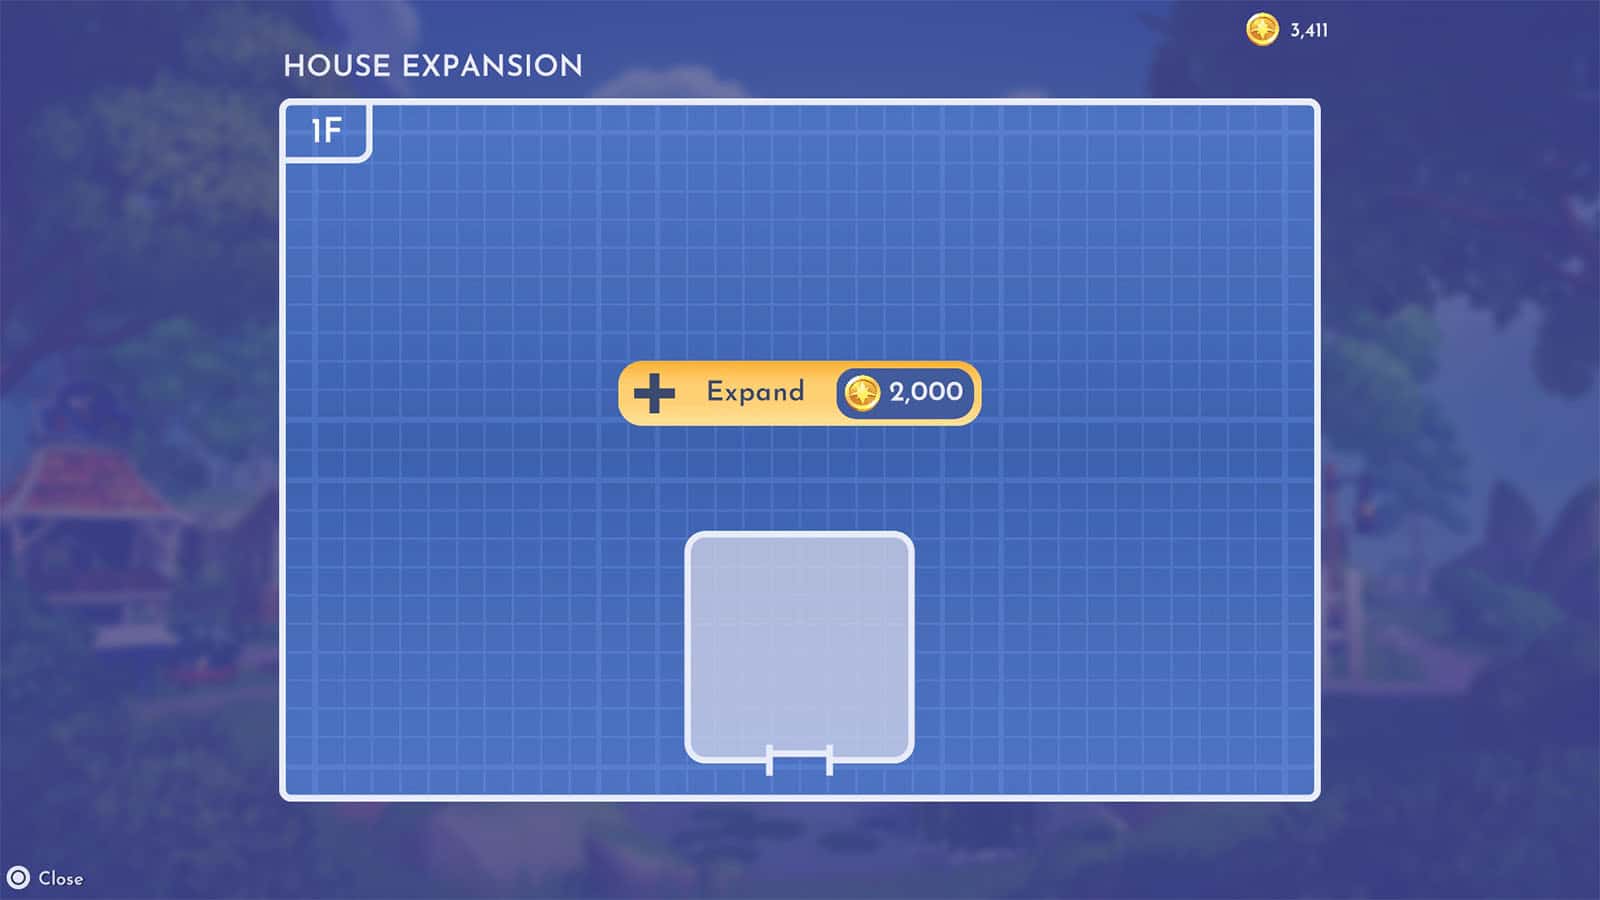
The prices for the main room expansions are the following:
- Upgrade to 8×8: 1,000 coins
- Upgrade to 10×10: 2,000 coins
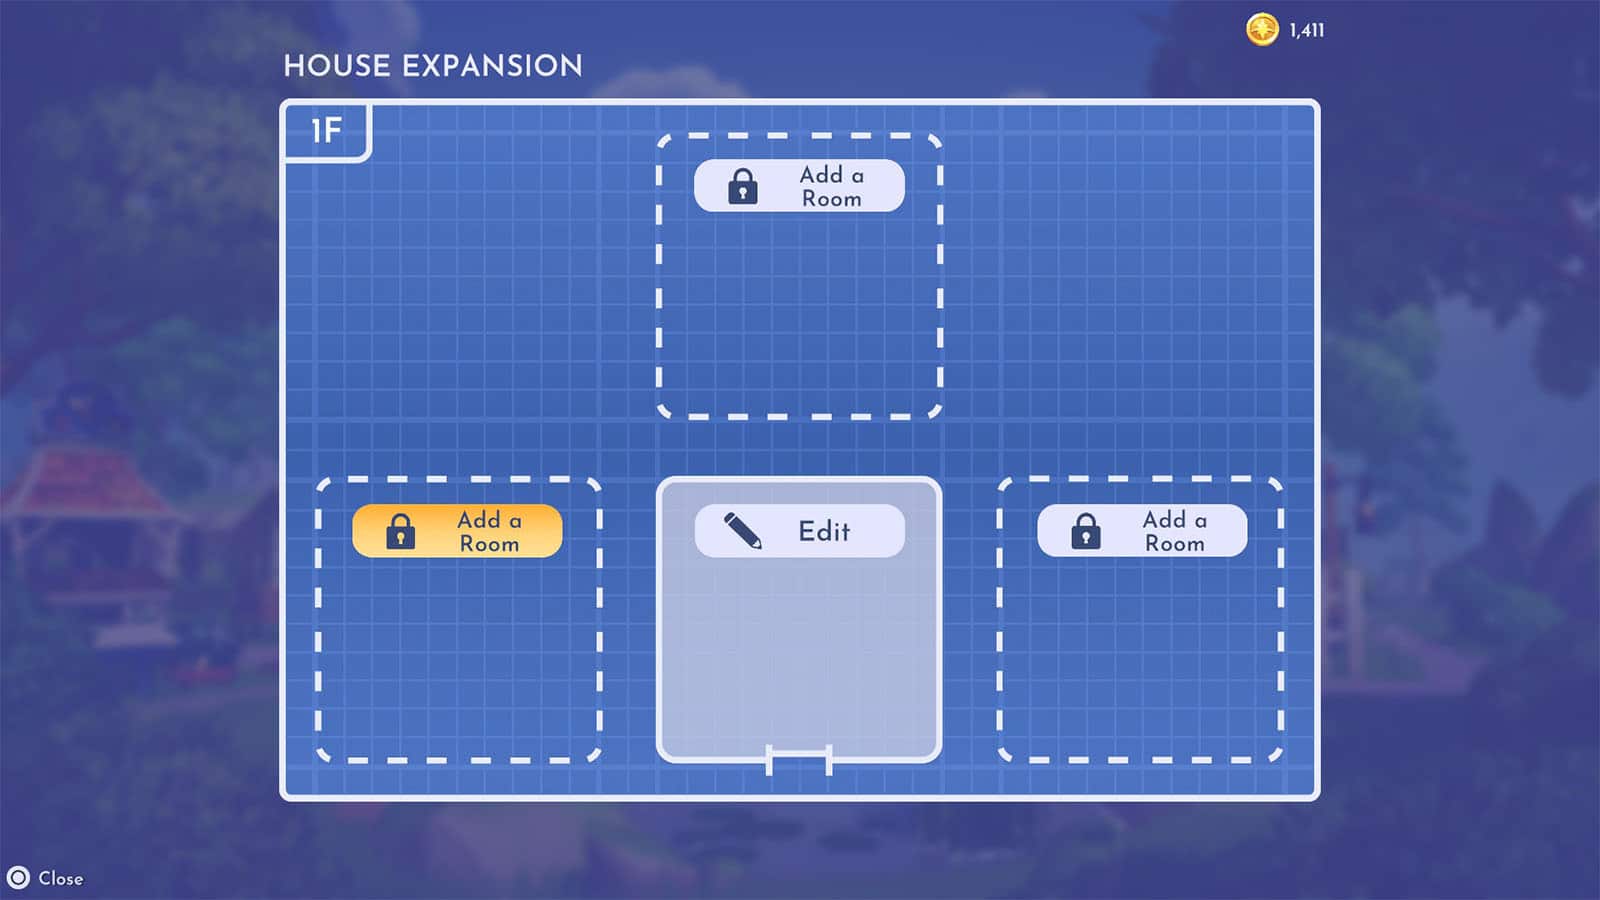

The prices for the additional rooms and their expansions are as follows:
- Room extension 6×6: 1,000 coins
- Room extension 8×8: 2,000 coins
- Room extension 10×10: 3,000 coins
The main room and the room extensions can be given names, and the room extensions’ size can be further edited to a bigger or a smaller one. The price of downsizing a room will still cost the same as if you are purchasing them for the first time.
When placing room extensions, doors that lead to them will be automatically placed on the center of the wall where their rooms are adjacent to. If any room decorations, furnishings, or windows are on the same spot where the door will appear will be sent back to your furniture inventory.
How to renovate the House Exterior
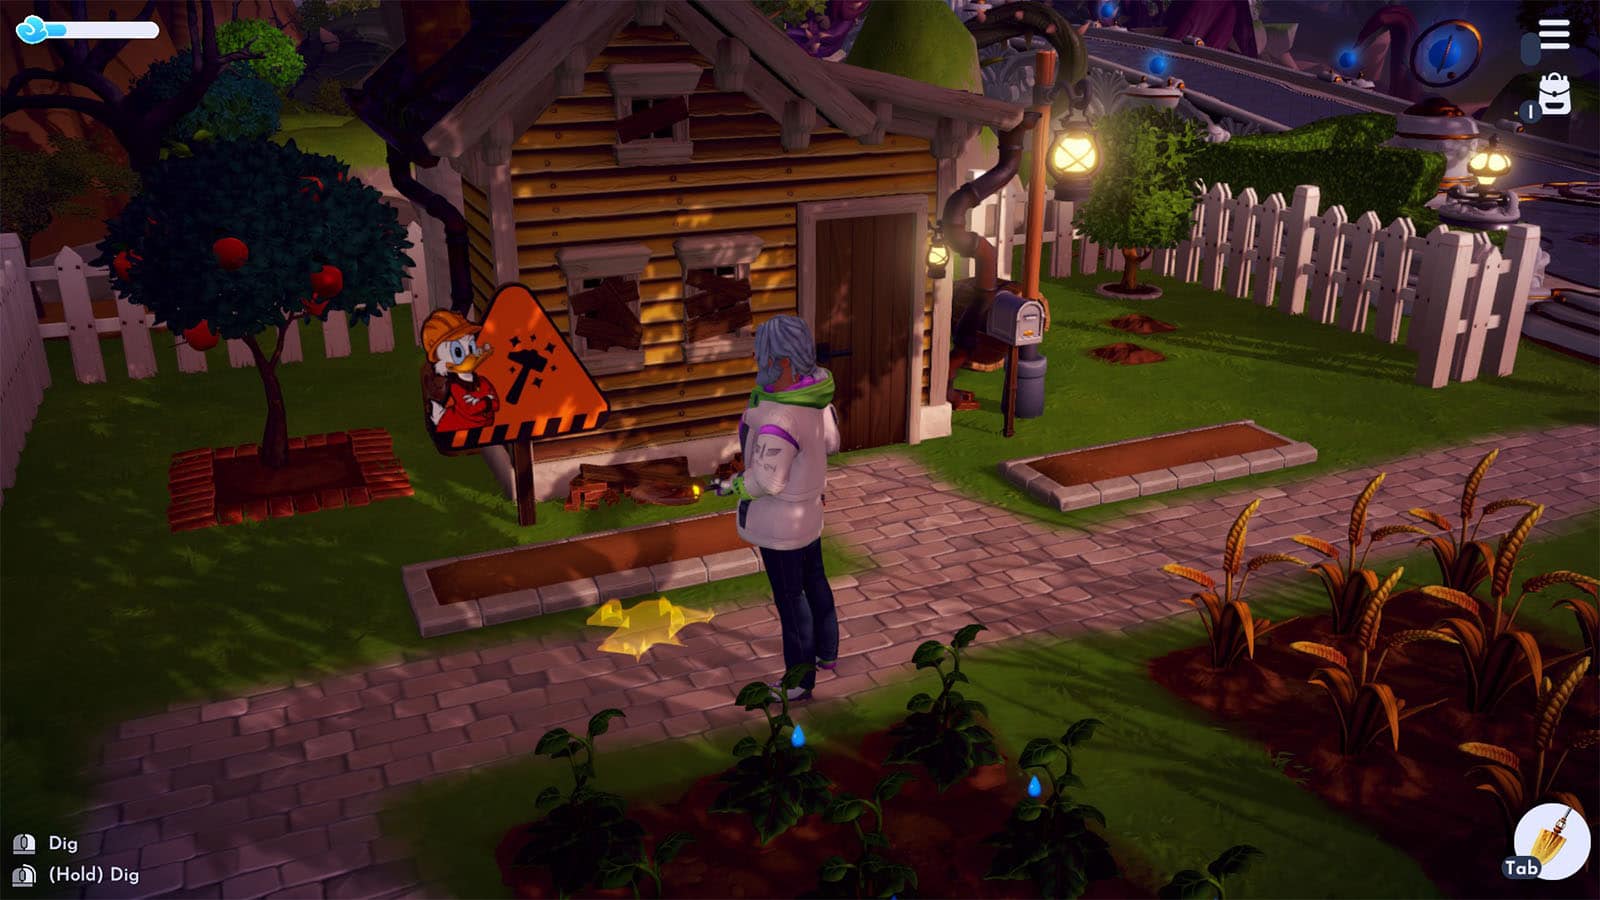
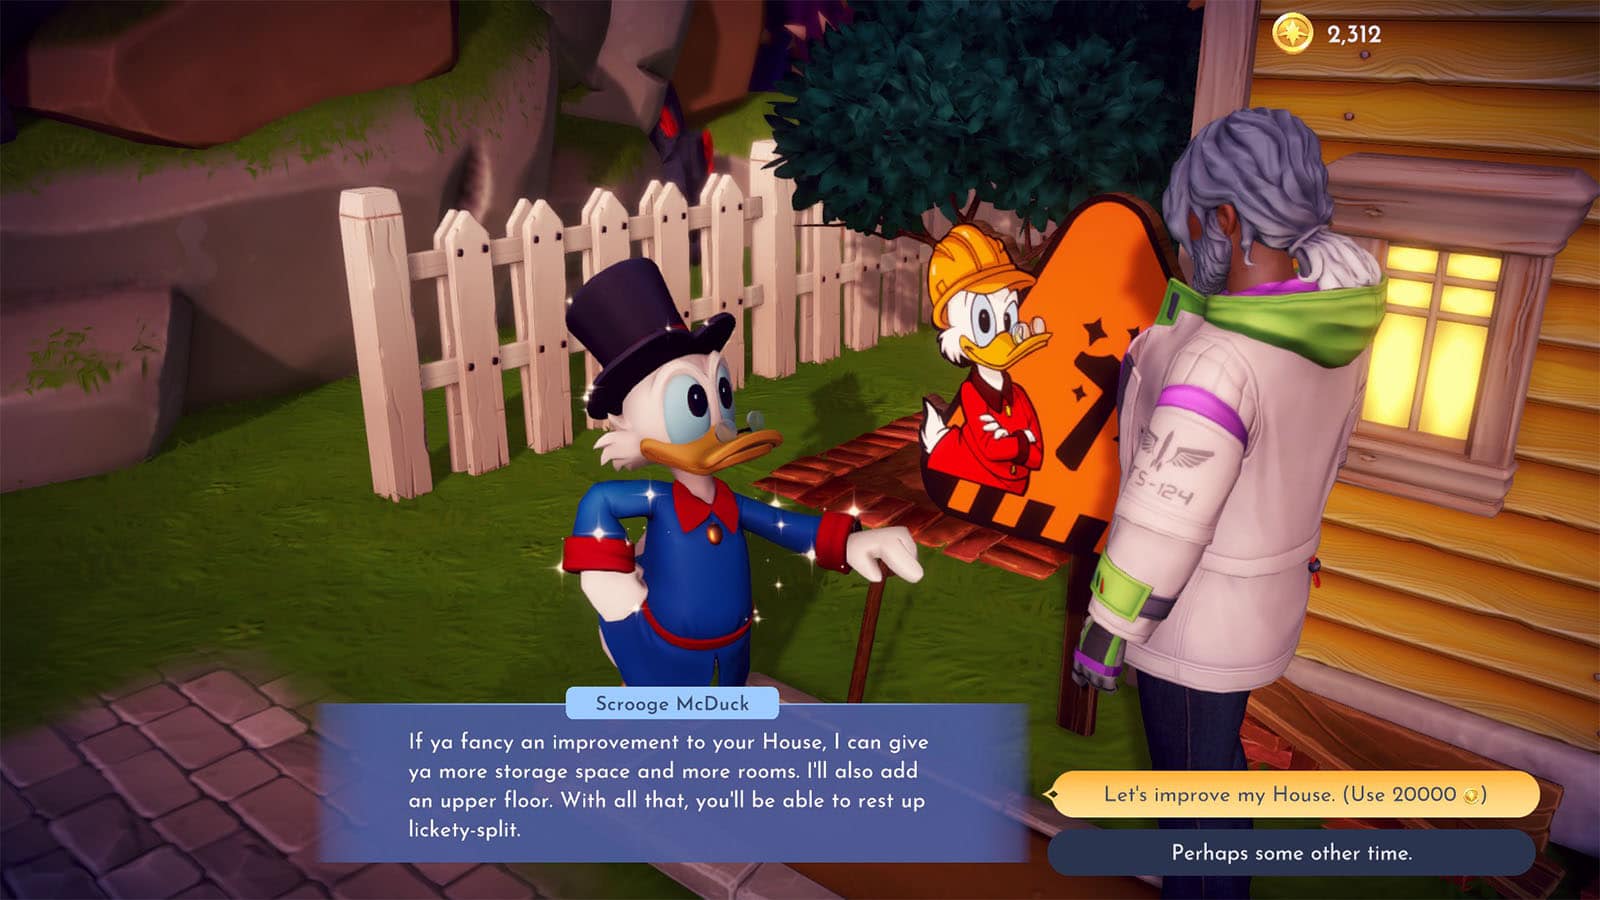
Renovating the exterior of the house is a separate process and purchase, but it is also important to be able to add more rooms to the house, plus an additional floor. To renovate how your house looks like from the outside, interact with the Scrooge sign near the house to call in Scrooge. He will then offer to upgrade the house for a cost, with each renovation costing more than the last.
- First upgrade: 2,000 coins
- Second upgrade: 20,000 coins
- Unlocks the option to add a second floor to the house
- Third upgrade: 75,000 coins
- Unlocks the option to add a third floor to the house
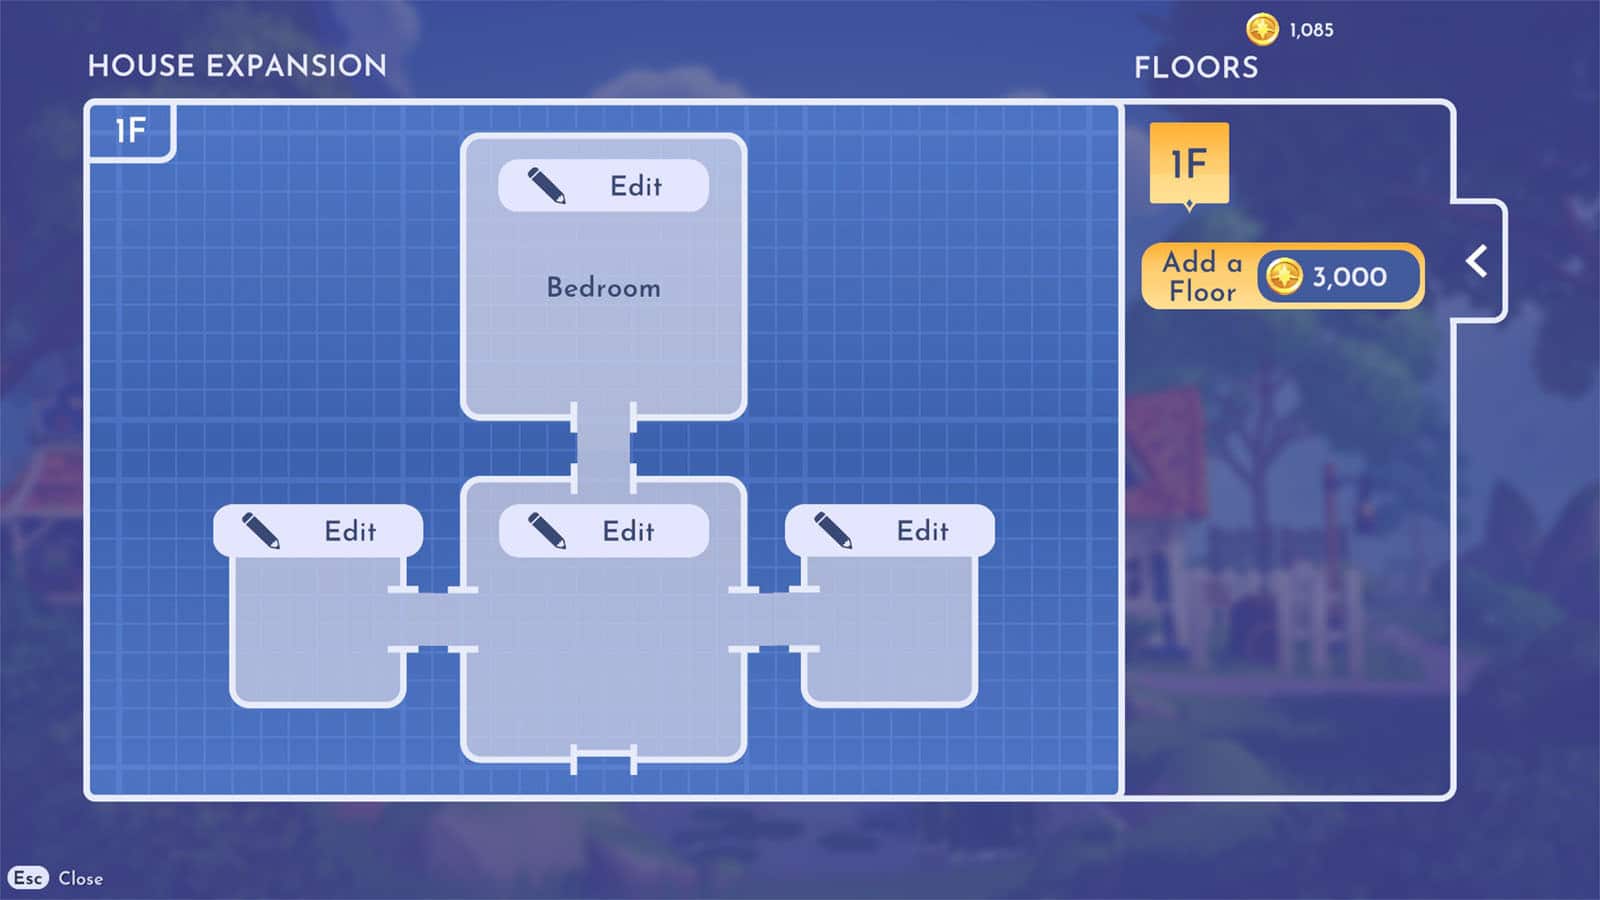
The option to add another floor to the house will only be available once the second house upgrade is done and all three room extensions for the first floor has been purchased, regardless of the room size. Additional room extensions are no longer required to add more floors from the third floor upwards. The cost to add the floors are as follows:
- Second floor: 3,000 coins
- Third floor: 4,500 coins
- Fourth floor: 6,800 coins
- Fifth floor: 10,200 coins
- Sixth floor: 15,300 coins
- Seventh floor: 23,000 coins
- Eighth floor: 34,500 coins
- Ninth floor: 51,800 coins
- Tenth floor: 77,700 coins
Additional floors starting from the second floor will not change the exterior appearance of the house past the third house upgrade.
If you like this guide, be sure to check out our other Disney Dreamlight Valley articles:
- How to Find Seaweed in Disney Dreamlight Valley
- How to Solve the Dazzle Beach Mystical Cave Puzzles in Disney Dreamlight Valley
- How to Unlock WALL-E in Disney Dreamlight Valley
- What’s in the Founder’s Editions of Disney Dreamlight Valley
- How to Fish in Disney Dreamlight Valley
- How to Enable Streamer Friendly Mode in Disney Dreamlight Valley
- Disney Dreamlight Valley announced for both PC and consoles
- Character Customization in Disney Dreamlight Valley
- How to Replenish Energy in Disney Dreamlight Valley
Disney Dreamlight Valley is available for PC, PS4/PS5, Xbox One/X|S, and Nintendo Switch.


