
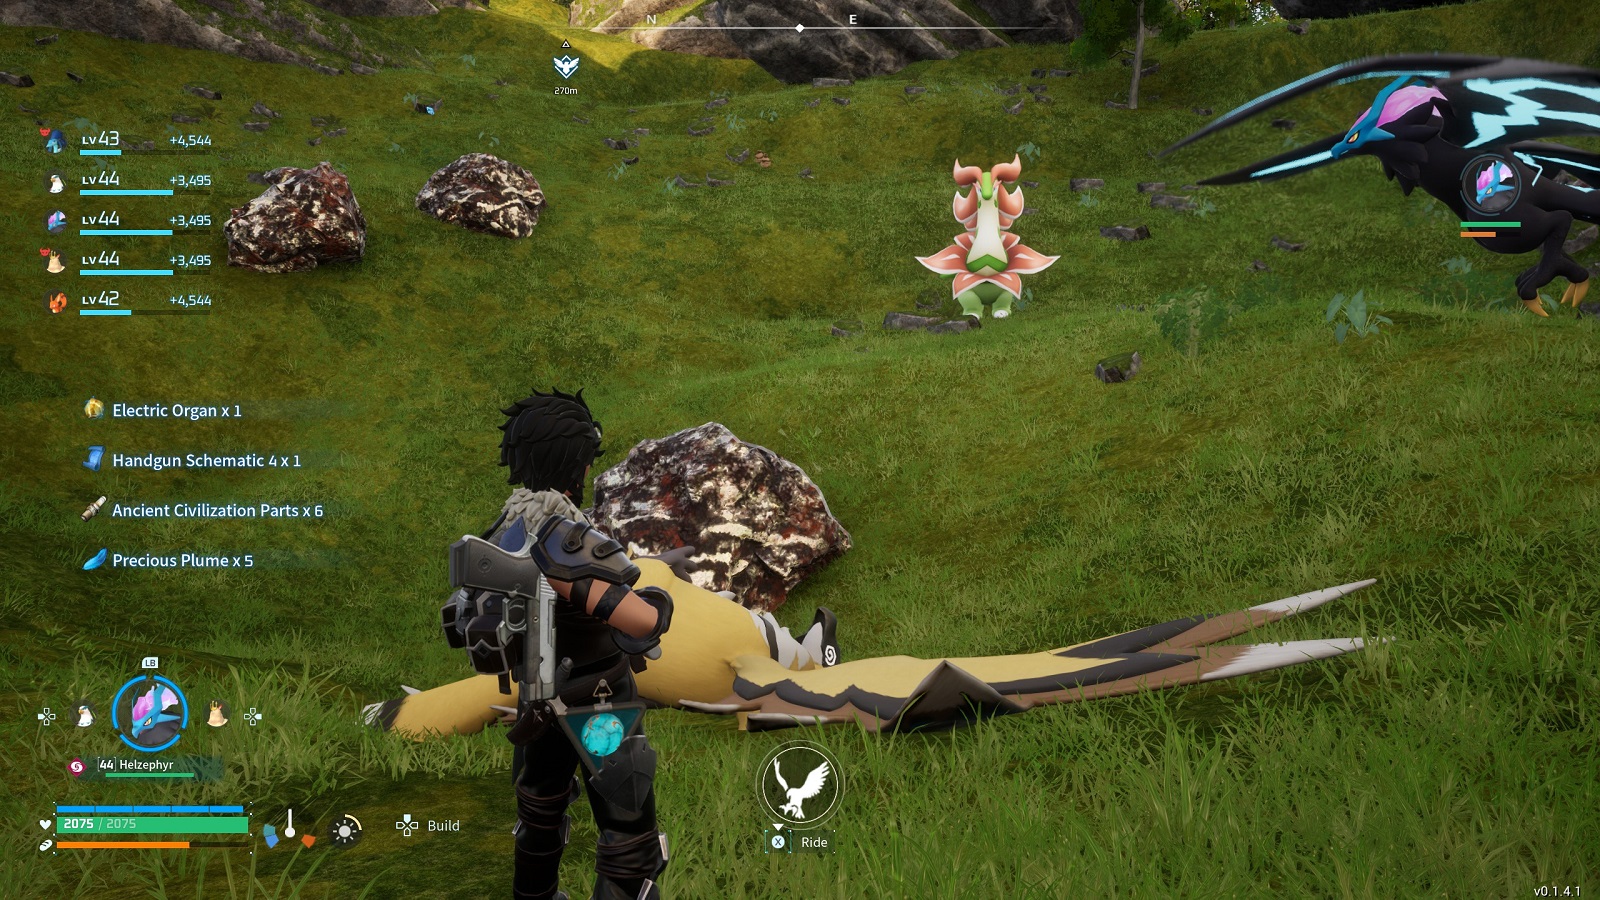
Between going after the tower bosses and breeding your perfect Pal and defending your bases from regular attacks, there are enough things to do in Palworld to keep you busy for hundreds of hours, if you so choose it. Among all the projects you are attempting to do, you wouldn’t expect farming schematics to be one of them. And not just uncommon or rare schematics, but legendary ones.
In this guide, I’ll tell you how you can get legendary schematics in Palworld and where to find them. To be upfront, the process of getting even one is very low. If you manage to get one on the first try, consider yourself extremely lucky.
How to get Legendary Schematics in Palworld
As of v0.1.4.1, the only way to get legendary schematics of certain gear in Palworld is to kill/capture the corresponding Alpha/Boss Pals that are marked in different places on the map. However, this is not a guaranteed occurrence after a short while. It is completely luck-based, with the odds closer to a 1% chance of acquisition.
In other words, your chances of getting the schematics lie anywhere between 1 to 100 attempts. Some players are known to have gotten the early game legendaries on their first try. While others claim the schematics still elude them to this day.
Why Legendary Gear in Palworld is better
There are more than a few reasons why you would want to get legendary gear. Chief among them is the noticeable bump in stats from their base versions. I’m talking about a roughly 33.3% increase in damage for legendary weapons and more than double the armor and health values for legendary Pal Metal Armor. Additionally, legendary firearms have extended clips and take less time to reload after pressing the reload button. Also, all legendary gear is very durable and thus requires less maintenance.
With that being said, actually making the gear takes a boatload of resources and takes a long time to craft by hand on an assembly line, even with the help of Pals. On the bright side, it doesn’t appear as though the repair cost is any more expensive than the base versions.
Legendary Schematics List
There are 9 Legendary Schematic in the game between both weapons and armor sets. The schematics collected from Kingpaca, Bushi, and Beakon are obtainable in the early game. But do not be fooled, even the Legendary Old Bow from Kingpaca can serve you well up until level 46-50.
Suzaku and Blazemut can become farmable as soon as you reach 42 and above depending on how good you are with the game’s combat. It does get easier over time as you get used to their moves and are familiar with the arenas.
Jetragon, Paladius, Necromus, and Frostalion are monsters in their own right. Be prepared to give it your all once you have reached Level 50 and are armed with the best gear possible. It’s not worth dying over if you are 5 levels below or more.
Note: Also included are the Pals' locations relative to the world map. The coordinates can be seen on the lower left side of the map screen whenever it is opened.
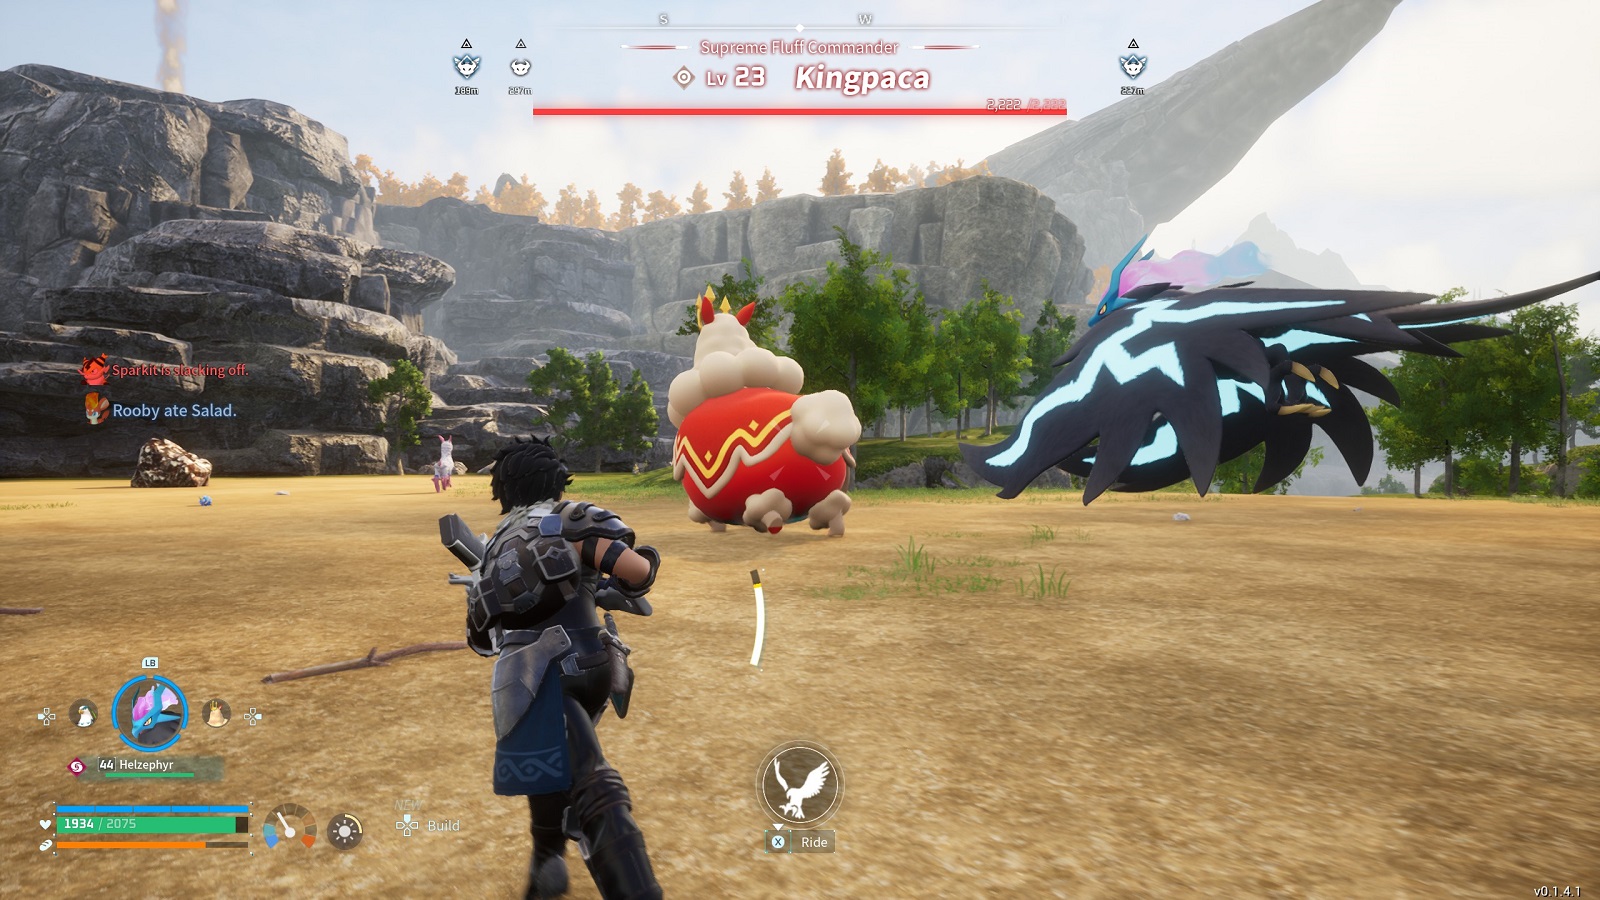
Level 23 Kingpaca (Legendary Old Bow)
Coordinates: [50, -461] on the map.
Kingpaca can be found roaming the open fields North of the Small Settlement. The fight itself shouldn’t be all that difficult. Just stay mobile and avoid the high belly flop attack.
Legendary Old Bow cost:
- 202 Wood
- 33 Stone
- 100 Fiber
- 10 Ancient Civilization Parts
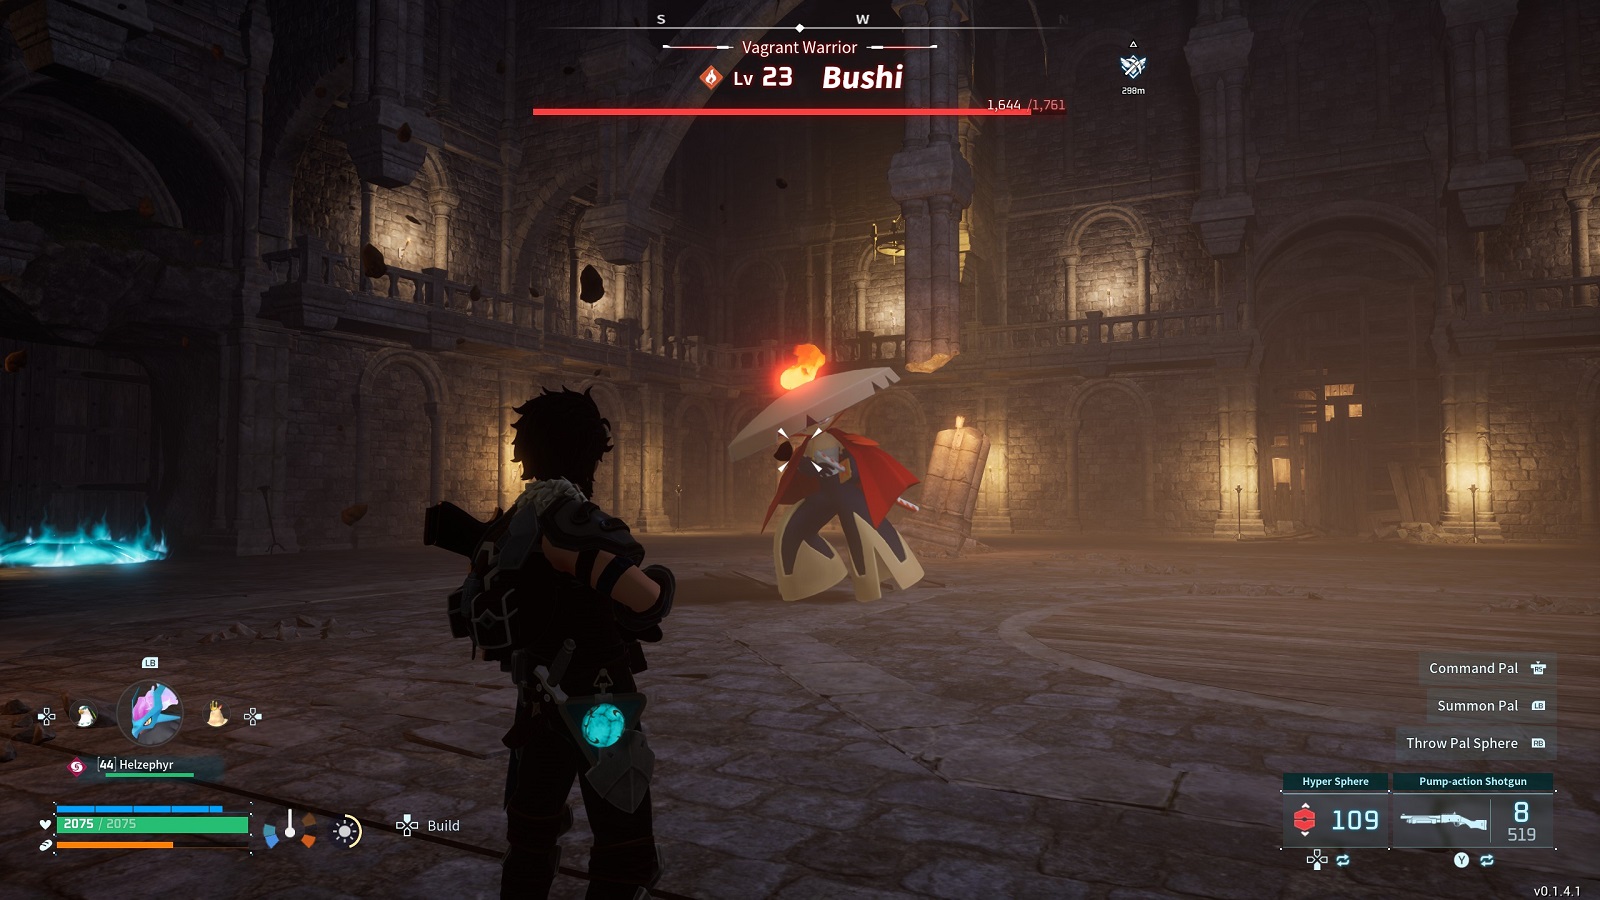
Level 23 Bushi (Legendary Crossbow)
Coordinates: [-116, -491] on the map.
Quickly accessible from the Sealed Realm of the Swordmaster Fast Travel Point, Bushi is deceptively quick and will kill you easily if fought at the same level. Watch out for the flames and it’s Iai Slash and you should be able to take it down.
Hint: High damage weapons that cause stagger like shotguns have the potential to stun lock Bushi, preventing it from using fire attacks and setting up its stance.
Legendary Crossbow cost:
- 337 Wood
- 270 Stone
- 67 Ingot
- 33 Nail
- 12 Ancient Civilization Parts
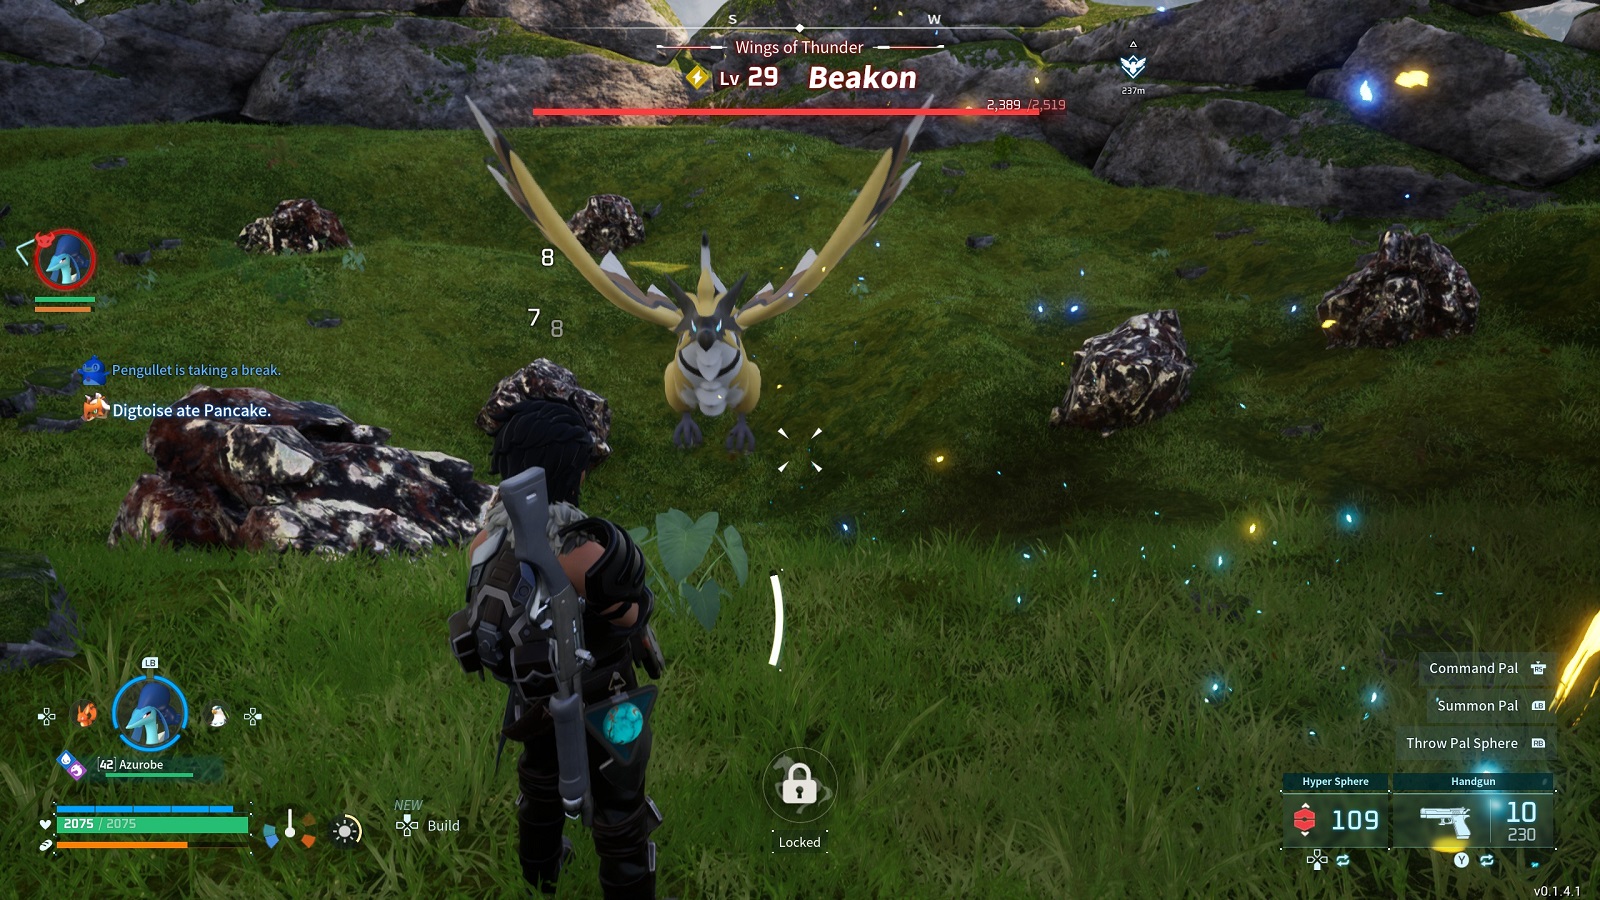
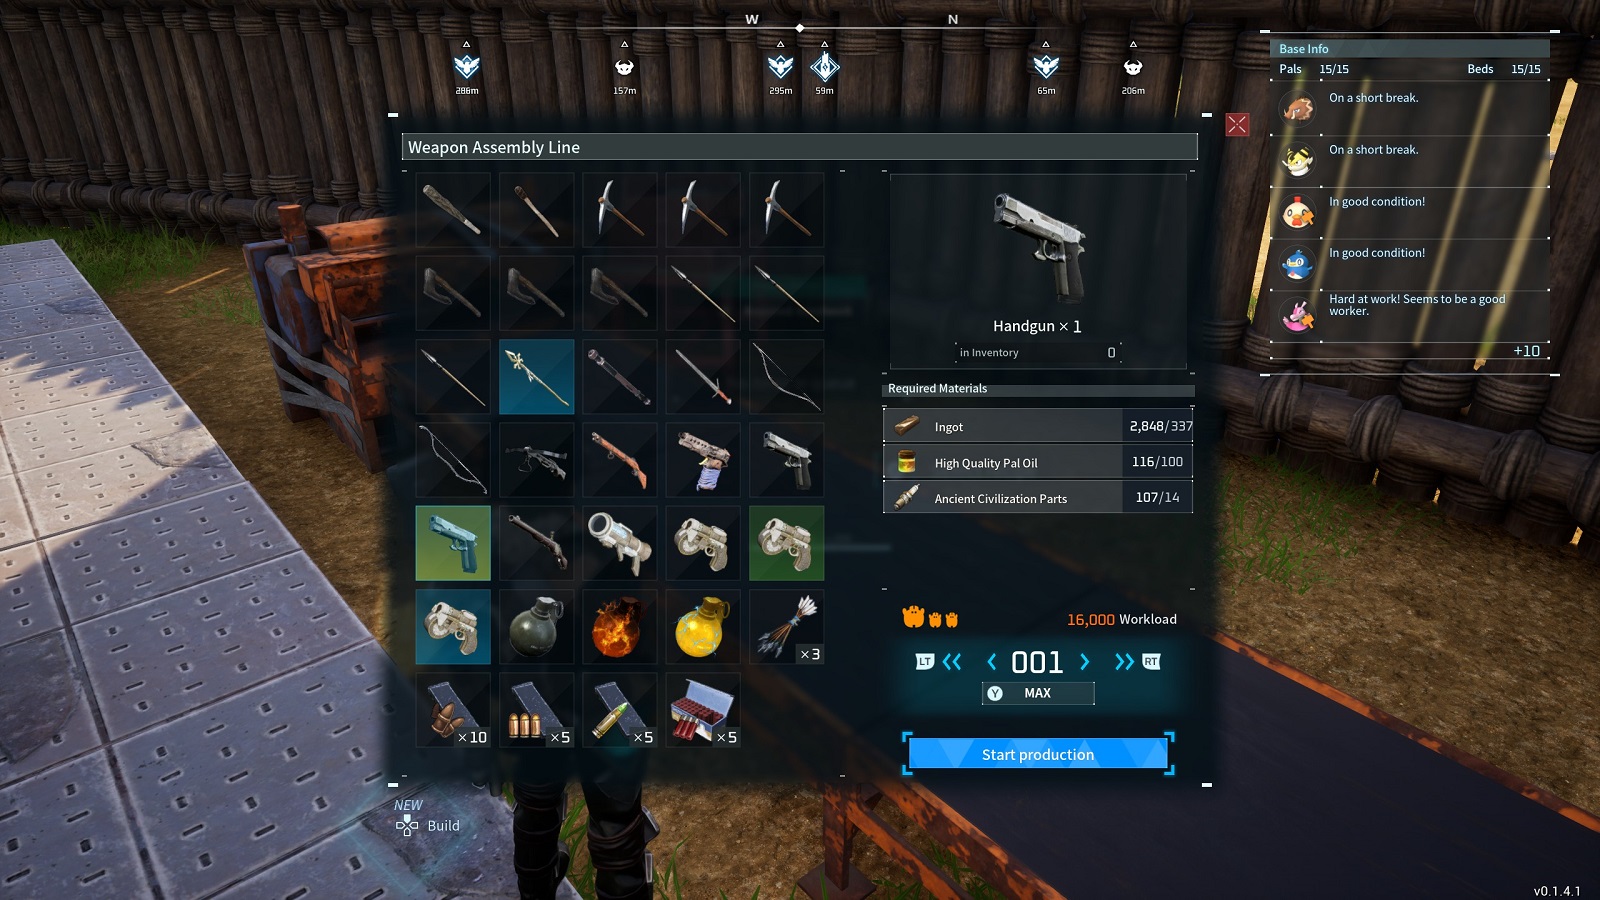
Level 29 Beakon (Legendary Handgun)
Coordinates: [-345, -253] on the map.
Beakon is found in a shallow dome-like cave on the East side of the Deep Bamboo Thicket fast travel point. The only thing you need to watch out for is its ability to stun not only you but the Pal fighting it. It might be good to start using counters such as ground types to effectively farm it.
Legendary handgun cost:
- 337 Ingot
- 100 High-Quality Pal Oil
- 14 Ancient Civilization Parts
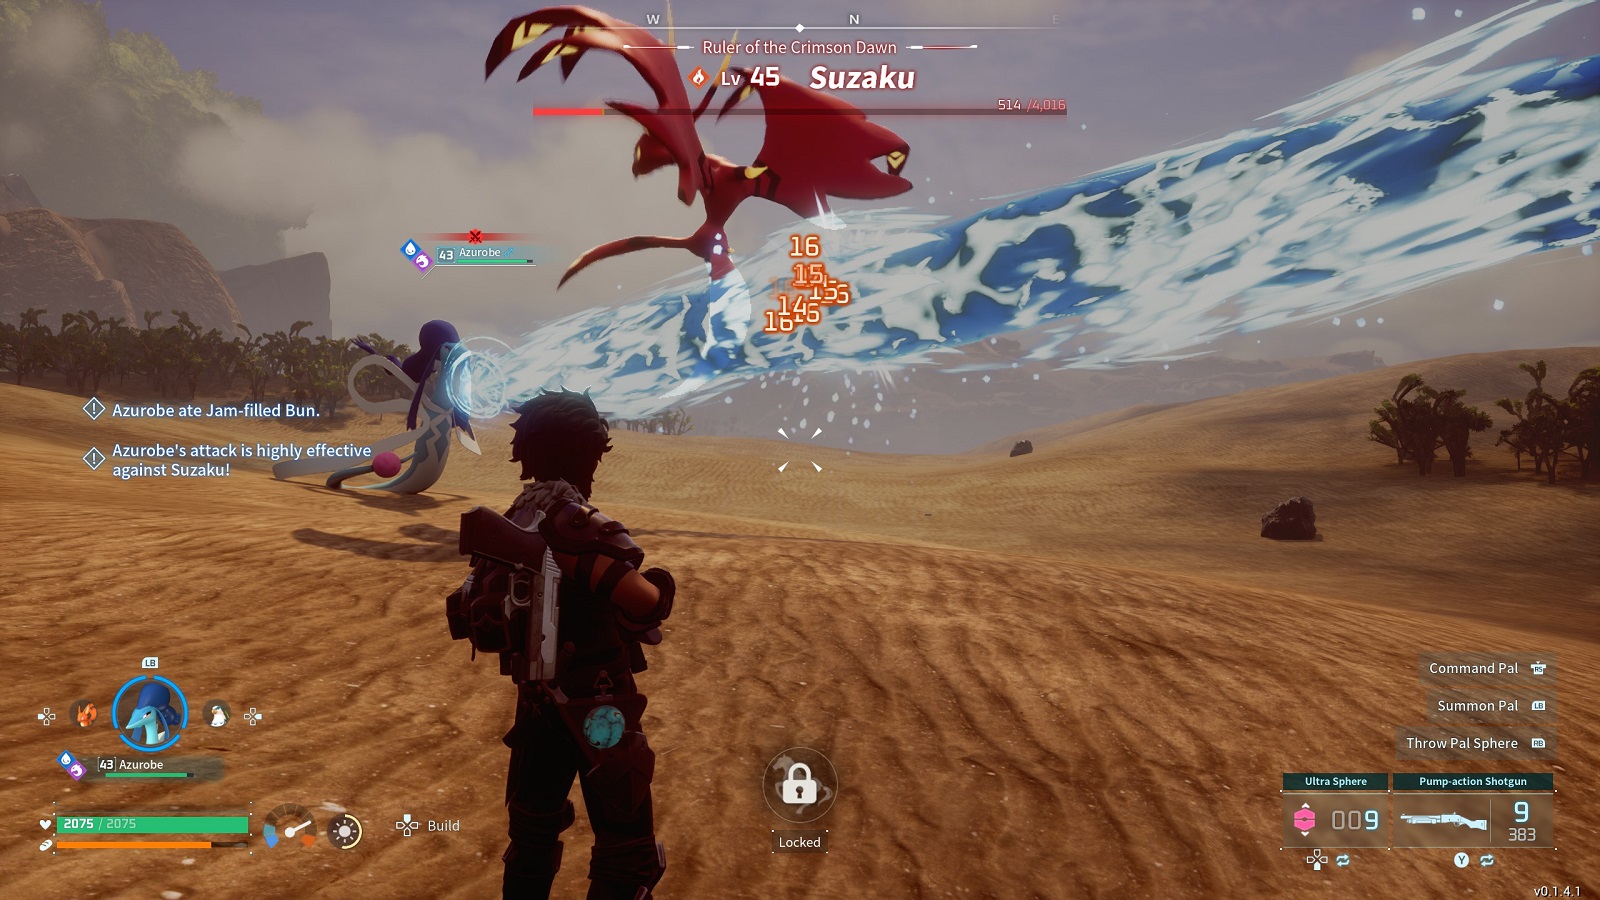
Level 45 Suzaku (Legendary Pump-Action Shotgun)
Coordinates: [404, 256] on the map.
We are now entering kind of hard territory. Suzaku is found roaming a stretch of desert South of Duneshelter. You need to stay mobile for this fight. Even with very good armor on, you will not last long tanking its burning attacks. Keep your distance and possibly let your water-type or ice-type Pal do the heavy lifting.
Legendary Pump-Action Shotgun cost:
- 202 Refined Ingot
- 135 Polymer
- 270 Carbon Fiber
- 30 Ancient Civilization Parts
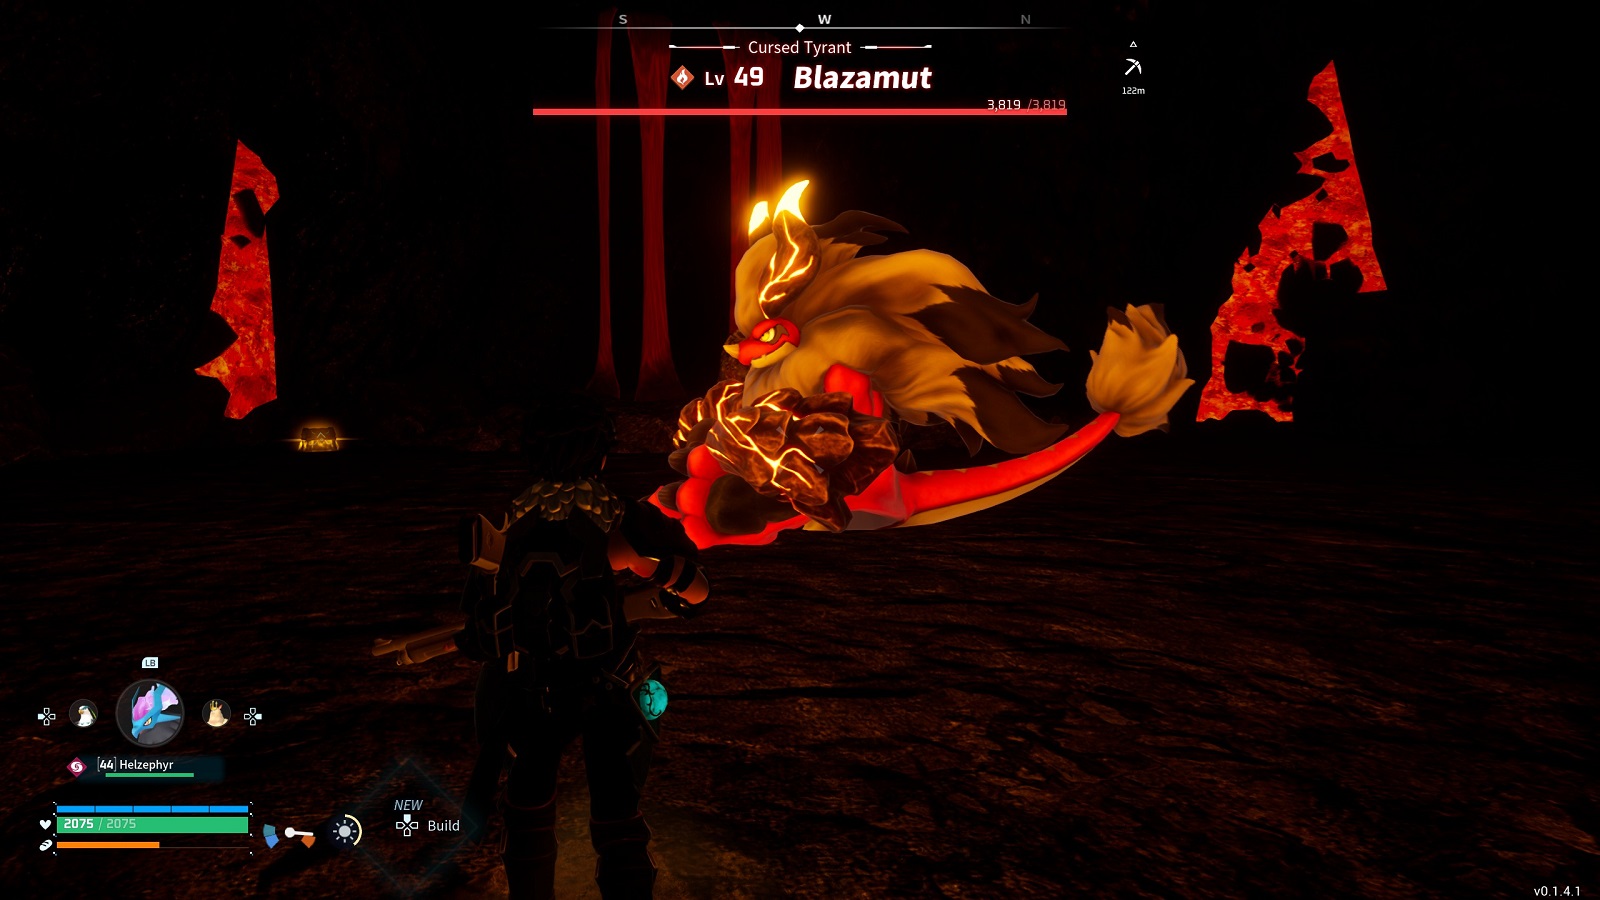
Level 49 Blazemut (Legendary Assault Rifle)
Coordinates: [-442, -561] on the map.
Blazemut’s lair is located in the Southeast corner of Mount Obsidian. The closest fast travel point to the location is the one at the Ancient Civilization Ruins. Following the map will only get you so far with this one. The lair is at the end of an abandoned mine. The entrance of which you find using the image below.
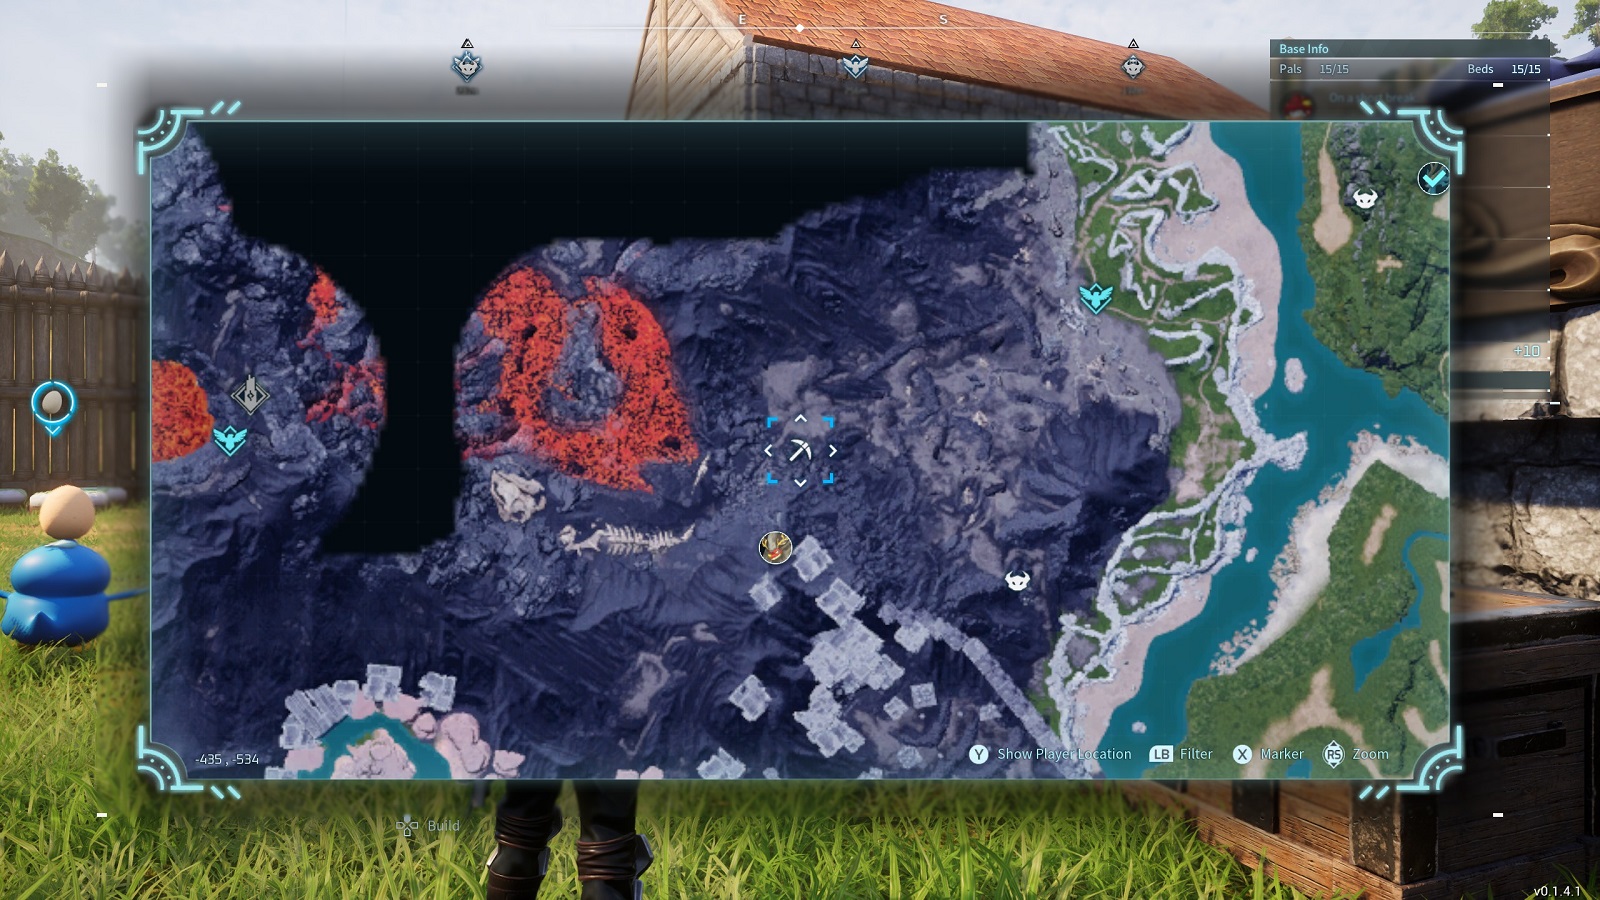
The mine entrance is located at coordinates [-435, -534]. It is on the side of the mountain at an elevated position. Look for things like abandoned mining equipment and scaffolding. That should be a clear indicator that you are close to the mine’s entrance.
The fight with Blazemut is a long and drawn-out one. Blazemut has a lot of health and can take quite a beating while dishing out equal amounts of punishment. It might be a good idea to have more than one ice/water-type Pal on your team during this fight. It is worth knowing that the arena is relatively small. One misstep and you are immediately in trouble.
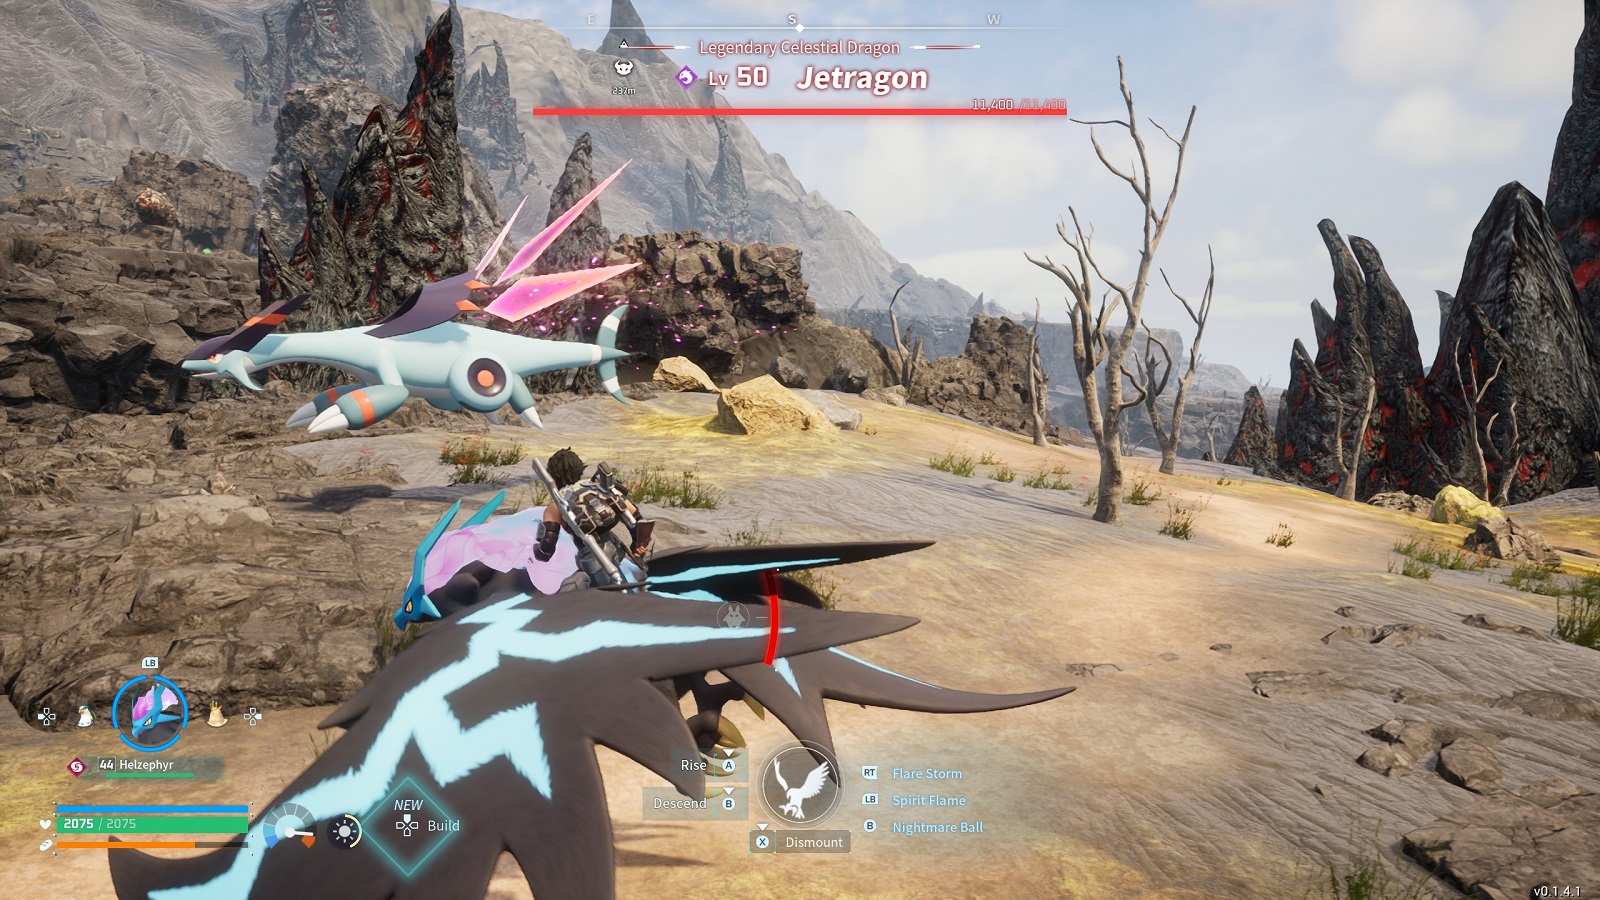
Level 50 Jetragon (Legendary Missle Launcher)
Coordinates: [-789 -321] on the map.
The iconic Jetragon can be seen roaming the vast areas around the Northwest corner of Mount Obsidian. The only piece of advice that is remotely useful is to know the battlefield like the back of your hand. You will be going in and out of cover for the most part, avoiding potential one-hit attacks and letting your Pals do most of the work. It seems as if Ice Pals do the most damage to it, especially ones that inflict deep freeze.
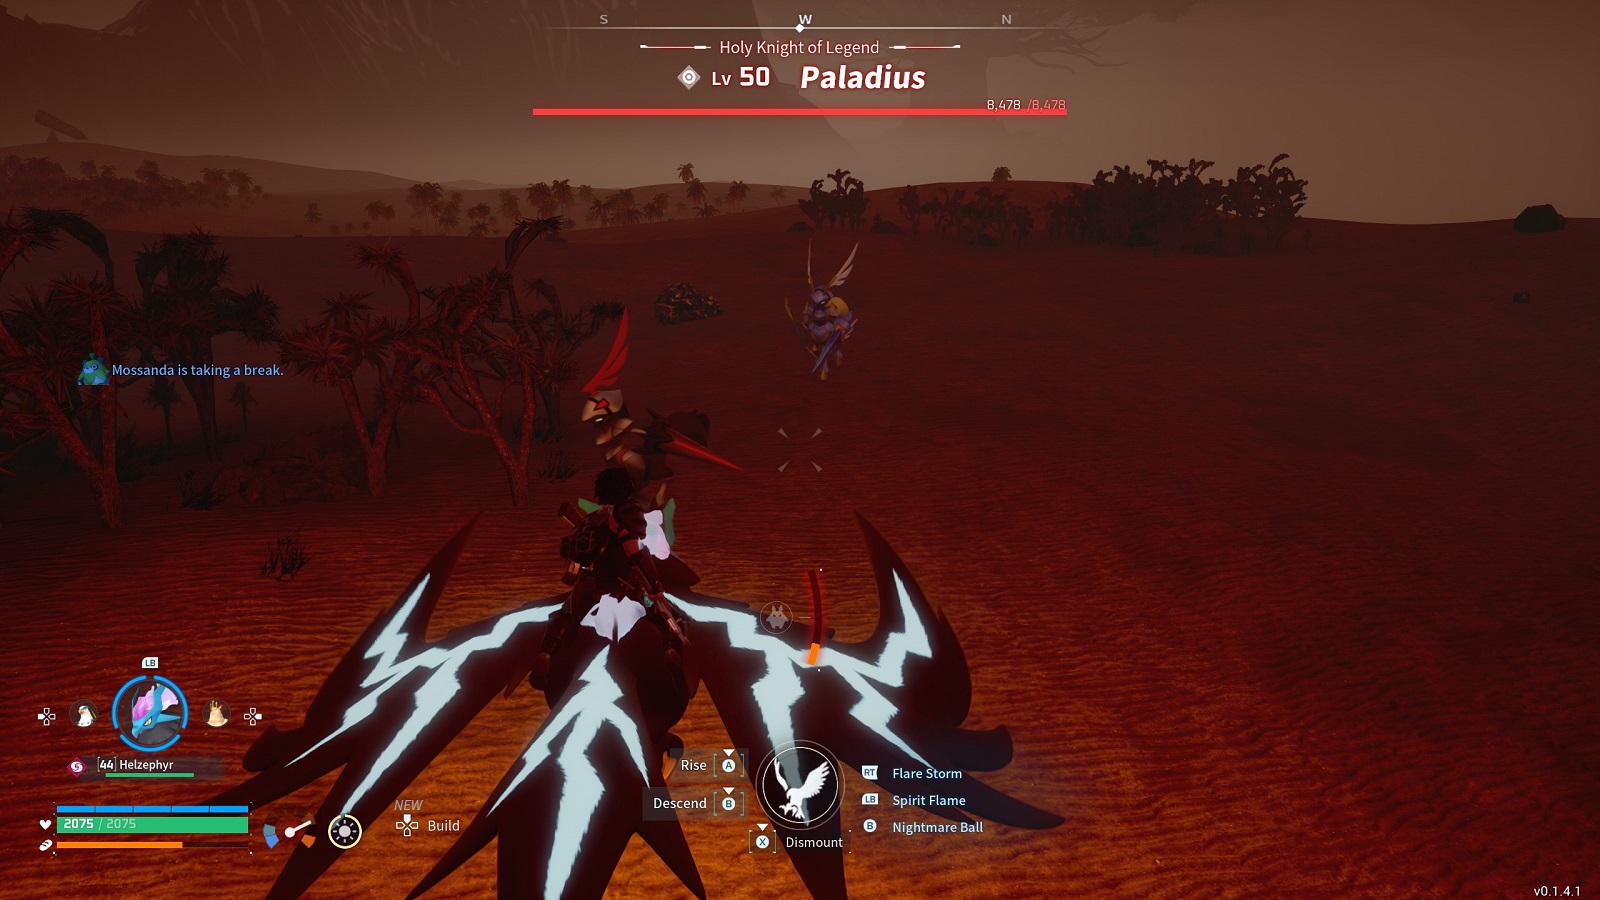
Level 50 Paladius (Legendary Cold Resistant Pal Metal Armor)
Coordinates: [447, 679] on the map.
Paladius and Necromus roam the Northern tip of the Sand Dunes island together as a deadly duo. The closest fast travel point is located on the East side of the island over at the Deep Sand Dunes.
Your best bet is to split them up, allowing your Pal to tank the attack of one of the Alphas while you deal with the other. Paladius is the best Normal type in the game and has no elemental weakness. Raw attack power is what you’ll want to rely on.
Level 50 Necromus (Legendary Heat Resistant Pal Metal Armor)
Coordinates: [447, 679] on the map.
Paladius and Necromus roam the Northern tip of the Sand Dunes island together as a deadly duo. The closest fast travel point is located on the East side of the island over at the Deep Sand Dunes.
Your best bet is to split them up, allowing your Pal to tank the attack of one of the Alphas while you deal with the other. Necromus is a very powerful Dark type Pal. As such, it is weak to attacks that have the Dragon attribute to it. It’s not much to go by but having something like a Jetragon will make the fight a lot easier.
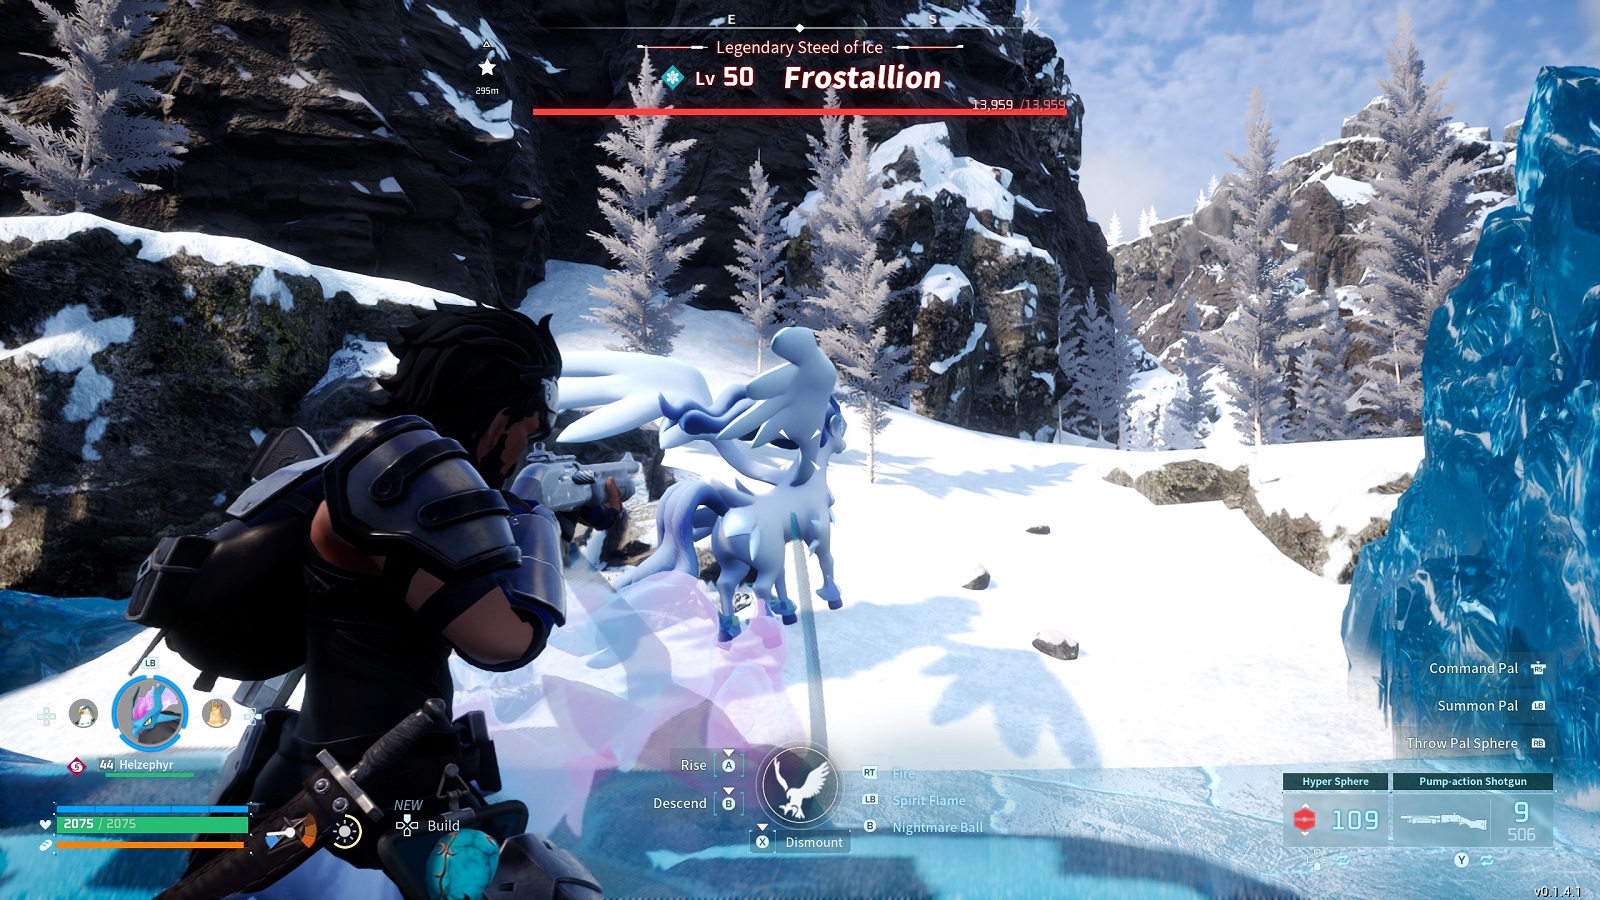
Level 50 Frostalion (Legendary Pal Metal Helm)
Coordinates: [-357, 509] on the map.
Frostalion is found in the area around a frozen lake on the island controlled by the Pal Genetic Research Unit. The closest fast travel point is at a place called the Land of Absolute Zero. Do make sure to pack extra Heat-Resistant undershirts.
Frostalion acts like an icy Pegasus. Its strong Ice attacks can render you immobile, and in most cases, vulnerable to follow-up attacks. Bring your best Fire type Pals for this fight. Preferably, Pals with very high defense to tank most of Frostalion’s attacks. For your part, use the terrain to your advantage. You are certainly dead meat out in the open.
How to Farm Legendary Schematics in Palworld
The most important thing you need to know about farming Alpha Pals is knowing when they will spawn back. Alpha Pals in the open world respawn after one in-game day has passed. You can keep yourself busy until evening and then wake up the next day for another shot at the Alpha.
Alpha Pals inside dungeons are a little more complicated. Once you defeat the Pal within, they will not respawn until a real-world hour has passed, equivalent to 3-4 in-game days.
To streamline the process of farming, you need to mark each Alpha you can confidently take and rotate between them throughout the day. It’s really that simple. Getting to the point where you confidently farm Jetdragon will take a considerable amount of time. But the other Alphas should be farmable at that point.
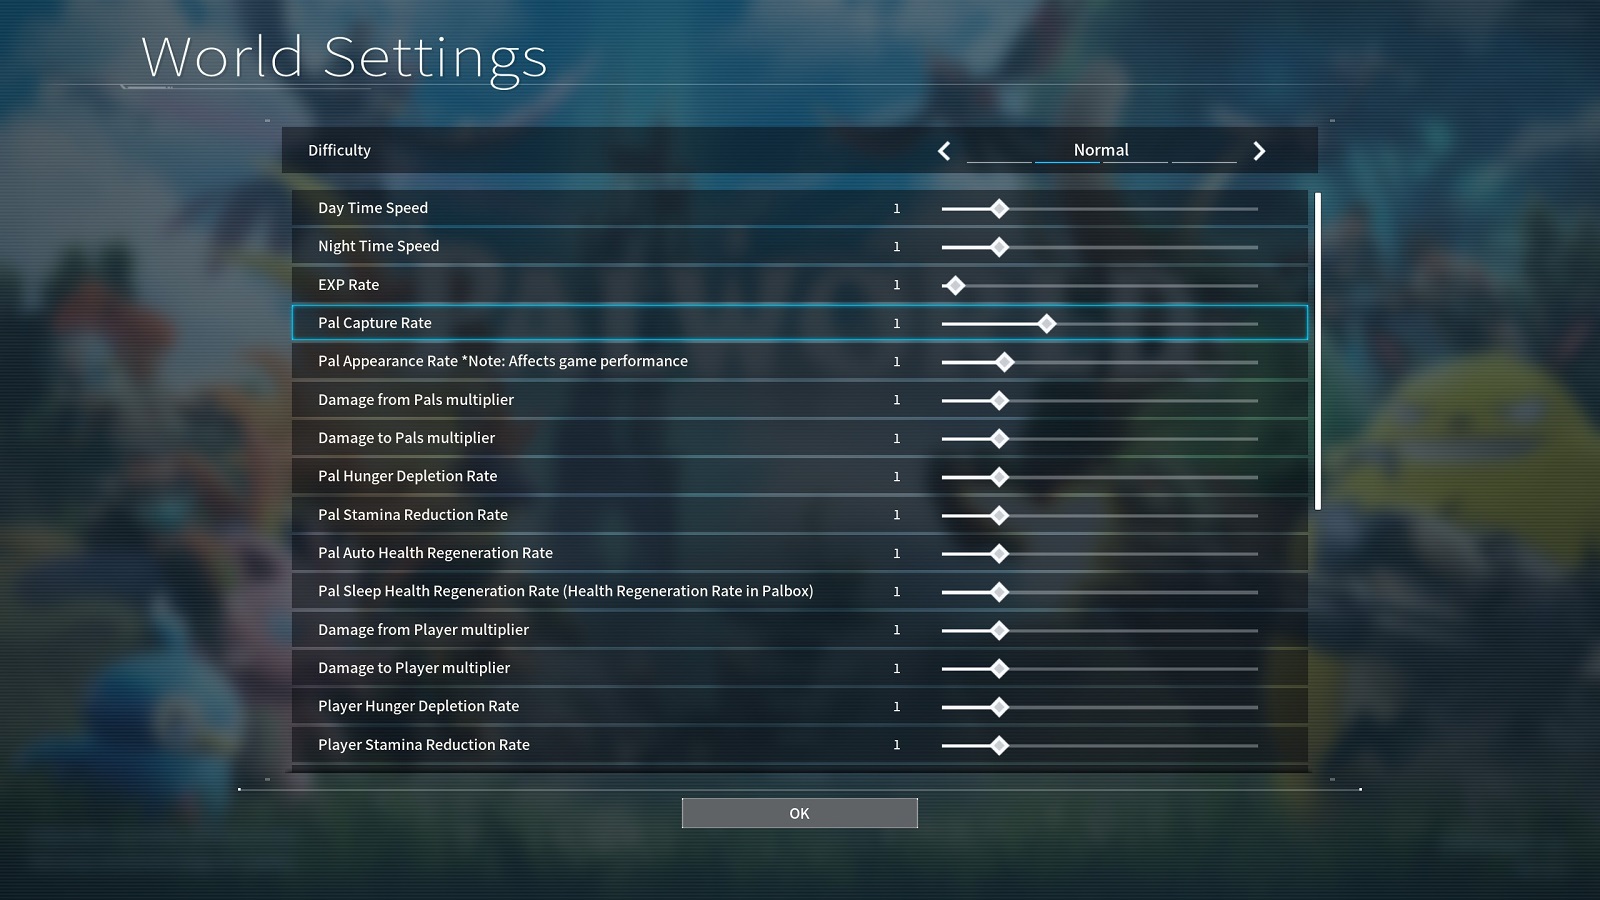
How to Easily Farm Alpha Pals
One of the ways the game allows you to quickly farm bosses is through Custom World Settings before you enter your world. By tweaking a few values, we can reduce the day and night cycles to reduce wait times and we can adjust the Pal Appearance Rate to potentially triple the amount of Pals that appear at once.
Warning: Increasing Pal Appearance Rates carries the risk of causing your computer to crash if you are running the game on dated hardware.
Increased appearance rates will allow you to fight up to 3 Alpha Pals at once. This should be great for farming the early-game stuff. But I’d caution trying to challenge 3 Jetragons at the same time. Unless you are doing the cheeky instant-kill glitch.
And that’s everything concerning all the Legendary gear in the current sandbox. My final bit of advice is if you are going after Legendary gear, go after the ones you really want. The resource requirement is going to set you back by a lot anyway so take your time with the rest if you intend to go after the full set.


