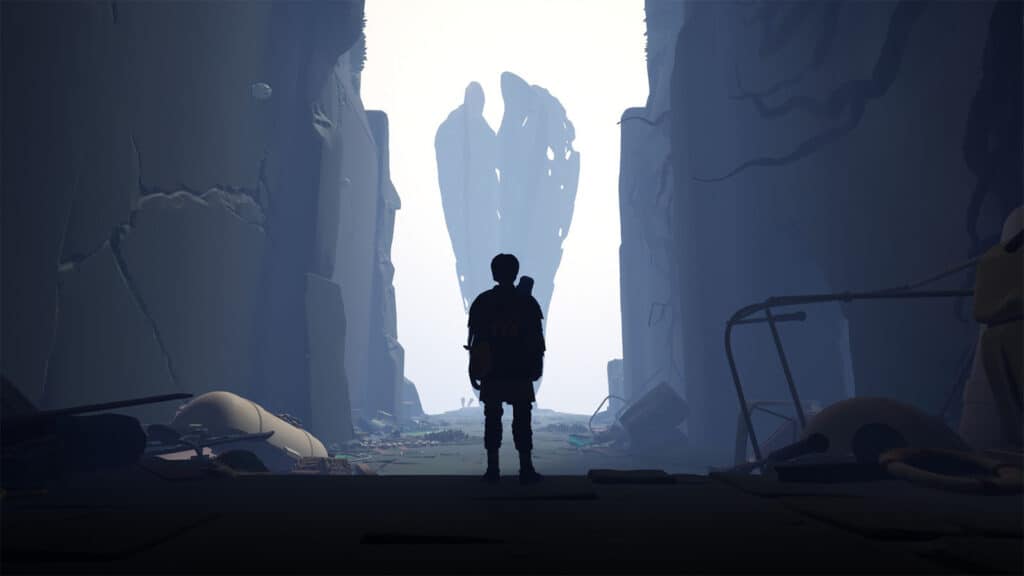
Daymark is the first chapter of Jusant which follows the story of a child who scales a very high rock formation that appeared to have been inhabited by people at one point, but only the traces of their previous lives and homes remain in and on the sides of the rocks.
Read ahead as we go through the events of Daymark in Jusant and share the locations of all the collectibles within the chapter.
The chapter starts off with an unnamed kid who walks through what appears to be a desert that was once a seabed underwater. The kid also has a companion inside their bag which will remain hidden until later on.
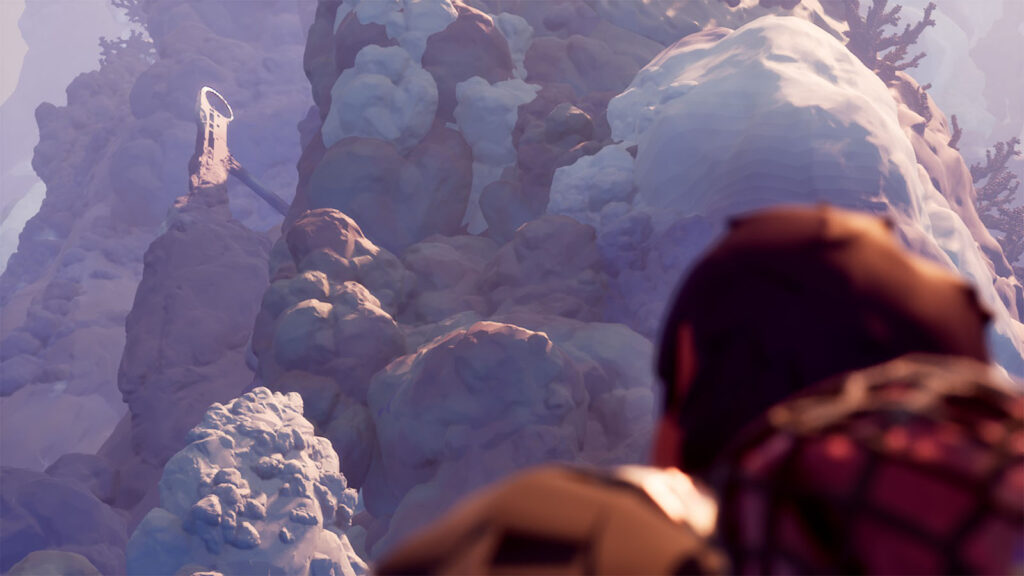
The kid then spots a very high rock formation full of dead corals and some structures that were created by people, one of which appears to be a monument with a hole on top.
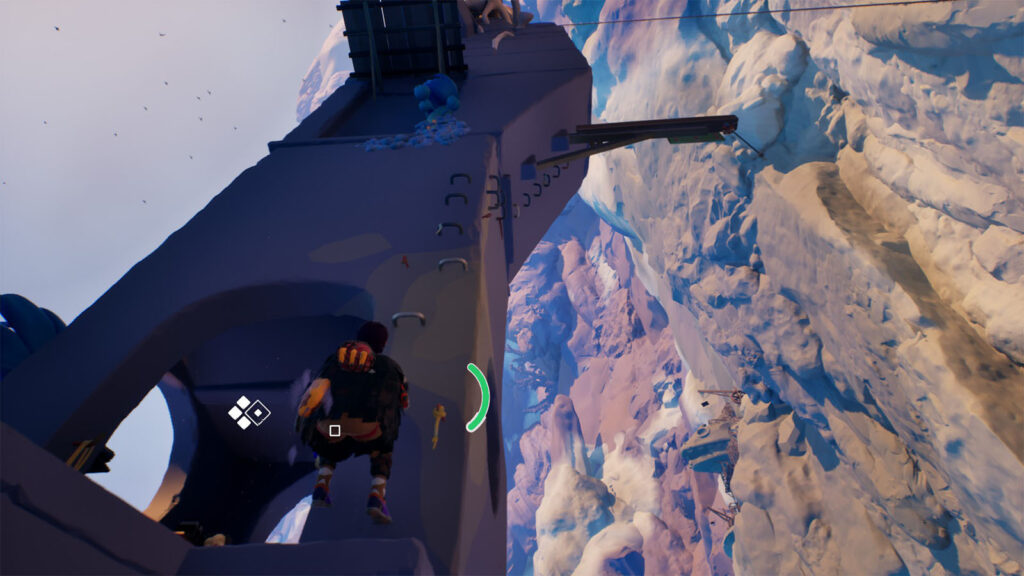
You then get to control the kid as you start the climb from the base of the rock formation. From this point, you’ll learn about the controls of the game, how to maneuver and scale, as well as how to use your climbing equipment.
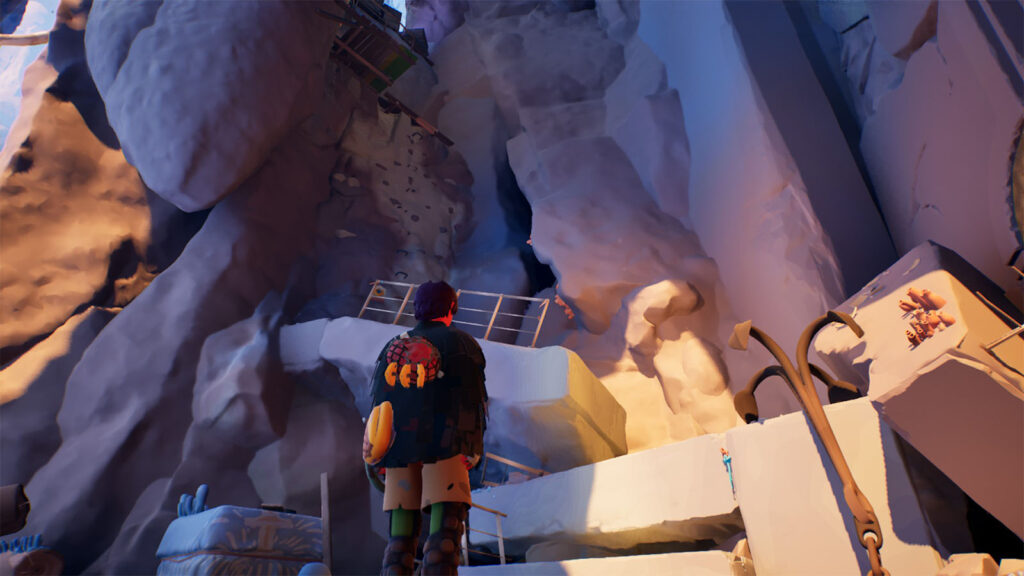
Start by climbing on the ledge that leads to the ramp where you will get to climb your first rock face.
Climbing Basics: How to Climb
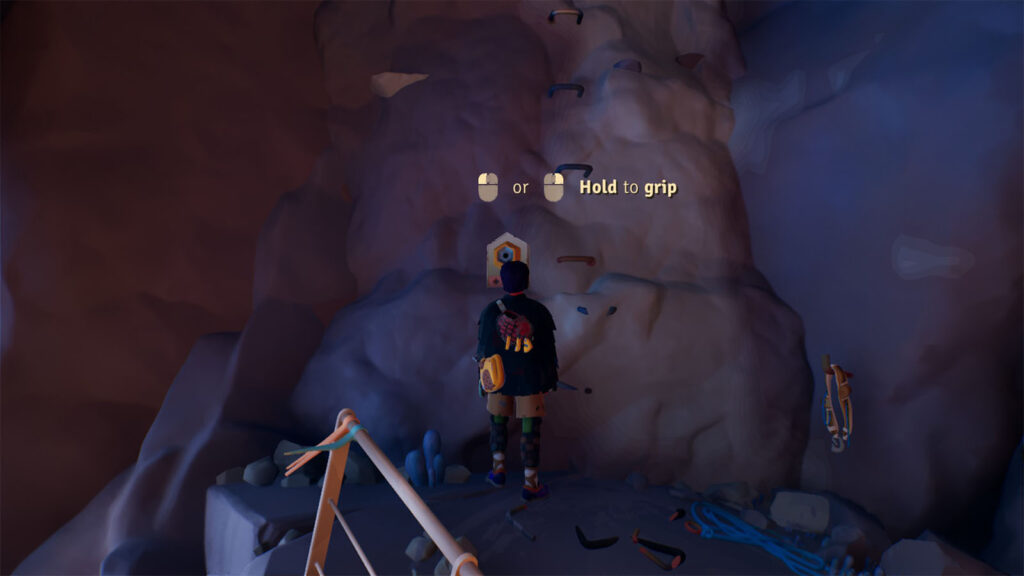
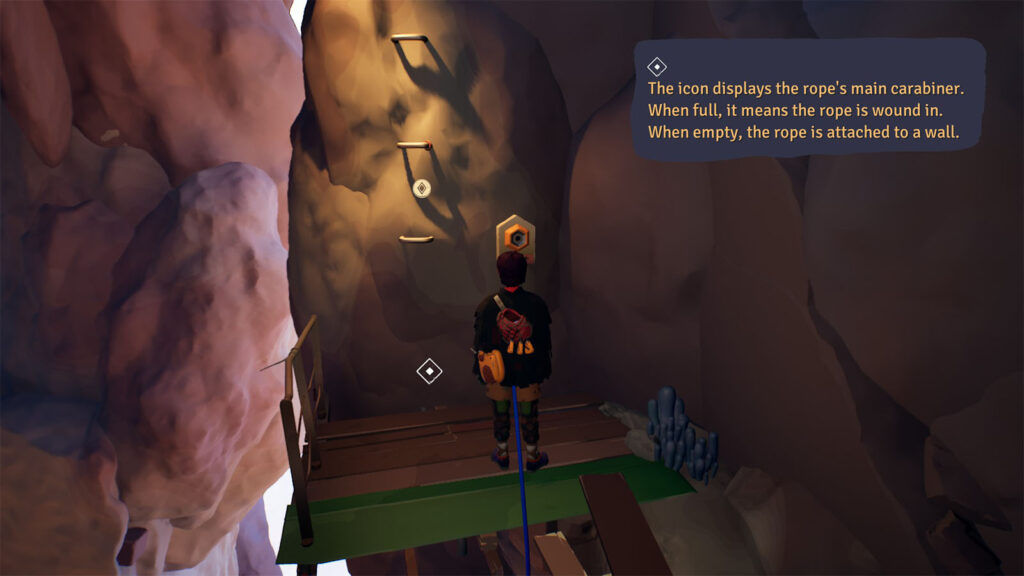
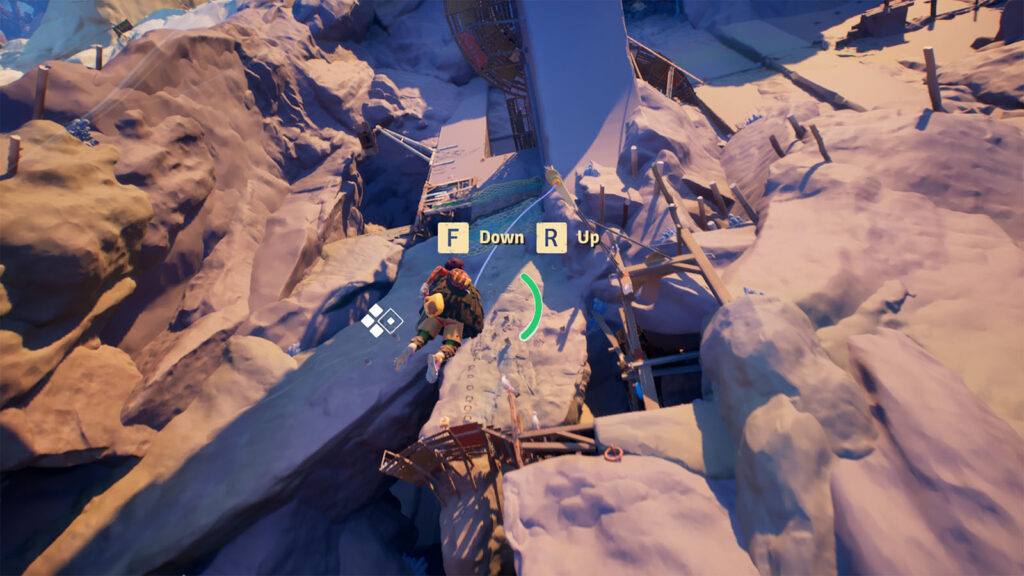
Climbing, on default, will require you to control the kid’s arms and hands independently from one another, with each arm assigned to one button. Once you get to a climbable surface, you’ll also see panels that will act as anchors. Your carabiner will automatically get hooked to an anchor as soon as you start climbing.
The things that you can grab onto while climbing are usually obvious such as ladder rungs or rocks jutting out of the wall, but there are other objects that are not as obvious or just a part of the environment such as small ledges and planks.
To climb, simply approach and jump towards a surface that has grabbable objects, then press and hold the hand buttons to grab onto the objects. Then, with the use of the directional pad, go to the direction where you want to go and release one of the hands, preferably the one on the side you are going for, then press the hand button again to grab hold. Afterwards, you can release the button for the other hand and repeat the same steps, making sure that you have one hand grabbing something to prevent you from falling.
As part of your equipment, you can also use the pitons to create another anchor in the middle of your climb. This will act as a safety harness that prevents you from losing too much progress in case you lose your grip. You only have a limited amount of pitons to use, but they can be reused once you retract your rope.
Once you reach the top of the wall you’re climbing and for feet are back on solid ground, you can then recover your rope by pressing its assigned button.
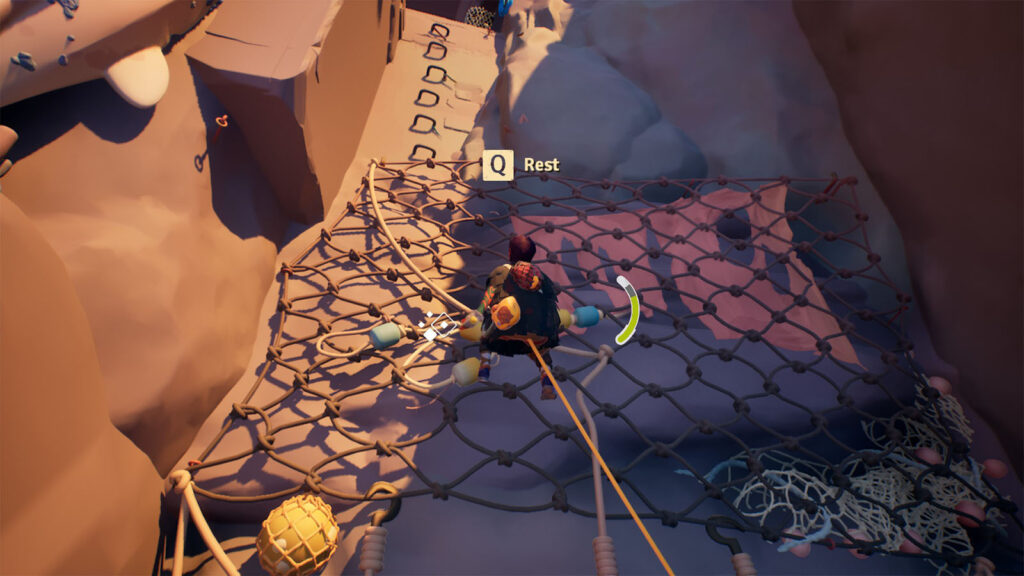
From this rock wall, the path up ahead is fairly straightforward. Eventually, you will come across a wall covered with a net. You will then learn how to use and manage your stamina as a stamina meter appears beside you.
The stamina bars can tell you two things. First, the green part will show you how much stamina you have left. This green part will decrease over time whenever you are climbing up, but it replenishes once you finish your climb or take a rest in the middle of a climb by pressing the rest button.
The second thing to note about the stamina bar is its max capacity. The max capacity of the bar goes down when you perform a strenuous feat, such as jumping to clear a gap while climbing. Once it goes down, it cannot be replenished by resting in the middle of a climb, but only by landing back on solid ground. This means, you only have a limited amount of jumps per climb before climbing becomes impossible due to having no stamina left to use.
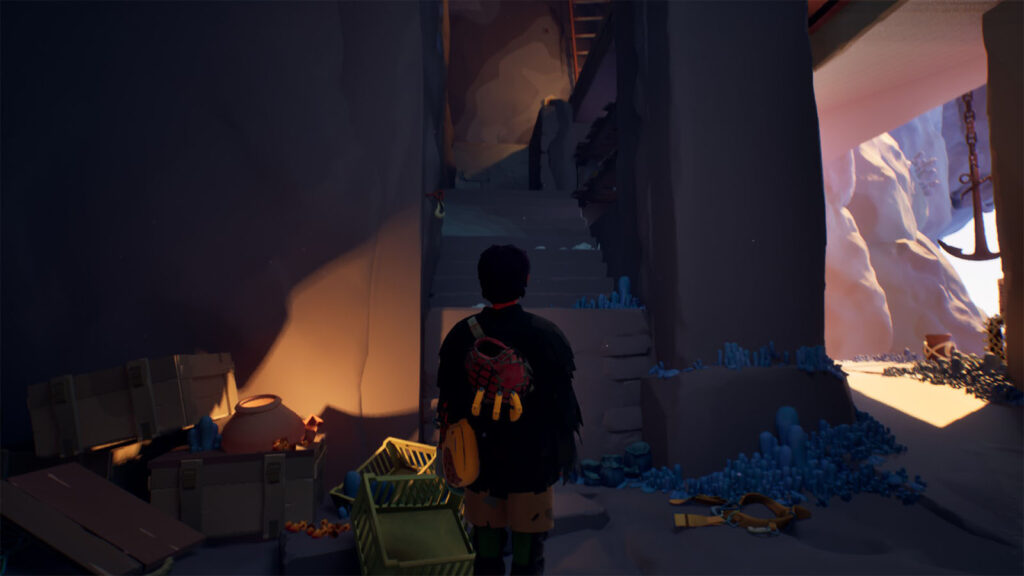
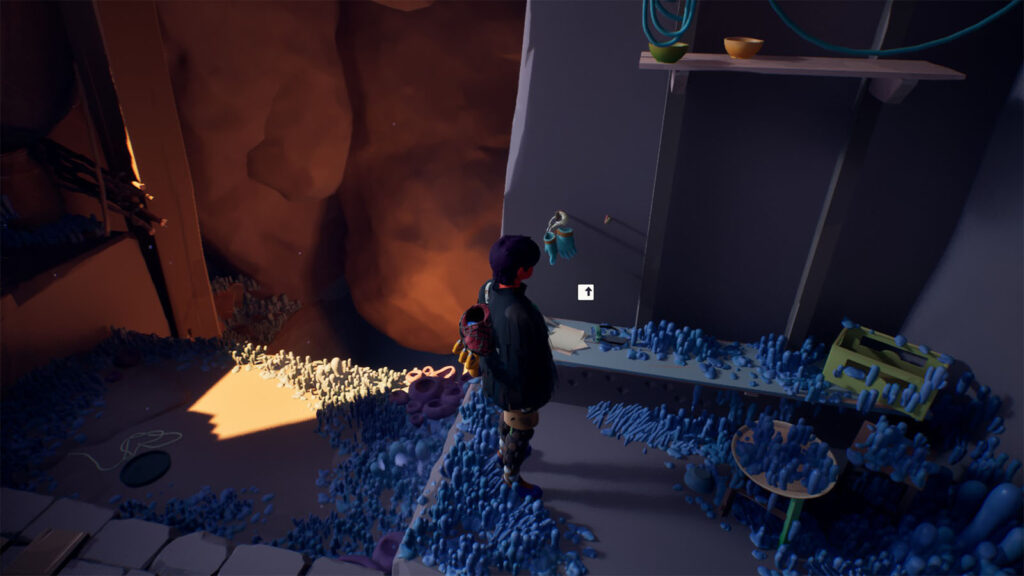
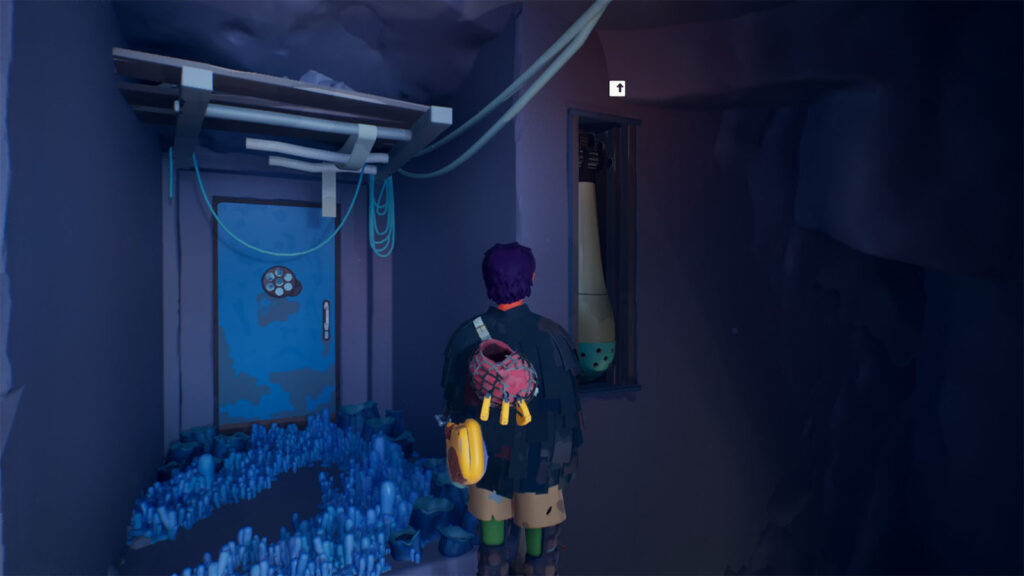
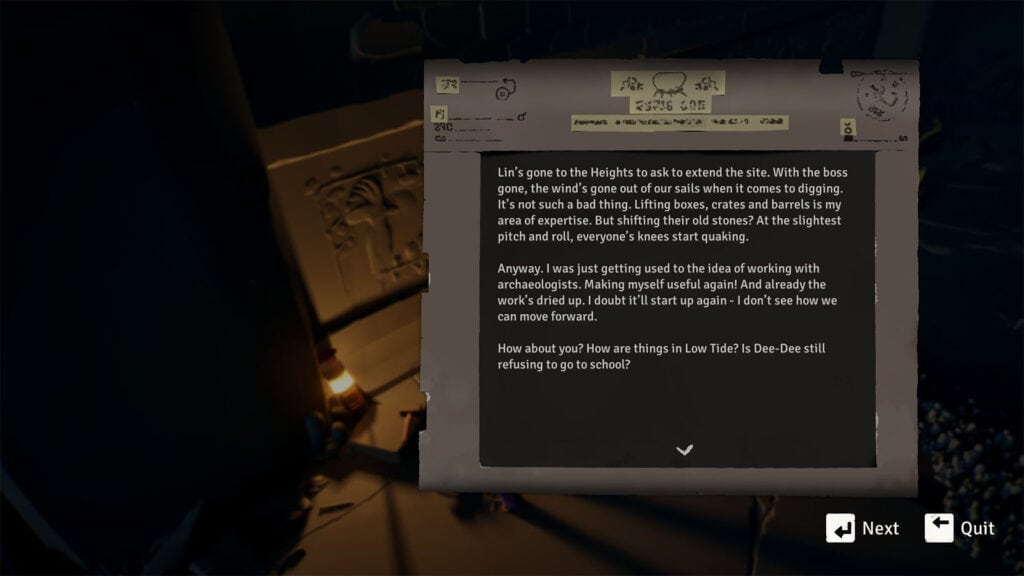
After clearing the nets, you’ll arrive at the first settlement. Head inside the cave, then climb the stairs to the right. Turn left and you will see your first collectible Letter #1. These letters show the conversation of the people that once lived here. To review the letters you’ve collected so far, access the Pause menu and select Letters.
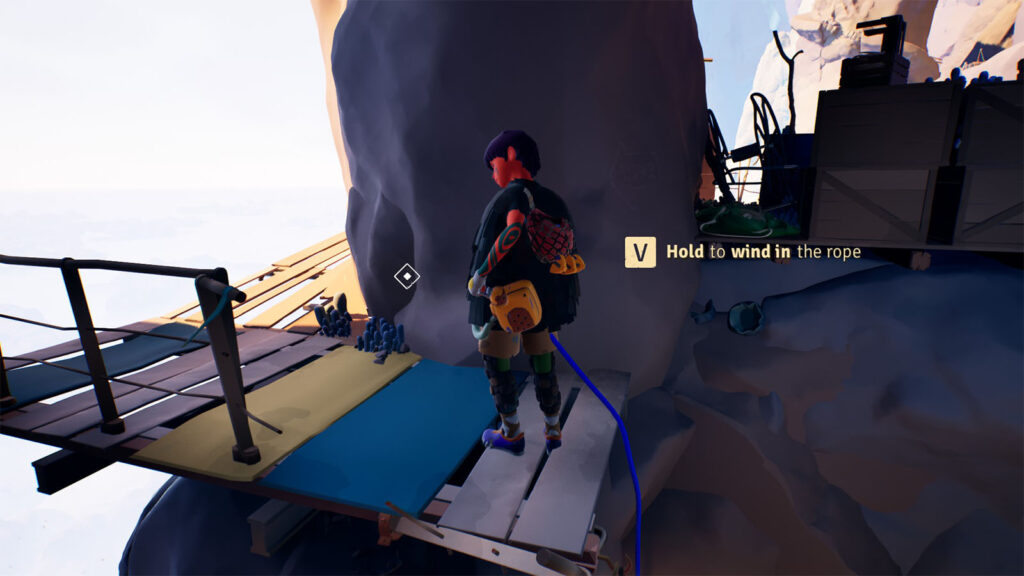
Next, carry on to the other opening of the settlement where you will only find an anchor and just a wall with nothing to grab on. You’ll then learn about rappelling and swinging.
How to Wall Swing
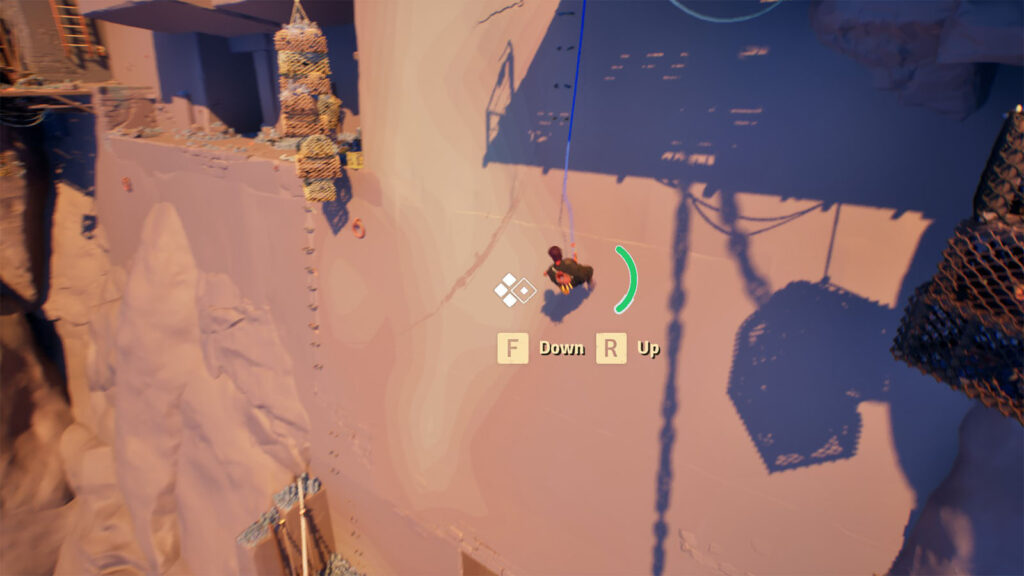
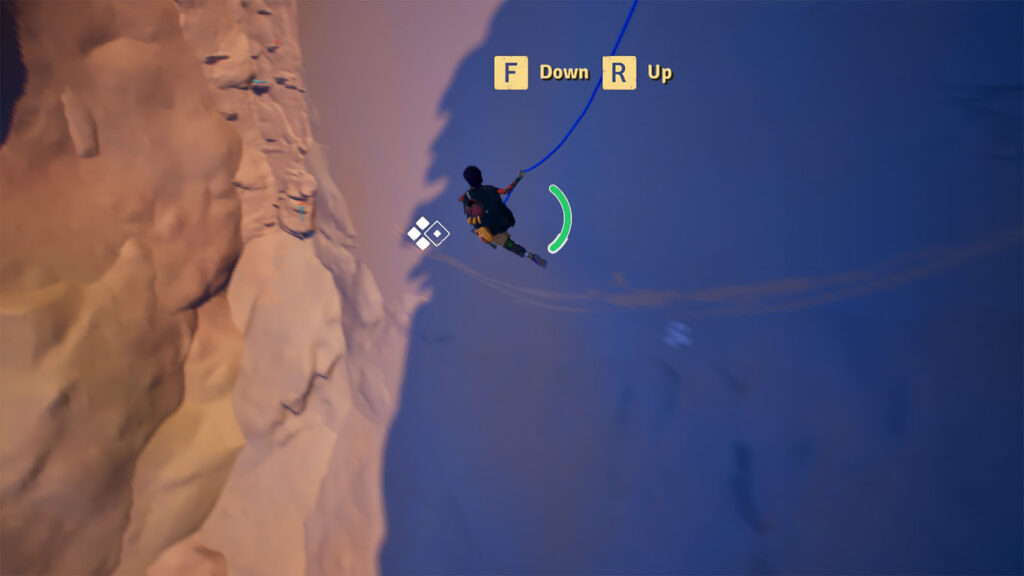
Hook on to the anchor, jump down the ledge, then press the descend button to lengthen your rope. You can then use the directional keys to create momentum to pull off a wall swing. Your goal is to reach the ledge on the far end of the wall. Once you have enough swing and can reach the other area, time your jump so that you can land or grab on to the ledge.
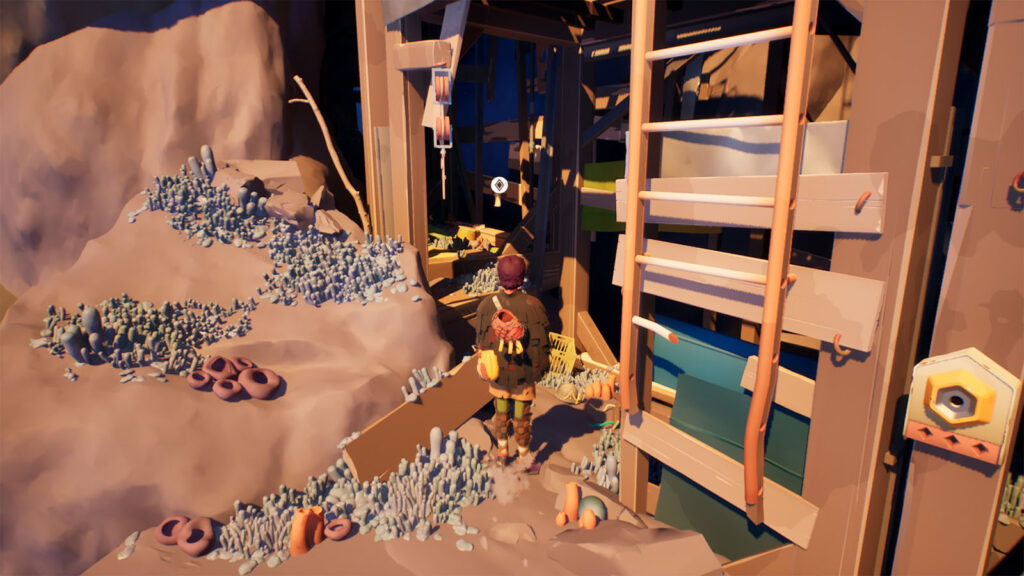
Inside this next settlement, you’ll find a hanging anchor that you can pull to unlock a shortcut. This anchor can be attached from the top or the bottom as long as you have a clear sight of it.
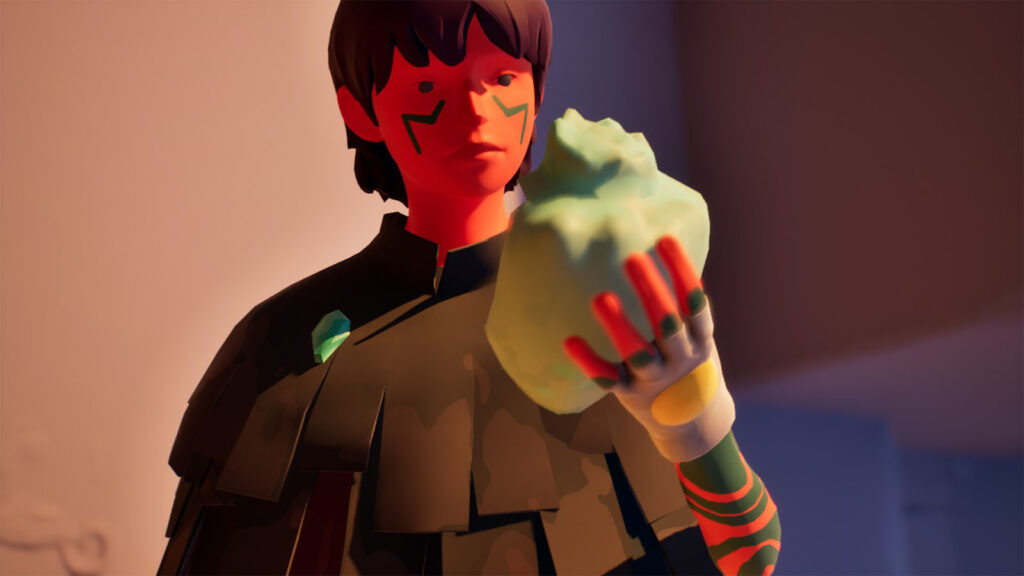
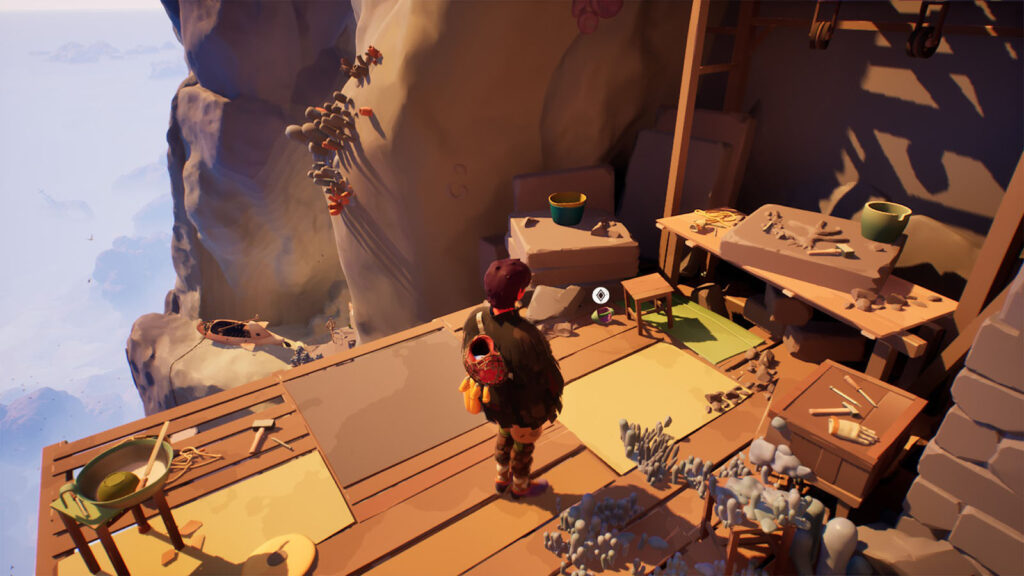
You’ll then arrive at a rock carving station. There is a conch shell collectible, Shell #1, that you can pick up which will trigger a cutscene showing the kid blowing on to the shell and an aerial view of the land. These shells are not listed as collectibles, but listening to them will unlock achievements; An ear to the past achievement for listening to your first shell, and Sound archeologist achievement for listening to all of the shells.
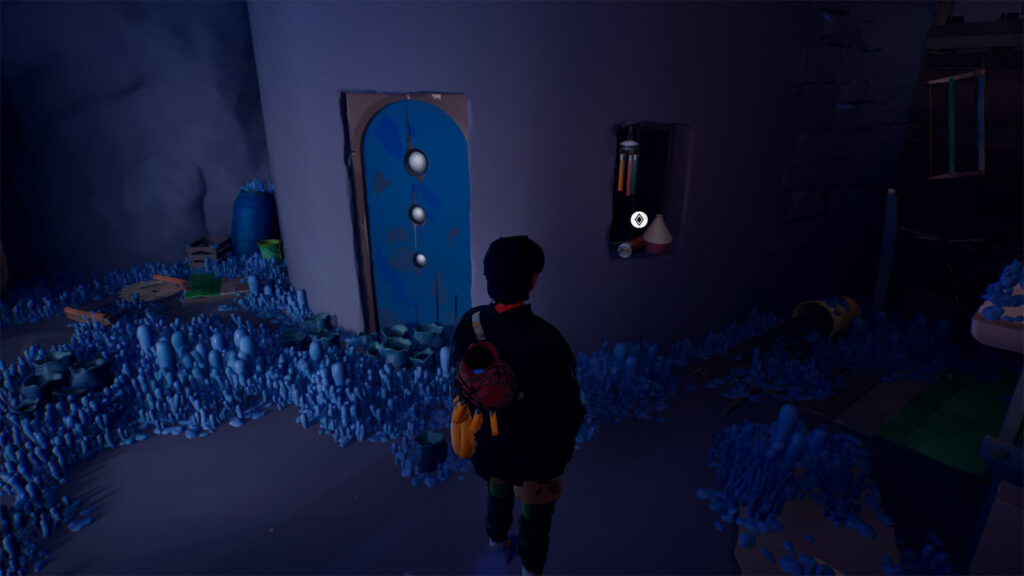
In the next settlement you’ll see, check the alcove on the wall to find another collectible Letter #2.
You’ll find yourself facing another wide wall. For this wall, aim for the rocky wall on the other end. There are also some scuff marks on the rock wall that can help you determine the amount of rope you’ll need to use in order to clear the swing. You’ll find another hanging anchor in the next area as a shortcut to the lower area.
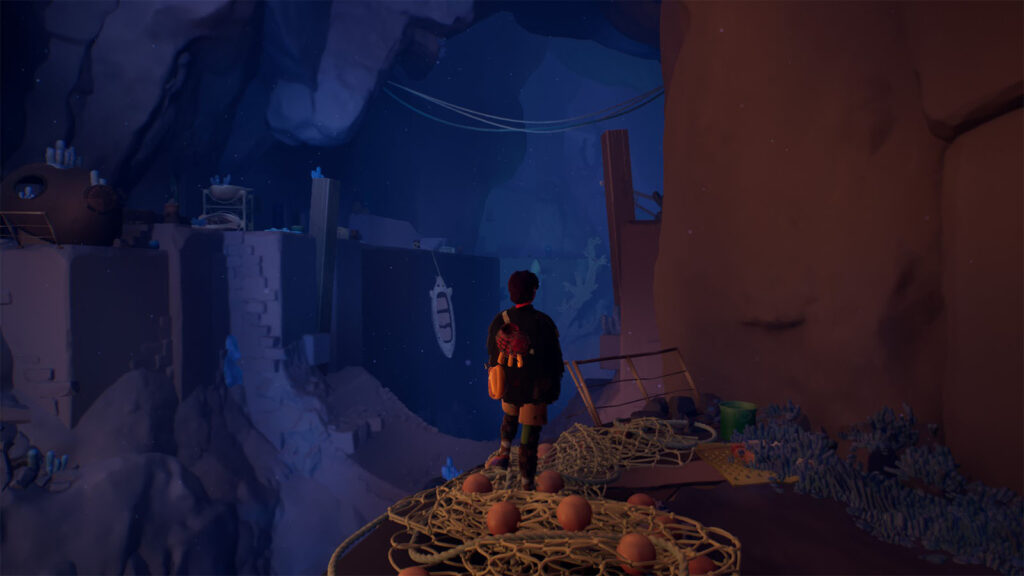
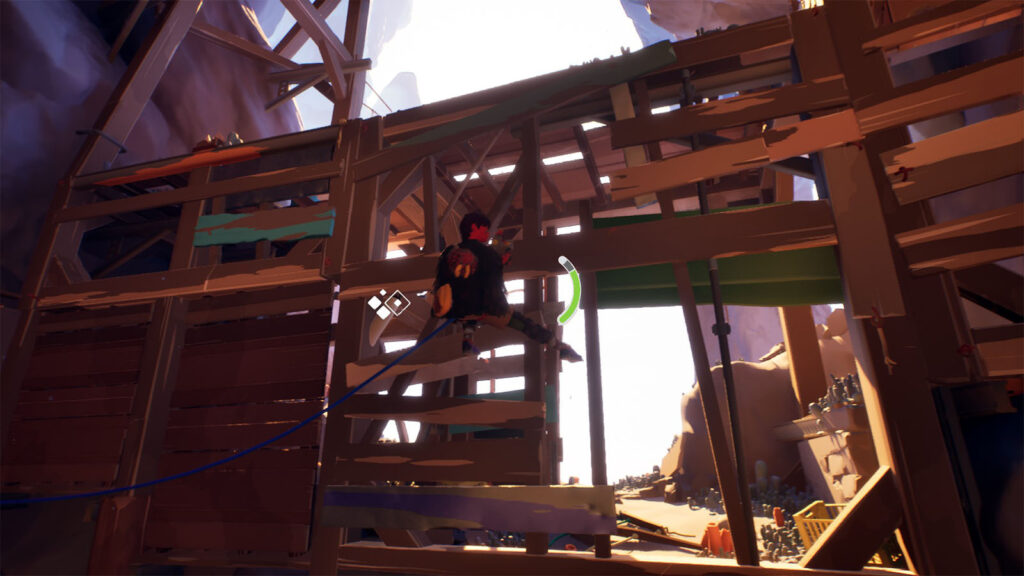
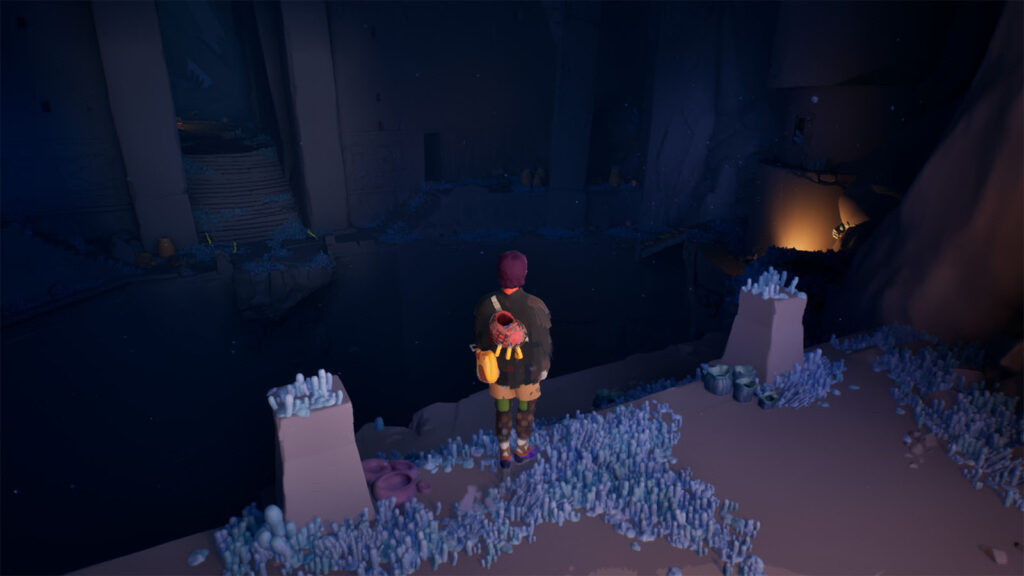
Next, you’ll arrive at a large cave. There’s not much to do here but to follow the platform on the left side and use the planks to make it up and across the upper platform.
Once you’re up the platform, go near the opening of the cave and jump down to find another collectible Letter #3.
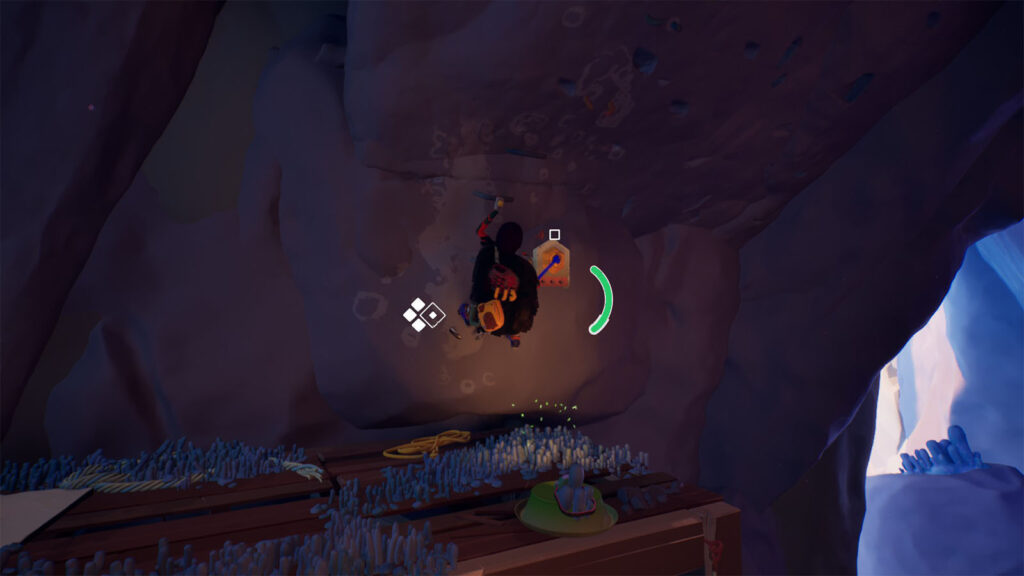
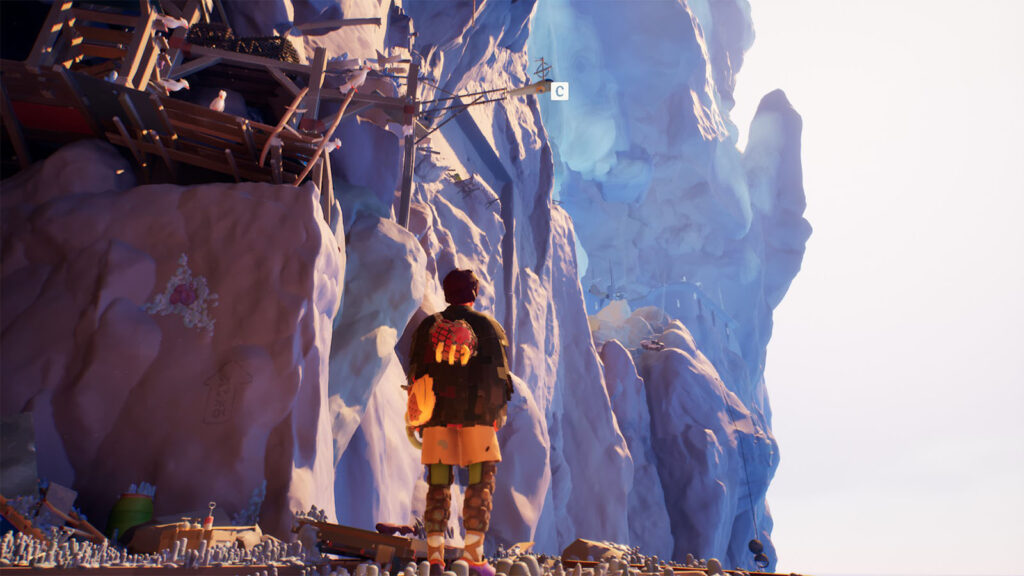
Continue on to the end of the platform and climb the rock face to reach the upper area. Look up and you’ll find a hanging anchor high above; get closer to it until you see the prompt to latch on to it.
Pull yourself up the rope, then swing until you reach the next platform. Then, continue climbing up the rungs, logs, and nets until you reach the next area.
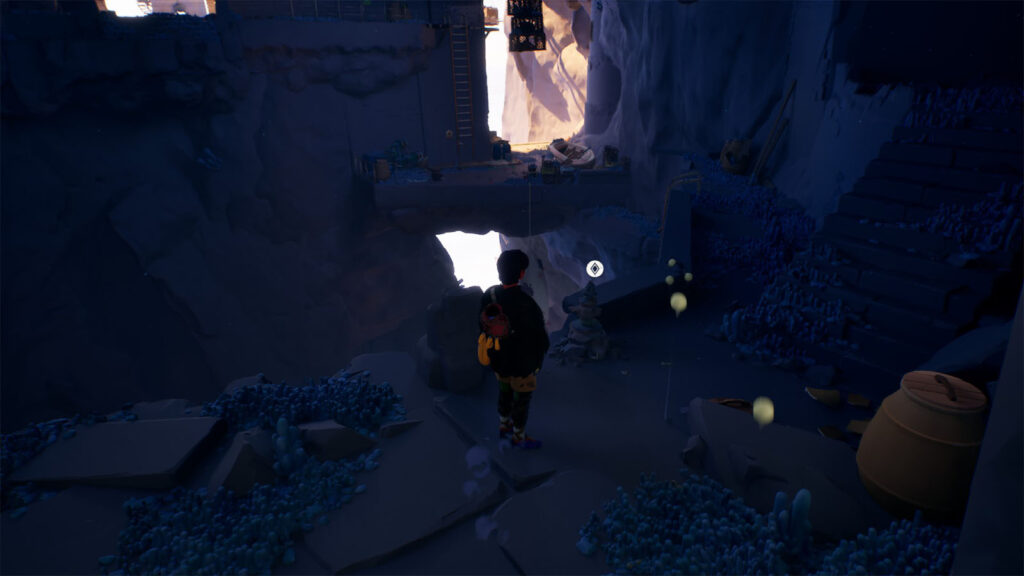
You’ll arrive at the next huge cave with a large opening on the other side. Climb up the ladder, then go past the main path for now and follow the ledge that leads all the way to the opening.
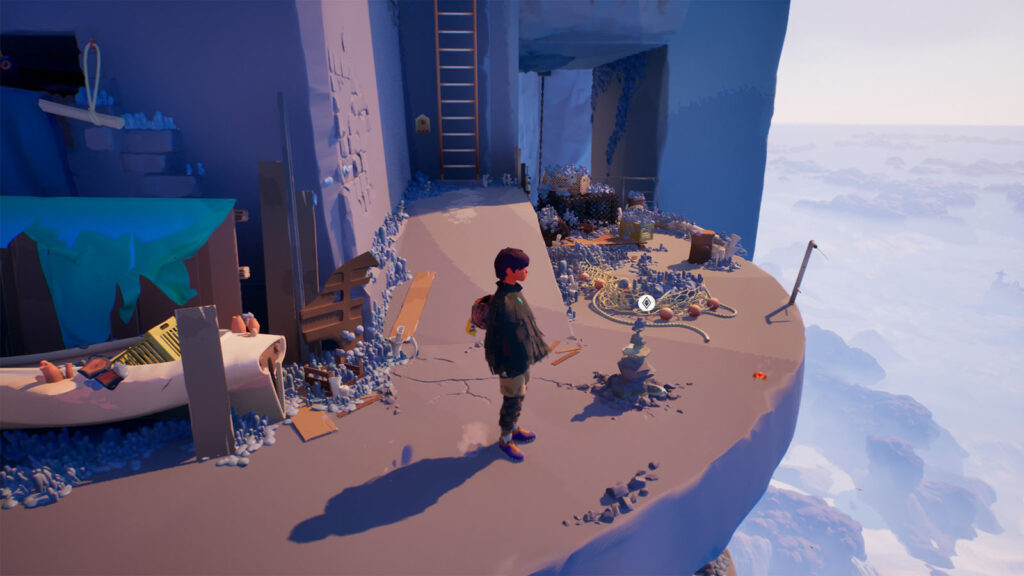
Near the large opening is where you will find Cairn #1 which you can interact with to add another stone on top of it. It is also not listed as a collectible, but completing them will unlock achievements; First stone achievement for completing your first cairn, and Common ground achievement for completing all cairns.
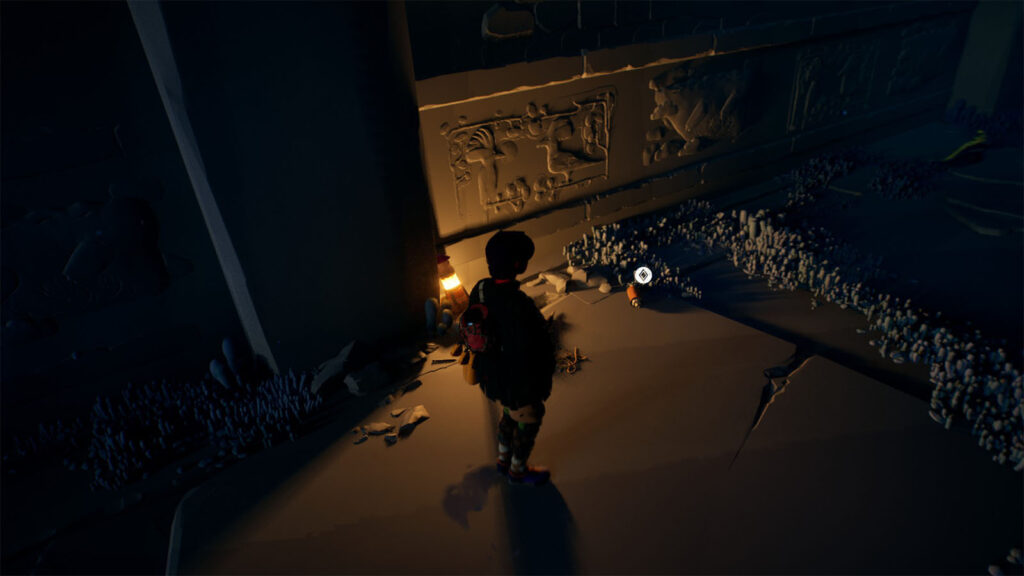
Head inside the opening and you will find another collectible Letter #4 near the lamp.
Make your way back to the main path and cross the bridge to reach the tall tower.
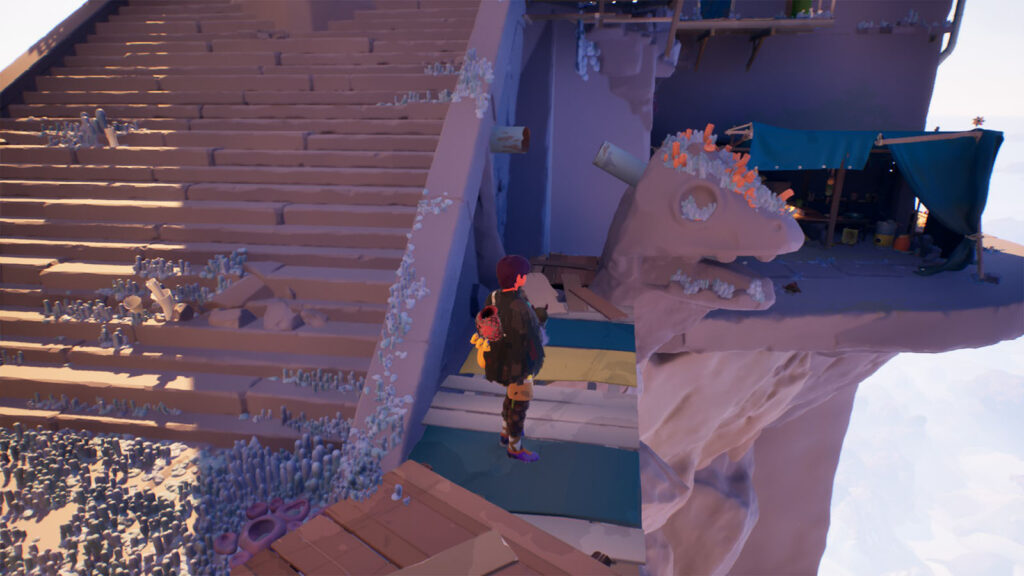
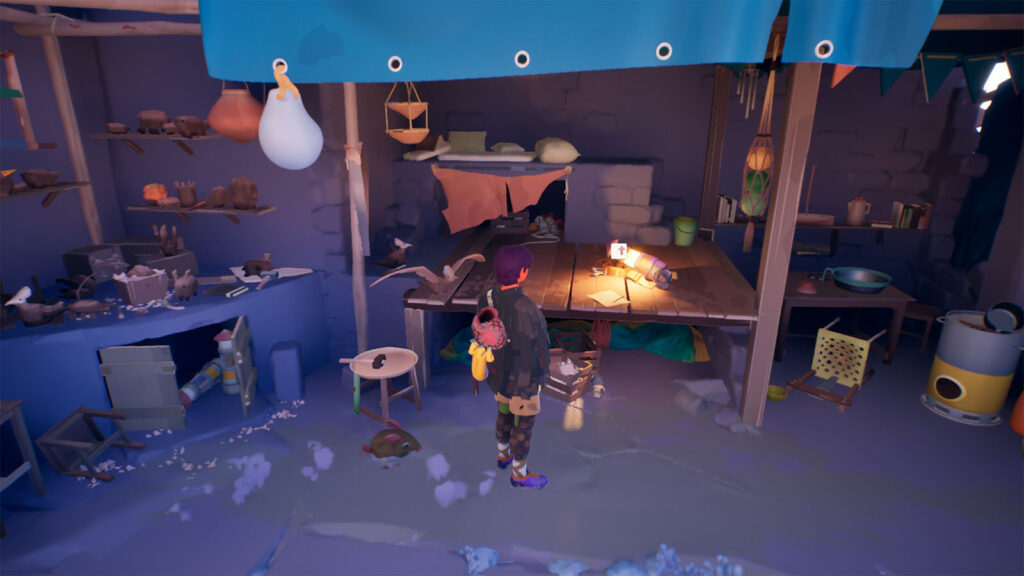
Once you arrive at the tower’s base, take the path on the right where you will find another collectible Letter #5 by the table.
Follow the path around the base and you will find Cairn #2.
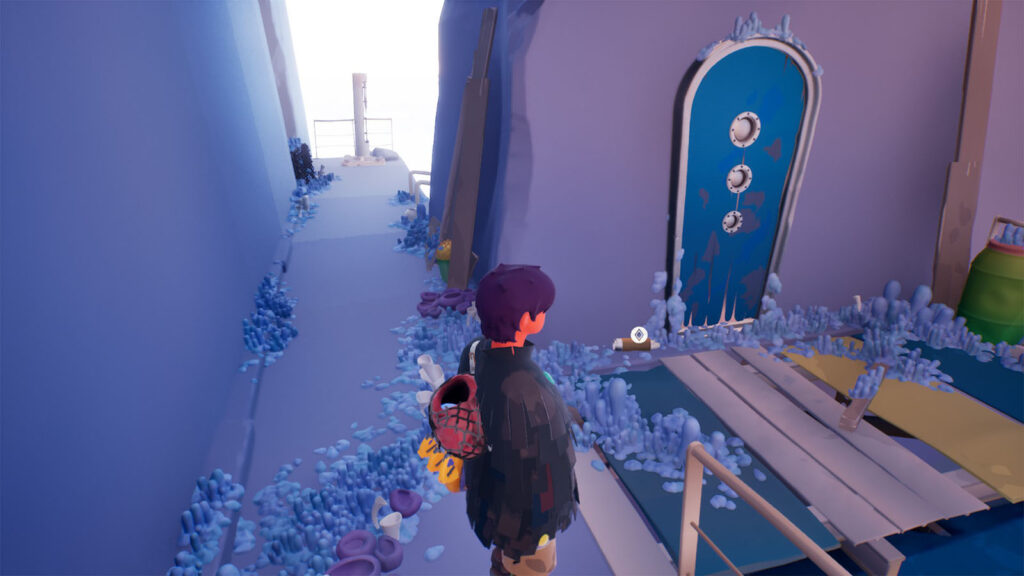
Climb the ladder up, then take a left turn. You’ll find collectible Letter #6 by the next door.
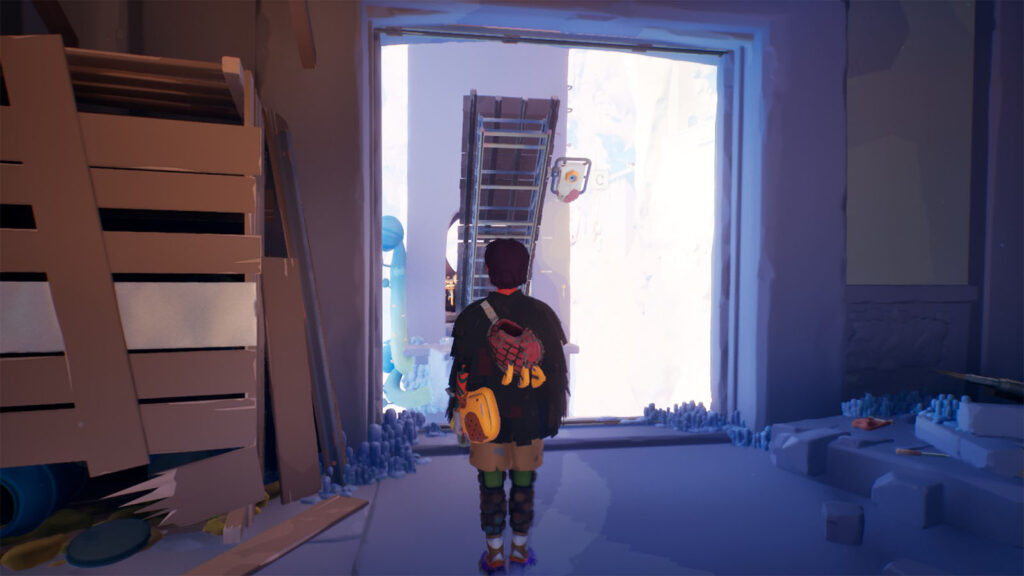
Back at the entrance at the base, follow the stairs around the tower, then head through the next room. You’ll see another anchor attached to a bridge, but it’s just too high for now.
Continue on to the next stairs to reach the higher room where you can attach to the anchor and pull the bridge down.
Cross this bridge and go inside the next room where you’ll find Bianca’s Journal #1. It’s another collectible that can be viewed in the Letters > Bianca tab.
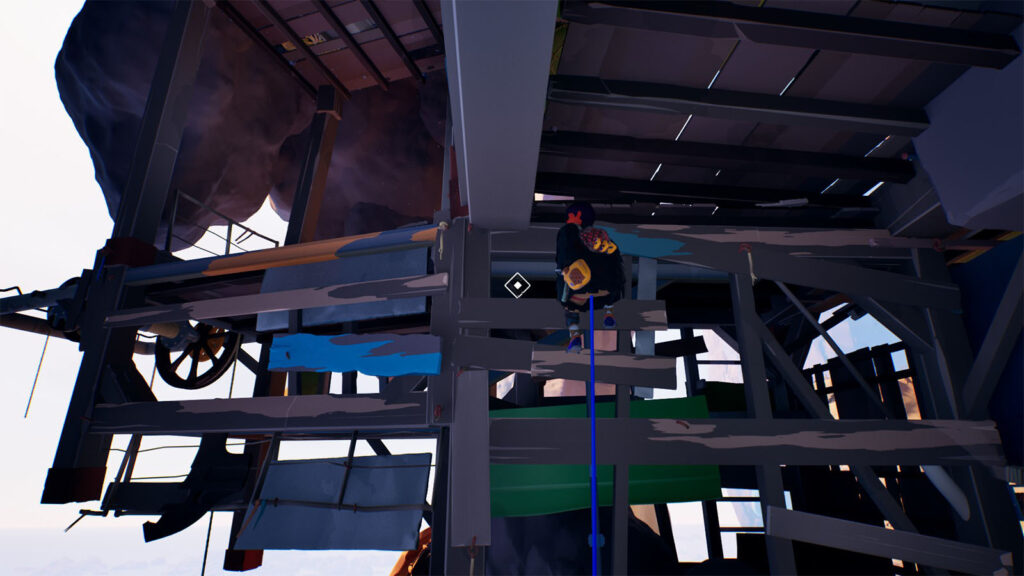
Go back out and climb the rungs on the side of the tower, then make your way to the end of the wood beam.
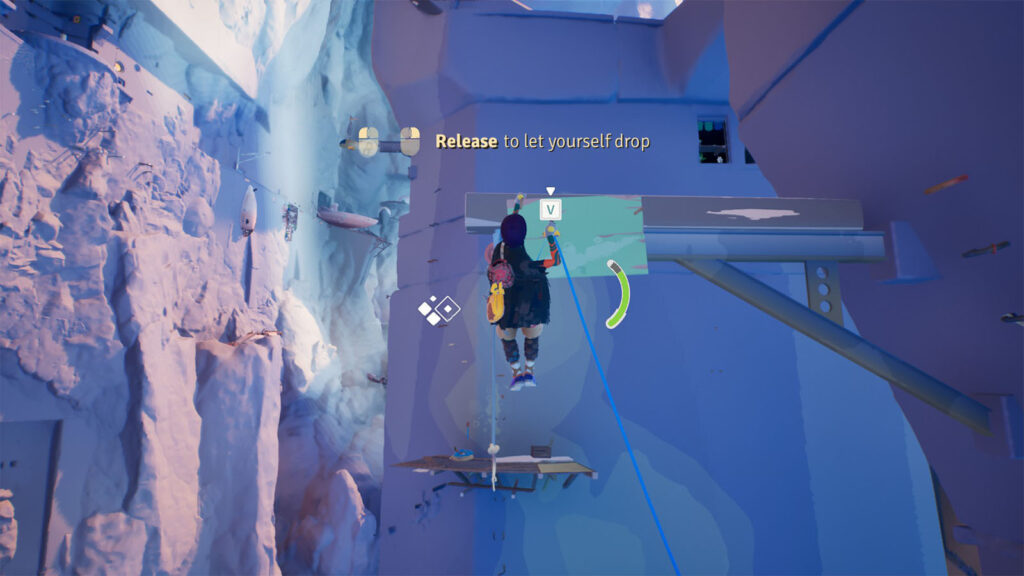
Once you reach the board at the end of the beam, attach a piton to the board and lower yourself down. Then, swing forward and jump to the next platform ahead.
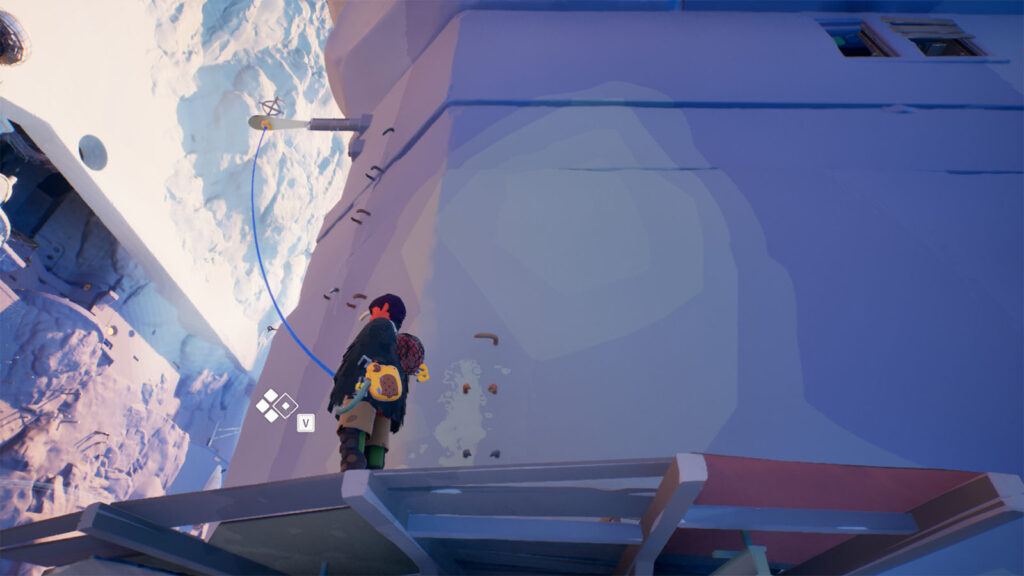
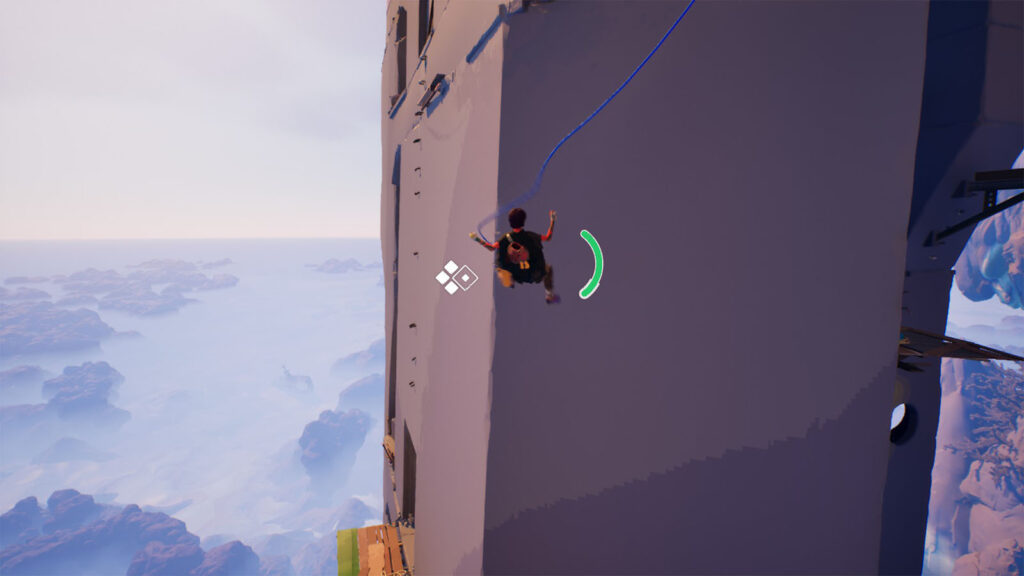
Look to the left side where you can latch on to another hanging anchor. From here, you will have to swing and go around to reach the ledge
Once you’re on the other side, climb on to the ledges and go inside the next room.
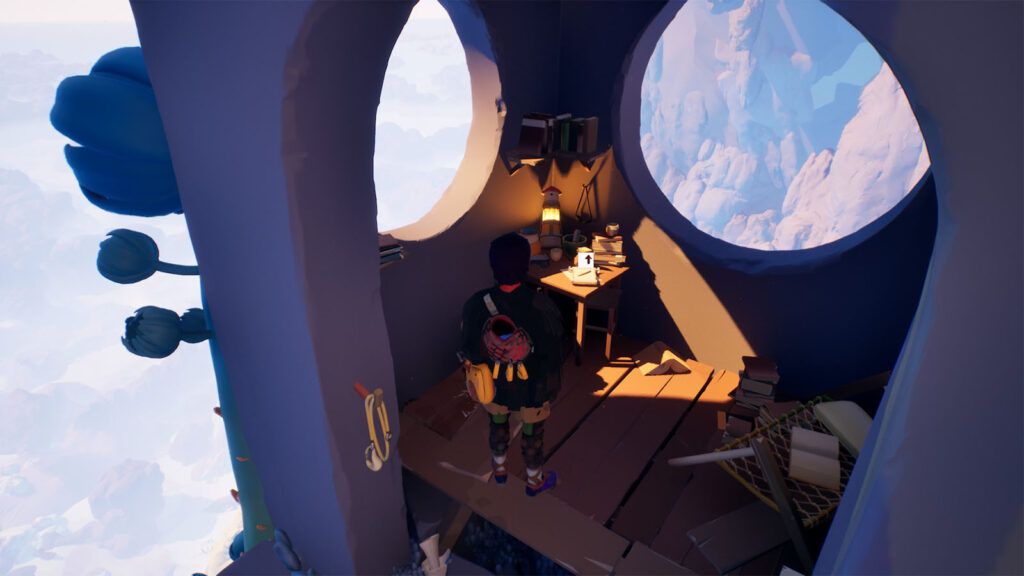
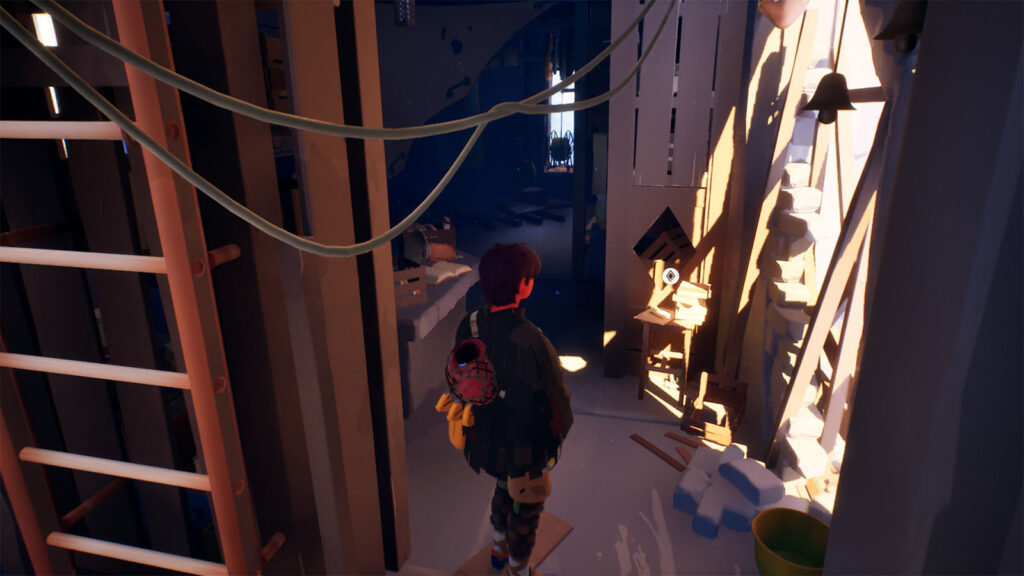
In this room, you’ll find collectible Letter #7 by the stacks of books.


Head up the ladder and you’ll reach the top of the tower. A cutscene will then play where the kid plays a tune through a conch shell which resonates from the tower. The little creature from the kid’s bag will now show up and will sing as well, causing the tower to activate and for grass to grow on it. A vine will grow onto the next tower nearby and the next chapter begins.
See next: Migration Walkthrough

