
The Maggot is the second chapter in The Lord of the Rings: Gollum. In this chapter, Smeagol recalls the moment when they were captured by the orcs and was sent into the Barad-dur Mines.
Read ahead as we go through the events of Chapter 2: The Maggot of The Lord of the Rings: Gollum, and share the locations of the collectibles in the chapter, as well as some tips.
See previous: The Lord of the Rings Gollum Chapter 1: The Wraith Guide
Gollum Chapter 2: The Maggot Walkthrough
Chapter 2: The Maggot Objectives:
- The First Day
- Dirt-eater
- The Rattler
- The Halls of Grond
- The Sabotage
Black Pits – The First Day
After the cutscene you will find yourself sent to a cellar. Pick up your tag on the ground and then go to sleep.
Head out of the cellar and take the path on the left to the mustering yard.
Ride the wagon then make your way through the corridor to avoid getting hit until you find the Beastmaster.
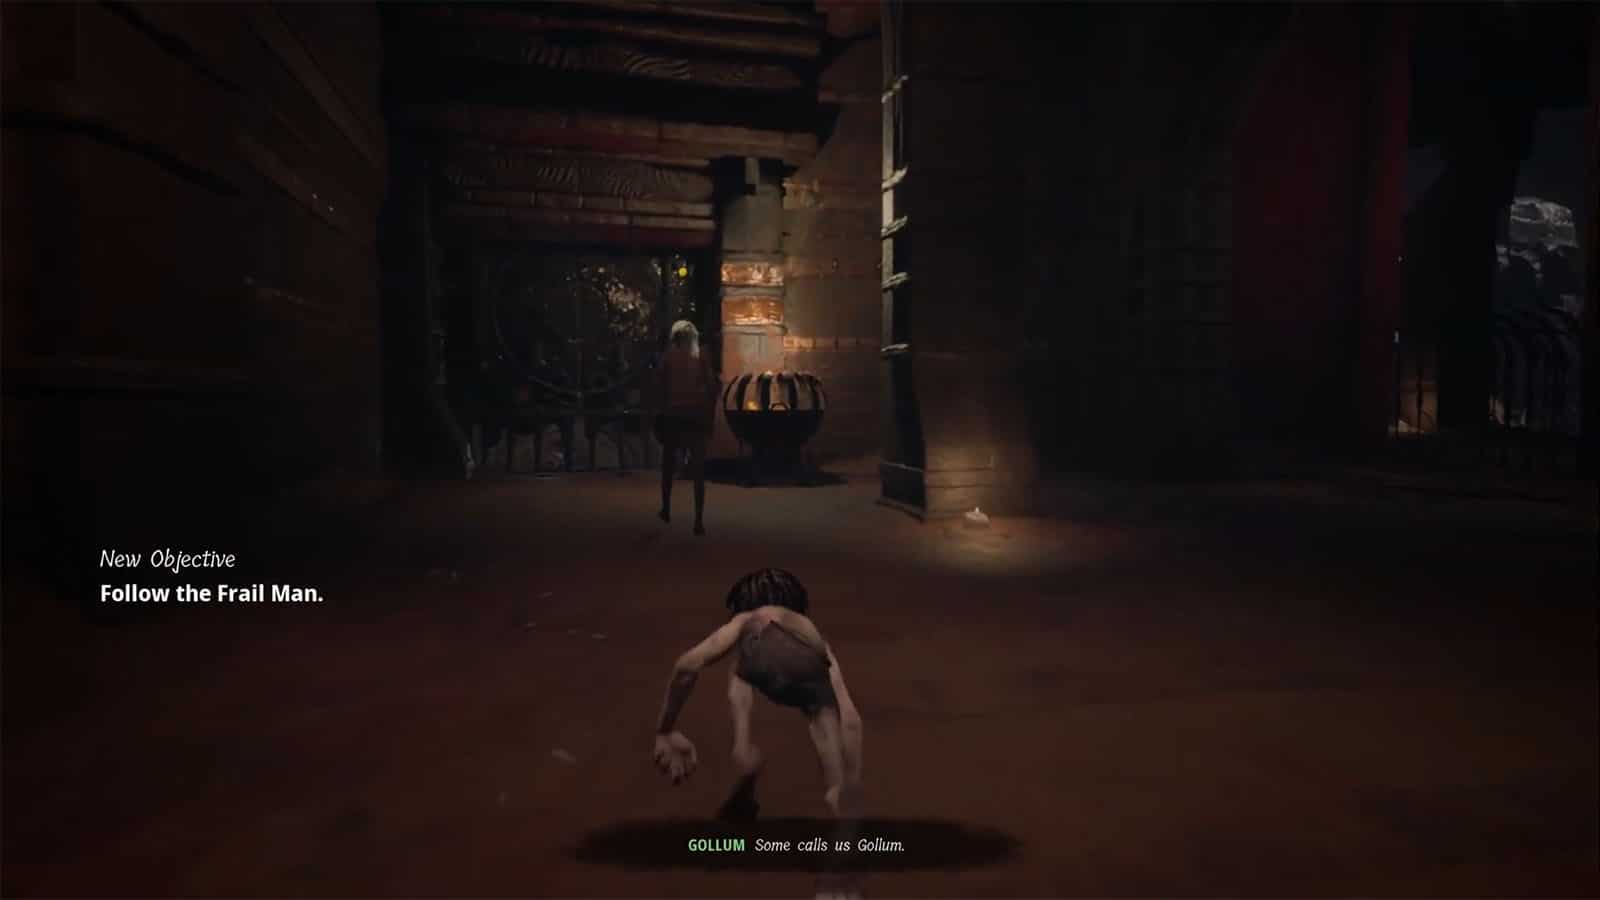
You will meet the Frail Man as he leads you to the Boroc Pens and tell you how to get the beasts back in their cages. As you arrive at the pens, look at the space opposite the ladder you’re about to climb to find the Boroc Hair Collectible.
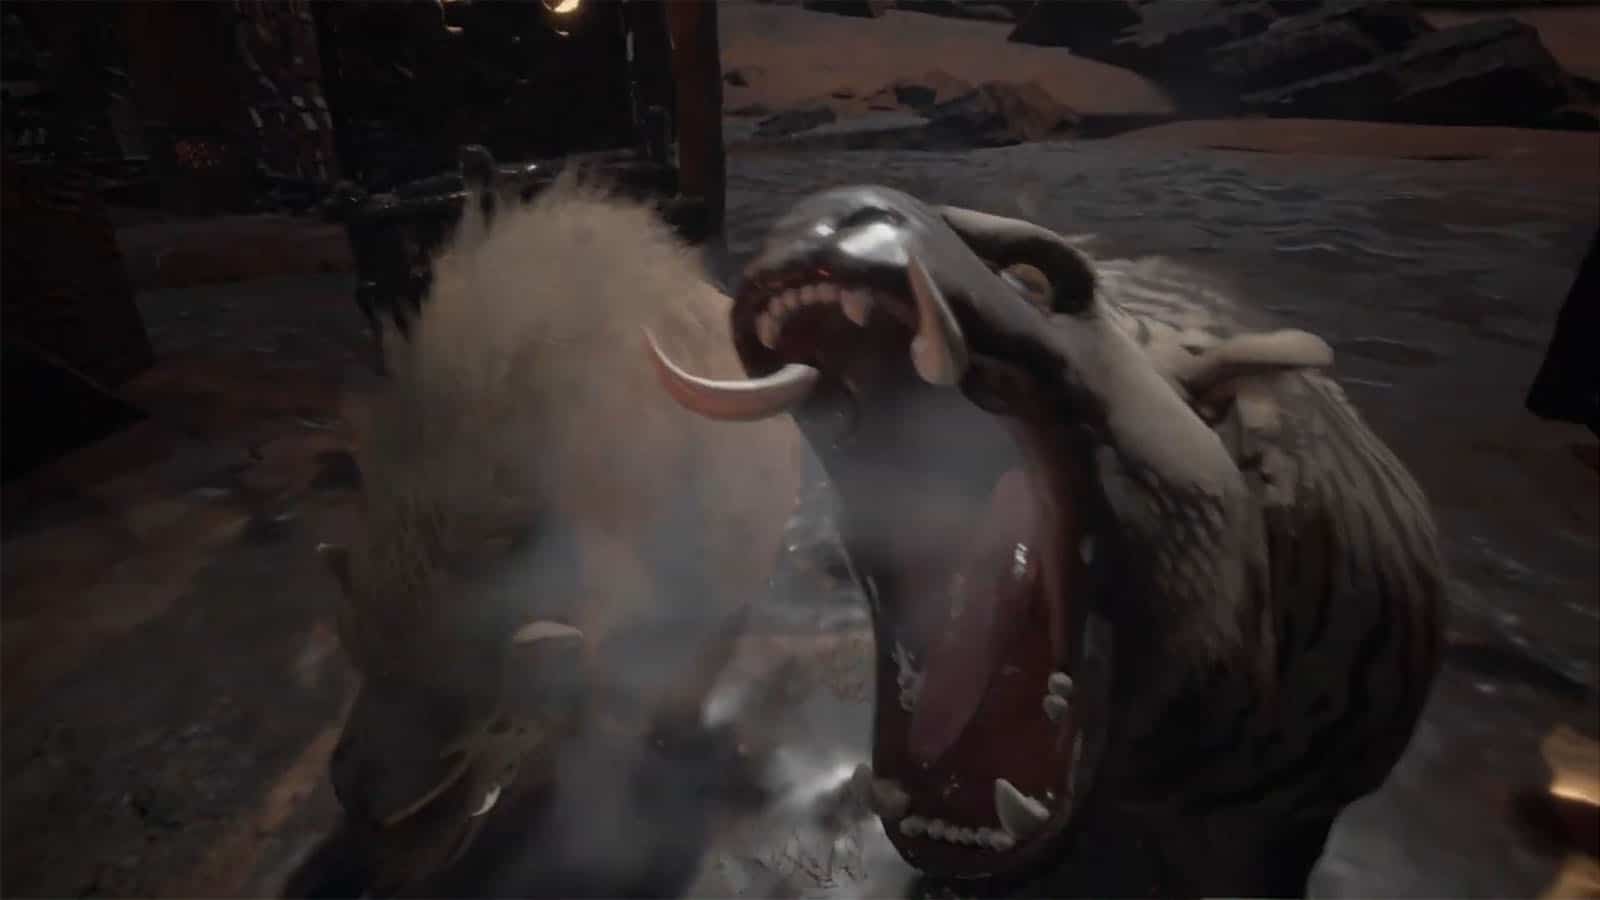
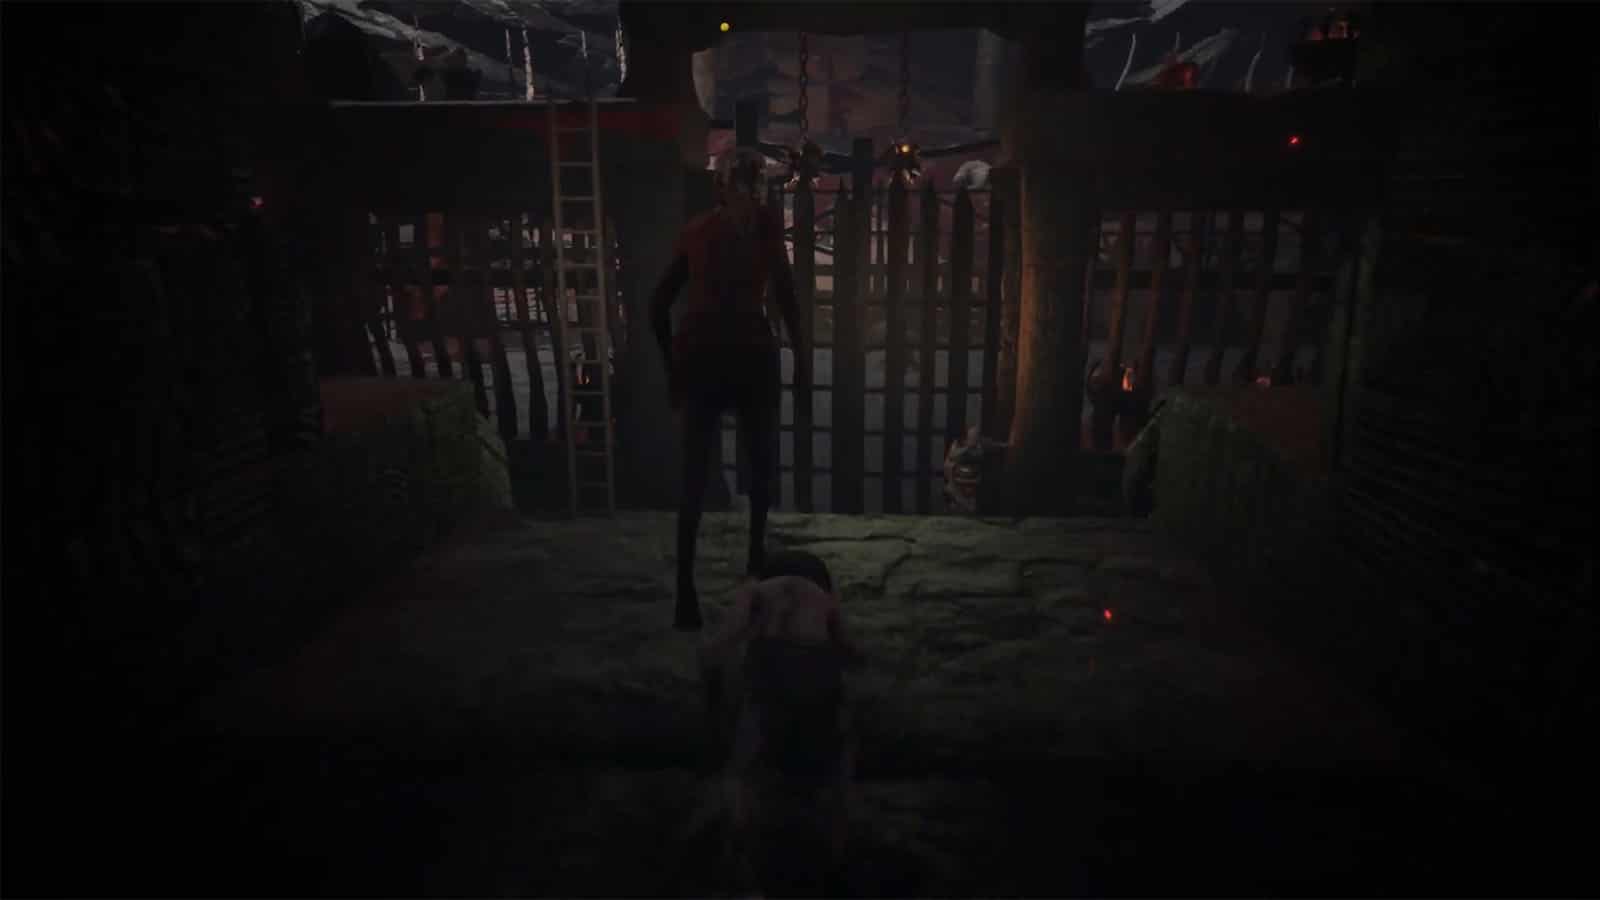
You will be acting as bait in order to lure the boroc into the cage. Once you go down into the pen, immediately run towards the cage, climb to the top, and pull the lever to close the gate. You will be luring one boroc first, but more will come in to the pen. The second wave will be harder as the way to the next cage will be longer. Immediately run towards the next cage, jump over the fences, and climb towards the lever. Pull it once you see both borocs are in the cave.
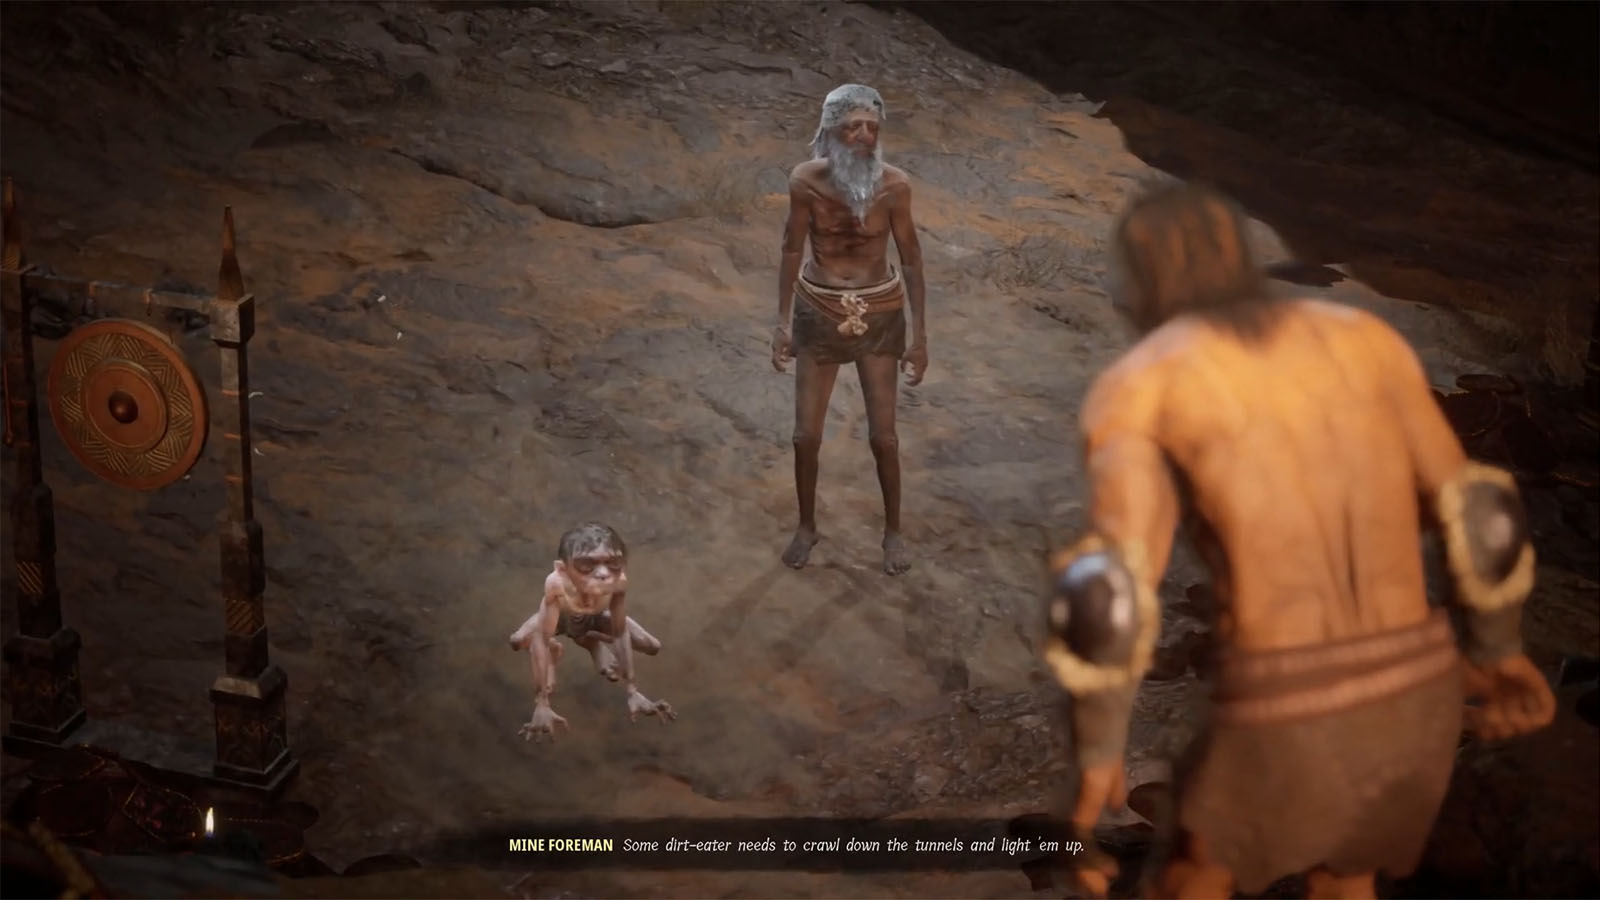
After completing the task, the beastmaster will then send you to the mines. Make your way to the next wagon to get to the mines, then follow the path to meet the mine orc.
Follow the Frail Man once again. He will tell you to collect the tags of the miners who died.
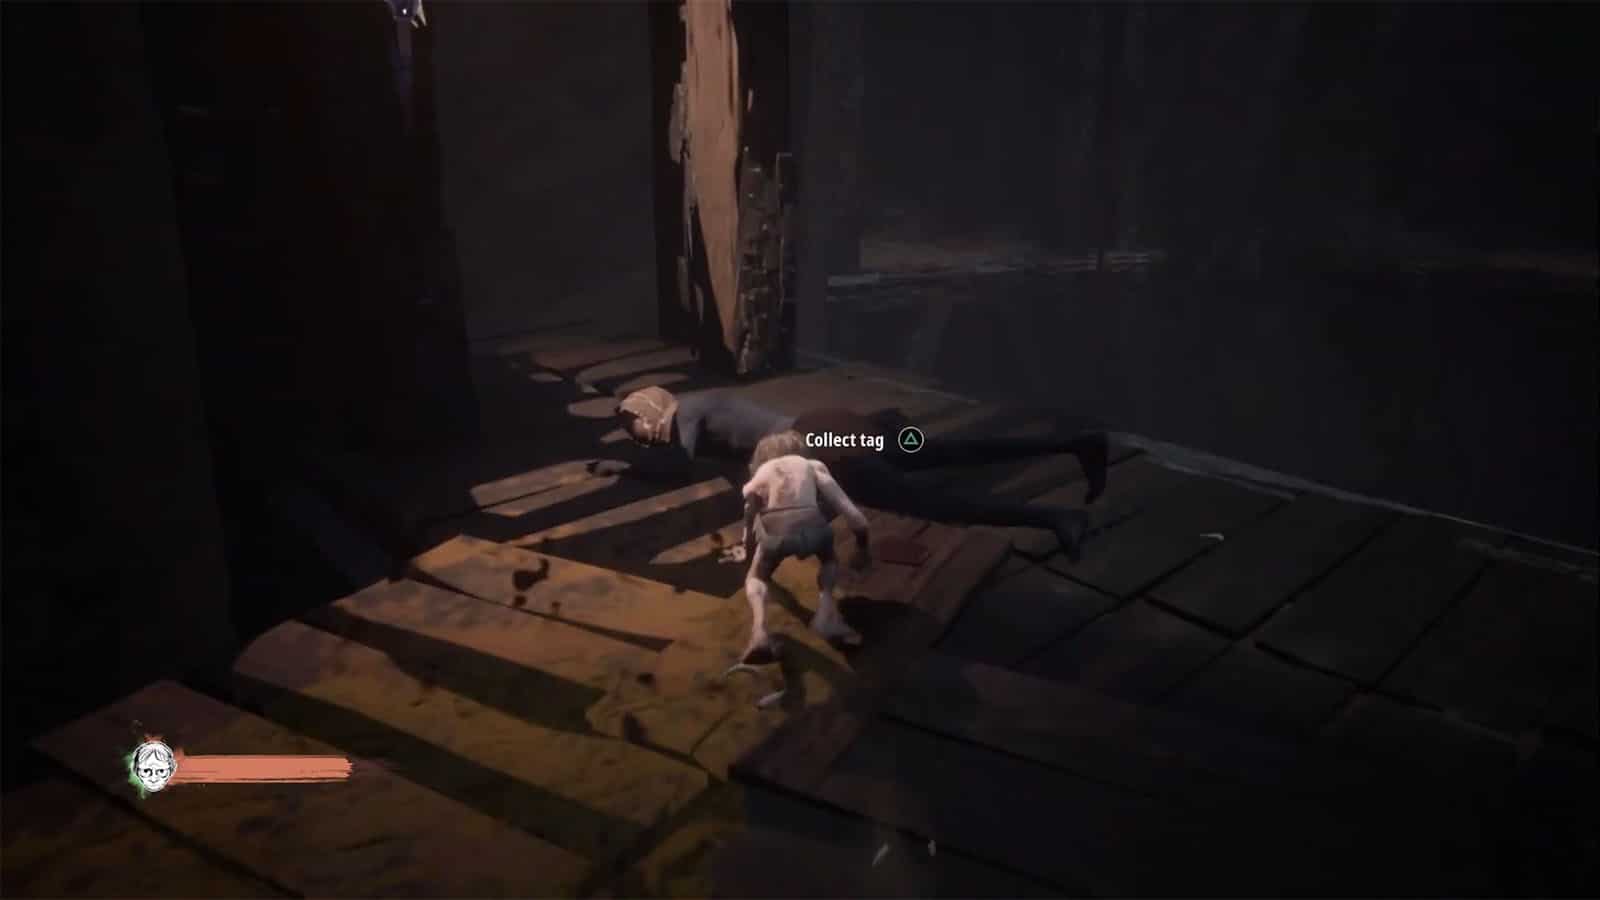
You can find the tags by following the markers within the mines. They are usually by the by the dead miners. There are two that can be found down within the shaft before going through the corridor. The Bat Wing Collectible can also be found in one of the nooks on the side of the wall. Take the lift nearby to get back up to the main path. You can then head into the deeper mines to find the rest of the numbers.
After collecting the tags, you will be sent back up. Wait in line first, then step forward once it’s your turn.
Make your way back to the Mine Orc to report your progress.
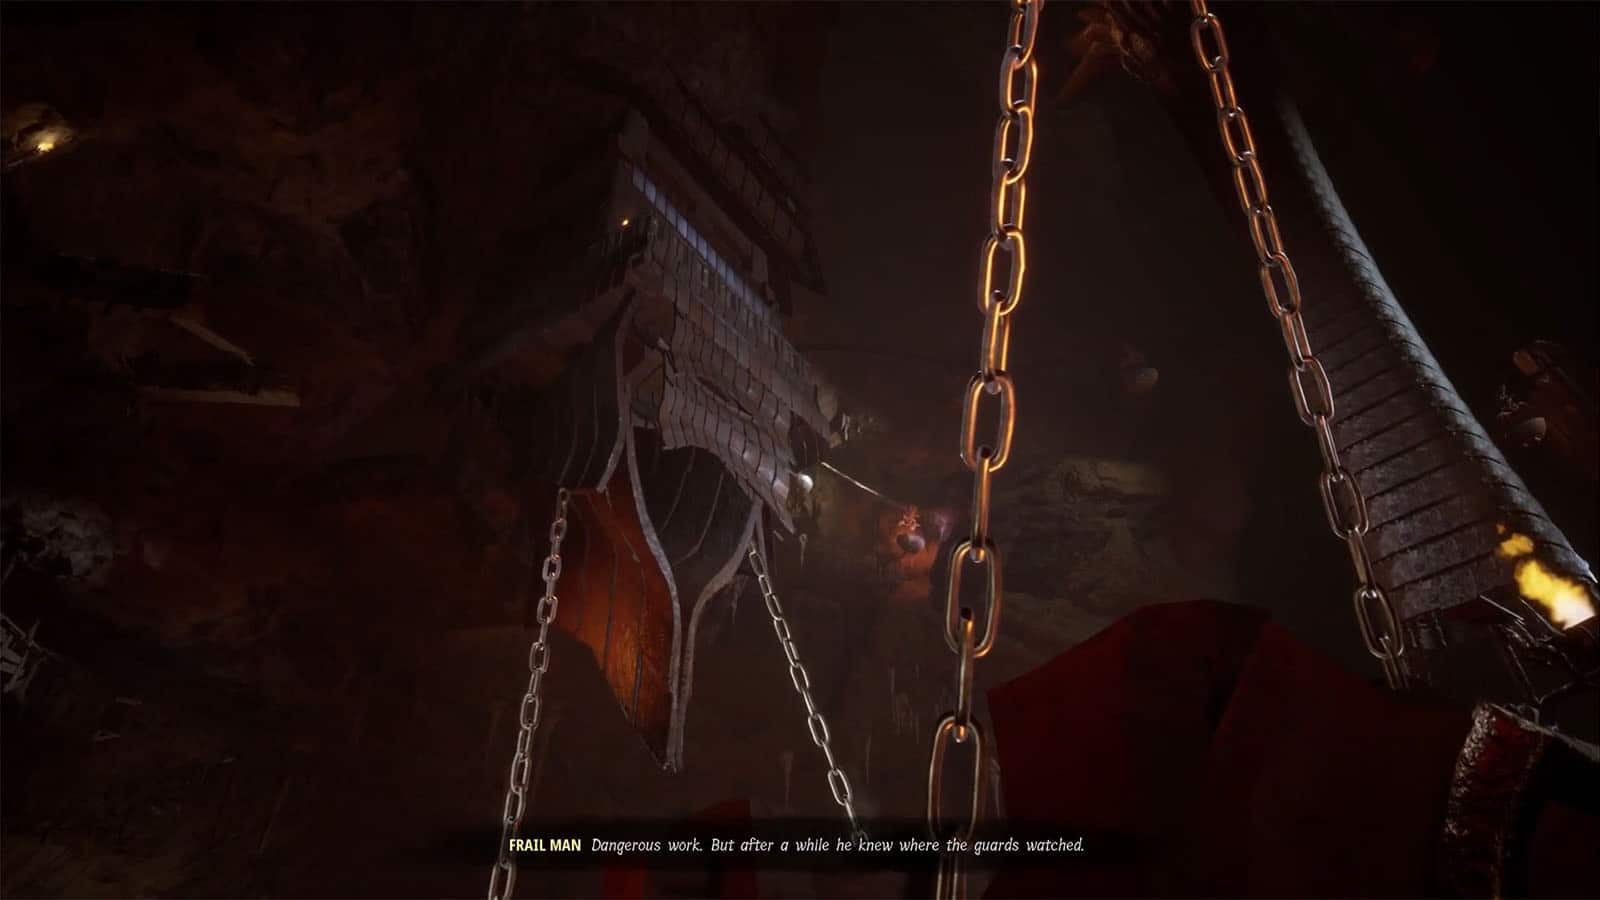
Follow the marker back your cell, but check the nook on the right of the passageway to find an Old Metal Spoon Collectible. Go near the window to play another cutscene where the Frail Man tells you about the Halls of Grond.
Black Pits – Dirt-eater
On your second day, make your way back to the wagon then down to the Mine Orc.
The Frail Man will tell you about the next task, which is to set off an explosion down in the mines. Take a red stone which you will need to ignite the explosion.
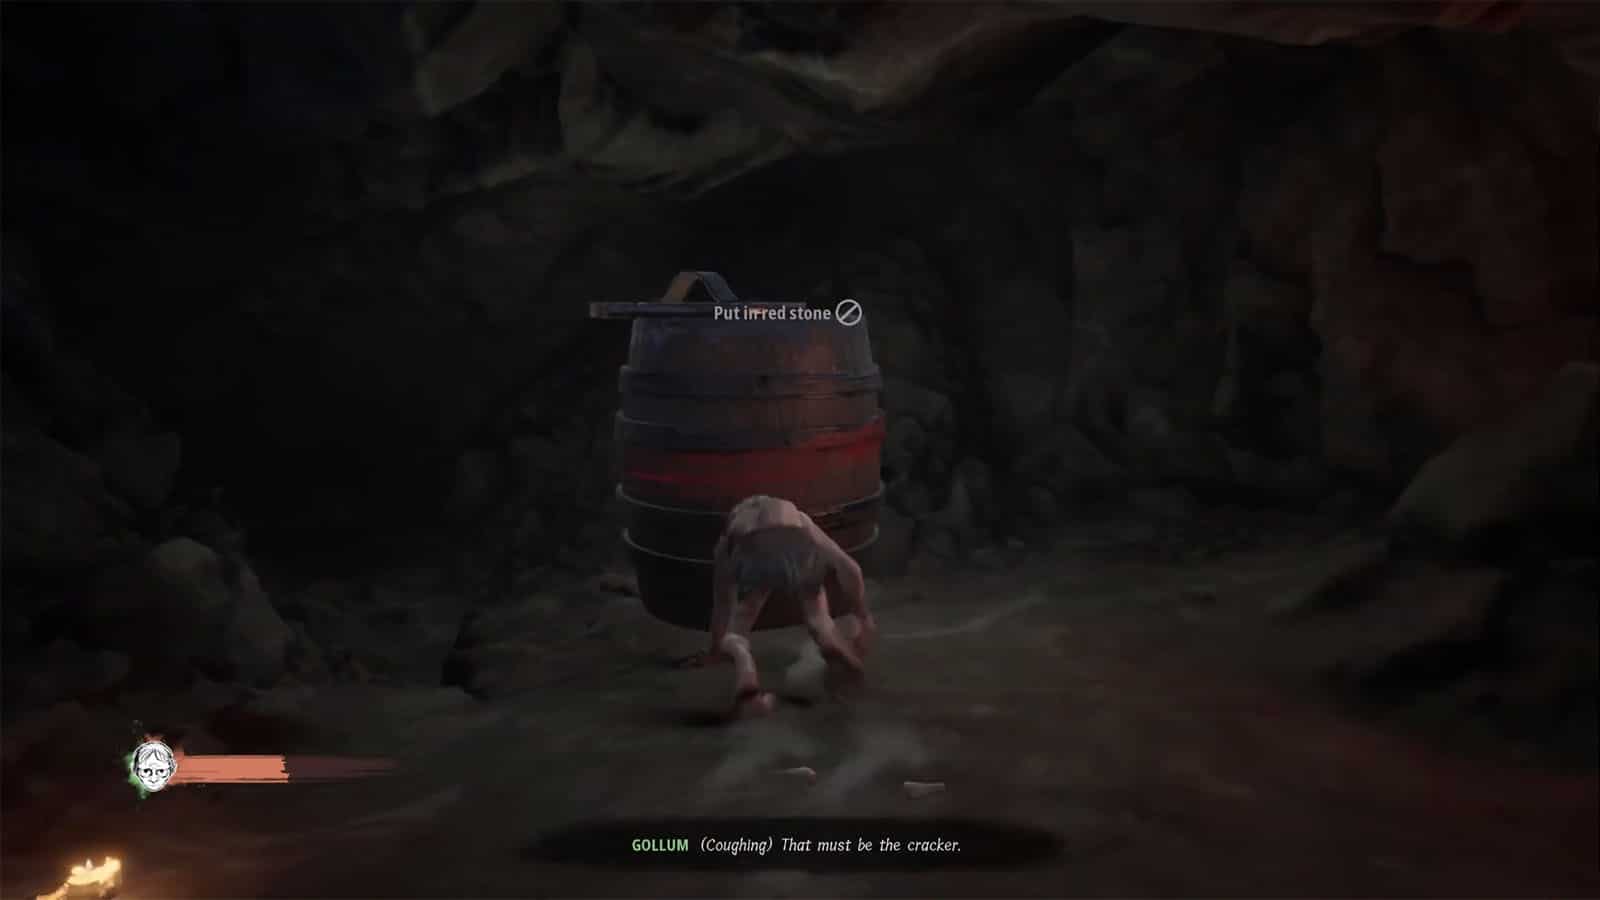
Crawl into the hole and then climb down into the lower mines. You will eventually see the red barrel that you need to blow up. Place the red stone on it and then run back up to the surface.
Do the same thing again, on the next tunnel. This tunnel will lead straight to the barrel and once you detonate it, crawl back out of the tunnel quickly.
Follow the Fail Man again to the third tunnel. This tunnel is just short, but you will have to jump over some gaps to reach the barrel.
After blowing up all three barrels, go back to the Mine Orc to report your progress.
Another cutscene will play with the Frail Man talking about an opportunity to escape.
While heading back to your cell, the Cruel Orc will threaten you for your bread. You can either give it to him, beg, or threaten him back.
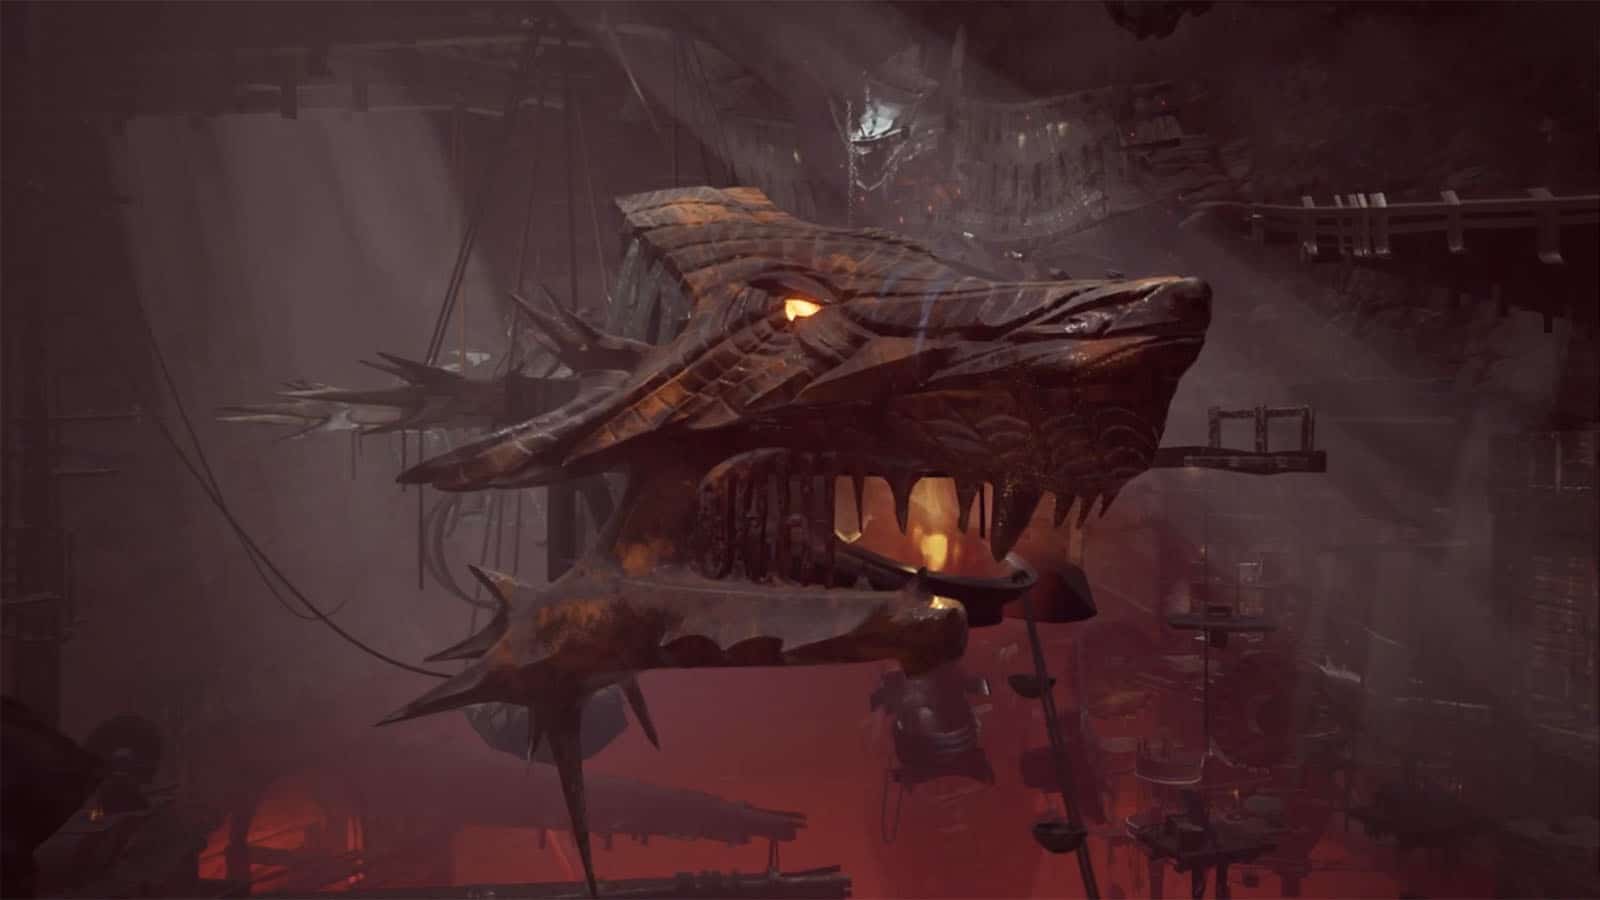
Black Pits – The Rattler
Follow the Frail Man again as you go past the Beastmaster and tell you about the Mormak. He will then lead you to the Mormak flow. Go through the tunnel that he opens up and then jump down to the waters below. Swim through the canal until you see the Rattler.
After the cutscene, prepare to run to your left as the borocs will chase you down. Jump across the fences until you reach the ledge where you will be safe. Continue climbing up the ledges until you reach a pipe.
Climb up the walls of the shaft to the top. Once you are on the top ledge, go through the tunnel in the wall. You will then arrive at the guards area where you will see an overview of the path that you have to take.
In this area, you will have to stay clear from being detected by the guards. Keep away from bright areas and stay in the shadows as much as possible to avoid getting spotted. The guards have limited eyesight and won’t see you as long as you stay in the dark. There are lamps that you can also shut off to either darken an area or get a guard’s attention. Take your time observing their patrol path as well.
Pick up the stones along the way as you can throw them at objects as a distraction. You will arrive at a section where a guard is blocking the path that you need to take, so throw a stone on the metal object in front of the guard to make them move away.
Once you make it past the guard, you will arrive at another section where you can see the Rattler closer than before. Continue sneaking past the guards by distracting them and crossing the ledges above.
Once you arrive at the Rattler, hide underneath the wagon inside it.
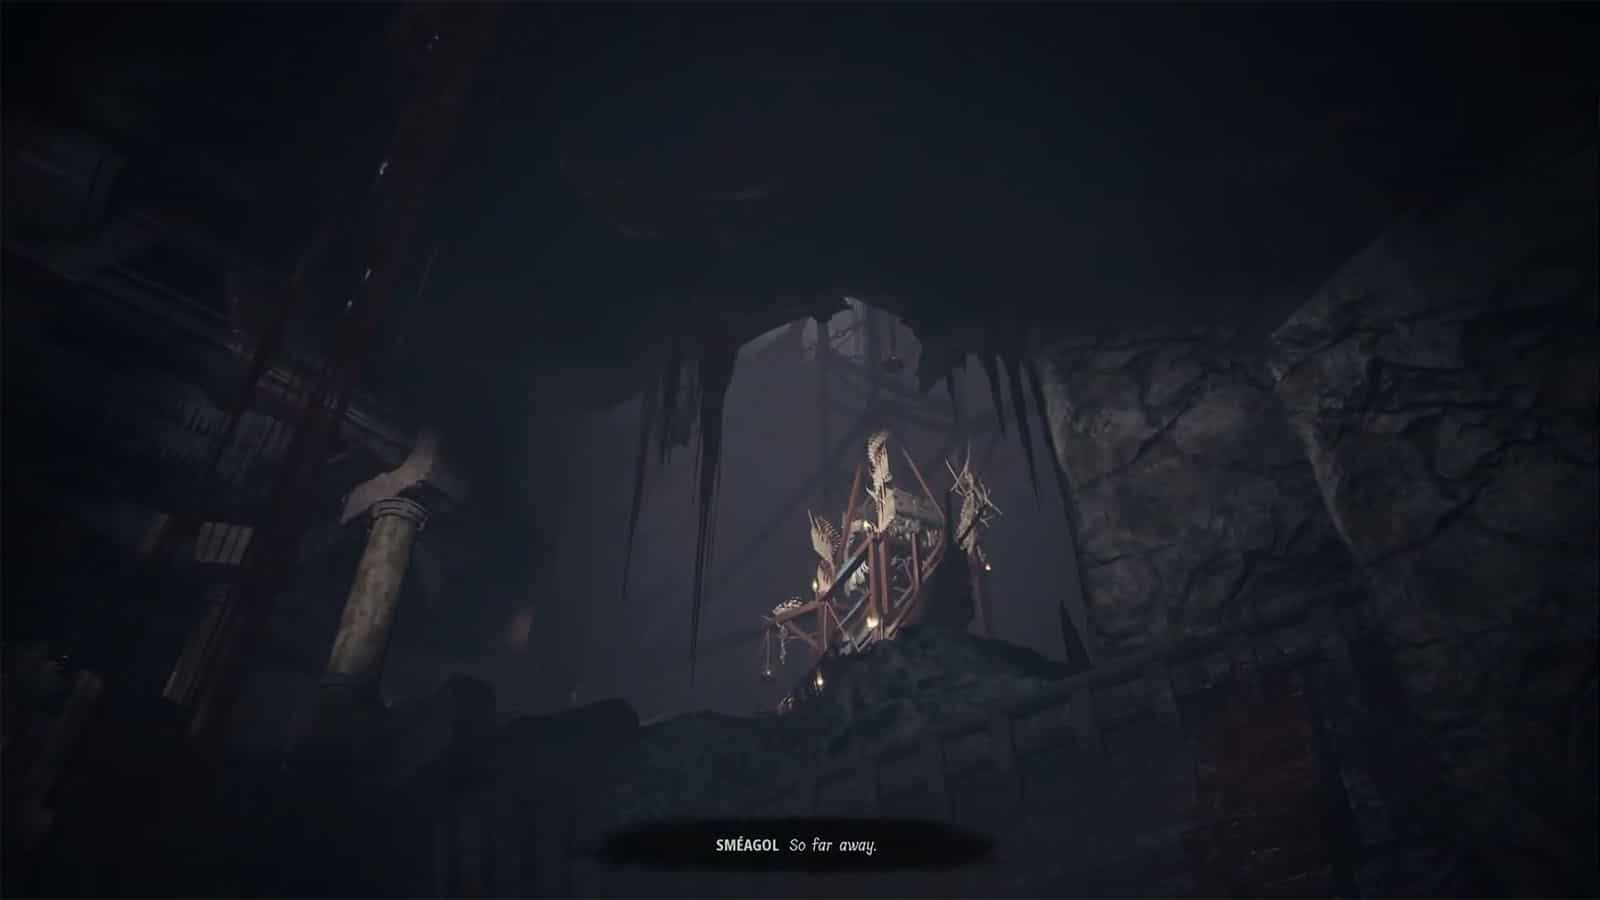
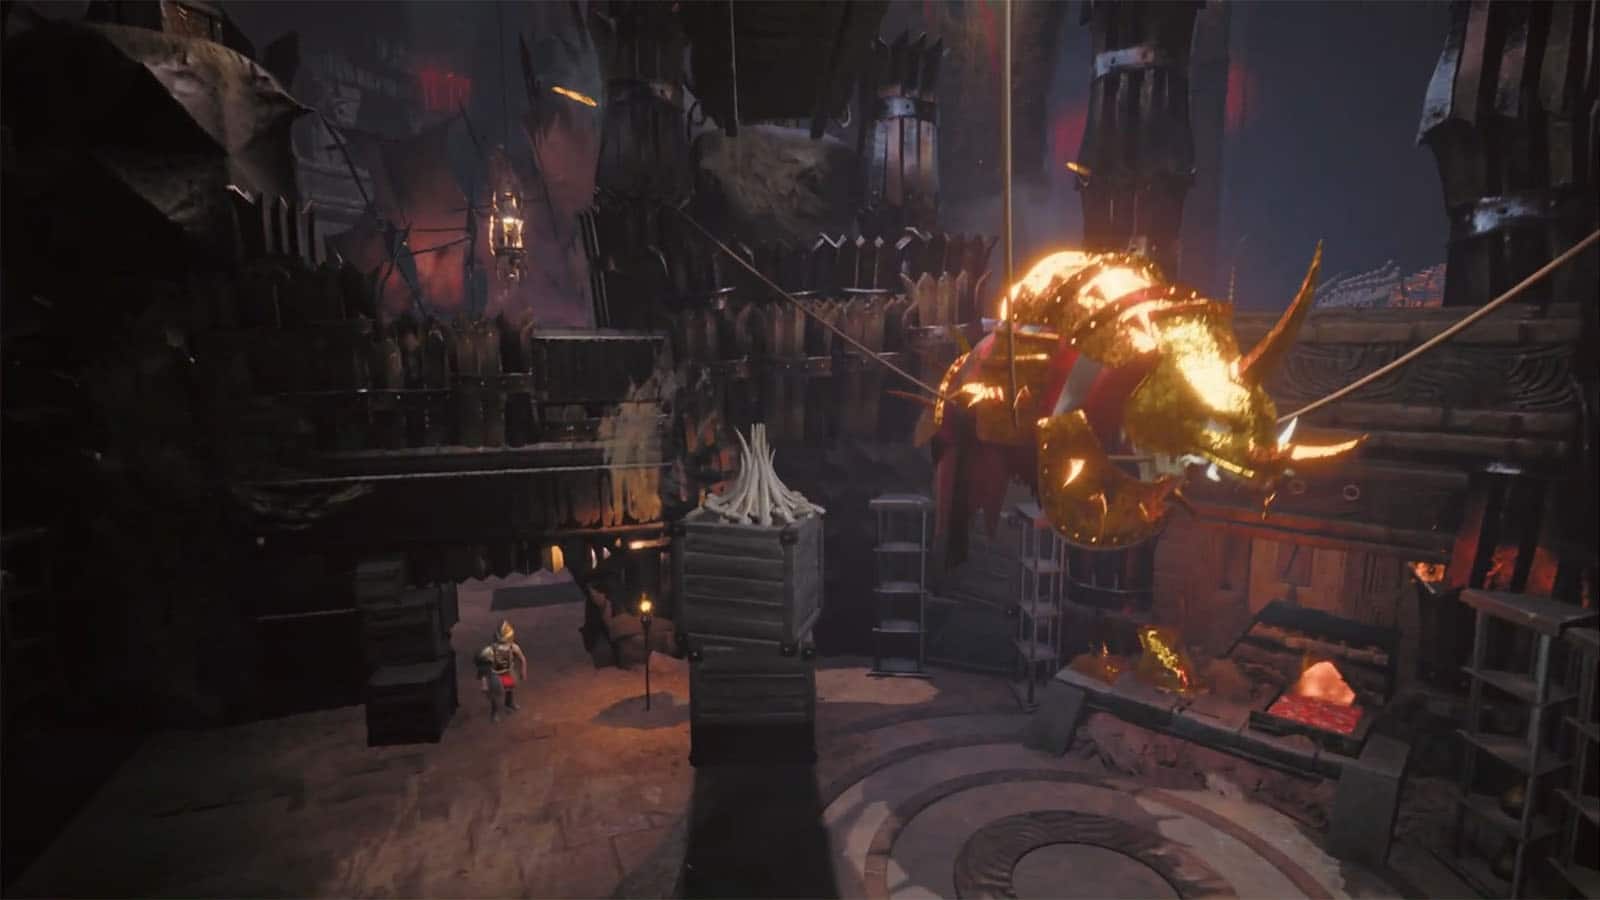
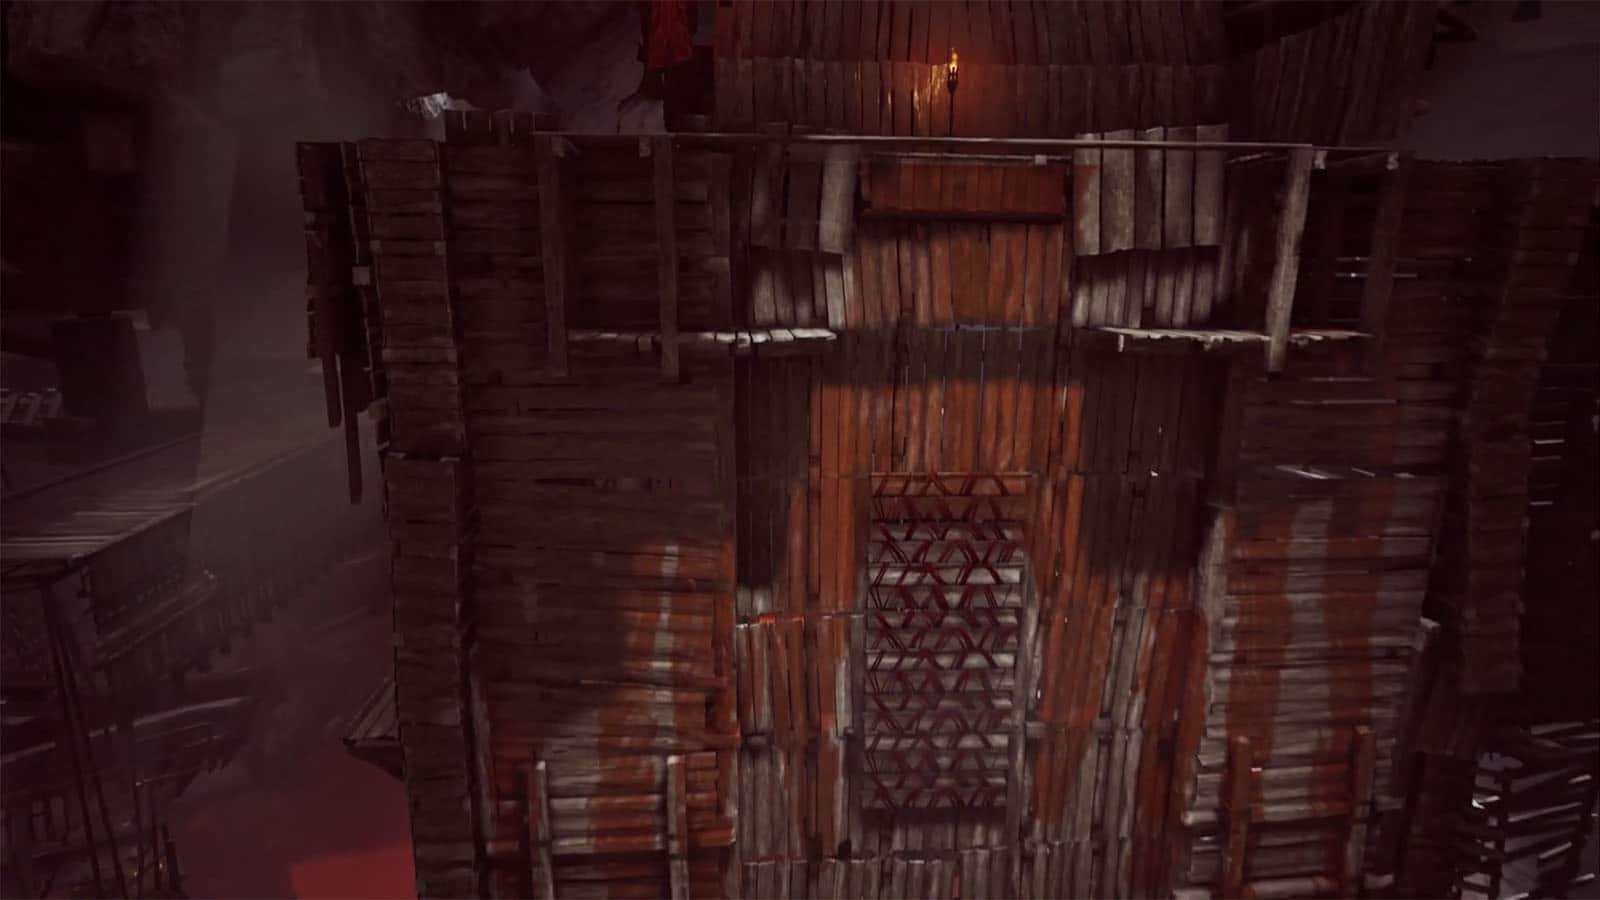
Black Pits – The Halls of Grond
Once you arrive at the Halls of Grond, you will have to make your way to the metal building on the other side of the hall. Take the low path first by jumping down into the water, then following the path through the platforms. There will still be guards in this area, so stay out of their sight and take alternate paths if possible.
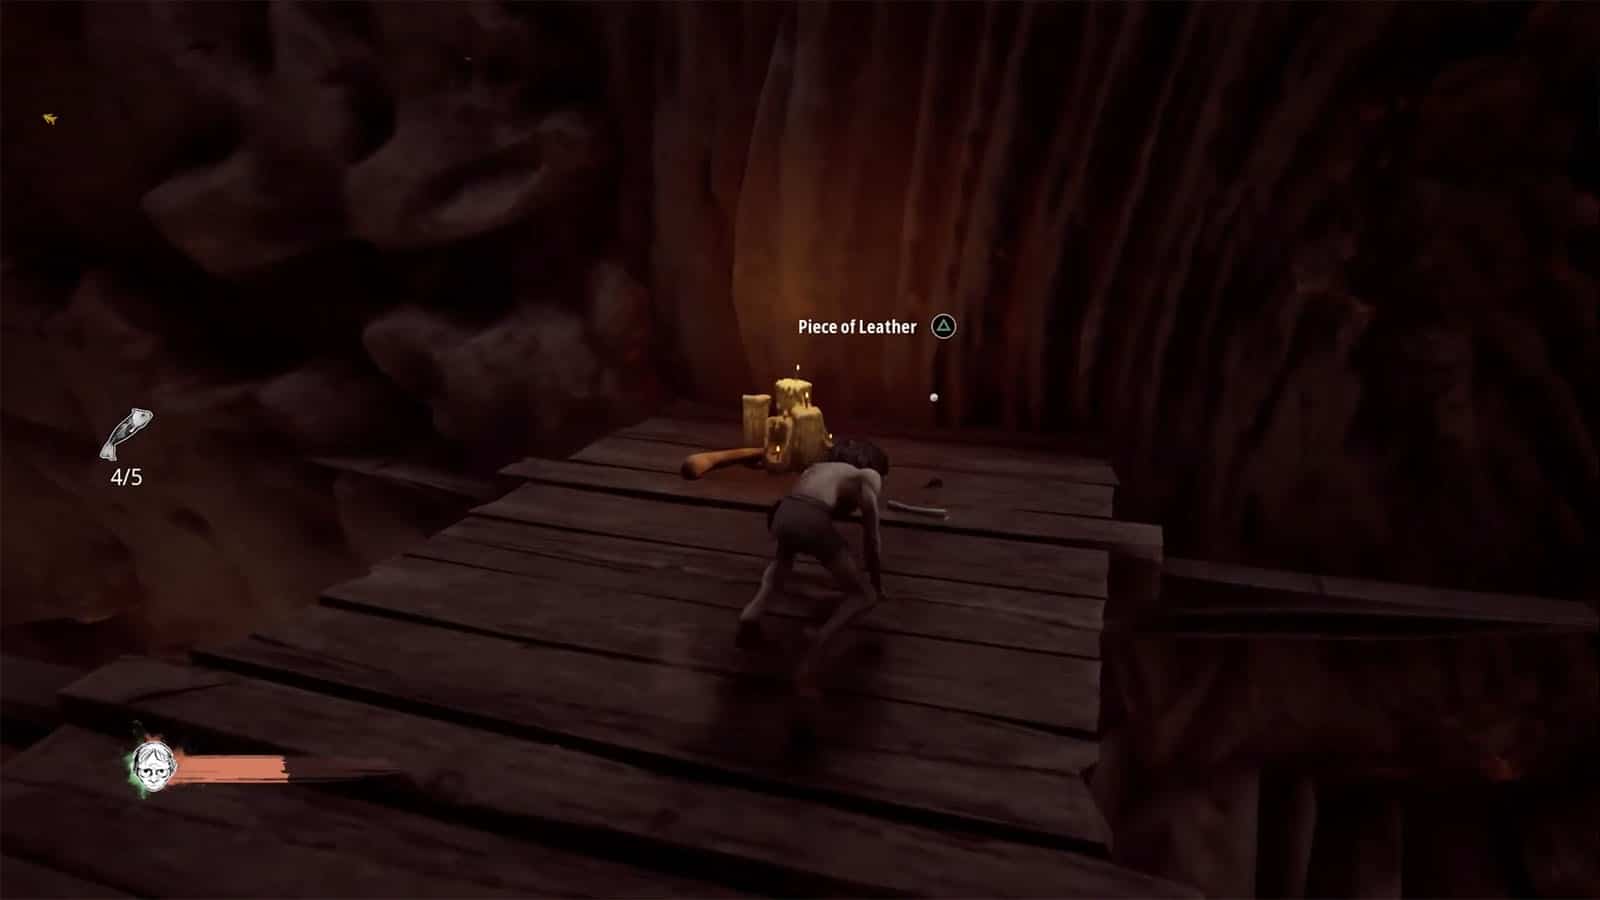
Once you get closer to the machineries, you can hang and ride on to the poles on the wheel to get to the higher platforms. Behind the big upper wheel, just below the marked location, is a path that leads to the Piece of Leather Collectible. Look for a pathway below the next objective and you will find the collectible at the end of a platform. Continue forward and once you reach the first rotating metal wheel, ride it all around and land on the post attached to it. The platform on the end of this post is where the Piece of Metal Collectible can be found.
Once you arrive at the metal building, head down to the lower level where you will find a lever. Pull this lever to make the crane move. Then head towards the platforms and jump across them to reach the moving platform. Continue moving through platforms, walls, and ledges while following the marker. You will arrive at a bar that goes to nowhere; once you reach this, hang on to it, then flip the other way to see the path up above.
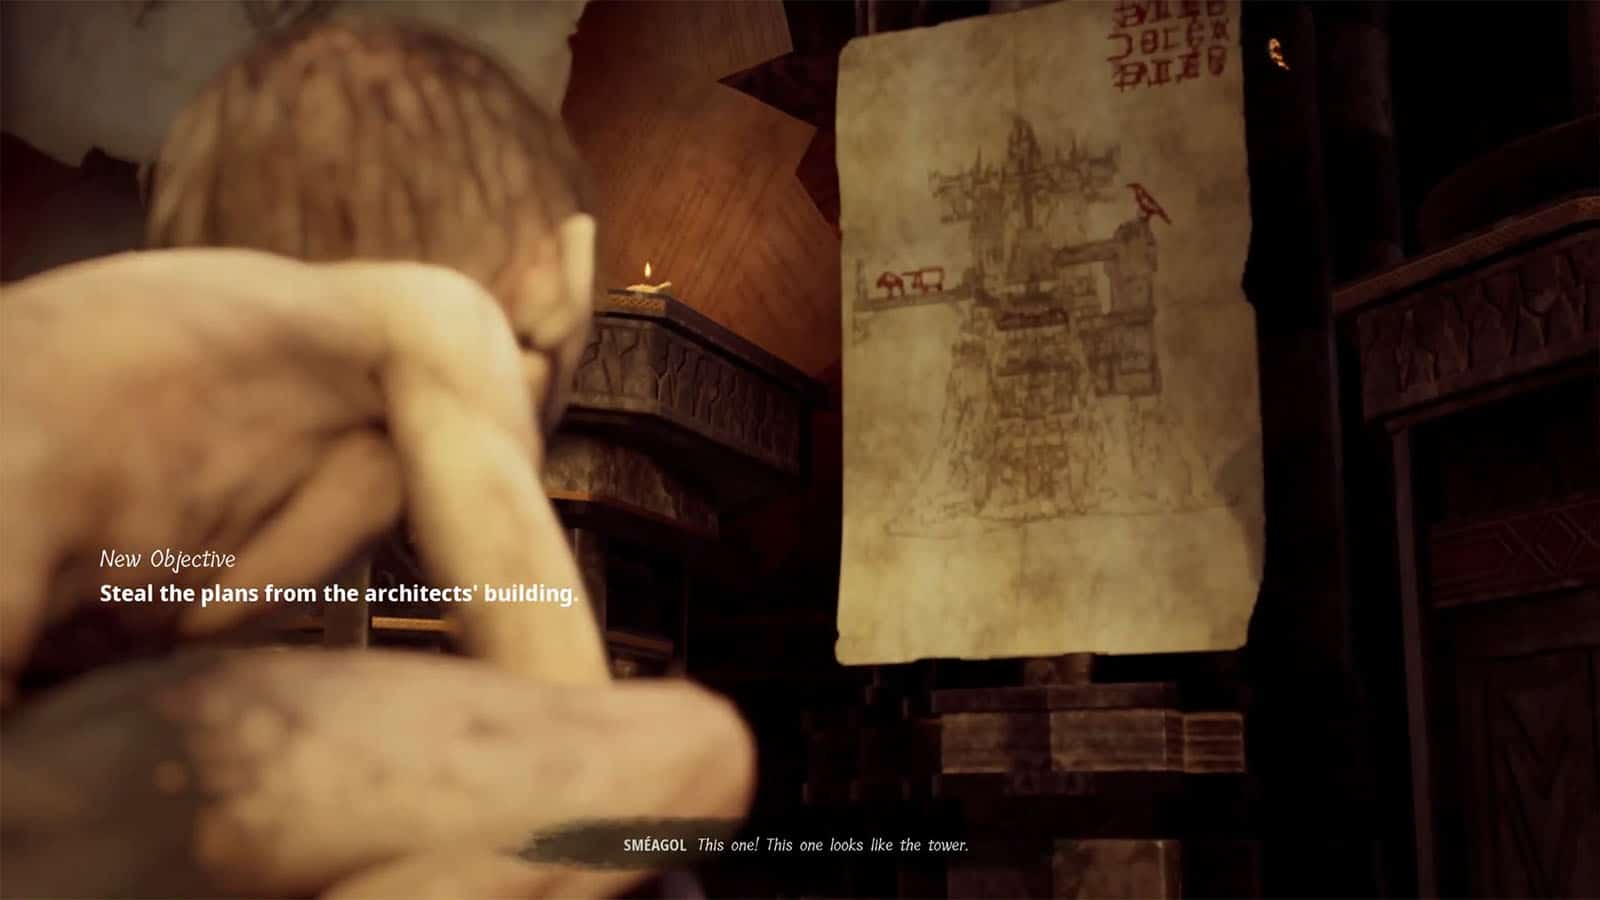
You will then arrive at the architects’ building. Climb the building and sneak past the guards until you arrive at the top room. There are plenty of maps to look at, but you only need to look at the one that shows the tower at the far right corner of the room. After getting the map, make your way to the wagon to leave the area, but you will be caught once the wagon reaches its destination.
Black Pits – The Sabotage
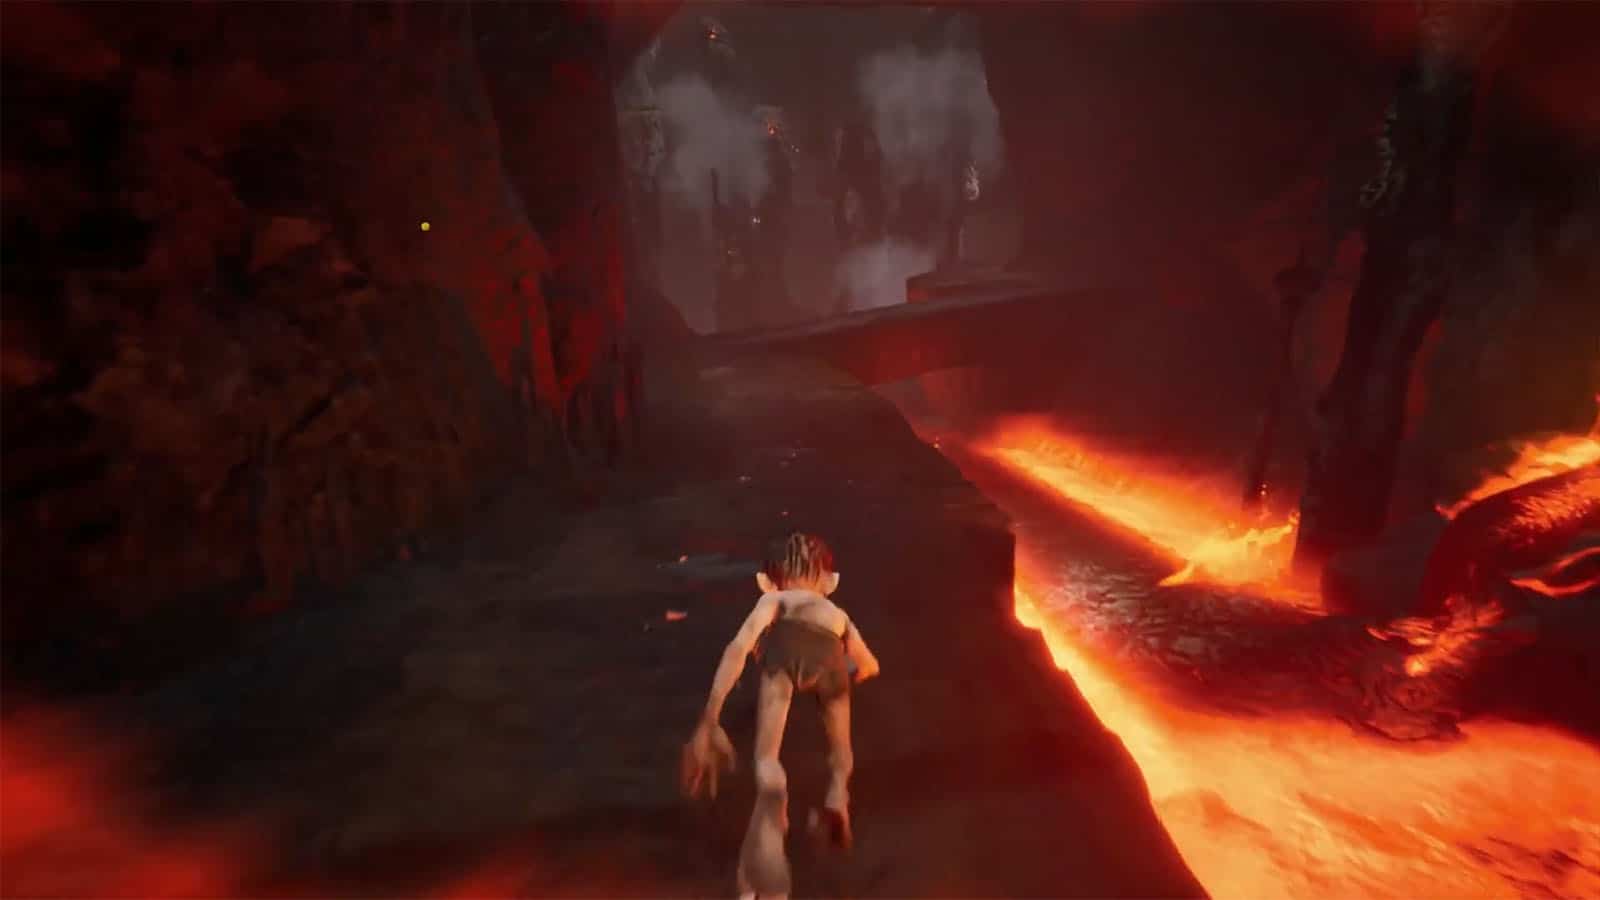
You will then be taken back to the Mine Orc and as punishment, you are sent into the fiery lakes to get tags from dead miners. After getting the third tag, you’ll pass out and wake up with the Frail Man.
The Frail Man will then enact the escape plan and tell you to go high up to the bridge and blow the explosive barrels in the storage room. After putting the red stone on the marked barrel, quickly escape the area towards the wagons.

You will still be caught and a Cruel Woman will ask you who helped you plan the sabotage. You will then have to choose who to blame and then convince either Gollum or Smeagol about it through five tries. If you choose to blame the Frail Man, he will be executed. If you choose to blame the Cruel Orc, you can then apologize or blackmail the Frail Man once you get back to your cell.
See next: The Lord of the Rings: Gollum Chapter 3 The Breeder Guide


