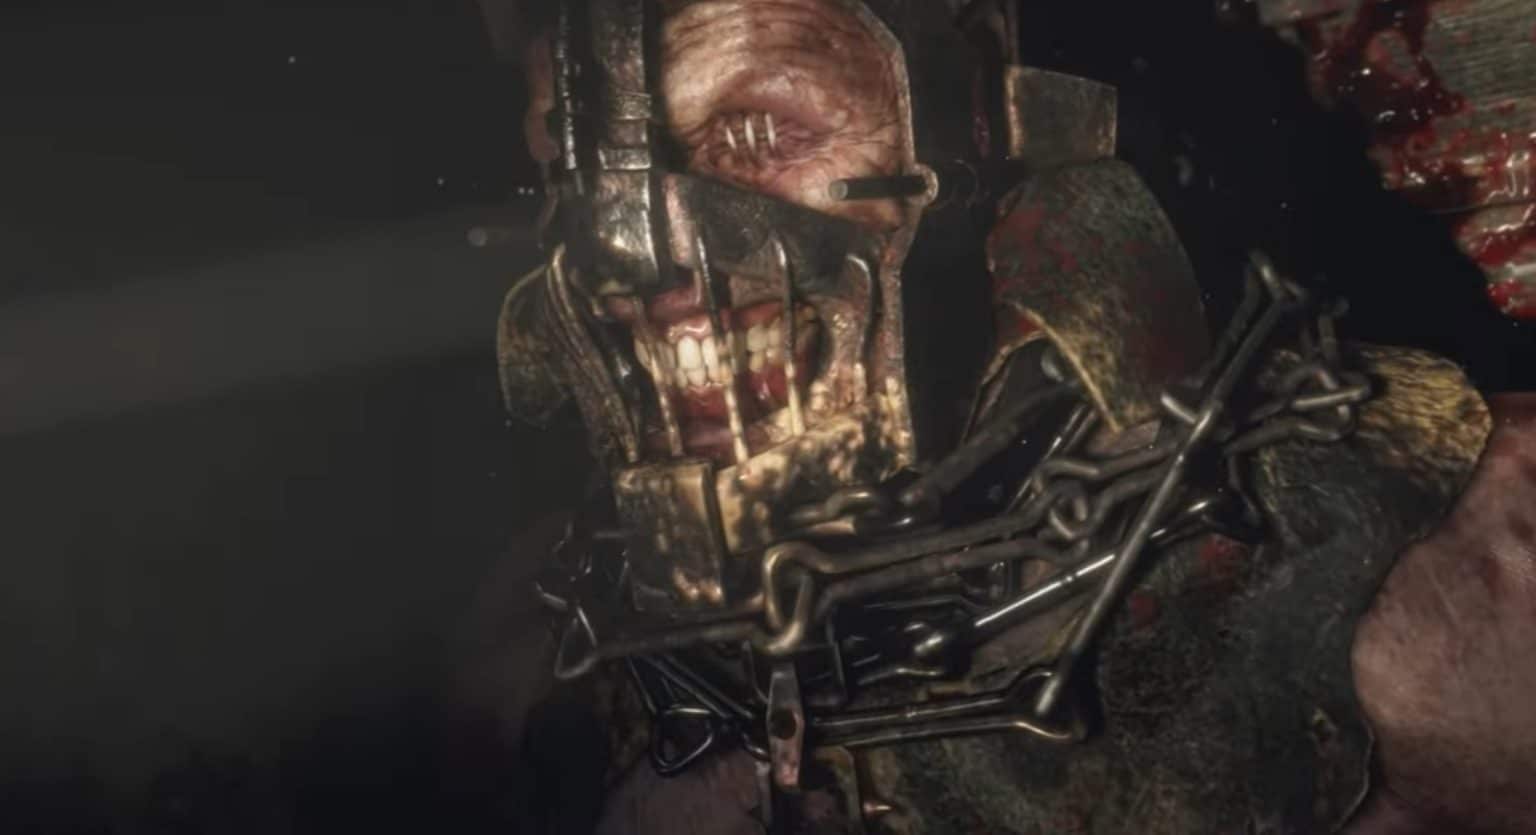
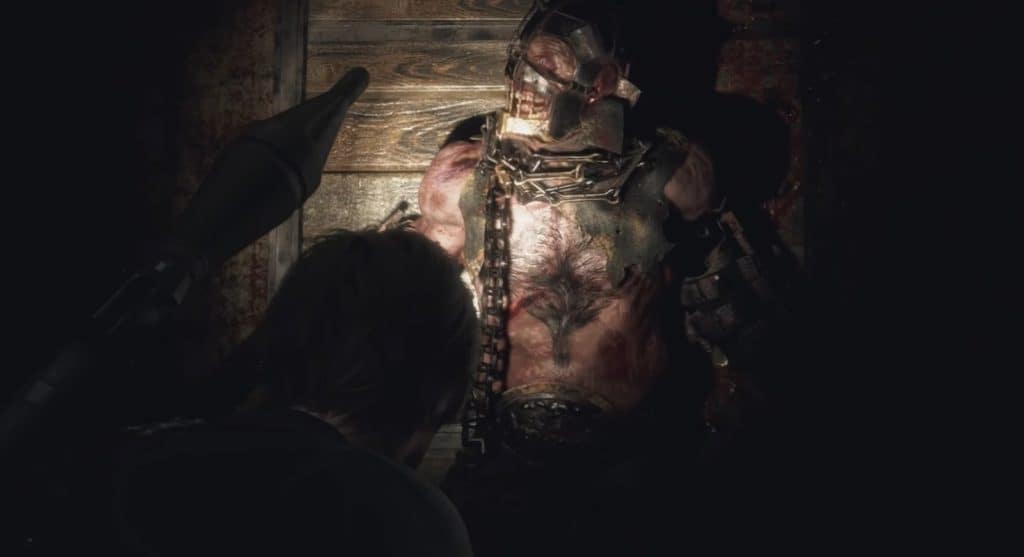
The Garrador are yet another failed experiment by the Los Iluminados. The experiment sees hosts undergo physical enhancement via the Plaga parasite. They succeeded in granting subjects immerse combat prowess but it came at the cost of losing control and going on an indiscriminate rampage.
Having lost any form of control, it was then decided that the victims’ eyes were to be sewn shut and lock them away in dungeons. The act only heightened the Garrador’s other senses, particularly their sense of hearing. Leon will have to think fast in order to dispatch them once and for all.
How to Defeat Garrador in Resident Evil 4 Remake
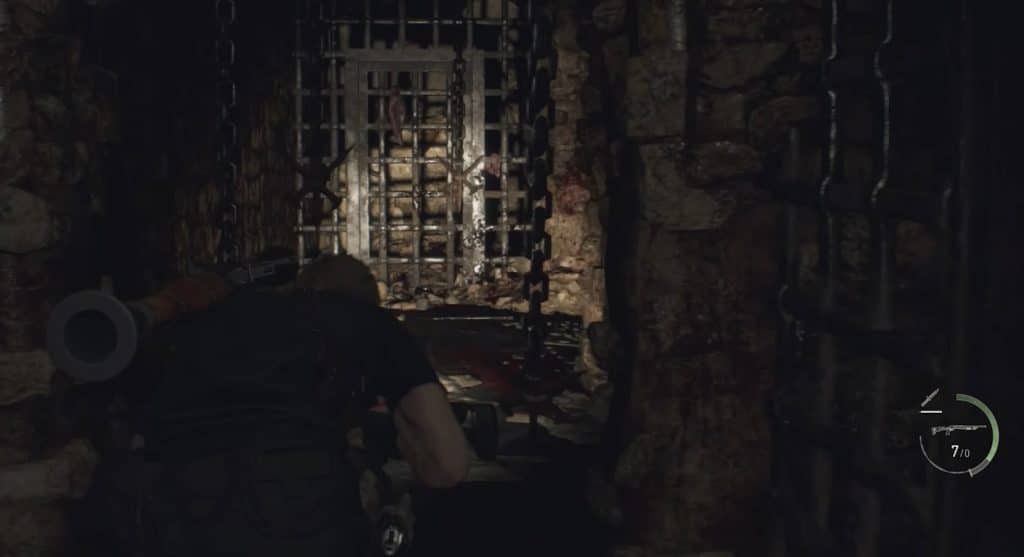
The encounter starts with Leon slowly walking out of the dungeon cell. Any sudden move right now will cause the Garrador to lash out and instantly kill Leon. If you can help it, crouch down and start walking down the corridor to the room at the end of the hallway.
The moment you leave the cell, you will be greeted with a bunch of spikes hanging from the ceiling. There’s no way to avoid them and if touch any one of them, it will cause the Garrador to go on a rampage. The Garrador will break free of his chains and will directly to the source of the sound. Stay calm and continue crouch walking to the room at the end of the hall.
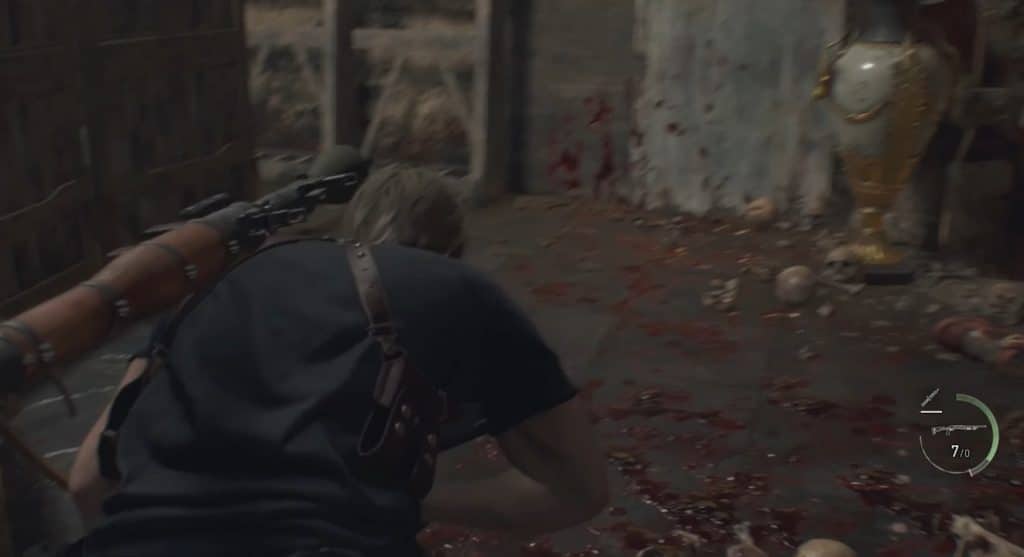
Once you enter the room with the iron gate, immediately turn either left or right while avoiding anything that can give away your position. The Garrador should be in the same room shortly. We highly advise hiding behind the folding covers for extra security. What’s important is that you don’t produce any sound until you’re ready to strike.
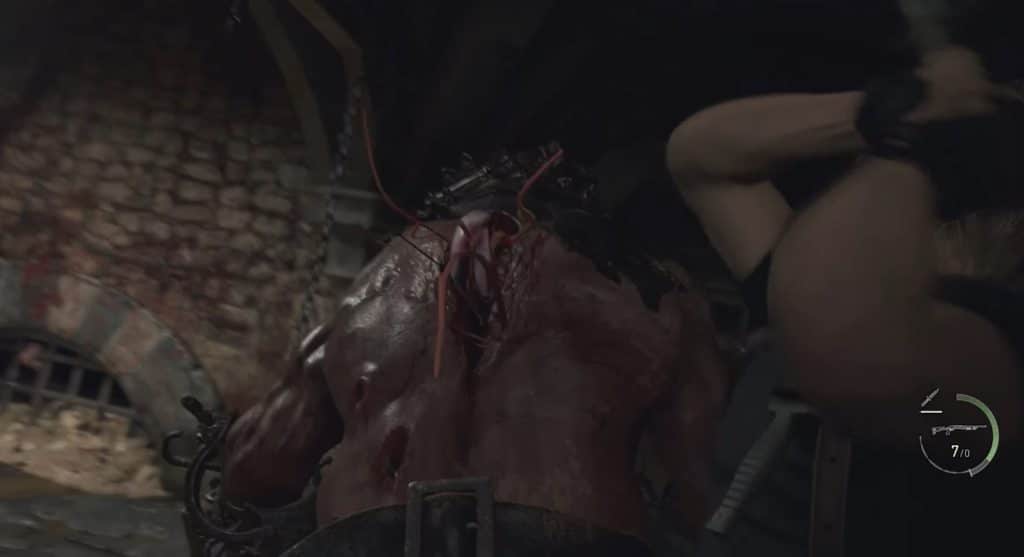
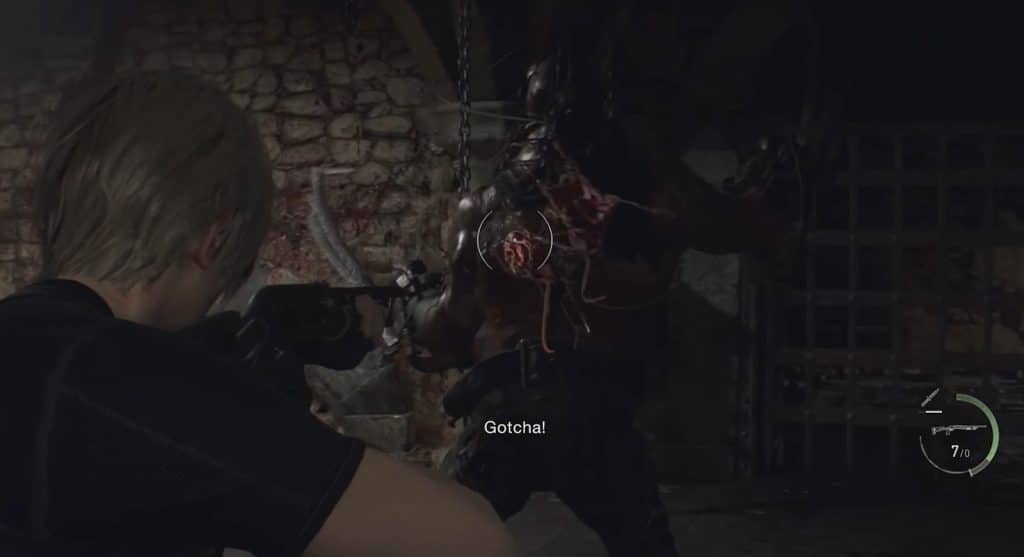
At this point, the creature will come rushing into the room, and if you’ve been quiet this time, he will stop in the middle of the room as he tries to figure out where you are. Now would be the perfect opportunity to backstab at its one weakness – the Plaga parasite in his back.
After the animation plays out, you will have a few seconds to pump it full of lead while it is in pain. In the right conditions, you can kill it before the creature even has a chance of pivoting to your location.
In higher difficulties, however, you’ll need to employ a bit of guerilla warfare and quickly crouch walk out of danger. It is rather hard to get the jump on the Garrador two times in a row using the same techniques. So, you’ll want to switch things up by shooting the vase in the corner to trick it into showing its back to you. Be quick as you don’t want to be in an extended fight with no cover to make noises.
It should be crystal clear by now that there’s no way to defeat this monster in a head-on fight using conventional weapons. You’ll have to use something like a rocket launcher or something better to instantly put it down. You also won’t be able to stagger it on account of its legs being armored.
This is a test of patience more than anything else. Just know when to strike and you should be able to make quick work out of him.
Rewards for Defeating Garrador
Once you’ve put down the monster, you are free to pick up the Red Beryl that’s spawned at its death location.
And that’s it for this Garrador boss fight guide. Good luck out there, agents.


