")
Rise of the Ronin has a lot of unique equipment pieces that help your character stand out among the many Ronin already present in the game. But this is still a game where stats matter and sometimes even the best-looking armor pieces don’t necessarily have the best stats for your character.
In this guide, I’ll tell you how to change your character’s appearance from the armor they wear to the weapons they carry on their side using the game’s take on the transmog system, Redesign.
For those who would want to know, this article covers a part of the early game. Still, a Spoiler Warning is going to be issued for any entries and images you might see on this article.
How to Unlock Redesign Feature in Rise of the Ronin
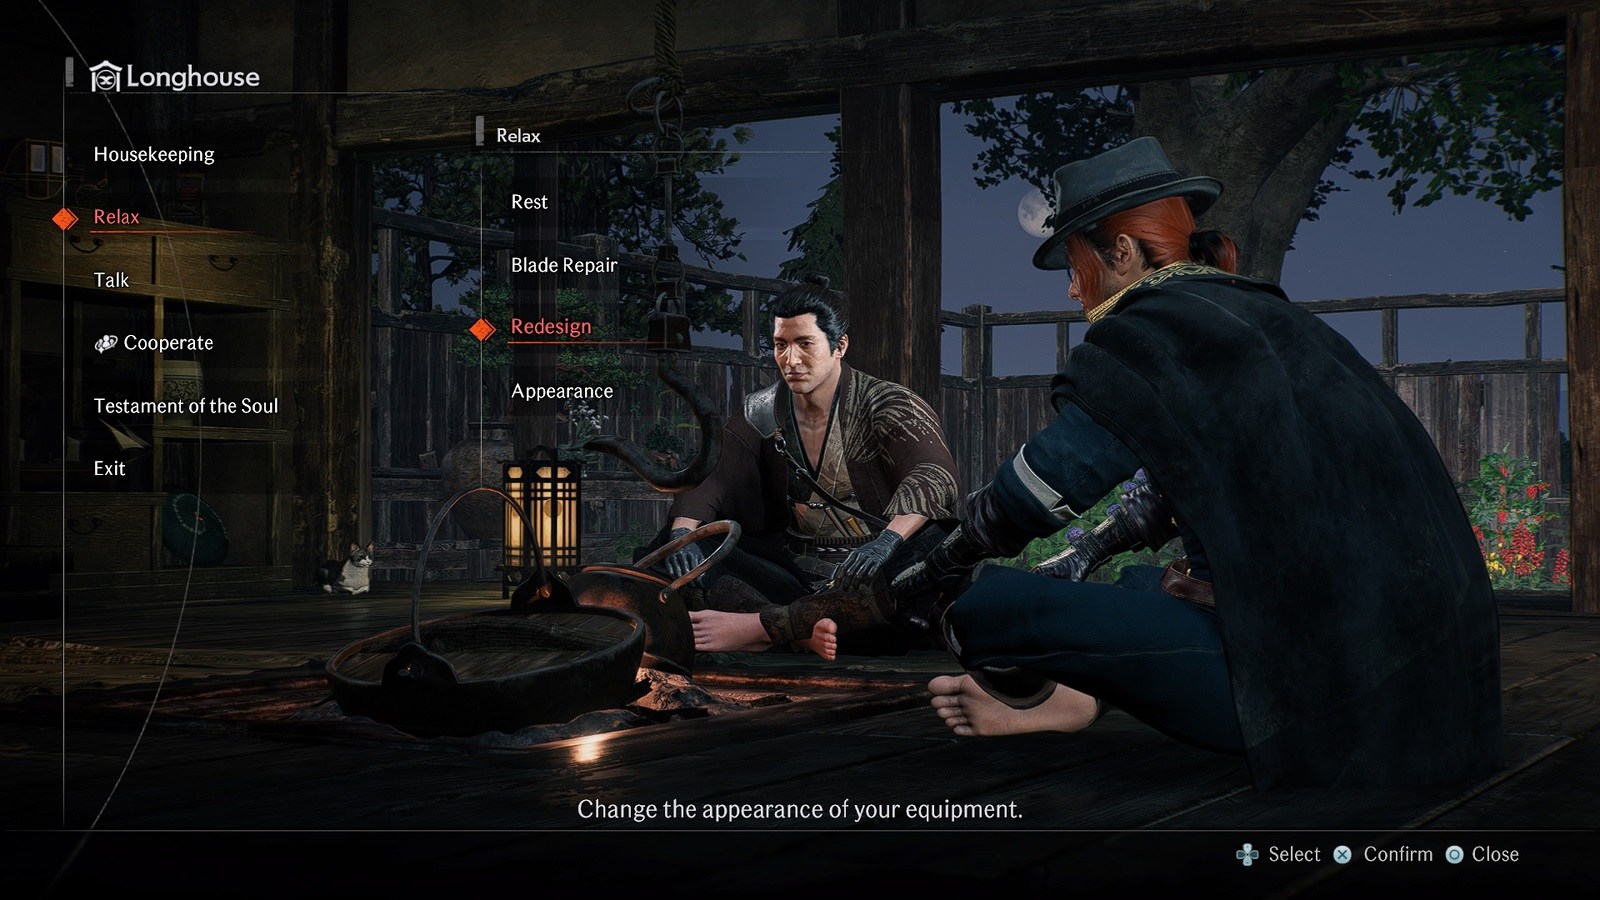
The Redesign feature is unlocked as soon as you gain access to the longhouse. (AKA your safe house) You get it pretty early on in the game after you’ve had a short tour of Yokohama alongside Ryoma.
To access the Redesign menu, go to your long house, and under the ‘Relax’ you should see the ‘Redesign’ option. Select it and you’ll be brought to the Redesign menu.
How Does Transmog Work in Rise of the Ronin
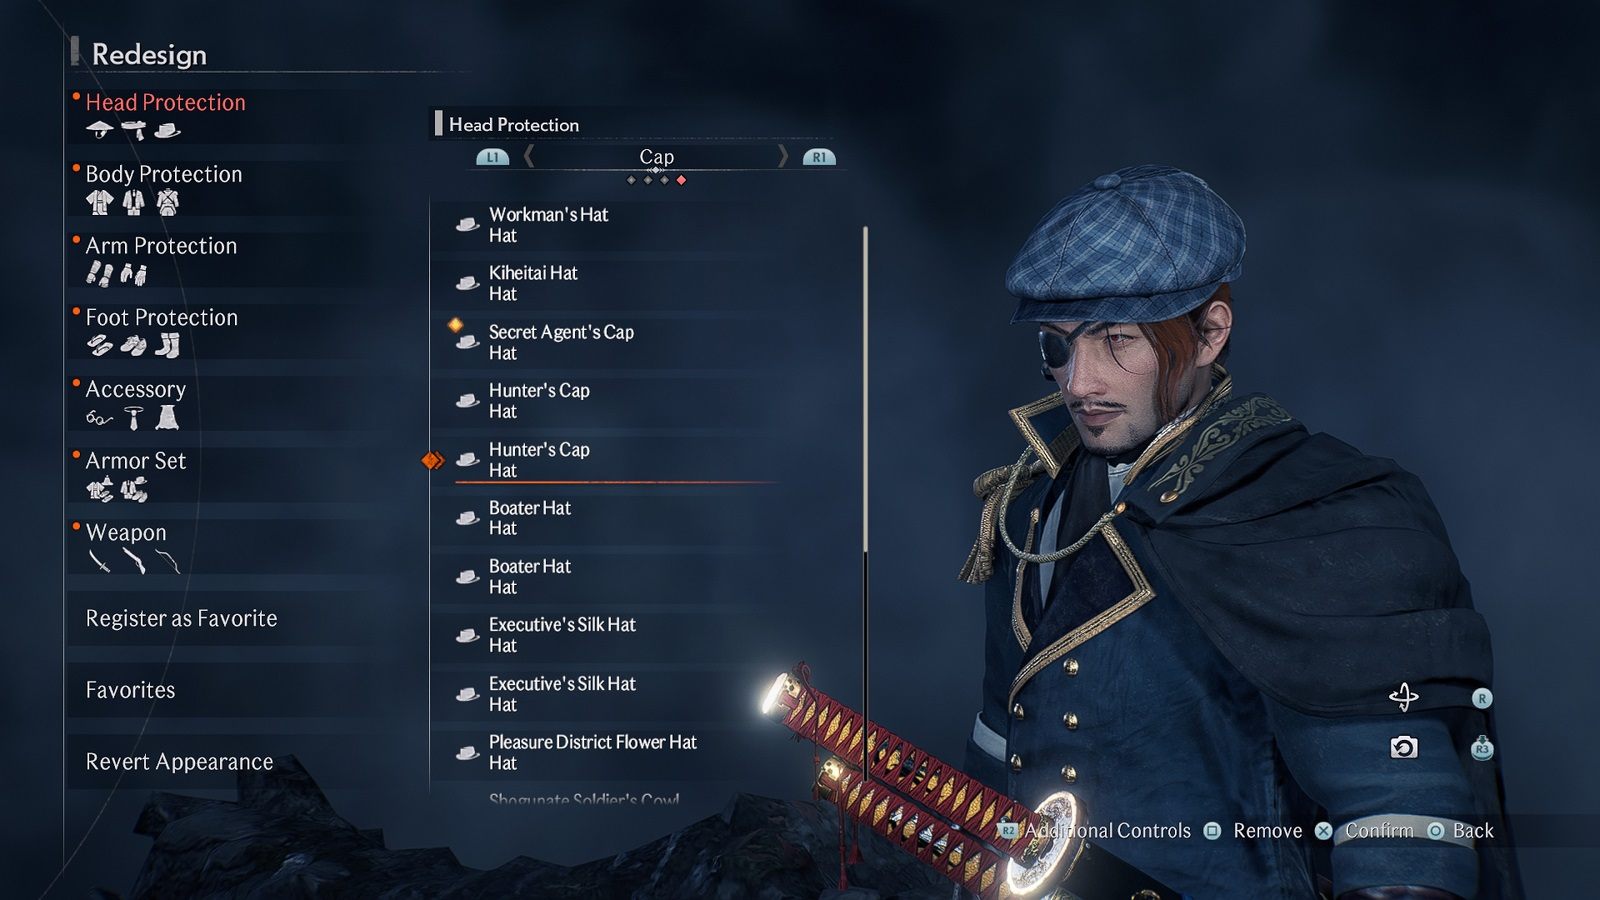
You don’t have much to work with at the start but that quickly changes the more items that enter your inventory. The way this works is every time you pick up a new piece of equipment, its appearance is recorded in the Redesign menu.
Even if you don’t have the item in your possession anymore, its appearance can be used on top of your existing equipment.
From the menu, you can choose the items you want to be visible at all times. This includes your armor, weapons, and your accessories. The weapons and armor can be found in chests or as rewards after missions. Some of the game’s most unique pieces of gear are even locked until certain conditions are met.
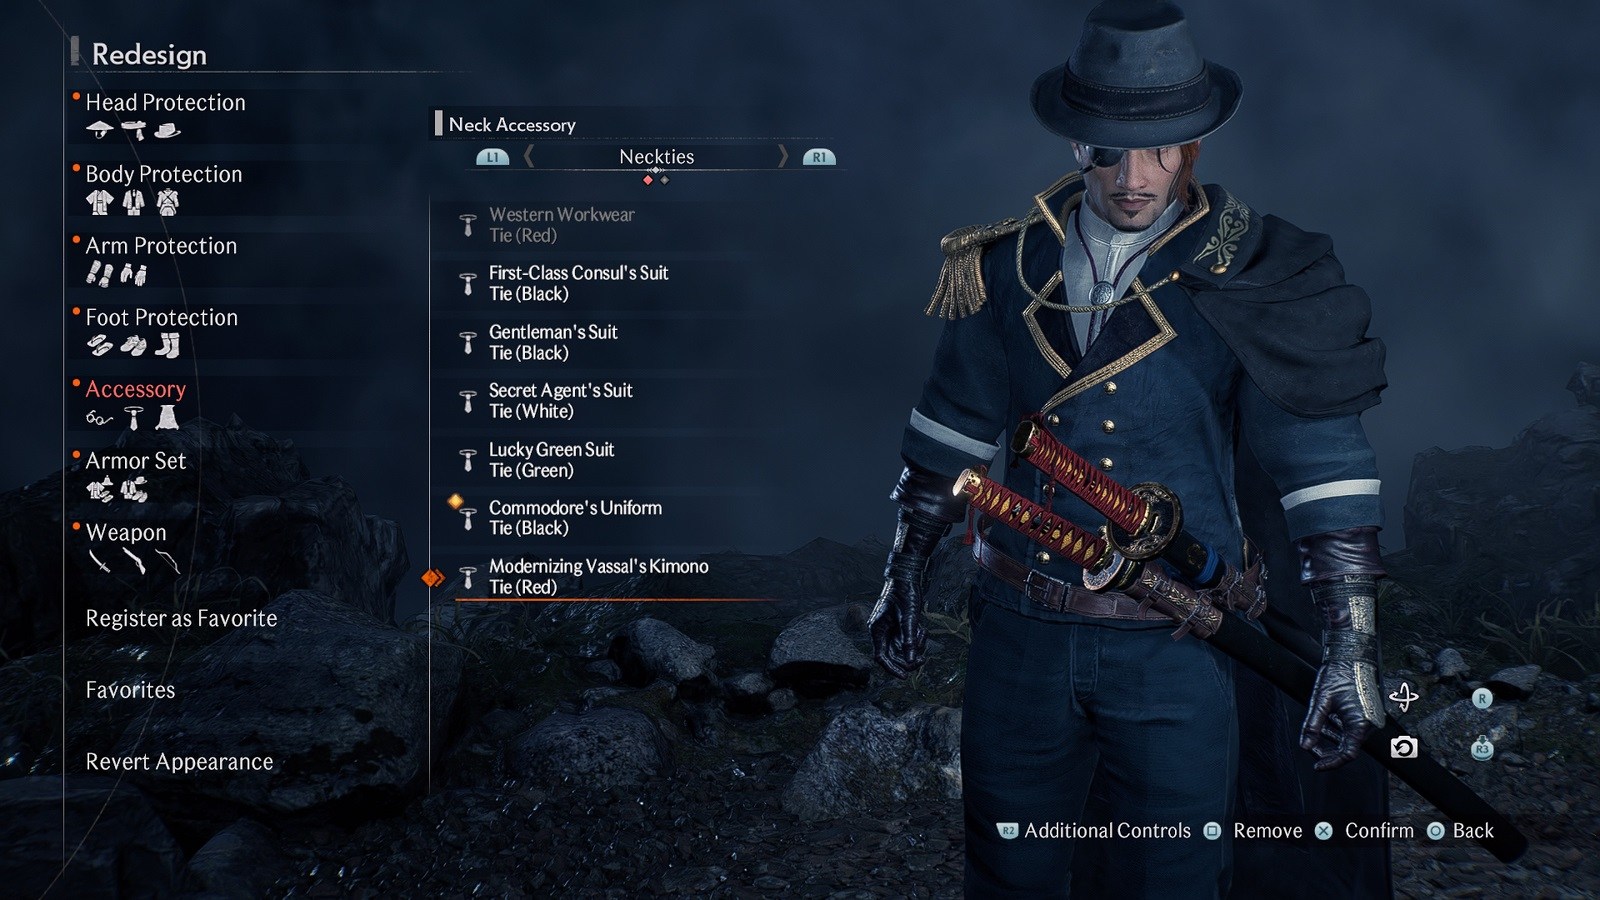
Some costumes, like the Commodore’s Uniform shown above, have options for its undershirt. These are unlocked naturally as the story progresses and you have unlocked the undershirt as part of another armor set.
This is also possible in the Kinomo armor sets where the undershirt can be replaced with Western clothing.
When changing individual weapons, you’ll need to select them one by one and manually change the weapon look you want for that armor set. Afterward, whenever you change to that weapon type, the currently held weapon will take on the physical appearance of the weapon you have chosen in Redesign. This includes the slashing sounds it produces upon contact with an enemy.
If you have the wooden swords equipped and you have an actual sword as the transmog, the weapon your character holds will be the transmog weapon. It will also have the sound effects associated with that weapon. But the game will recognize it as a non-lethal weapon – despite all the blood and guts you see on screen.
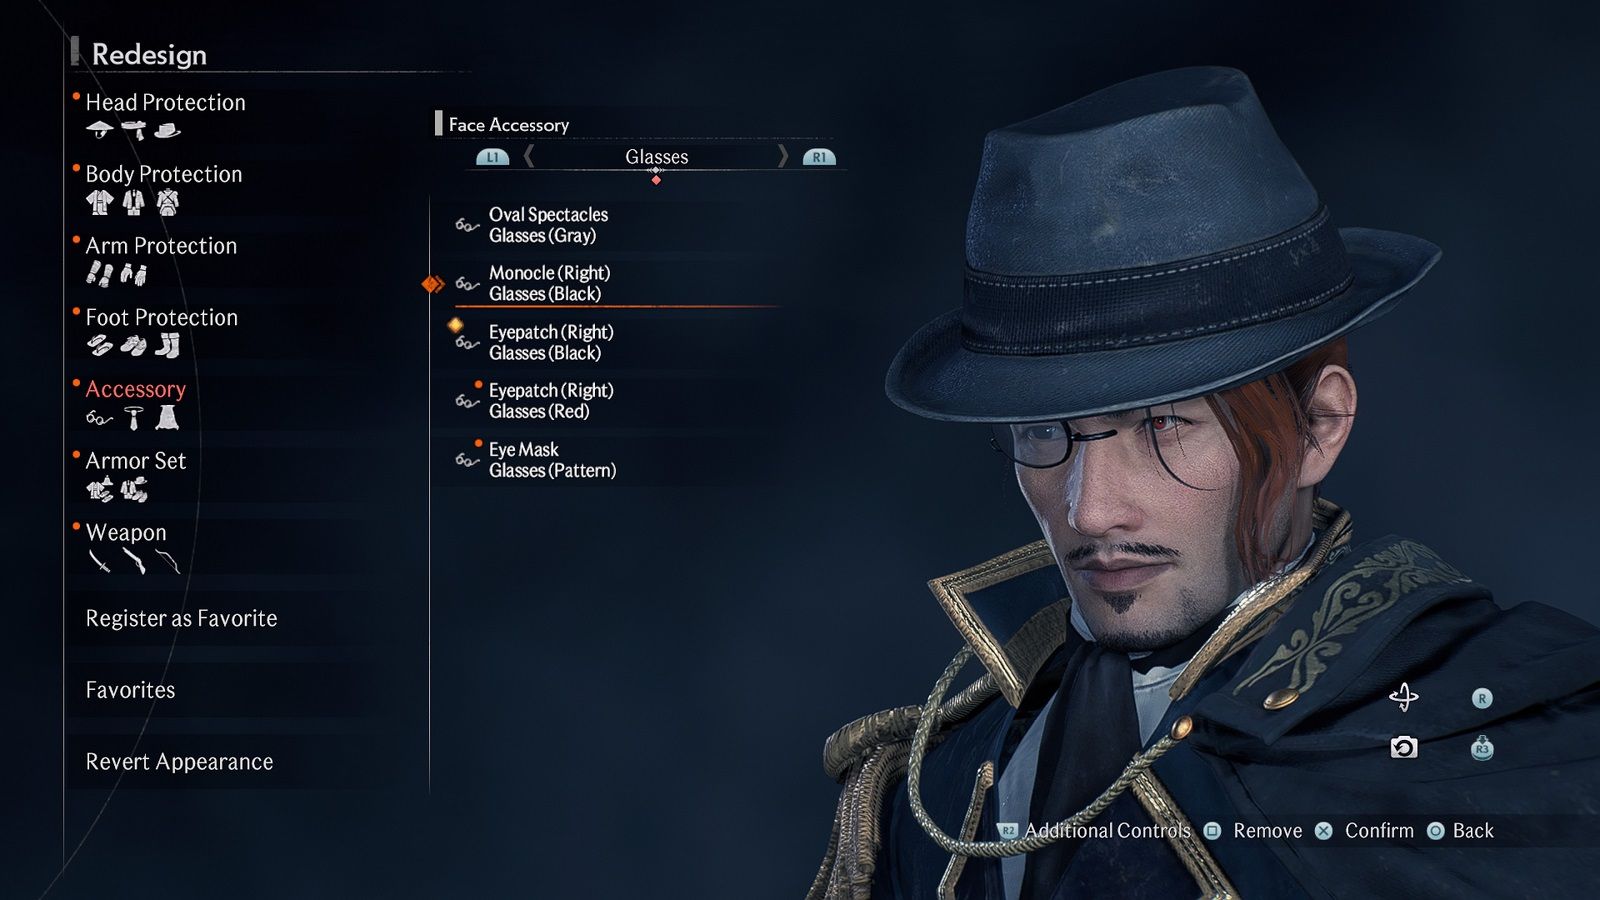
Other accessories can easily be swapped in and out using the Redesign feature. The only catch here is that many of the game’s accessories are bought from merchants in exchange for the rare Silver Coin currency.
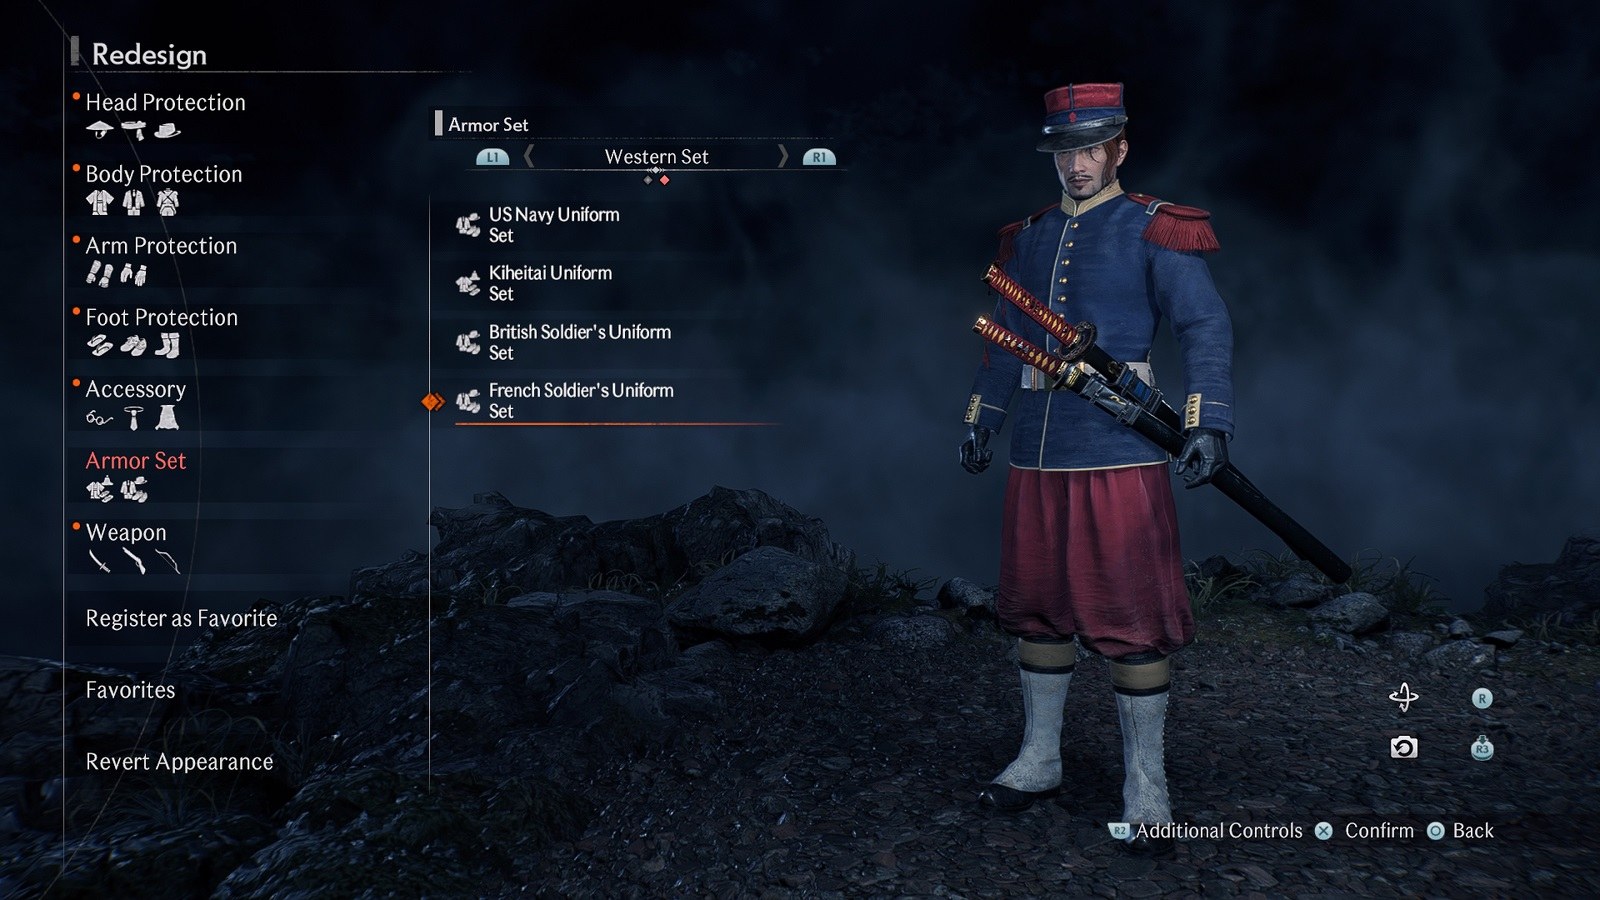
Armor sets are complete pieces that usually include headgear and a full uniform. I’ve noticed that you don’t need to collect all the pieces to complete a whole set. However, I could be wrong on that part and I simply deleted a piece without realizing it.
Regardless, the Armor Set tab is a great place to find full sets of faction armor from both inside and outside Japan.
It is important to note that you can only change your Transmog from the Redesign menu at the longhouse. You can’t change it outside the longhouse from the pause menu.
To revert to your default look, go back to the Redesign screen and select the ‘Revert Appearance’ option. You can now see the armor and weapons you are currently rocking, for better or worse.


