")
The bound spirit of Duke Aventry is one of the kindest souls in Sea of Stars. Not only did gracefully accept defeat after our brief duel, he tutored Zale in the ways of the fiery blade, leading our young Solstice Warrior to learn a new Skill.
But there was always more to his story. As the personal bodyguard of the Necromancer Romaya, you could feel that he longs for closure despite his protests about being loyal to one of the most hot-headed beings in the game.
In this guide, I’ll tell how you can provide that much-needed closure for Duke Aventry and get the Free From Serviduke Achievement/Trophy in the process.
Important: This guide assumes you are well into the late and have acquired the power of flight. This is the only way to reach the island where you can begin your quest.
How to Get the Free From Serviduke Achievement
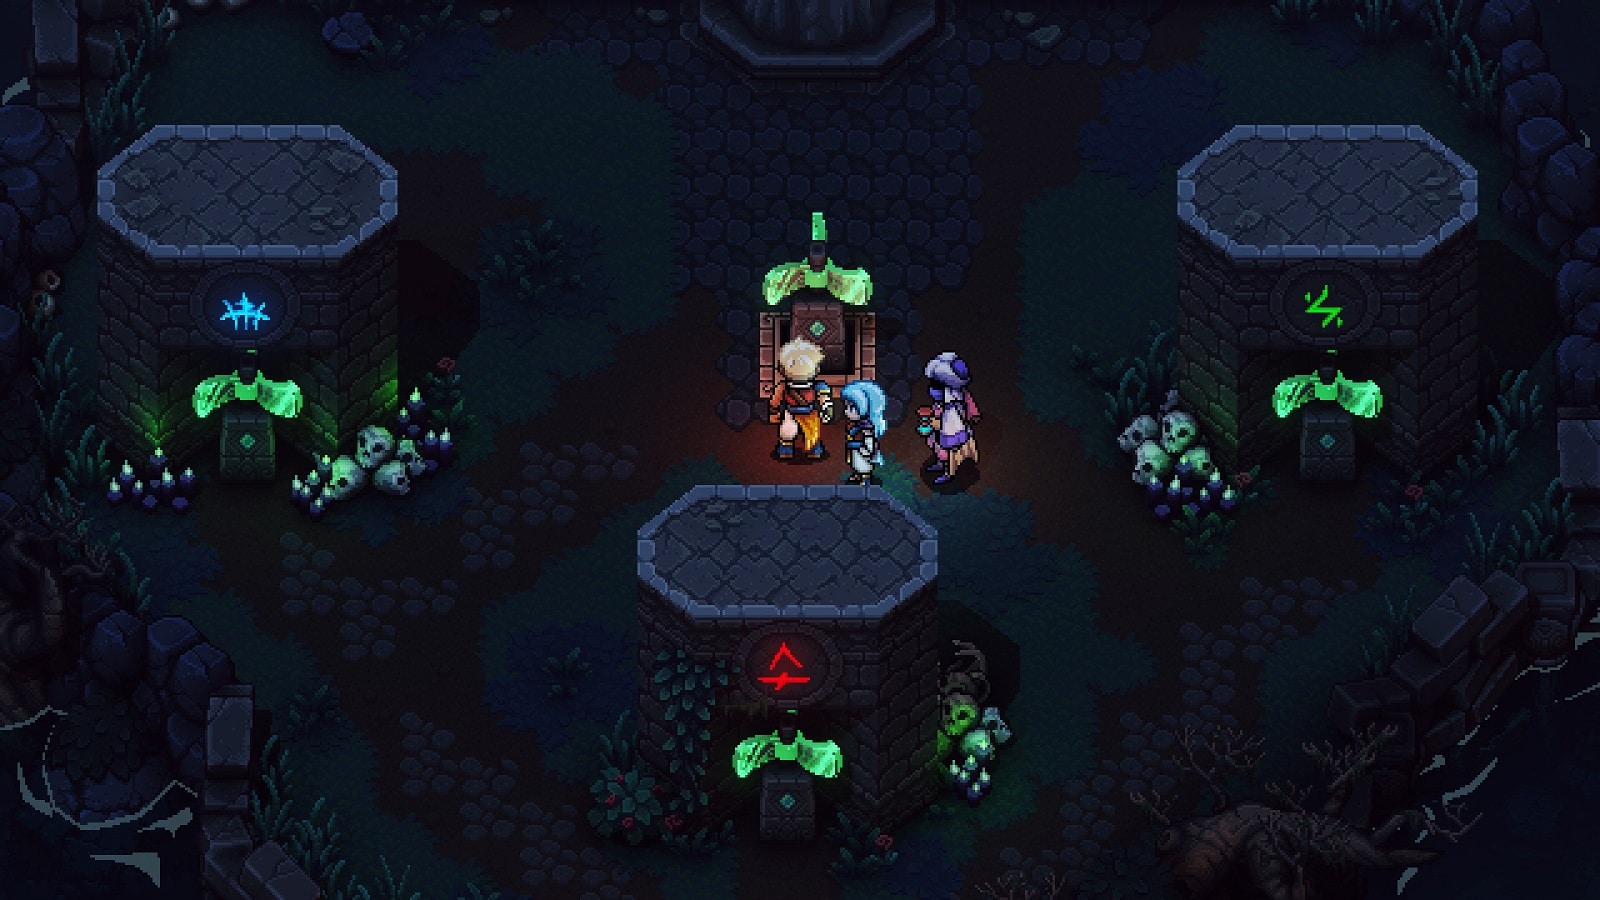
In order to free Duke Aventry’s soul, you’ll first need to go to an unmarked island North of Wraith Island. There is only one location on this island and it is called Romaya’s Secret Passage. As pictured above, you will be greeted by these 3 symbols. The fans under each symbol change the symbol above. The central fan changes the color of all three. You can actually brute force the entrance by guessing all four fans correctly. But if you’re like me then you will recall something you’ve seen while exploring the Necromancer’s lair.
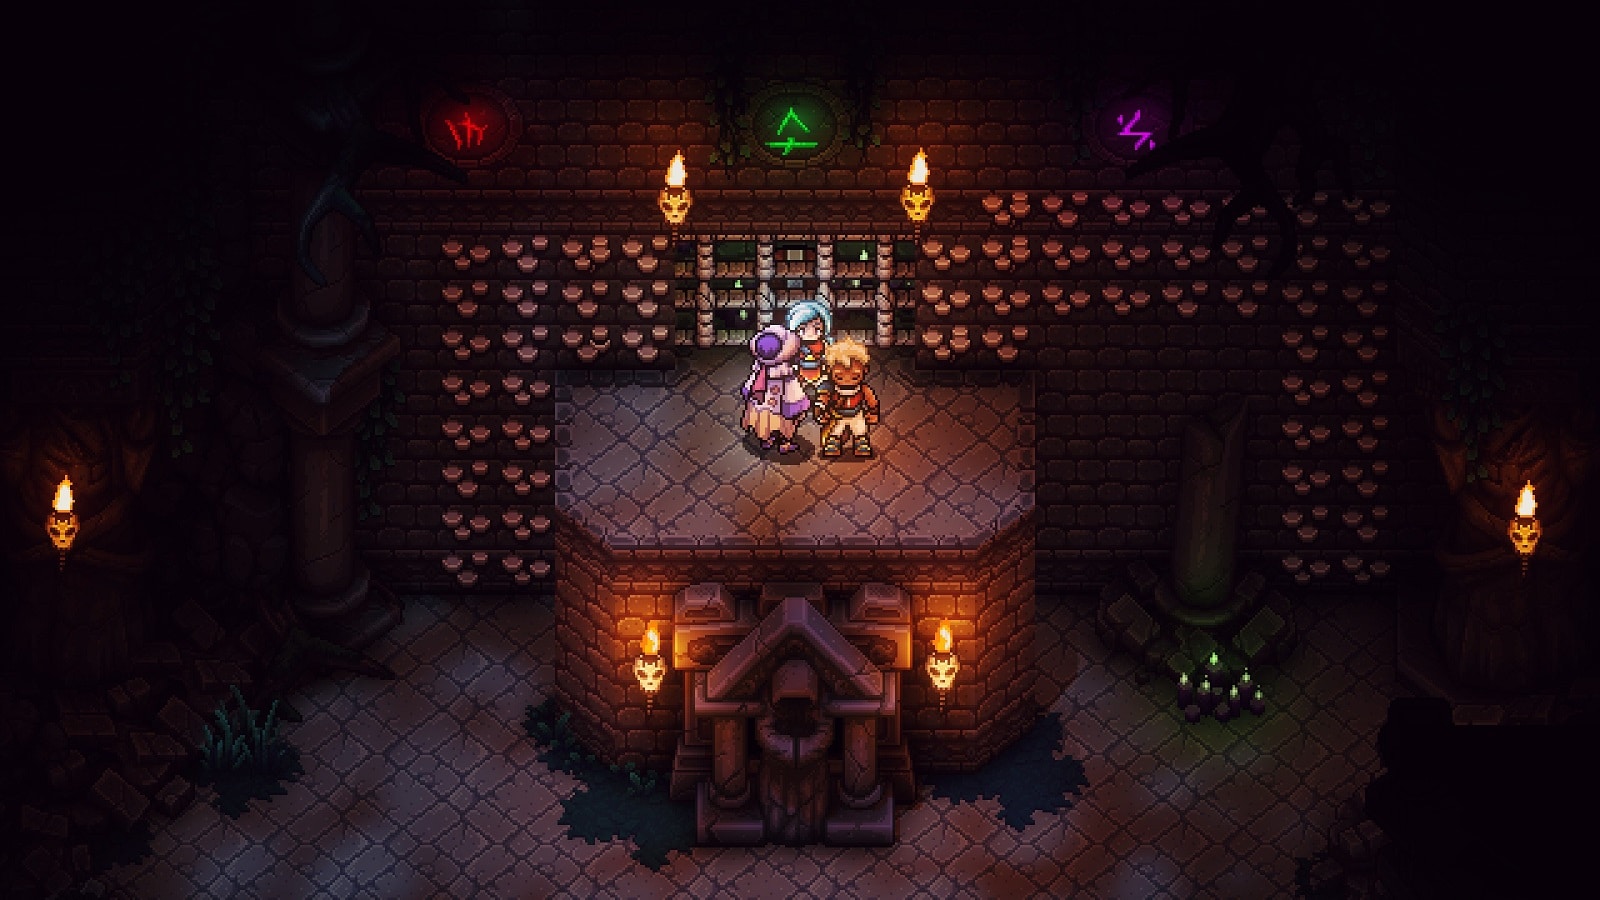
Located immediately left of the entrance to Romaya’s lair, there is a cave with these three symbols. You would have found this earlier on in the game but have no idea what they are for. Turns out, they are needed to open a secret door. (Later on, you will see Duke Aventry outside looking at the horizon with a pensive stare.)
All three symbols on the island have to match the ones seen above. And not just in how they are written, the color has to match as well. When all three symbols match, a secret door will open to a tunnel that leads back to the flooded graveyard.
Taking the elevator down below will get us back to the cave where we initially saw the symbols. But that’s not all. The cell that’s holding the chest is also open. Make quick work of the enemies waiting for you upon your arrival and loot the chest.
Inside the chest, you’ll find Romaya’s Journal. Present this to Duke Aventry and he’ll drop the Yellow Flame after conversing with you. Take the Yellow Flame and give it to the Ferryman to take you to the next location: the Half-Sunken Tower.
Take the secondary raft East to reach the tower. It’s going to take a bit of problem-solving to gain access to the tower. You’ll first need to lower the large wooden block. Once you’ve done that, head back to the raft and sail to the lower part of the tower to find a dock and eventually gain entry.
The task at hand is to pull a level on the higher floor to release a draw bridge. After fighting off the enemies guarding the place, drop from the draw bridge and smash through the floor underneath. This new passage will take you to Romaya’s secret chamber.
The exchange with the Necromancer is an unpleasant one. She’s still pissed off with the party since last time and now we’re demanding her to free the Duke’s soul… after we’ve invaded her privacy. Fair enough. The duke is going to be set regardless though.
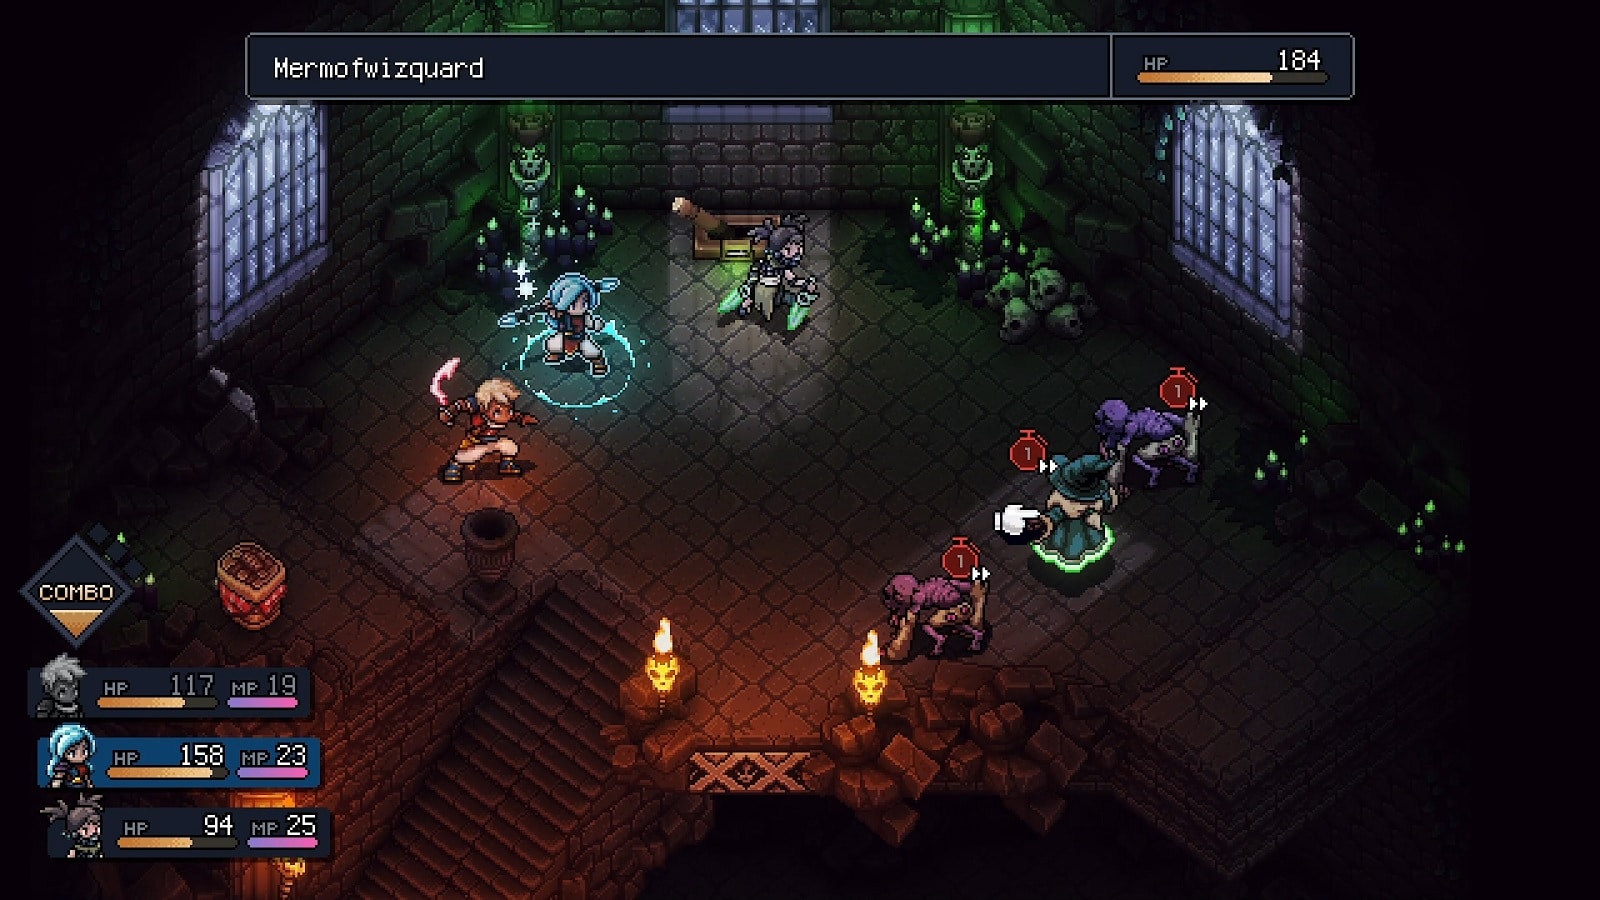
The second first with her is no different from the first one. In fact, it’s a lot easier than before considering all the new methods of lock breaking we’ve learned since our last encounter. Just keep a cool head and press on. If you’re that high level enough, you can practically ignore the mobs as they do little damage to you. Romaya should be your primary target. If you have AOE attacks, don’t hesitate to use them.
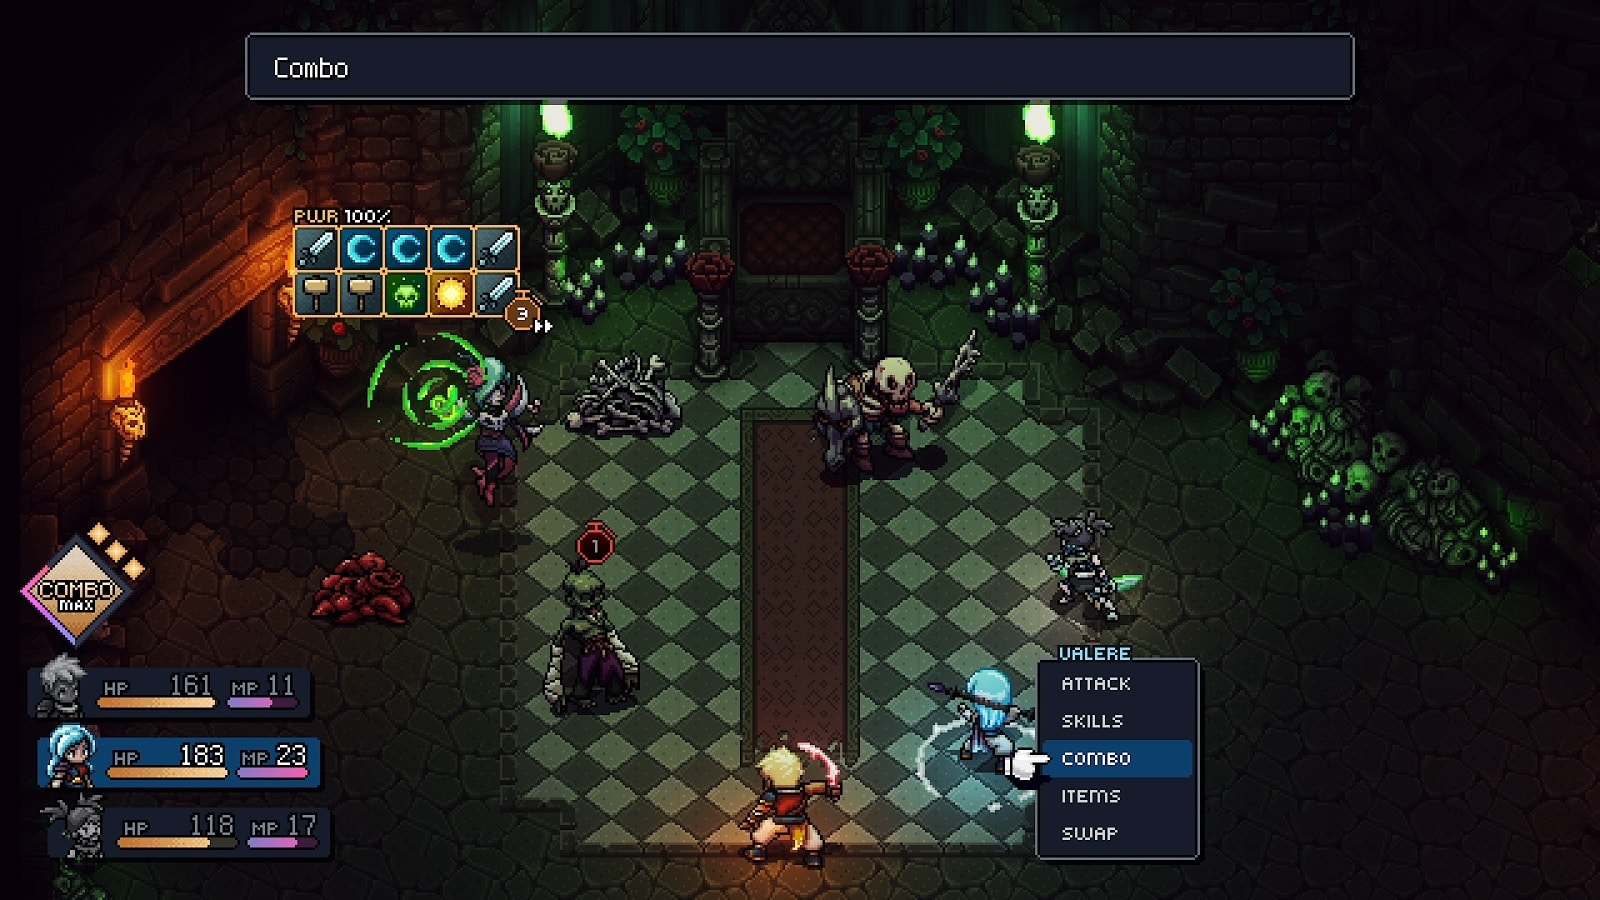
And don’t forget Serai’s delay kick and her Arcane Barrage combo with Resh’an. That is too OP if you get your timing right.
After the battle’s over, Romaya will be forced to admit defeat again and will give you the Aventry Locket. You’ll take the door to the left to leave the tower. Head back to the Ferryman and he’ll transport you to where you need to go.
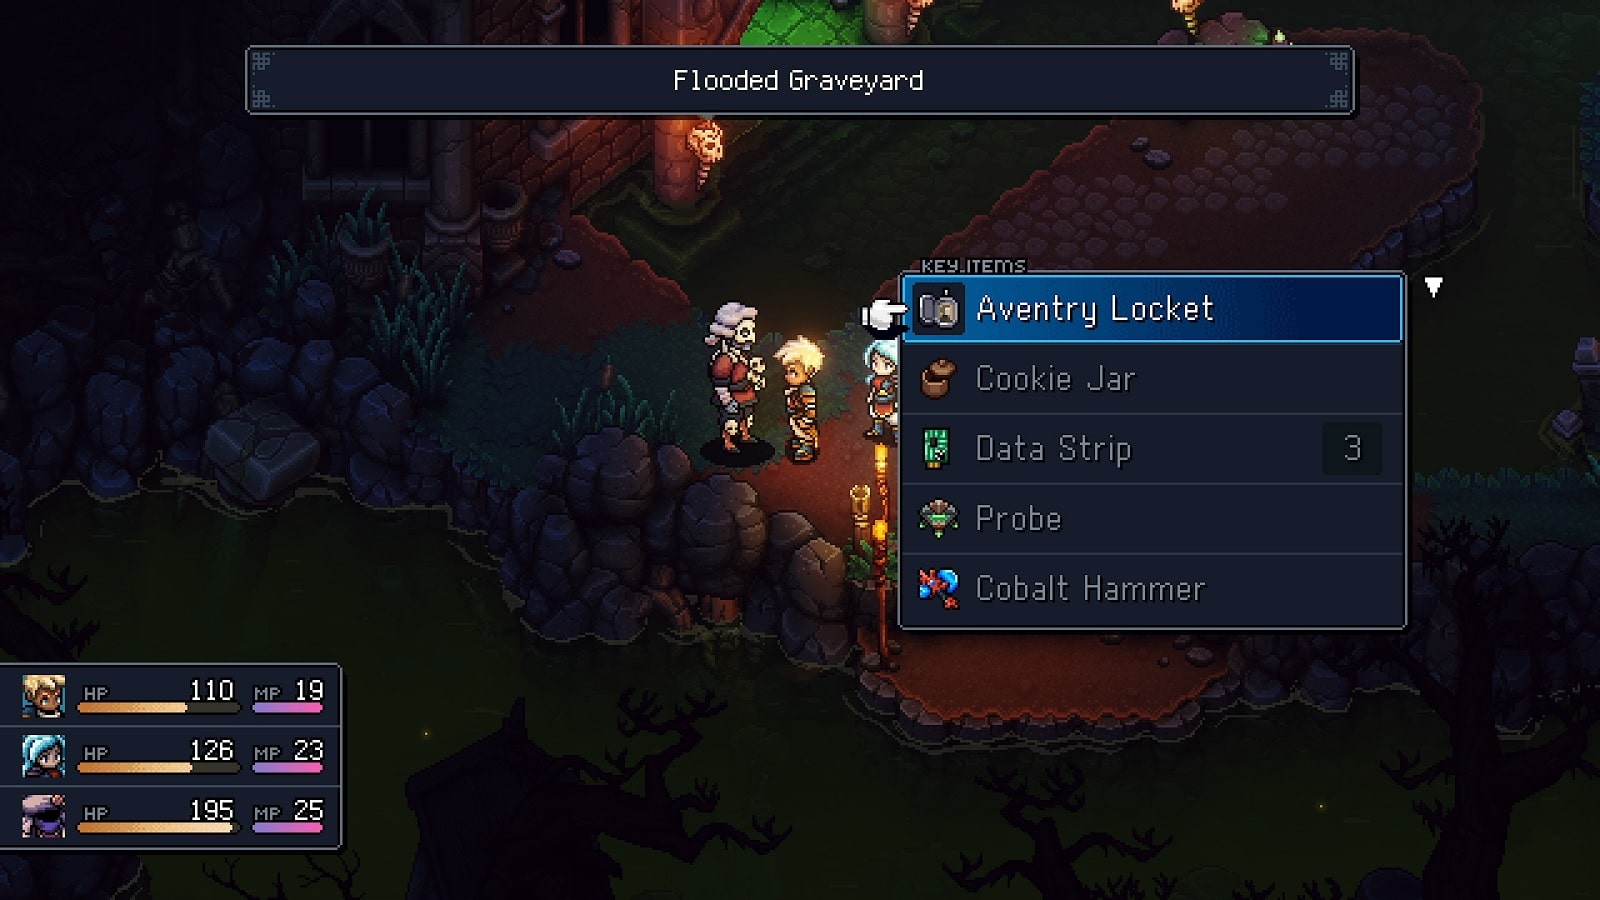
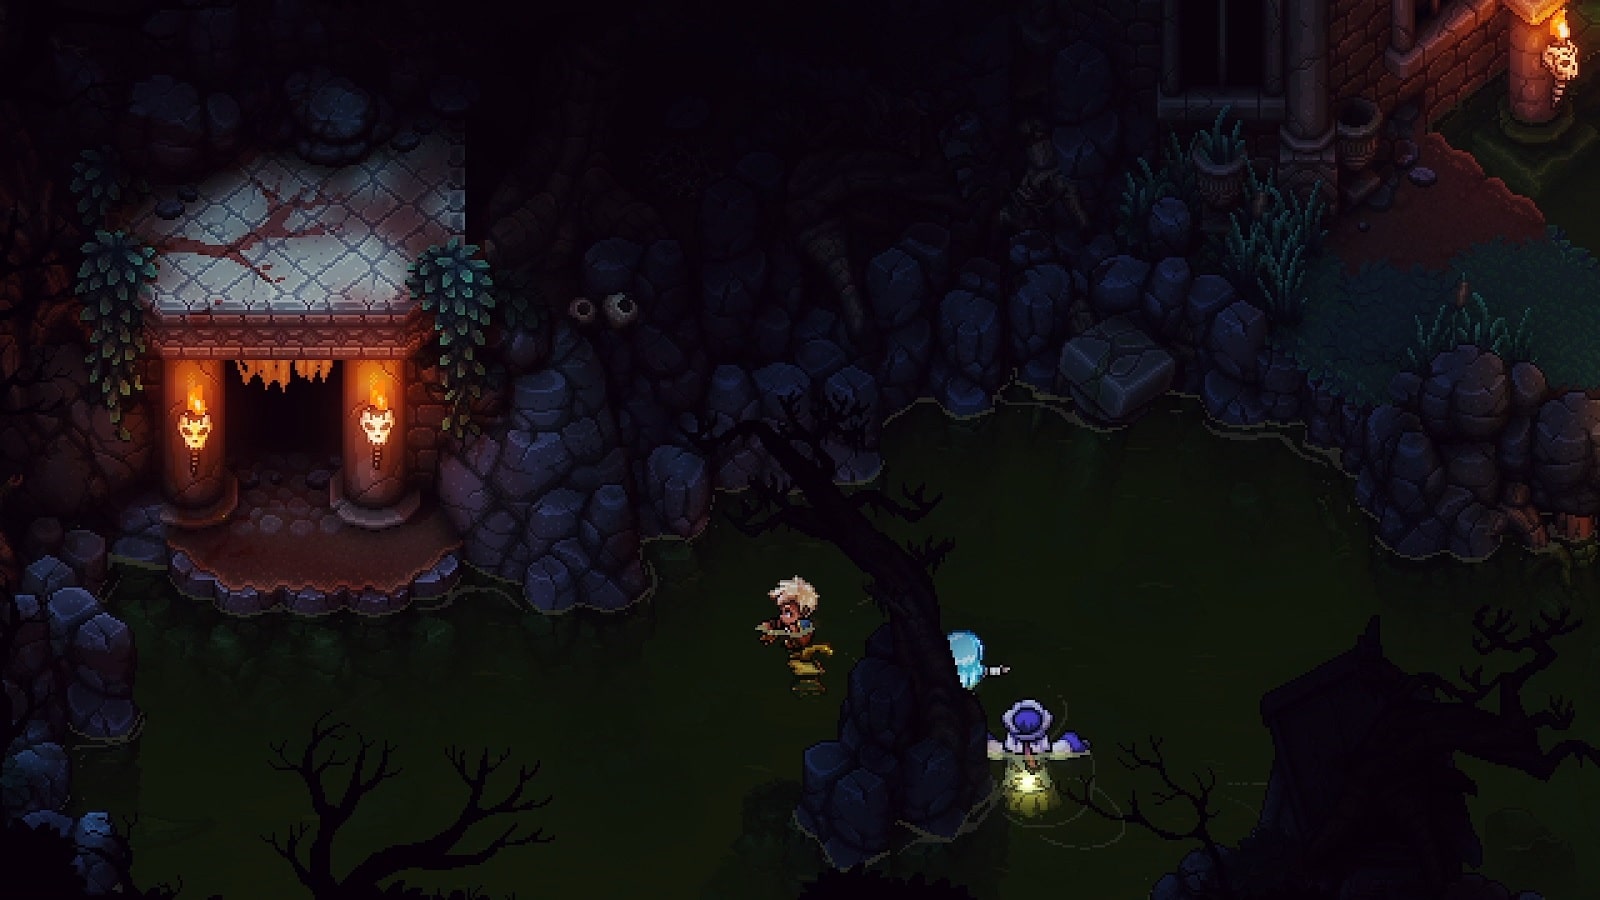
It’s not going to be immediately clear where you’ll find Duke Aventry. He won’t be at his usual guard post nor will he be close to the Romaya’s Lair. You’ll actually find him where you first saw him way back when – at the southwest part of the Flooded Graveyard.
Give the locket to him and he’ll give the key to his coffin as a parting gift. It is at this point where you should be getting the Free From Serviduke achievement/trophy. It’s a bit of bittersweet goodbye but the team’s seen their fair share of that already.
Duke’s Aventry’s Key is the item that opens the duke’s coffin. The item description gives you its general location within the flooded cemetery but it doesn’t tell you where.
Surprisingly, the duke’s resting place is just across the water to the left of the screen. If you’ve forgotten the place like I have then you’ll be spending a couple of minutes looking around the area and face-palming when you eventually remembered where it was.
Inside the duke’s coffin is the Eclipse Armor. The most powerful set of armor a Solstice Warrior can wear. It also contains the Avent Crest item that you can present to Teaks. This will reveal the full story behind the tragic life and death of Duke Aventry.
And that’s everything we have for this Duke Aventry Achievement/Trophy guide. I hope it comes in handy for getting you one step closer to completion.
If you want our thoughts on Sea of Stars, check out the review I did for it. You can also check out the trophy guide I’m slowly building towards.


