
Alternating Currents is one of the side missions in Starfield. In this mission, Louisa Reyez has been investigating the recent power outages in The Well, and her search leads her to the Trade Authority.
Read ahead as we go through the events of the Alternating Currents mission in Starfield and share the outcomes of the choices within the mission.
Starfield: How to start the Alternating Currents Mission
The Alternating Currents mission is part of a chain of missions within The Well area in Jemison. After following the lead on investigating the brownouts in the well and completing the “Tapping the Grid” mission, talk to Louisa Reyez again, and you will start the Alternating Currents mission.
Starfield: Alternating Currents Mission Walkthrough
Louisa suspects that the power drain is coming from the Trade Authority and she decides to pay them a visit once again to confirm her suspicions.
Alternating Currents Objectives:
- Talk to Louisa Reyez
- Follow Louisa Reyez
- Wait for Louisa Reyez
- Locate the Junction Box
- Power down the Junction Box
- Locate Junction Box 45A or 47B
- Locate the Junction Box
- Locate the Power Drain’s Source
- Access the Apartment
- Find Evidence
- Deliver the Evidence
Talk to Louisa Reyez / Follow Louisa Reyez
Start the mission by talking to Louisa again. Then follow her as she makes her way to the Trade Authority HQ.
Wait for Louisa Reyez
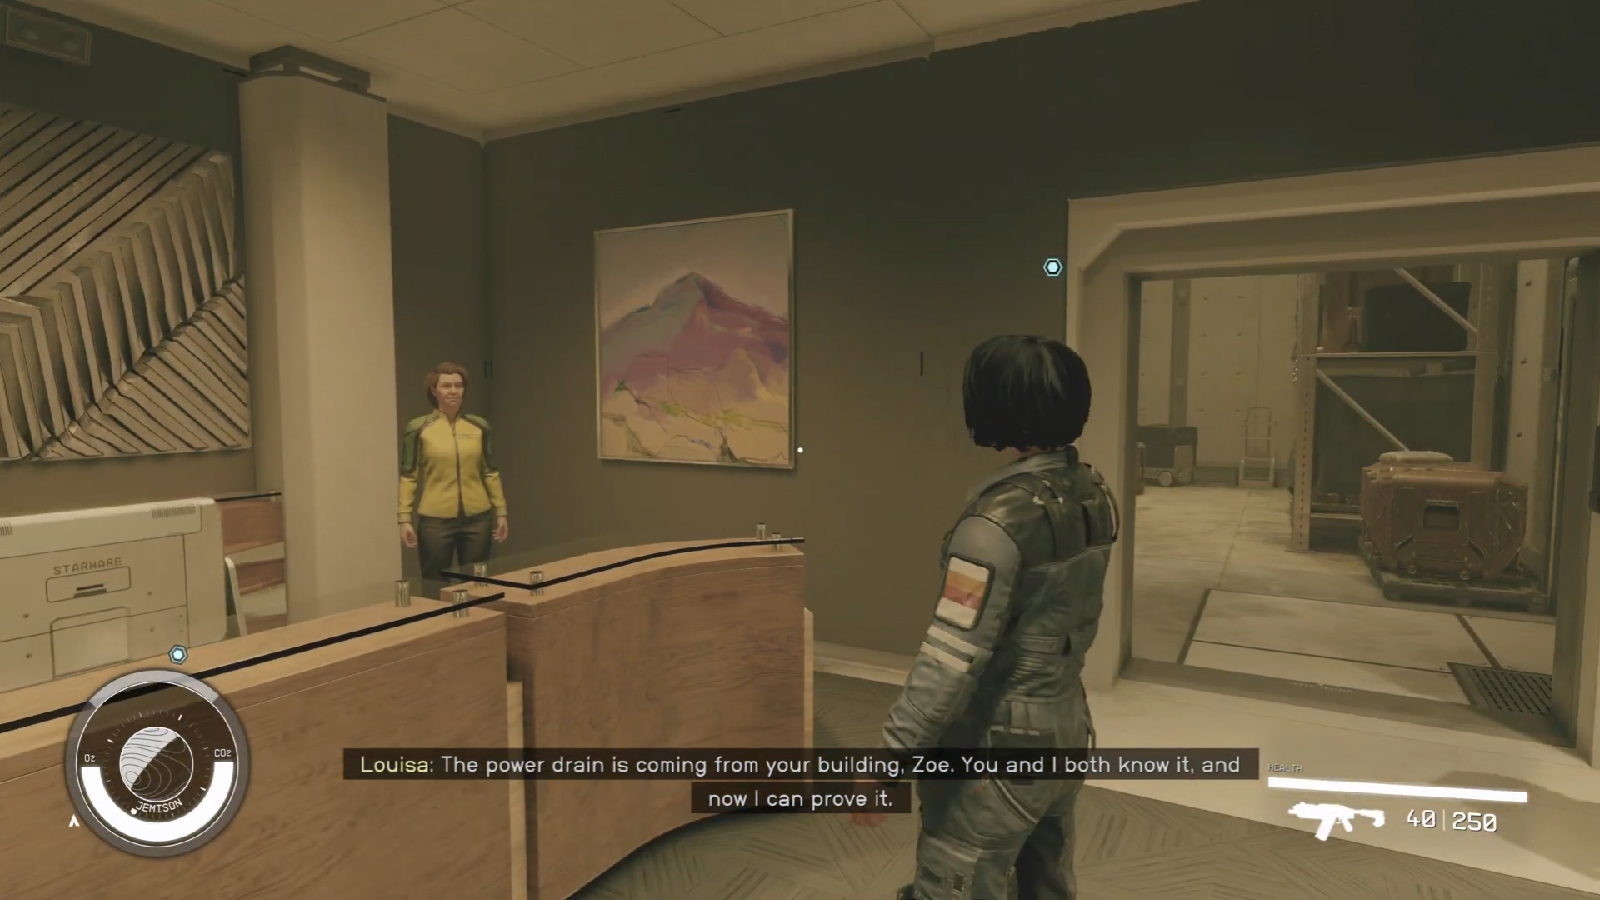
She then talks to Zoe Kaminski, the person in charge of public affairs in Trade Authority. Louisa then confronts Zoe about her suspicions and accuses the Trade Authority to be the cause of the power outages in The Well with the clues pointing to an unusual power drain from their facility. Zoe denies the allegations and insists that you follow the junction boxes to find out the truth.
Power down the Junction Box
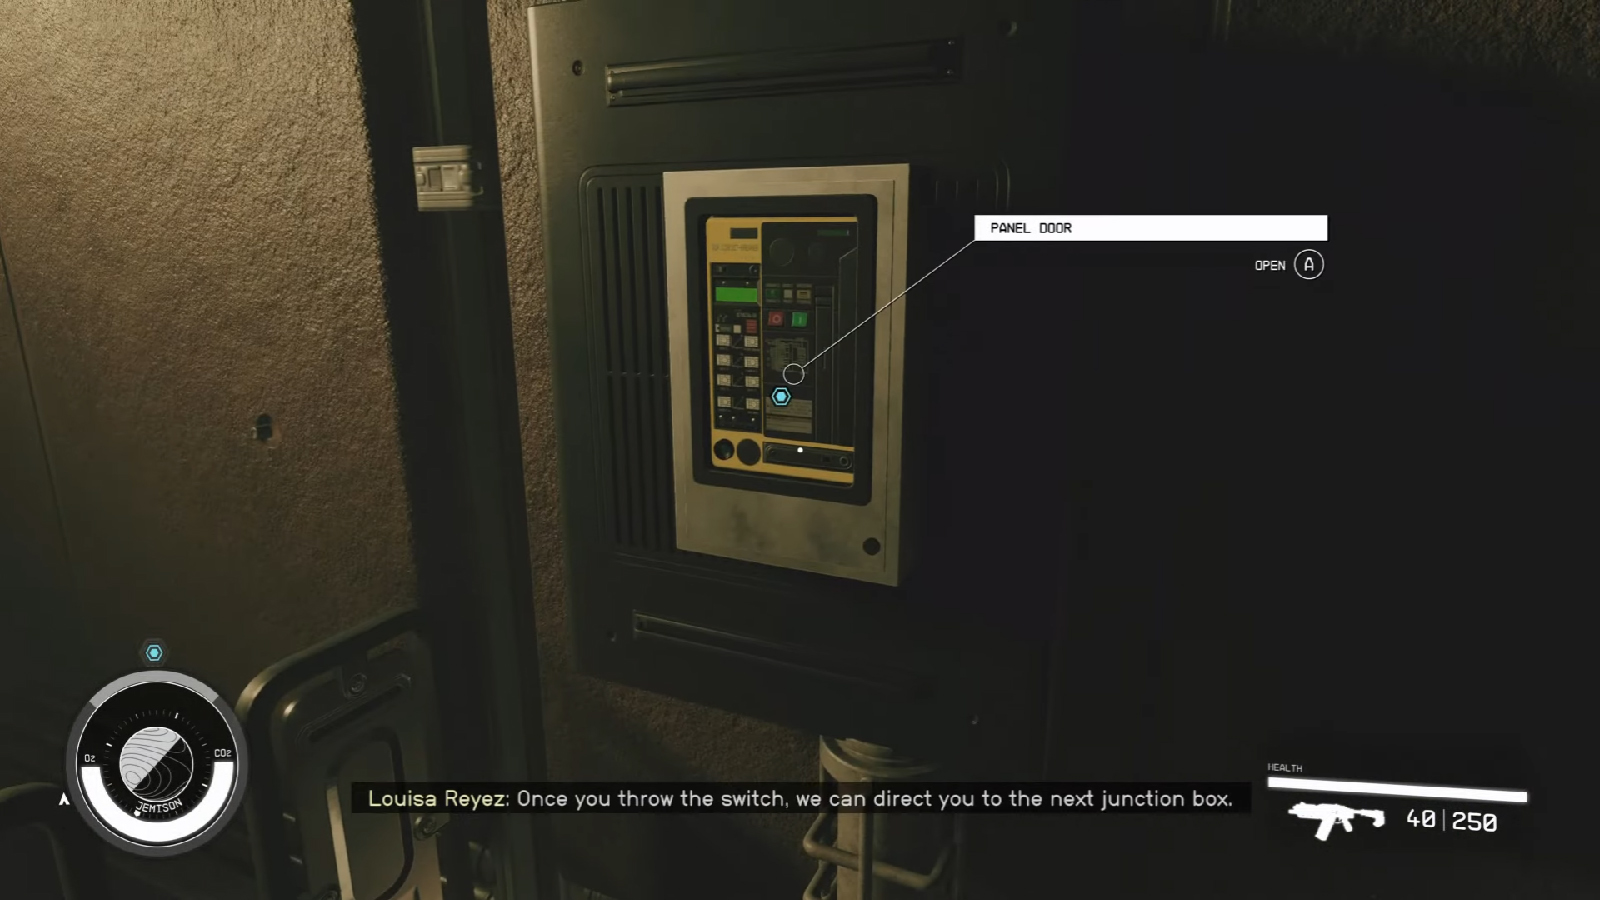
You will then have to find a junction tagged as Junction Box 36B. Follow the marker which points at an upper level in The Well. The junction box can be found outside a building, just across a broken section of a catwalk.
Locate Junction Box 45A or 47B – Should you pick box 45A or box 47B?
Next, Louisa will tell you to go to junction box 45A which is near Apex Electronics. However, Zoe will interject that you should head to junction box 47B instead as it is closer to your location. Whether you head to 45A or 47B, it doesn’t matter as it will still lead you to the same objective. The only difference is that you will hear different dialogues between the two ladies depending on whose suggestion you choose.
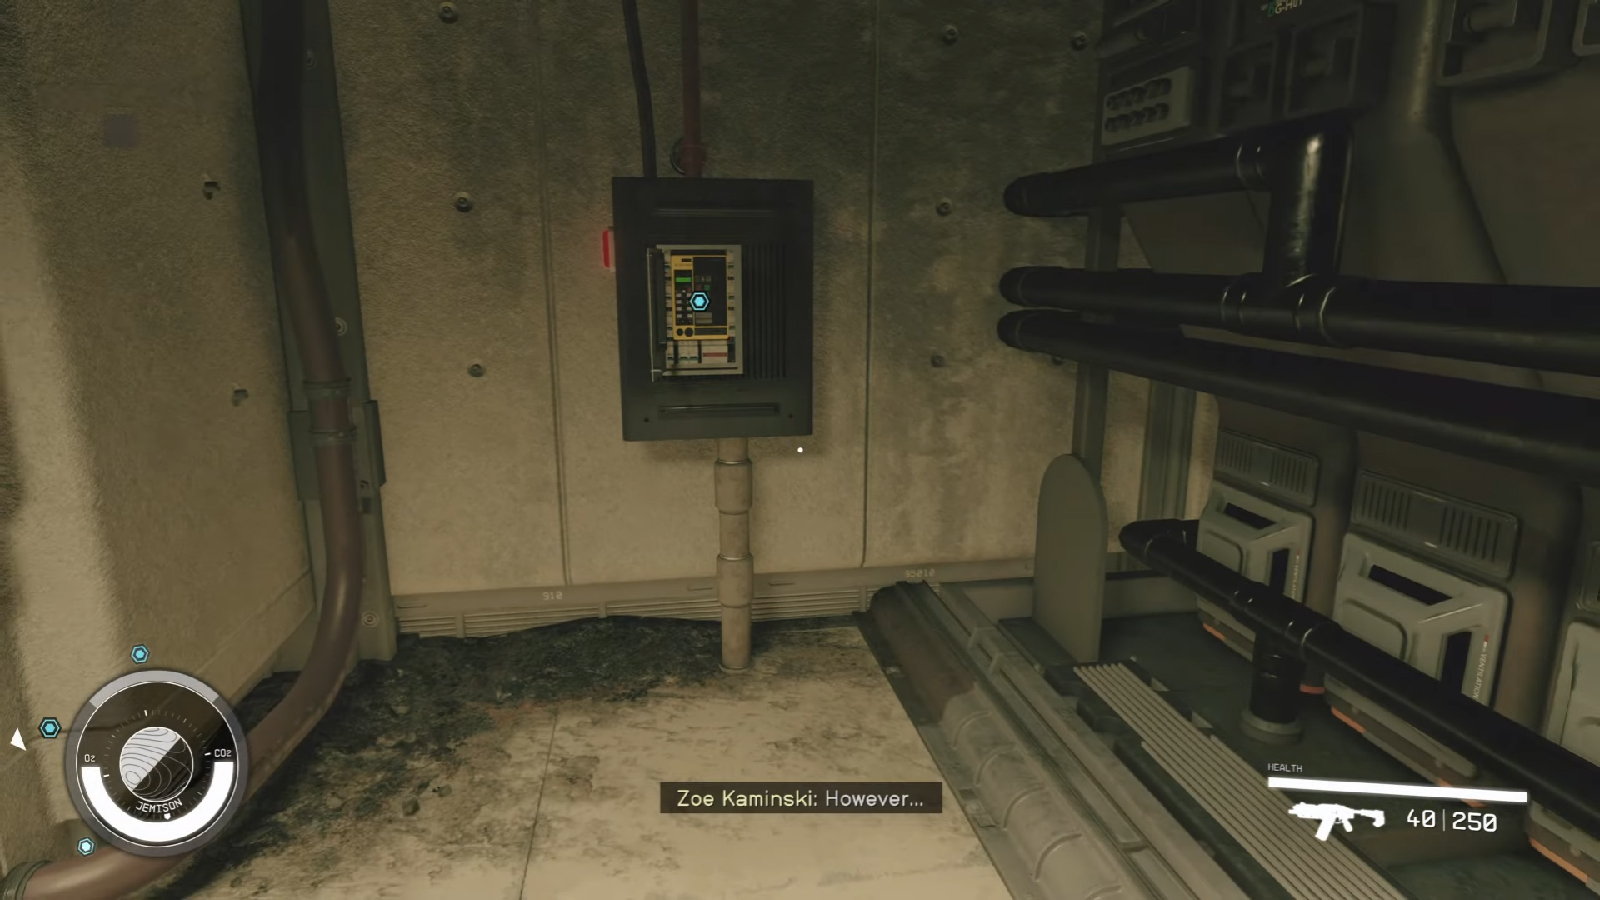
Locate the Junction Box

Next, both ladies won’t be able to find the next junction box, but they assume that it is somewhere at the surface. Head back up to the surface and go to the Residential District, then make your way to the Athena Tower. Just outside the tower is where you will find the next junction box.
It’s during this point that Zoe will talk to you to offer you a deal where you will give her any evidence that you find later on.
Locate the Power Drain’s Source
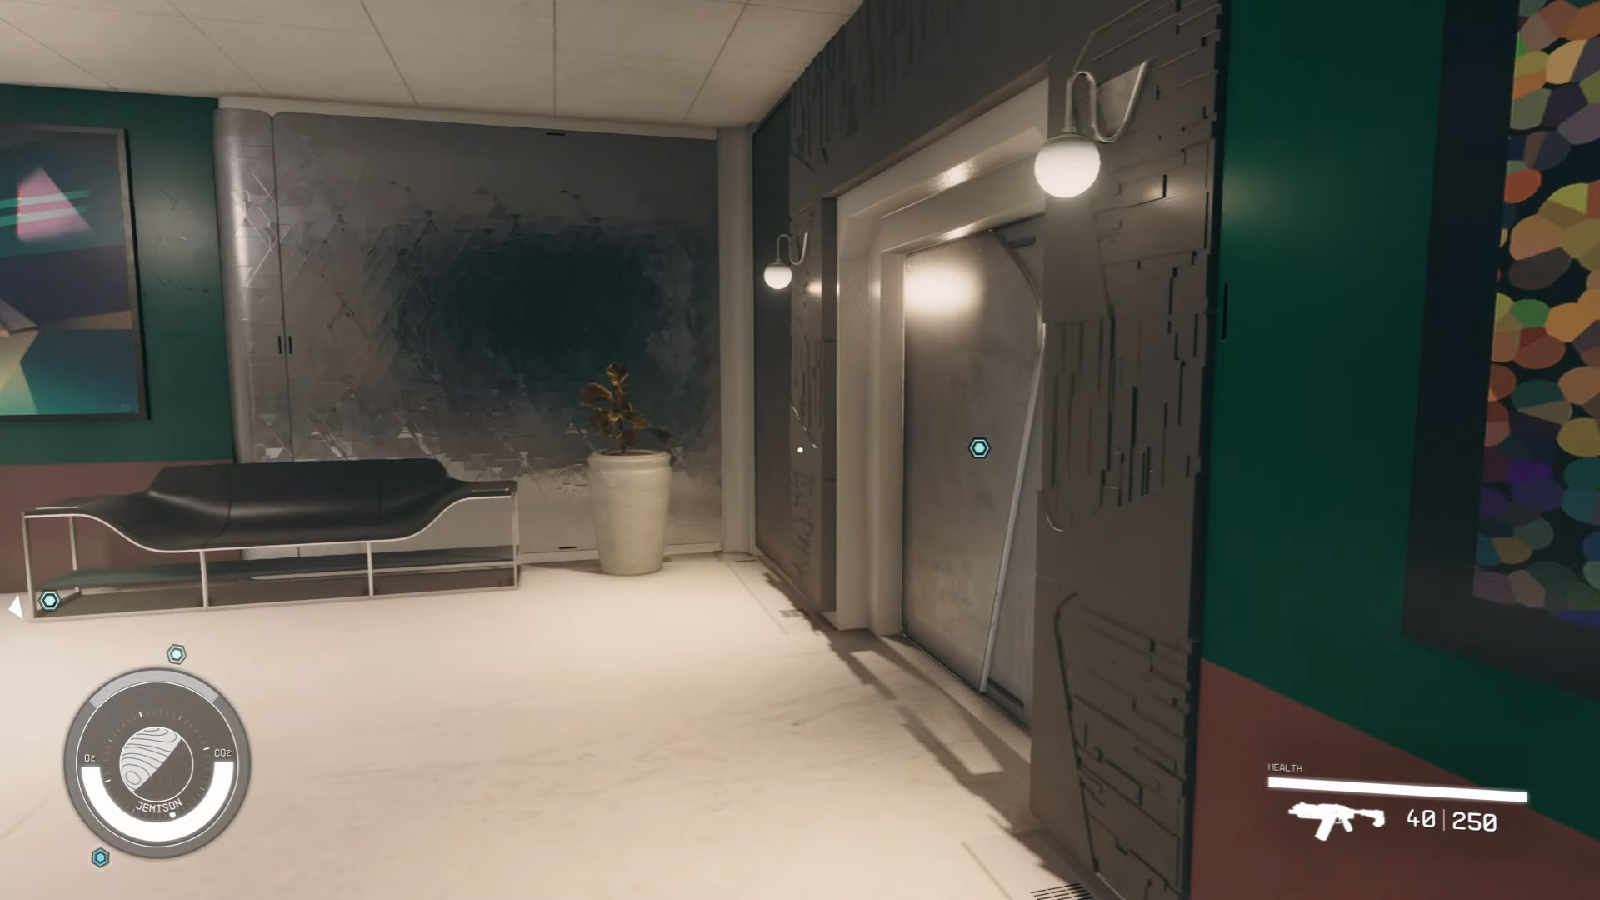
Head inside the building and ride the elevator up. Once you reach the upper floor, go to the locked door and open it using a Digipick.
Access the Apartment
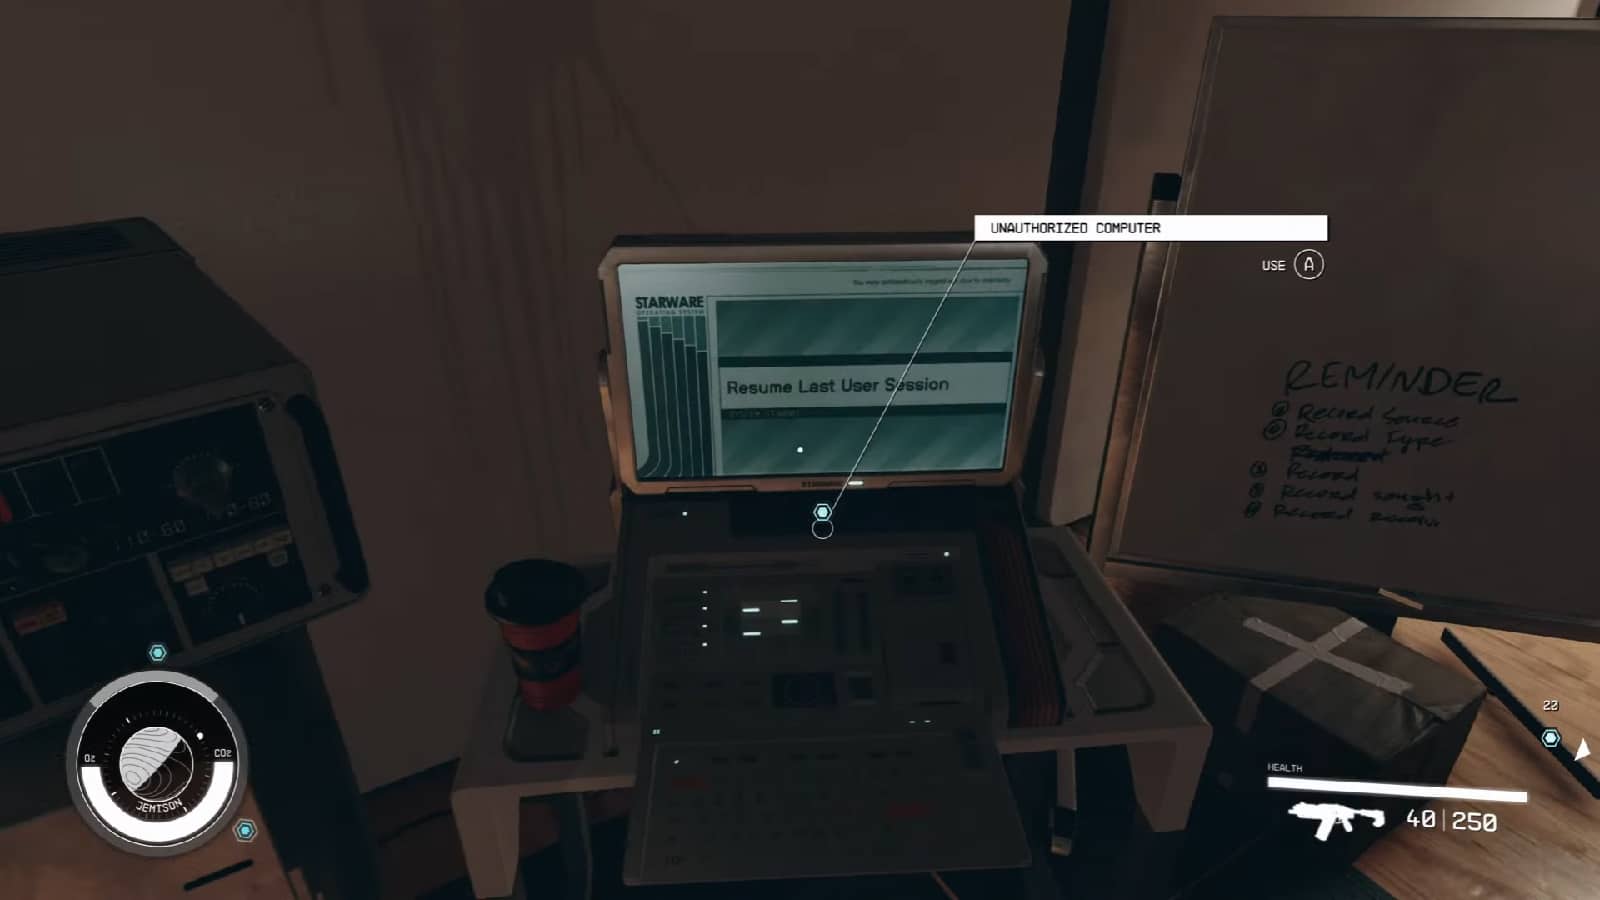
Once you’re inside the apartment, go to the Unauthorized Computer.
Find the Evidence
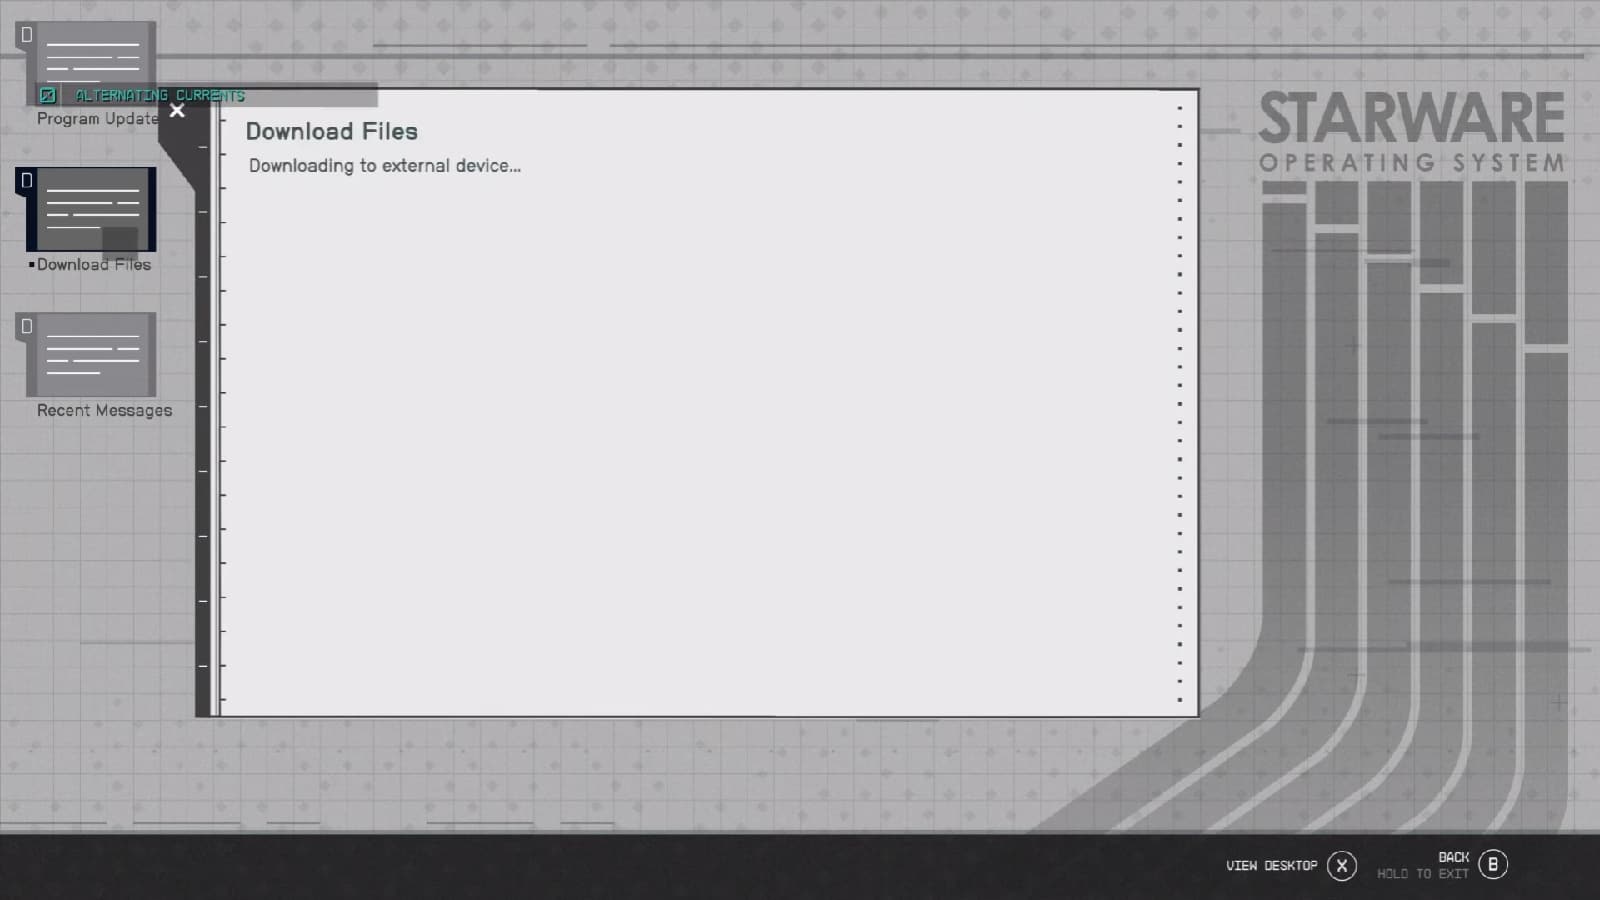
Sift through the files in the computer to get the evidence that you need.
Deliver the Evidence – Should you give the evidence to Louisa or to Zoe?

Go back to the Trade Authority HQ. You will be faced with another choice again: deliver the evidence to Louisa, or deliver it to Zoe. Regardless of who you give the evidence to, you will receive 75 XP and 2,500 for completing the mission. You will simply have different dialogues between the two ladies based on who you give the evidence to.


