
Reactor is the third level that is part of the first Laser Mission of System Shock Remake. After obtaining Isotope X-22 from the Research Labs, the Hacker must head into the reactor level and use the isotope to power up the radiation shield and destroy the laser before humanity gets destroyed by it. Read ahead as we go through the Reactor level of System Shock Remake and share the location of the key items and collectibles that can be found in the level.
See previous: System Shock Remake Level 2: Research Labs Walkthrough
System Shock Remake Laser Mission Level R: Research Labs Walkthrough
Your first objective upon reaching the Reactor Level is to deliver the Isotope X-22 to the Radiation Shield Controls. But before that, you may want to consider visiting Restoration Bay, just northeast of your position.
Restoration Bay – Gamma Quadrant
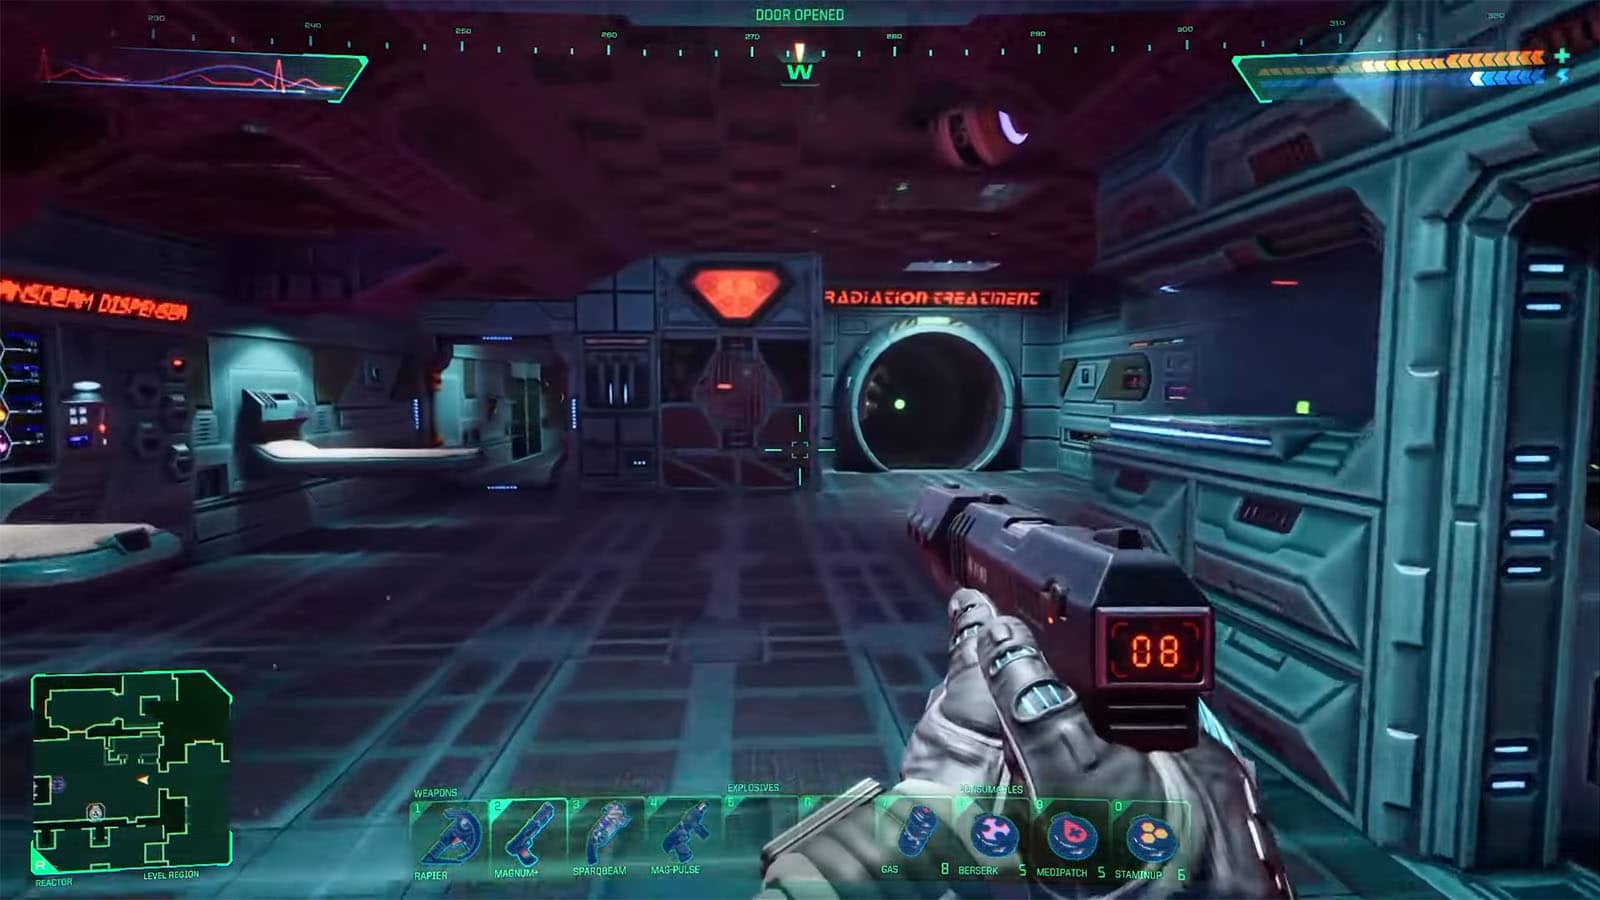
Start by taking the east path through the corridor until you arrive at the next room. Open the locked door on the west wall to access the clinic, where you can find the Audio Log – Sickness, the Decontamination Chamber, where you can lower your radiation level, and a Junction Box – Clinic.
Solving the Junction Box will disable the forcefield in the next room, where the Restoration Bay is. You can also find the Cargo Lift in here, a Surgery Machine, and a Biological Systems Monitor V2 upgrade.
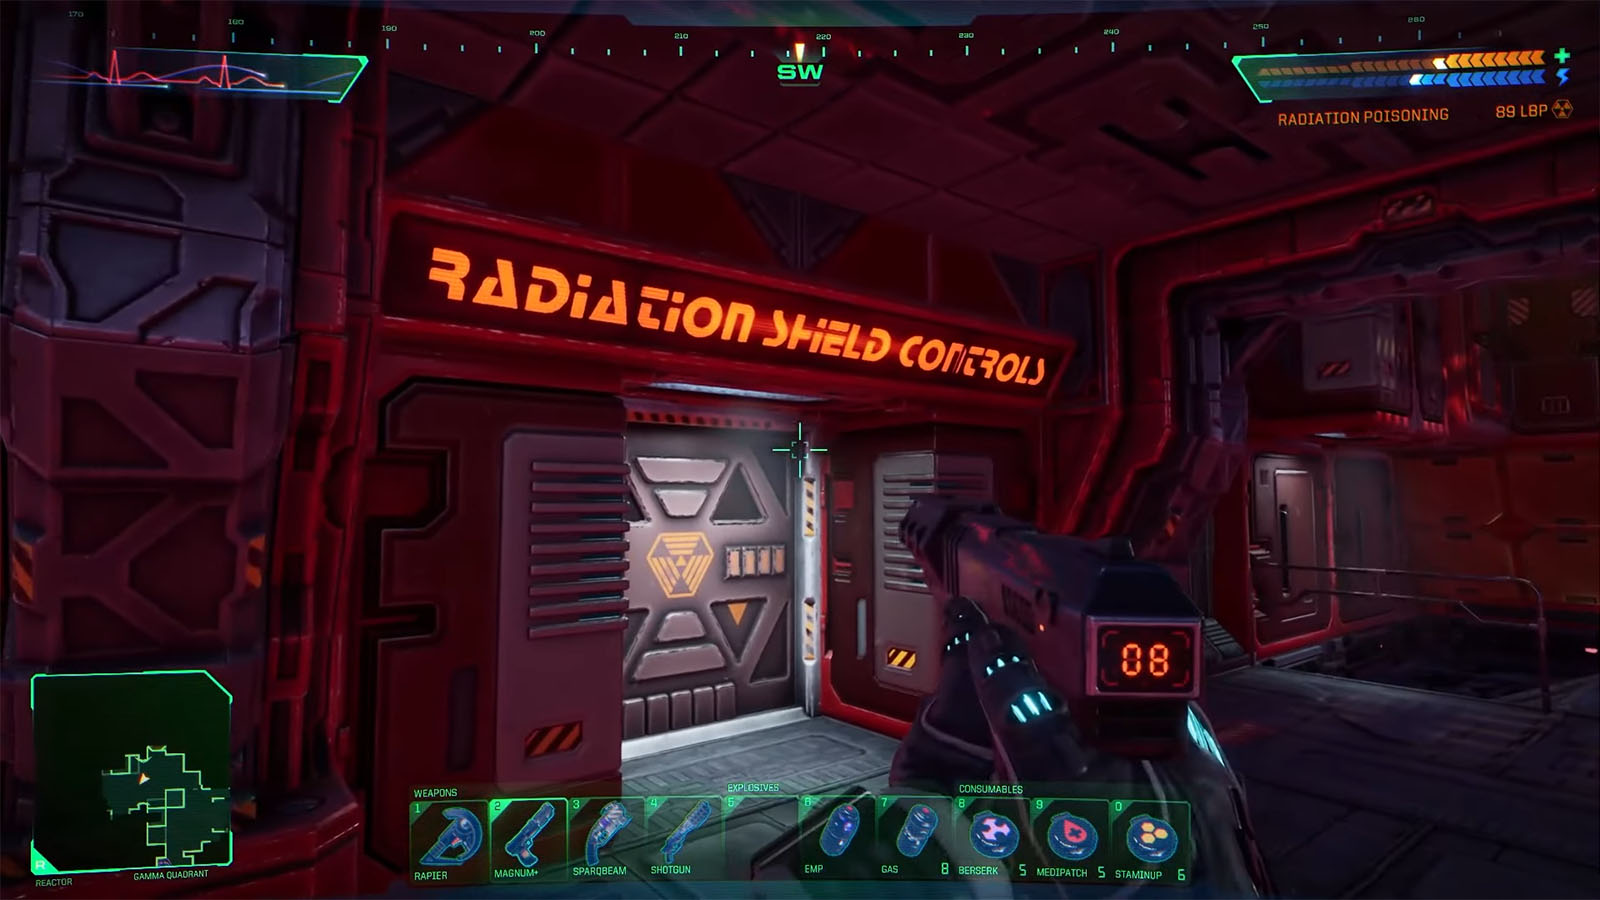
Radiation Shield Controls – Gamma Quadrant
Head back to the elevator and take the west path. Watch out for the mobile lasers and chaser mines that you’ll encounter. There are rooms in the area that are highly contaminated and will give you radiation poisoning that slowly saps your health. Head over to the Decontamination Chamber to wash it off, especially if you got a high dose. Stay away from the Central Hub for now, as it is highly irradiated.
You will encounter a Junction Box at the end of the path. If you got the GP3 Keycard from the previous level, you can bypass this and open the door, otherwise, you will have to solve the puzzle.
Continue heading north, then head west, and you will see the Radiation Shield Controls room on your left. Go inside and deposit the Isotope X-22, and then pull the lever to activate the radiation shields.
Safety Override – Delta Quadrant
Your next objective is to head to the Safety Override panel in the Delta Quadrant of the level. You will have to take the path all the way to the north and pass through a room that is heavily guarded, so you can consider taking a detour over at the Maintenance Level for now and grabbing yourself the Laser Rapier.
Another option to make the imminent encounter much easier is to take the path towards the Beta Quadrant first. Head back towards the clinic and take the north door near the Decontamination Chamber. Then continue moving north-northeast, where you will find a room that has a Cyberspace Terminal – Blast Door/Armory in it. Solving this will open up the door to the armory that you just passed by and the blast door that will give you a shortcut to the encounter via the Alpha Quadrant. Remember to pick up the Audio Log – Cyborg Conversion in the room.
Make a quick trip over to the armory to get an upgrade at the Mod-Kit Station as well as the Target Identifier V1 gadget. Afterwards, head north and take the door to the west that leads to a room that has another Junction Box. Solving this Junction Box will sabotage the ambush encounter later on. Take the Audio Log – Scheduling before leaving the room and heading back to the main path.
Continue heading up north in the Alpha Quadrant, then head west towards the blast door that should be open by now. Go to the room down south, where you will find lots of cameras to destroy. If you skip the previous step, SHODAN will send over more mobile lasers for an ambush. Their numbers can overwhelm you, so try to be strategic and use your grenades to take them all out.
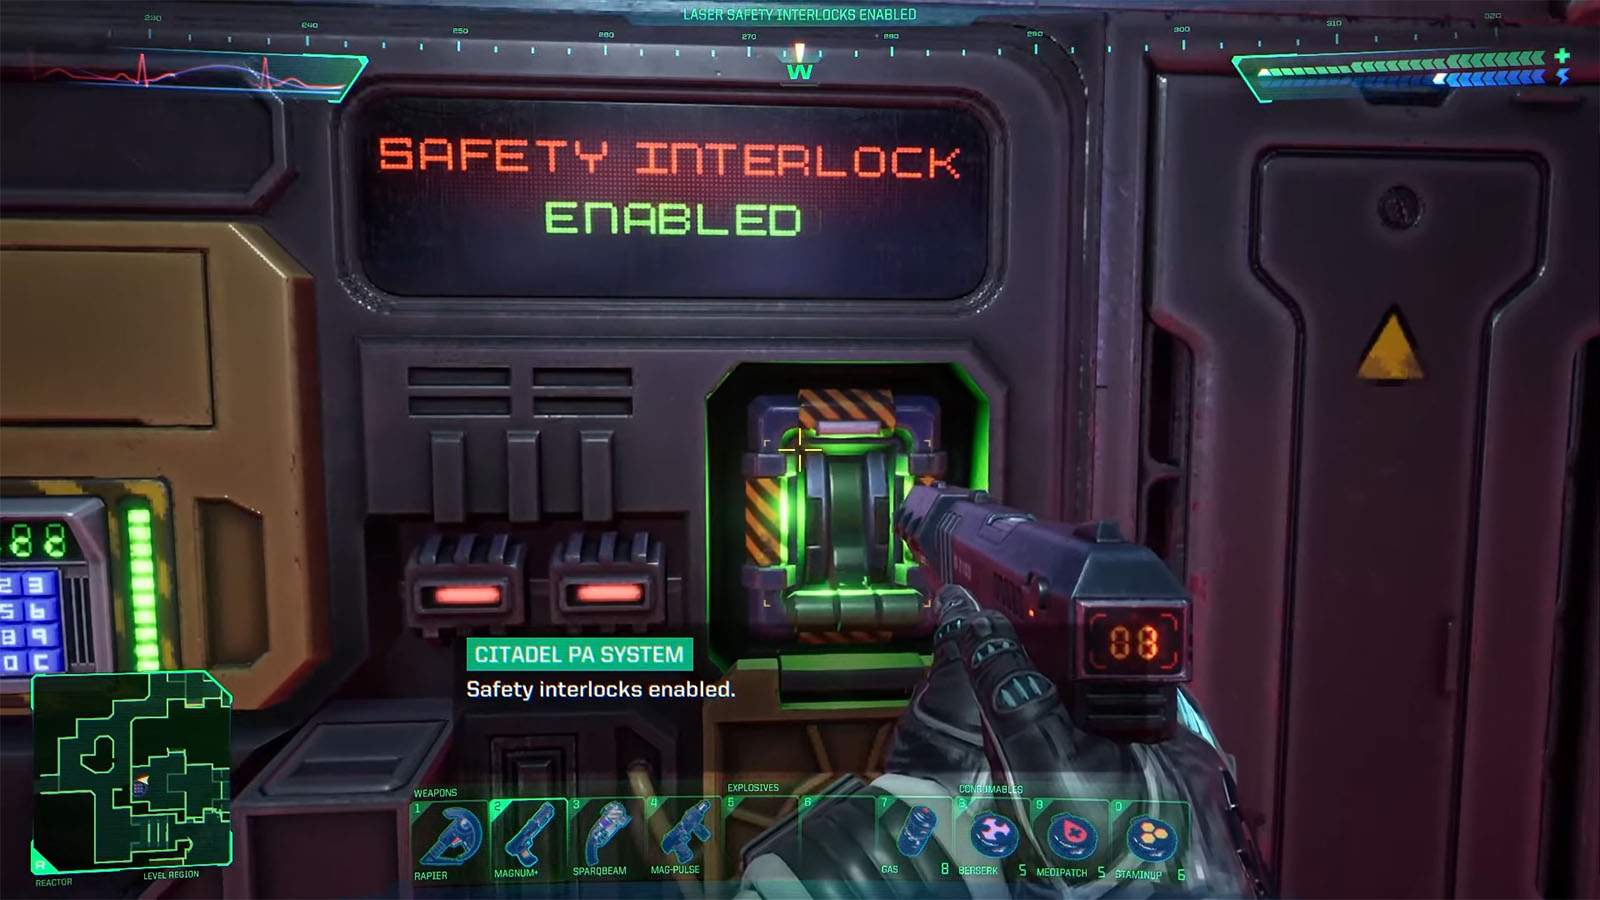
After clearing the area, continue moving south, then west. Grab the Energy/Projectile Shield V1 gadget and the SK-27 Shotgun in the next room, then proceed to the next room where you will encounter another enemy. This one is quite challenging, so try to be strategic and avoid getting poisoned. Continue to the room with the Safety Override Panel. Input the code that you saw earlier from the Research Labs Library and pull the lever to enable the safety override.
Laser Control – Central Control, Research Labs
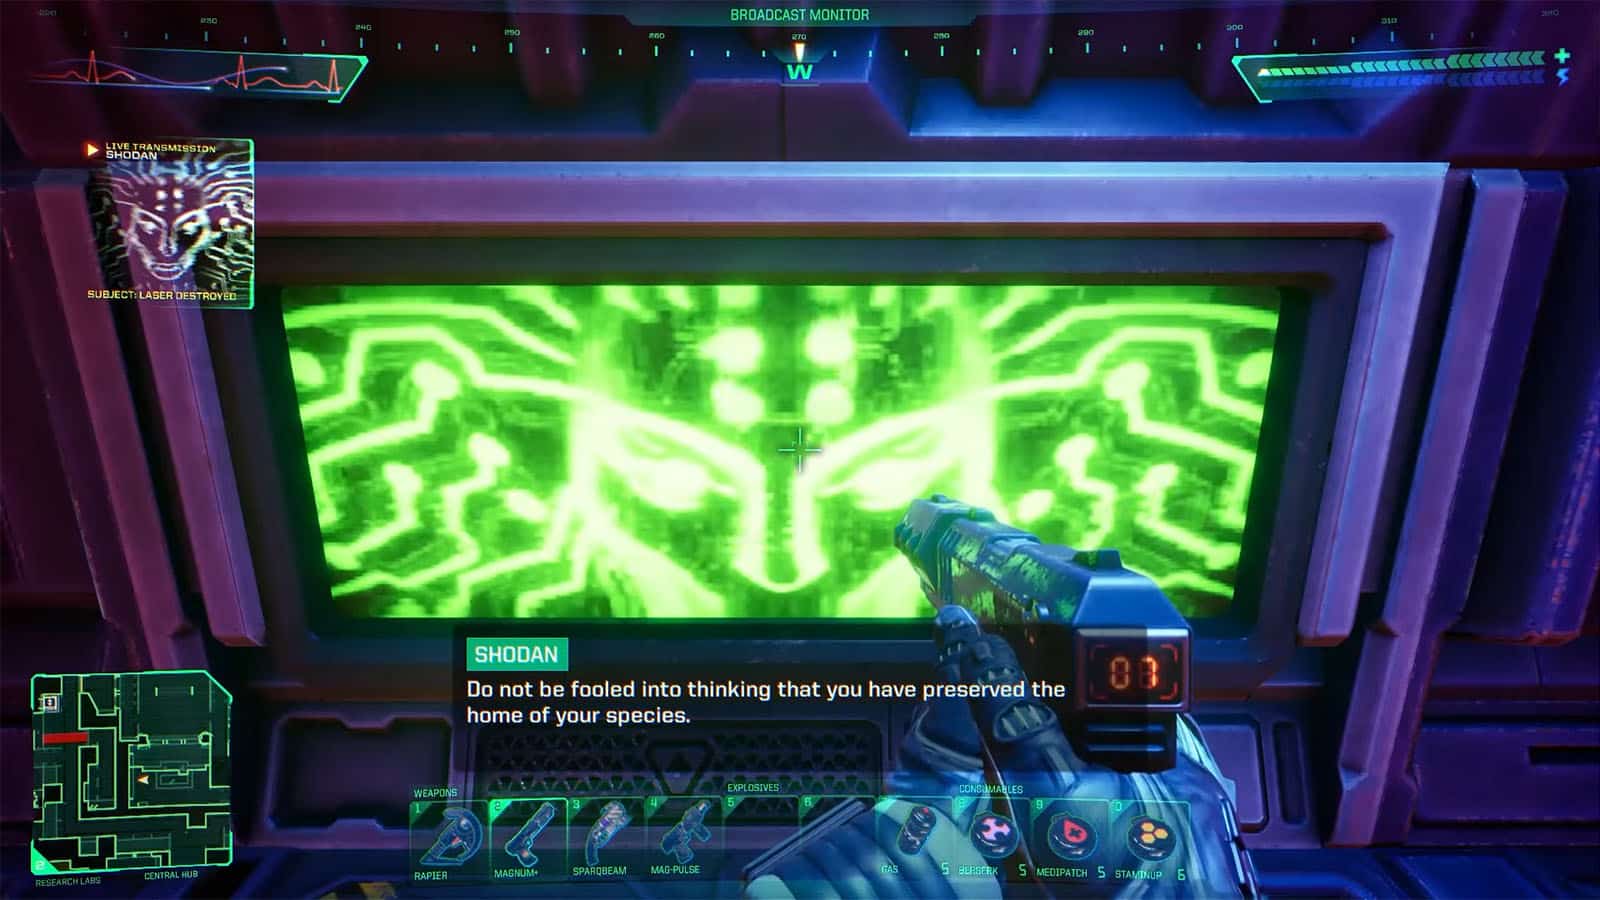
Head back to the elevator and ride it back to the Research Labs. Then, go to the Central Control from the Delta Quadrant. Inside, you will be fighting against mutants in vats. Clear all of them, then continue on to the south section, where you can find the Laser Control. Interact with the panel to fire the laser preemptively and destroy it.
This concludes the Laser Mission of the game, but SHODAN still has her mutagen virus within the station that she plans to spread all over Earth, and the Hacker’s next mission is to stop that from happening. You can either start at the Maintenance Level or the Storage Level to prepare for the next mission.
See next:


