
Medical is the first level that is part of the first Laser Mission of System Shock Remake. This is the first level within the Citadel Station where the protagonist, known as the Hacker, has been brought into after being coerced to hack the SHODAN AI. Read ahead as we go through the Medical level of System Shock Remake and share the location of the key items and collectibles that can be found in the level.
System Shock Remake Level 1: Medical Walkthrough
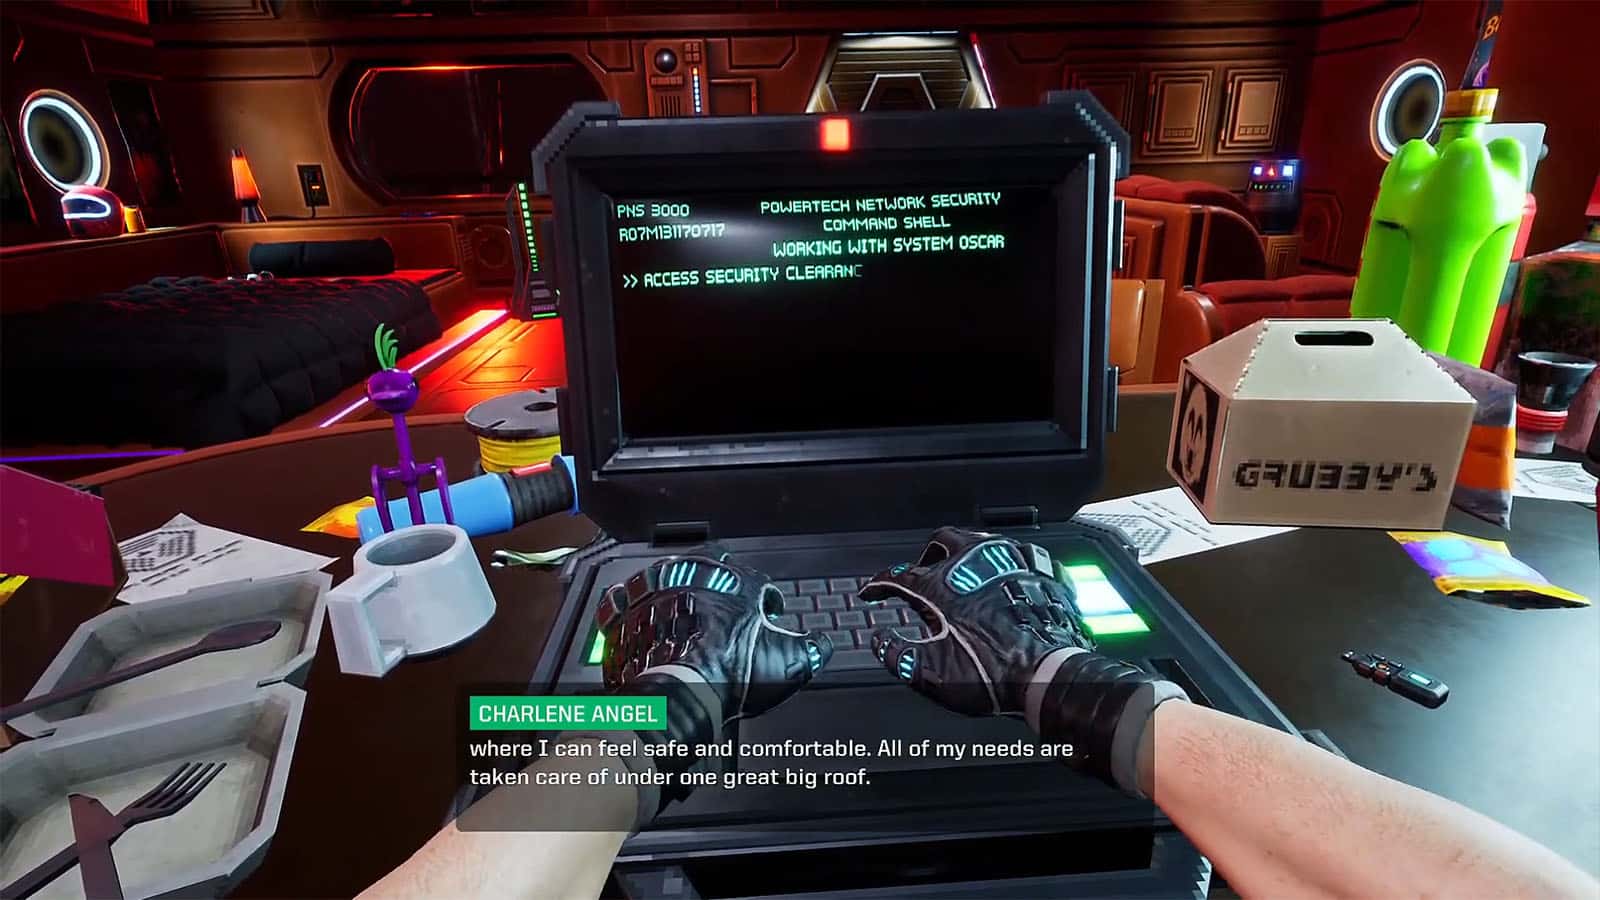
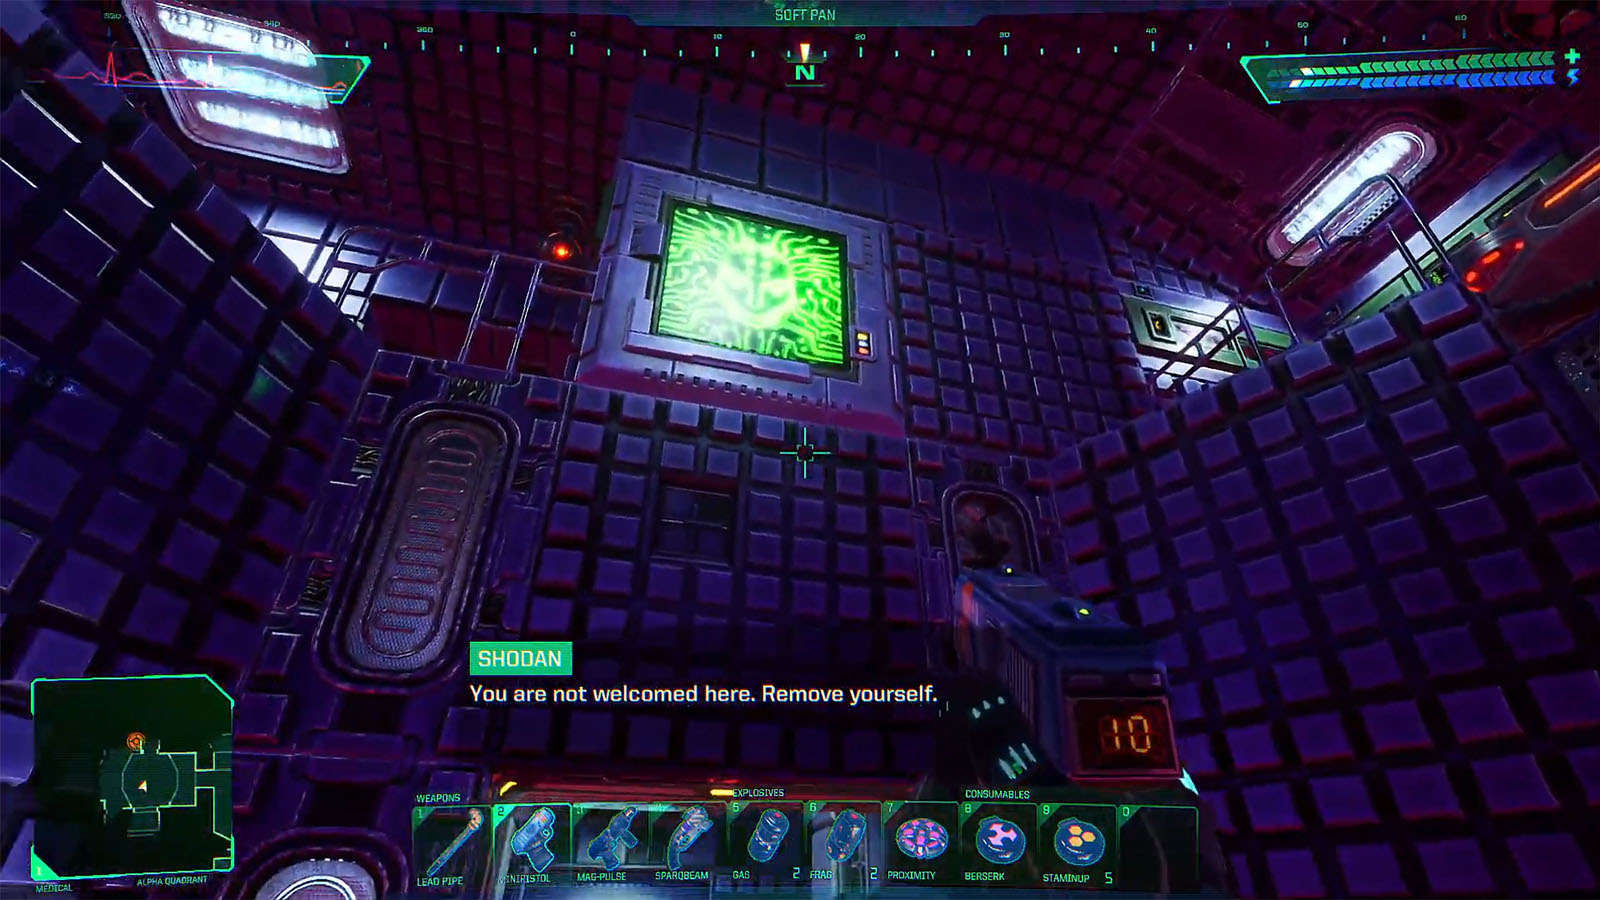
You play as the protagonist, only known as the Hacker. During your latest hacking heist, you are captured and detained by TriOptimum Corporation. In exchange for your release, the corporation’s vice president, Edward Diego, coerces you to hack into their system and disable all of the ethical restraints of the AI that is running the company, known as SHODAN. You then get knocked out and presumably placed in a coma for the implant surgery that was part of the deal.
Healing Suite
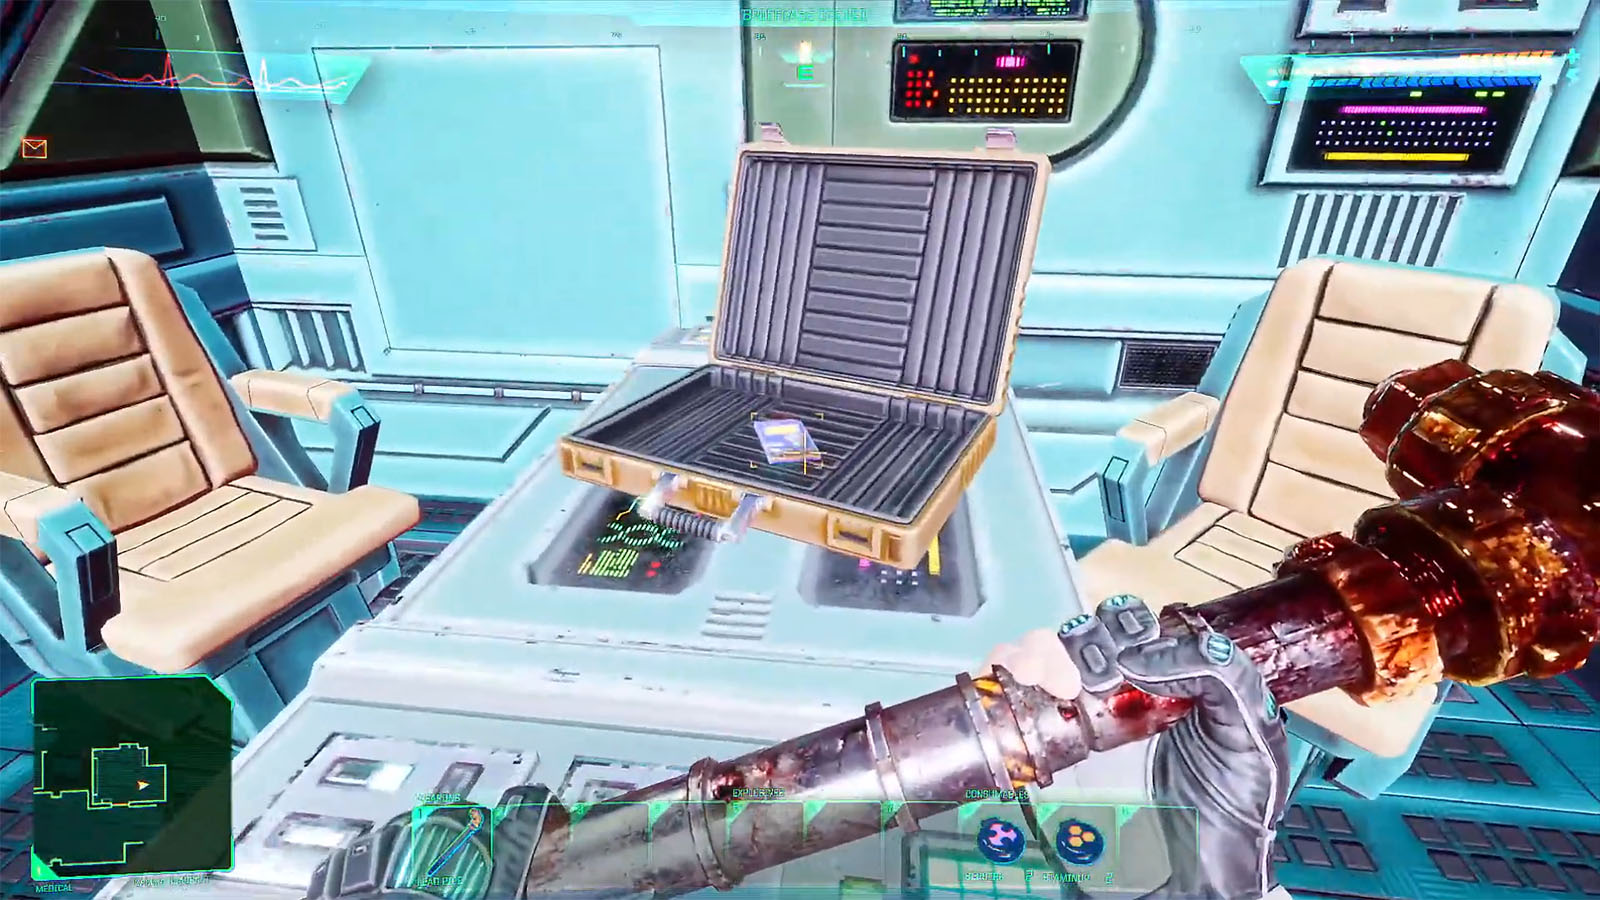
You then wake up inside a room where you can get supplies and explore your inventory. Grab the gadgets (Multimedia Data Reader V1 and Navigation and Mapping Unit V1) inside the case and use the lead pipe as a weapon. You will then get to meet Rebecca Lansing through your implant. She will serve as your guide and informant throughout the game. Rebecca then informs you that a mining laser is targeted at Earth, and she will need your help in stopping it.
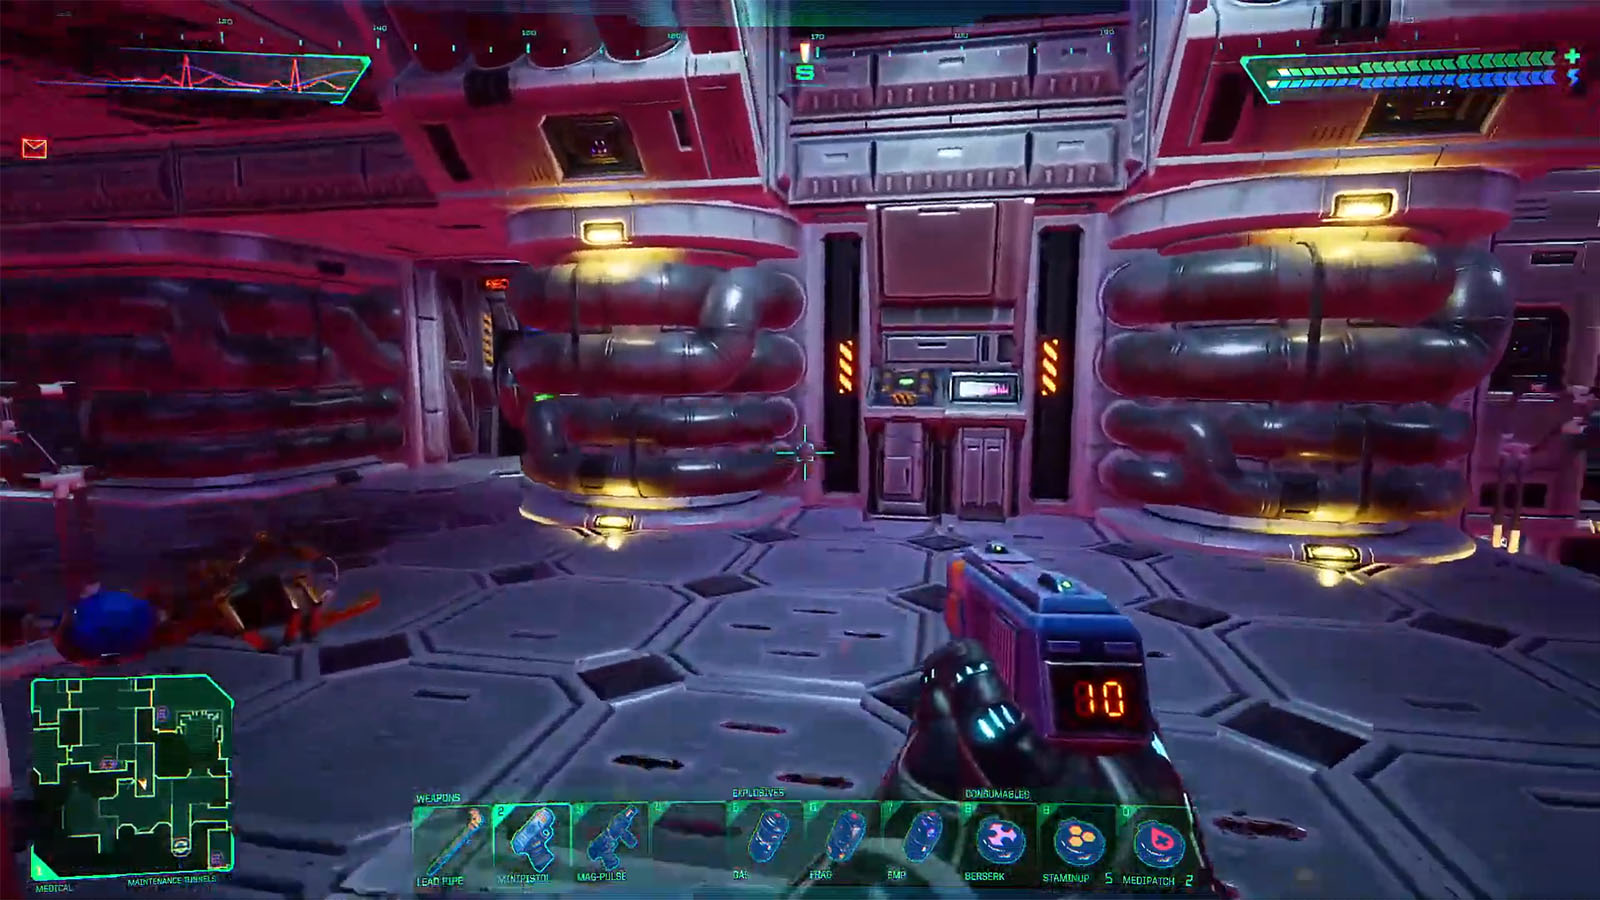
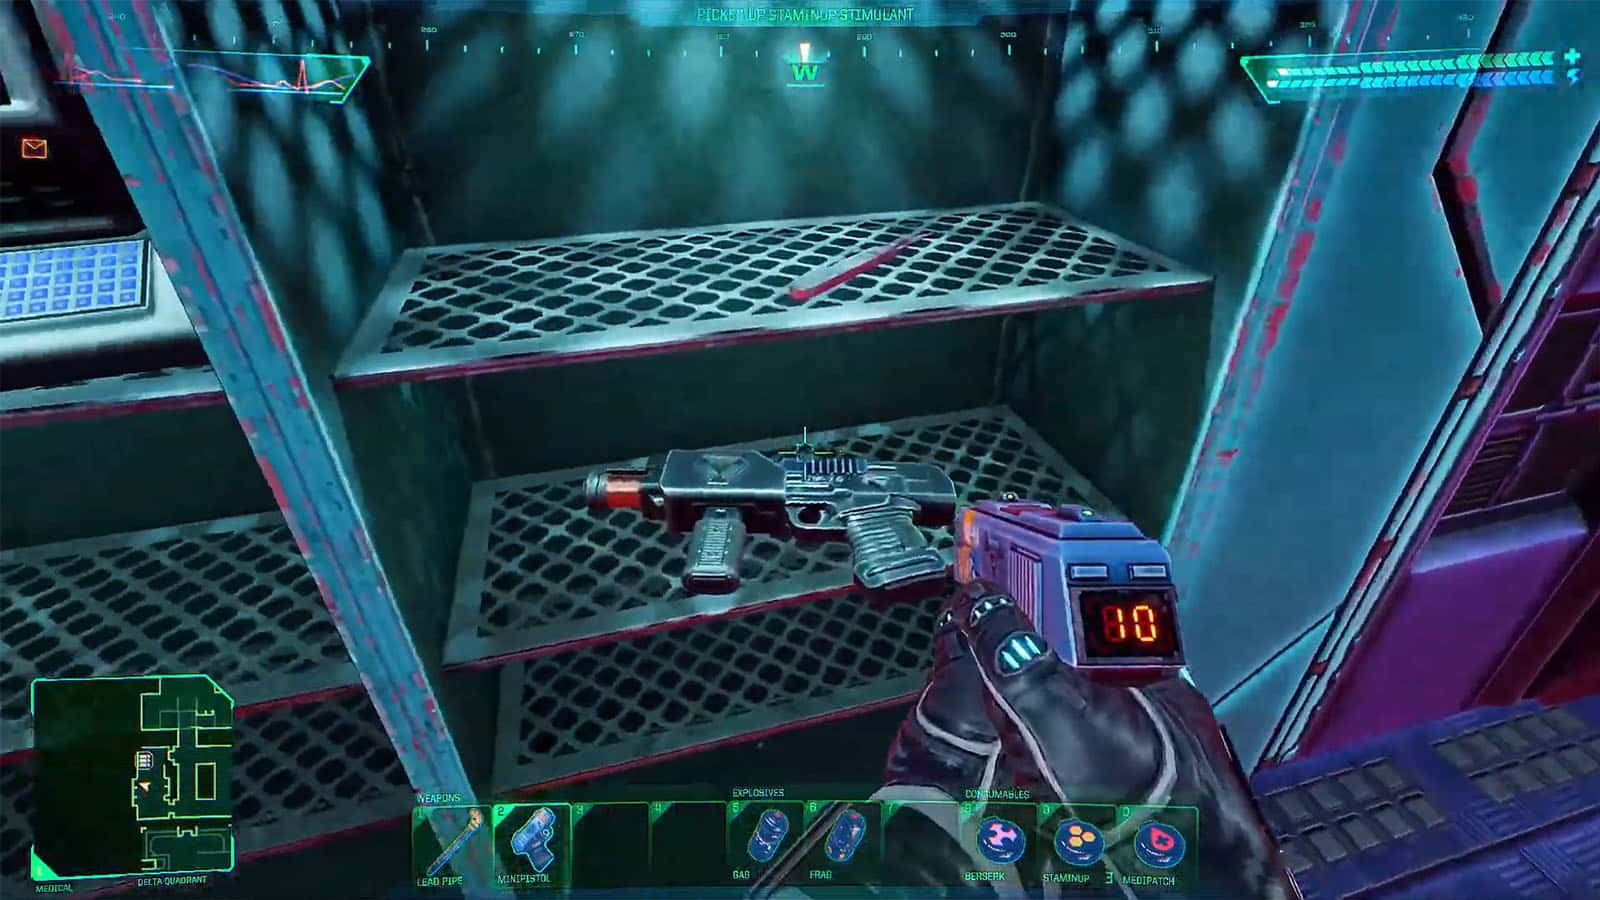
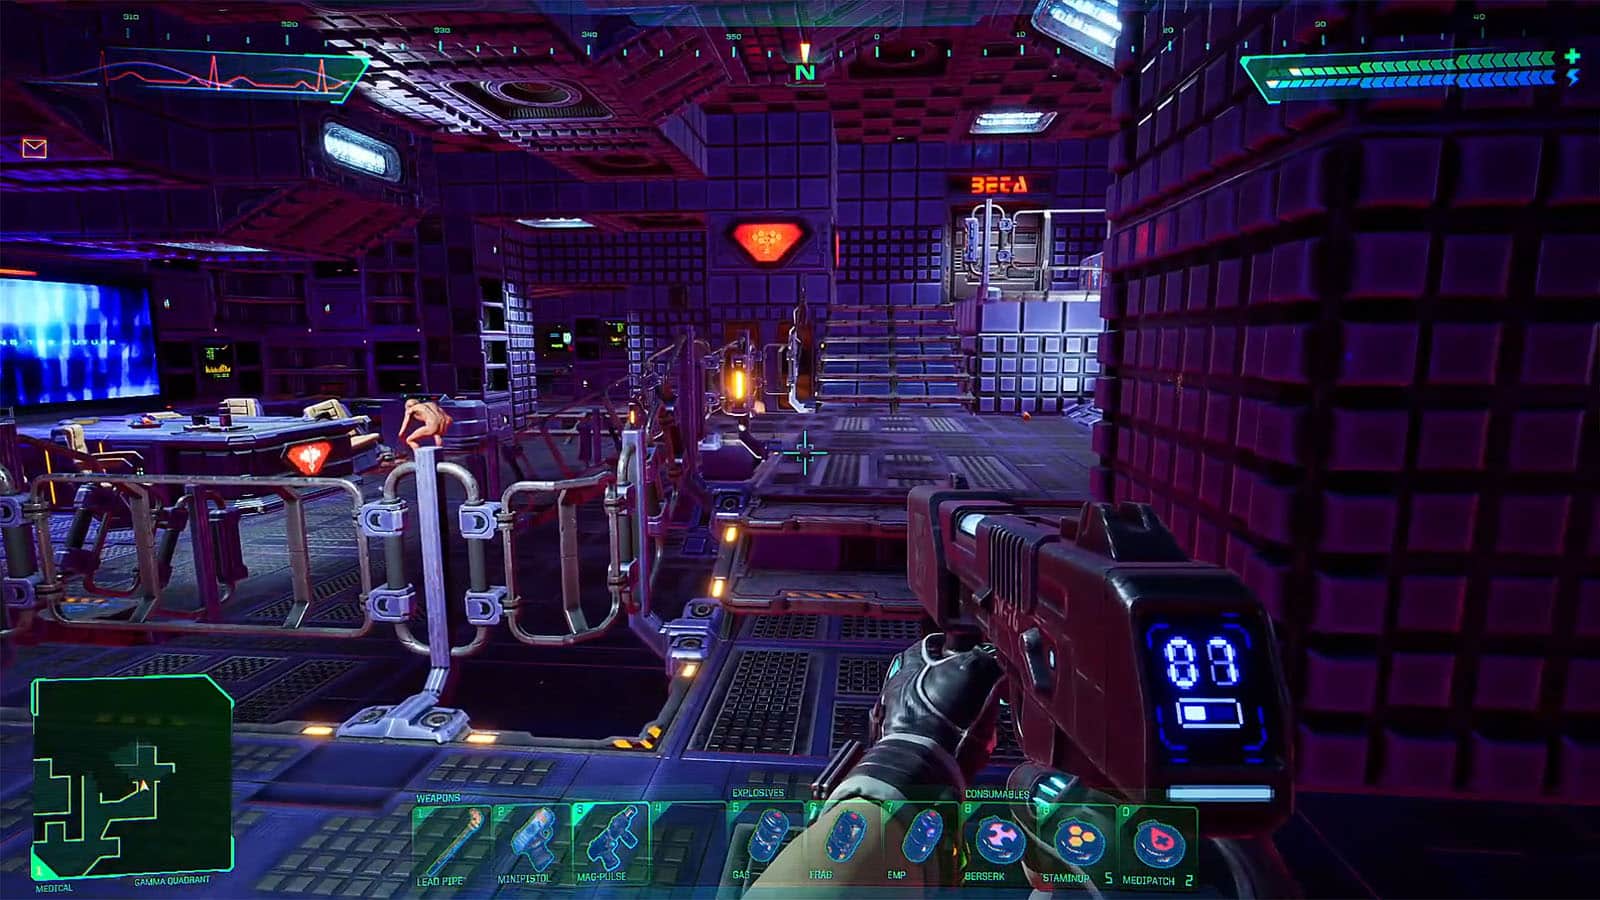
As you exit the room, you find yourself in the medical wing of the Citadel Station. Check the shelves to find the Head-Mounted Vision Unit V1 or the headlamp. There are security cameras inside this room that you can destroy in order to lower the level of security. Keep destroying these cameras as you progress through the level, as you will need to get the level of security low enough to be able to use the elevator to the next level.
The Serv-Bots will also be hostile towards you; you can get a Standard Keycard from one of them that allows you to unlock some doors up ahead.
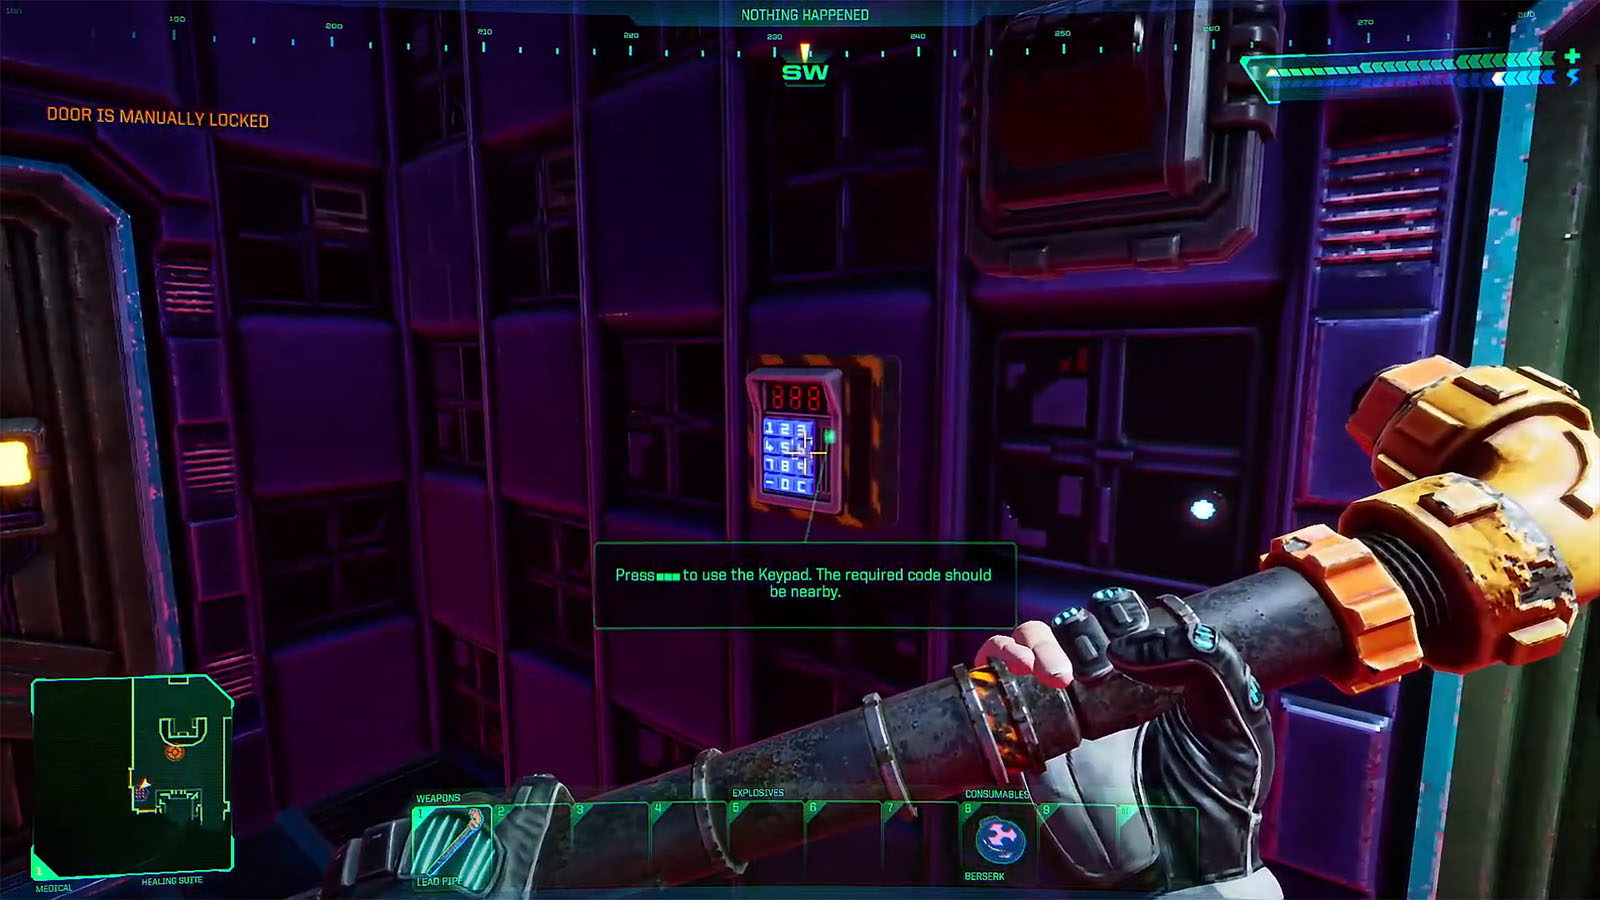
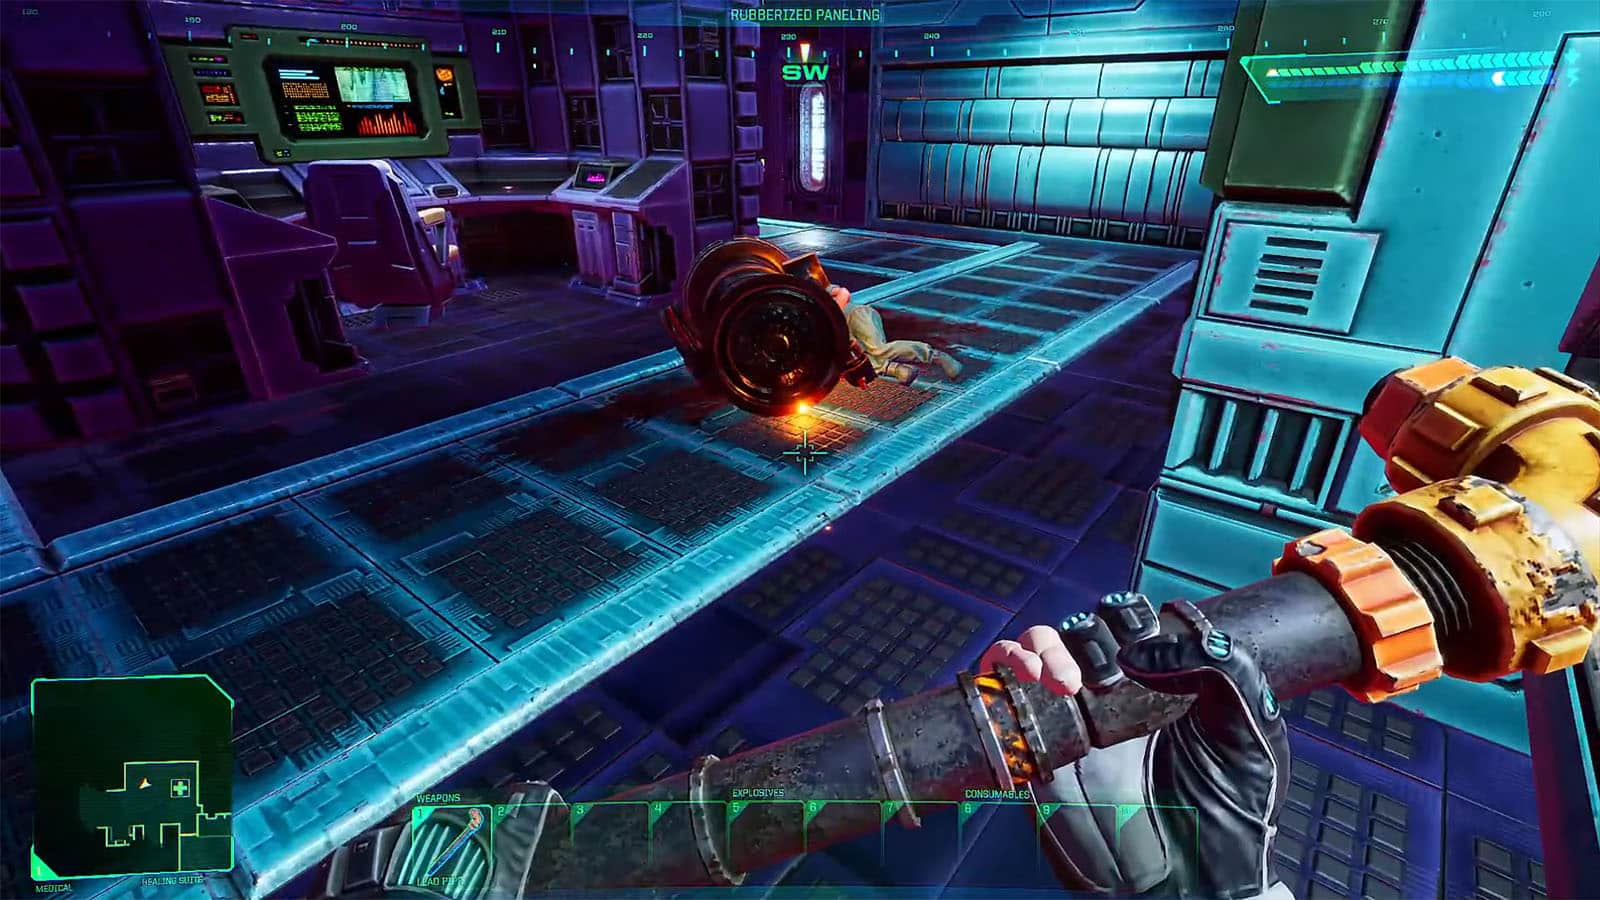
Your objective will be to look for a code that opens a door. Go inside the control room by crouching through a hole near the Power Station to the south. An audio code inside the control room will reveal that the code is 451. Use this on the panel to open the door that leads to the Delta Quadrant (Delta). Right behind the door is a mutant that will jump on you; defeat it to proceed.
Maintenance Tunnels
The Maintenance Tunnels are on the westernmost side of the level and can be accessed via the Service Elevator. From the Healing Suite, look towards the south, where you can see a Junction Box. Solving the puzzle in the Junction Box will activate the lift nearby that will take you to the Maintenance Tunnels.
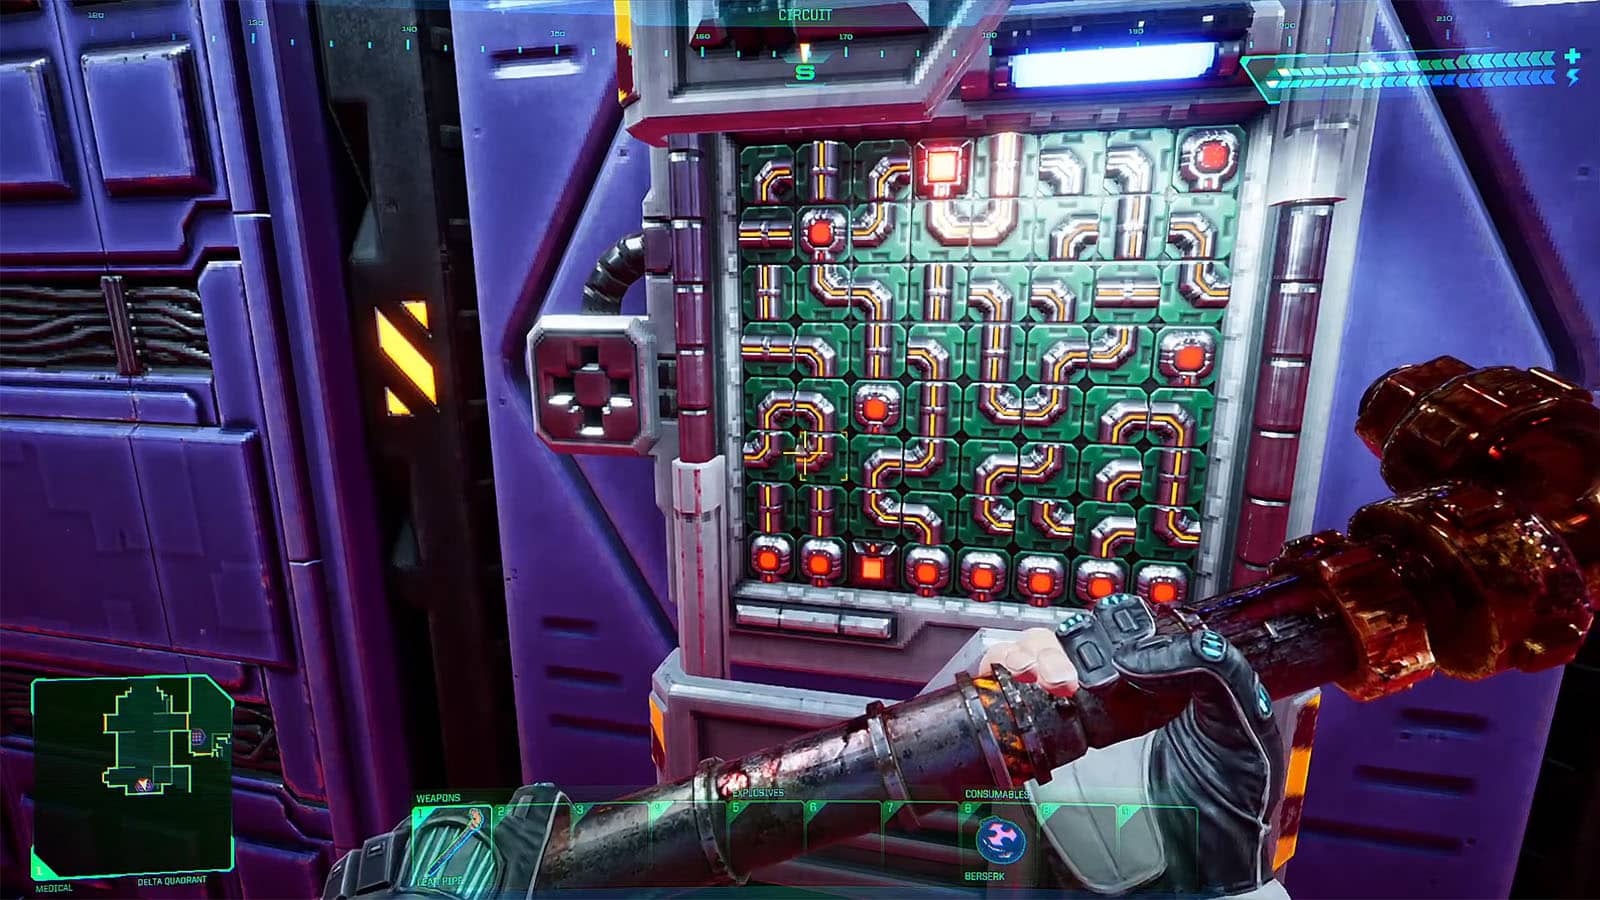
Junction Box - Delta Quadrant to Maintenance Tunnels

On the south side is a junction box that you can open. It's a puzzle where you have to connect the two red nodes through a grid. You can rotate the grid pieces individually, or on harder puzzle difficulties, use the blue notes to rotate all grids adjacent to it. Take note that the red nodes only have one side that it can be connected to. Once solved, this will power up a service lift nearby.
Once you have reached the Maintenance Tunnels, you can access the Recycling Station where you can deposit your junk items. Going south-east will get you to the Gamma Quadrant, while following the northwest path will lead you all the way to the north, ending on a locked gate that goes into the Alpha Quadrant. Via this tunnel, you can get the Audio Log – Cyborg Conversion, Audio Log – Final Assault, and the Monkey Wrench weapon.
Delta Quadrant
In the next room to the west, you can use the card to open the door up ahead. Defeat the enemy inside and loot the shelves for some supplies and another Group-1 (GP1) Access Card and Audio Log – Shodan’s Presence.
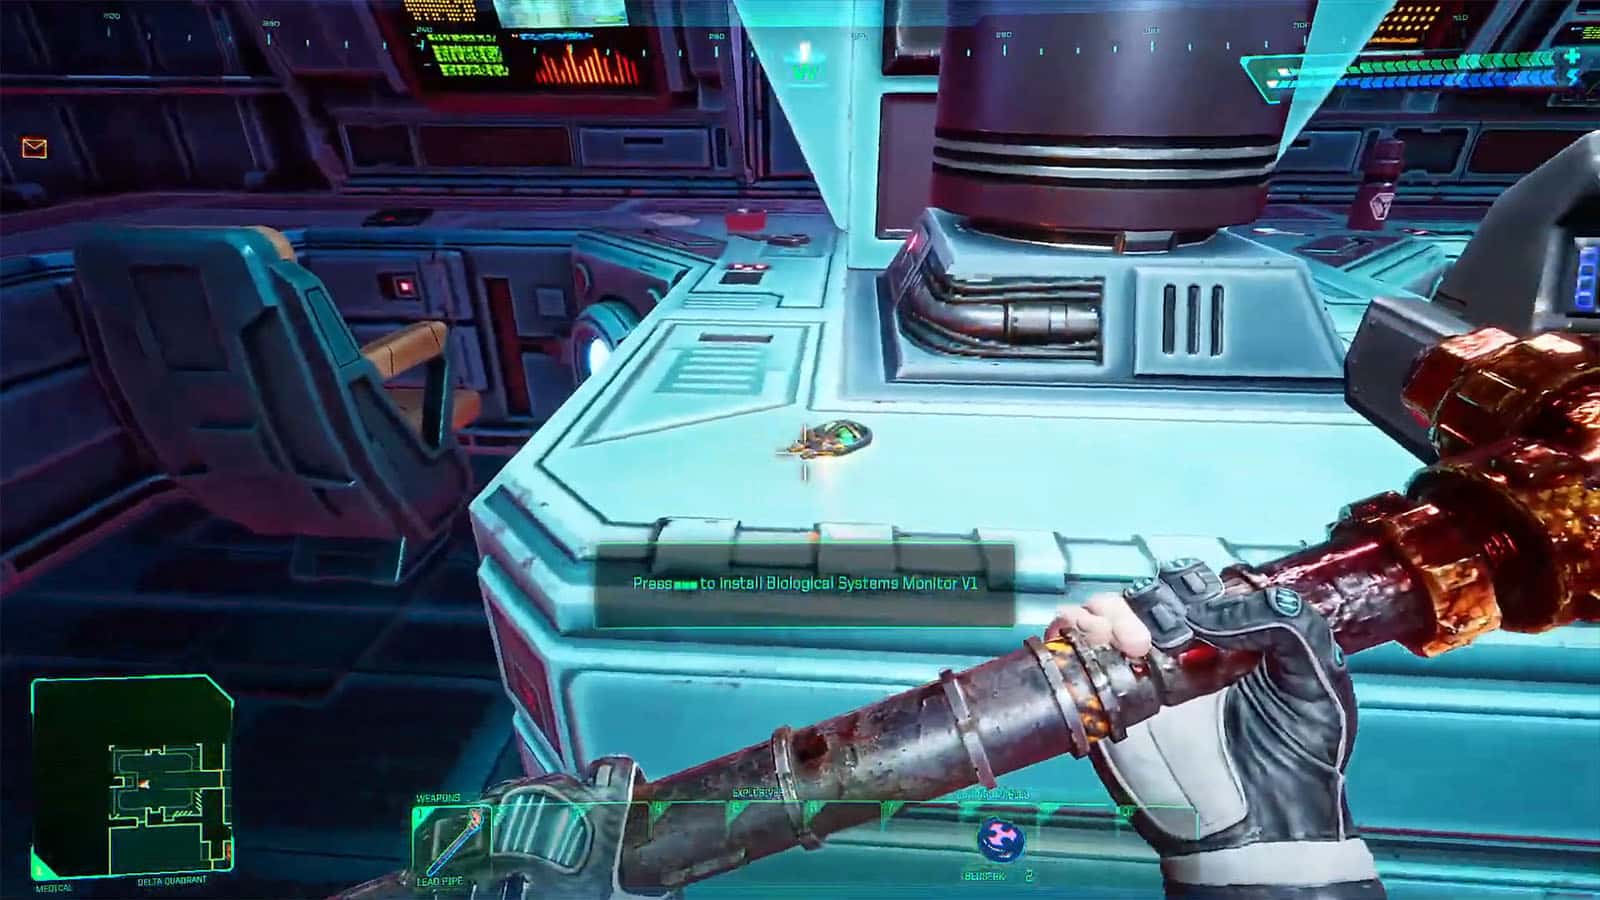
Open up the door north of you by pulling the lever, and then use the card to open the door on the left side to get the Data Stick – Medical Report and the Implant – Biological Systems Monitor V1.
Continue to the next room up north where you can find the Audio Log – Join Us!, then further up north is another room where the Data Stick – Engineer’s Report is, and the Cyberspace Terminal for the Medical Level.
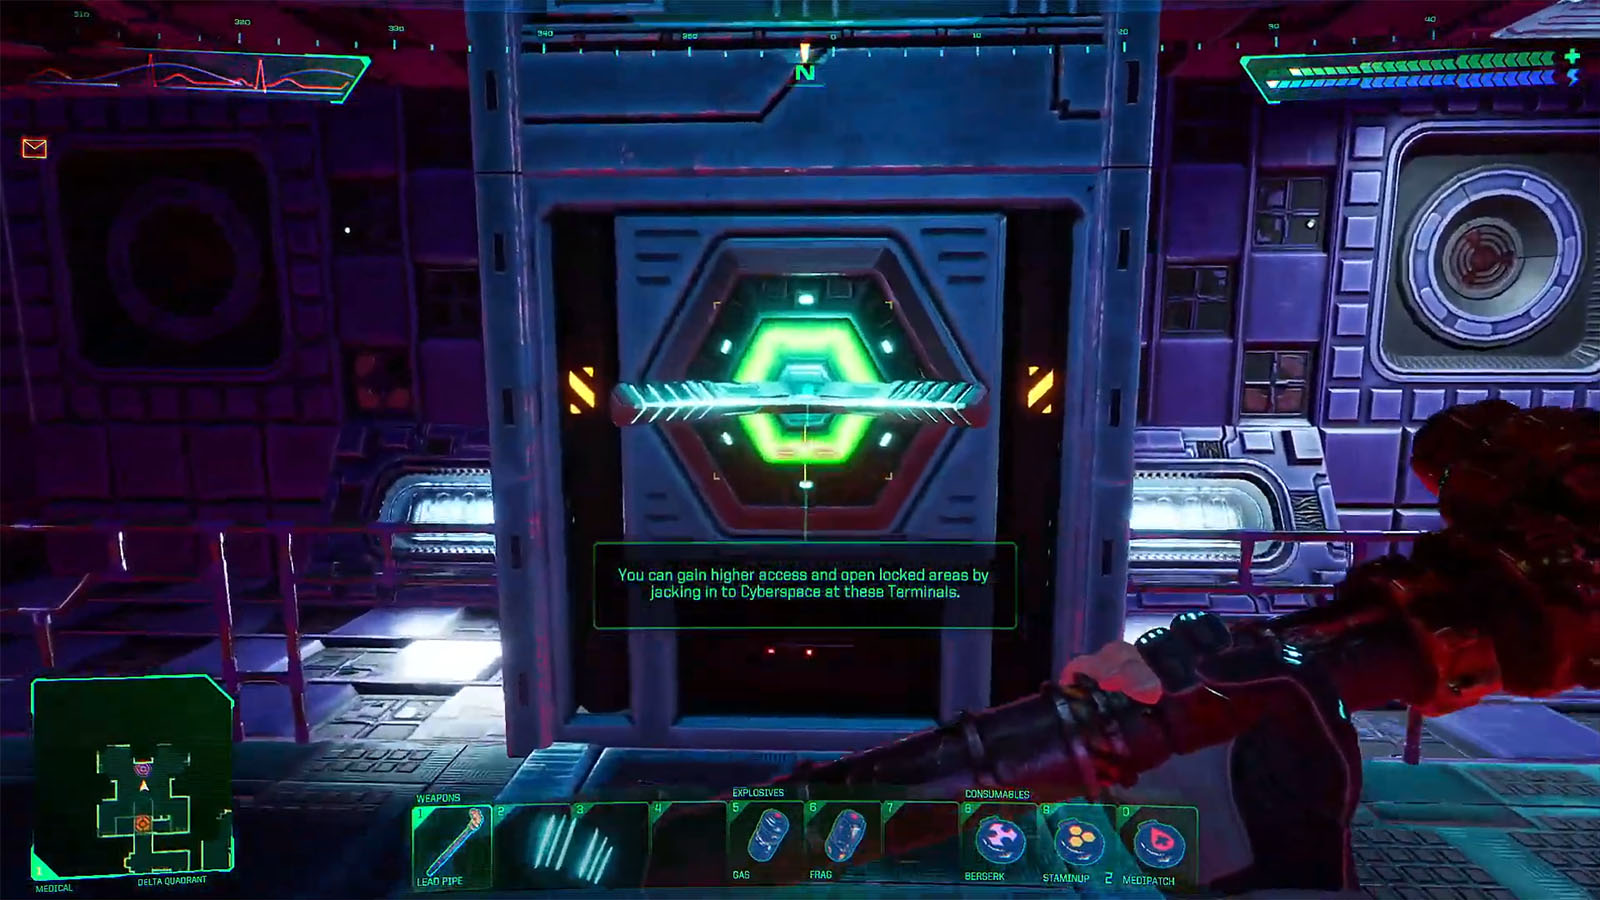
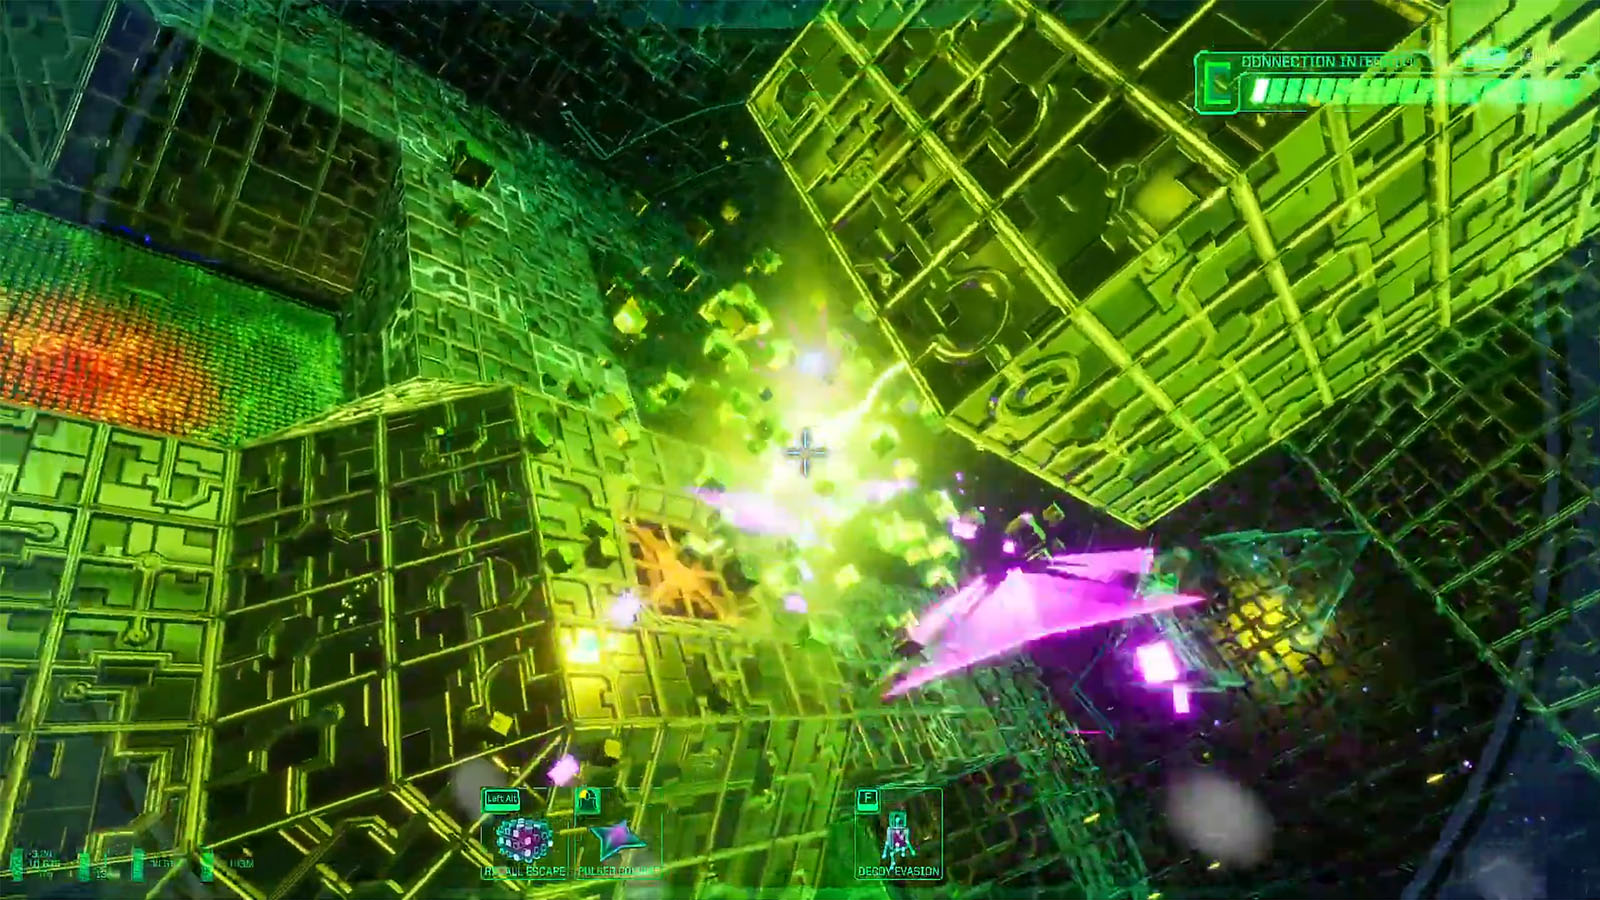
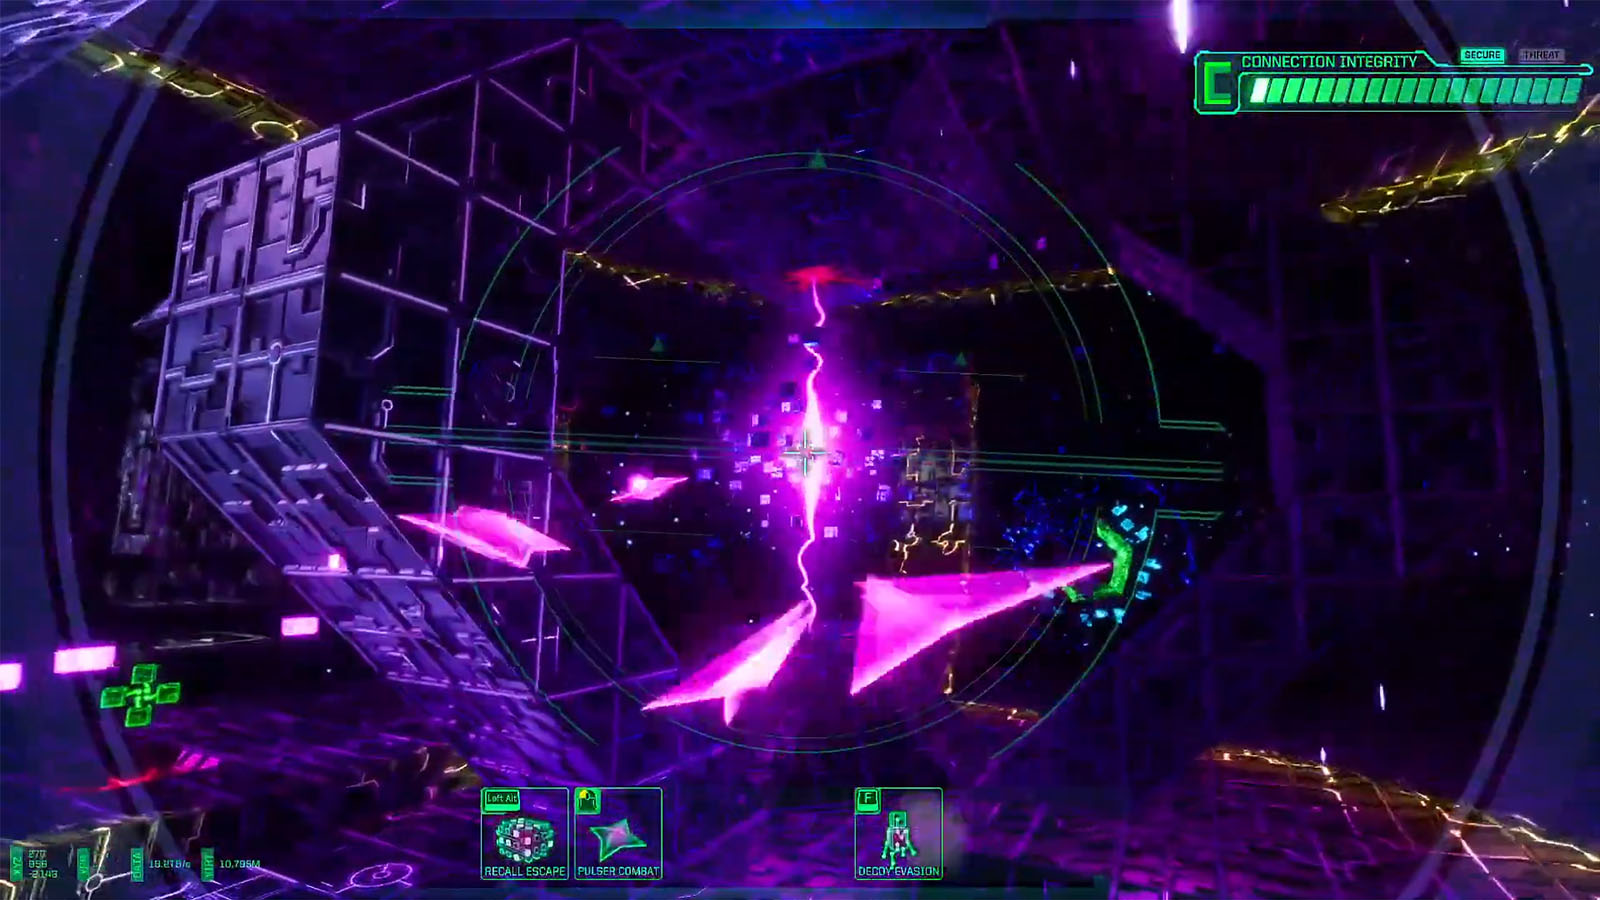
Cyberspace Terminal - Delta Quadrant, Medical

While interfaced with the terminal, you will have to go through the virtual rooms. Start by picking up the Pulser Combat V1 and shoot at the panel up ahead to open the gate to the left. Ride the flow while avoiding or shooting the mines.

Next, take the Decoy Evasion V1 in the next room and follow the red line while eliminating the enemies that appear. Along the way, you can get the Recall Escape V1. You will eventually arrive at the panel; shoot it and then retrace the line back to the gate.

After going through enemies and following the flow, you will end up in a room that has a yellow current in the middle pillar. Shoot it until it breaks to unlock the Medical Armory doors back in the physical world. Finally, look for the exit path that will log you out of the terminal.
Back in the physical world, head back to the south room, where the armory doors should now be opened. Inside is an Ammo-Depot and the JW-76 Mag Pulse Rifle, which is a must-have beginning weapon. Continue clearing up the rest of the accessible Delta Quadrant as you can find more weapons such as the TB-05 Sparqbeam Sidearm and the KE-41 Minipistol. Once you’re done, continue towards the east gate to access the Central Hub.
Central Hub
The Central Hub connects to all the quadrants of the Medical Level, however, access to the Alpha and Beta quadrants is locked.
To access the Alpha Quadrant, locate the service lift near the central area of the hub and press the switch nearby to go down. Ranged cyborgs will be waiting in the central area, so be prepared to fight them. Once done, you will find a Junction Box that has a puzzle in it; completing the puzzle opens up the door to the Alpha Quadrant.

Junction Box - Central Hub to Alpha Quadrant

For this Junction Box, your objective is to direct enough power to a gauge by connecting the wires and rewiring the circuits. There are plugs in the grid that can provide power when inserted into a socket. These sockets are connected to wires which are connected to either switches, dials, or AND gates.

Switches simply turn the flow of power on or off. Dials can redirect the flow of power to where it points. AND gates can only allow power to flow out of it once all of its inputs are powered up; they can either have two or three inputs. These elements will or will not show up depending on the selected puzzle difficulty at the start of the game.

Once the gauge has been fully powered, the barrier that blocks the path from the Central Hub to the Alpha Quadrant will be disabled.
We will skip the Alpha Quadrant for now and take the longer route. On the east side of the Central Hub is a Hopper Turret; it’s best to engage this with a ranged weapon. Opposite it to the east are two more cameras you can destroy and a lift that goes up to the upper walkway.
Take the lift, and to the north is a room with the Audio Log – Medical CPUs and a KE-412 Minipistol.
In the adjacent room is Dr. Nathan D’Arcy’s office, where you will find the Audio Log – Destroying the Laser, the System Analyzer V1 gadget, and the Personal-1 (PER1) Keycard.
Near the lift is a barrier that connects to the Beta Quadrant, but it can only be opened from the other side. For now, head back to the Central Hub and go down south to the Gamma Quadrant.
Gamma Quadrant
The Gamma Quadrant takes up the whole south-southeast area of the level. It can also be accessed earlier in the level by taking the lift to the south of the Healing Suite after solving the Junction Box – Delta Quadrant to Maintenance Tunnels. There are plenty of mutants and cyborgs in the area, so be prepared.
From the Central Hub gate, head south, and the first room to the east can be opened with a GP1 Keycard. The room contains the Audio Log – 5U5H154N.
Continue exploring to the southwest first. You will encounter a locked door that needs a code; the code is 705 and can be obtained through the Audio Log – Many Paths further up northwest of the level. Behind this door are a Sparqbeam Sidearm, a Proximity Mine, and a Mod-Kit Station.
Head to the huge room to the east, where you will find a small room that contains another GP1 keycard. Back in the huge room, just outside the small room, is a corpse with the Audio Log – Last Resort.
Go east and through the door using the GP1 keycard to get to the next area. There are more enemies in the corridors here, so proceed carefully. Head northeast, and you will find another Sparqbeam Sidearm by the table and the door that leads to the Beta Quadrant.
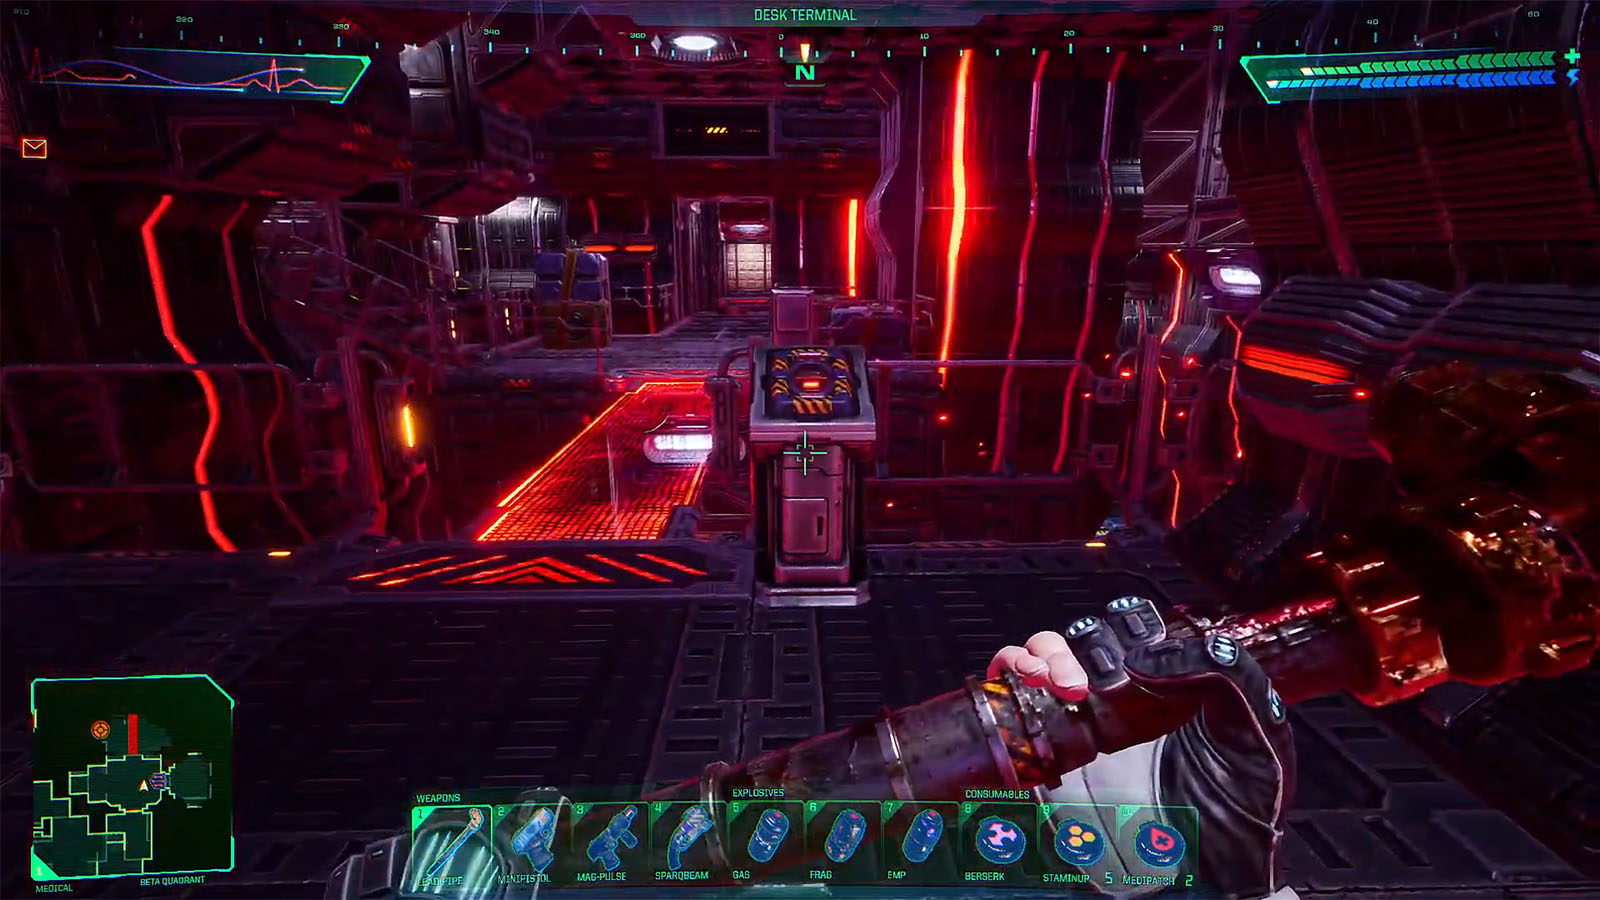
Beta Quadrant
In this quadrant, you will have to activate bridges to be able to proceed. For the first bridge, you will have to complete another Junction Box puzzle. This puzzle has the same principles, where you will have to route enough energy to fill the power gauge while dealing with switches, dials, and gates.
After crossing the first bridge, continue up the ladder and then locate the switch for the next ladder at the end of the path. Take the time to explore the west section past the first bridge to find the Audio Log – KS-Good Money and open the access way from the Beta Quadrant to the Central Hub. The eastern side of the Beta Quadrant has the Audio Log – Another Bad Day, and the Audio Log – Human Resistance, at the very end of the path that wraps back to the south.
Alpha Quadrant
Past the second bridge, continue moving towards the west. You will find the Audio Log – Many Paths that opens up the door in the Gamma Quadrant from earlier. Continue moving west, and you will see another bridge. The bridge will disappear as soon as you step on it, making you fall a level below.
To get out, disable the barrier, then move forward. Flip the switch again to disable the next barrier. Pull the lever, then head back past the barriers to ride the lift back up. You will then find the Audio Log – Regen Override.
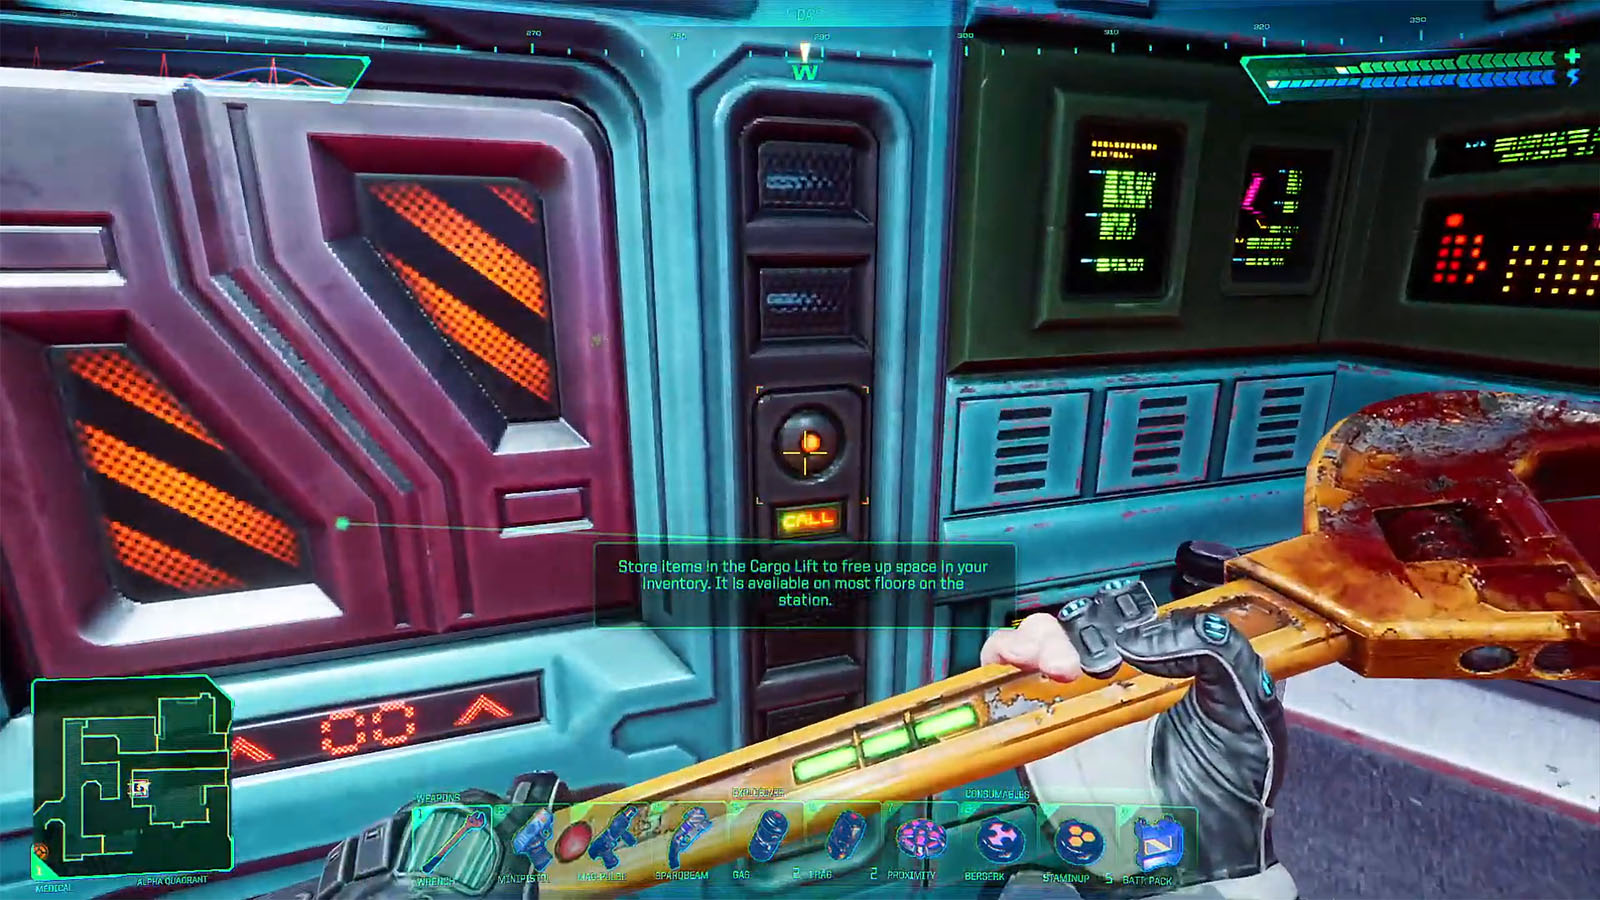
Continue moving to the west, where you will find a connecting room that has the Cargo Lift that allows you to bring items to the next level and the Medical Restoration Bay that serves as your spawn point in case you die. The next room up north contains the Audio Log – Mutagen Transfer, and the access point to the Maintenance Tunnels, which can only be opened from this side. The med room to the east contains Audio Log – Mutants.
Down the hallway north that goes east is another gate (further up north is an open area and another vending machine). Clear the enemies in the next room, then head to the room up north where you will find the Audio Log – A Better God for Earth, and another Cyberspace Terminal.
This terminal is similar to the previous terminal, where you go through different virtual rooms and kill enemies. In the final room, you will have to shoot the electric connection that will disable the Medical Forcefield Door, after which you can exit and log out of the terminal.
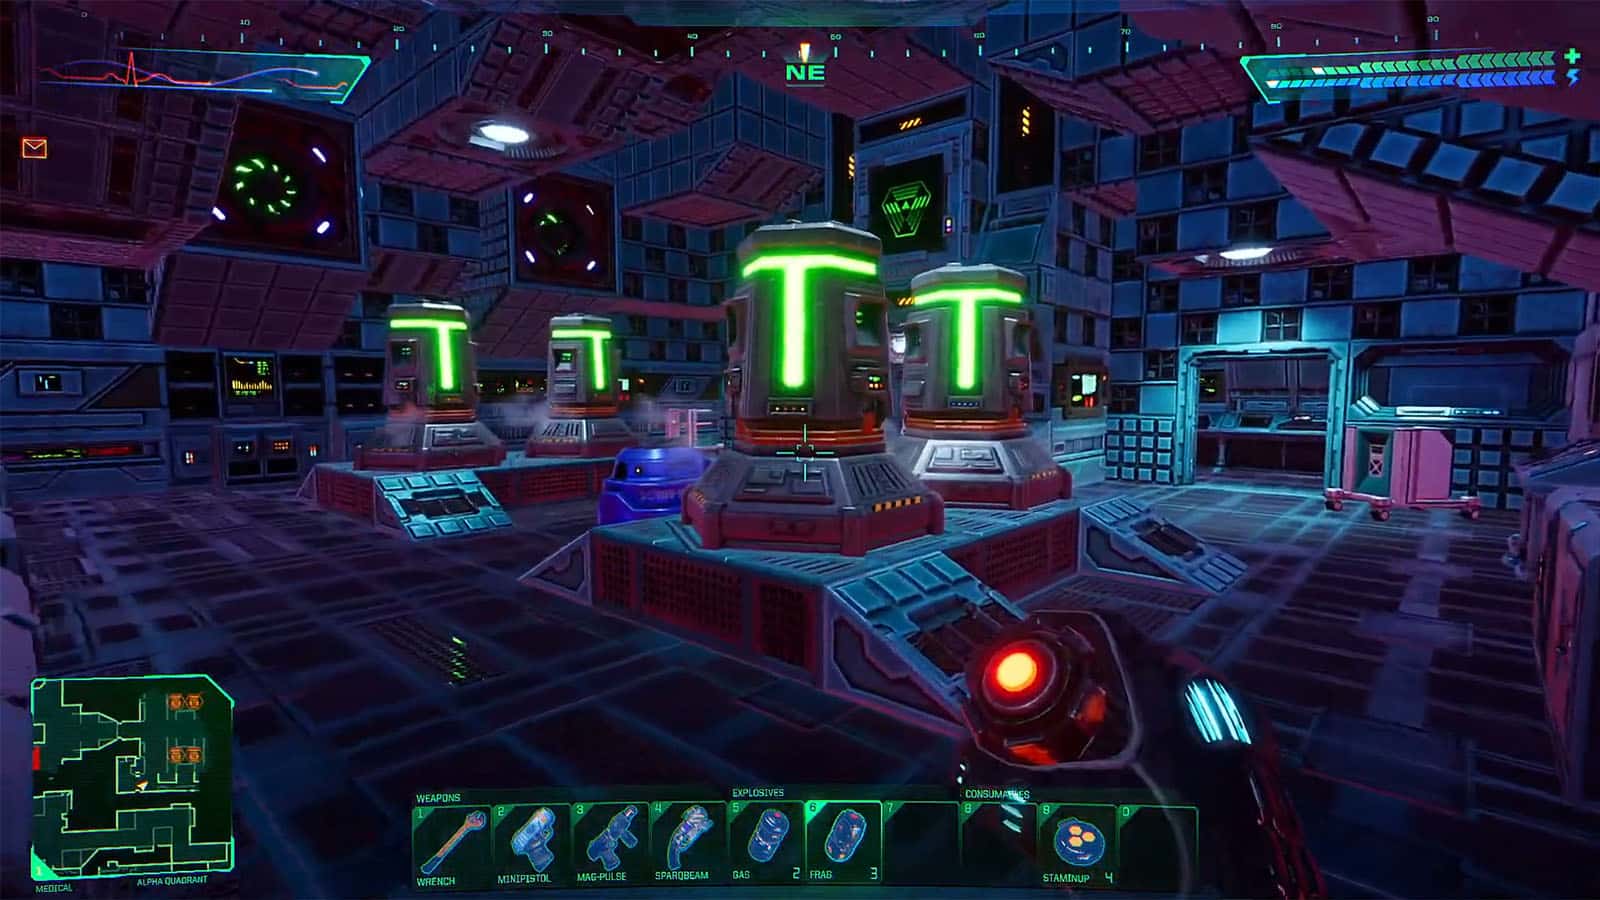

The barrier should now be disabled, allowing you access to the next room with another cyborg in it. Defeat the enemy, then proceed to the room up north where you can find the Sensaround Radar Unit V1 gadget. Next, go to the east room, where the CPU nodes can be found. Destroy these nodes to further lower the level of security. Afterwards, take note of the number that appears on the screen near where the nodes are, as you will need to input it in the reactor later on.
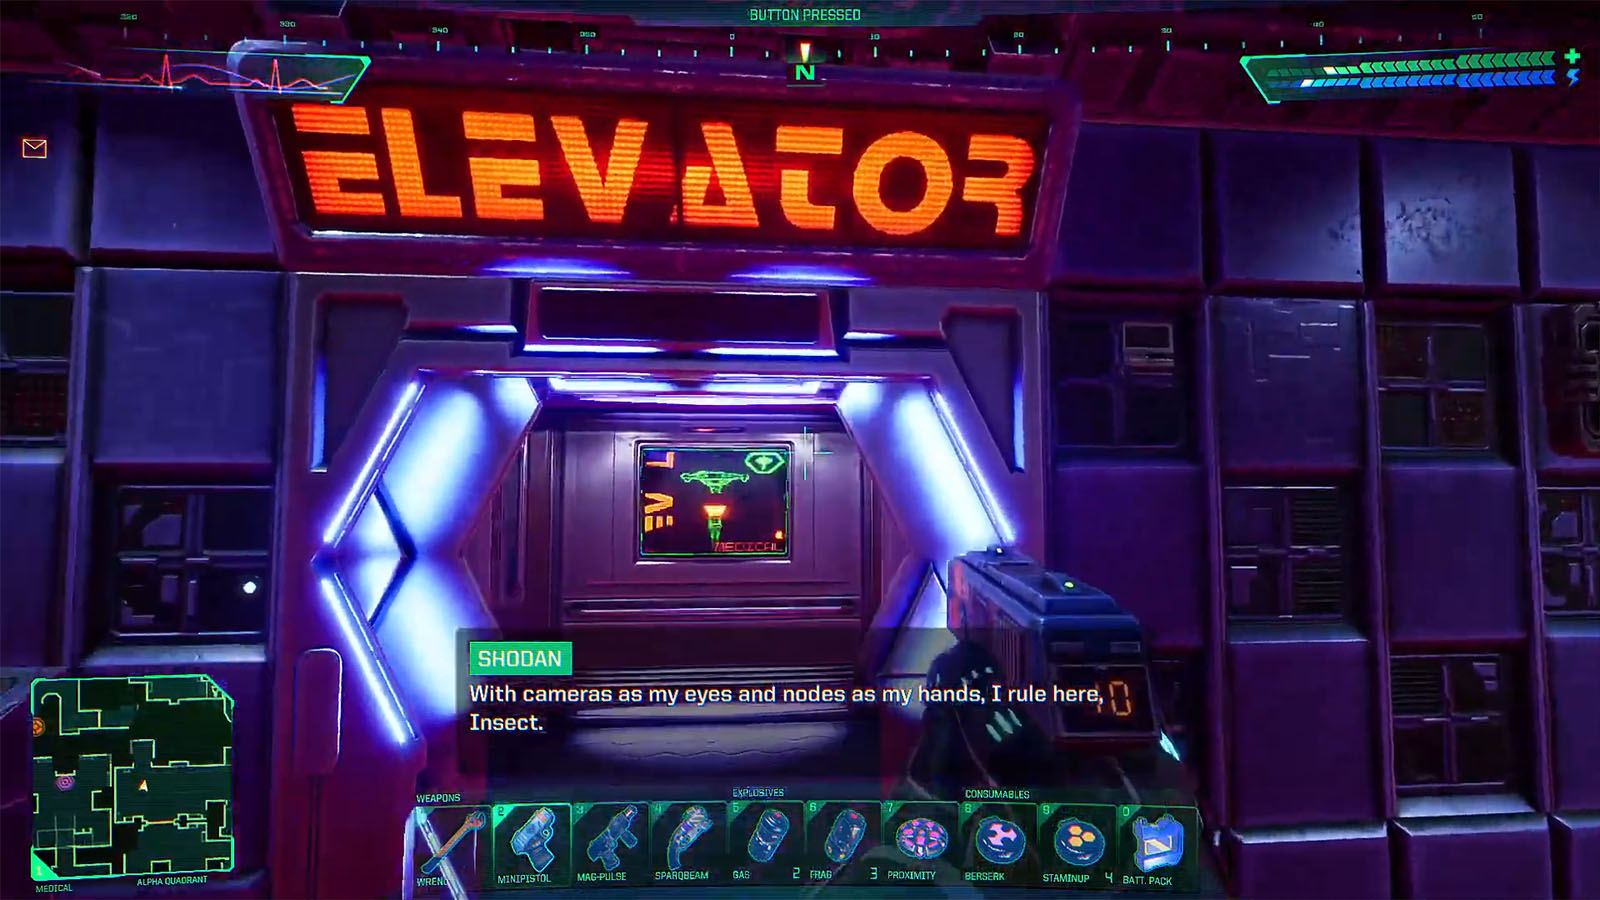
You can then head back to where the trap bridge was and enter the room down south, or you can go back to the Delta Quadrant and enter the room up north to find the Audio Log – Strike Against Earth, and the elevator that will take you to the Research Labs.
See next: System Shock Remake Laser Mission Level 2: Research Labs Walkthrough


