


For Whom is the tenth main quest of Tales of Arise: Beyond the Dawn. After learning Cal Beisel’s base of operations, Alphen and the group head over to Shinefall Woods to try and stop Nazamil from doing her plans of controlling everyone’s mind.
Read ahead as we go through the events of For Whom in Tales of Arise: Beyond the Dawn and share some tips on how to complete each of the quest’s objectives.
See previous: Faceless Walkthrough
On this Guide:
Look for Cal Beisel’s base in Shinefall Woods
After learning the location of Cal Beisel’s base, you can either take the long route or simply fast travel to Shinefall Woods.

As you arrive in the woods, The Girl’s True Face sub-quest will also start. This is an optional sub-quest that will allow you to learn more about Nazamil.
- Search in Pelegion for people who know Nazamil
- Go to level 2 and talk to the (Renan) Brooding Woman
- Speak to someone who knows Nazamil
- Speak to the three NPCs on the same level
- Speak to someone else who knows Nazamil
- Talk to the girl
- Head to Shinefall Woods
- Talk to the two kids to tell them to go back home
- Talk to the Renan woman again
- 3500 Gald
- 810 SP
If you choose to take this sub-quest, you will receive 3,500 Gald and 810 SP for completing it.
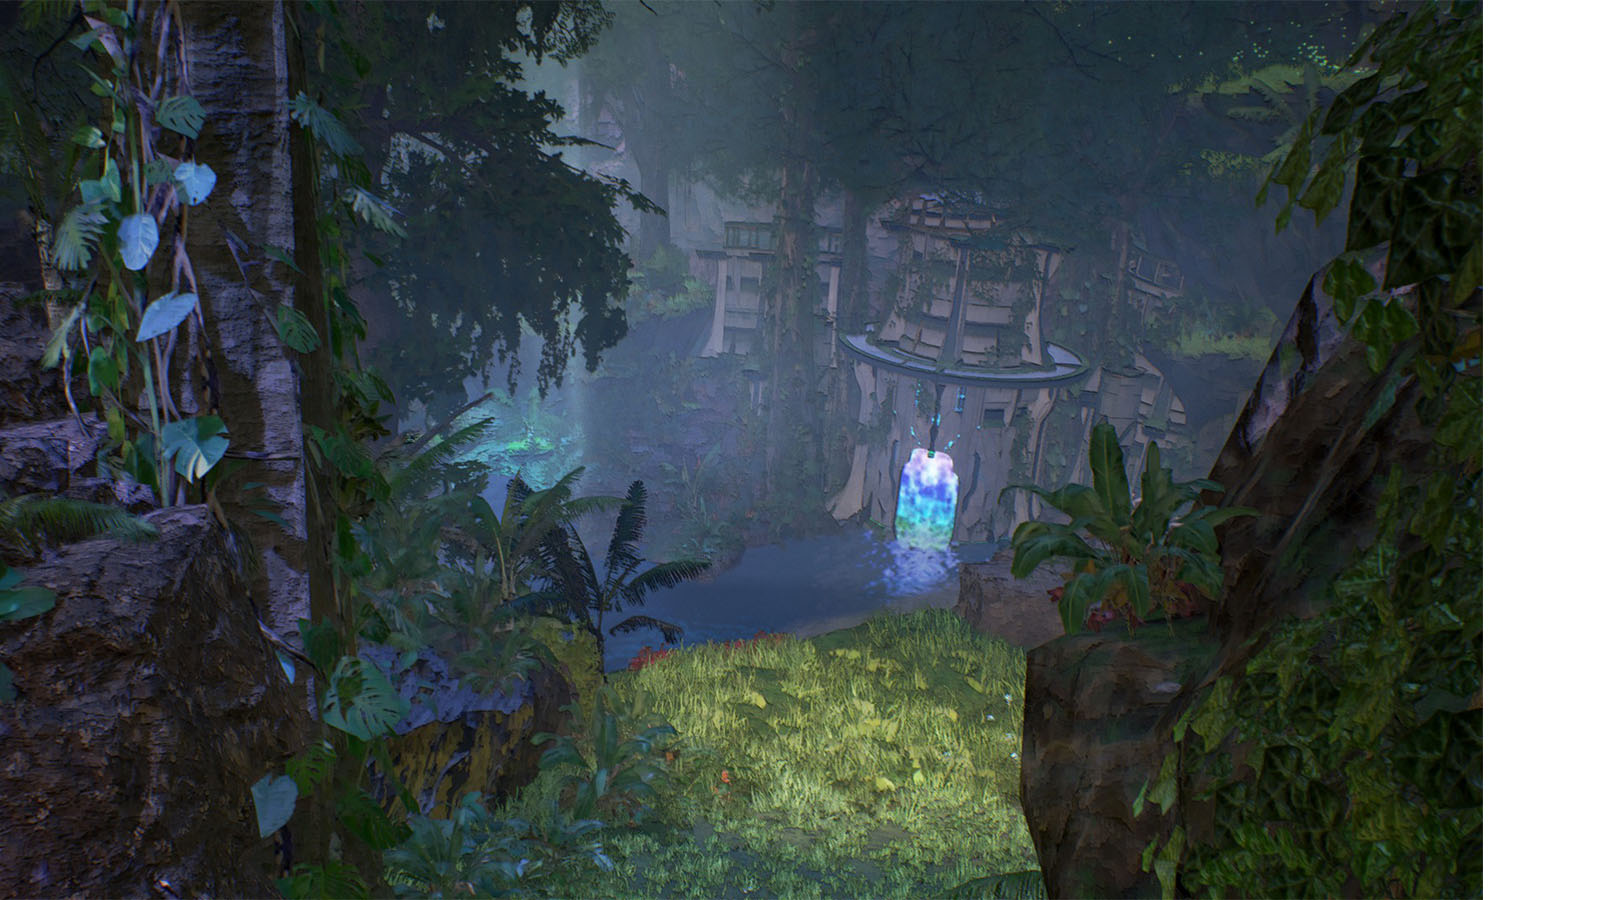
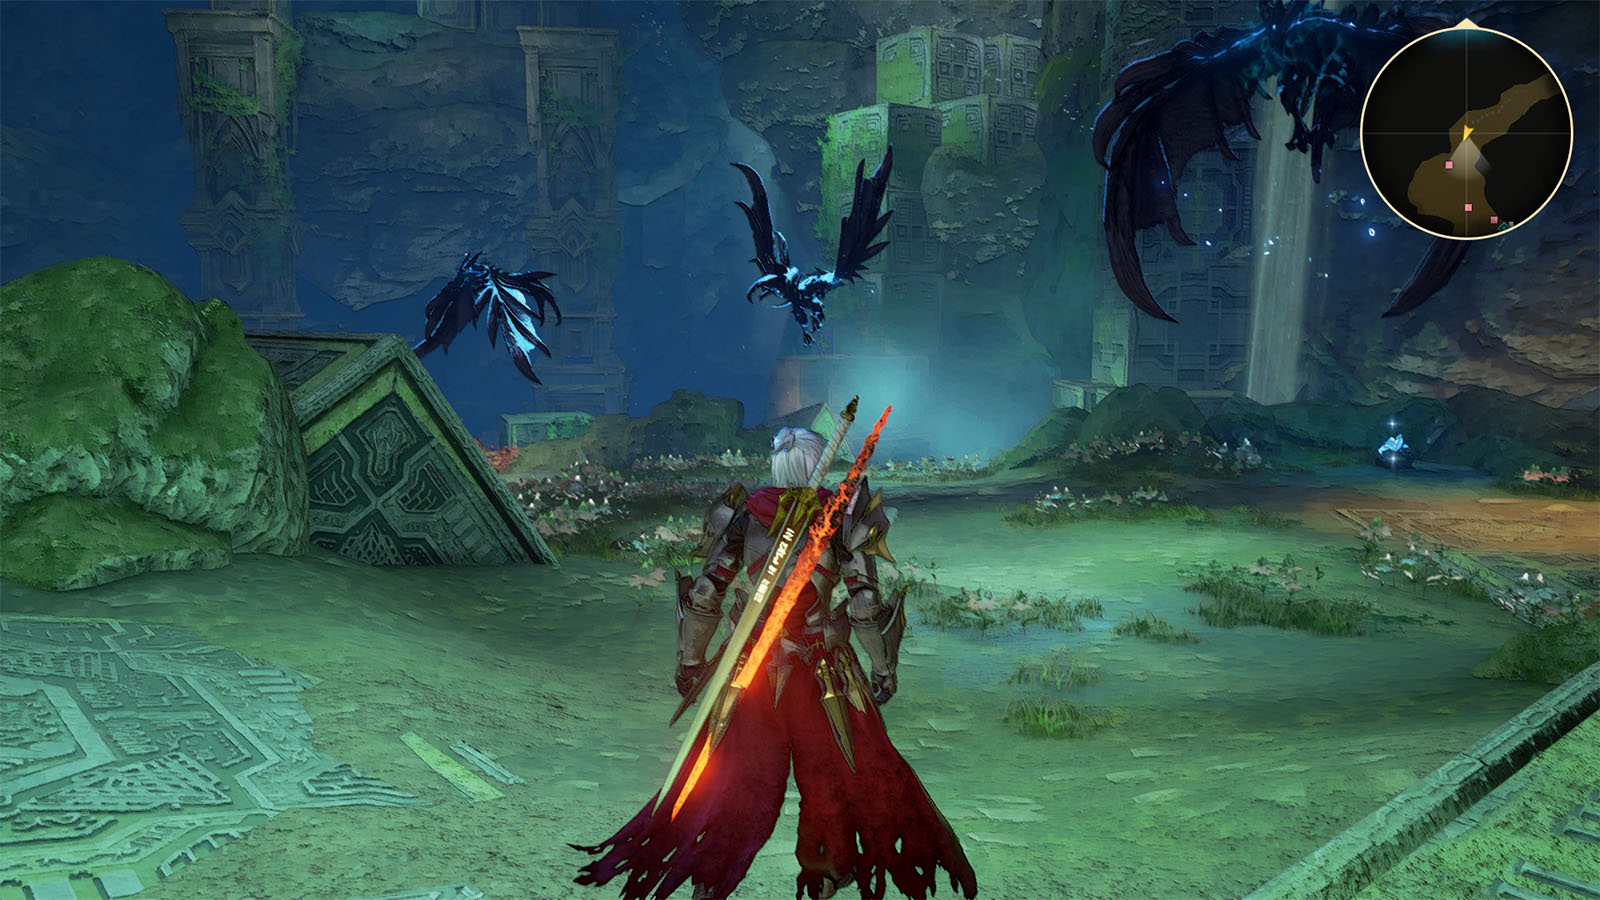
Head towards the marked spot to find a campsite and another mausoleum entrance. Go through the entrance to proceed.
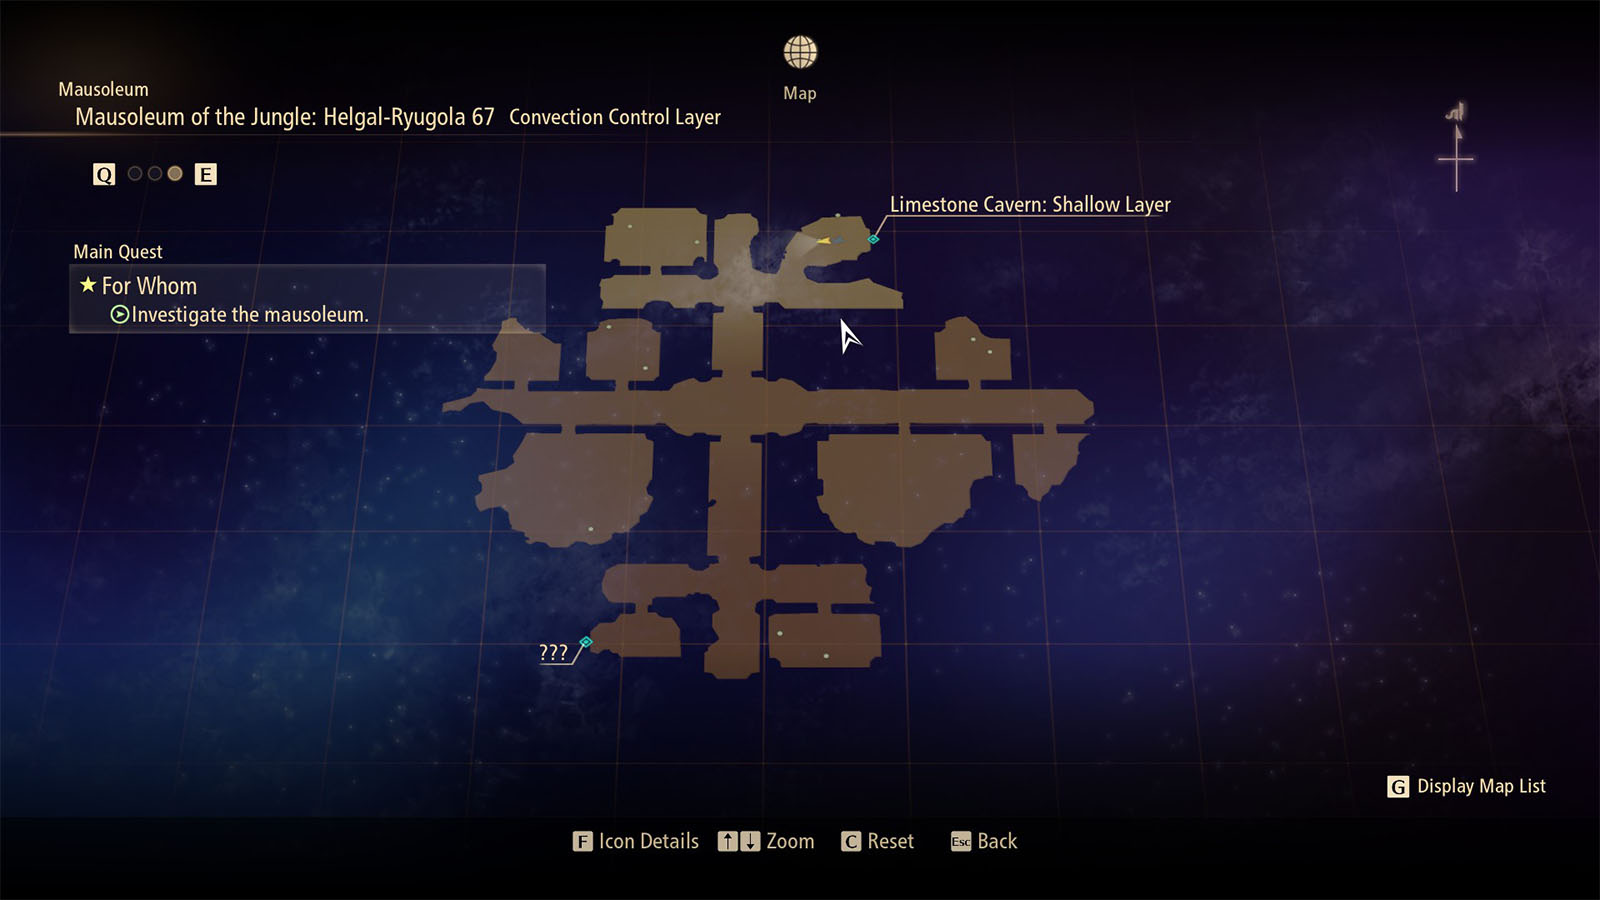
Investigate the mausoleum
Lower Surface Concretion Layer
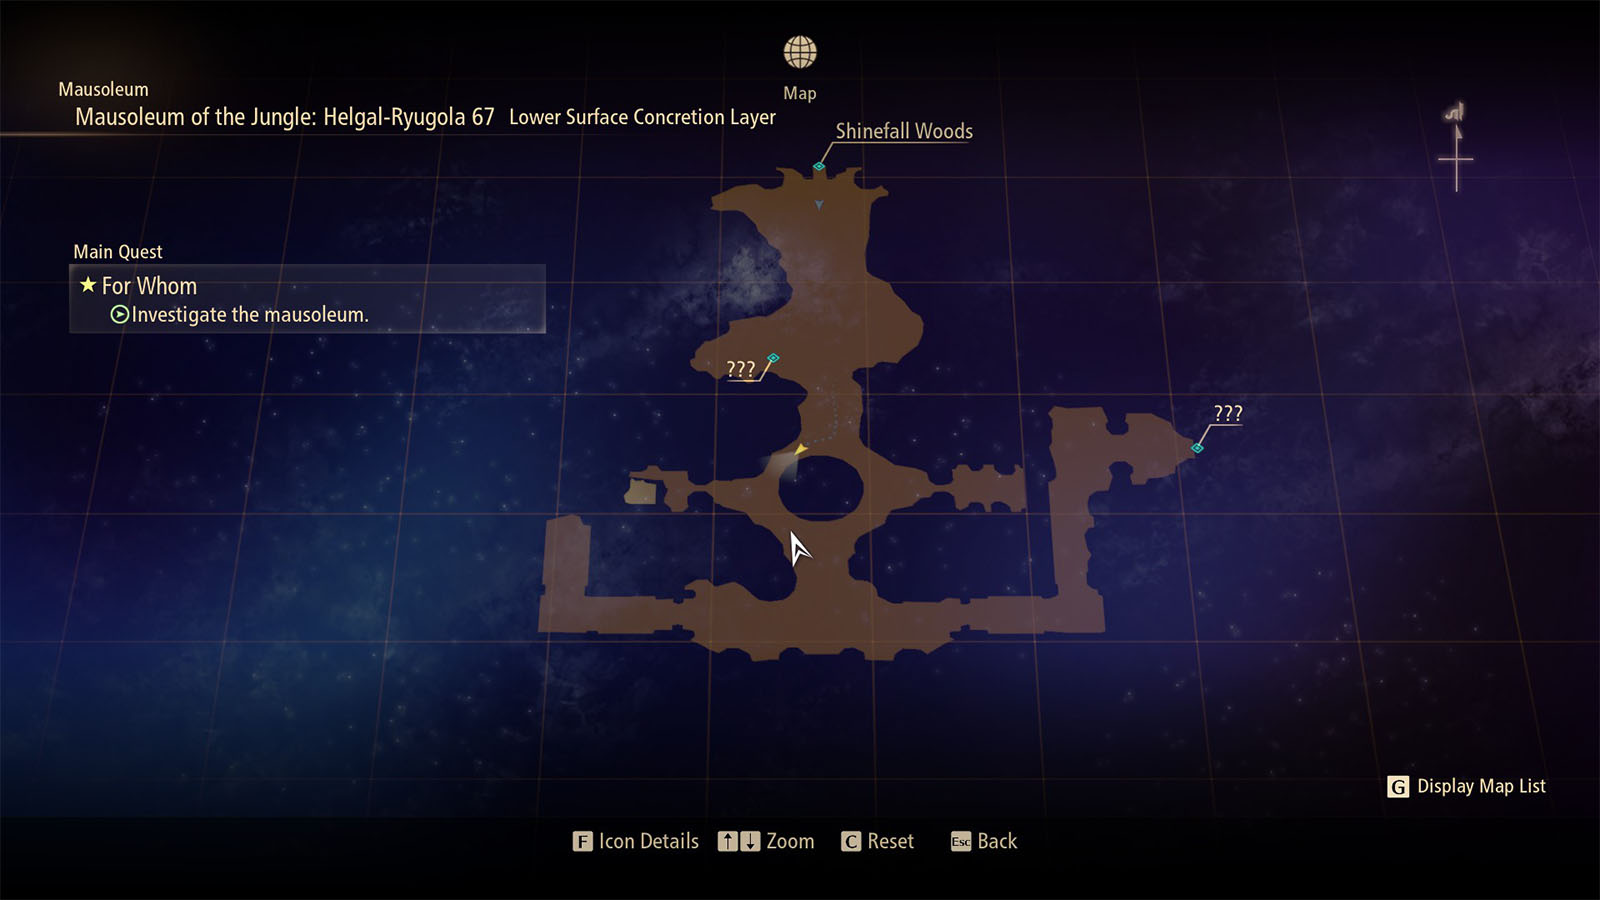
From the first area, you’ll find a teleporter southwest of you, but it’s not working at the moment.
Continue down south, where you’ll find two rooms across each other; the room on the west is a one-way path for later. Head to the east room to find an Orange Gel.
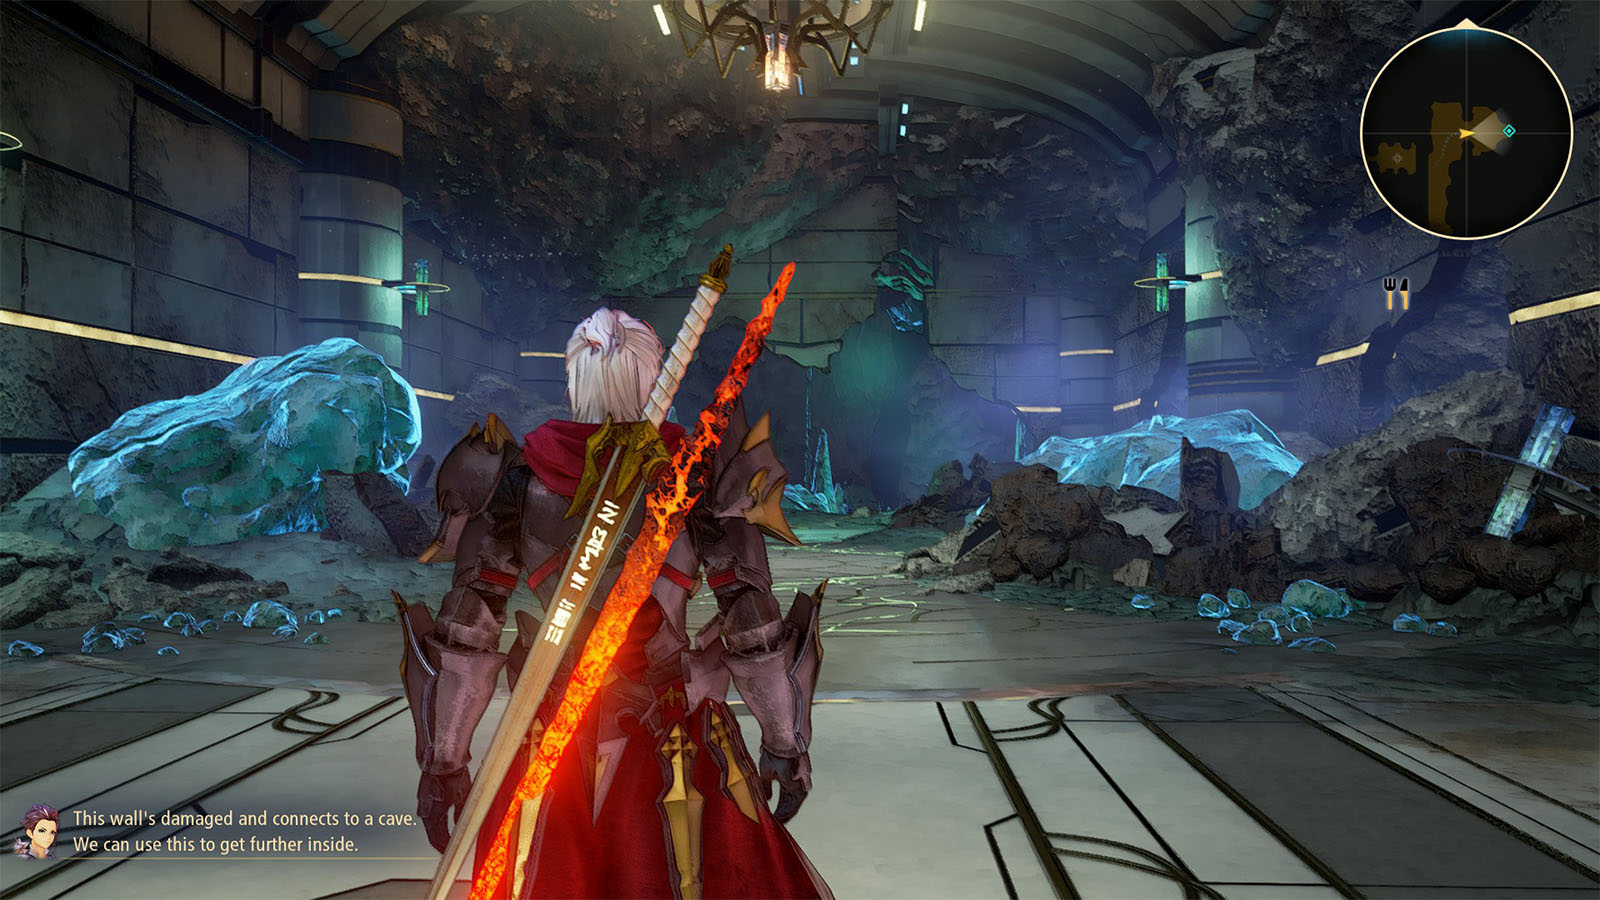
Down to the south hall, the path to the west leads to a gem node, while the path to the east takes you to a cave.
Limestone Cavern: Shallow Layer

Now in the cavern, follow the path until you reach the first fork; there will be enemies along the way that you can fight or slip past.

The path up north takes you to the Upper Surface Concretion Layer, which loops back to the Lower Surface Concretion Layer, allowing you to get the chest from earlier that contains an Astral Flower. There’s also a Gold Gel in the area patrolled by the Chrome Gazer.
For now, head to the south path and take the path that circles to the east. Follow the path all the way to the end, and then defeat the enemies. Open the chest at the edge of the cliff to get the Highest Attainer.
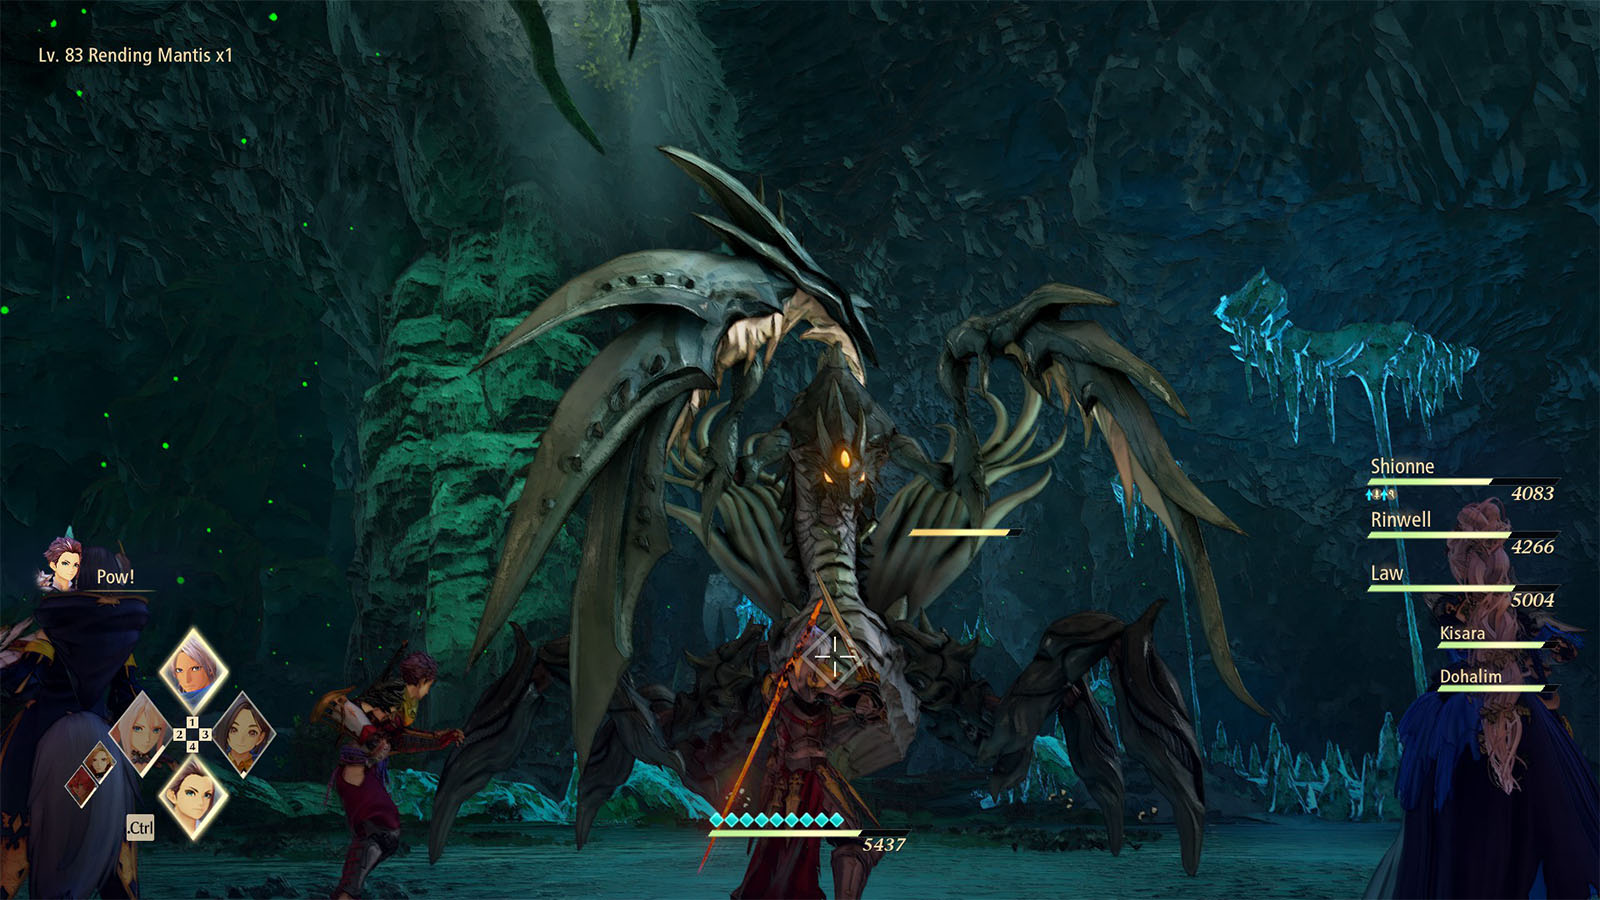
Back on the first fork, take the south path to the next fork, and then proceed to the south path again, where you can fight a Rending Mantis. Defeat the enemy, then open the chest nearby to get the Moonlight Revelry.
Go back to the previous fork and take the west path. There’s a chest before the building that contains an Elixir.
Convection Control Layer
There are lots of rooms within this layer. We’ll start off counter-clockwise and then loop back to the south wing.
The north wing room has x5 Apples.
The west wing has x3 Rappig Meat, x3 Tofu, and a Gold Gel in the first two rooms, and a Keyami Ooze in the farthest room.
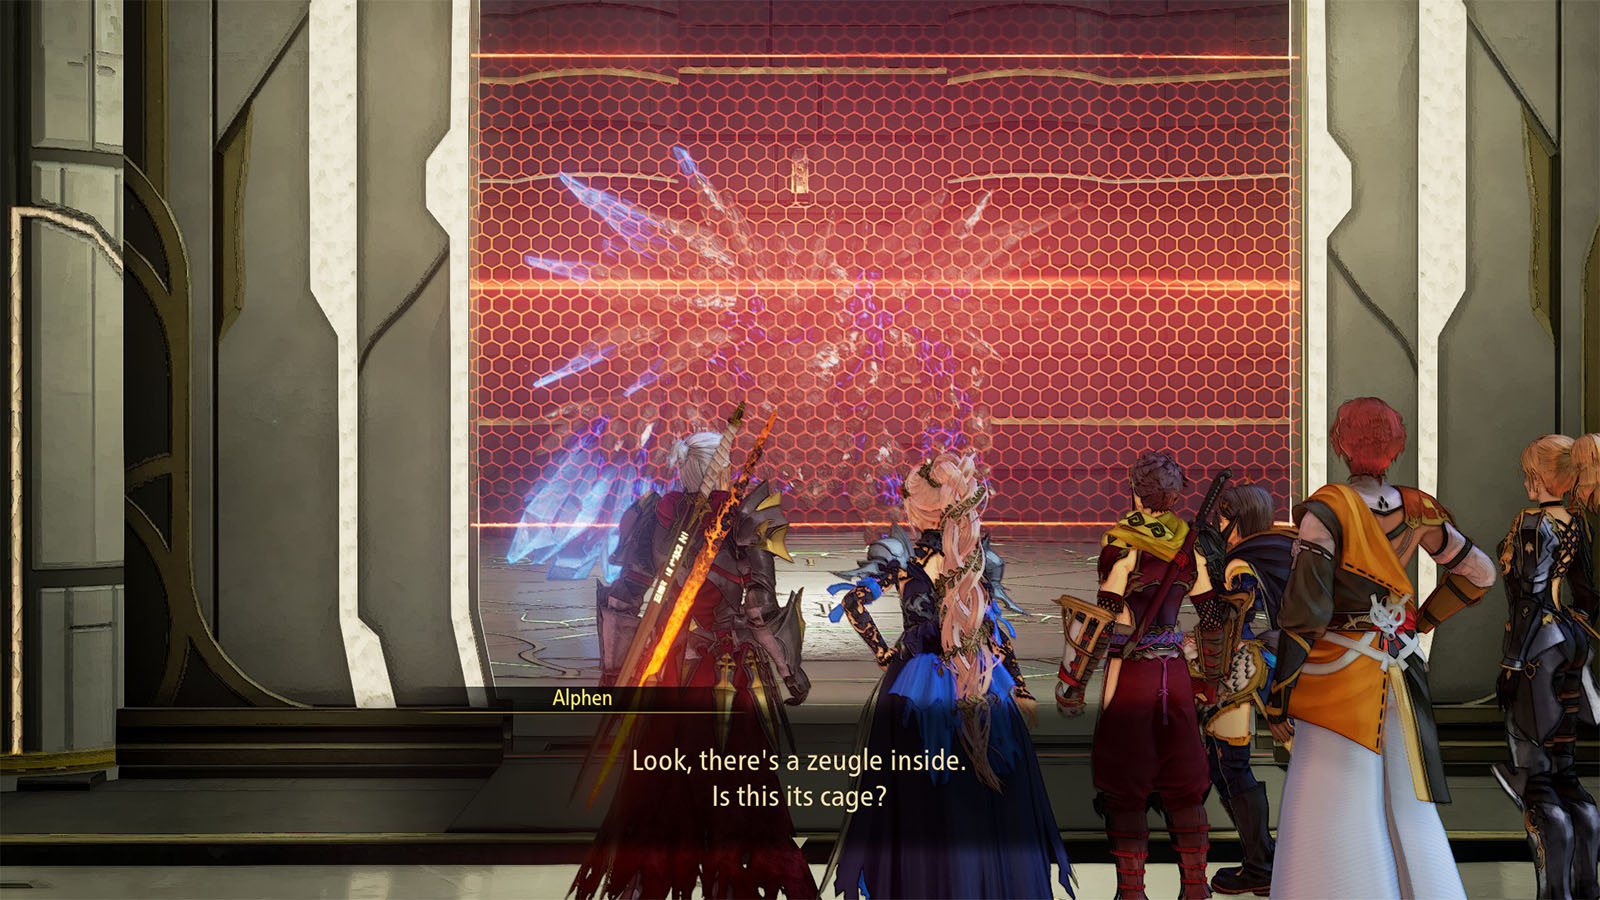
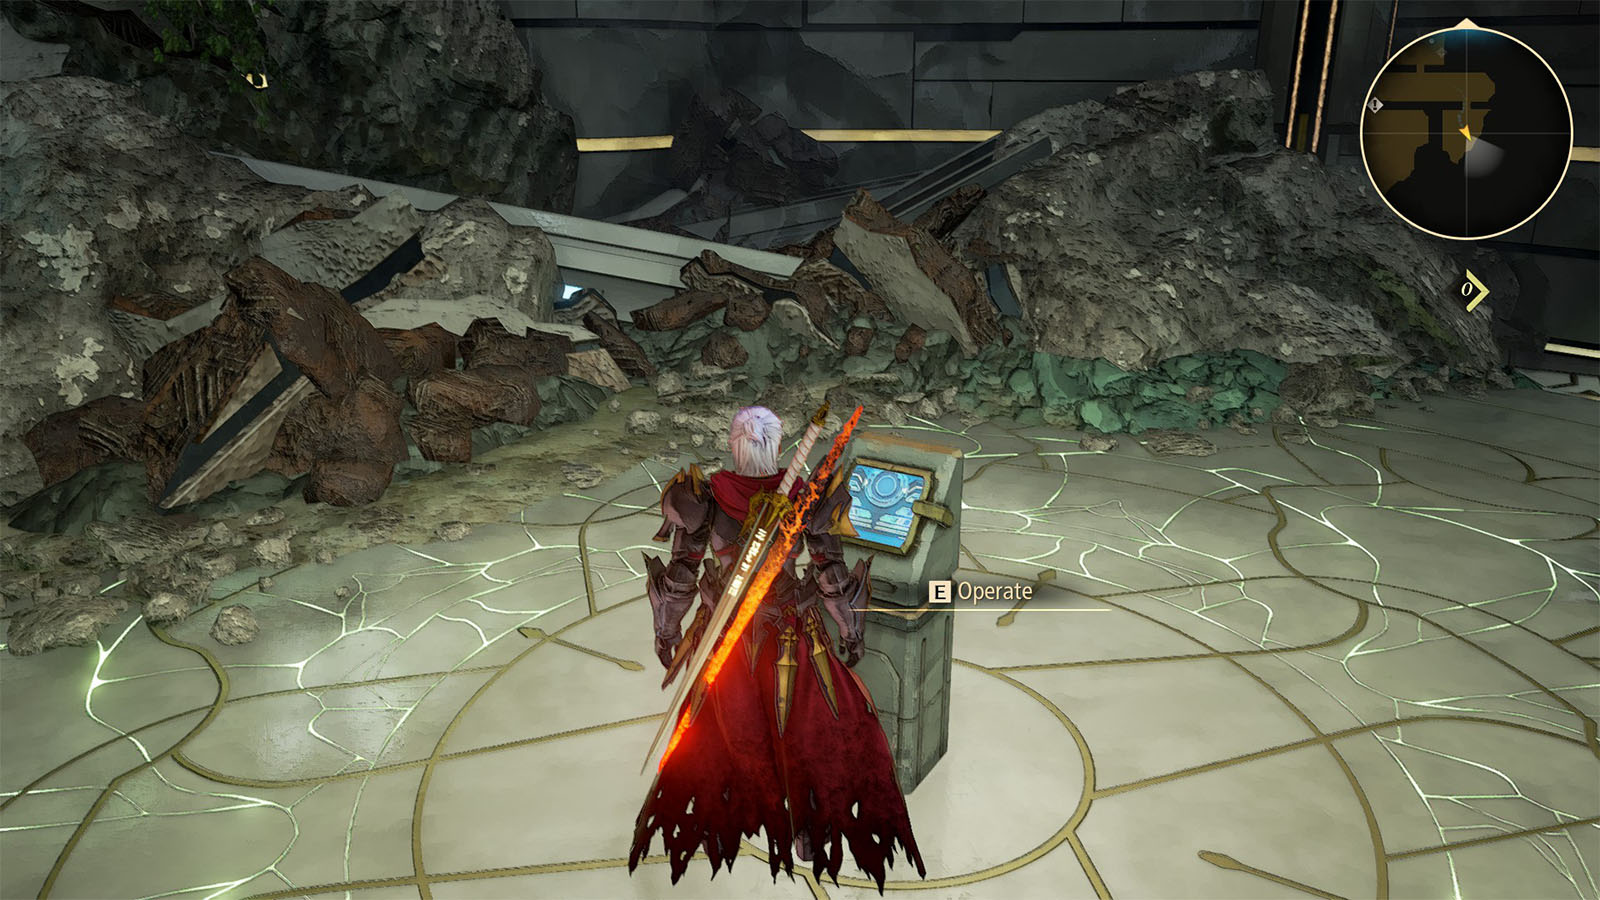
The east wing will be shown to have a powerful zeugle behind a barrier. The panel to disable the barrier can be found in the adjacent room.
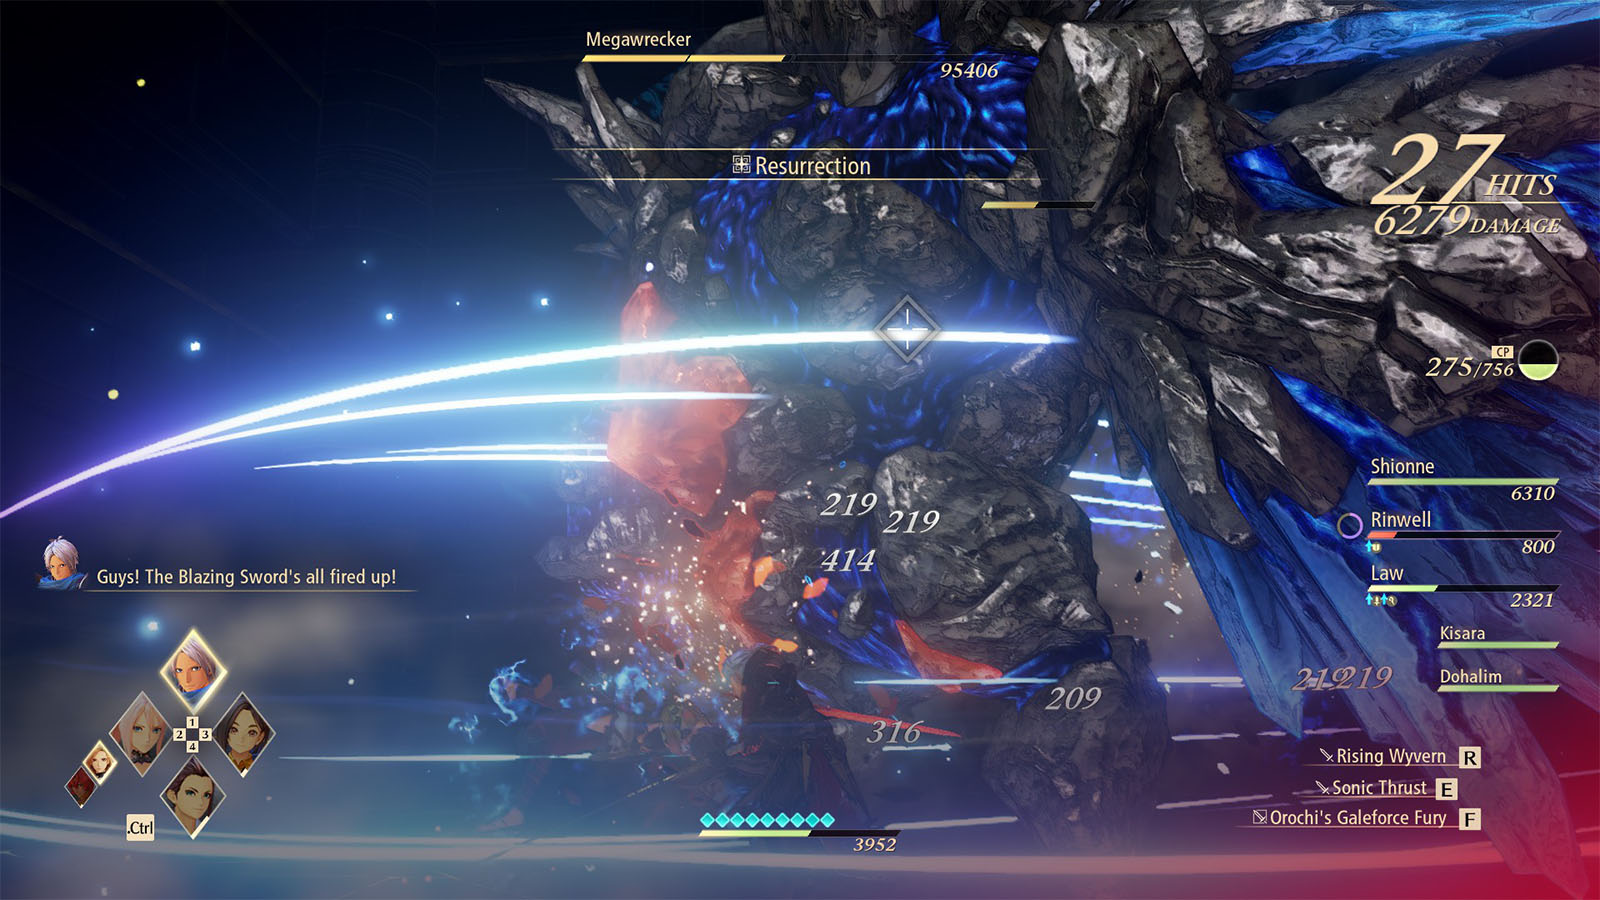
If you disable the barrier, you can fight with the Megawrecker, which is a miniboss that hits hard. Be careful with its swings, and try to reposition behind it to always hit its core and also to give you a better window to react to hits. Once defeated, you will be rewarded with an Astral Flower, plus you can open the chests nearby that contain the Ending Rod Bucks and Supreme Shield Aegis.
Down at the south wing, the room to the east has x5 Strawberries.
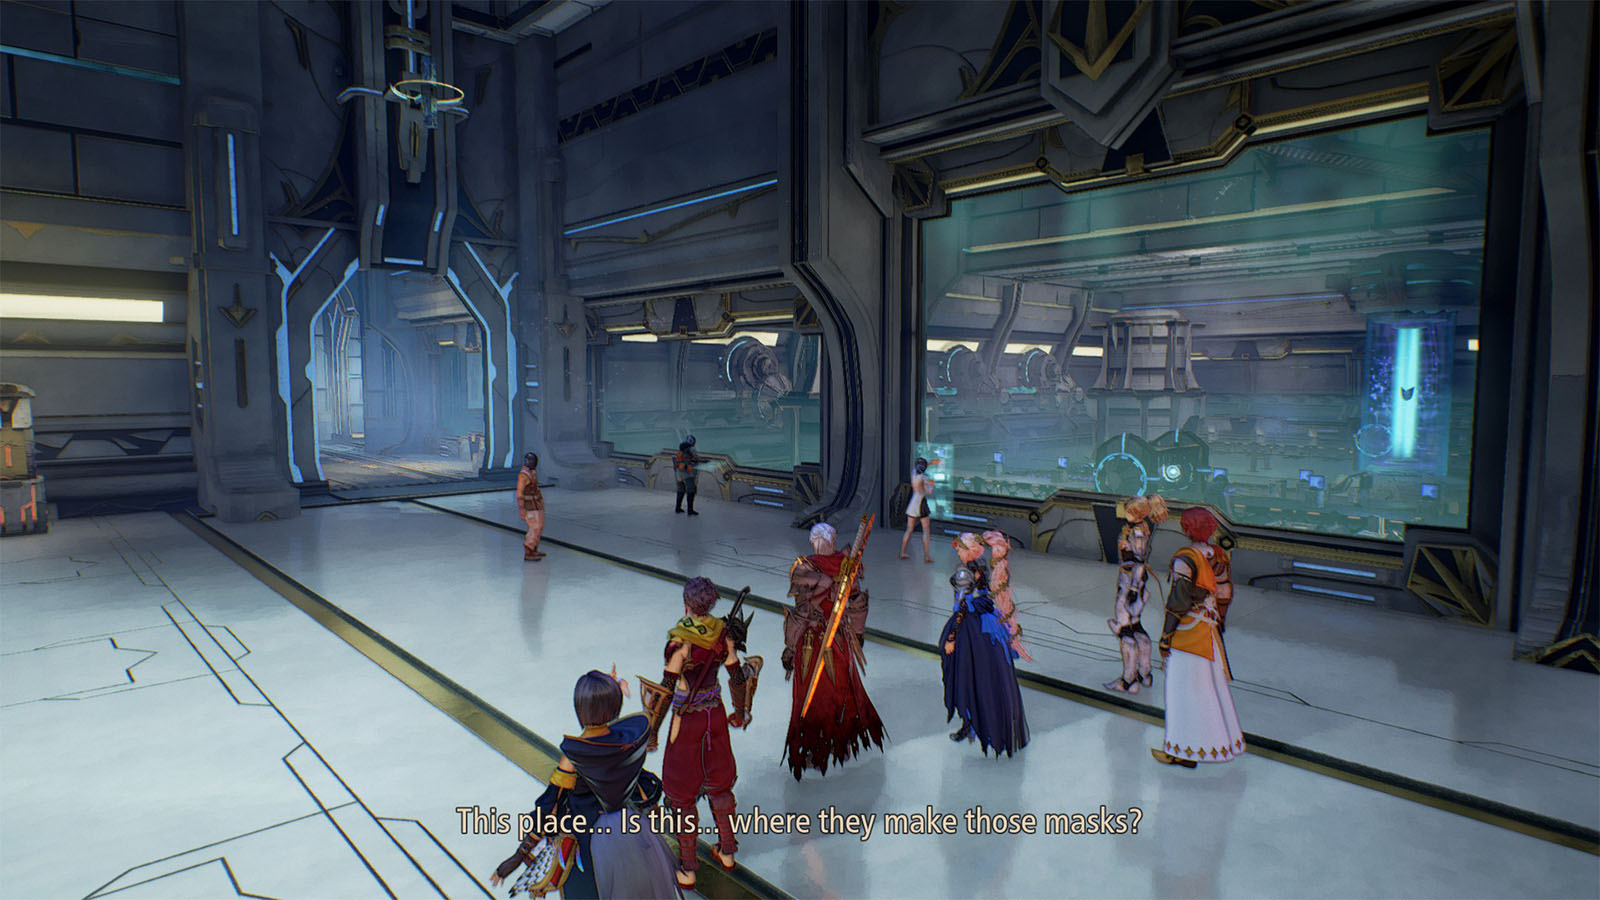
Head to the west room to trigger a cutscene. Afterwards, continue down into the next cavern.
Limestone Cavern Falls: Upper Level
The path in this cavern spirals down to the lower level. There are enemies lined up the path that you can slip through or engage, as well as some Orange Gel, Elixir, and Ancient Cloak that can be found at the very end of the path.
Limestone Cavern Falls: Lower Level
Jump down into the water to reach the lower level.
There are a bunch of chests to be found in this level. To the east are ones that contain the Unbreakable Mercy and an Astral Flower, and behind the waterfall is 5,000 Gald.
Swim to the southeast section to head to the Lower Central Stabilization Layer.
Search for Nazamil
Lower Central Stabilization Layer
After going through the cutscene, you can interact with the machine nearby which can cook meals for you. Go to the nearest room to find a Pineapple Gel and an Orange Gel.

Then, head to the north and turn west to find a Treat.
To the east is another powerful zeugle behind a barrier, however the panel to disable the barrier is not in this area. Continue to the south path to go into another part of the cave.
Limestone Cavern: Innermost Area
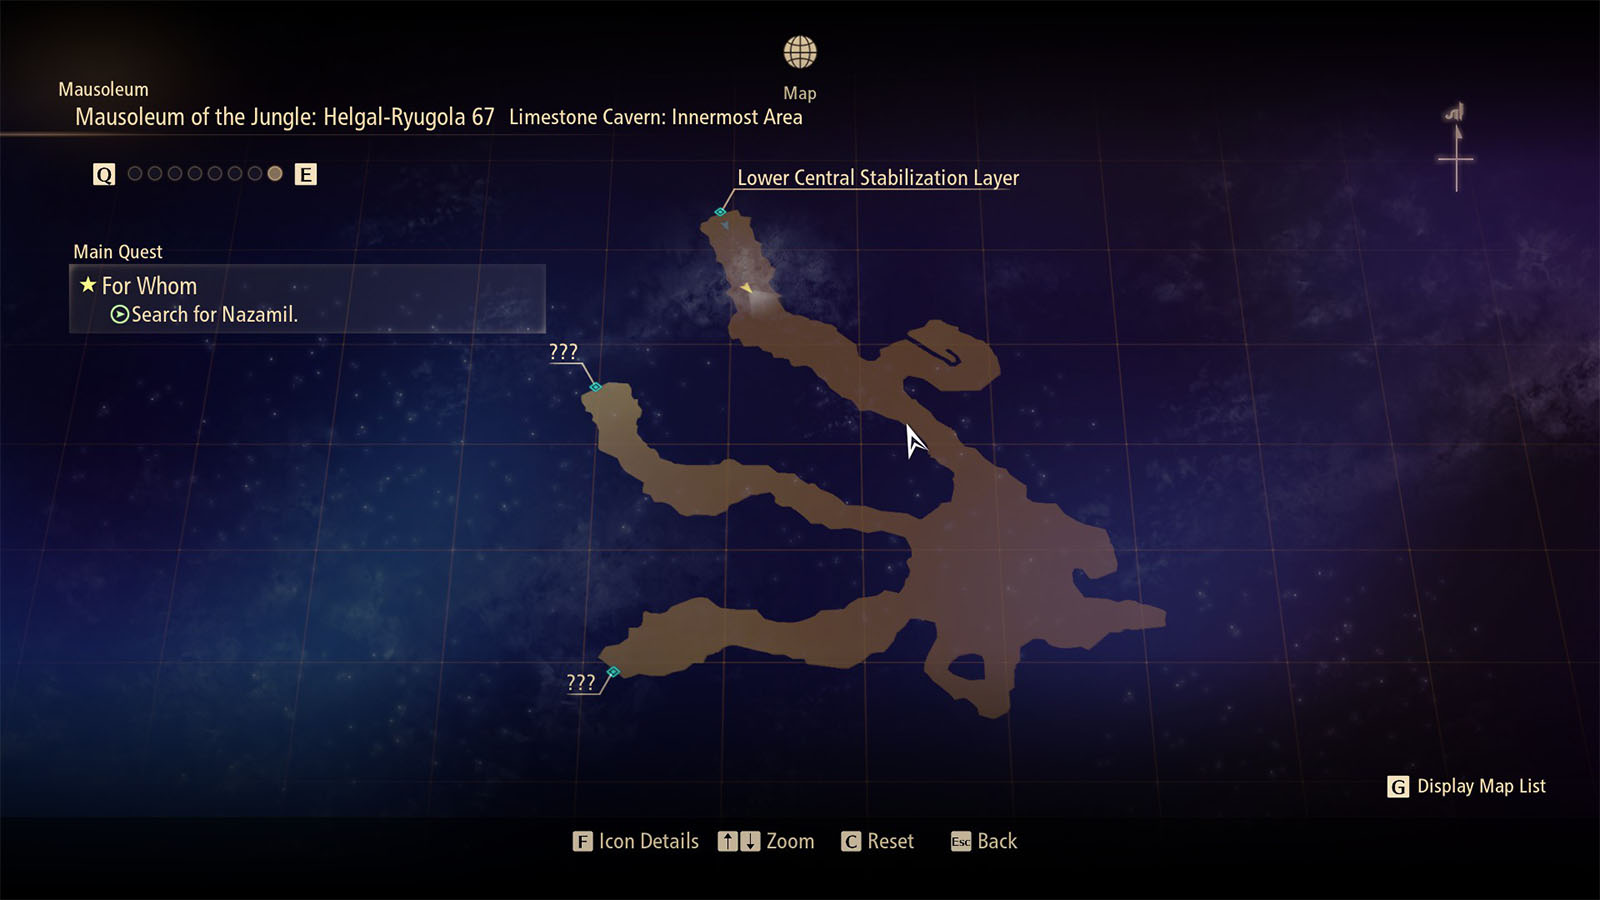
Following the path towards southeast, you’ll find the Never-Ending Roar, Stout Closer, and a Gold Gel.
The path that leads to the northwest will get you to the panel for the barrier. It also loops back to the previous area where the zeugle is.
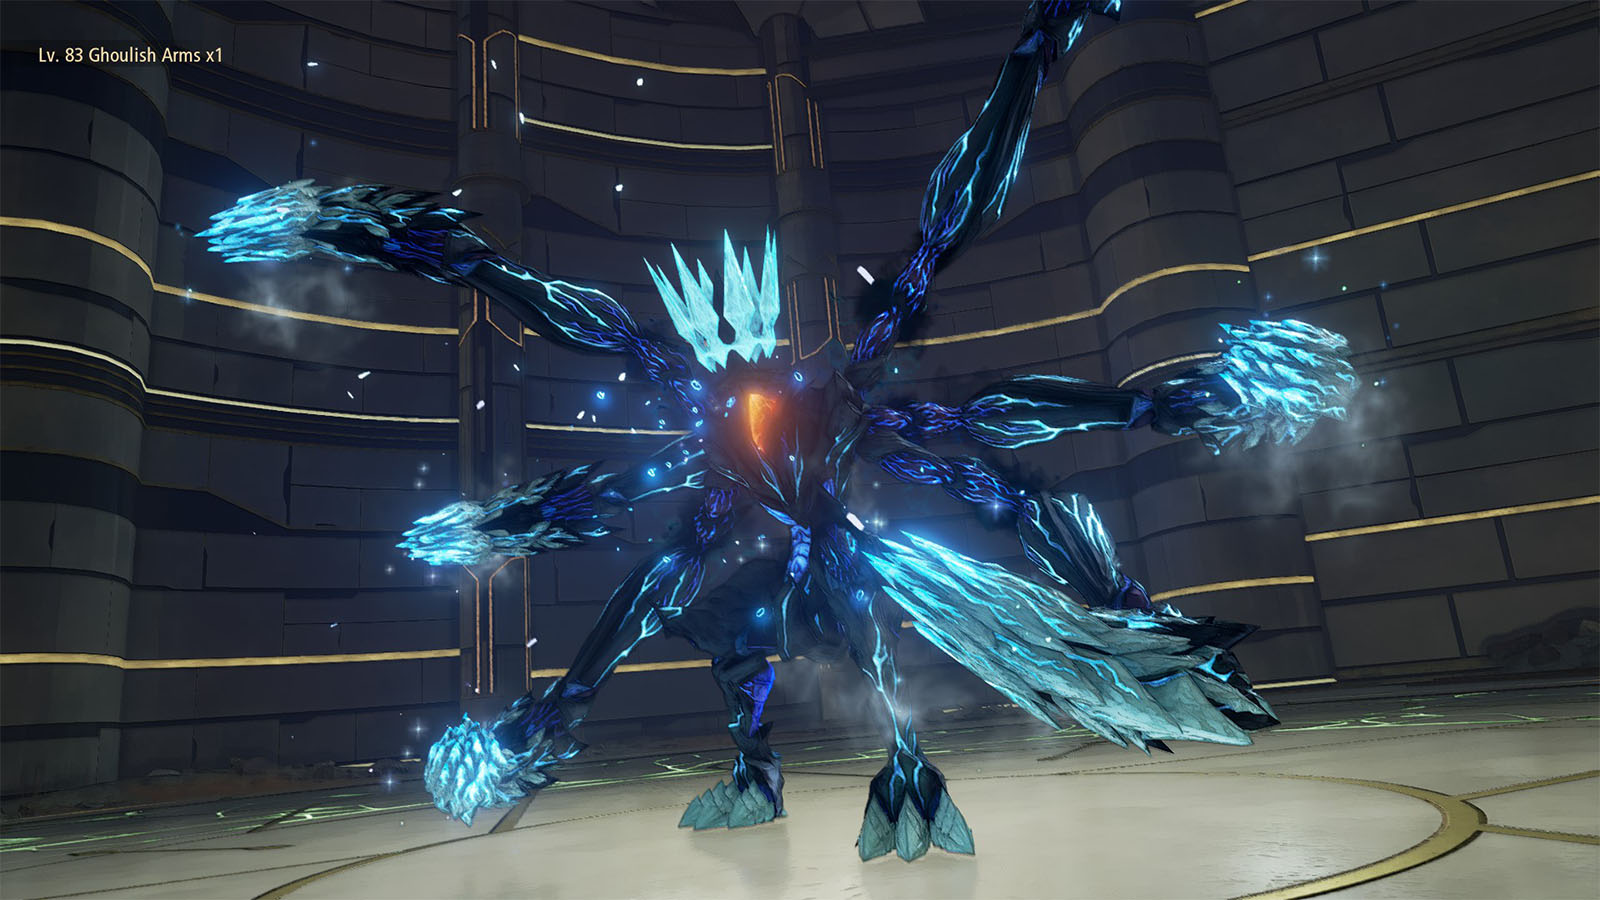
If you take on the zeugle, you will be fighting against the Ghoulish Arms. It is not as tough as the previous zeugle, but it can still deal massive damage with its many appendages. Once defeated, you will be rewarded with an Astral Flower, plus you can get the Divine Hand Armor and the Black Book of Disaster and Dawn.
Back in the cavern, the southwest path takes you to the next area.
Control Compartment
The first thing you’ll see is that there’s another powerful zeugle behind a barrier. The panel for this barrier is on the southeast wing which you can get to later on.
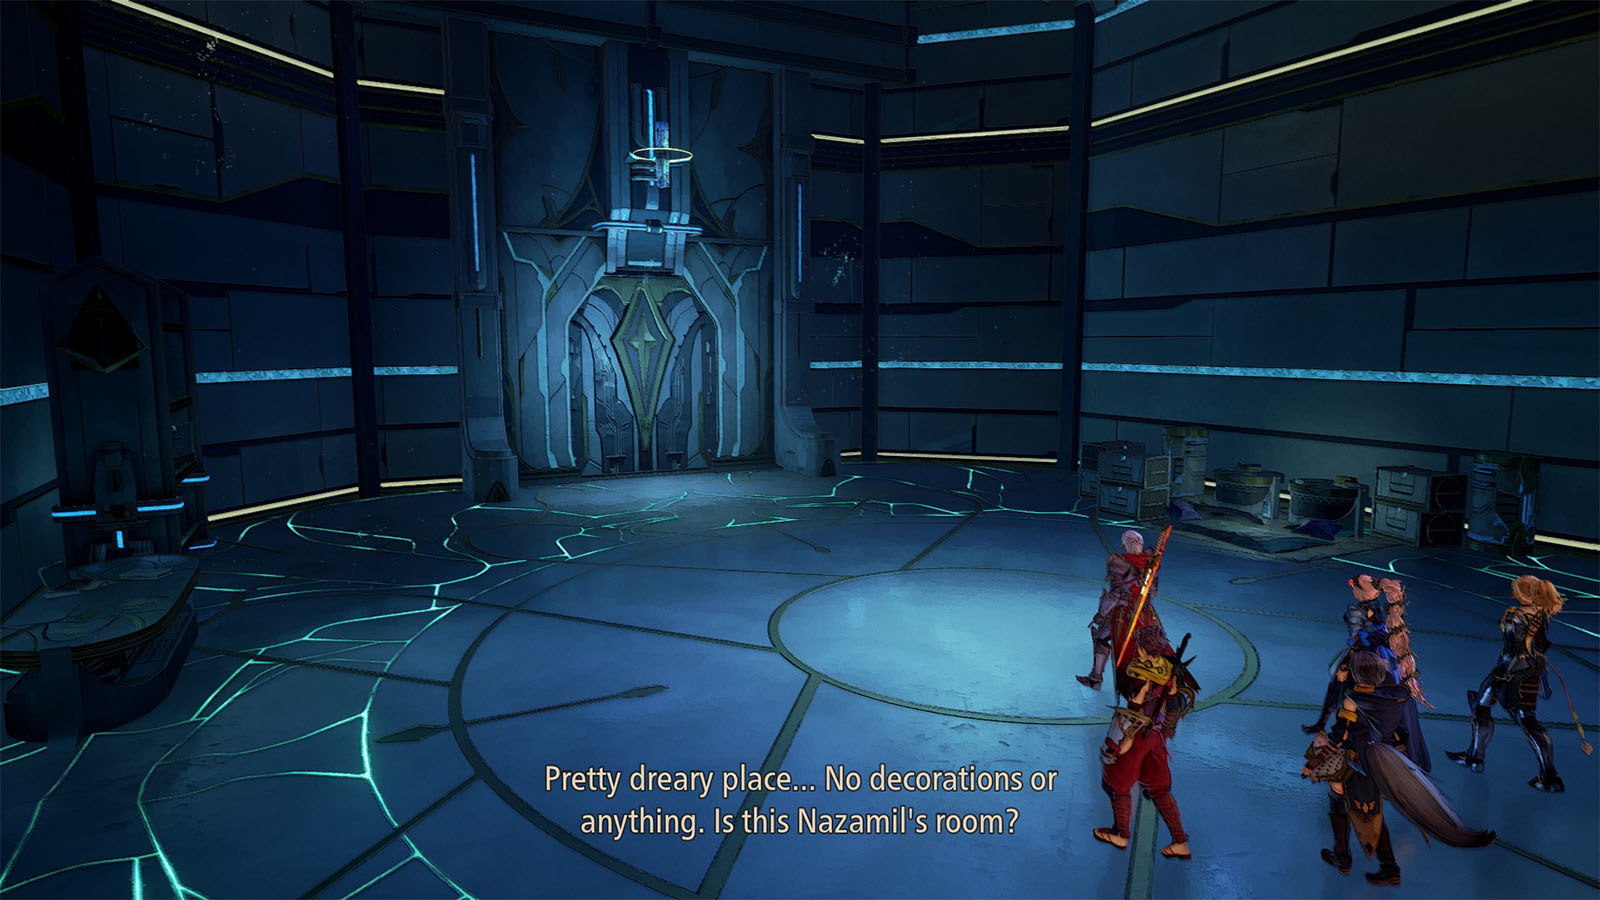
Go to the west wing to find Nazamil’s Room. After the cutscene, you’ll get Nazamil’s Hastily Written Note.
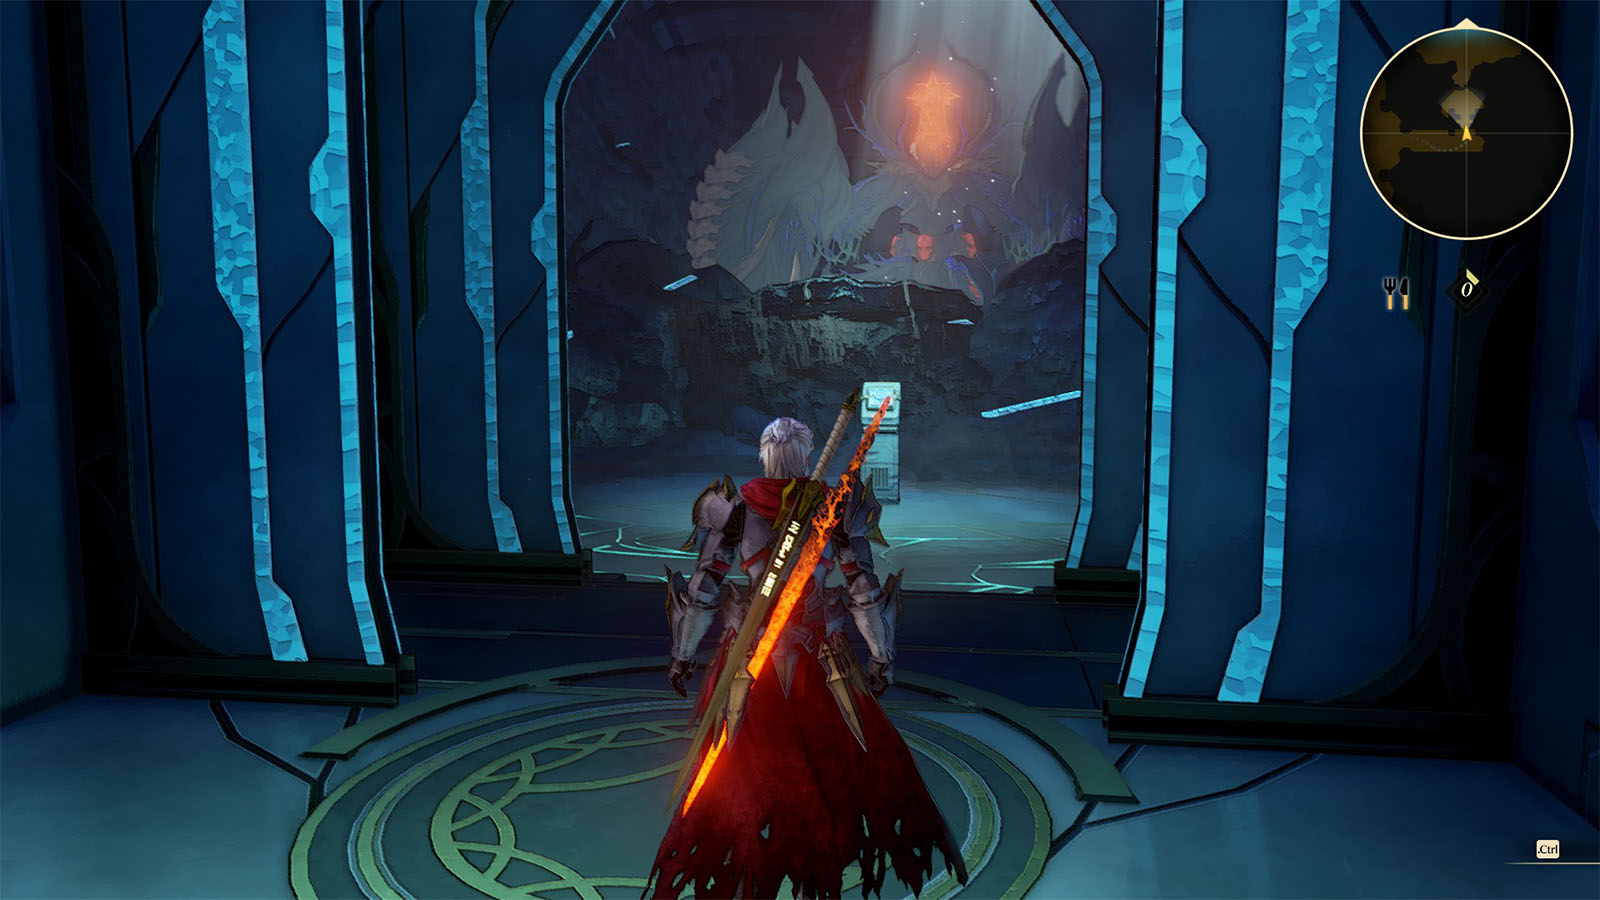
Head out the south door to get back to the Control Compartment. Go east, where you can access the panel, then go to the middle hall and jump down the ramp to get back to the powerful zeugle.
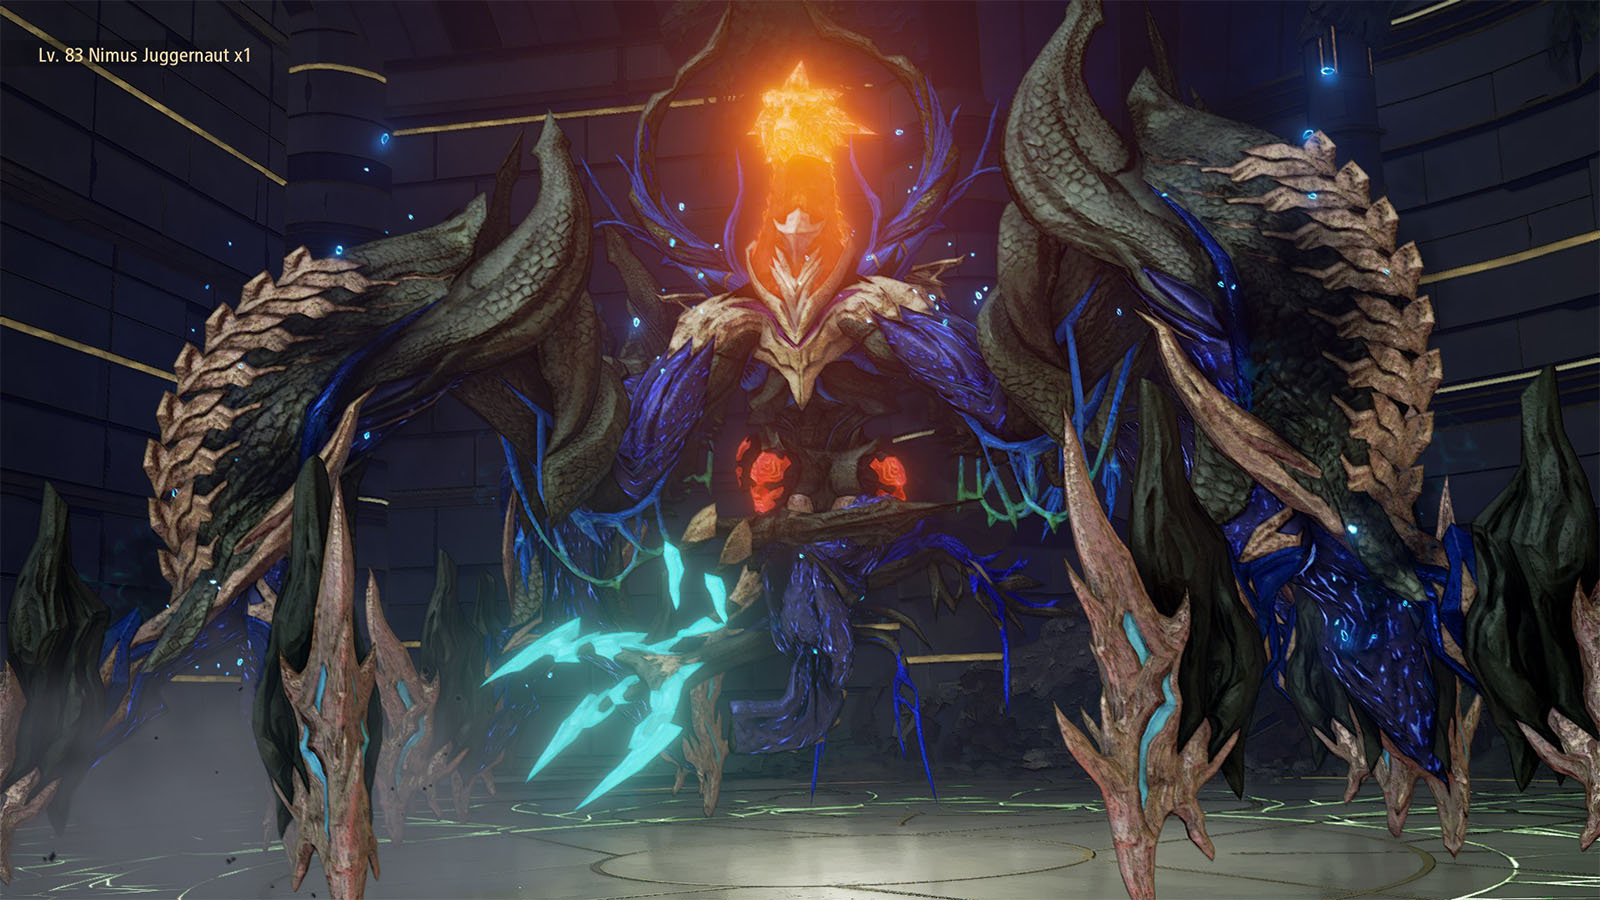
In this fight, you’ll be up against another Nimus Juggernaut. It has the same moveset as the one in a previous chapter, and it appears to be as tough as that one too, which means you can easily get through it with your now stronger units. Once defeated, you can get access to the chests behind them that contain the Initium Lucis and the Novus Aetas.
You can then take the ramp behind the chests to get back to the south halls. Then, head to the south, activate the teleporter, and go to the healing light to heal up before going into the door.
Defeat Nazamil
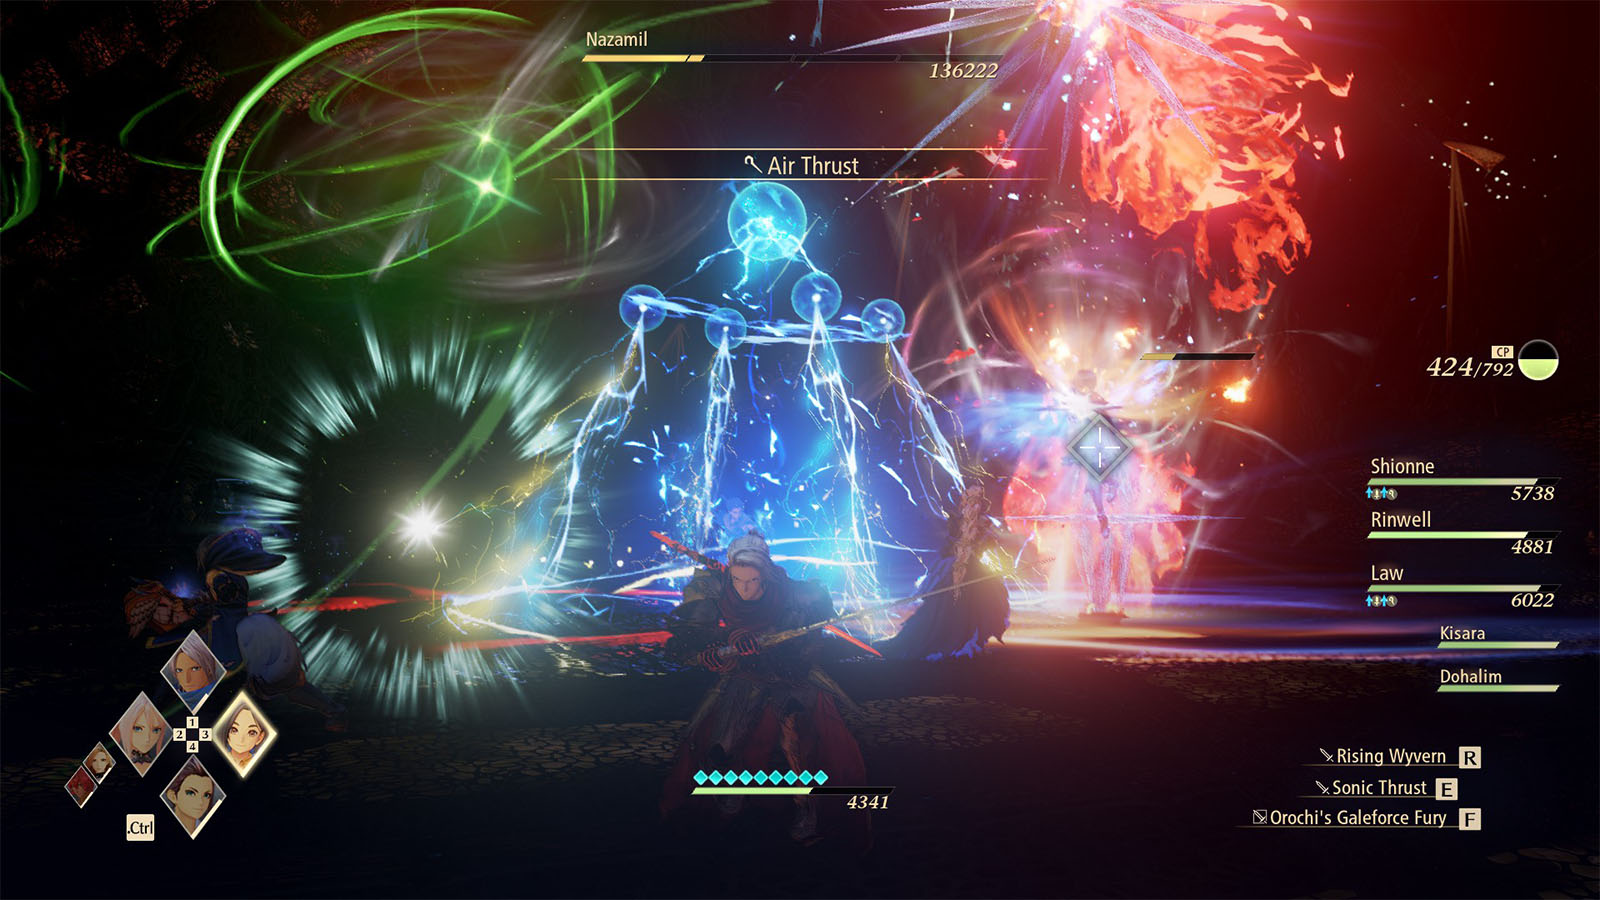
You’ll be facing against Nazamil who has fallen into insanity wanting to make everyone think of the same. She is twice as tough as the previous bosses that you’ve fought so far because of her shield, and she can dish out massive attacks that can easily wipeout your team if you’re not prepared.
It is recommended to have your team be at least at level 82 to have a manageable fight against Nazamil. Having both Shionne and Dohalim in the active party will help in keeping your party alive even with the minimum use of items.
Nazamil has a lot of attacks that she has to channel first, plus ones that she can dish out without warning. It’s best to steer clear from her once an attack is imminent, then dash in right after the attack is finished. The attacks to look out for are:
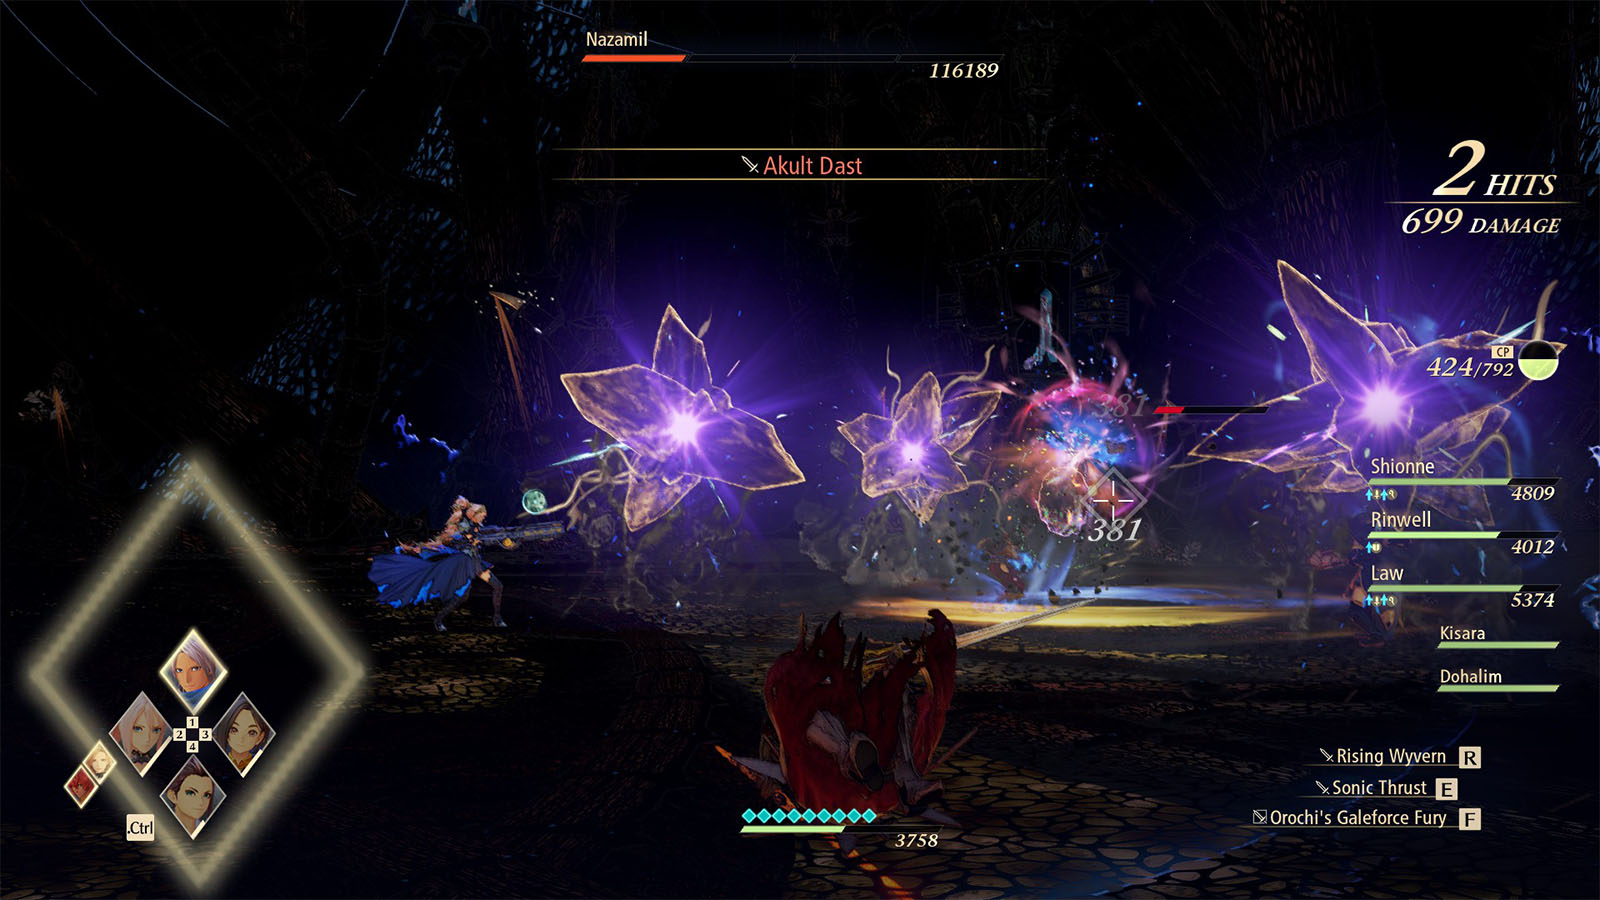
- Akult Dast: Large crystals are spawned in the air and land on the ground where Nazamil stops. This can chain three times.
- Ignite Terror: Nazamil can shoot out a powerful stationary beam from end to end.
- Elemental Barrage: Nazamil can manifest all six elements and use them in offense around her.
Most of these attacks have to be channeled, giving you time to either reposition to a safe place, or try and stagger her. Try to keep Alphen and Shionne’s boost attacks to stagger and counter Nazamil as she can take a while to recover leaving her open for attacks.
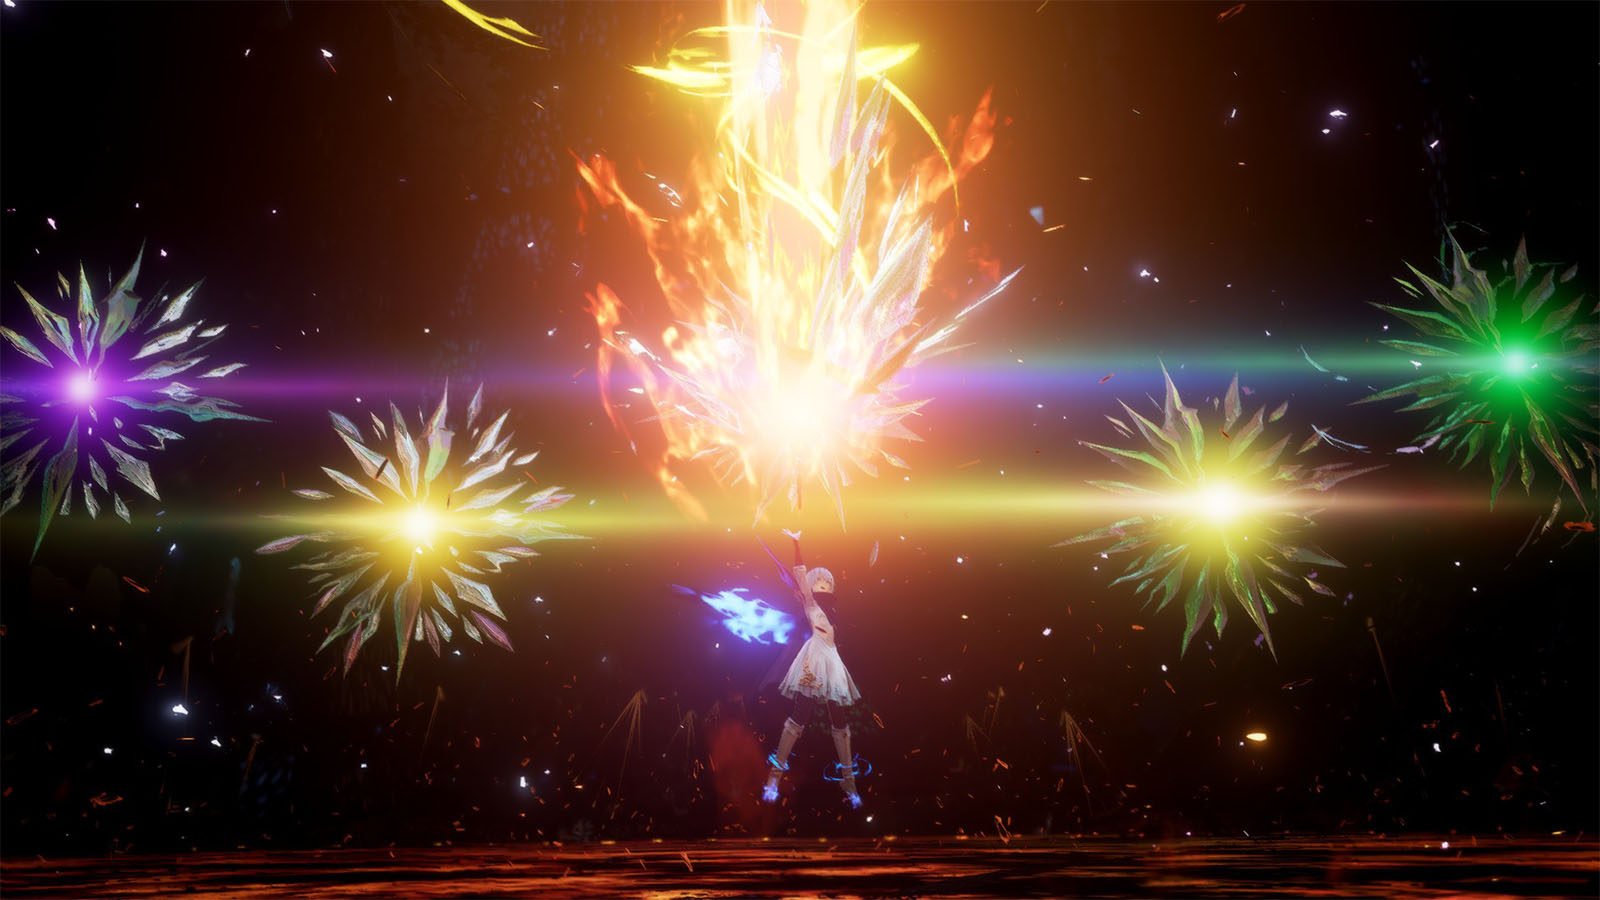
Near the end of the fight, Nazamil casts Dyshclare Alma where she summons crystals that shoot out pure elemental beams. During this time, focus on evading the beams as they shoot out. You won’t be able to dodge everything as she shoots out a lateral beam that wipes your entire party; this part is scripted.
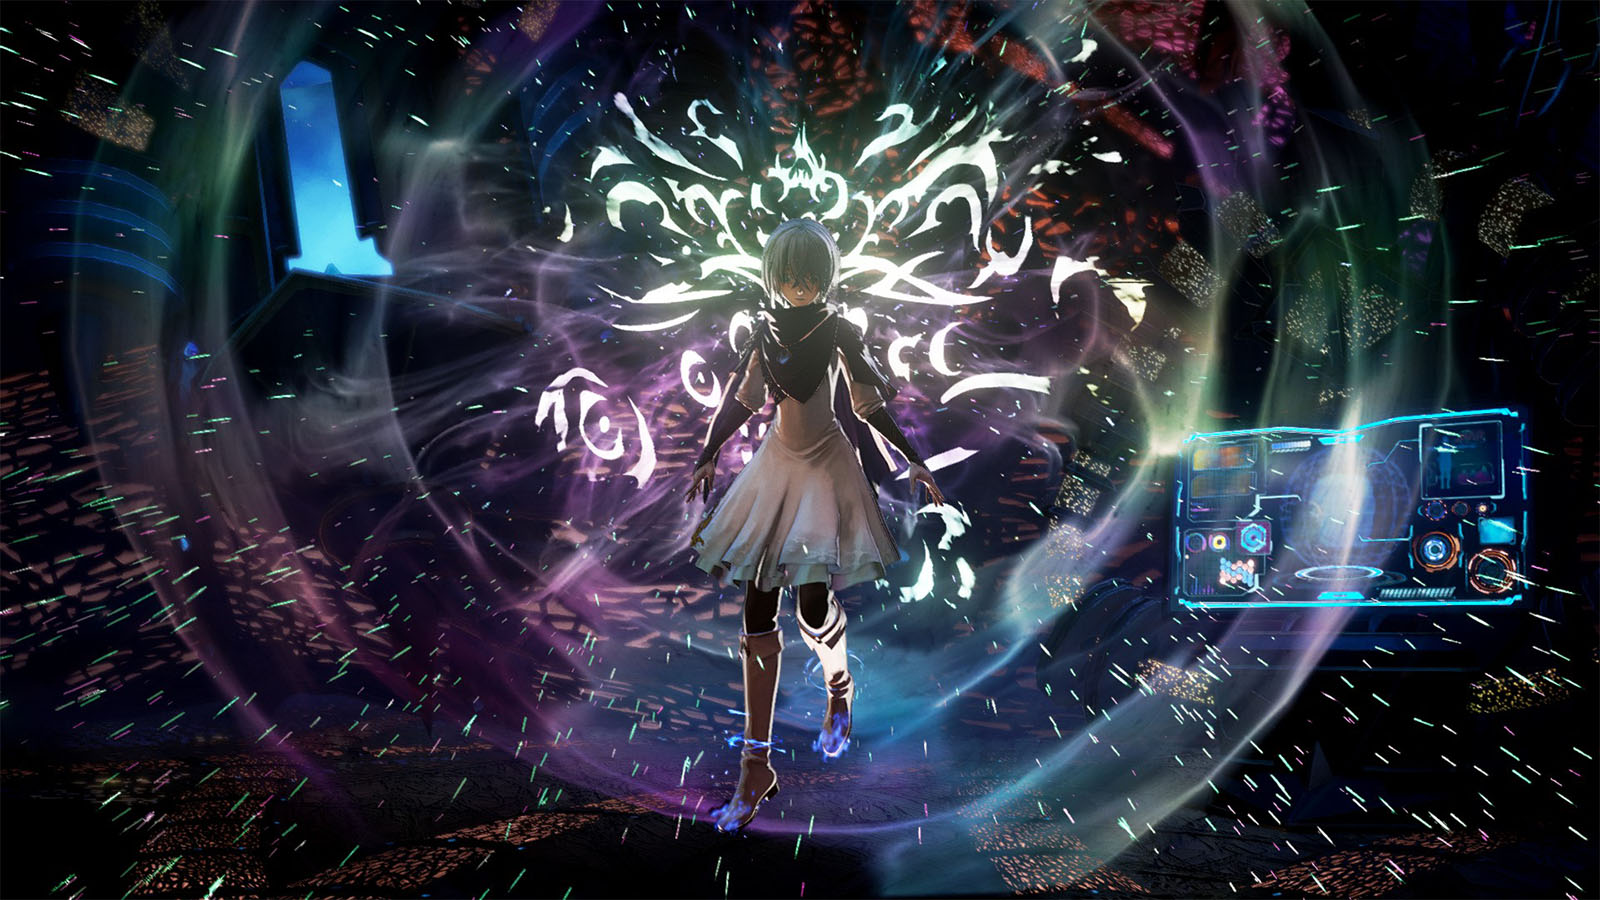
After the fight, Nazamil wears the Reigning Visage as the group is unable to stop her from doing so.
Inspect the Teleporter
As you try to chase after Nazamil, you try to use the teleporter, but it doesn’t work. For now, you’ll have to find another teleporter that you can use to get close to her.
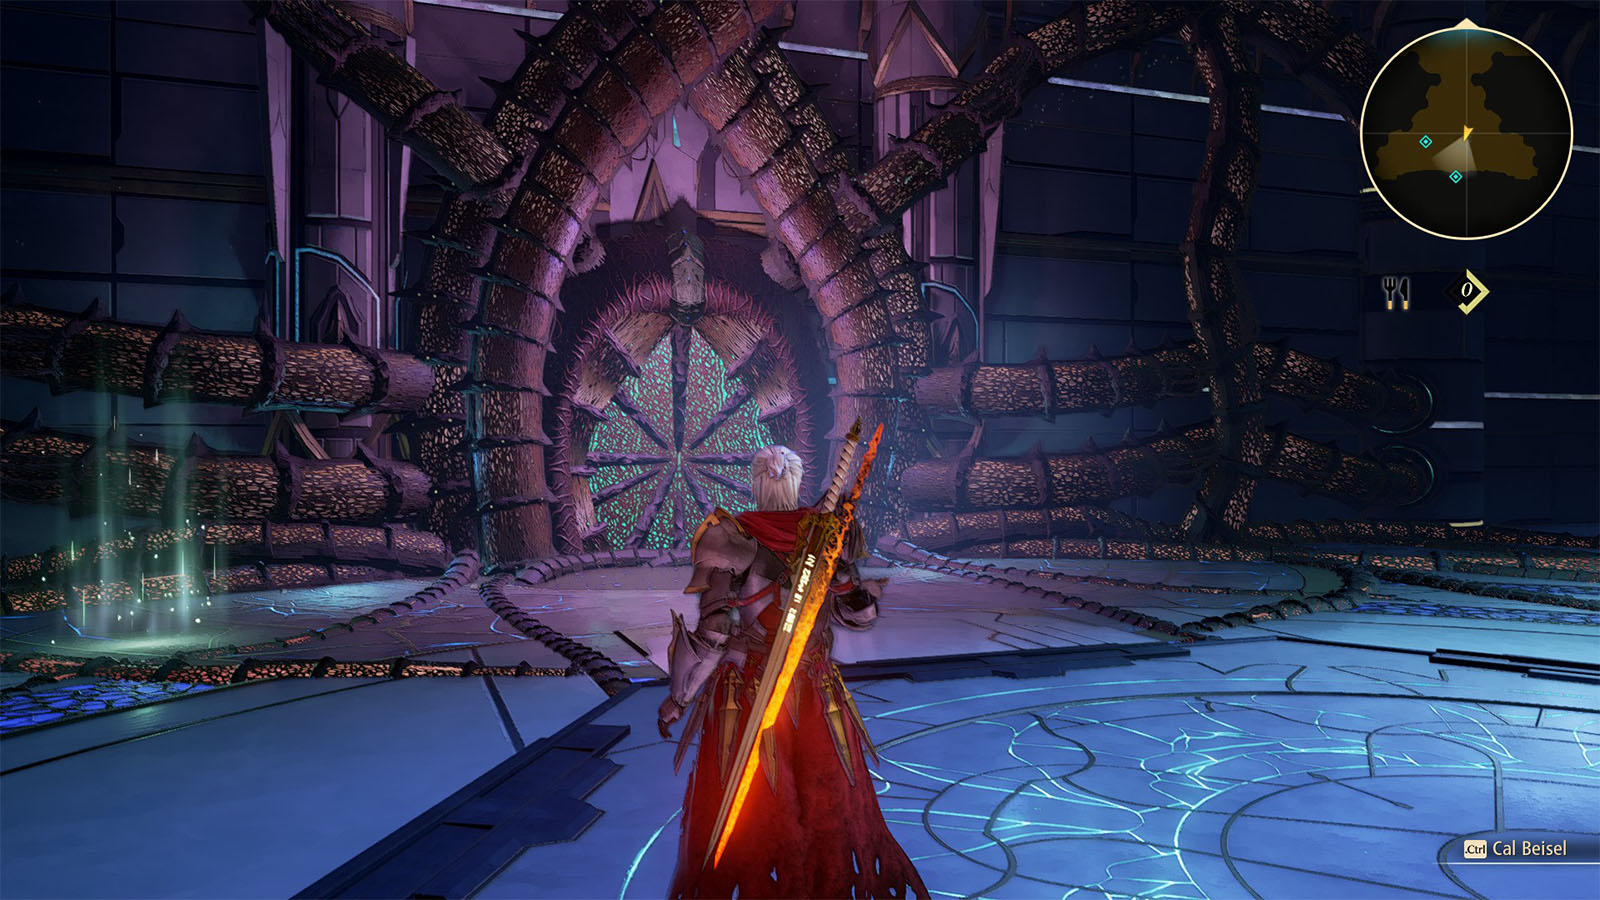
Seal the innermost door of the mausoleum and escape

Exit the room for now to seal it. Before leaving, take the time to touch the healing light as your party needs it, then take the teleporter to get back to the starting area of the mausoleum. Exit the mausoleum to get the next objective.
See next: Land of the Beginning Walkthrough


