
Naughty Dog has recently shared details about The Last of Us Part I Photo Mode.
The Last of Us Part I Photo Mode has Various Settings
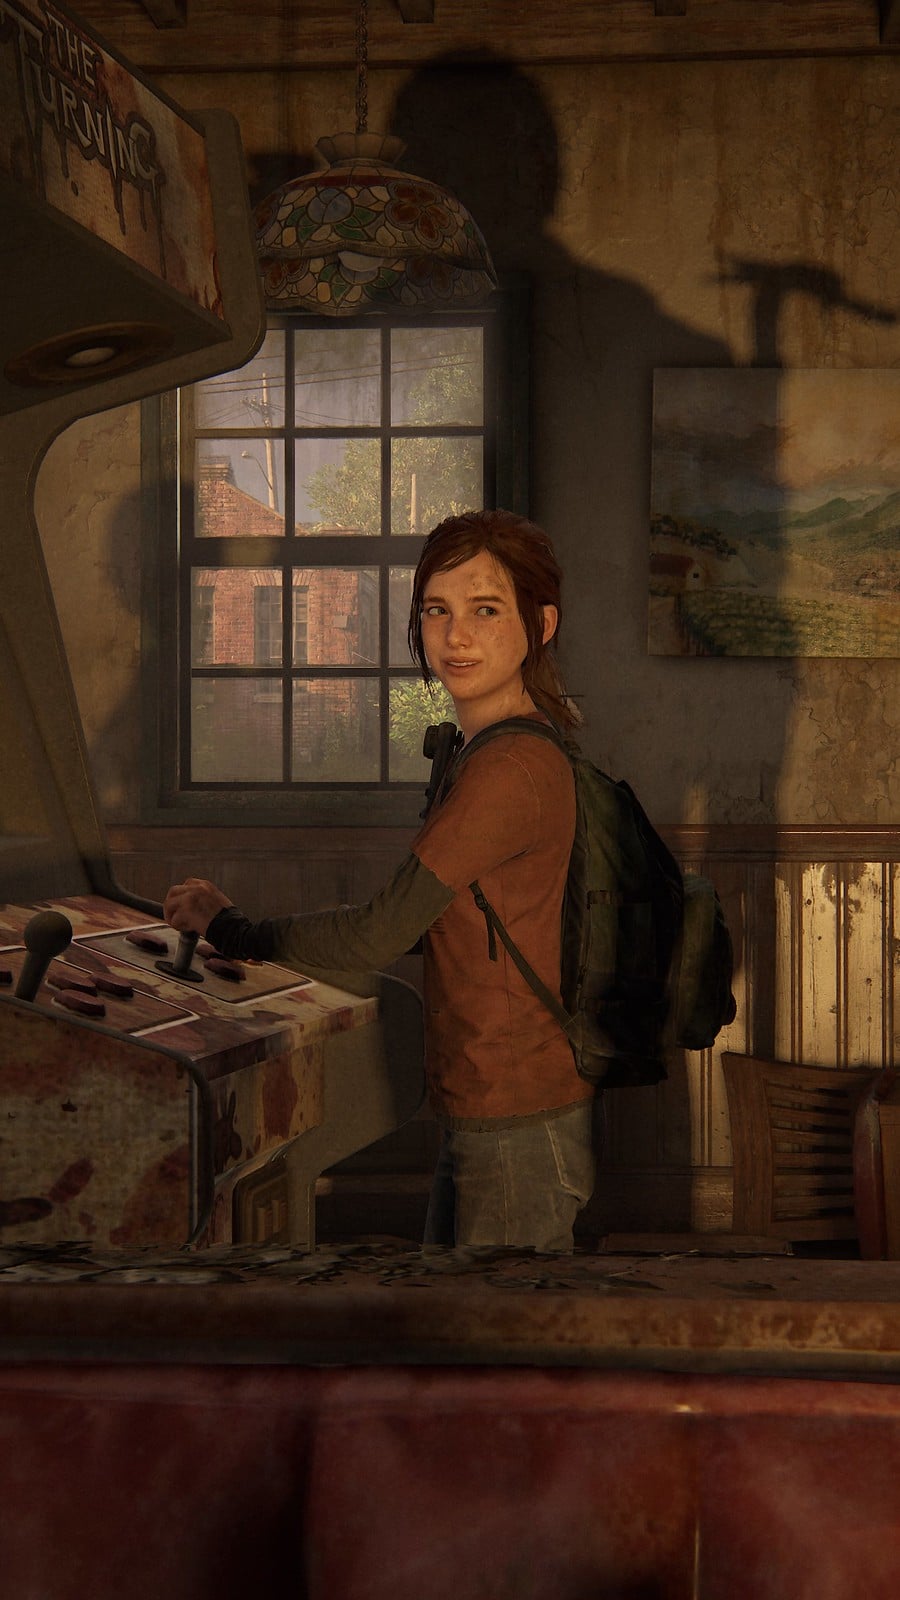
New details about the fun Photo Mode that players can access in The Last of Us Part I, which improves, beautifies, and customizes stills from the game. It is a really great mode to experiment with and has tons of options to choose from.
Photo Mode Shortcut
In order to access The Last of Us Part I Photo Mode quickly, players only need to go to the Options menu first in order to activate the Photo Mode shortcut first. After that, players can just press L3 and R3 together to freeze a scene from the game, and then they can now make adjustments to make that scene more epic.
Frame Forward
Do you hate it when you freeze a scene and one of the extras or another character is not doing what you wanted them to do? Well, this is the new solution. The Frame Forward option allows players to press a button to let that scene move forward one frame. Finally, no more characters closing their eyes while trying to edit that perfect shot.
Controllable Lighting
There are now several new lighting options to use when editing a shot. Players can put up to three dynamic light sources if they want to light up a character model on all sides. They are all locked to orbit the playable character, but each of them can be manipulated independently. They can also change the distance of the source from the character, change the strength and size of the beam, the color, and more.
Natural Light
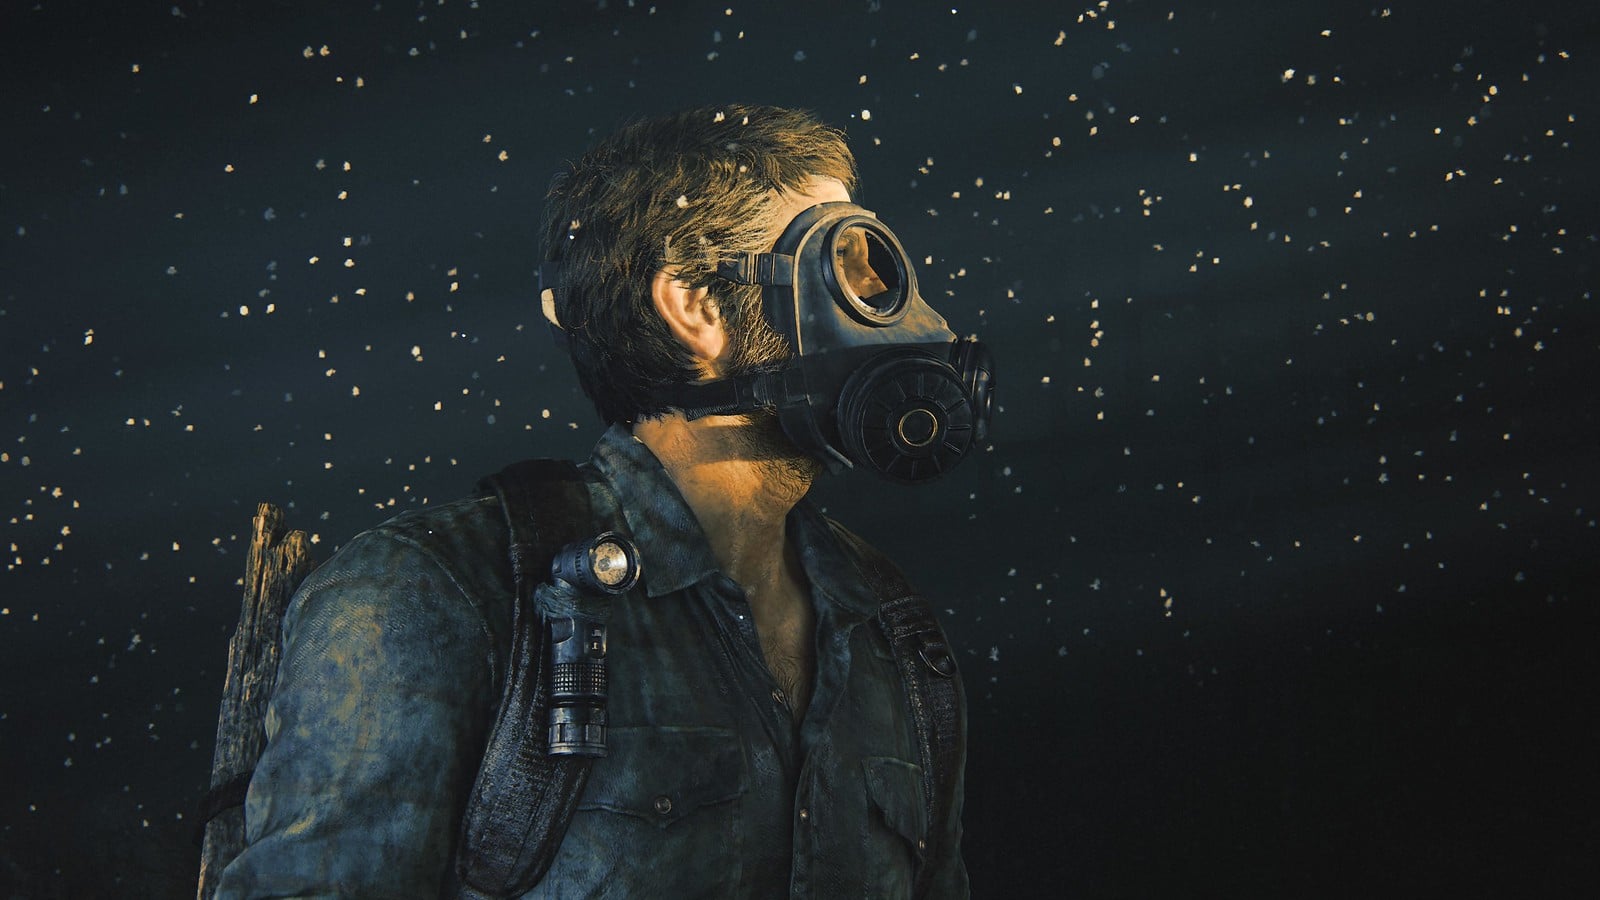
What to have that natural light while going through dark places with only minimal light sources? The Natural Light option can do the trick. It can give you the perfect shot with natural light coming through the leaves of the trees, the doorways and windows of buildings, small cracks inside a cave, and more.
Back to Default
If you have finally edited your shot, but feel like it did not look right, then you should reset everything back to step 1. In order to bring everything back to default, there is no need to cycle through long lists of options to look for the Default button. All you need to do is press the triangle button when you cycle through the tabs to put all settings to default again.
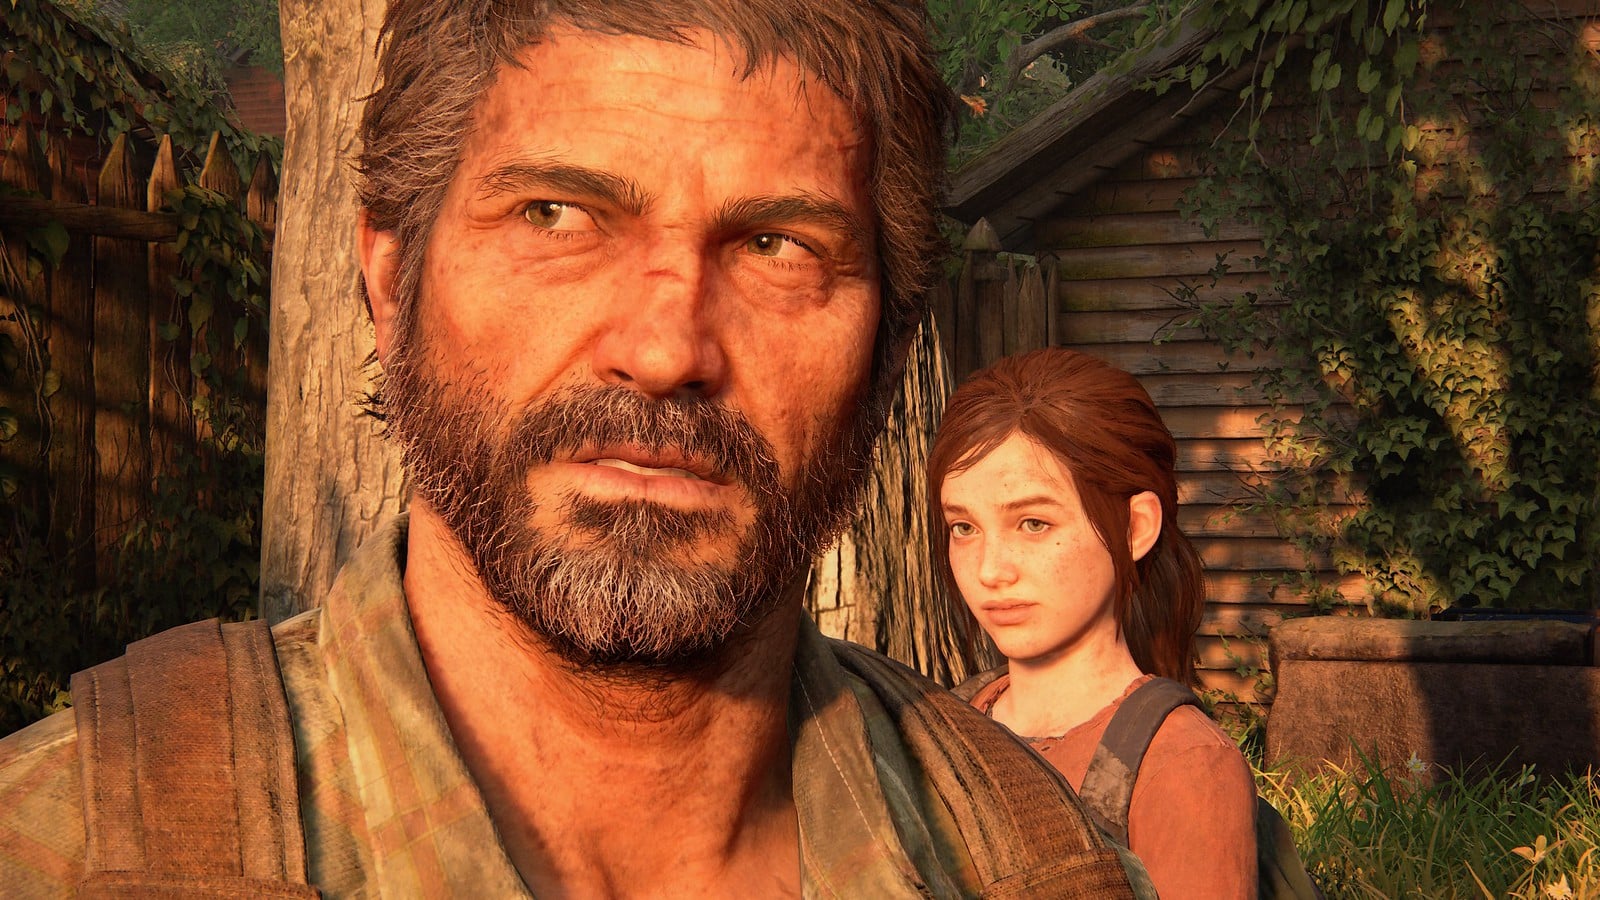
Wide Shots and Close-Ups
Players can get a wider shot by zooming out the camera by pressing the R2 trigger. Pull it in with the L2 trigger. Get the wide shots for a scene with numerous characters in them. Zoom it in for portraits and the like.
Framing
The Last of Us Part 1 also has various types of frames and logos to add to the shot before exiting Photo Mode. You can even make a scene and insert it in the cut out frames for a unique look.

The Last of Us Part 1 is now available on PS5 and later on PC.


