
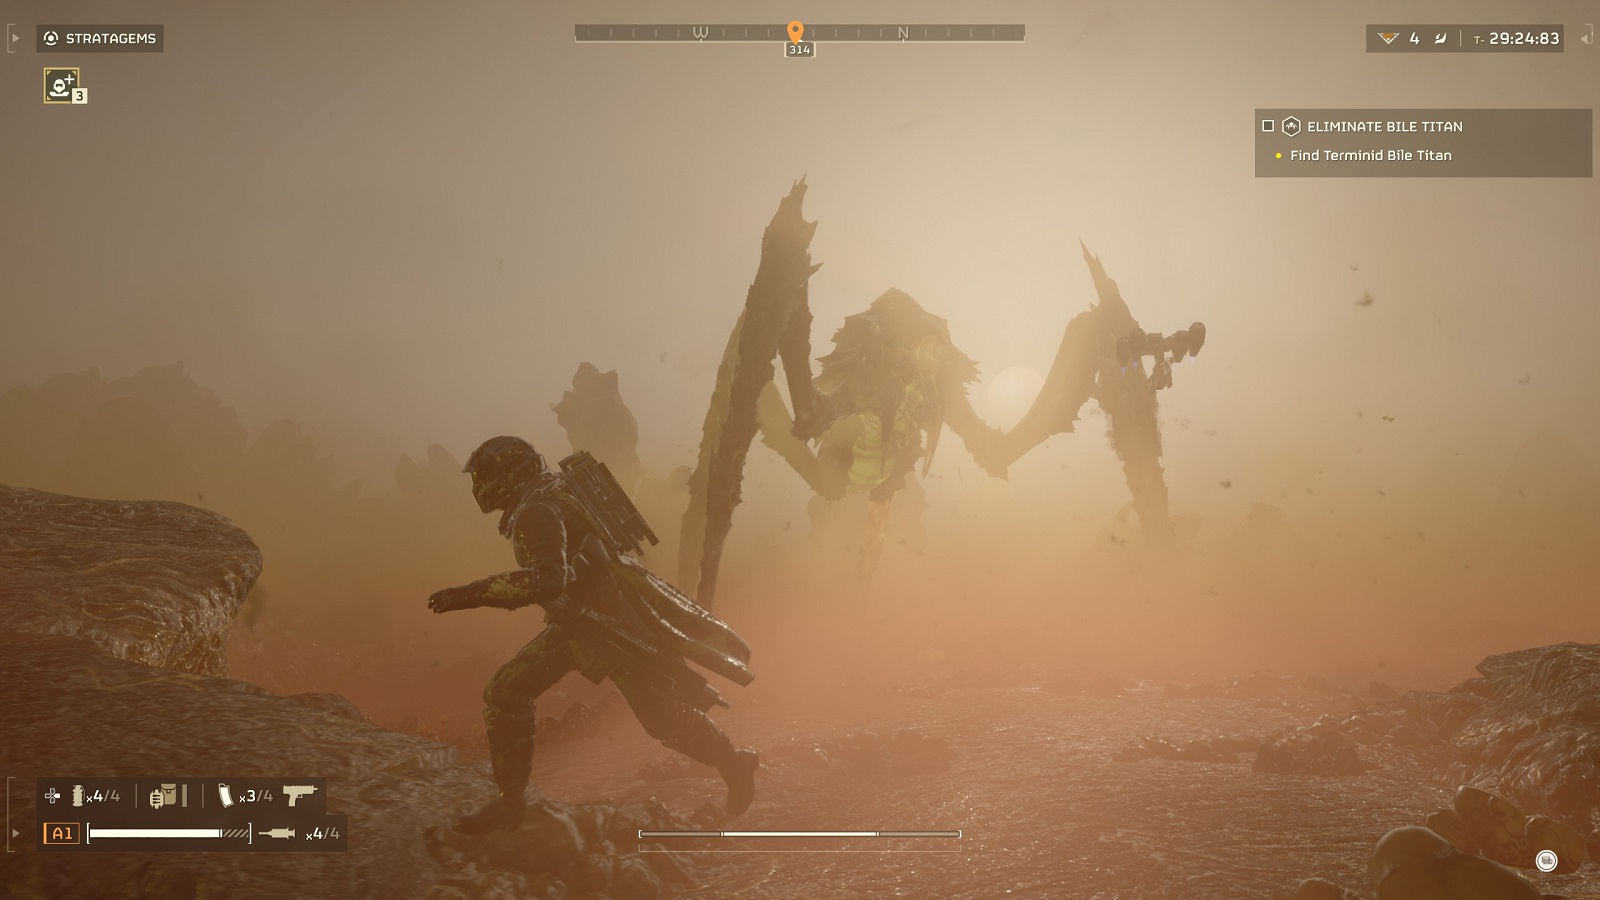
Among all the Terminid variants in Helldivers 2, the Bile Titan stands as the greatest threat to humanity’s efforts to safeguard Super Earth, followed closely by those annoying jumping Hunters. You might ask, ‘How do you take down something that looks and feels like it’s from a Kaiju movie?’ With precision fire and large explosions, of course.
In this guide, I’ll tell you how to survive and even fight back against Bile Titans in Helldivers 2. The way you fight Bile Titans is going to be mechanically easier than fighting Chargers. It’s all because the Bile Titans are lumbering beasts on stilts and all you have to do is run around while avoiding its killzone.
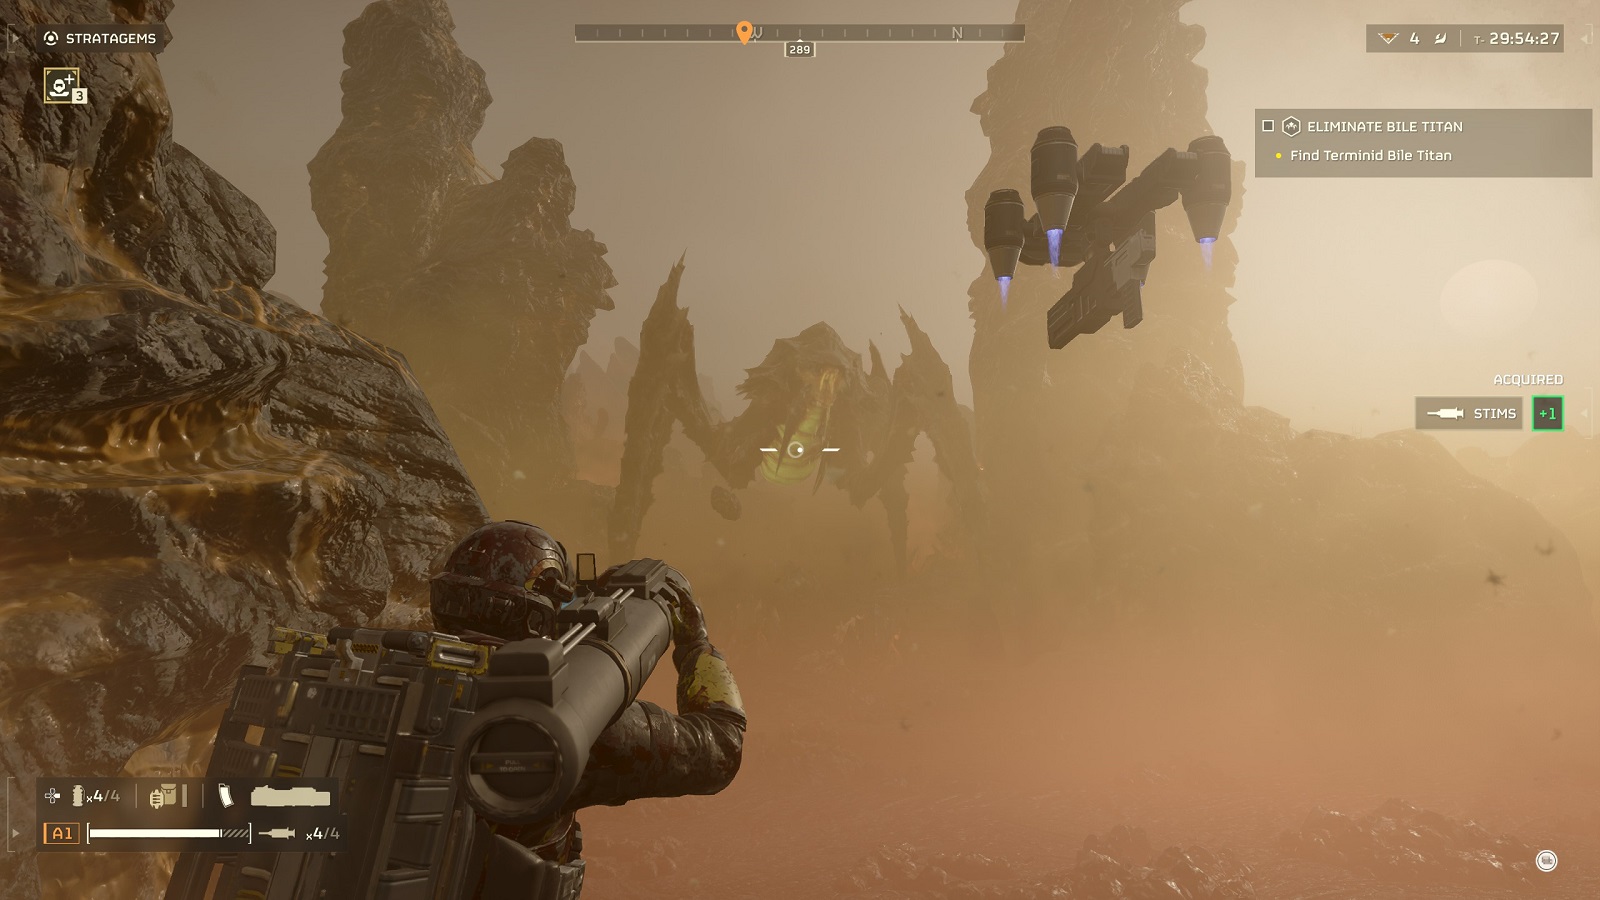
Bile Titans become available for missions as soon as you unlock rank 4 [Challenging] difficulty. Your first introduction to them should be the termination mission in which you are supposed to hunt them down by any means possible.
In higher difficulties, Bile Titans become part of the spawn pool of enemies that can randomly appear in the world. They are most common on Impossible difficulty where they frequently spawn after a scout releases pheromones into the air.
How to Kill Bile Titans in Helldivers 2
For the following bits of information, I will be going through all the weapons that are effective on Bile Titans starting from the lowest level to the high level of 20. No matter what weapons you use against it, there are certain tactics you need to be aware of when confronted by a Bile Titan.
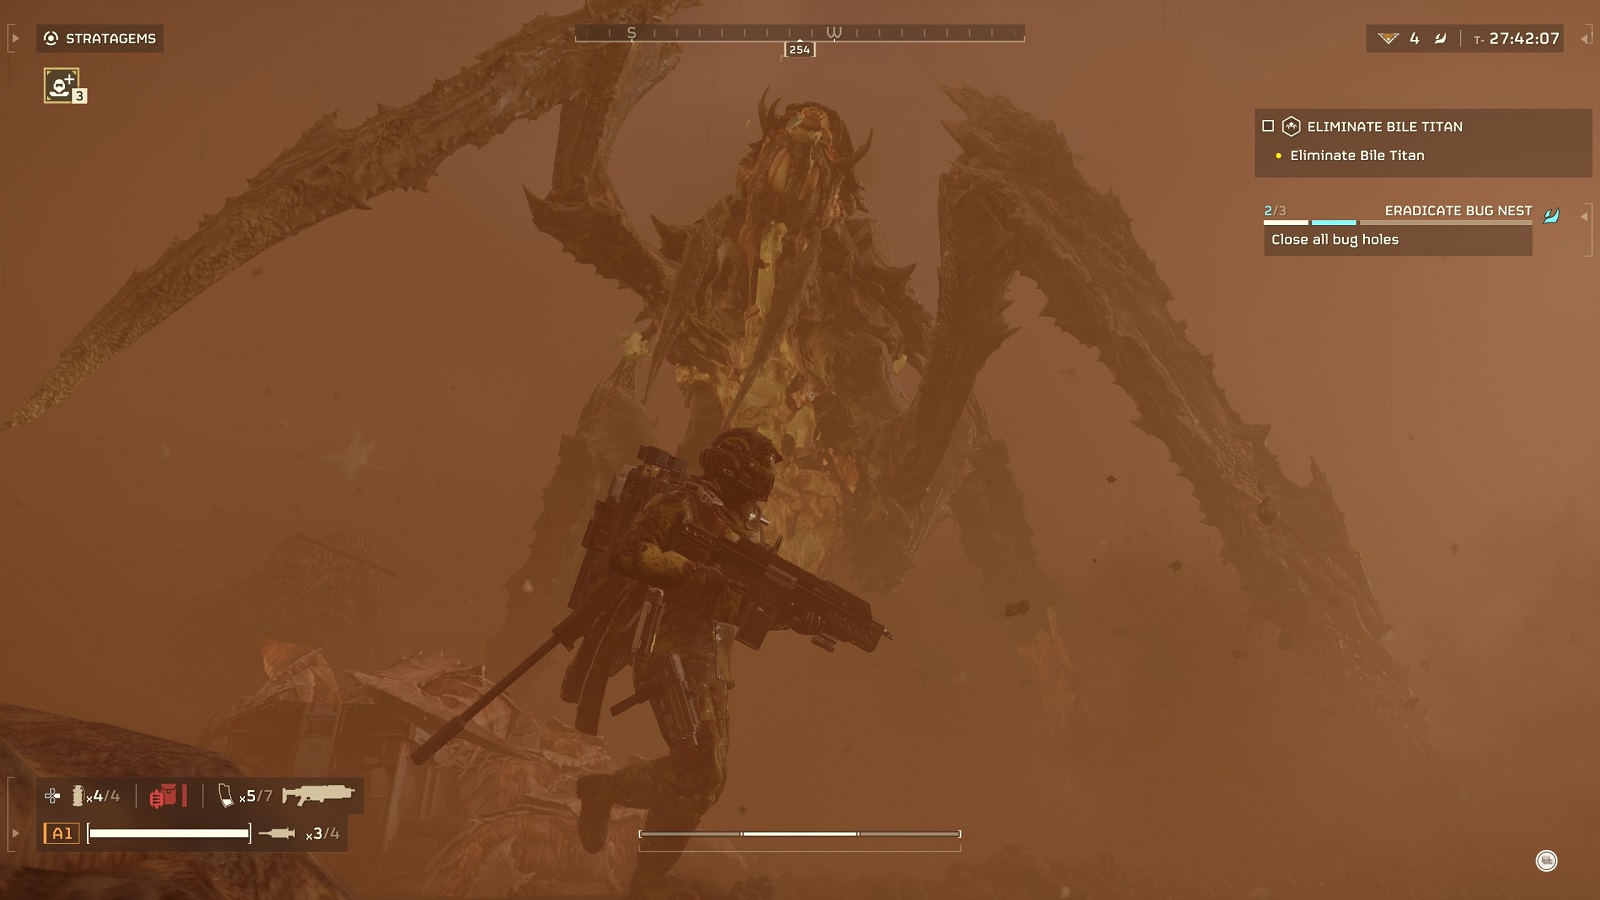
Ideally, you and your team are supposed to split the Bile Titan’s attention amongst yourselves, much like how the Survey Corps operate in Attack on Titan. Someone draws the titan’s attention long enough for the others to throw everything they have on its back. This is the safe way of dealing with a Bile Titan. If you want to get rid of it as quickly as possible, you’ll need to live life dangerously and take aim at its underbelly.
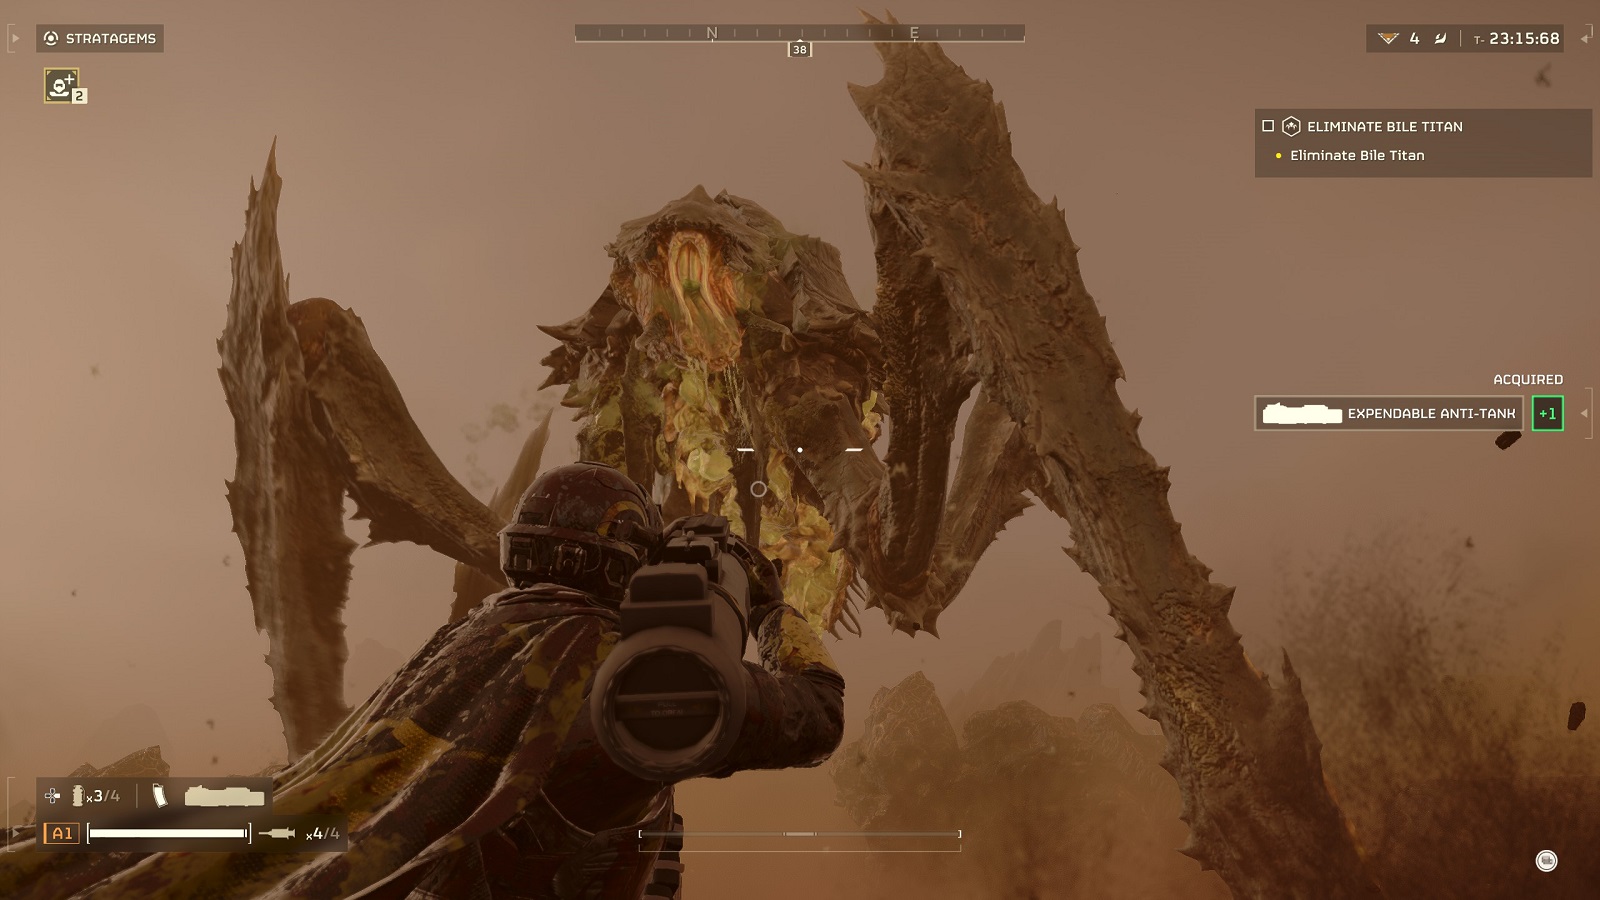
There are more than a few ways a move like that can go sideways in the most horrific way possible. Firstly, you need to be keenly aware of the locations of all four of its legs. It doesn’t take much to crush you underfoot, and it can even throw you to your death if it swats you while it’s moving its legs. Secondly, the Bile Titan won’t hesitate to use its Godzilla-like green blast if you are within range. This concentrated bile can kill you instantly if you are not 100% mindful of your positioning.
Now, let’s go over all the weapons you can use to take one down. Starting with the single-use anti-armor launcher.
The first somewhat reliable weapon you can use against the Bile Titan is the EAT-17 Expendable Anti-Tank weapon. It takes around 6-8 shots to take down the Titan from a single shooter. On the bright side, the disposable launcher always drops in pairs and only has a 60-second cooldown period. It’s not optimal, to run around trying to buy yourself enough time for another pod drop. But you do what have to do in the name of democracy.
The best you can do is run around cover while waiting for the cooldown to reach zero. You also have the option to use whatever Orbital Strike you have on hand plus the grenade launcher to keep it off balance. Who knows? That might be enough to kill it if you aren’t already dealing with a mob of bugs.
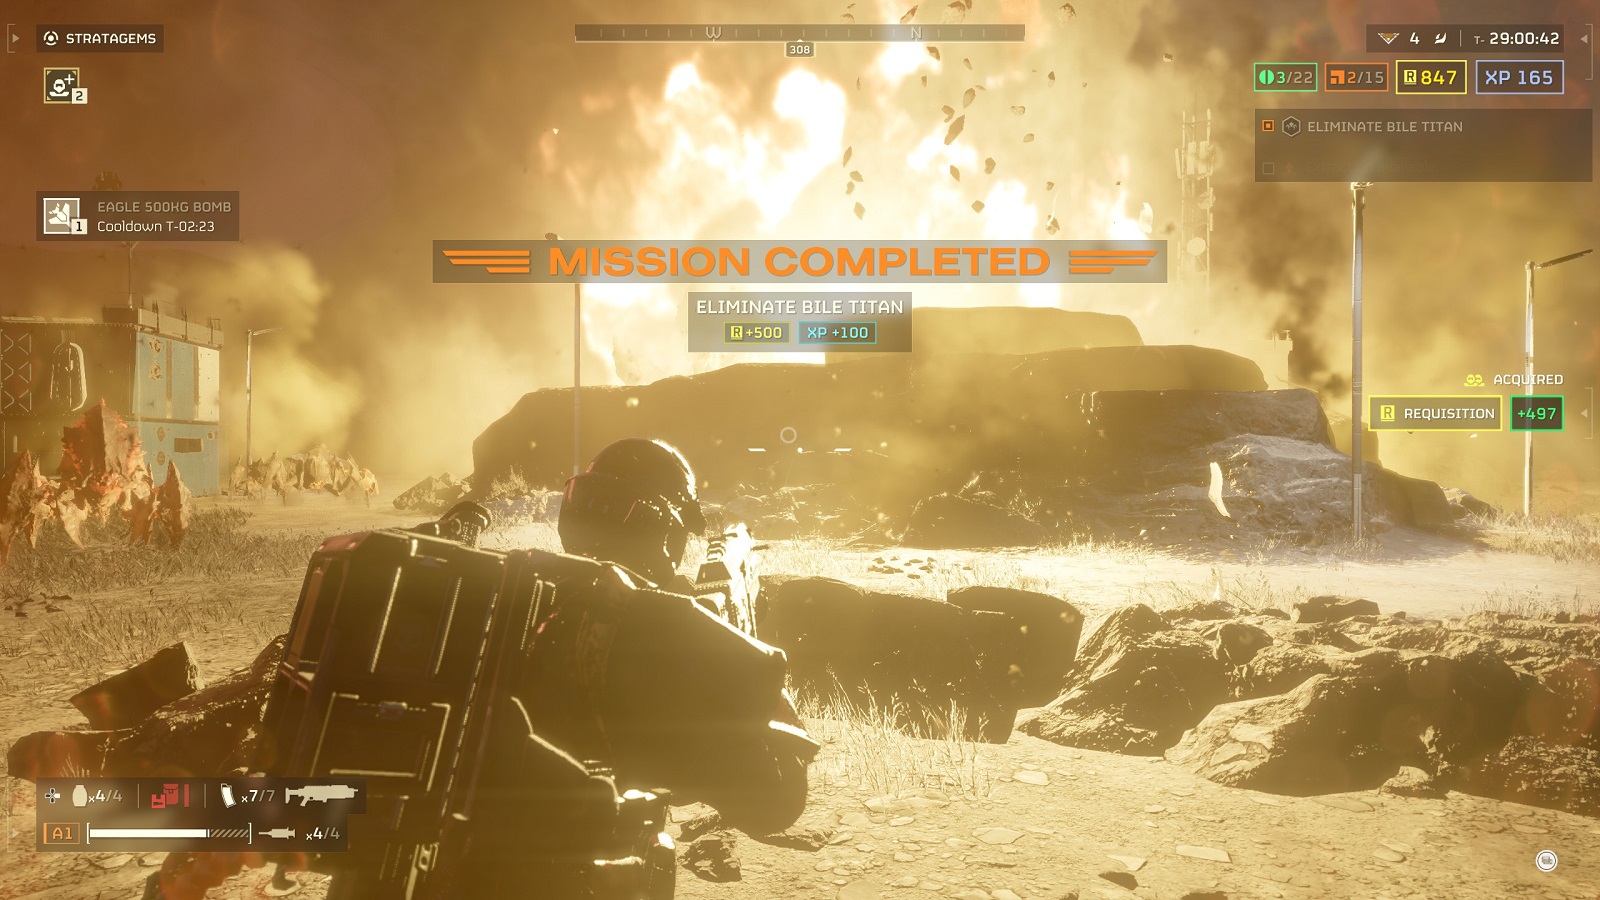
The second option is the one that the game intended for you to use, the Eagle 500 KG Bomb. When you use this stratagem, make sure the Bile Titan is directly on top of where the bomb is going to land, or somewhere very close to it. The 500 KG is strong enough to outright kill the Bile Titan. It’s not the most consistent weapon in our arsenal for dealing with Bile Titans, I just like watching the bomb land directly on their vile backs. It never gets old.
The next weapons are the ones you want to use when dealing with multiple Bile Titans. Unfortunately, they both unlock at Level 20 so you’re going to have to grind a bit to have access to them.
The Orbital Rail Cannon Strike is the best Orbital weapon option for dealing with armored vehicles. Its smart targeting system also locks onto the biggest target available, saving you the trouble of actually aiming the beacon. One full hit from the rail cannon is enough to deal serious damage to the Bile Titan. To easily finish it off, we’ll need the Railgun.
I don’t know why the Railgun is the best weapon for dealing with anything that remotely has armor. It can strip the armor plating from a Charger’s leg with two shots and it can destroy Automatons as if they were made of paper. It is so busted that it can destroy a Bile Titan with two precision shots to the head. Who needs any other stratagem when you have a portable weapon capable of massive destruction in a small area?
But wait, there’s more. If you are playing with friends, one of the best stratagems for taking down a Bile Titan is with the FAF-14 Spear. It is a two-person job with one as the gunner and the other as the loader. The beauty of this setup is that you can pretty much take down an entire group of Bile Titans from a considerable distance.
As a solo at the highest difficulty levels, the railgun is what you’ll be relying on the most to get back-to-back kills. If you think dealing with multiple Chargers is unbearable, just try having to play tag with Terminids the size of a modest apartment building. Your regular strategems won’t be able to keep up with the demand. So it’s kind of awesome that the railgun comes in clutch for these moments but at the same time, I hate that it’s becoming the only weapon you take for dealing with armored foes.
No matter how perceive the Terminid as an enemy, you must respect the Bile Titan if you want to walk away during and after the mission. You can’t simply run it around and then get it stuck on a piece of geometry. When you see one in the distance, make it a priority target. If you don’t, you will come to regret allowing it to roam free.

