
 – Review")


The world of Scarlet Nexus may be colorful and vibrant, but the challenges that come with can be pretty adverse. In one moment, you’re casually strolling around beating smaller enemies to a pulp, and in another, you’re greeted with a boss fight that’s surprisingly grueling. The hardest of bosses are the ones you don’t see coming.
A lot of the bosses in Scarlet Nexus are very easy — as long as you know what you’re doing and you’re using the resources that are given to you. However, other encounters are outstandingly more difficult than the rest. While this may be the case, even the hardest bosses in the game can be put down in just a single run, if you follow these tips.
WARNING: SPOILERS AHEAD
Naomi Randall

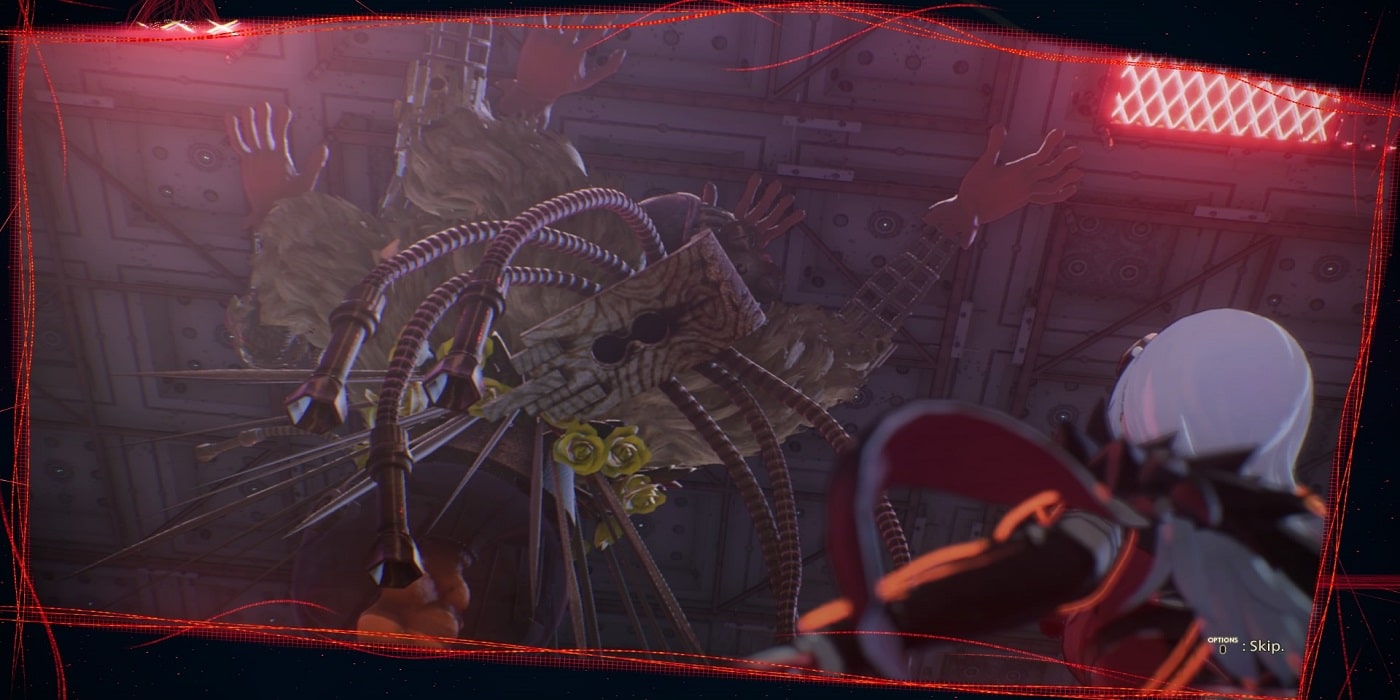
The Naomi Randall boss fight on Yuito’s storyline is one of the most mystifying and tragic encounters in Scarlet Nexus. It may not be the most difficult moment in the game, but it most definitely is one of the most haunting. This doesn’t mean this boss fight is a walk in the park, though. Naomi, in her Other form, can definitely make things hard for you if you’re not careful.
When fighting bosses that are Others, it is vital that you’re able to pinpoint their weak points right away. Thankfully, these are highlighted as glowing areas on their bodies. For Naomi, her weak points are located on her underside, and at the bottom of the house-shaped structure on her head. These can be easily attacked when Naomi is stunned, which you can do by constantly attacking her with your Psychokinesis.
Once Naomi’s health drops to about 70 to 60%, her positioning will shift and she’ll gain new offensive attacks. Two particular attacks you should be wary of are the ones where she pierces the ground and attacks you from below, which can be countered by constantly being on the run. Another is where she raises her body up to let out a powerful growl. This can also be easily countered by running away from Naomi. While performing both countermeasures, the player can also attack her with Psychokinesis for added effectiveness. Once you remember all of these, you should be able to take out Naomi without major complications.
Dispen Fisher
The Dispen Fisher is a boss fight you will encounter in Phase 9 on Kasane’s storyline. This boss’s weak spot is located on its back, which is very easy to spot and even easier to hit. With the use of Psychokinesis, you should be able to take this boss down swiftly.
This boss has a handful of attacks you should watch out for. A lot of this boss’s attacks involve water, which if you get hit enough, will hinder your ability to dodge. It will also send a number of fish-like creatures underground that will travel hastily towards you. The best way to outmaneuver this particular attack is by double-jumping and dashing away, or by using Arashi’s Hypervelocity.
At certain moments during the boss fight, the Dispen Fisher will jump up and latch on the ceiling. Patience is the name of the game here. After a couple of moments, the boss will linger on a tarp which you can drop by using a Special Object Attack. By simply utilizing this and constantly targeting the boss’s weak spot, its crush gauge will drop steadily, allowing you to perform a Brain Crush. Keep doing this and the boss should drop in a few minutes.
Kyoka Eden

You will have the misfortune of going against Kyoka in Phase 8 while playing as Kasane. When you let your guard down during this boss fight, Kyoka can obliterate you in a matter of seconds. Her crossbow can hit like a truck and her Duplication ability is tough to deal with. Let’s talk about how you can beat her up.
Arashi’s Hypervelocity will come in very handy in this boss fight. When Kyoka’s crossbows are overwhelming you, activate Arashi’s ability to get out of the crossfire and close in on your opponent. Your offensive should be a balanced exchange between melee and Psychokinesis. You should also activate Shiden’s ability while you’re at it, to stun Kyoka after a couple of attacks.
At certain moments during this boss fight, Kyoka will use her Duplication ability to summon one or two copies of herself. Disregard these copies and keep your target on the original. Better yet, set one of your party mates’ tactics to “Target Different Enemy” so they can act as a distraction to the duplicates, forcing the original to be isolated with you.
Kasane with Arashi & Shiden

The Kasane boss fight for Yuito’s Phase 6 is the most challenging variation of this encounter, mainly because she’s accompanied by Arashi and Shiden, both very effective combatants. The most important tip to keep in mind for this boss fight is that you must eliminate Arashi and Shiden first before going all out on Kasane.
It is better that you deal with Shiden first, mainly because he can be more of a nuisance than Arashi. Utilize the oil barrels in the area with Special Object Attack to soak Shiden with oil. Once done, use Hanabi’s Pyrokinesis to inflict a burning effect on Shiden. Keep up the pressure until he is incapacitated. After Shiden is out of the picture, keep your focus on Arashi. Her Hypervelocity ability is rendered ineffective against Luka’s Teleportation. With Luka’s ability active, keep your target on Arashi and you should teleport towards her no matter where she speedily dashes around the area.
Finally, set your target on Kasane, who should be outnumbered and overpowered at this point. Be mindful, though. Kasane can still pack a punch even when she stands alone. Just keep a balance of melee and Psychokinesis, coupled with the use of SAS abilities, and you should be able to overcome this boss fight. Thankfully, you’ll only have to drop Kasane’s health to about 25% to complete this encounter.
Yuito with Tsugumi & Luka
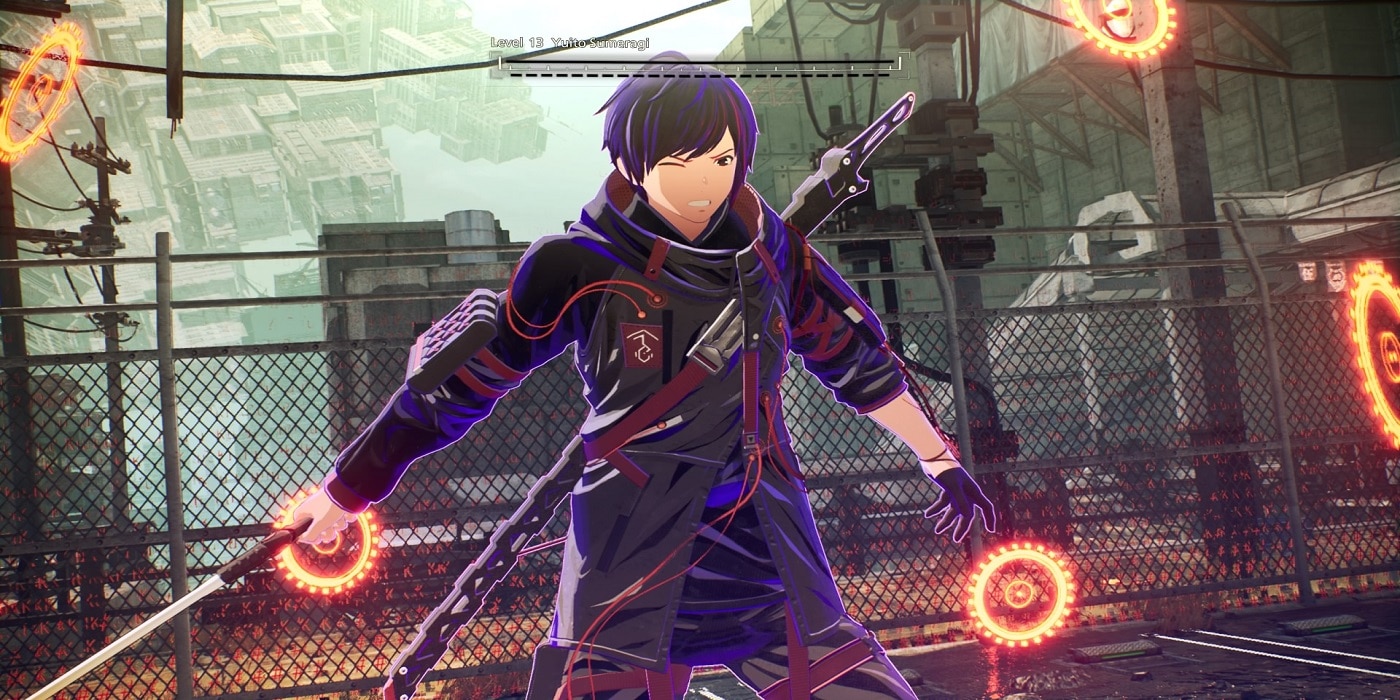
The boss fight with Yuito, Tsugumi, & Luka in Kasane’s Phase 6 can be very challenging. However, if you manage to pick the team off one by one, making sure to leave Yuito last, then you should come out of this encounter on top much easier. That’s the goal with this boss fight. You’re going to have to eliminate either Tsugumi or Luka first. Who you’re going to pick first will depend on whether or not you’re a frequent user of Kagero’s invisibility. If you are, then you will need to defeat Tsugumi first as her ability will render Kagero’s powers useless.
Tsugumi can be incapacitated quickly with Psychokinesis. Just keep on beating her with your abilities and shower in a couple of melee attacks too, while you’re at it, to maintain your Psychokinesis gauge. As for Luka, his mobility can be slowed down with a mixture of water barrels and Shiden’s Electrokinesis. With enough attacks, you should be able to stun Luka, giving you the chance to defeat him faster.
Finally, you can turn your efforts on Yuito, who is arguably the toughest combatant on their team. One thing to keep in mind with Yuito is that whenever you do a Special Object Attack against him, he has a tendency of doing the same to you, triggering a tug-of-war QTE. Yuito will also activate his Brain Field once his health drops to about 25%, which will last for 40 seconds. Don’t just run around and wait for his Brain Field to be over. Use Kagero’s Invisibility to inflict critical attacks on Yuito. Rinse and repeat and the boss fight should be over in no time.
Nagi Karman (Phase 9)

The Nagi Karman boss fight in Phase 9 is definitely one of the most challenging encounters and impactful moments in Yuito’s storyline. During this fight, Nagi receives a power boost, making his attacks much more wild, unpredictable, and powerful.
This boss fight will force you to use every single SAS Ability you have in your arsenal, which you should definitely give into if you want to defeat Nagi. Using Gemma’s Sclerokinesis will allow you to close in on Nagi without having to worry about his flurry of attacks. He will also cloud your vision with some sort of smokescreen, which you can alleviate easily with Tsugumi’s Clairvoyance. Another one of his notable attacks is when he summons a tornado around him. You can get through Nagi’s tornado and attack him directly by using Luka’s Teleportation.
Nagi is very unrelenting with his ranged chakrams attack. Once you see Nagi constantly throwing chakrams at you, it’s best that you keep your distance and dodge away from his attacks. Do your best to do a Perfect Dodge so you can create an opening for yourself to land a couple of hits on him. Keep on attacking him with your Psychokinesis. As incessant as Nagi is during this encounter, if you’re able to match his intensity with focus and patience, you’ll be able to best him in this boss fight, tragically ending this character’s arc.
Future Yuito
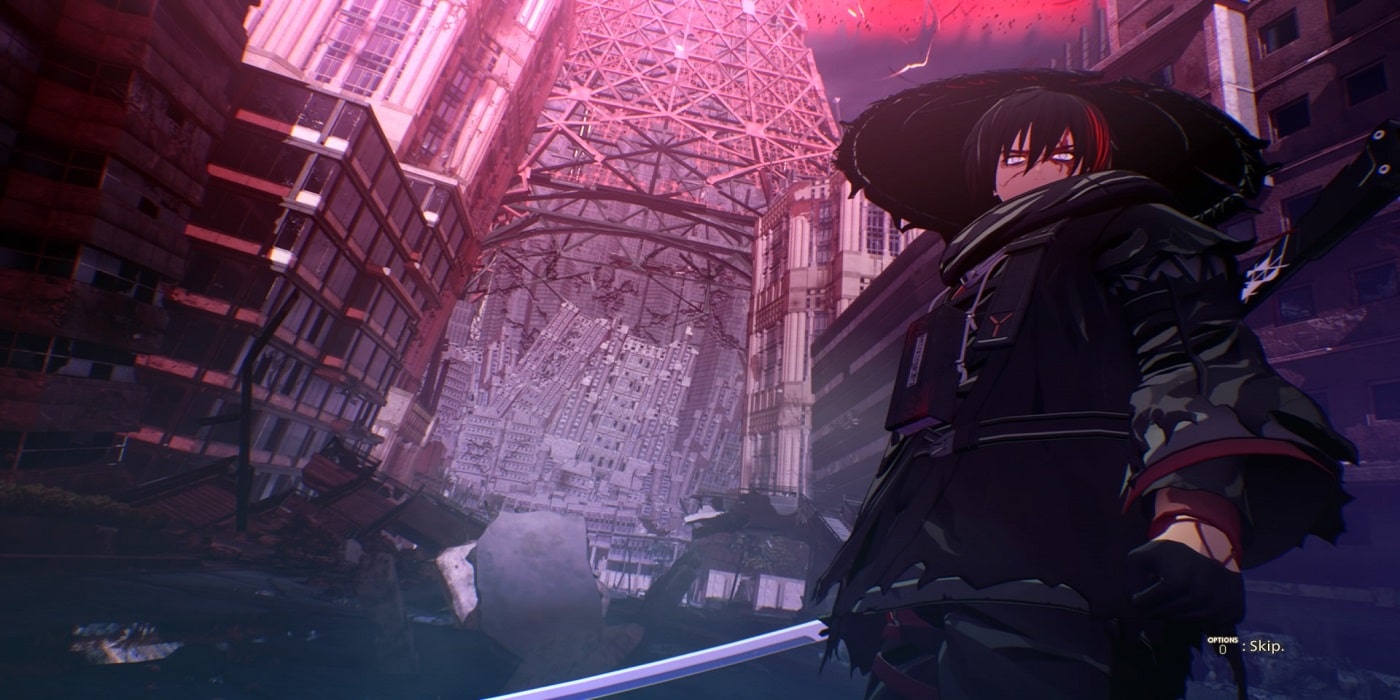
In Phase 4 of Kasane’s storyline, you will get the chance to meet Future Yuito. Incidentally, you will also get the chance to fight him. One thing of note about this boss fight is that it isn’t exactly a “complete” boss fight. You don’t have to deplete his HP in order to win this fight. More accurately, you can’t. The only way to overcome this challenge is by holding him off until a cutscene triggers to move the story forward.
While you don’t have to defeat him to win this battle, simply surviving it isn’t exactly easy either. You also just can’t run around without attacking hoping for the battle to stop as you will need to drop his HP just enough in order for the cutscene to trigger. Future Yuito is a very formidable fighter. This is one of those boss fights that are more straightforward and less gimmicky. He has no particular weaknesses and specific attacks which you can counter with specific abilities. Instead, you’re just going to have to be as offensive and defensive as he is.
With this in mind, use everything in your arsenal to chip off Future Yuito’s health to at least 75%. Combine Electrokinesis-infused melee with well-timed Psychokinesis attacks. Make use of Arashi’s Hypervelocity to get away from Yuito’s hurled objects. Be mindful of Yuito’s sword attacks as those can chunk off large amounts of your health. Hold him off long enough and you should get out of this encounter scot-free.
Yuta & Kodama Melone

The boss fight with the Melone sisters in Kasane’s Phase 9 is one of the most difficult encounters in the game. At this point, you’ve already fought Kodama twice, both of which are already challenging in their own right. With this one, you’ll have to fight both sisters at the same time.
It is vital that you’ve already unlocked the two variations of the Concurrent SAS Activation skill from the Brain Map at this point in the game, which allows you to activate four SAS Abilities at once, as it will immensely help you out with this boss fight. It’s also a good idea to set one of your party mates’ tactics to “Target Different Enemy”. This way, you can keep your targets locked on Kodama and another from your team can keep Yuta occupied.
Once Kodama’s drops to 70%, Yuta will transform into her sister, which allows gives her Kodama’s Sonokinesis. This will force you to be more agile since you’ll be dealing with more soundwave attacks. At this point in the fight, make use of Arashi’s Hypervelocity to avoid their attacks more effectively. Dodging away from the sisters’ attacks should be done with a combination of dashing and jumping. Keep attacking them with your Psychokinesis and weapon from a distance. You should also take advantage of the water barrels in the area, paired with Electrokinesis, to shock and stun the sisters.
Once Kodama’s health drops to 25%, the sisters will activate their Brain Field ability. Once this happens, make sure Arashi’s Hypervelocity ability is filled up. The sisters will constantly send a barrage of soundwave attacks at you, which is where the Hypervelocity becomes extremely useful. As soon as there is an opening, perform an attack, still focusing on Kodama.
Once you’ve gotten rid of Kodama, the remaining Yuta will be so much easier to deal with. If given enough time, she’ll transform into you or anyone from your party. This will make dealing with her a bit more difficult, so it is in your best interest to deplete her HP as fast as you can.
Dominus Circus
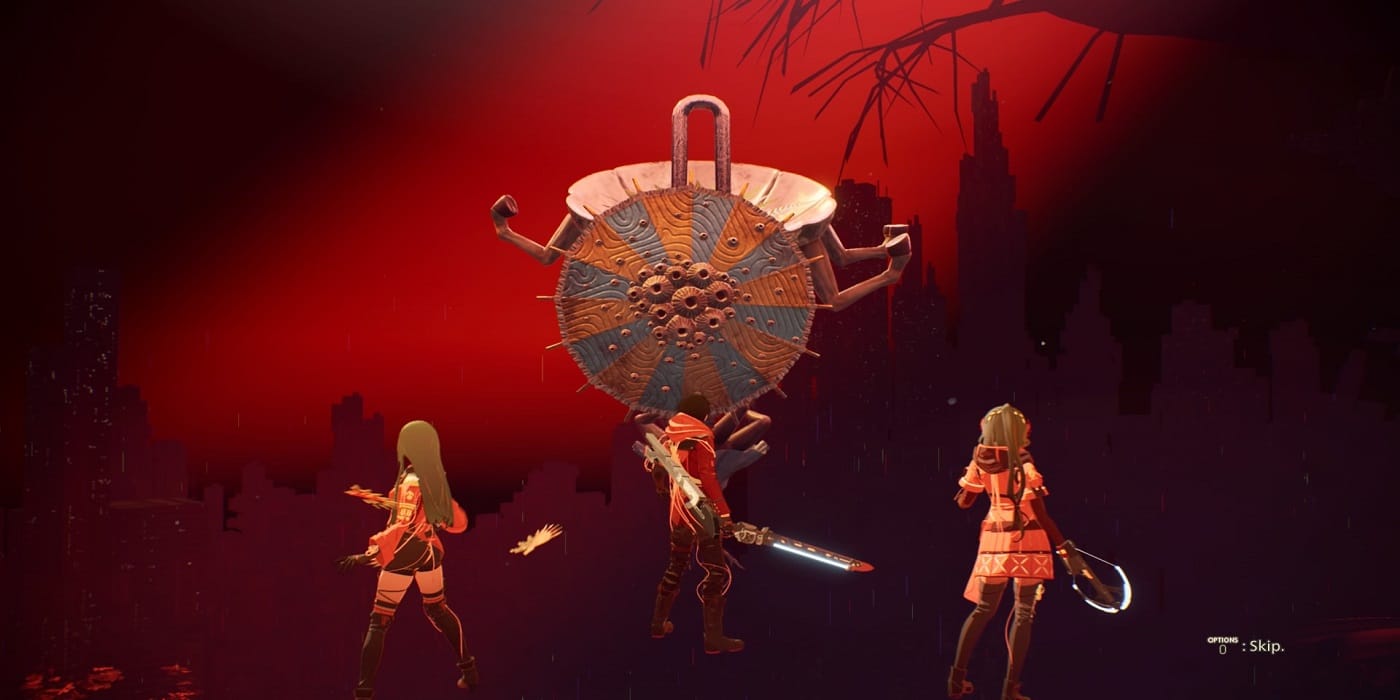
Dominus Circus is a considerably difficult boss fight, especially to those who aren’t familiar with its weaknesses yet. This entire ordeal also acts as four boss fights in one encounter. The player will need to deal with four different variations on this Other creature in succession in order to finish the battle.
The first version of this creature wields an umbrella. Anywhere from its body that’s not covered by the umbrella can be damaged. With this in mind, the player will need to constantly move around to get behind the enemy in order to damage it. It is also much more powerful to use Psychokinesis whenever an opening is present. The best way to defeat this version, though, is by teleporting towards it whenever it slams the ground and surrounds itself with a waterspout.
The second version of the boss is characterized by its elephant-shaped head. This boss will constantly fire sprays of smoke and water around the arena and towards the player. The most useful ability during this encounter is Tsugumi’s Clairvoyance. Whenever the boss expels gushes of smoke that clouds your vision, activate Clairvoyance to target the boss and immediately hit it with Psychokinesis attacks. This is the best way to deplete its health and crush gauge quickly.
The third version is by far the easiest. Its most vital weak point is the arm it uses to slash gushes of waves at you. Whenever this boss slams its arms down to attack you, dash away and immediately hit the arm back with your weapon or Psychokinesis ability. Repeat the process until the boss is eliminated.
Finally, its final version is an amalgamation of the previous three, which means it comes with all the abilities the previous three had. Fortunately for you, that also means the fourth boss comes with the weaknesses of the previous three bosses. Just do everything you’ve learned thus far, and you should be able to defeat this monstrous creature.
Karen Travers (Final)
It is highly unsurprising that the final boss of the game is also its most difficult. Karen Travers is believed to be the most powerful OSF soldier in the game, and your final encounter against him definitely proves that.
The first phase of this fight will be very familiar to you, as it remains similar to your previous encounters with him. He is still insanely agile, which you can match with using Teleportation and Hypervelocity. He does have one new notable attack where he slams the ground and spikes emerge from beneath, spanning a wide radius, damaging anyone within it. Thankfully, this attack has a very visible cue, which you can pay attention to in order to move away. Once Karen’s health drops to 70%, he will activate his Brain Field ability. During which, most of the attacks he will employ are AOEs involving lightning and the aforementioned new attack. He will also summon balls of electricity that will track you. You can use Sclerokinesis to negate the effects of this attack. Keep on matching Karen’s speed and intensity with Hypervelocity, Teleportation, and other abilities of your choice to chip away at his health, all the while minding your own.
Further down this phase, Karen will begin to use an ability very similar to Yuito and Kasane’s joint Psychokinesis attack. When hit by any of his thrown objects, Karen will do a powerful combo on you, which will deplete a massive chunk of your health. Do your best to avoid these attacks. If you happen to get hit and survive, immediately heal up with a Medium Jelly or Max Jelly. Fire back at Karen with Psychokinesis after he’s done with this tactic to regain the upper hand until his health drops to zero.
The second phase of this boss fight is very epic, but also considerably easier. The point of this phase is to make use of the Special Object Attacks whenever it is presented and continuously spam Karen with everything you have until he is protected again. A phantom-like version of Karen will also appear occasionally on the field to distract you from performing Special Object Attacks. The best way to disallow him from doing this is by using Hypervelocity whenever you’re doing a Special Object Attack to slow everything else down. Repeat until his health drops to zero.
Finally, the last phase of the boss fight is mostly cinematic and symbolic rather than challenging. The first few minutes of this phase are mainly a matter of you holding Karen off until your teammates arrive. Just maintain your HP, constantly heal up, use the SAS Abilities as your teammates arrive, and enjoy the magnificent scene before you.
Scarlet Nexus is already available on PS4, PS5, PC (on Steam), Xbox One, and Xbox Series X|S. Read our full review here.


