
Genshin Impact has just released update 2.2 and with it is a new island region called Tsurumi Island. One of the areas where you have to visit is the Shirikoro Peak due to a World Quest called Particularly Particular Author. At Shirikoro Peak, there are four puzzles to solve, and these are:
- Fire Torch Puzzle
- Relay Stone Puzzles
- Star-Shape Gems
- Stone Slates
It’s important to note that most of the area in Shirikoro Peak is under thick fog and the only way to remove this is to go through the World Quest Particularly Particular Author and solving Shirikoro Peak puzzles.
Here is the complete Genshin Impact Shirikoro Peak Puzzle guide.
Genshin Impact Shirikoro Peak Puzzle
How to Solve the First Relay Stone Puzzle
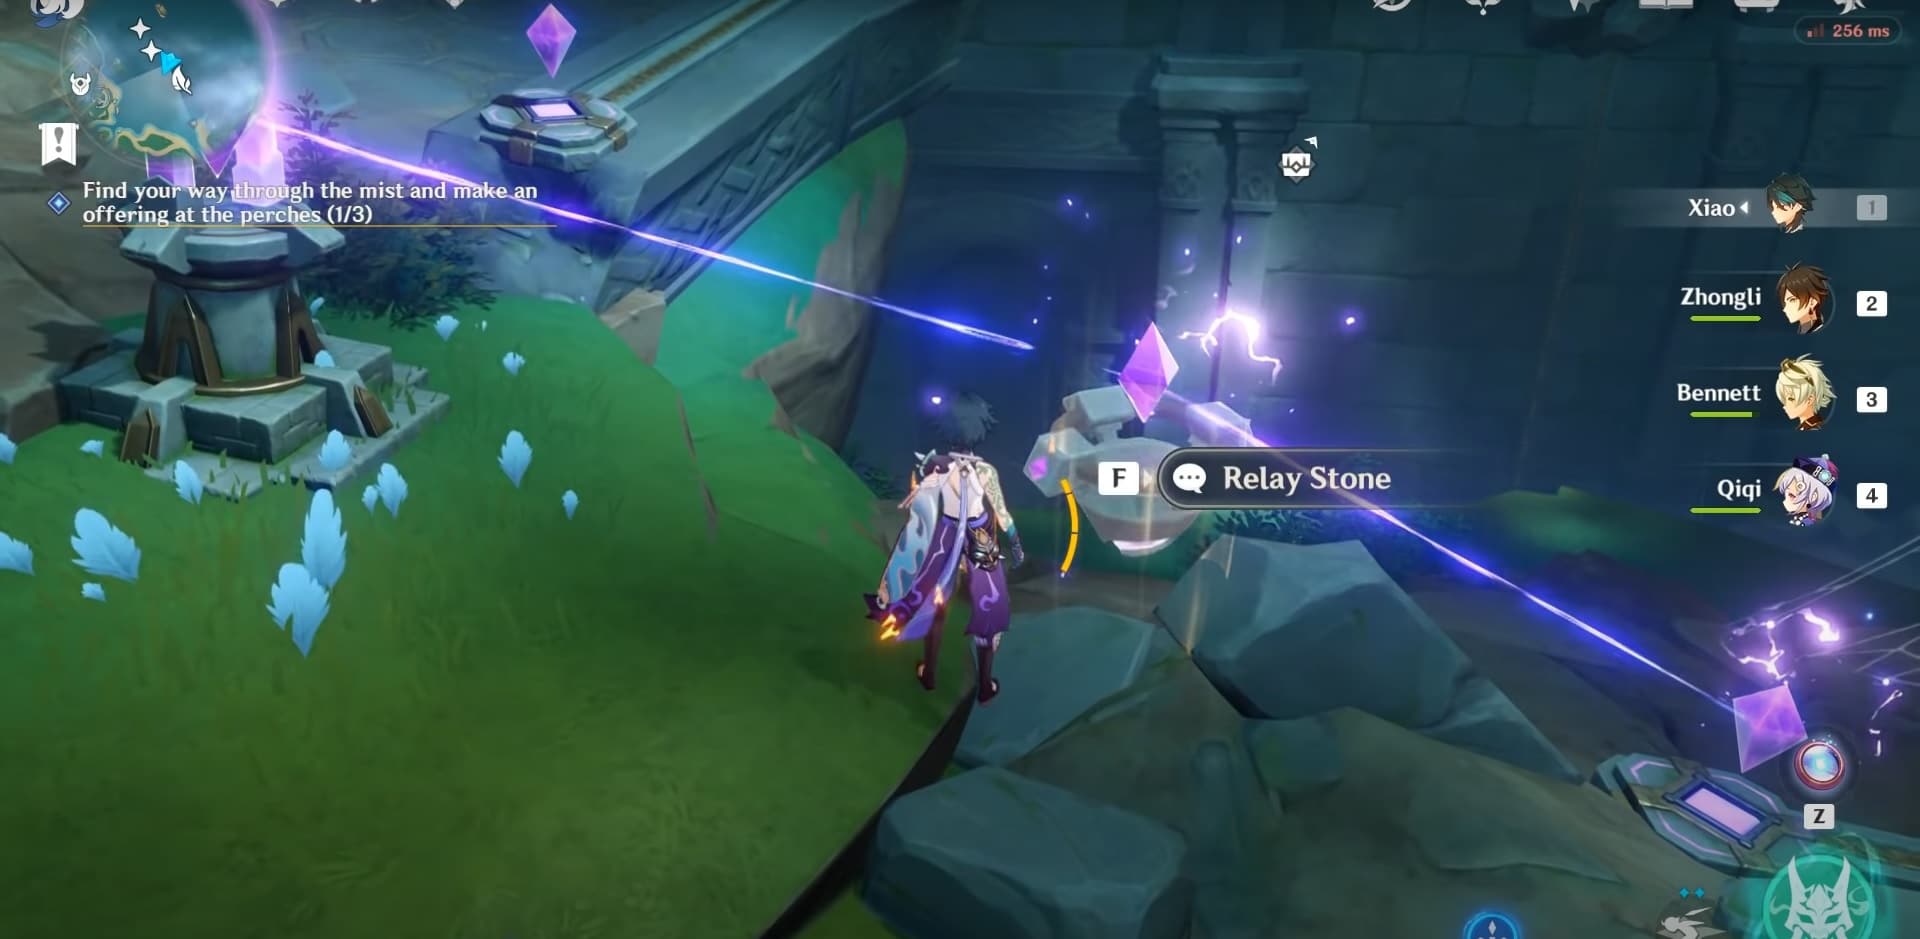
After starting the Particular Author Quest, you will be tasked to get Perch Feathers and the second one is behind these Relay Stone Puzzles. You also need to finish the Relay Stone Puzzles in order for you to gain access to the Fire Torch Puzzle.
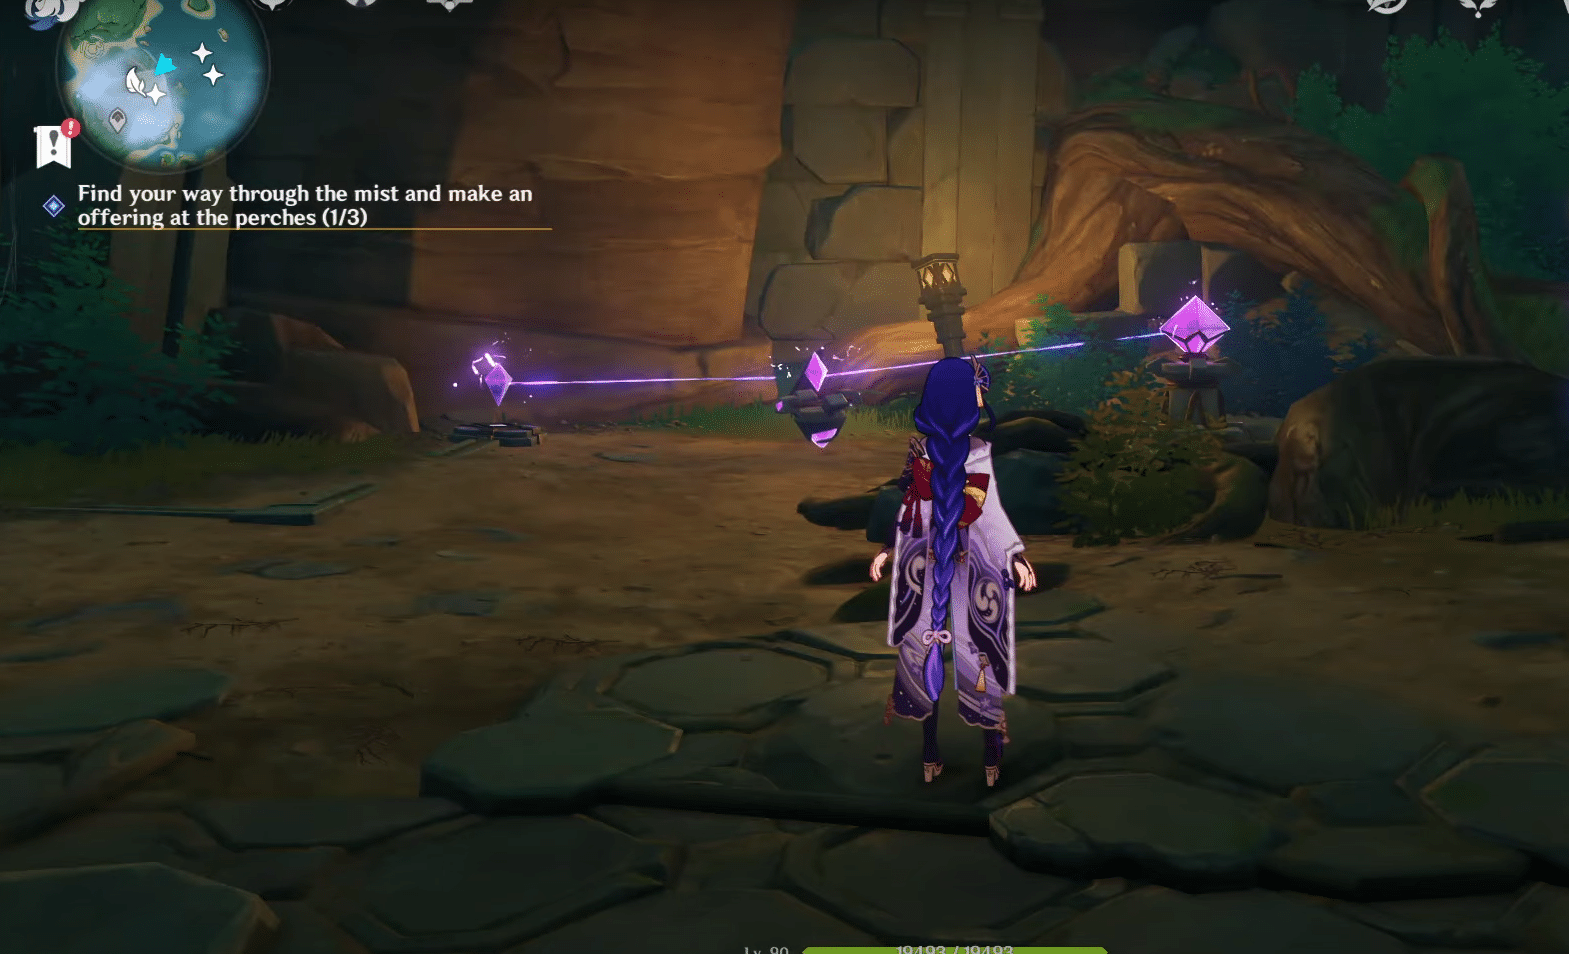
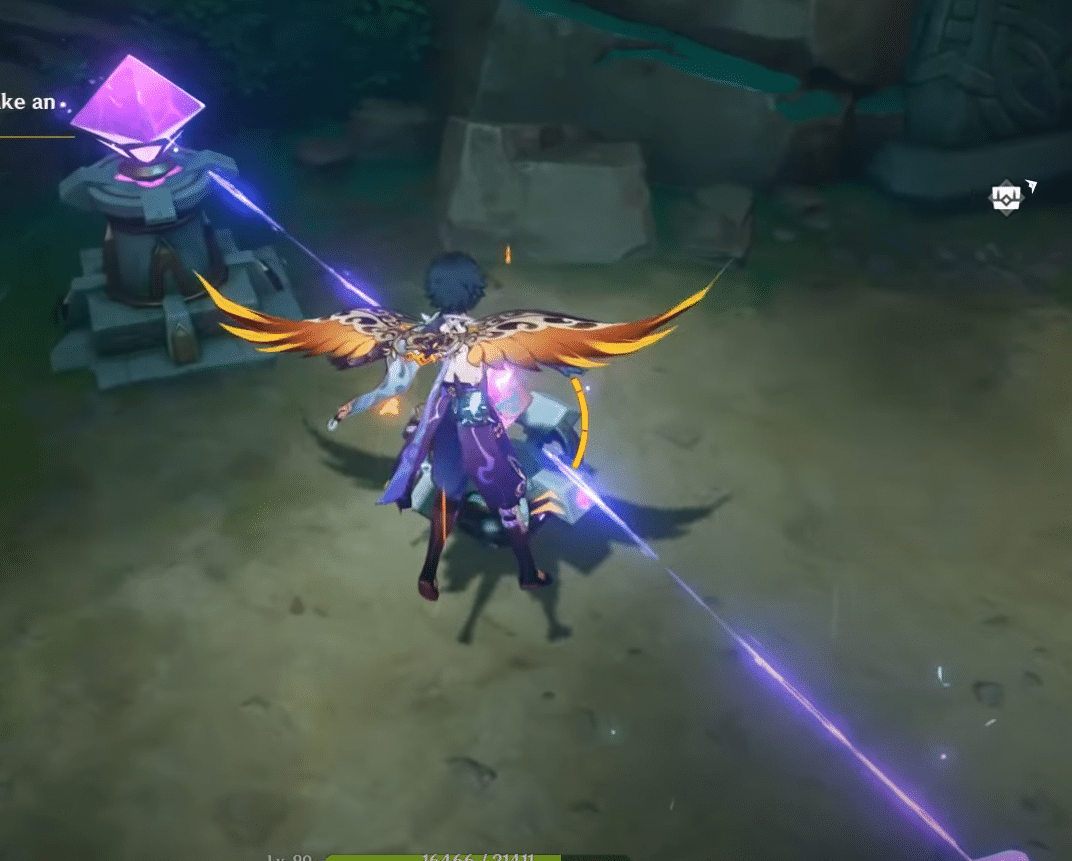
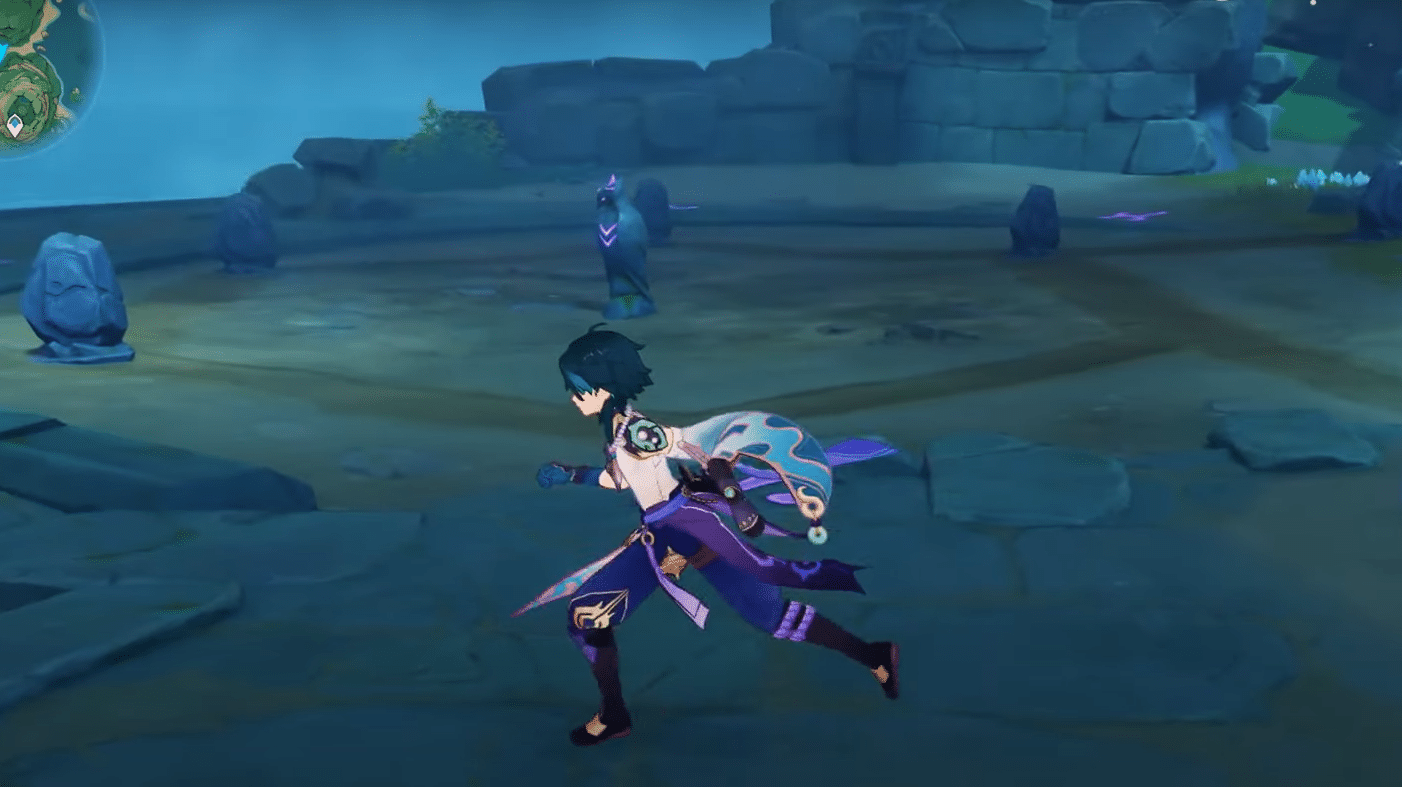
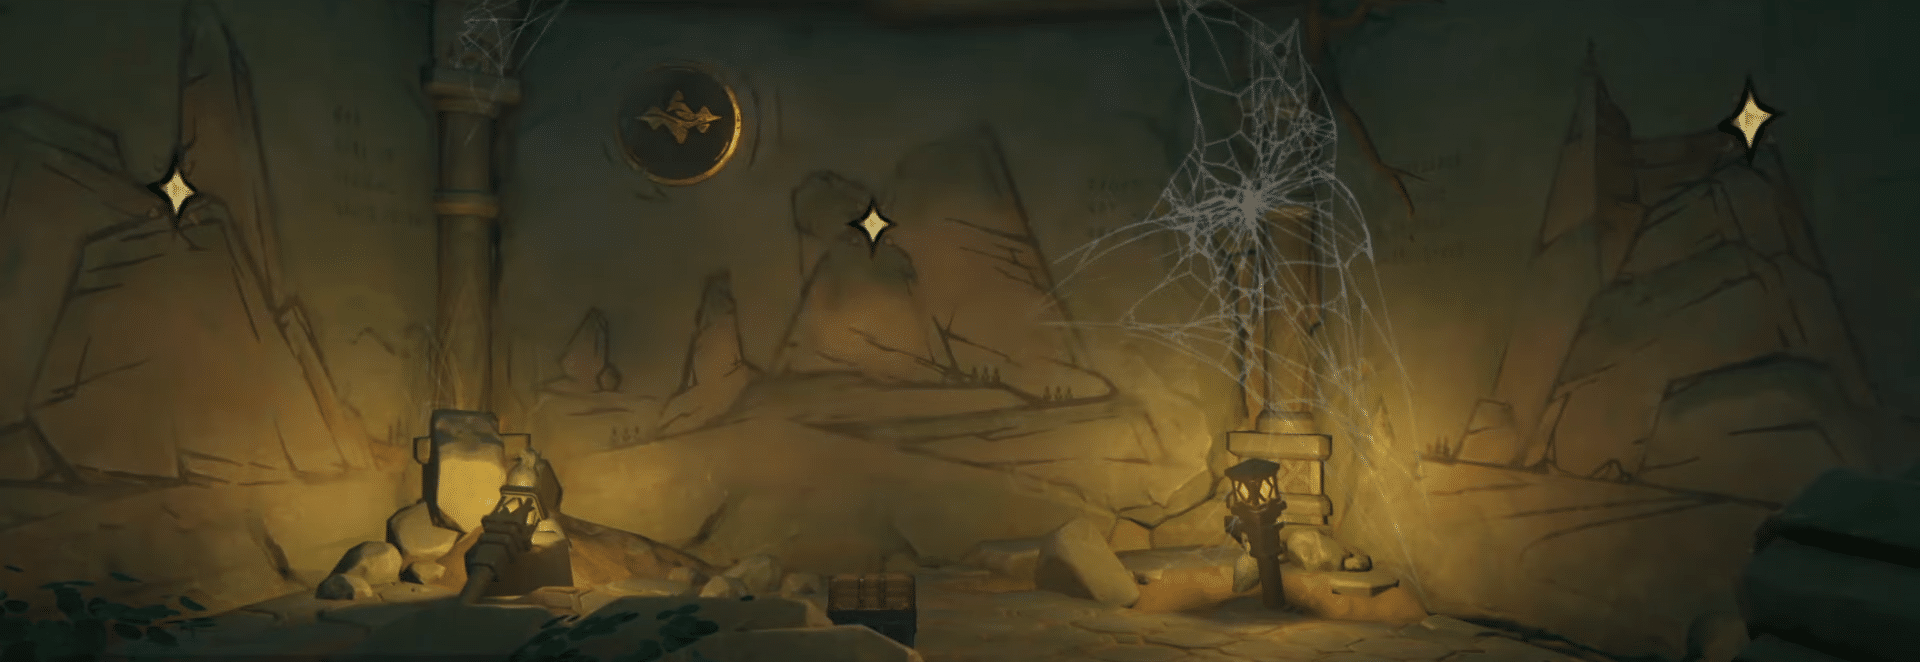
When you arrive at the first Relay Stone Puzzle, you will be greeted by an enormous room with some of the stones to move around, which is illustrated on the first image below. You will also encounter Ruin Cruisers so be careful.
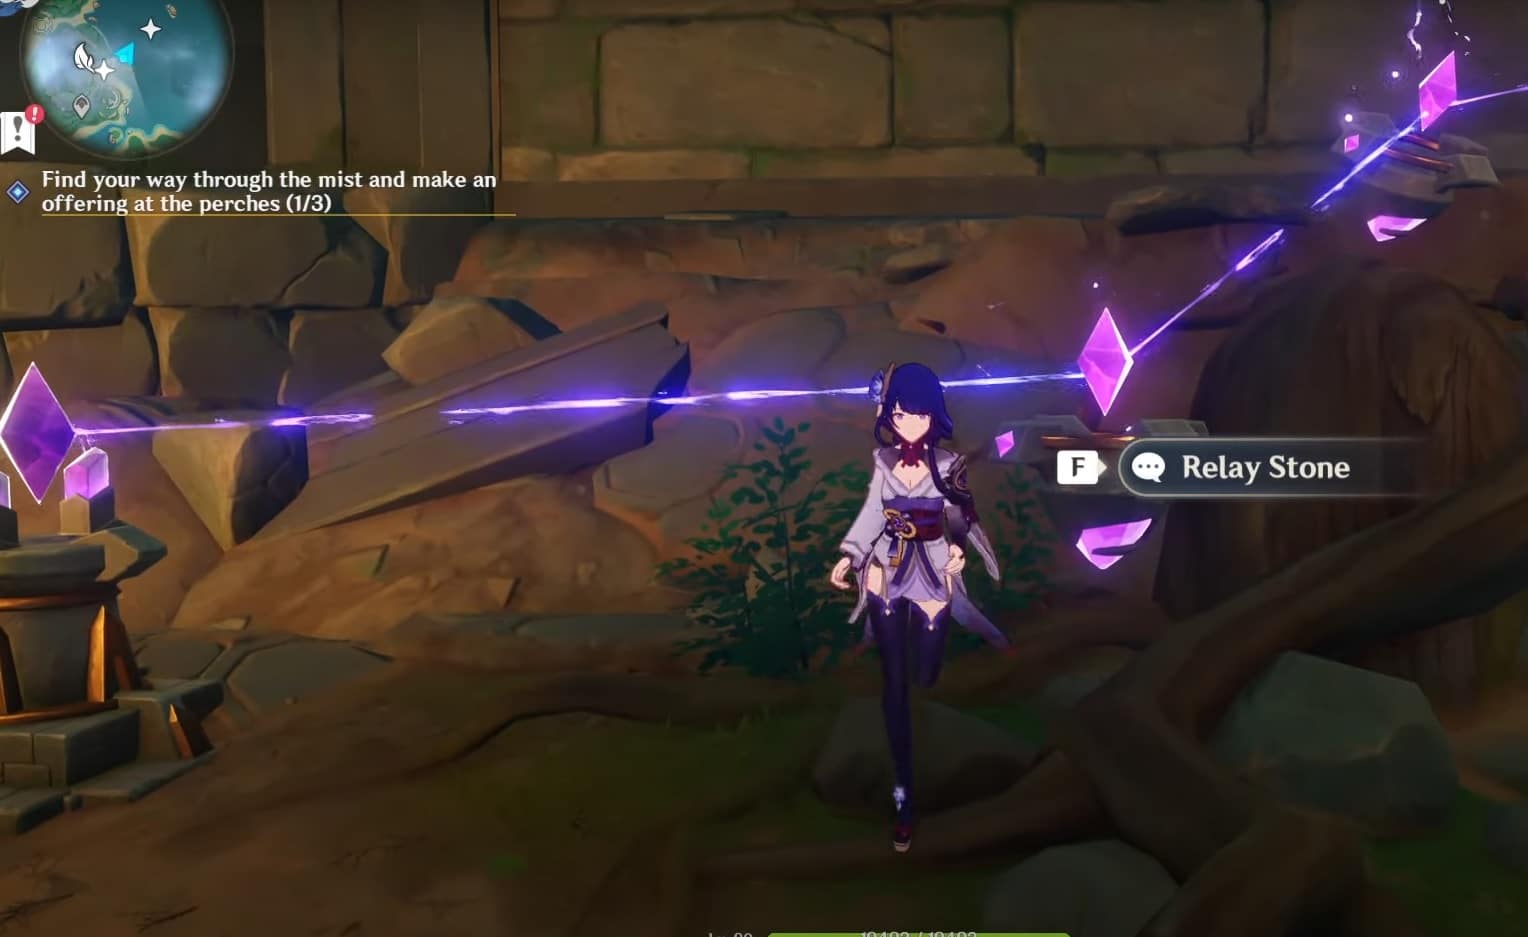
Pick up the first stone by the entrance that’s close to a Fluorescent Fungus, which can be seen in the second image above. It’s also worth noting that removing the stones will not break the purple electric line, so there’s no need to worry about cutting the connected purple lines when you pick up the relay stone.
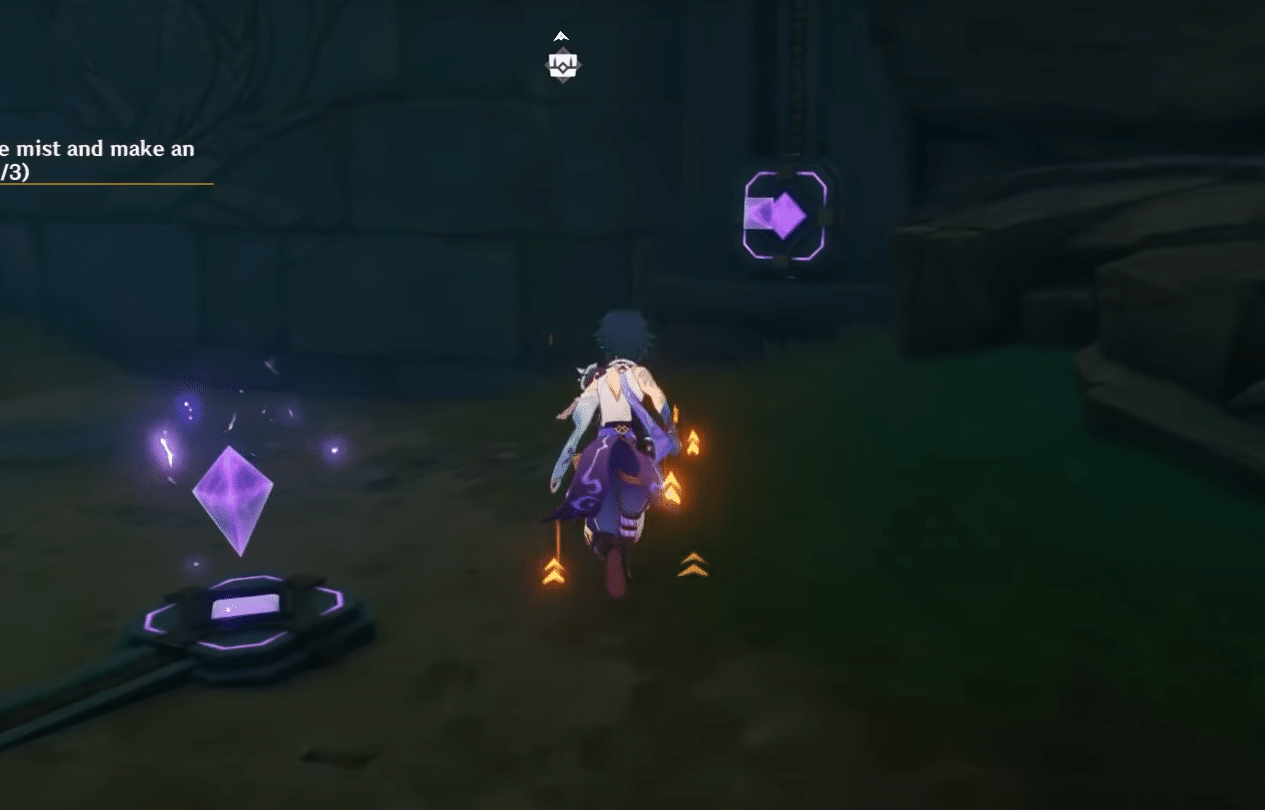
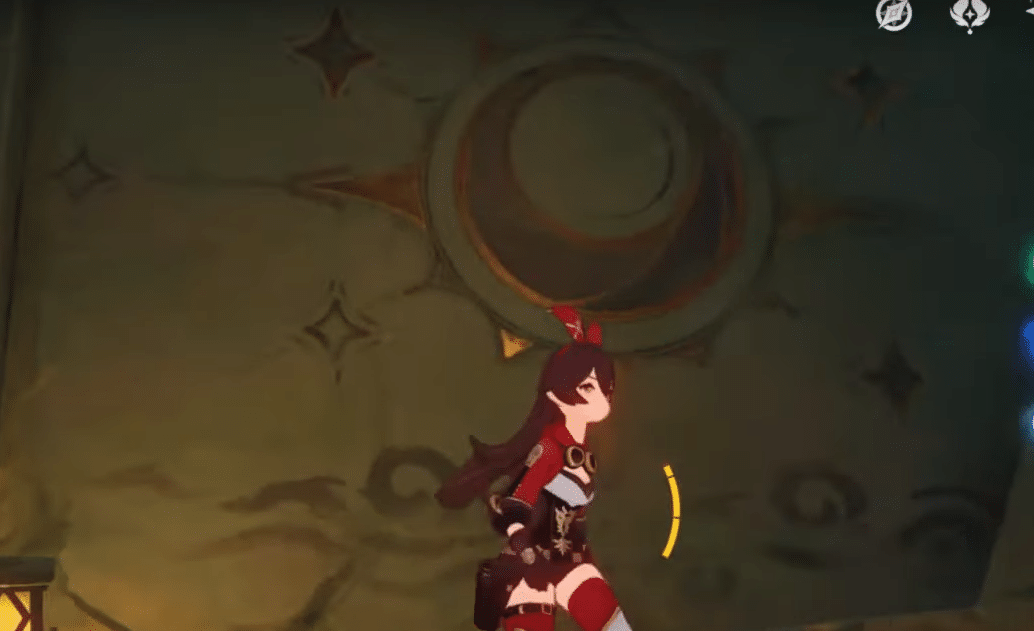
You should be able to see a drawing of an Owl on a wall, which can be seen on the second image above. There should be a nearby Electro Stone where you can place the Relay Stone to extend the electric line even further.
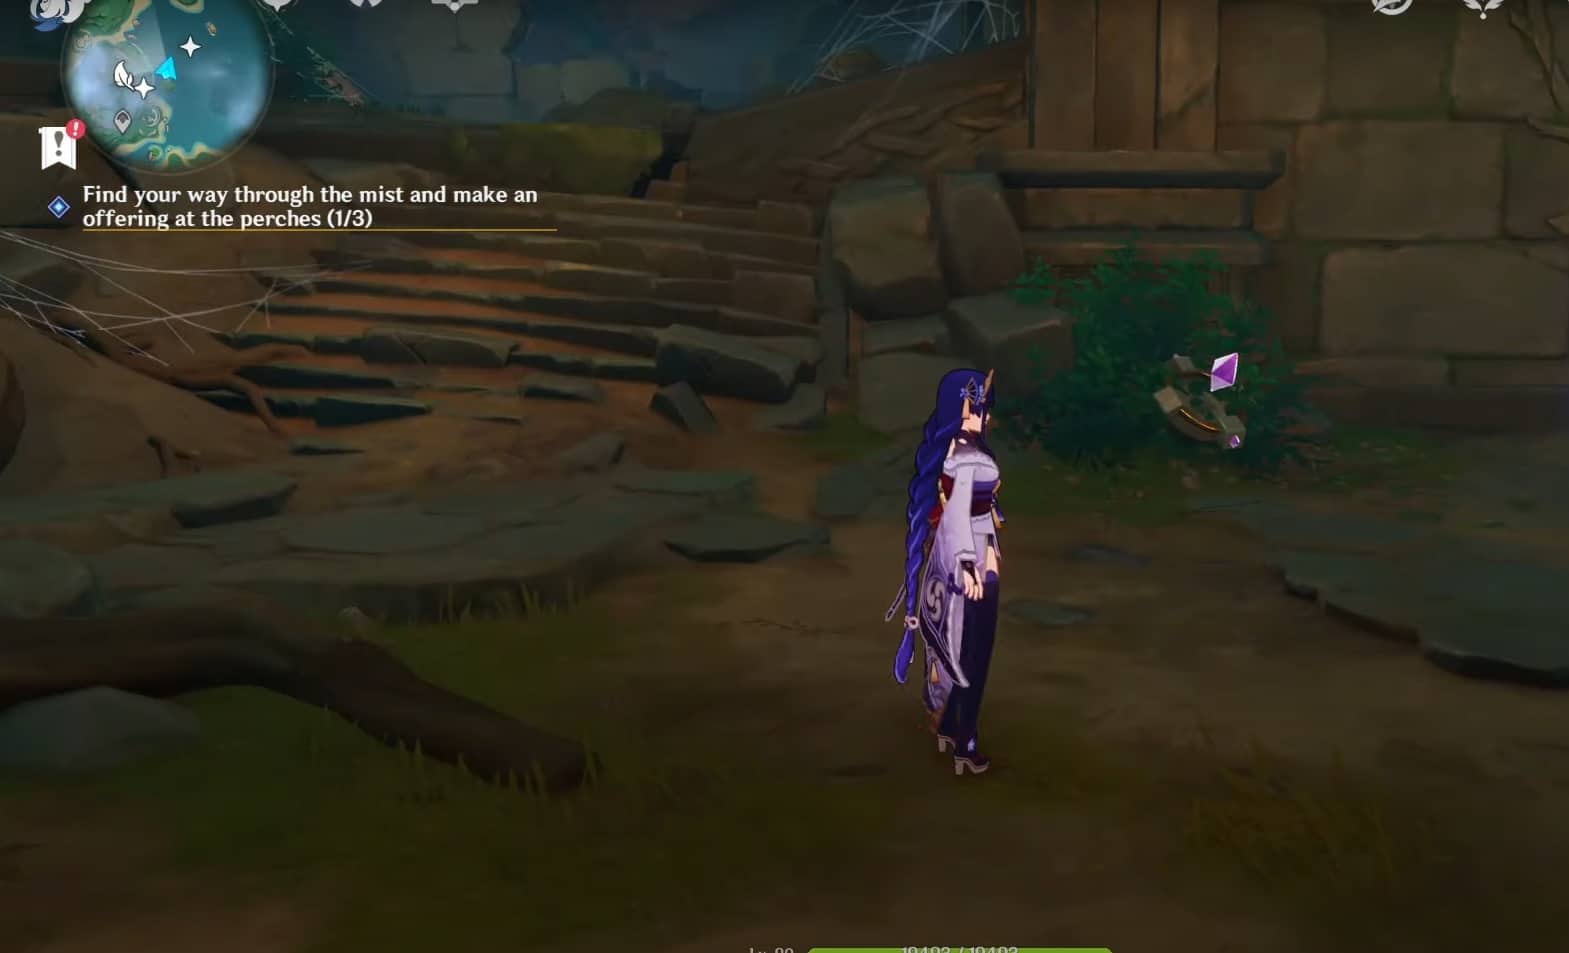
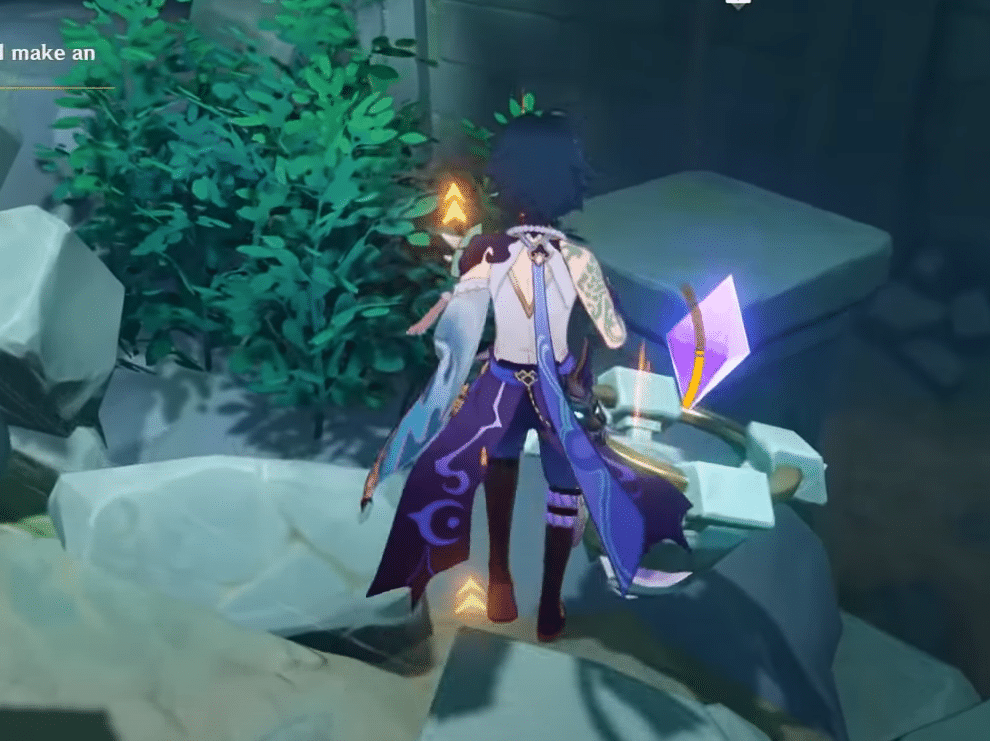
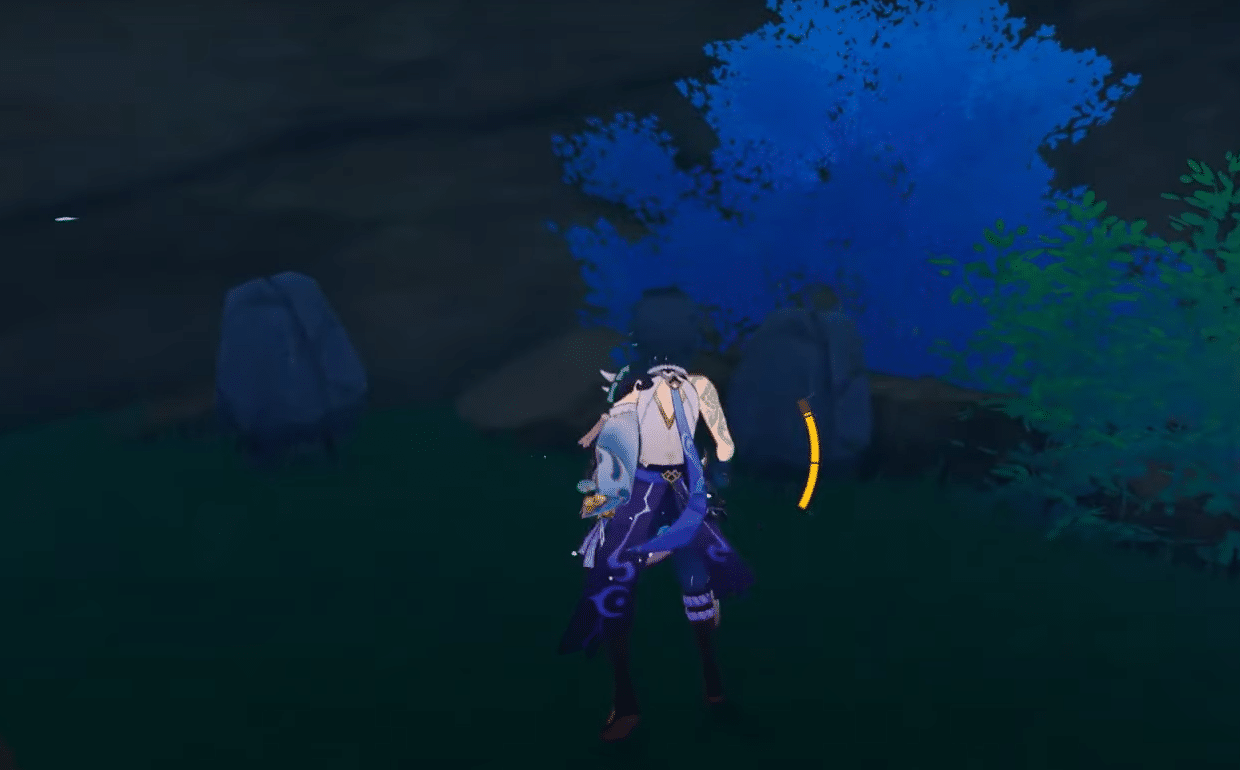
After that, the other Relay Stone is hidden within the nearby bushes just beside the ruined stairs, and it’s noticeable. This can be seen in the first image above.
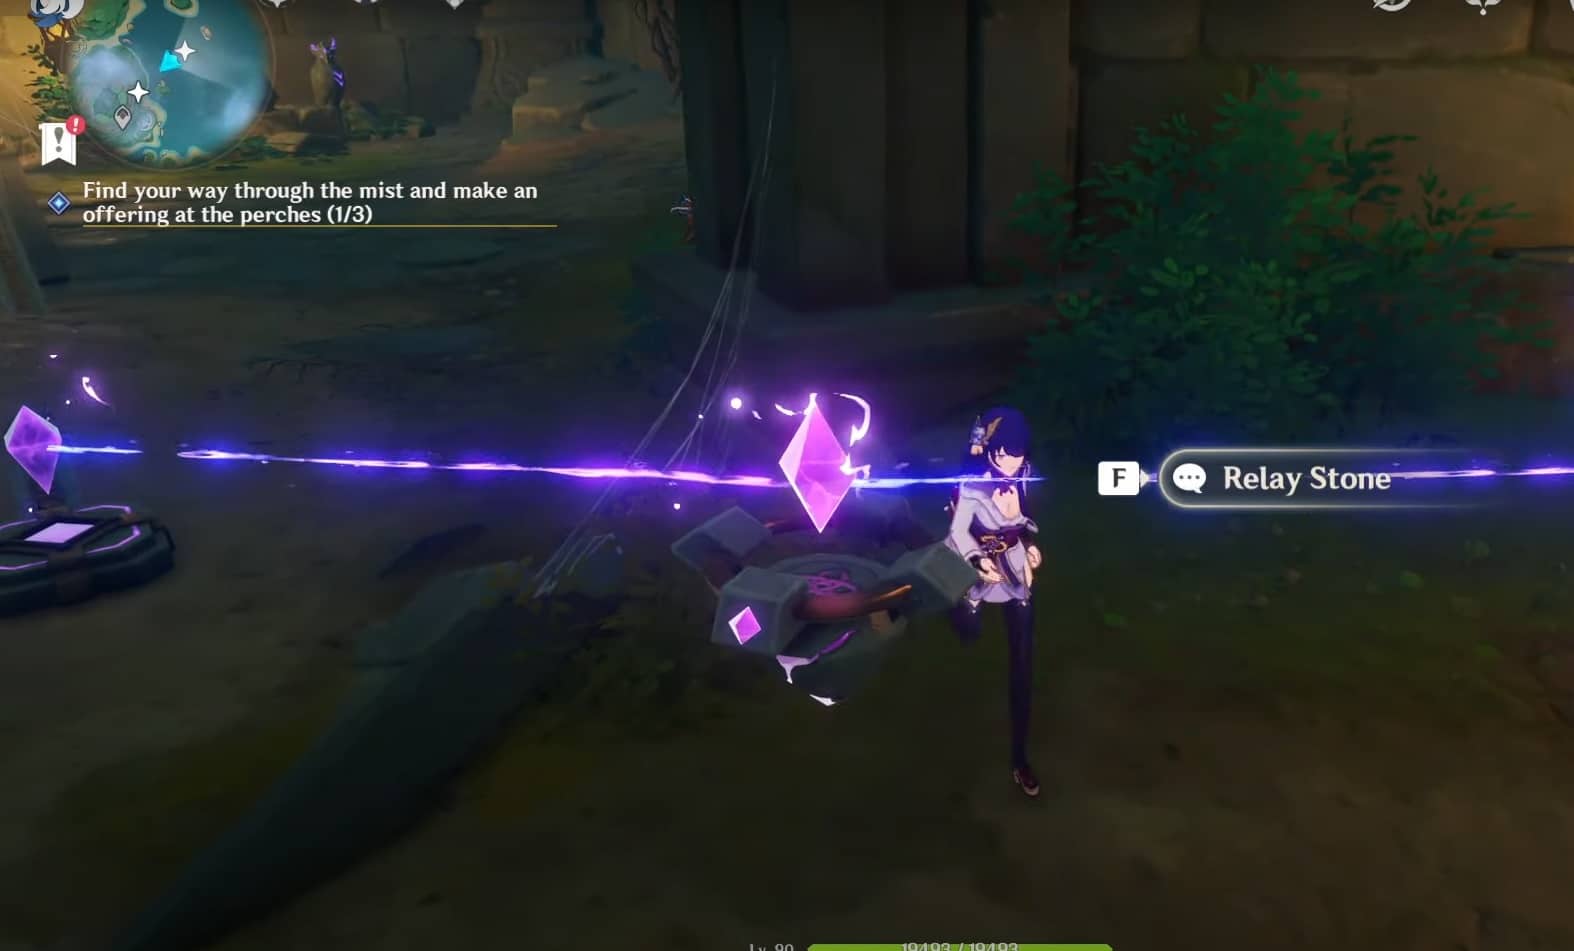
Just immediately after you find the Relay Stone from the bushes, there should be a circular door. Put the final Relay Stone in between them in order to connect the lines located on the left side, just like the second image above. After that, everything should be connected.
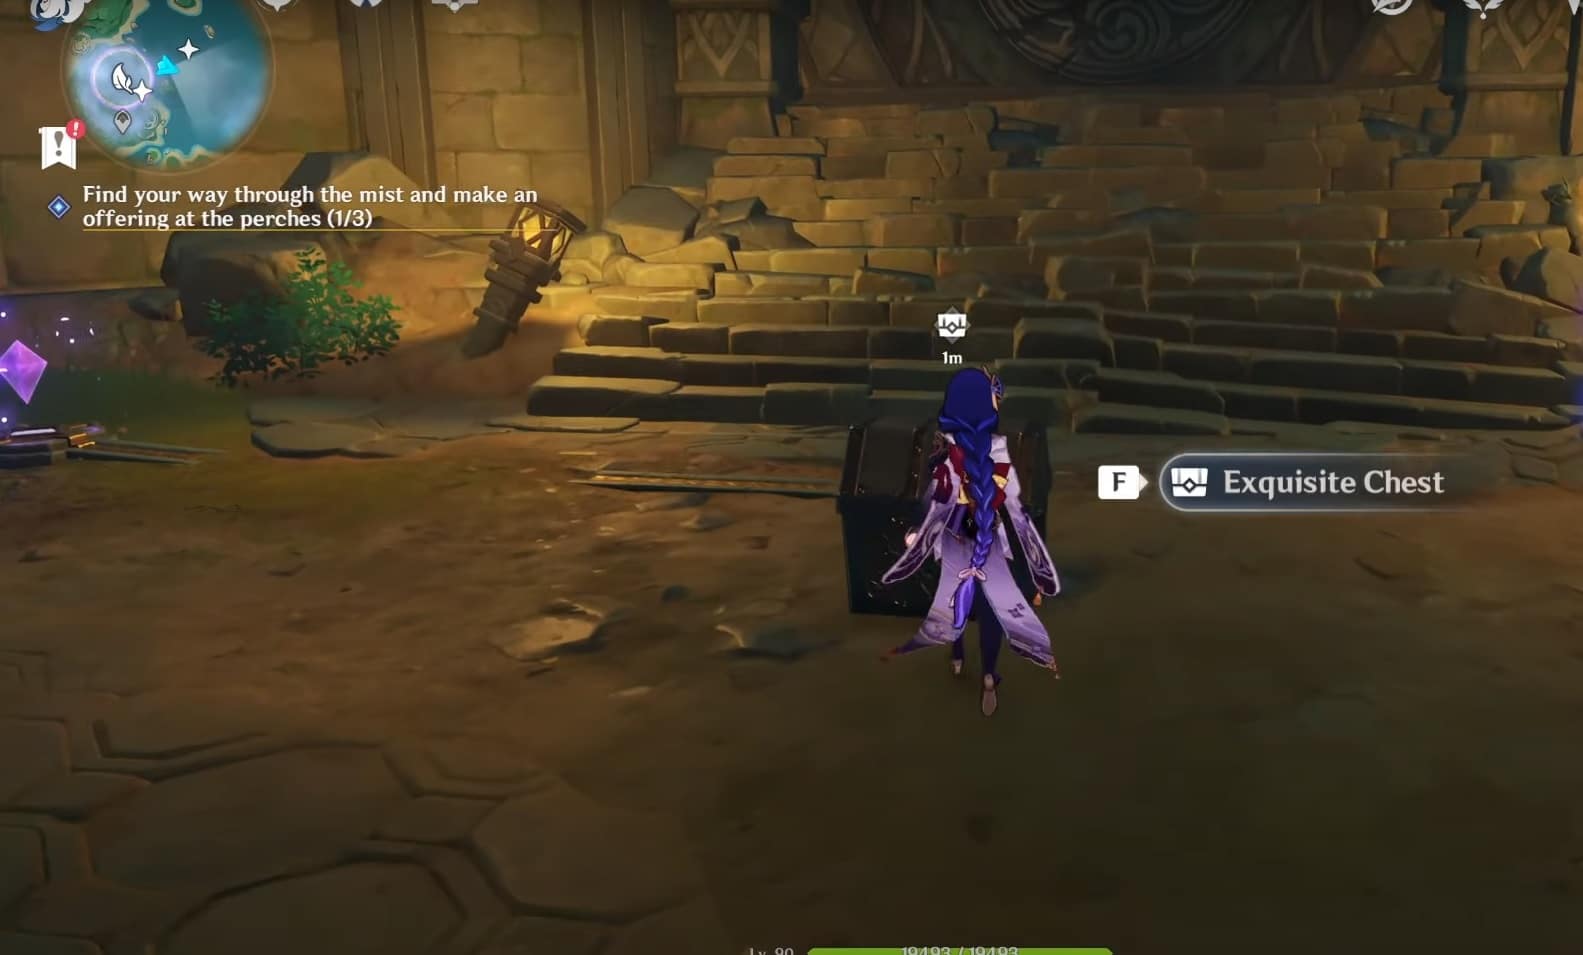
With all the Relay Stones are connected, a treasure chest will appear and the mechanism nearby will be unlocked. You can finally open the door and get the second Perch Feather.
How to Solve the Second Relay Stone Puzzle
When you arrive at the second Relay Stone Puzzle, you will be greeted with something you can see above.
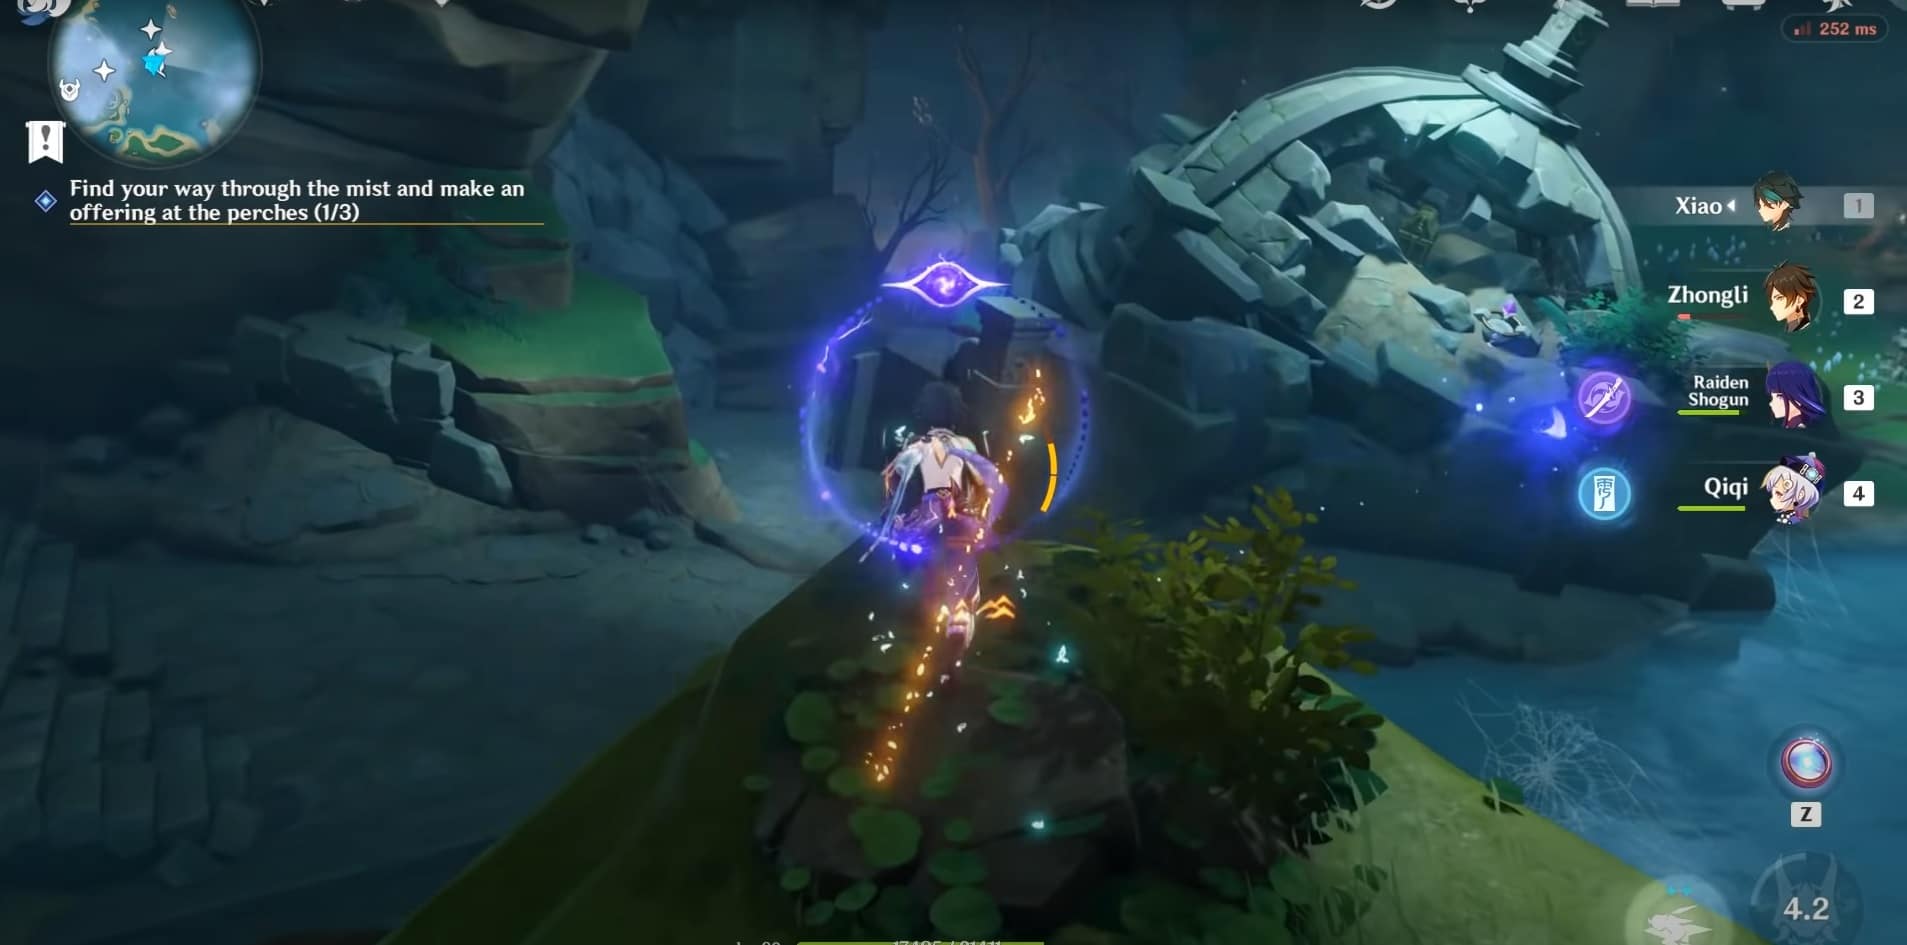
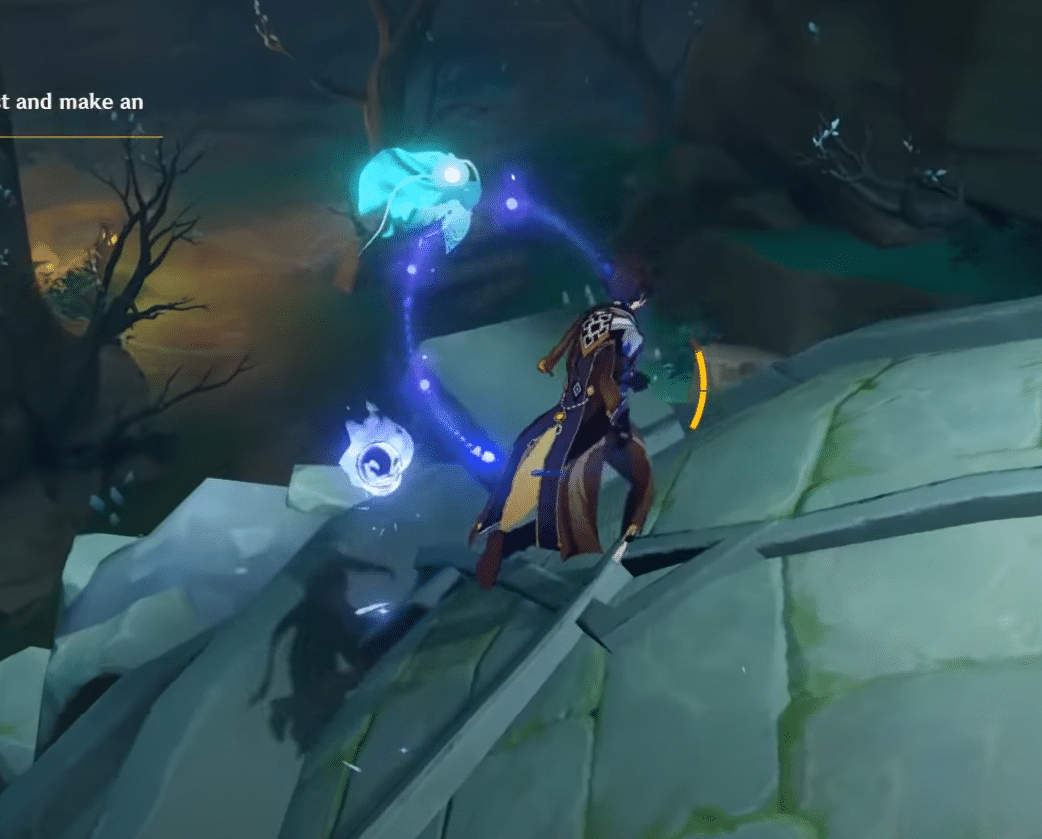
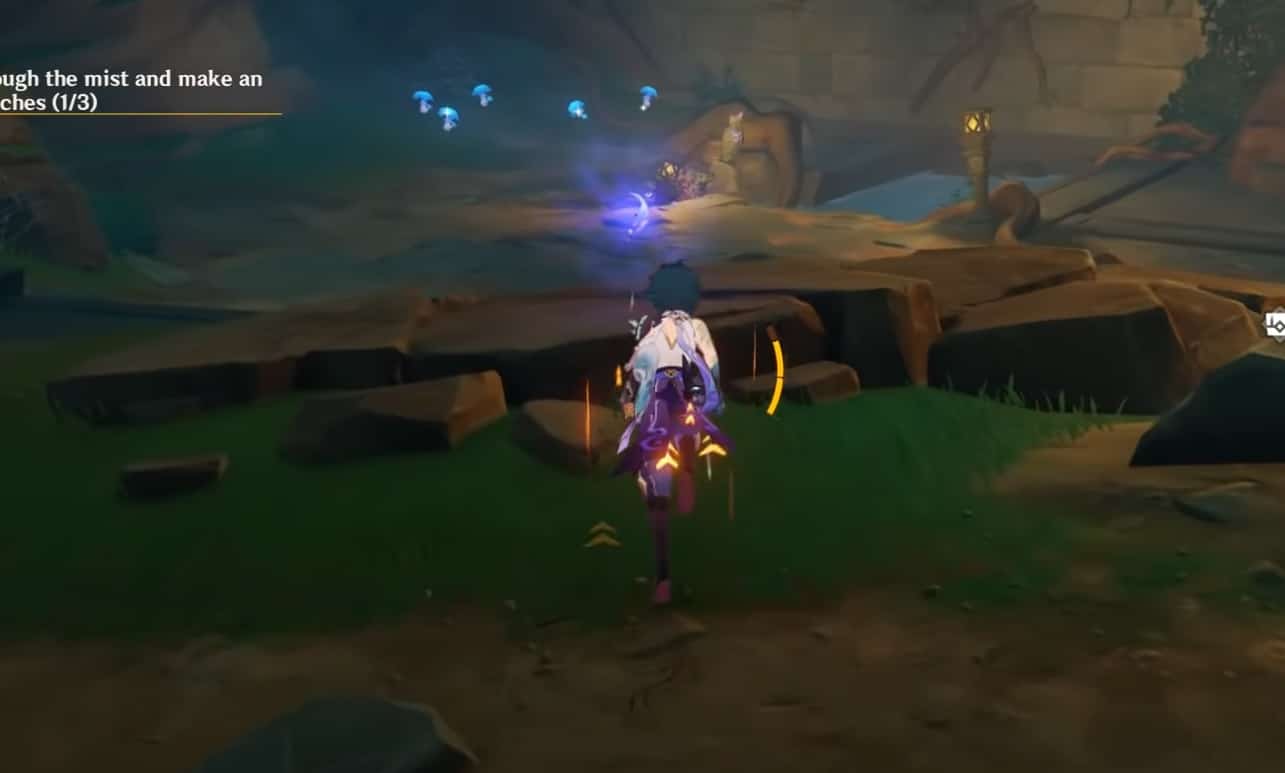
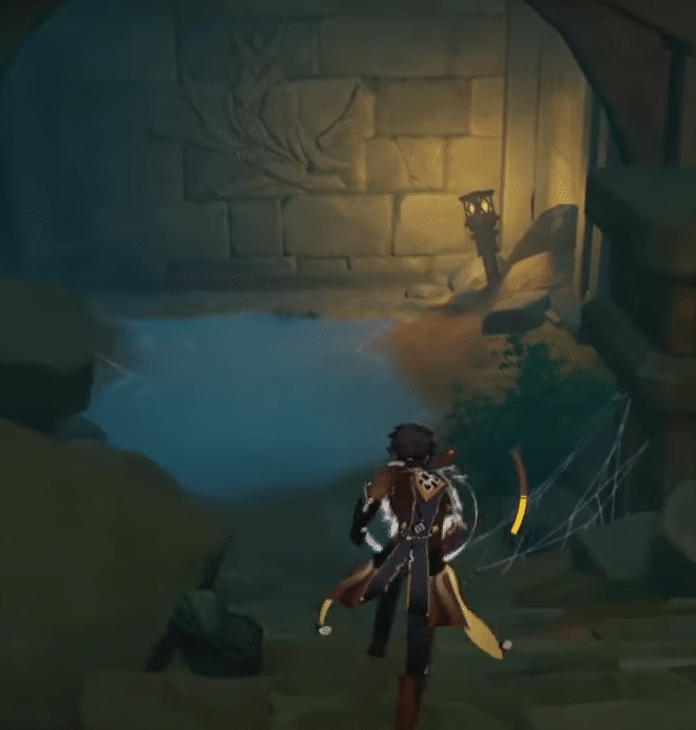
The first step you need to complete is to lower the water levels so that you can gain access to the submerged relay stones. In order to do that, you will have to guide three Seelies into the Courts that can be found in a far part of the room you are in right now, which can be seen in the first image below.
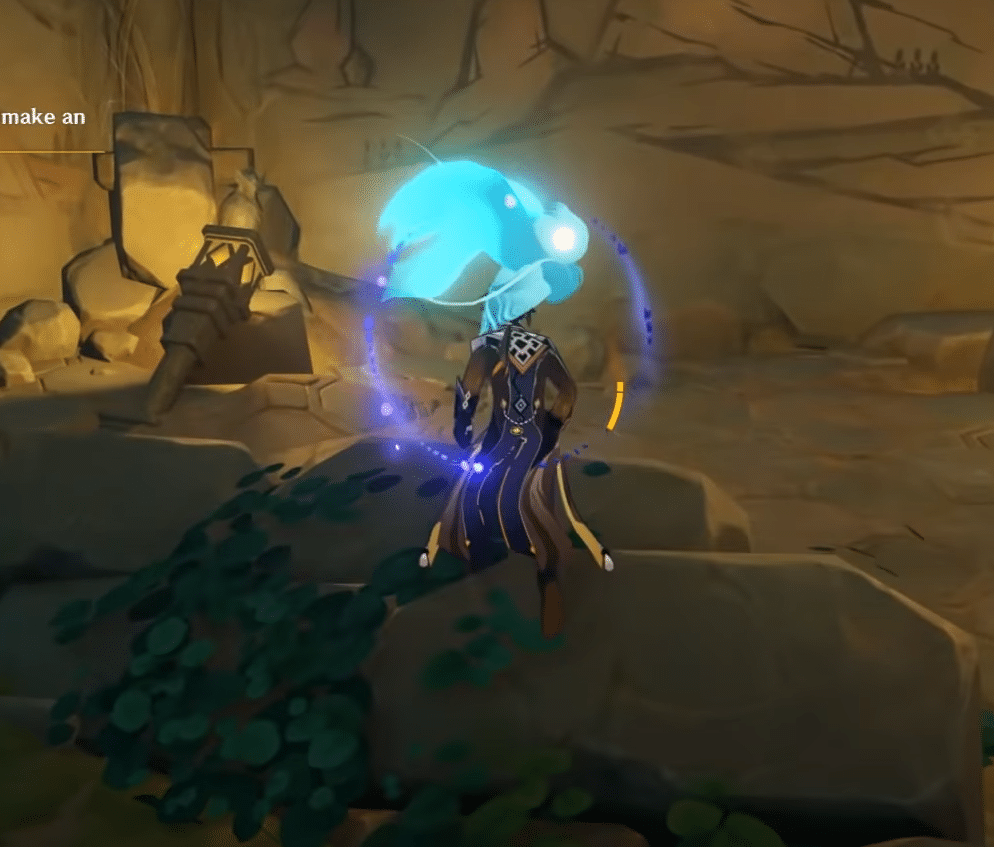
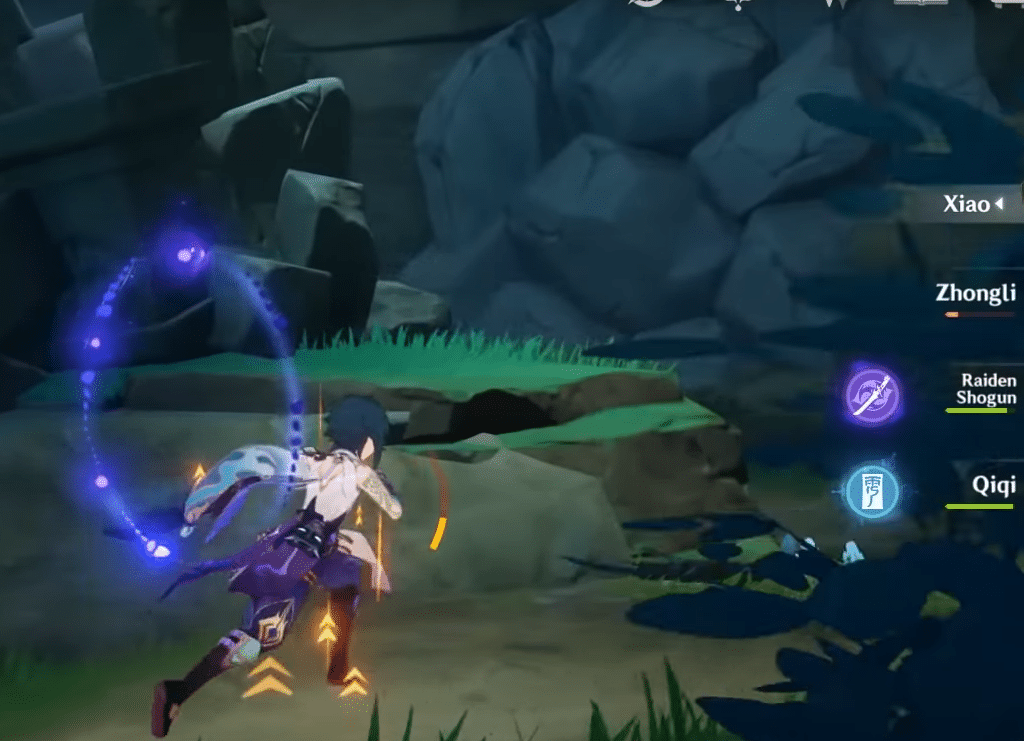
When you reach the Courts, you can look around and find two of the Seelies somewhere in the room. Both of the Seelies are easily found and reachable. The third one, however, is trapped under a large pile of rubble that can easily be broken. Break it with a Claymore user, free the Seelie and guide it to the proper Court.
After guiding all three Seelies, the water levels should be lowered. Now you will need to connect the Electro Stones to the circular door.
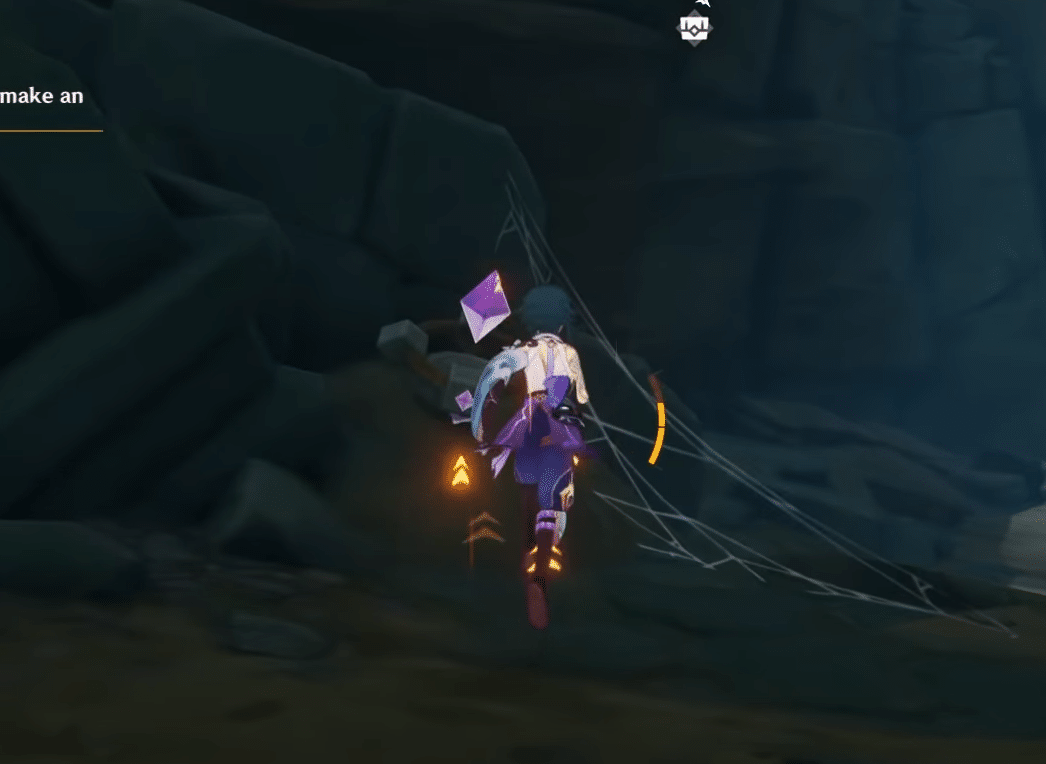
The area that just got the water level lowered will reveal two Relay Stones. The first one is in the middle of the area and just beside a spider web. The other one is already connecting two Electro Stones, but it will not disrupt the connection. It is just there being redundant.
Go to the northwest part of the room and you will see an Electro Stone and another one just sticking out on the wall. Place the Relay Stone in between.
Climb out from below and collect another Relay Stone where the ruined building is just like on the image above. You should also see a Remarkable Chest with a lot of goodies inside.

Place the two remaining Relay Stones between Electro Stones that have not connected yet. The first couple should be easy to connect just like on the first picture above, but the other will need a little bit of effort. Hint: Jump, fly and place the Relay Stone in the air.
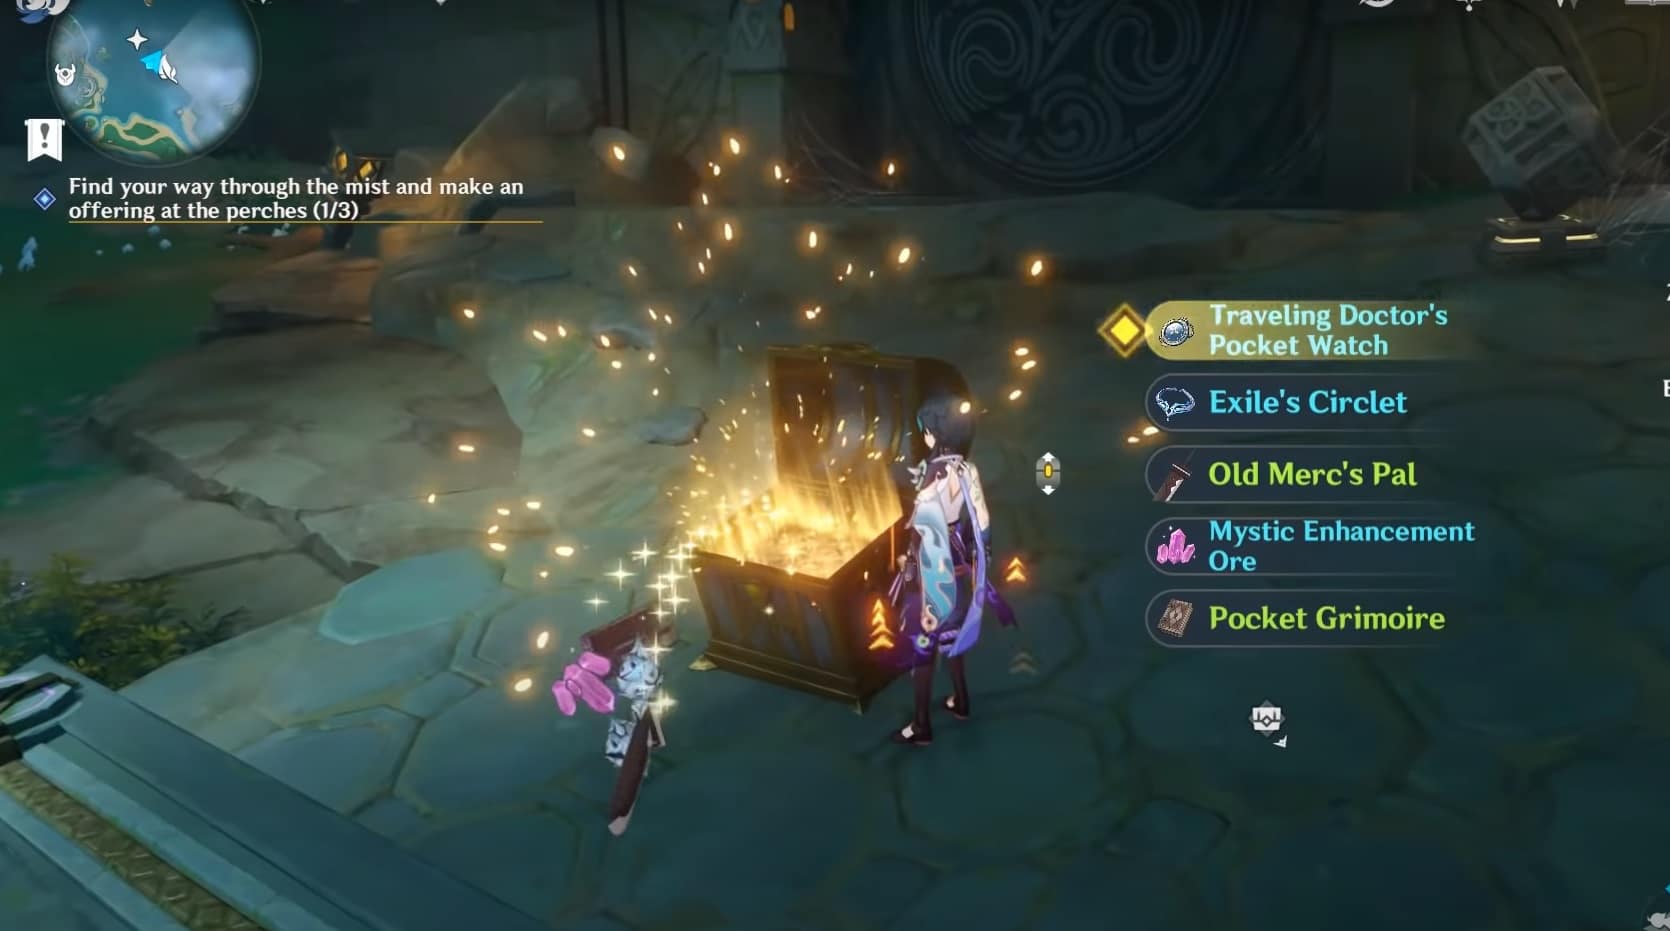
When the Relay Stones have finally connected all Electro Stones and the electric line has completed, a chest will appear and the circular door will now be unlocked. Find the third Perch Feather inside, which can be seen in the second image.
How You Can Solve Fire Torch Puzzle
After completing the first Relay Stone Puzzle, this is the one that gets unlocked for you to solve since this can be found in the second area of the underground ruins. You will be greeted with a mural on the wall and it says to light three torches instead of all five Pyro Torches.
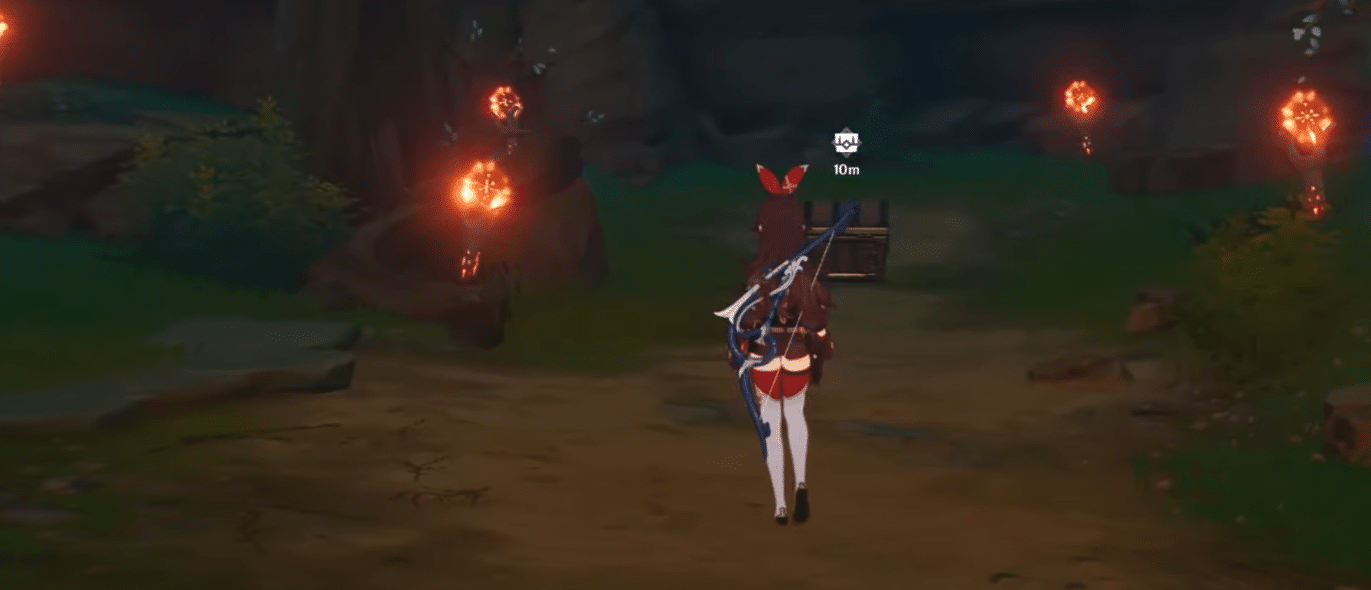
On the mural, there are diamonds that are three that are shaded and two are not. It represents the torches placed in the room and also shows their positions. Light the ones that are shaded and leave the other two unlit.
After completing the task with a Pyro character, you will see a chest getting spawned nearby, which can be seen in the second picture above. Reach it and collect the goodies inside.
Shirikoro Peak Stone Slates Guide
When you go down the underground Shirikoro Peak ruins that will lead to the Chirai Shrine, you will be in an area with seven ruin mechanisms. They cannot be opened because you will need Stone Slates for each.
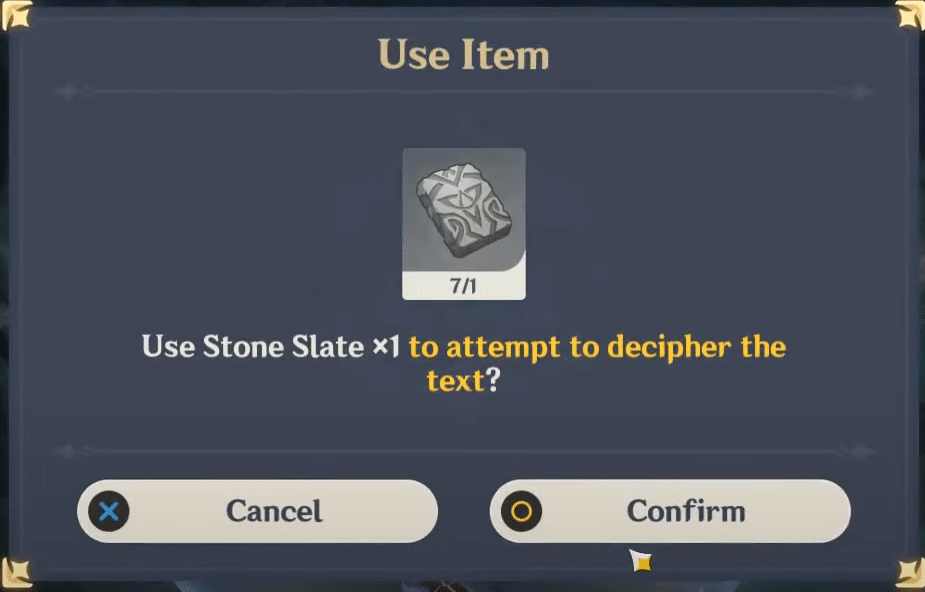
You can easily find two of the Stone Slates on Shirikoro Peak, but the rest of them can be found scattered all over Tsurumi Island, so that is going to take a while. Check our upcoming guide to find the rest of the Stone Slates.
In order to get the Stone Slates, you will have to unlock the Peculiar Pinion so that you can activate the Mysterious Carvings. To get the Peculiar Pinion, you will need to complete the Seirai Stormchasers Quest first. Defeat the boss at the end and you will get the item as a reward along with other goodies.
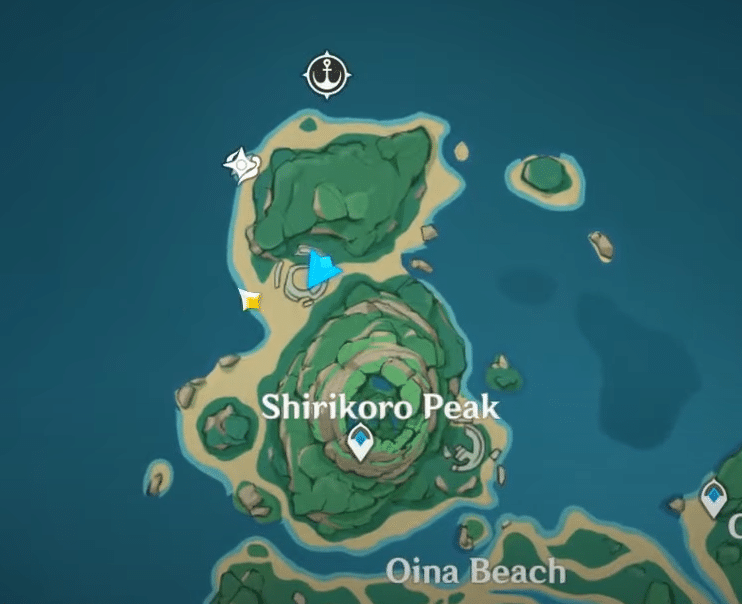
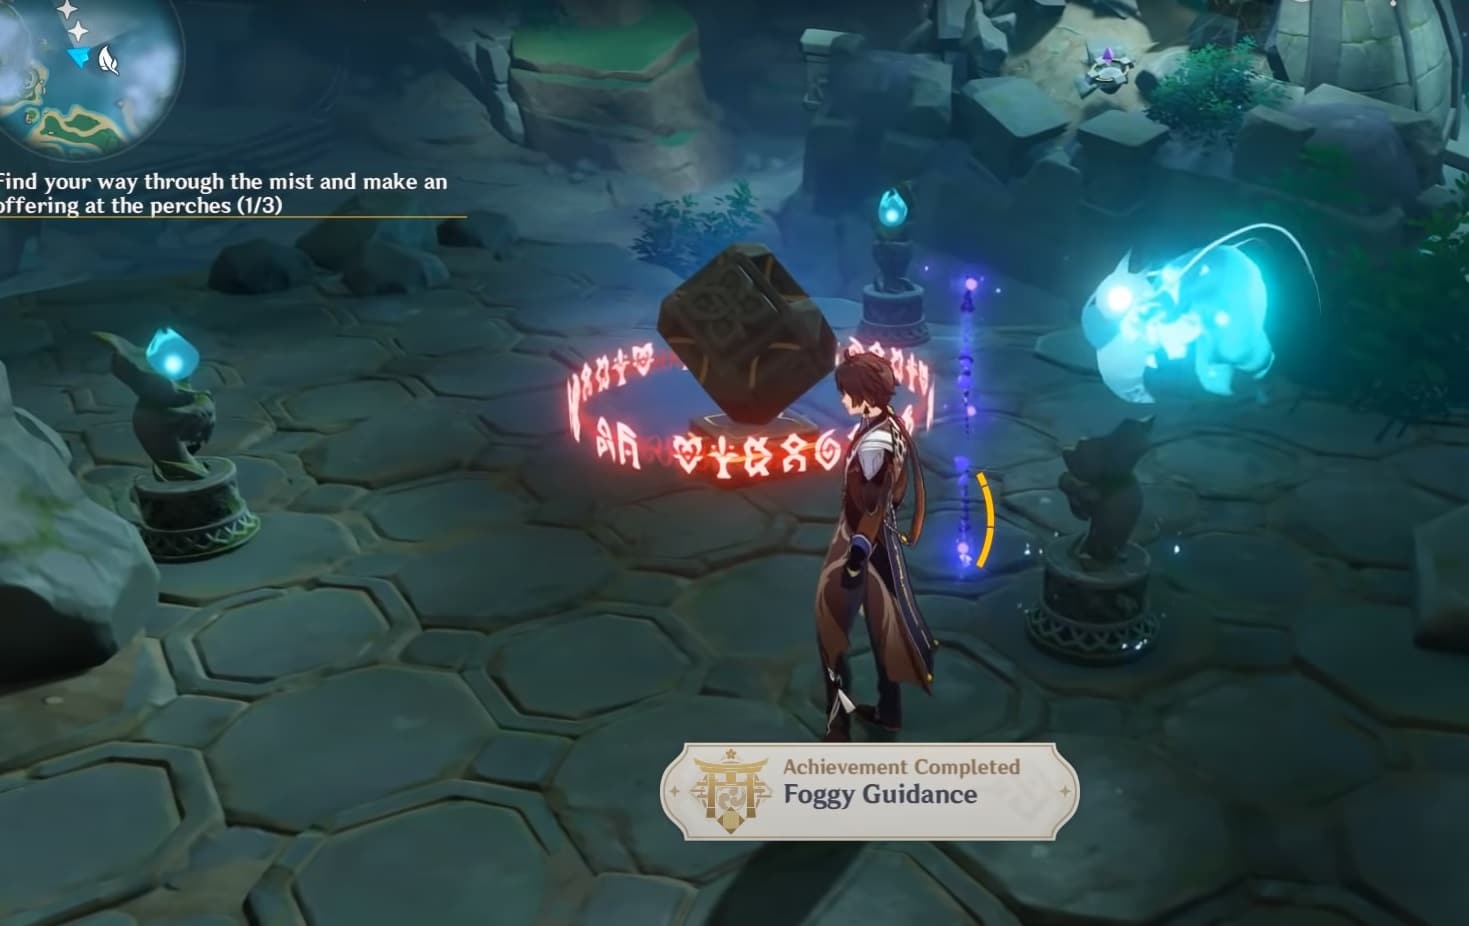
The first Stone Slate can be found nearby the Shirikoro Peak, just below it, a bit northwest from it. Just find the Mysterious Carving here, follow the pattern shown and hit the stones in the correct order so that it will reveal the chest with the Stone Slate inside.
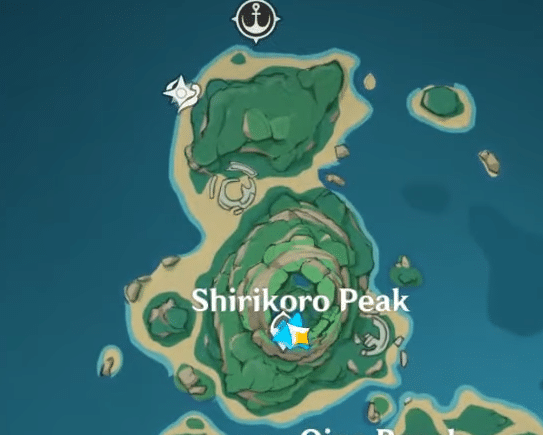
The second Stone Slate is nearby the waypoint on Shirikoro Peak, on the lowest level inside the mountain formation. Use the Peculiar Pinion on the Mysterious Carving, follow the pattern, and hit the stones in the correct sequence. It will reveal a chest with the Stone Slate as well.
Star-Shaped Gems Guide
In the second area of the underground ruins, you will be using the Star-Shaped Gems to unlock the Electro Seelie. This Seelie will then run off to a few locations outside Shirikoro Peak.
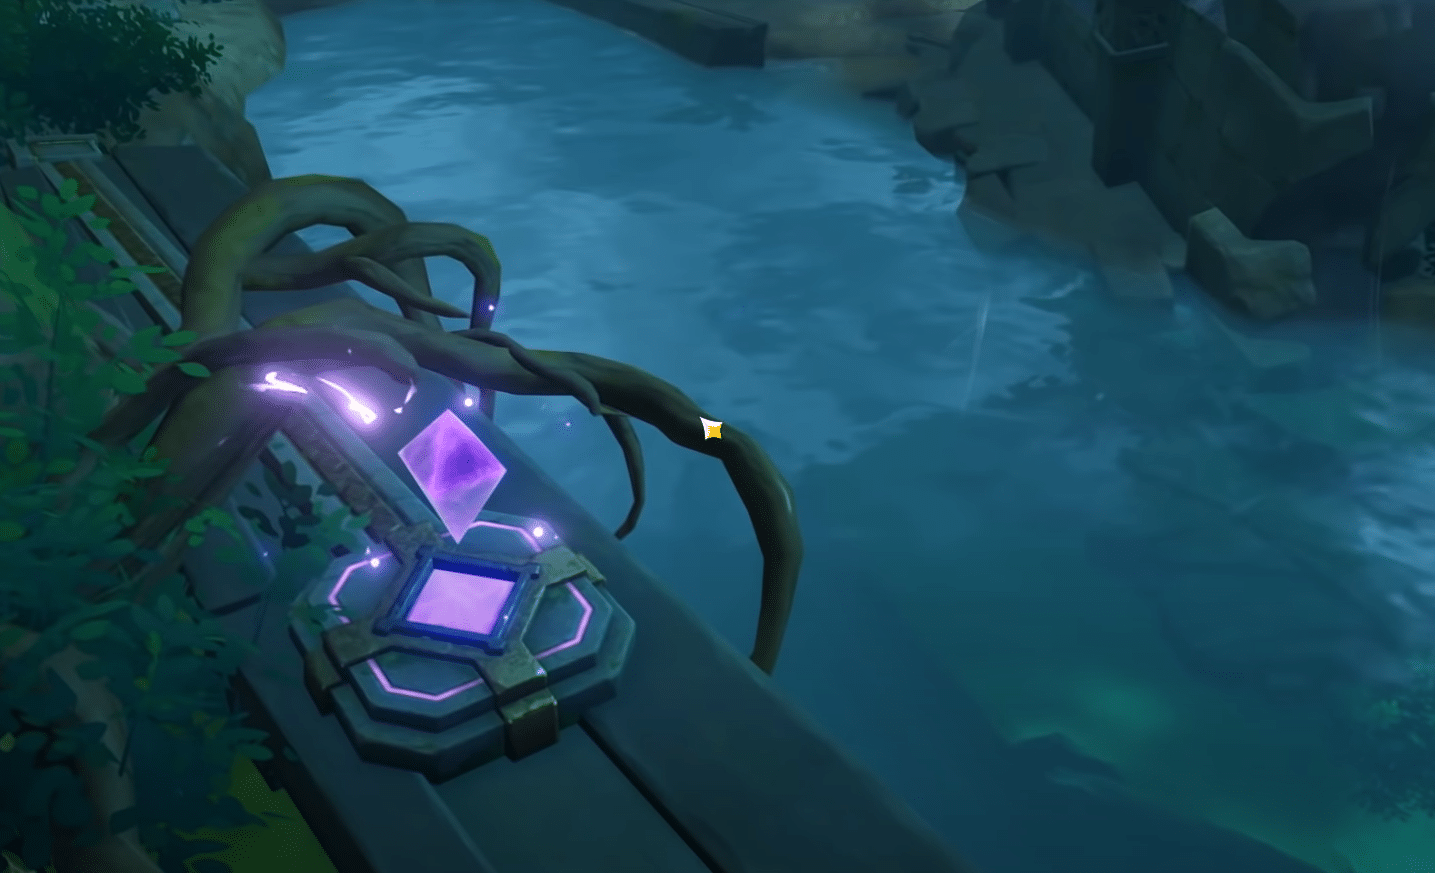
In order to get the Star-Shaped Gems, you will have to find walls that have Thunderbird Carvings on them, which can be seen in the second image above. These are found in the first area of the underground ruins in the peak. Use the Peculiar Pinion to open these doors with the chests inside.
Before the addition of Tsurumi Island, there were some bosses to fight in the main story. One of those was La Signora, which had two forms and has two elements as well. You might want to learn about her before you take her on first.
Genshin Impact 2.2 is now available on PC, Android, iOS, PS4, and PS5.


