")
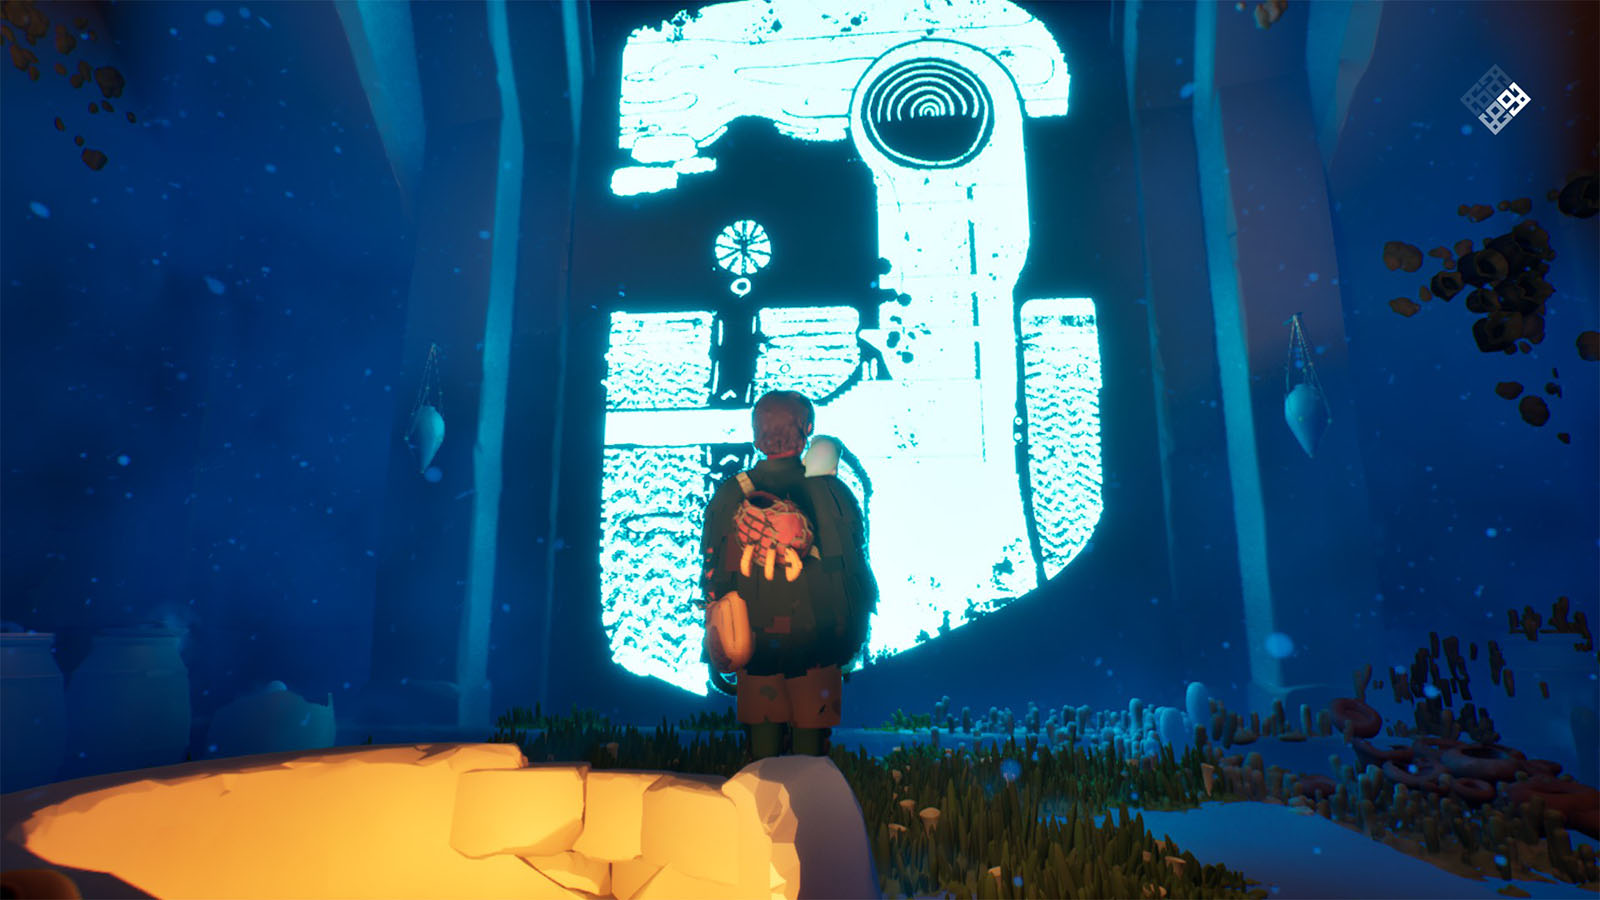
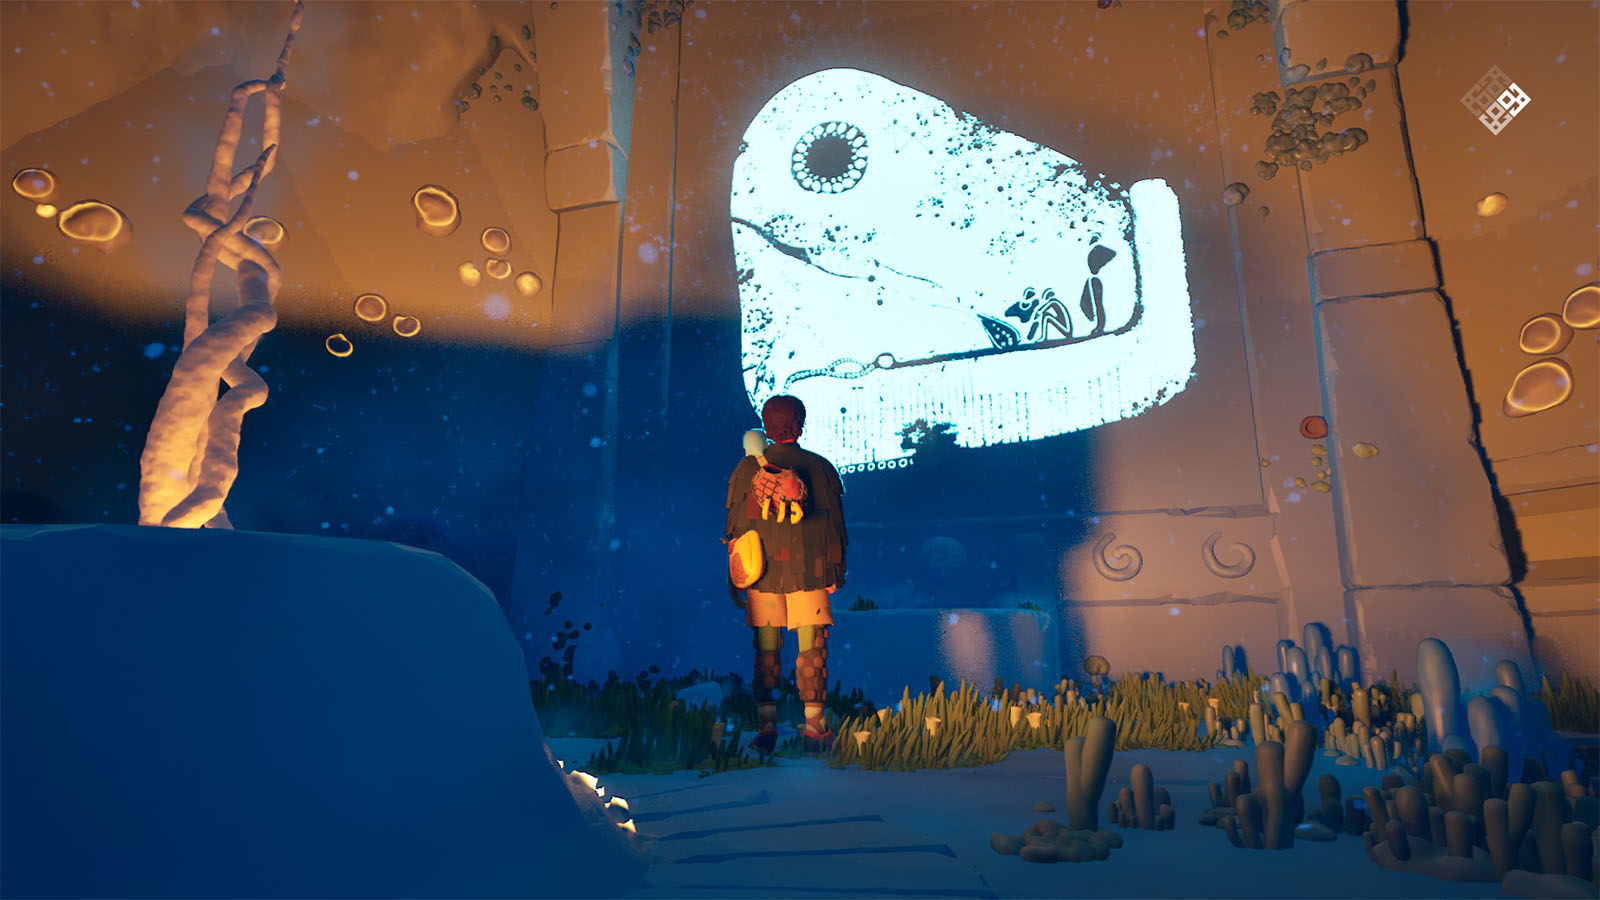
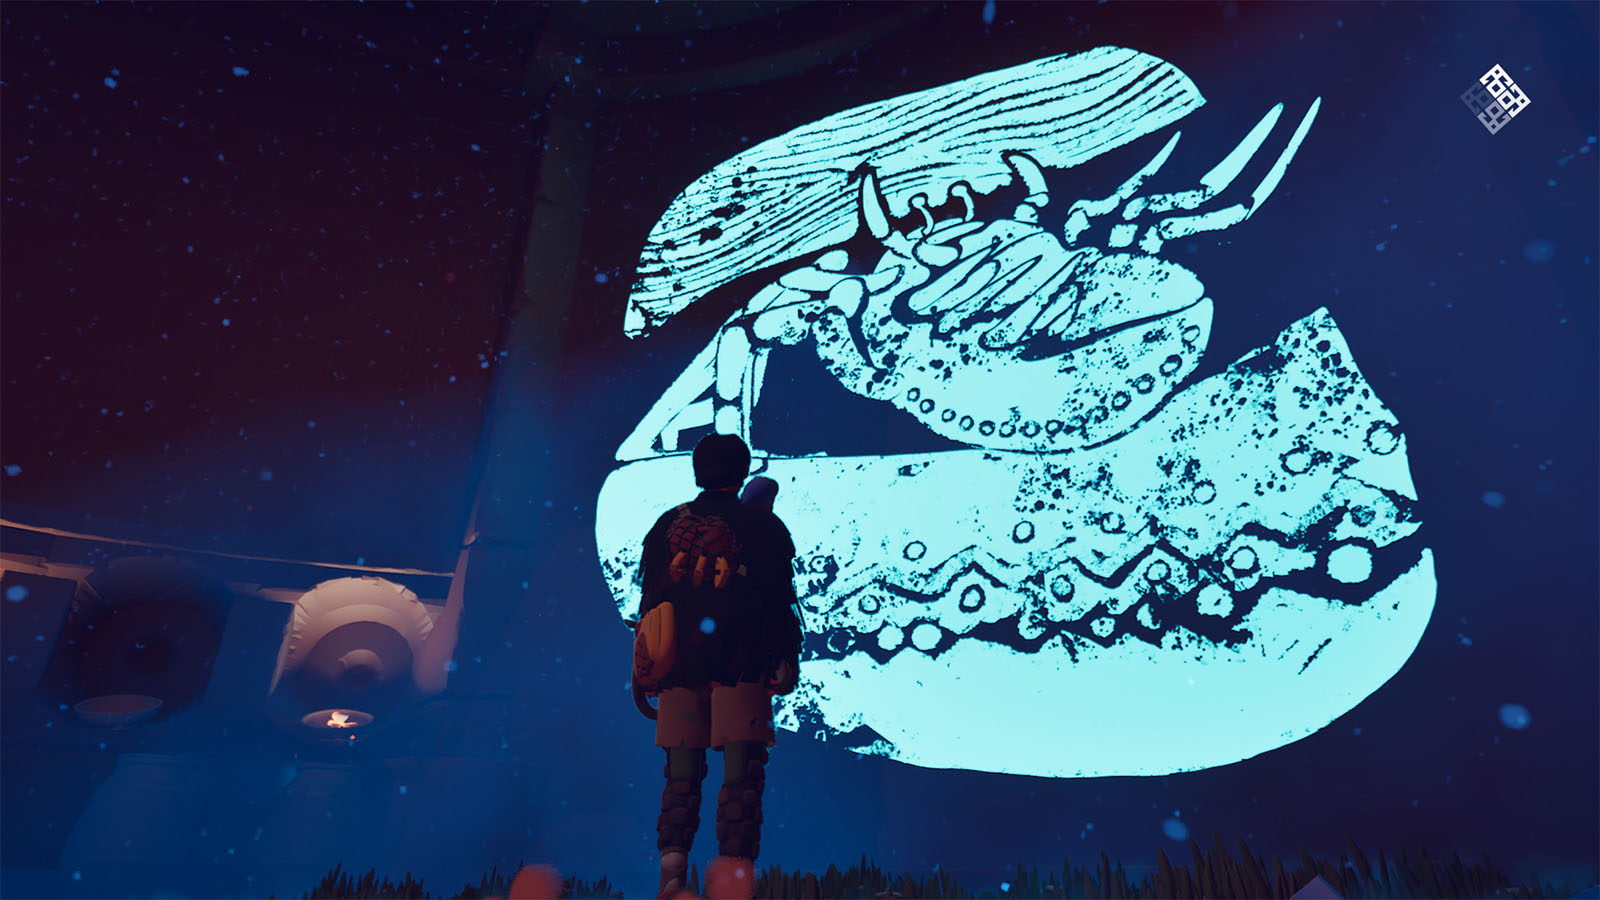
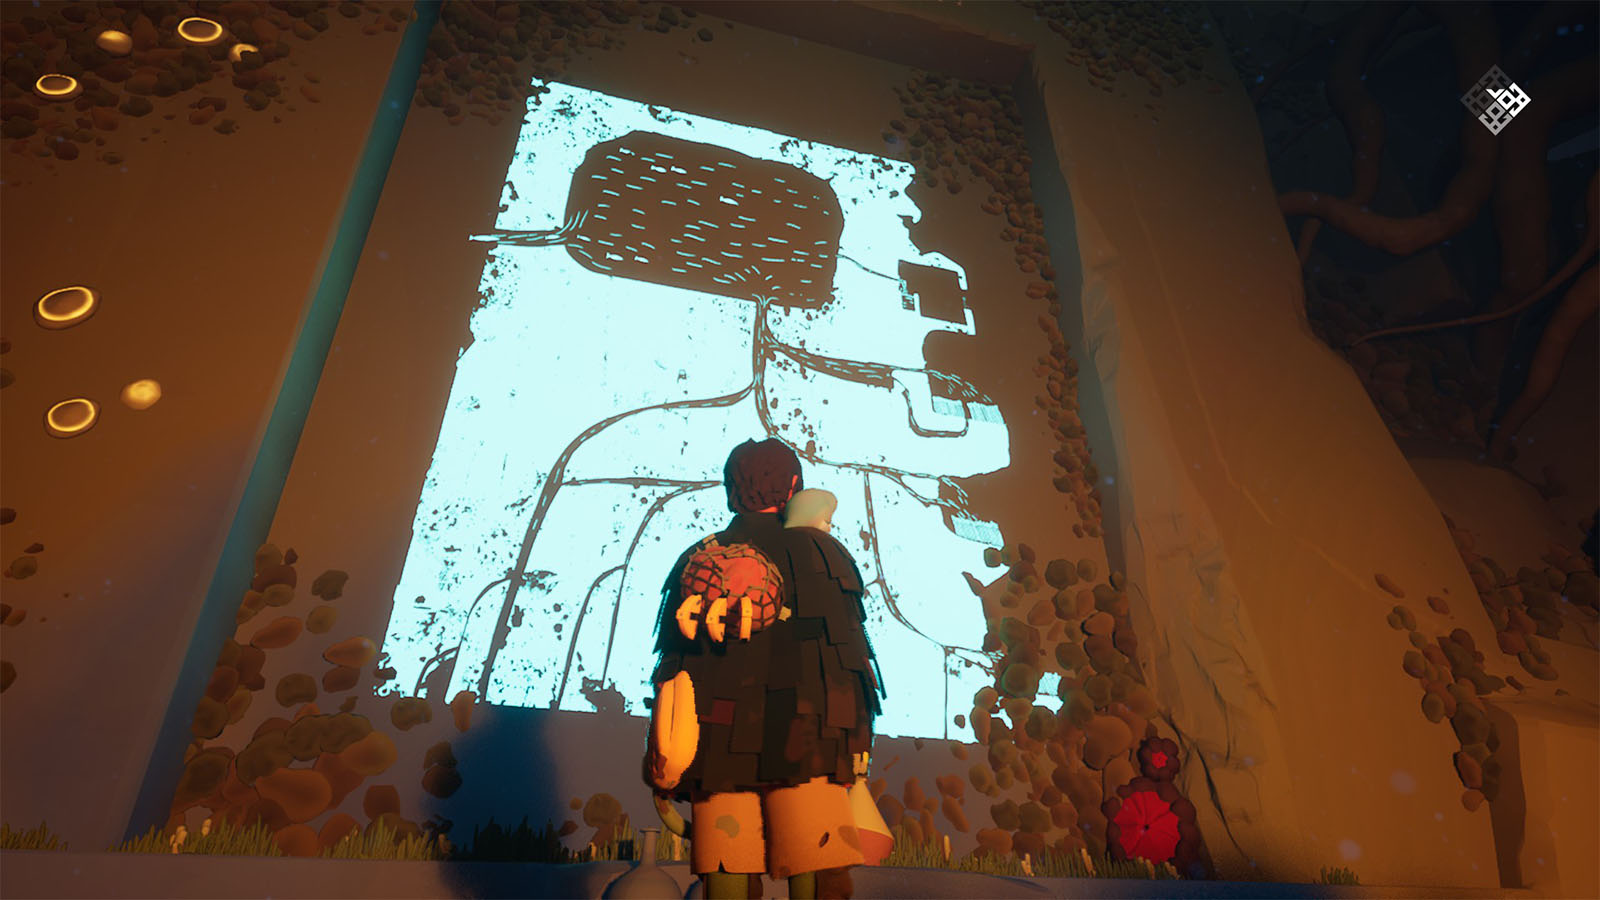
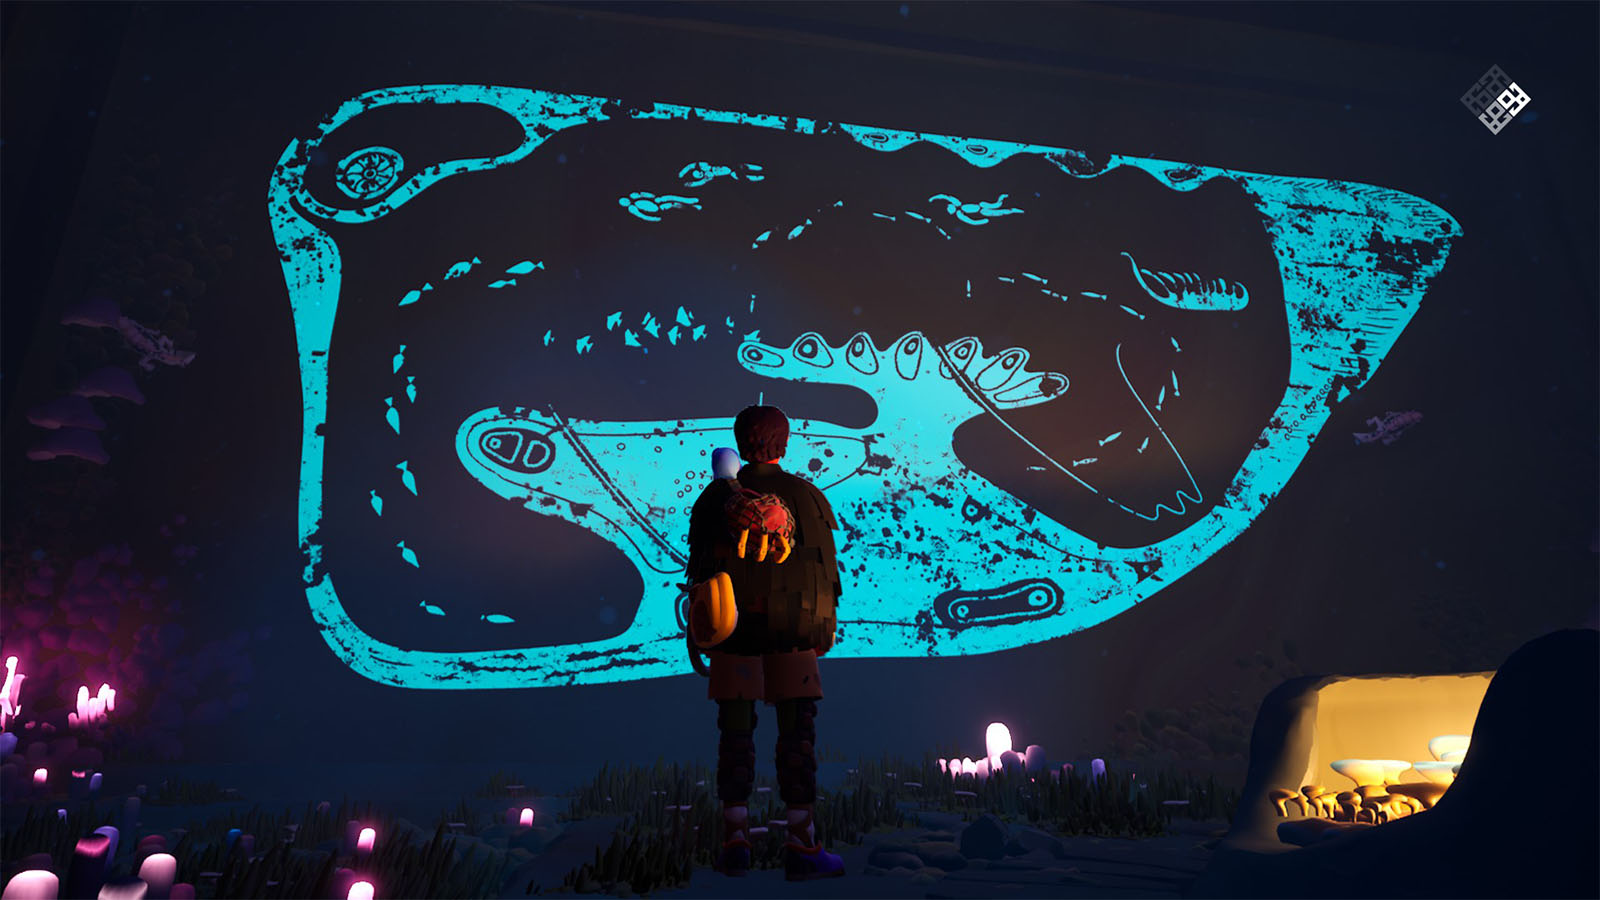
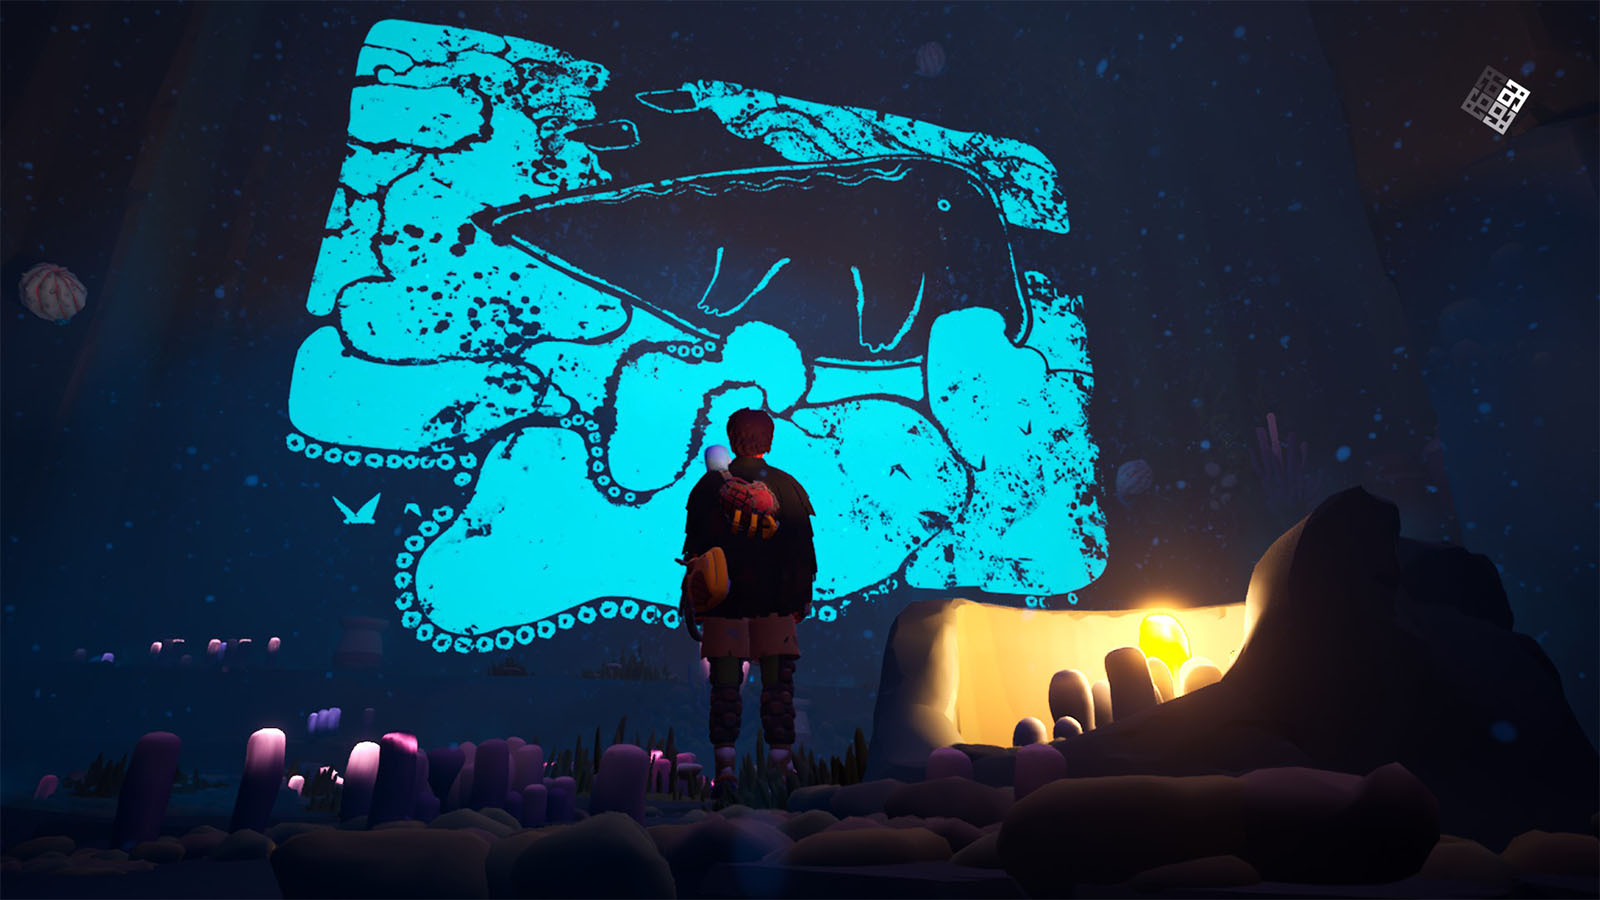
Frescos are interactable locations in Jusant. These paintings tell stories of how the people of the Tower lived off the land before the great drought happened. Read ahead as we share the locations of all the Frescos in Jusant.
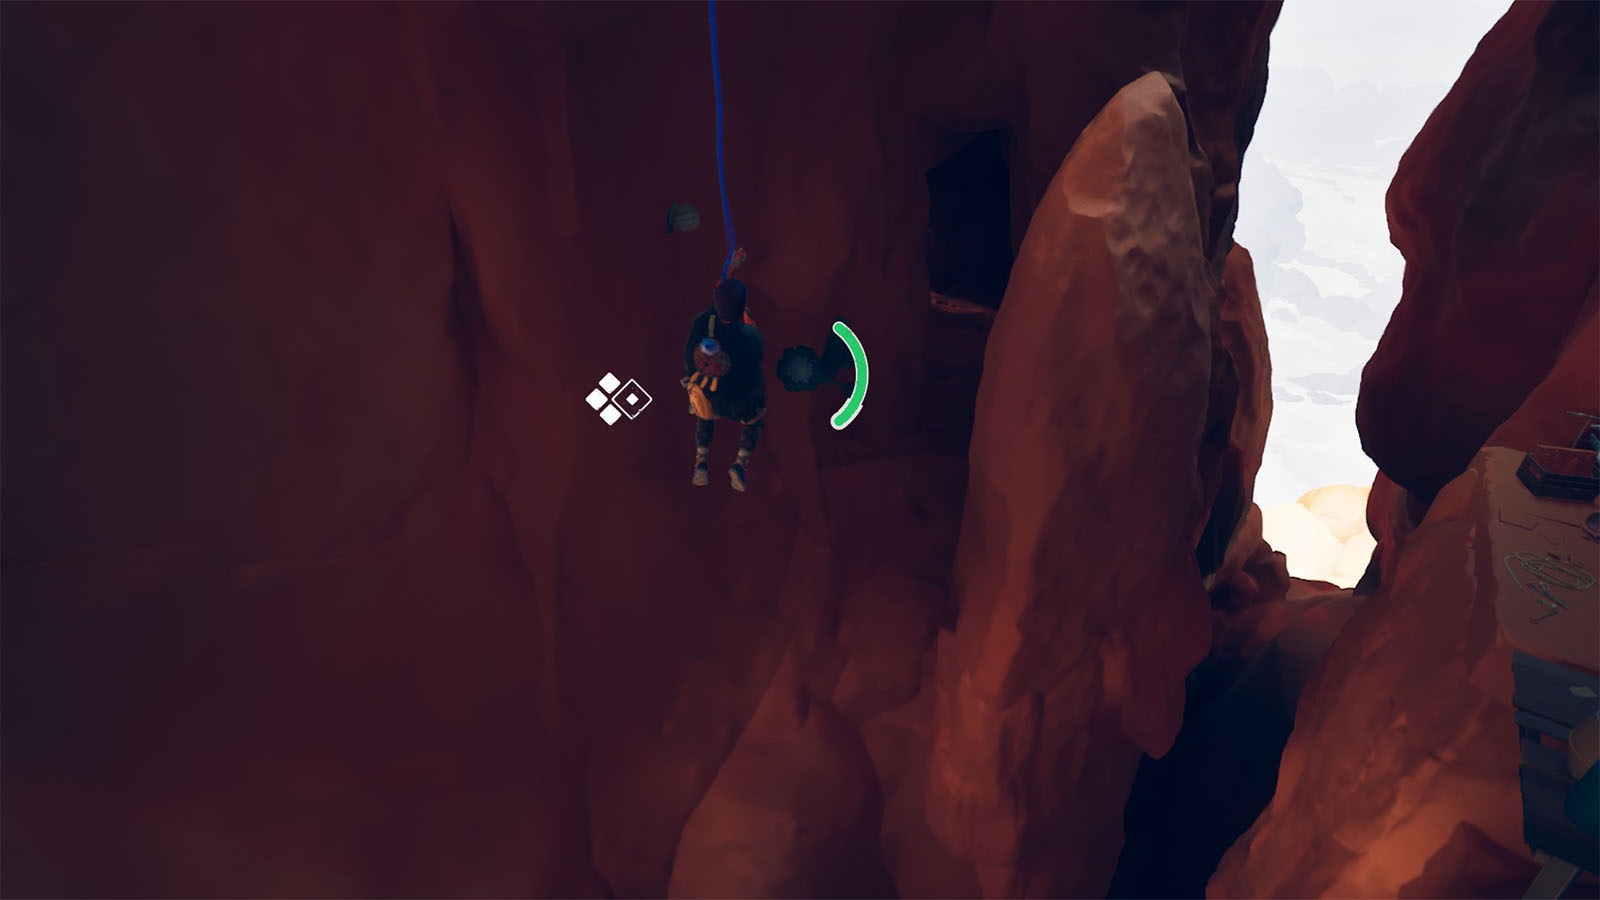
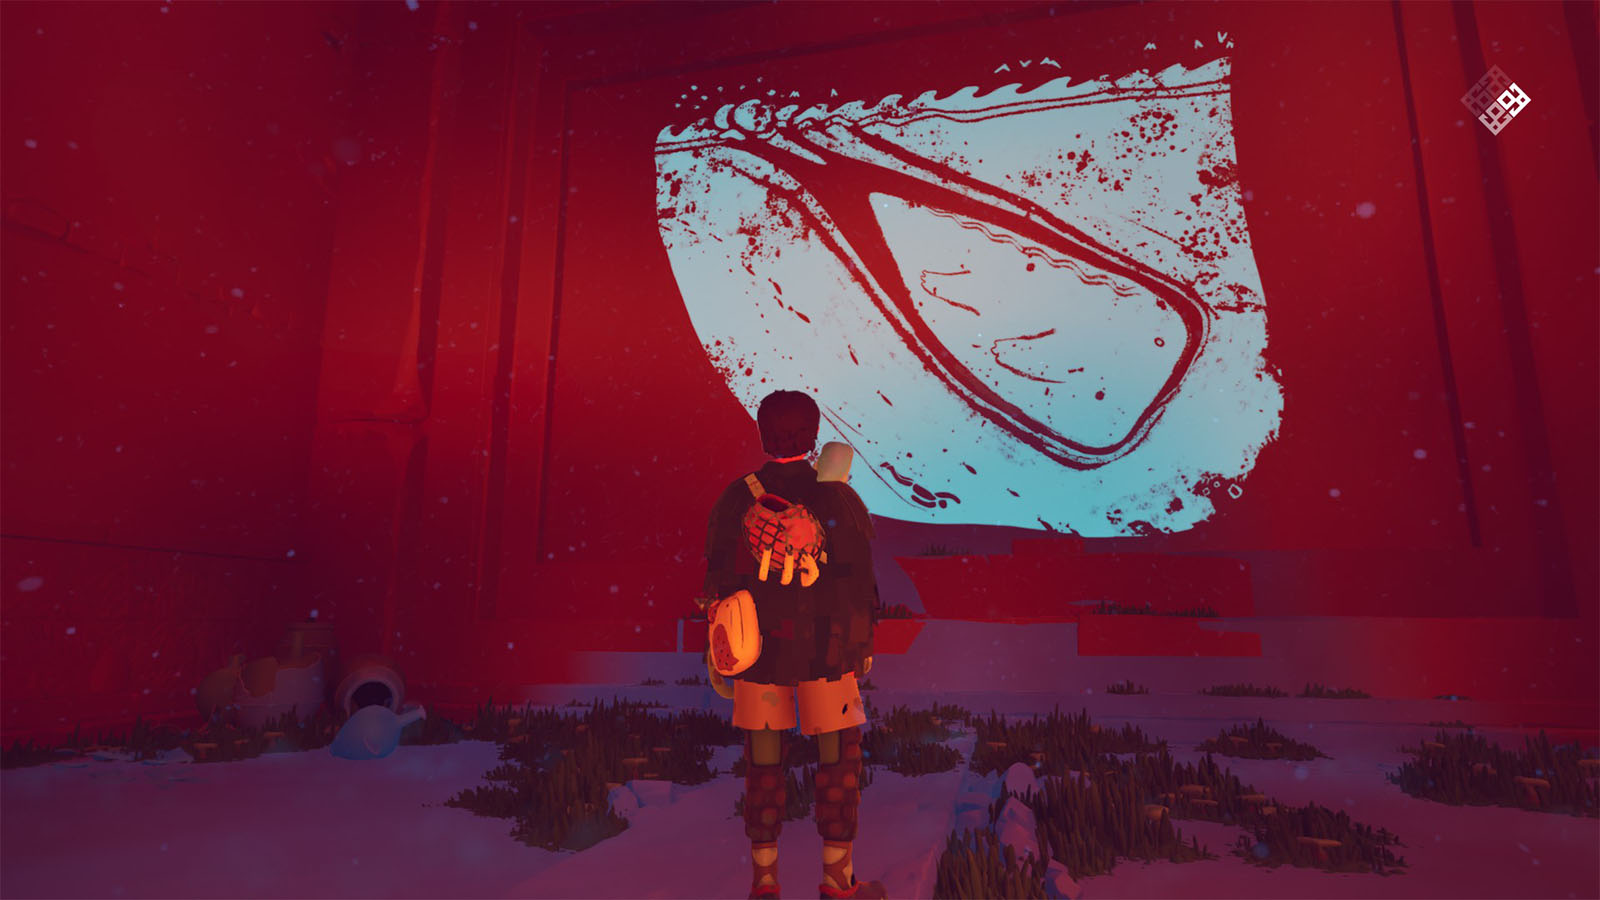
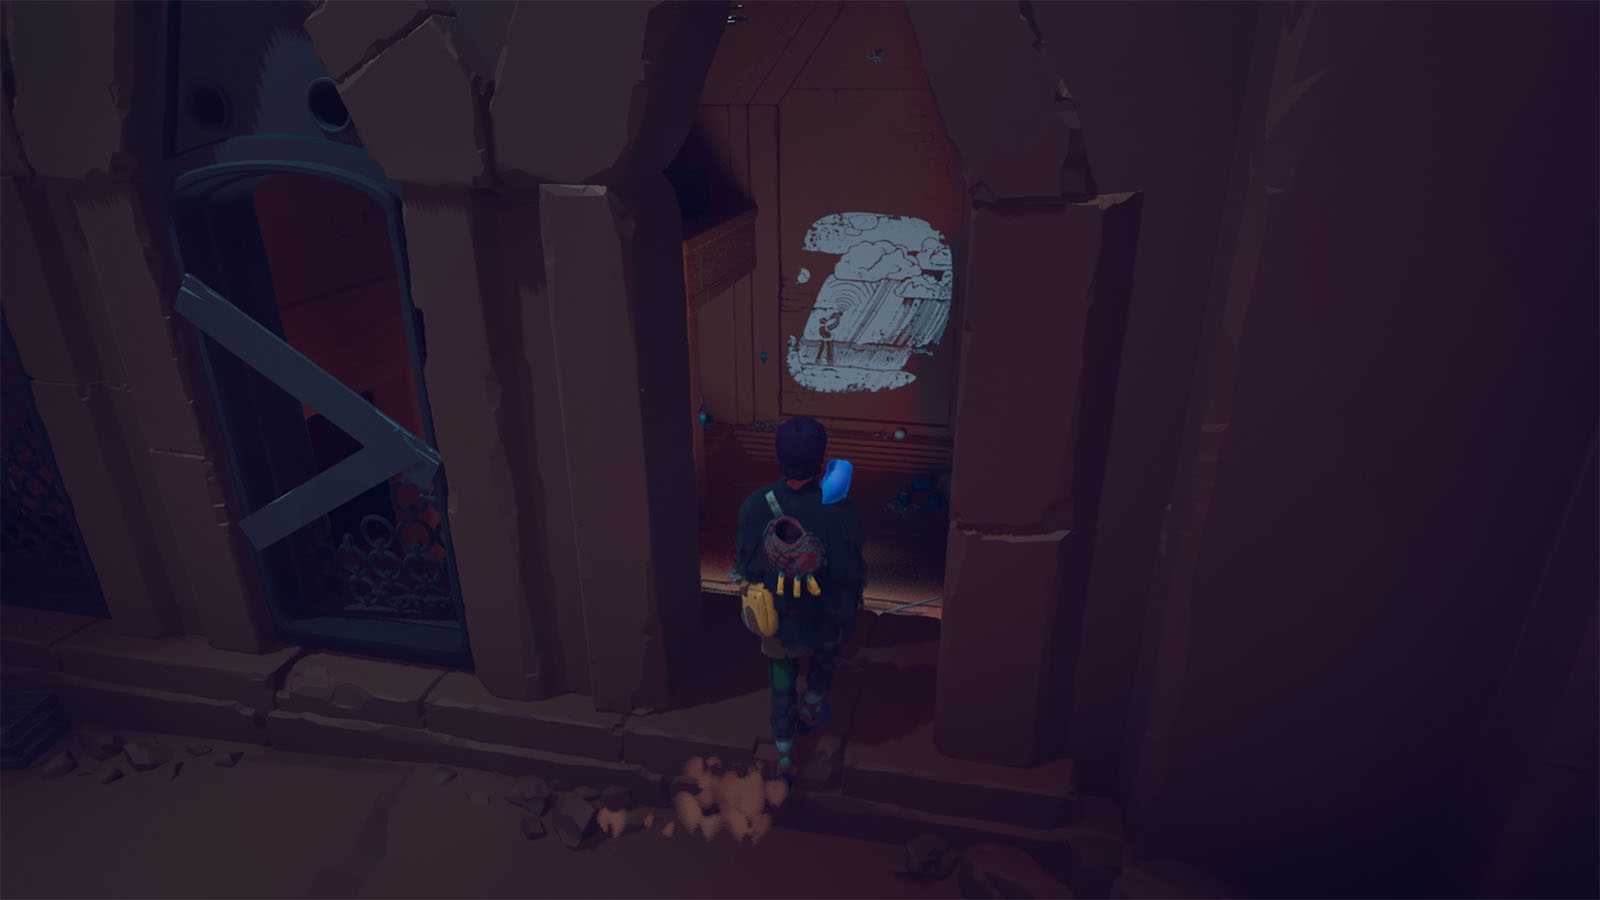
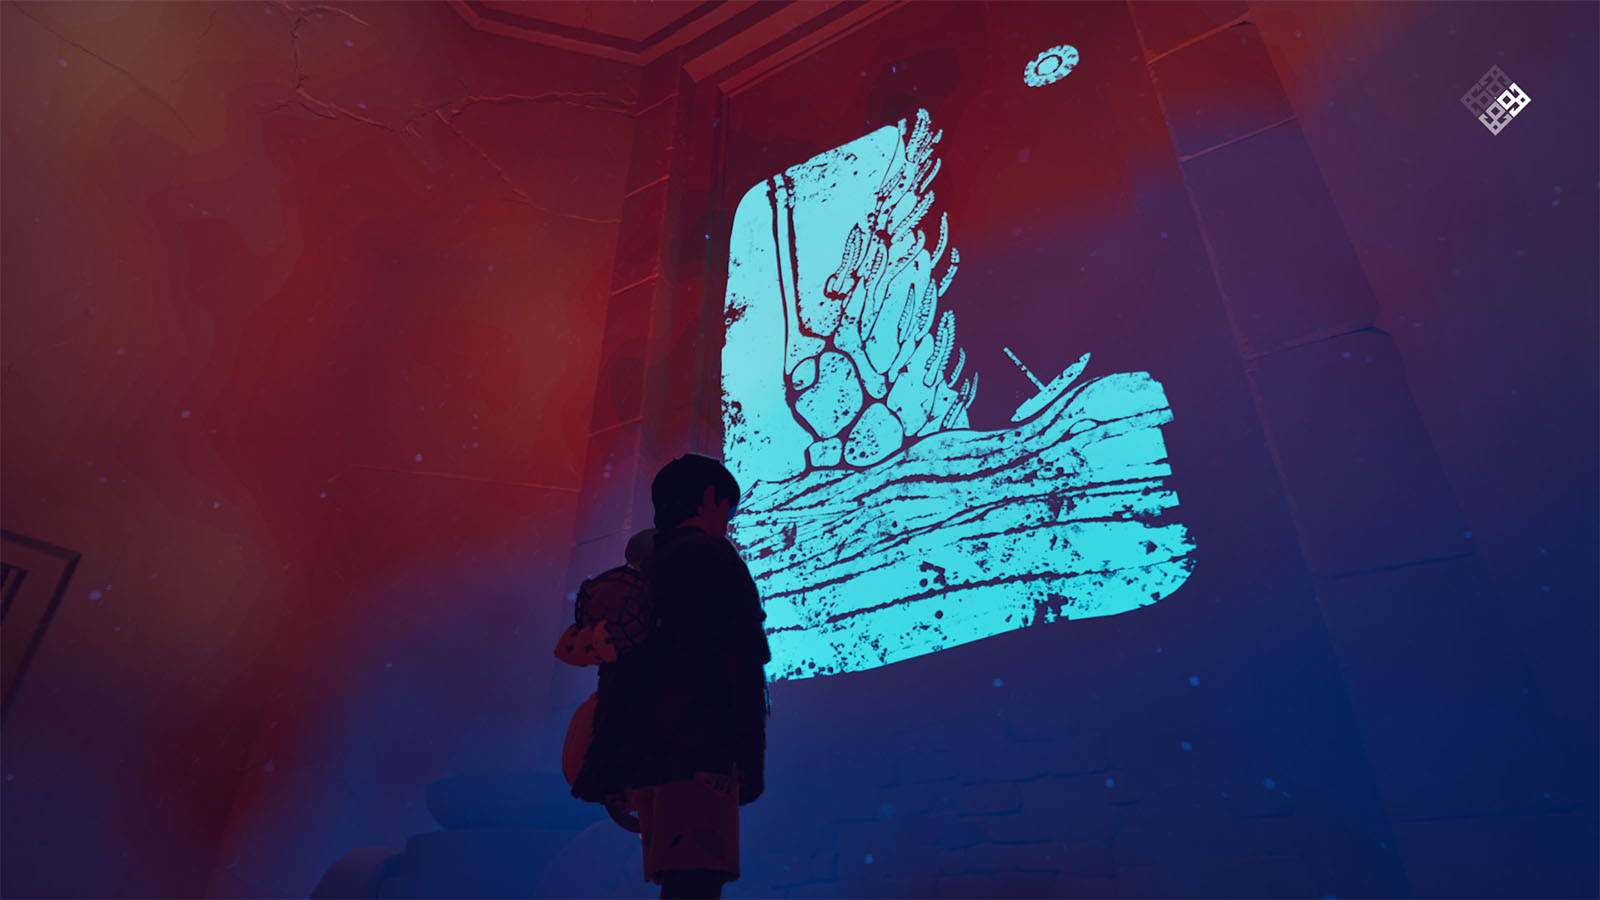
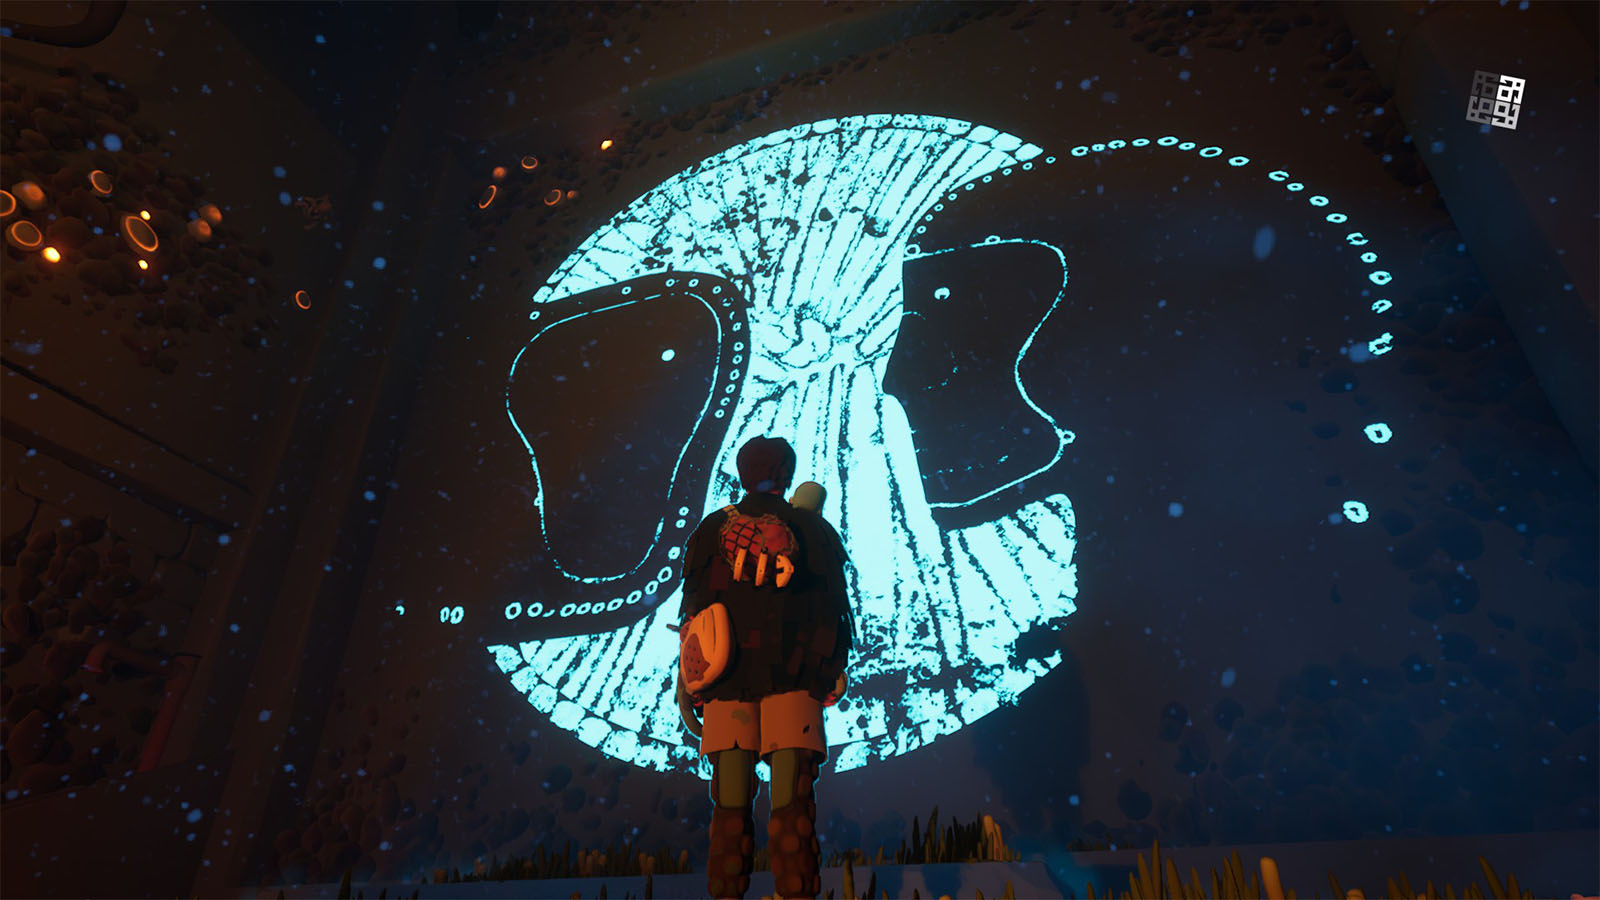
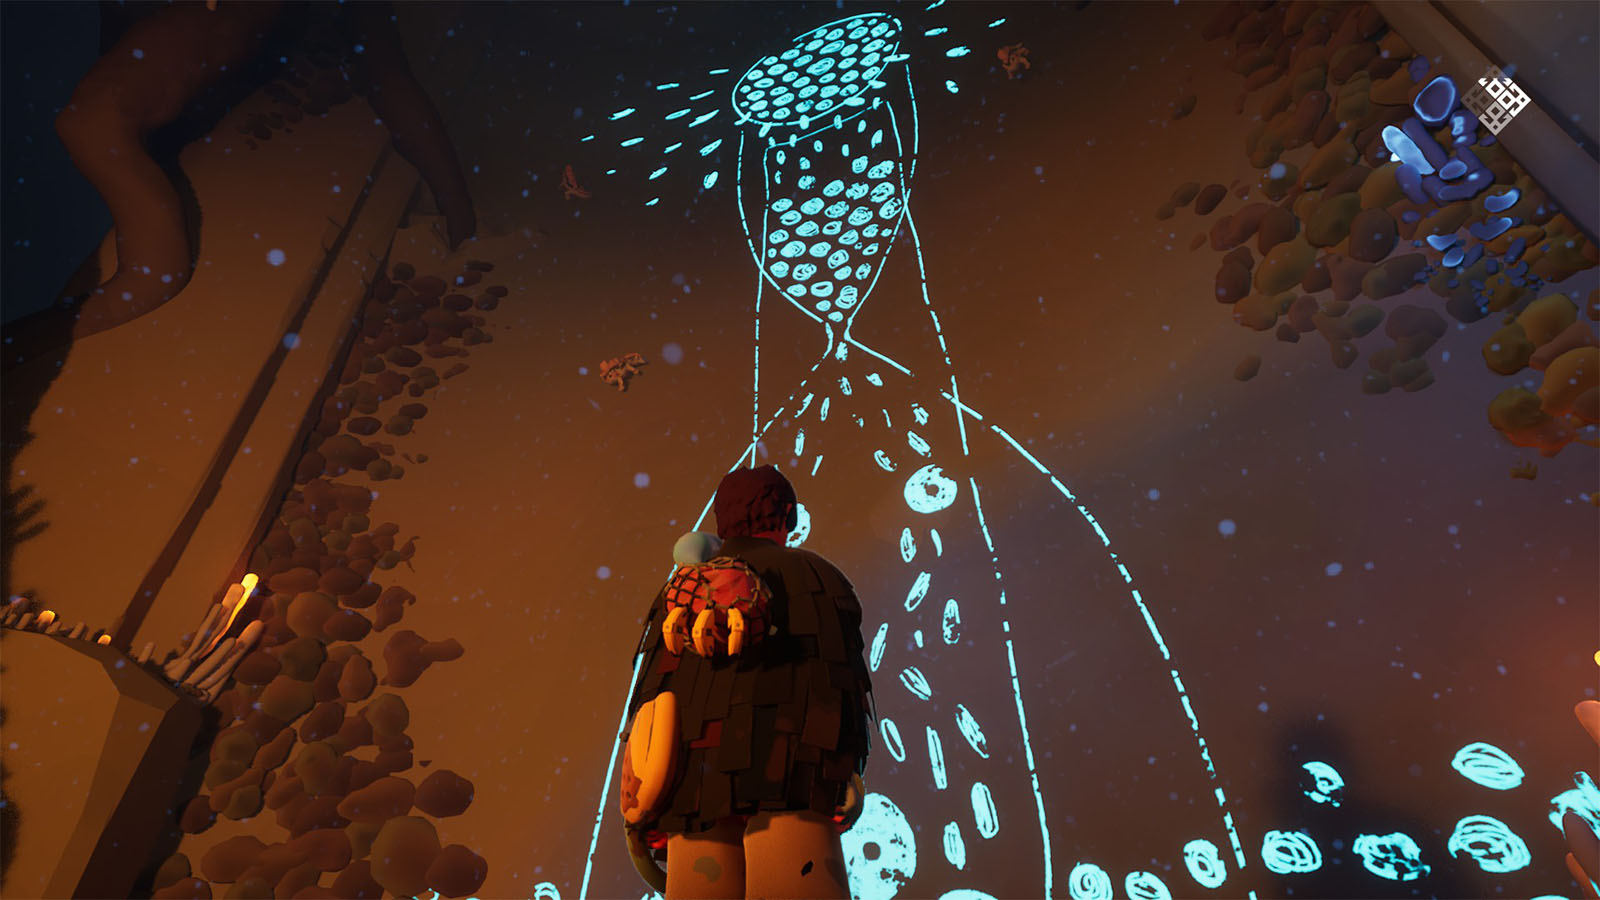
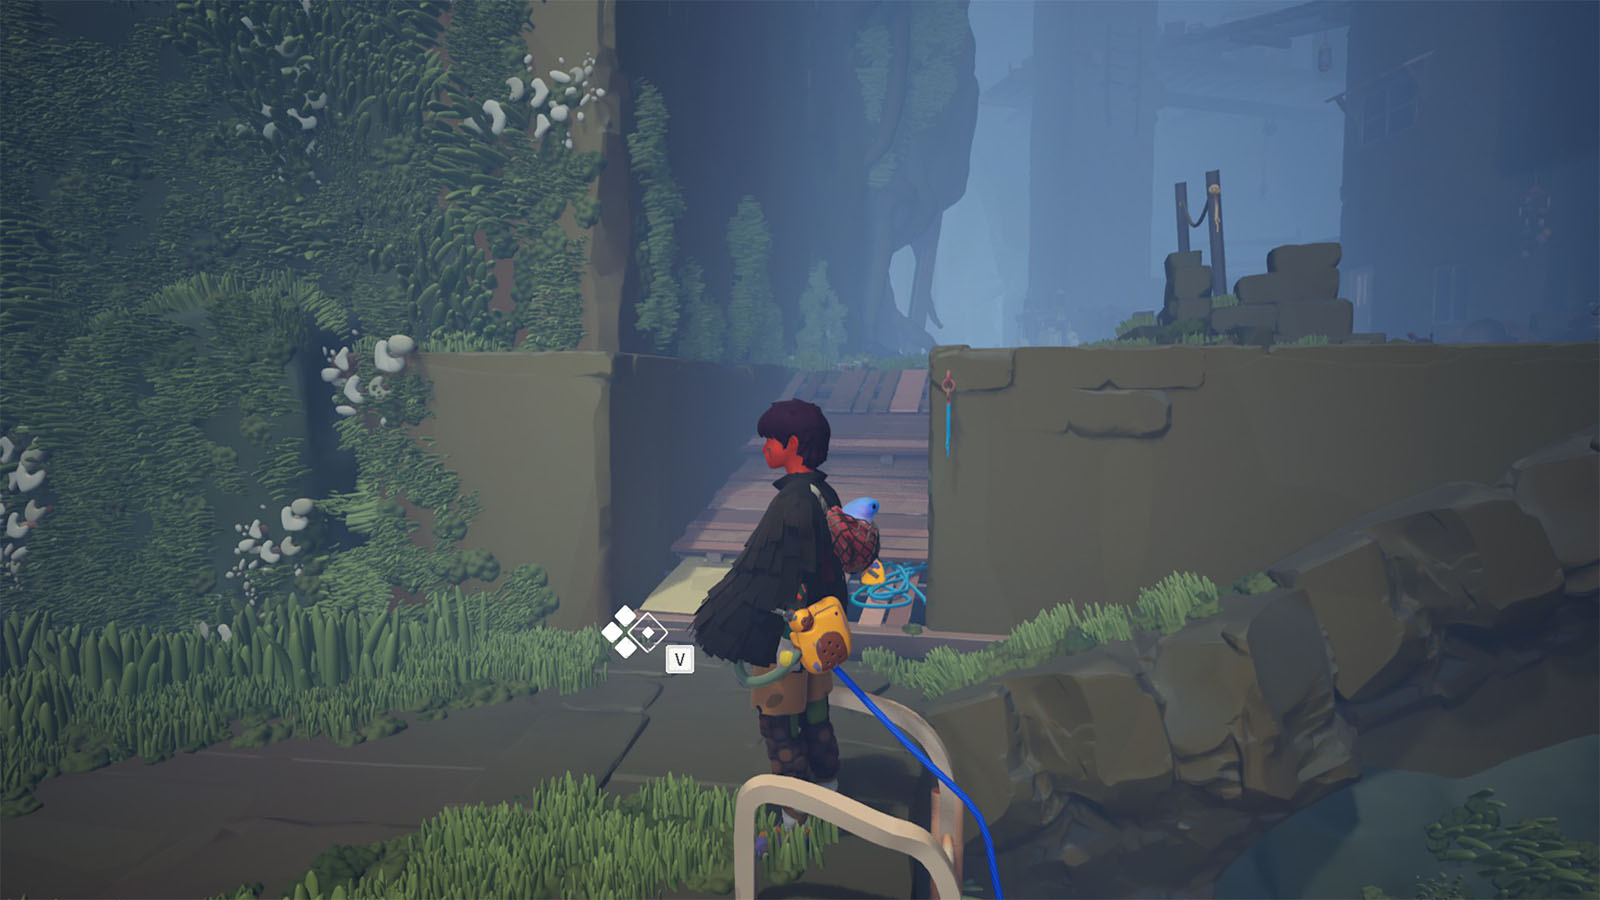
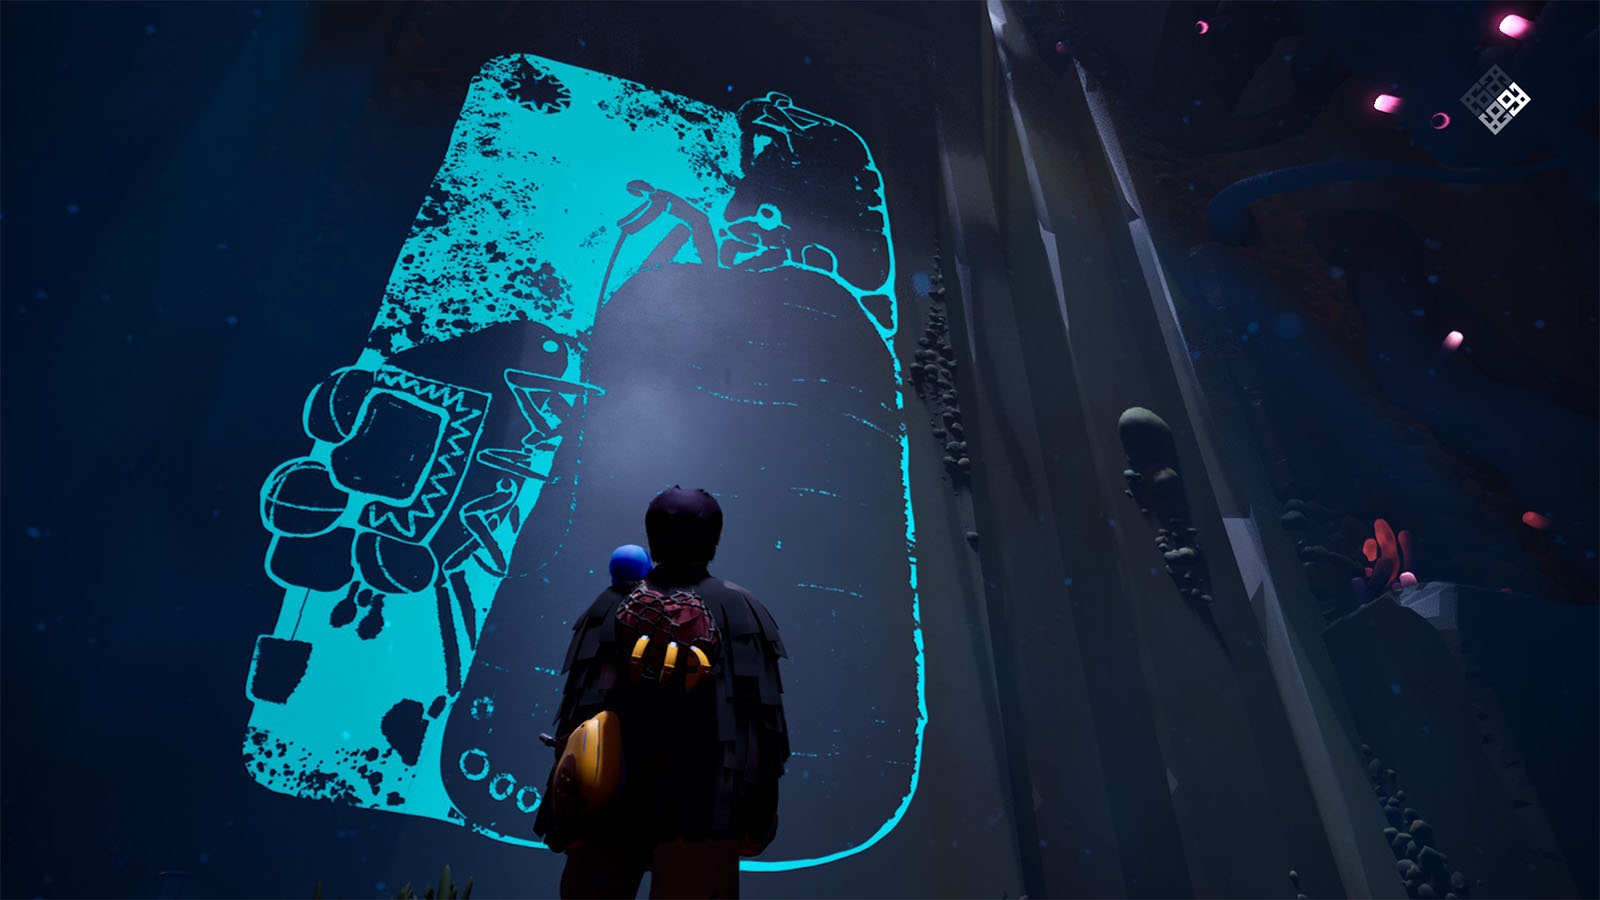
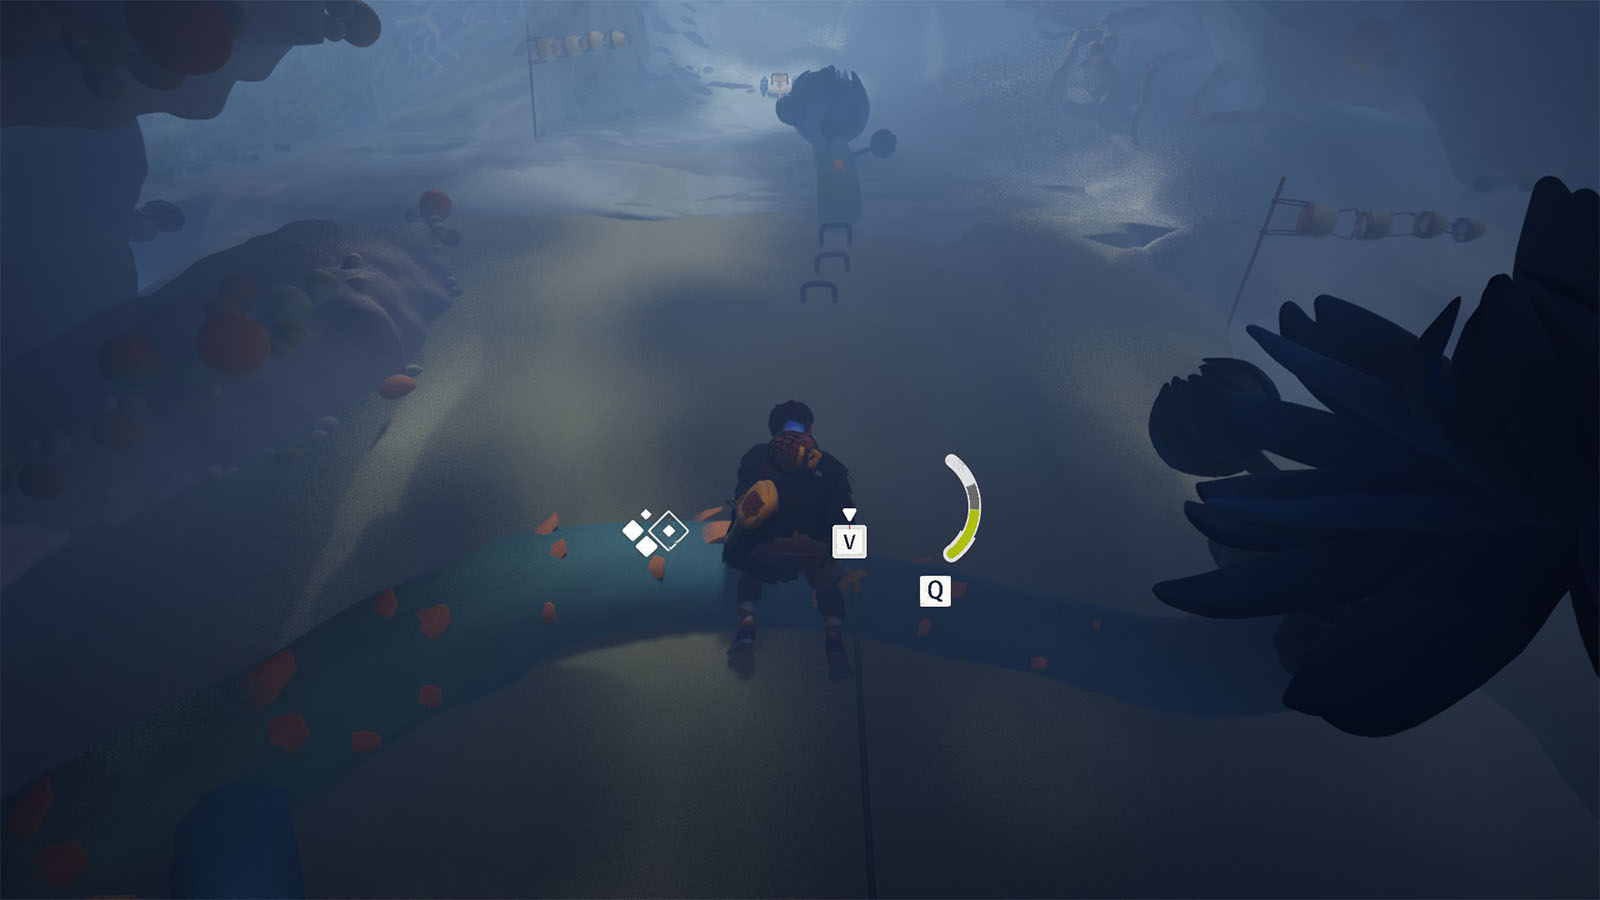
There are a total of 12 Frescos to be discovered throughout the game, starting in Chapter 2. Frescos are often found within large rooms or open areas. To activate a Fresco, approach it and then sound off an echo; the Fresco turns blue once it has been activated.
Finding all of the Frescos will reward players with the Antique Gallery Manager achievement.
Here’s where to find all the Frescos per chapter:
Chapter 2: Migration Frescos
Fresco #1 Location

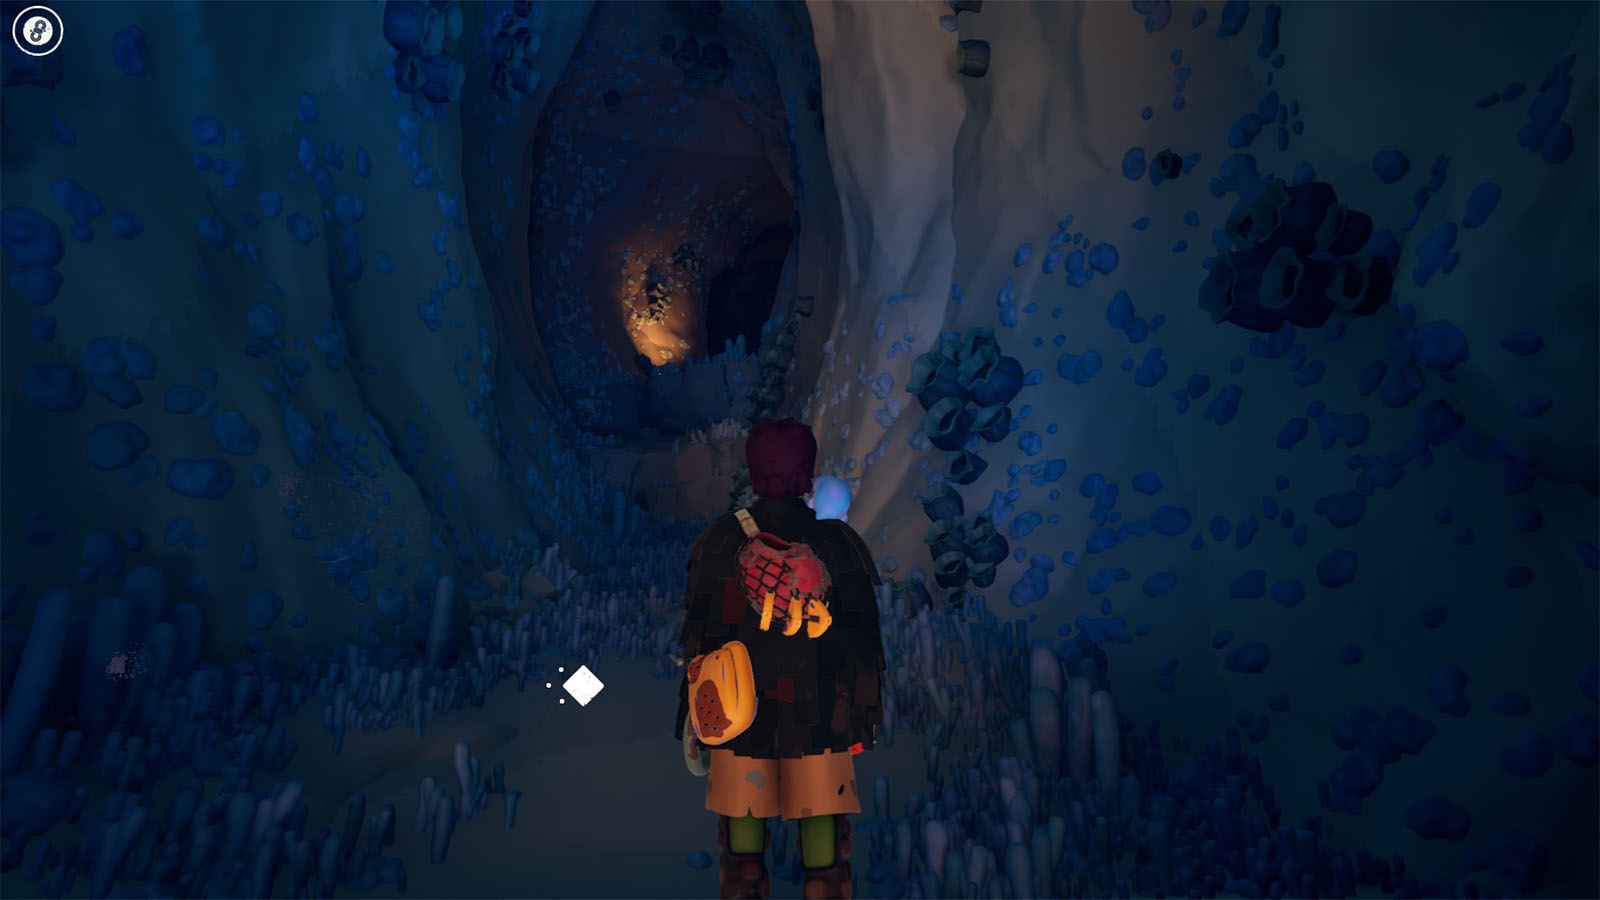
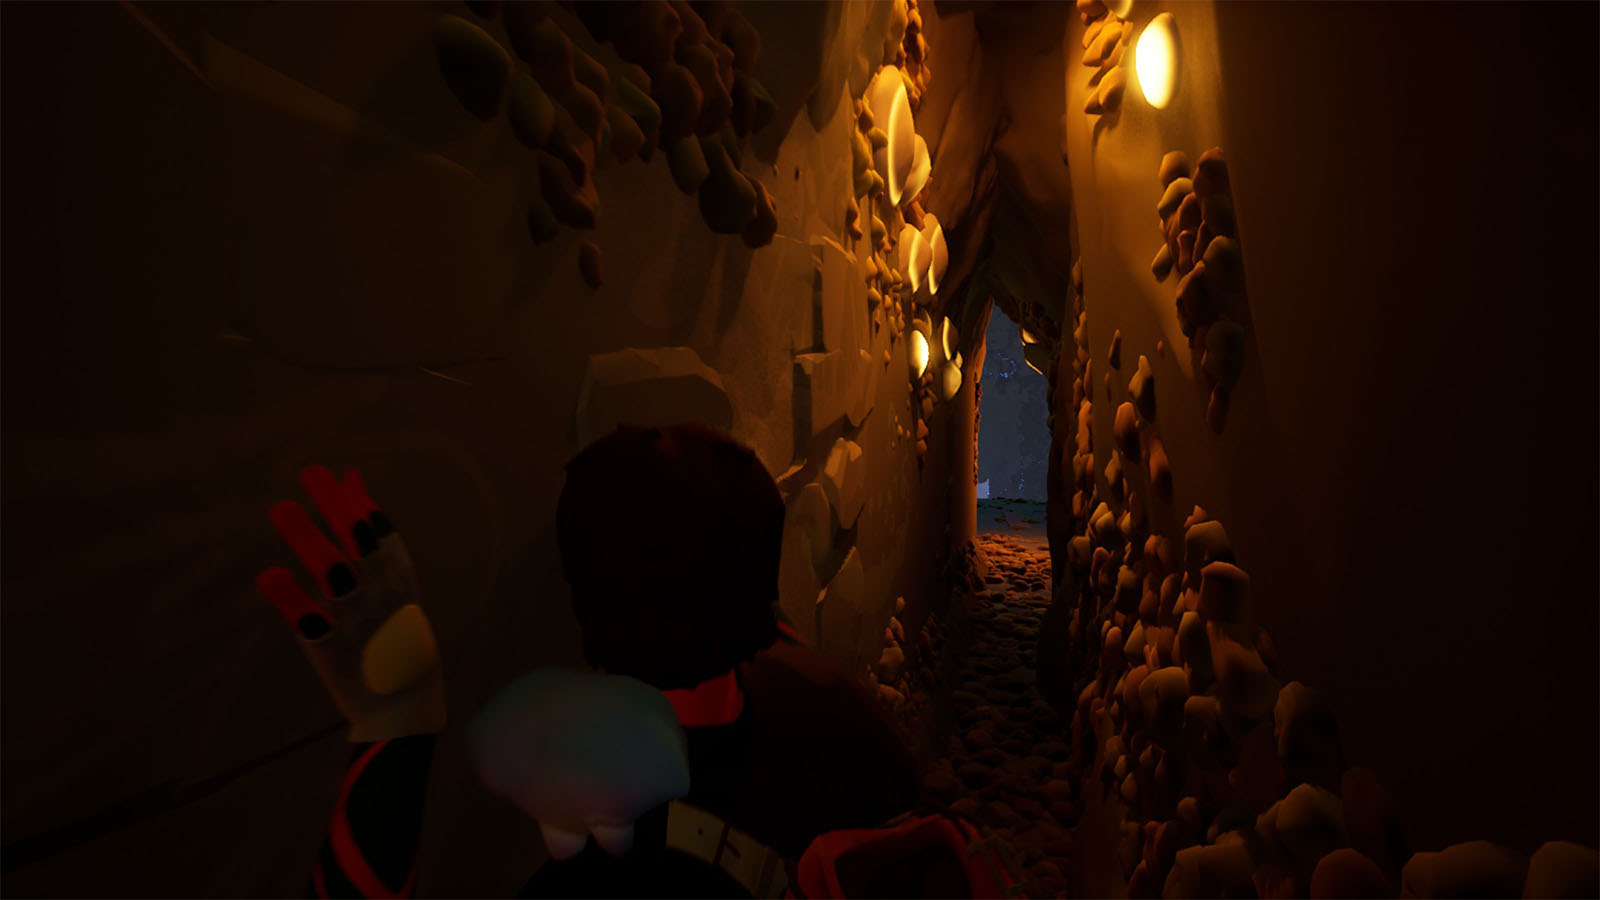
Upon learning about how the growing vines work, climb all the way to the top until you reach a cave on the right side. Head inside the cave and look towards the left to find a gap that leads to the fresco.
Fresco #2 Location

From the large settlement, latch on to the anchor at the highest ceiling and aim to swing towards the cave opening. Follow the path through the cave, and you’ll end up in the room where the fresco is; this is along the main path; it’s hard to miss.
Fresco #3 Location
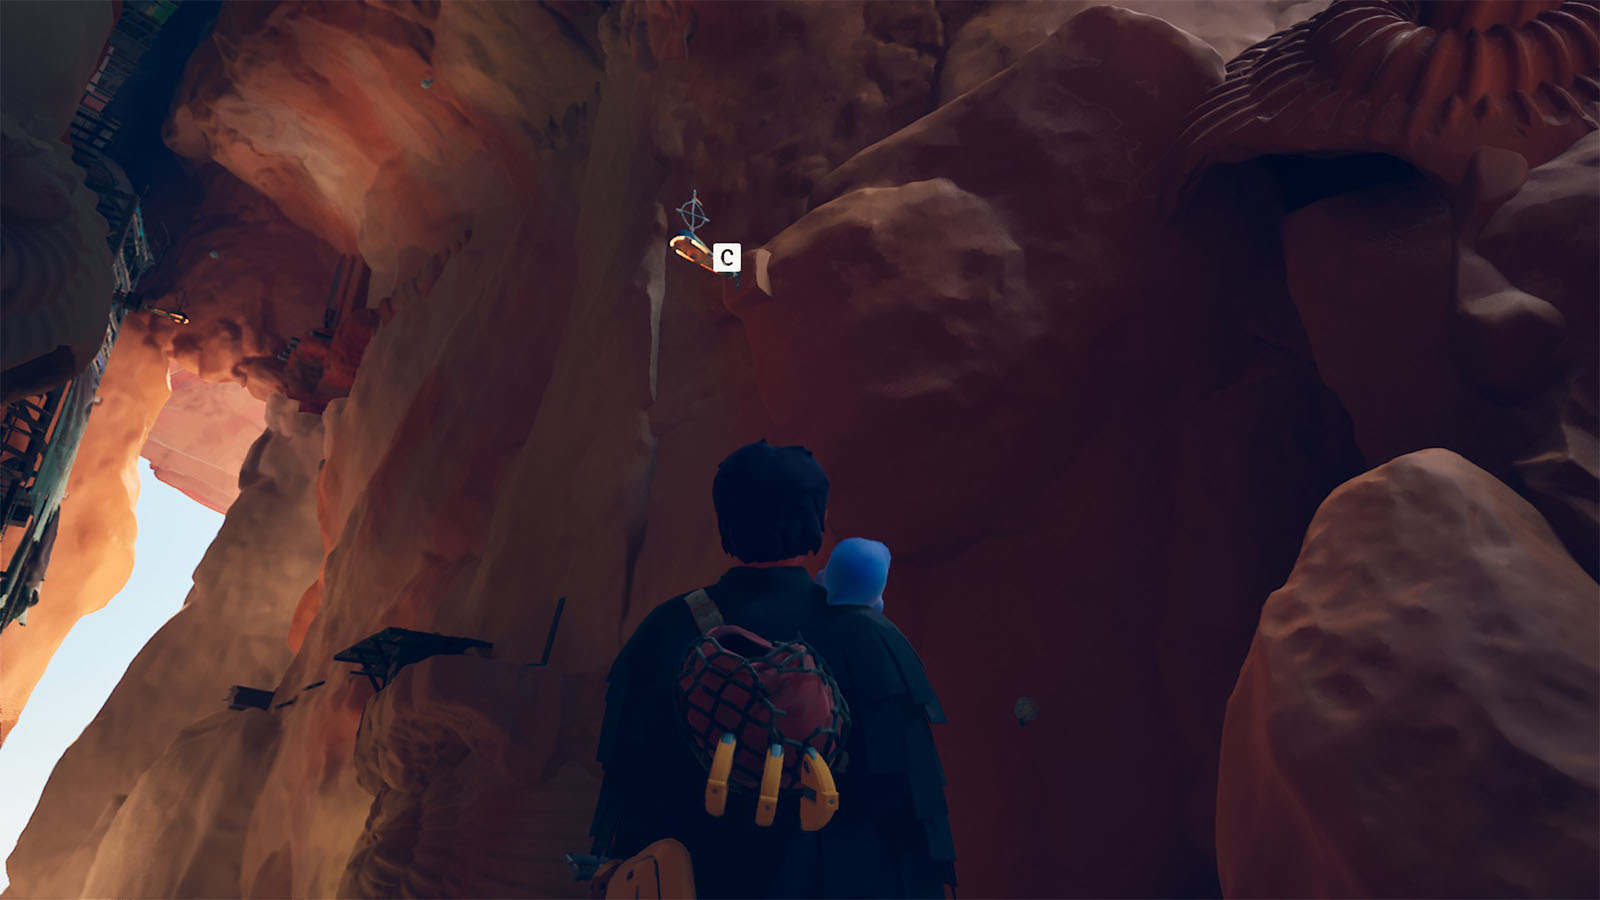
Inside the chasm, upon latching on to the first hanging anchor, swing towards the ledge to the right instead of progressing to the left. Follow the path, and it will lead you to a lit area where you can find the fresco.
Chapter 3: Solstice Frescos
Fresco #4 Location
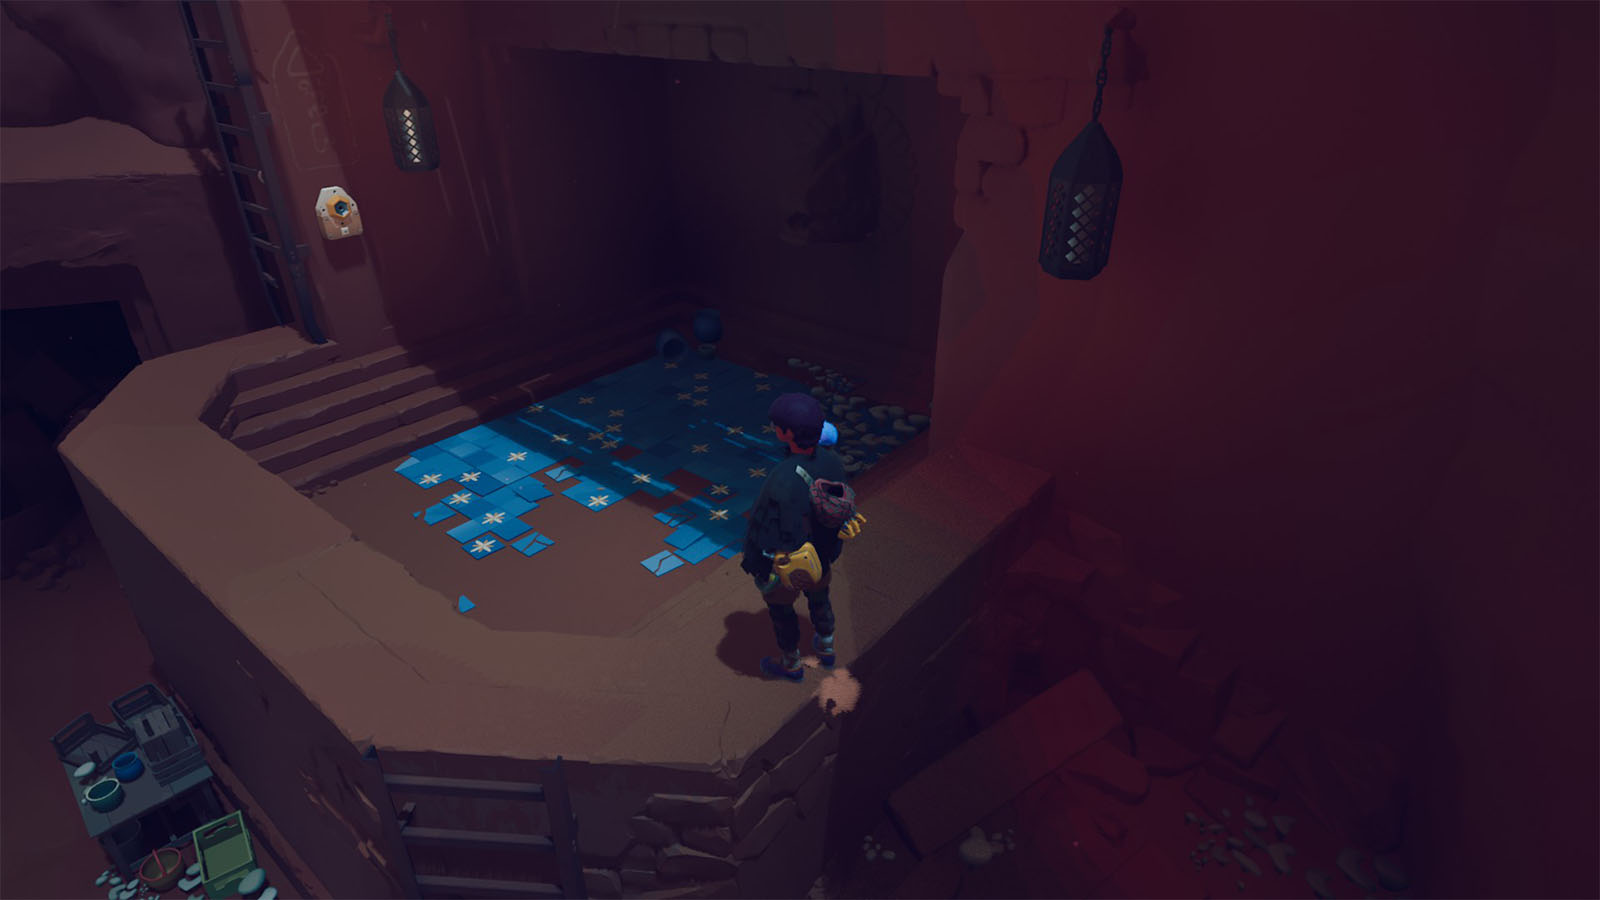

Once you reach the building with the small blue tiles on the floor, head inside and look towards the left to find windows overlooking the fresco.
Fresco #5 Location
Progress through the chapter until you reach the large, broken bridge. Swing towards the other side of the bridge, and once you reach the top, attach your rope to the wall on the far left side. Then, rappel down to the lower ledge, which leads to a building where the fresco is.
Fresco #6 Location
After climbing the large wall and ending up at the top of a ladder in front of a house, turn left to find a narrow ledge. Cross the ledge to the other side and go inside the room to the right. Go through the corridor and turn to the right, where you’ll find the room with the fresco.
Chapter 4: Convergence Frescos
Fresco #7 Location
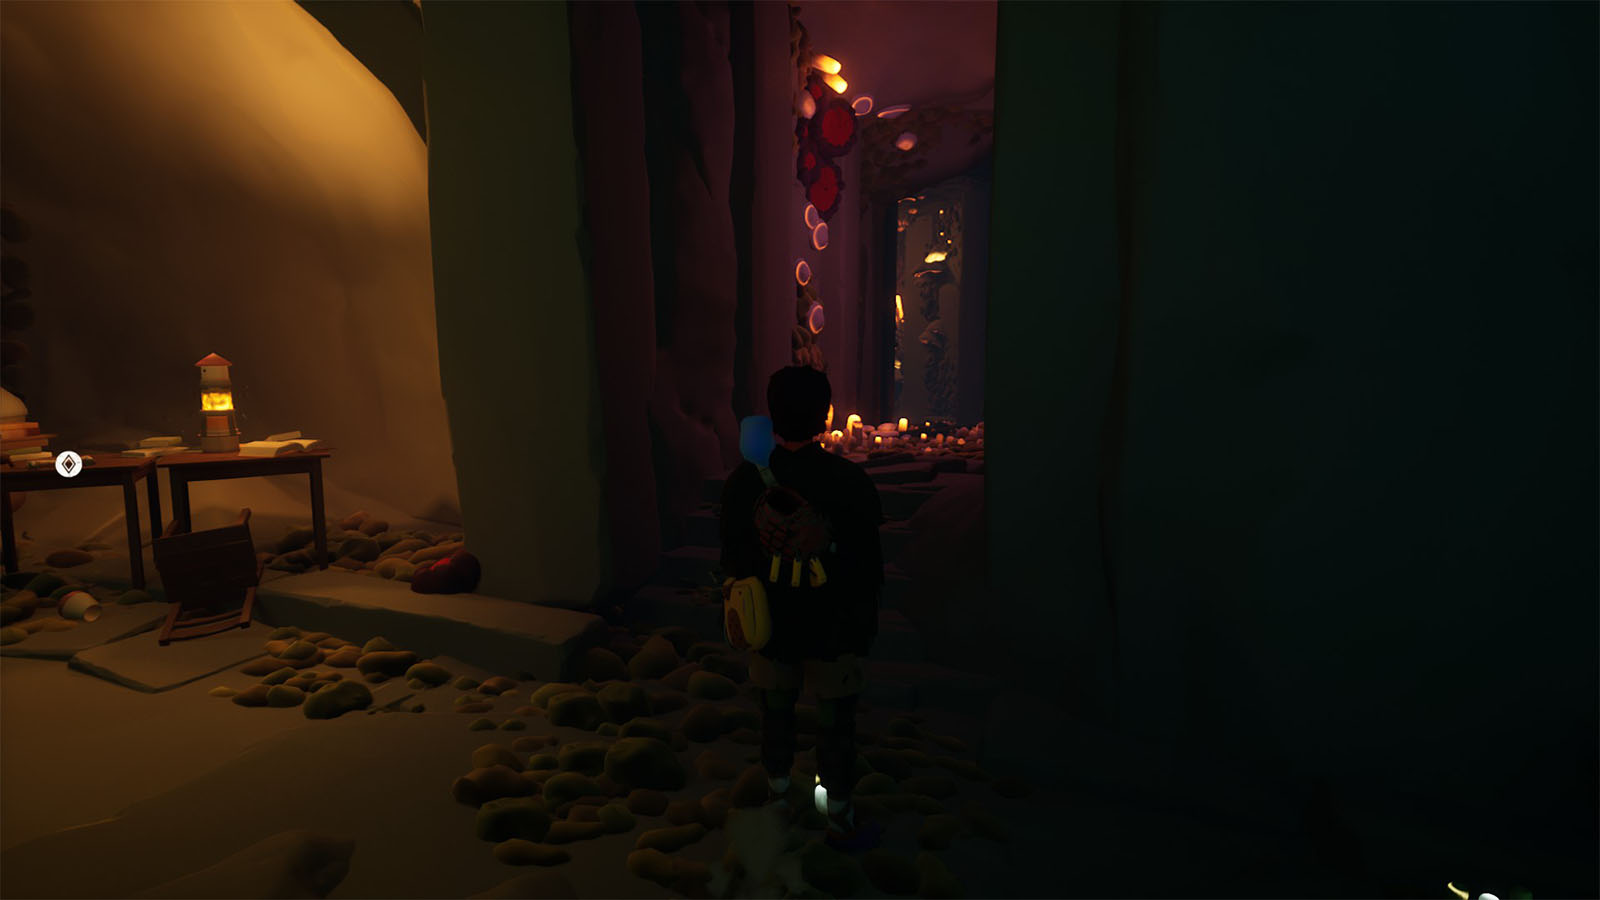
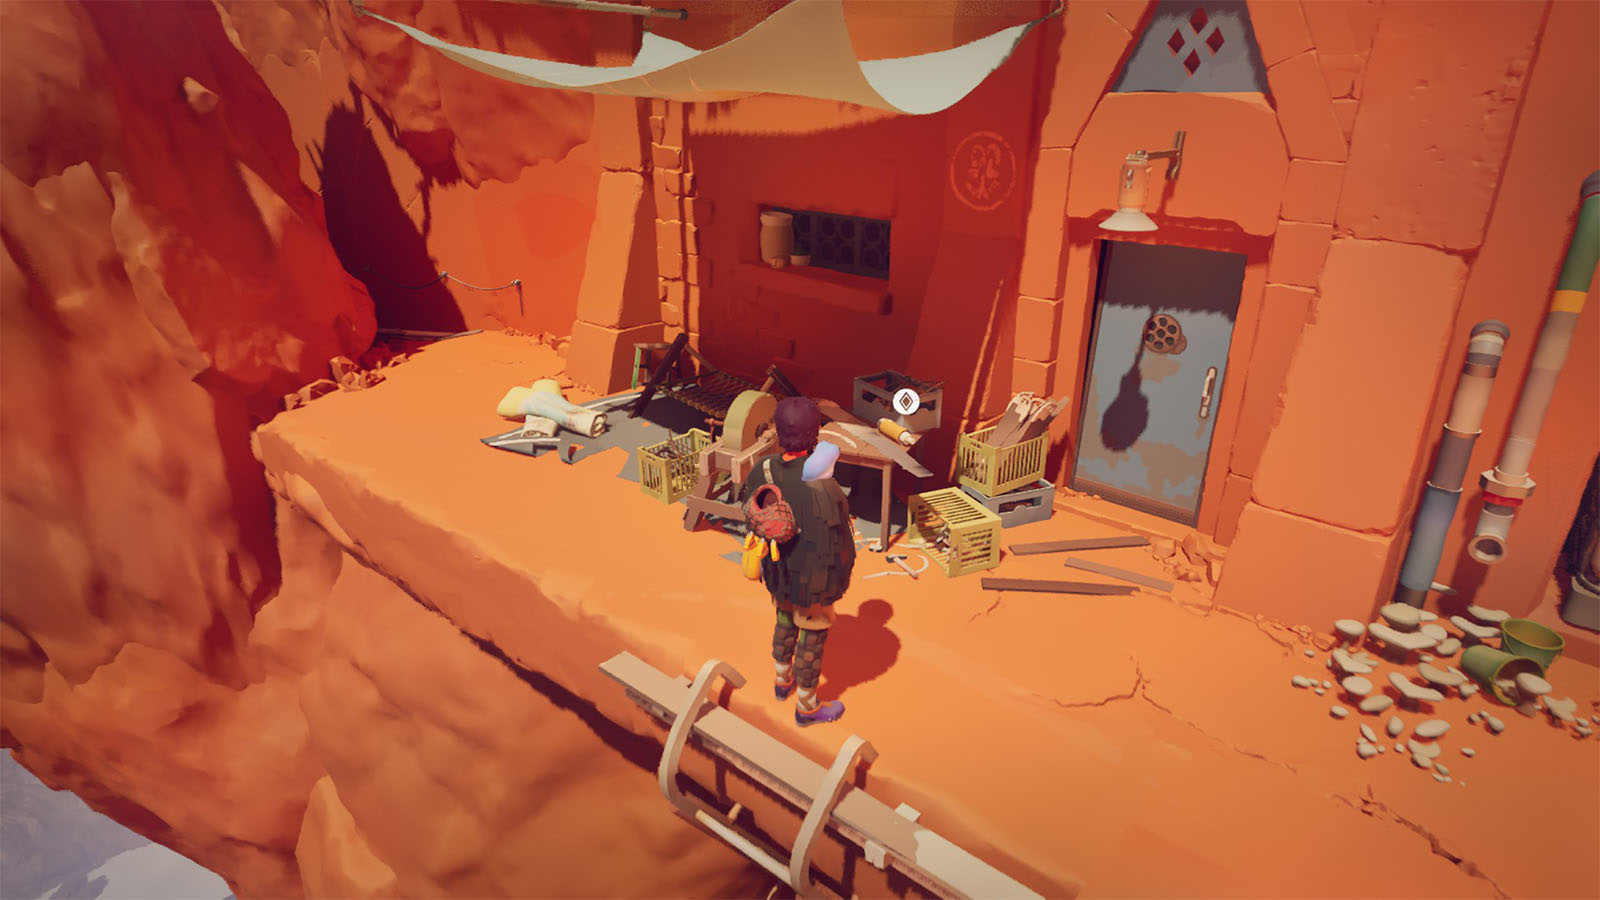
Upon arriving at the area where the fabric shop is, follow the alley to the end and then turn right onto the pink-lit path. At the end of this path is the room with the fresco.
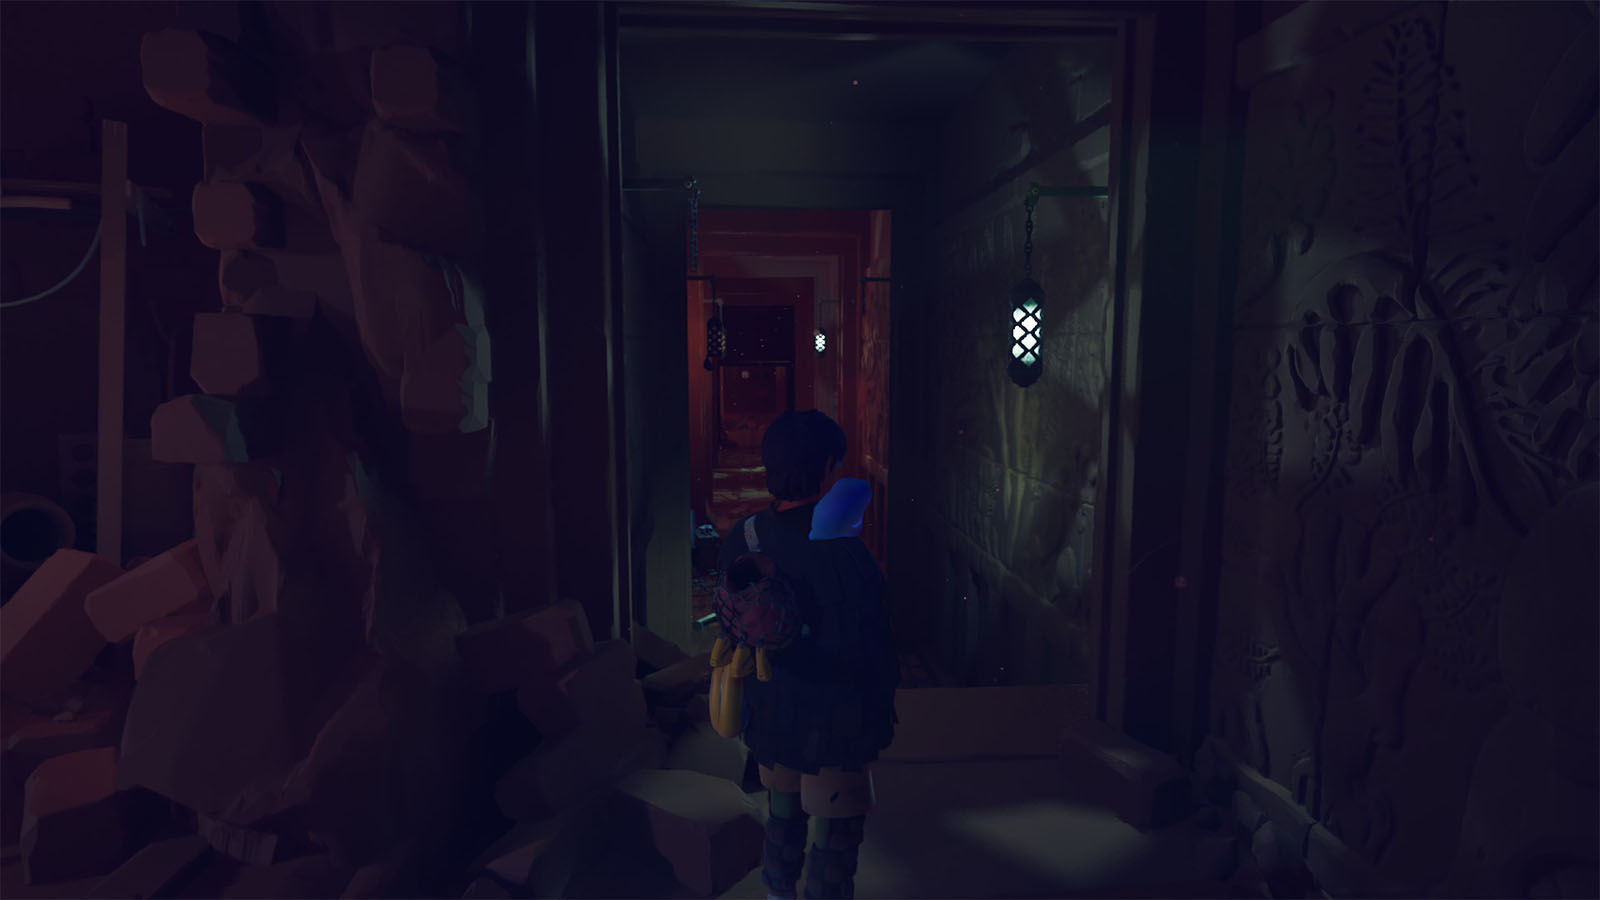
Fresco #8 Location

After clearing a tall climbing section, you’ll find a door in a blue-lit area. Open the door, and it will lead to the room with the fresco; this is along the main path, hard to miss.
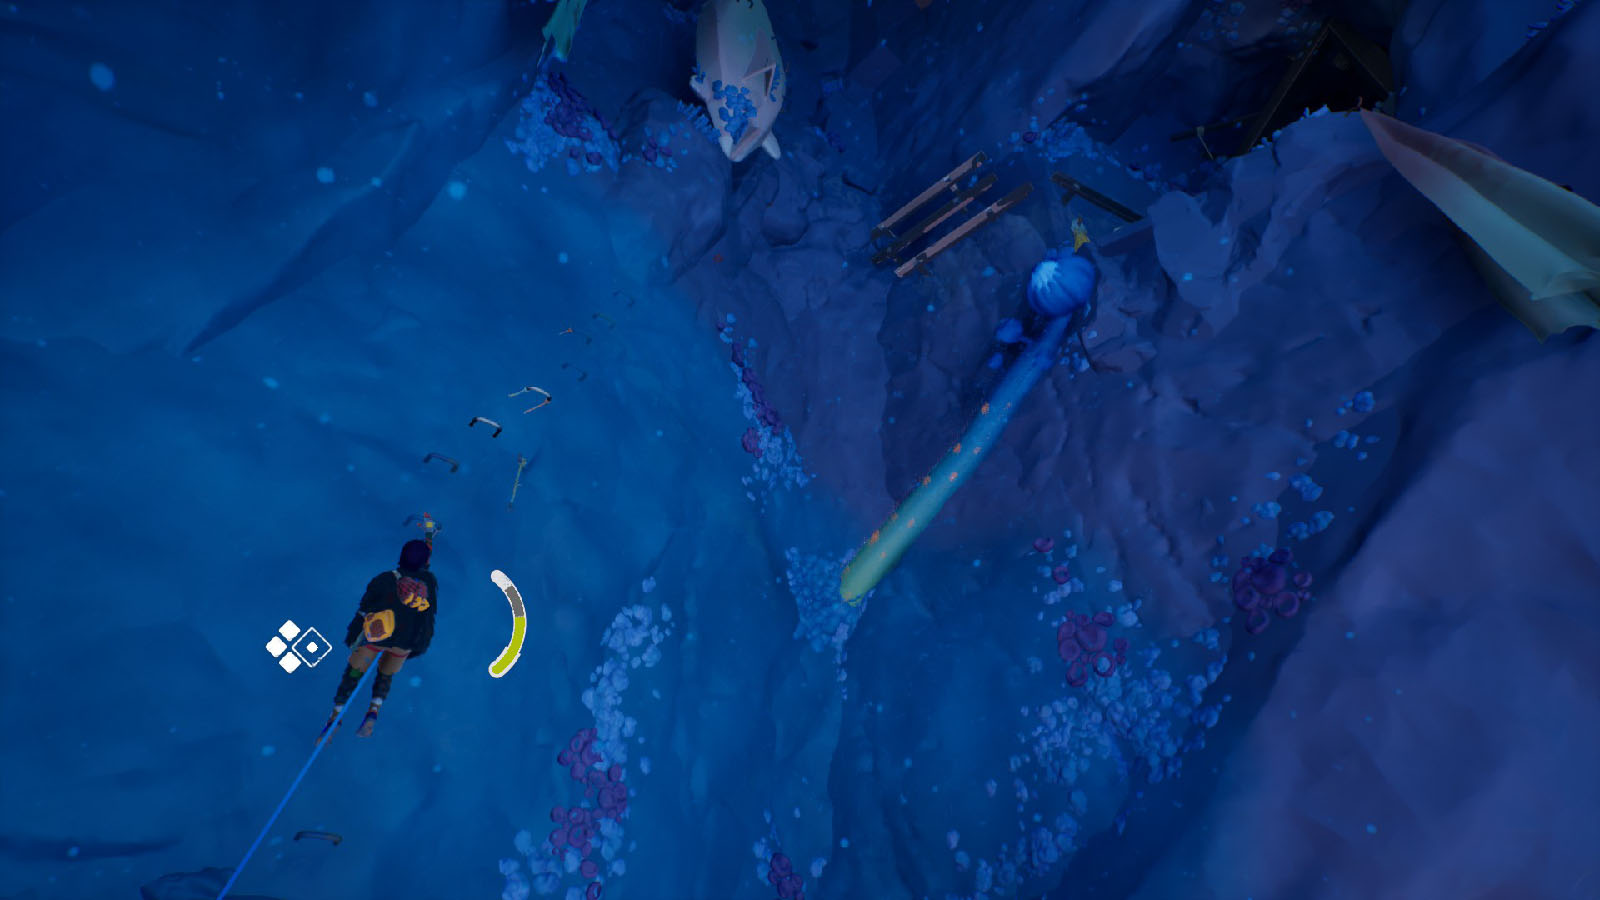
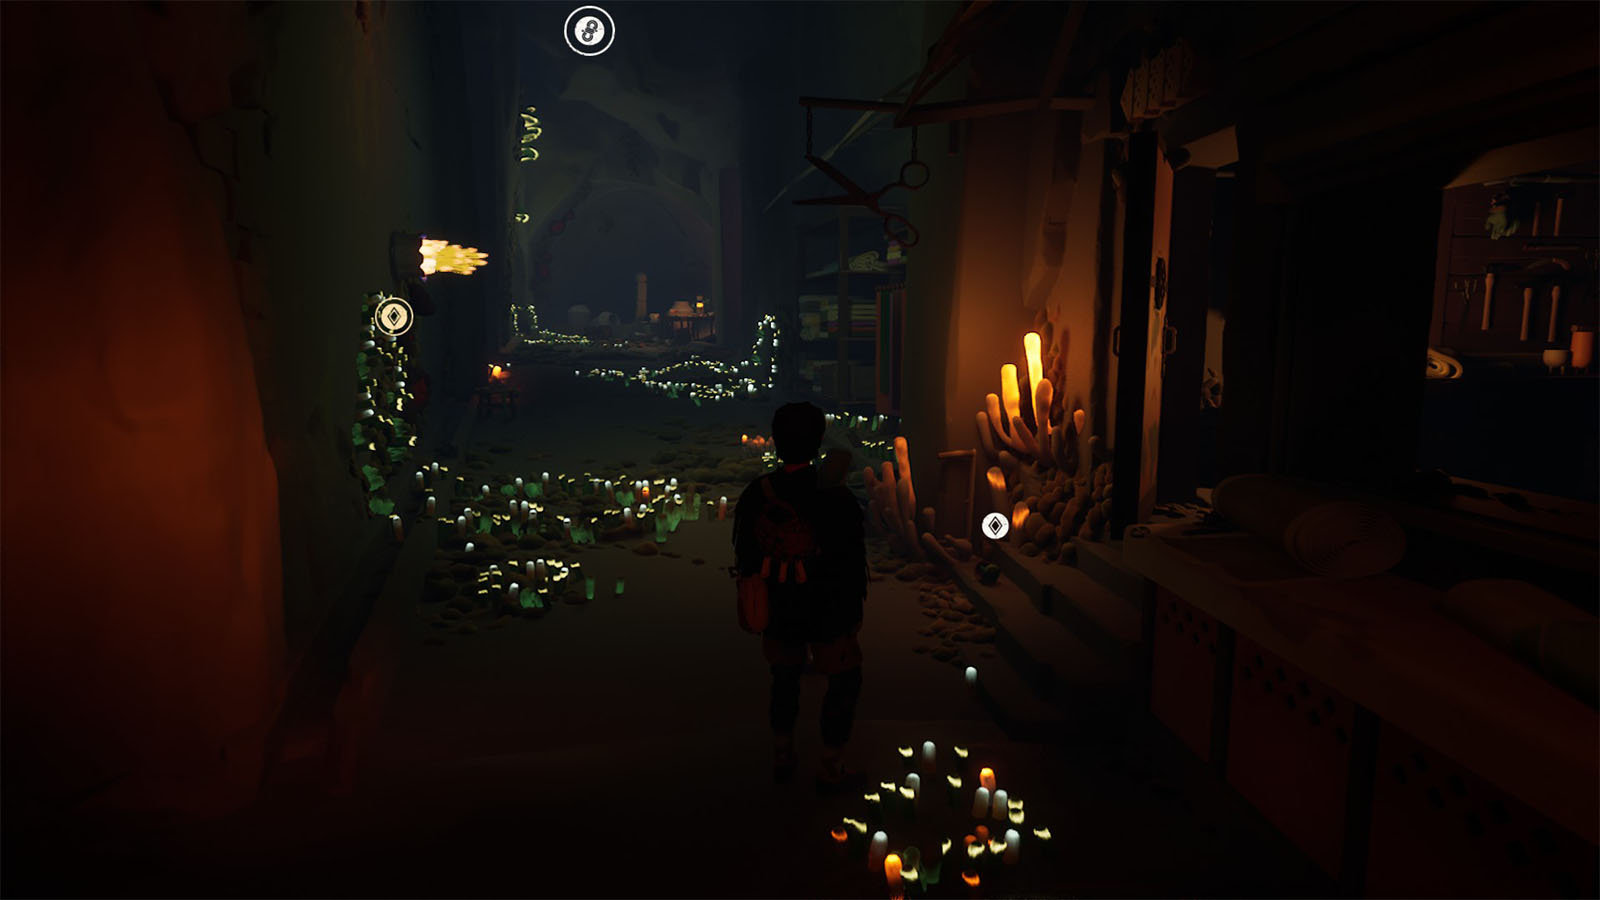
Fresco #9 Location
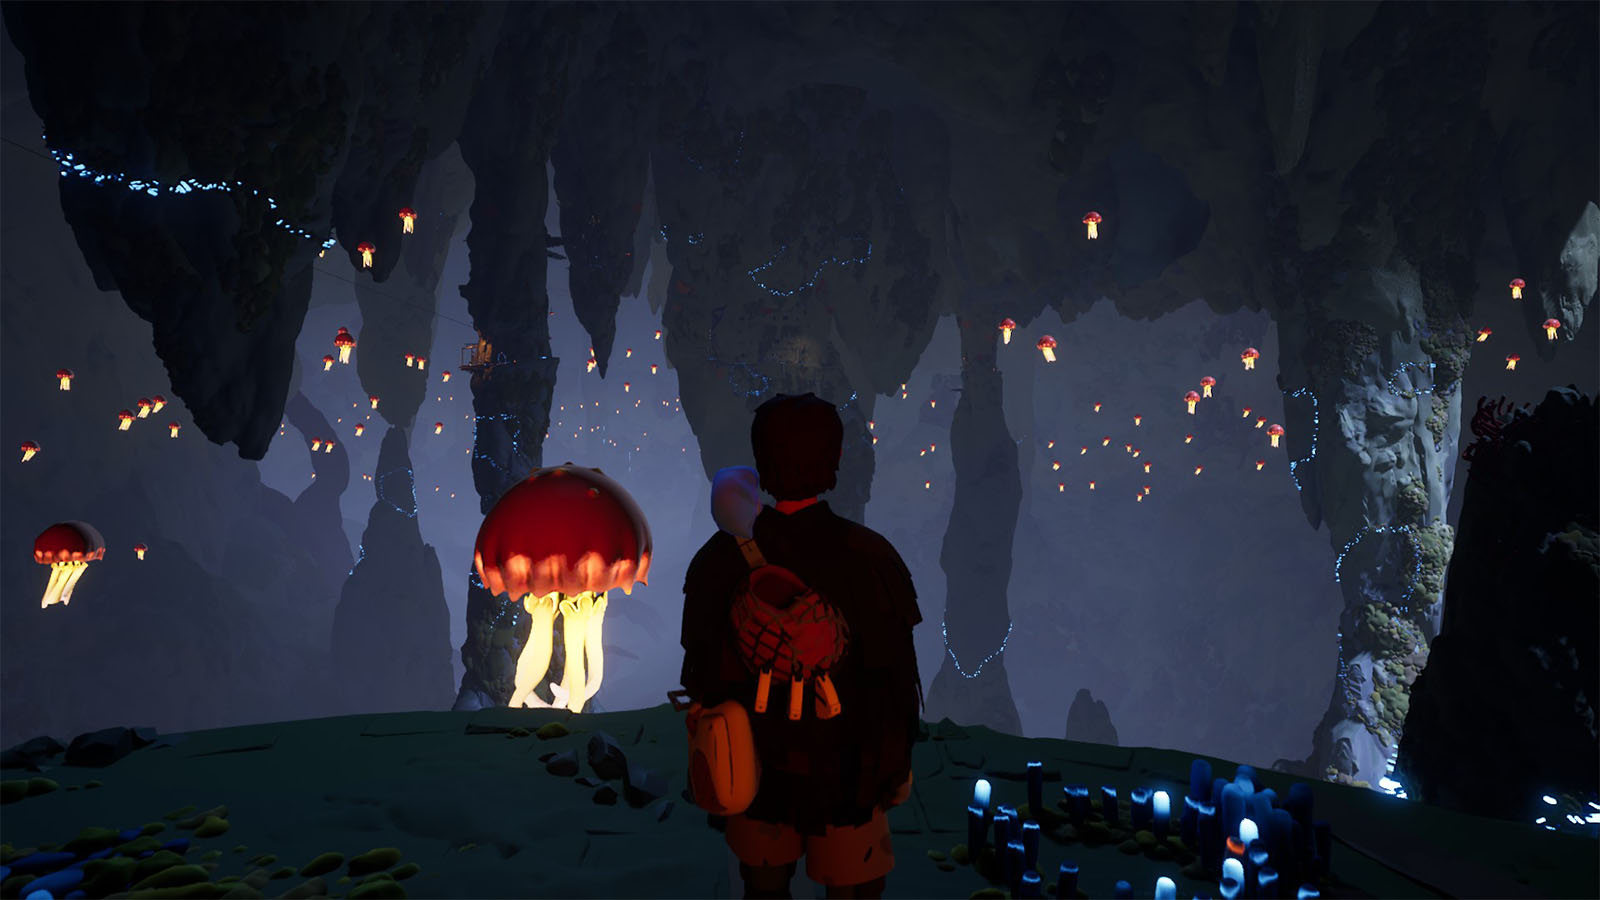
Once you reach the huge cavern with the floating jellyfish, turn to the right and follow the path to reach the room with the fresco.
Chapter 5: Mirage Frescos
Fresco #10 Location
Climb up the first windy area until you find the two spinning windmills that are stacked on top of each other. Head towards the right side and keep climbing to find a settlement. At the far end inside of this settlement is a path leading to the fresco.
Fresco #11 Location
After clearing the windy wall with the wheels on the right side, you’ll arrive at a cave with the main path towards the left ledge. Head inside the cave and follow the path on the far end to reach the next fresco.
Fresco #12 Location
After climbing the very tall wall and arriving at Bianca’s settlement, look for a hole in the ground. Rappel down the hole to find a secret room that is connected to the room where the final fresco is at.
That covers every Fresco location in Jusant. If you’re looking to find all the other collectibles in the game, you can refer to our complete collectibles guide here.

")
