Pandora is the second chapter in Avatar: Frontiers of Pandora. After fleeing the RDA facility, the young Na’vi find themselves back in the forest of Pandora. They then set foot to find the rest of the survivors to regroup. Read ahead as we go through the events of Pandora in Avatar: Frontiers of Pandora and share some tips on how to complete the chapter.
See previous: Chapter 1 – Awakening
Objectives:
Search for So’lek and other survivors
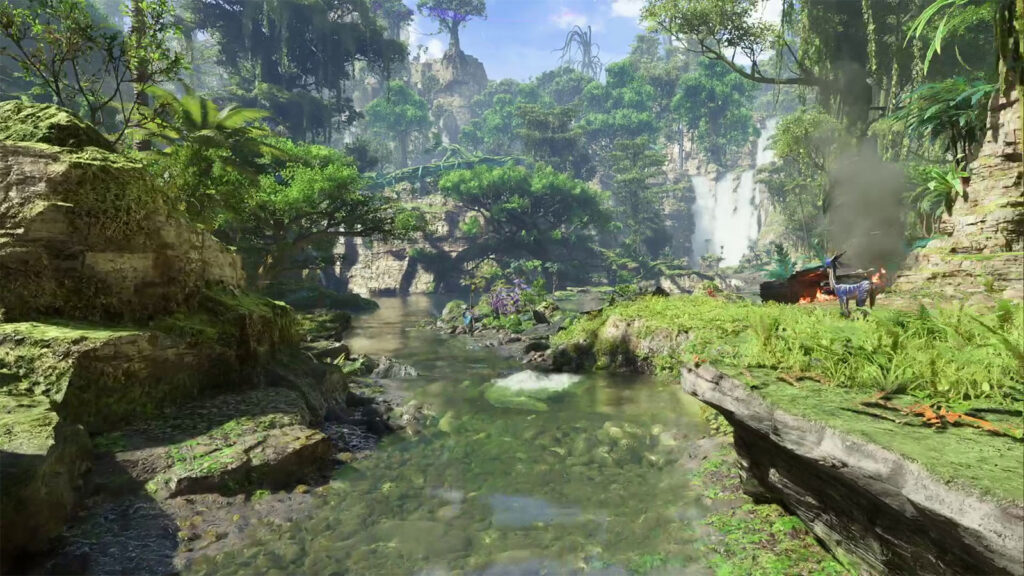
Once you arrive at Kinglor Forest, follow the flow of the river. You will eventually see some RDA wreckage by the side of Dyer’s Bowl Lake.
You’ll now get access to the Quest Tracker by tapping L1 / Q. You can also set it to always appear on your screen by enabling it in Settings > Show Quest Tracker.
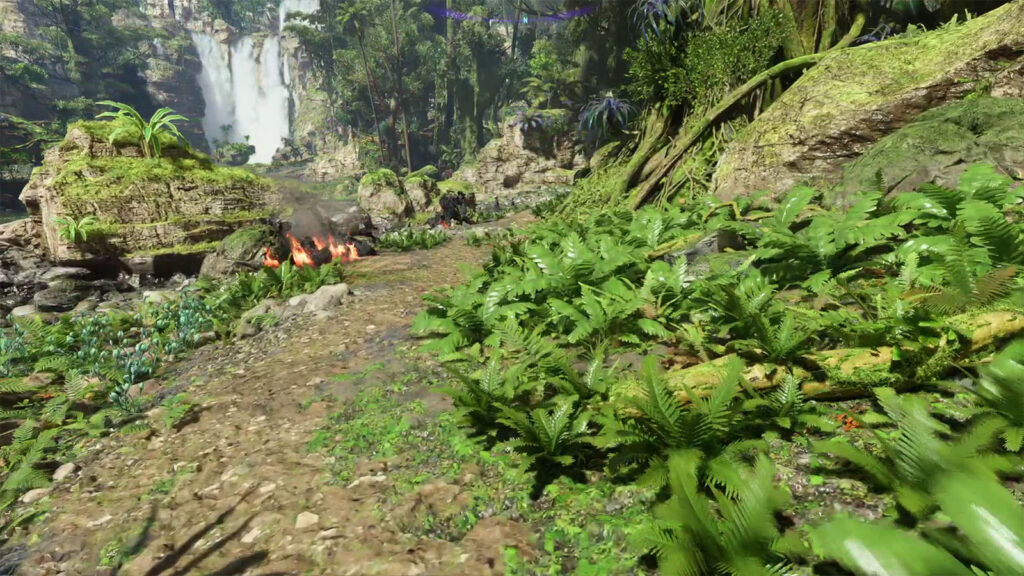
Follow the trail of wreckage, and you will eventually arrive at the RDA fueling station.
Talk to So’lek, the Na’vi warrior
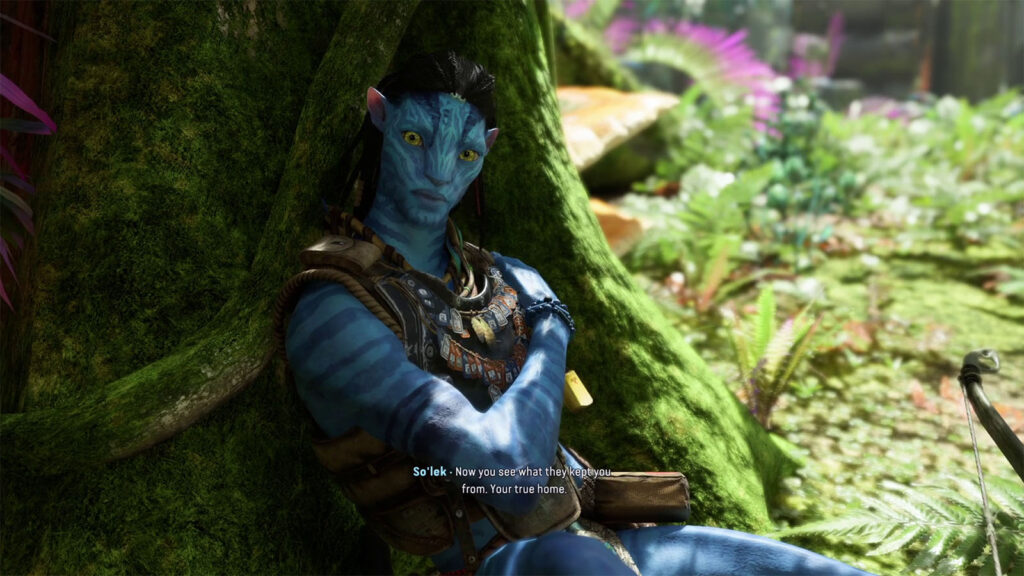
As you continue on, you will eventually spot So’lek resting by a tree nearby, wounded. Talk to him, and you can get his bow, as he is unable to fight.
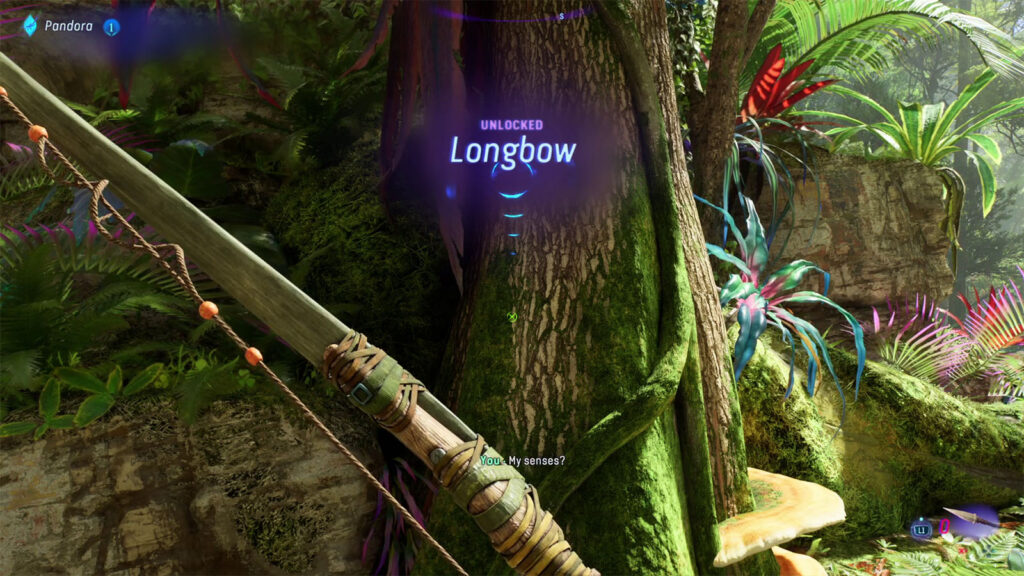
You will also learn the crafting recipe for the Longbow, which will be helpful later on.
Craft arrows
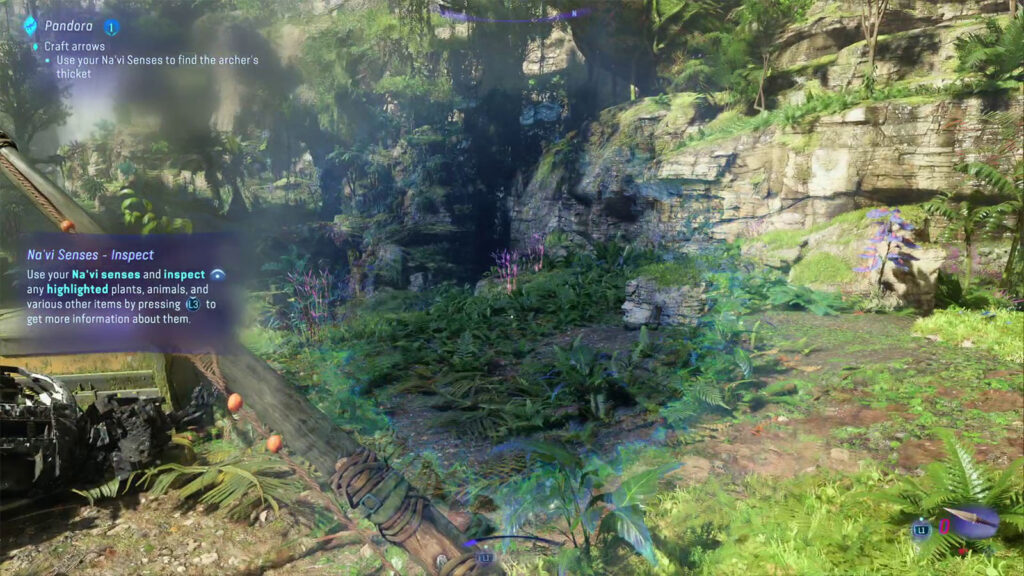
Next, you will need to craft arrows, but you will first have to look for the materials to make them. At this point, you will learn about how to use your Na’vi senses to locate and identify the plants and animals that you see on the planet. Hold R1 / X to use your senses, and then you can look around to spot the highlighted plants, animals, and various items of interest (press L3 / scroll to get more information about them).
You can also use the Material Tracker by selecting up to three plants that you have discovered in your Hunter’s Guide. Every time you use your senses, the selected plants will be highlighted in your vision. Their general locations can also be highlighted while looking at the map.
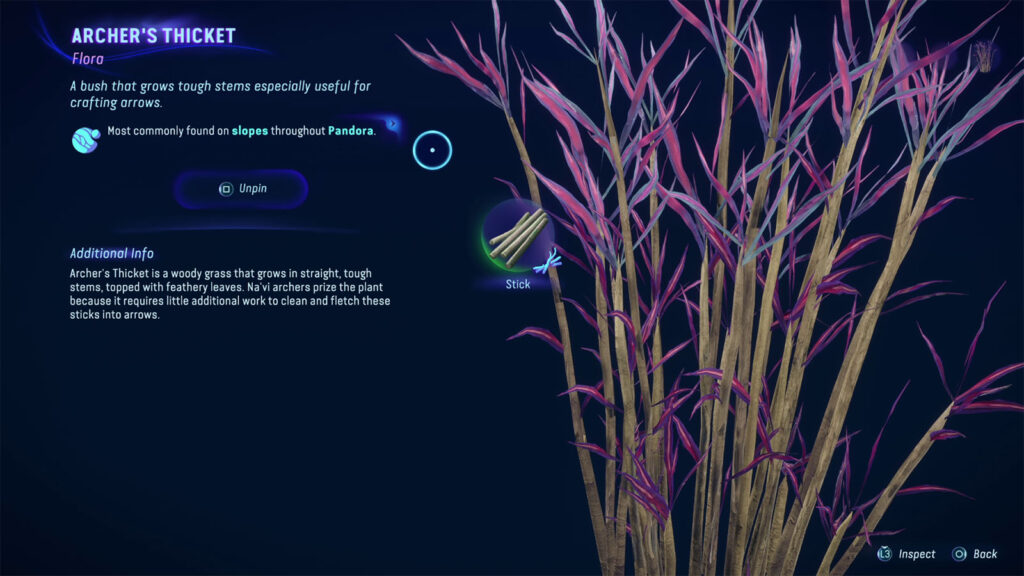
Look for the Archer’s Thicket, which you can collect to get sticks. You can then use these sticks to craft arrows for your longbow.
To craft arrows, open the Weapon Wheel by holding L1 / Q, select the Longbow, then hold Square / F to craft arrows for it. You can only craft a certain amount of arrows at a time.
Once your longbow and arrows are set, you can holster and unholster your weapon by holding Triangle on controller / pressing T on Keyboard. Having your weapon equipped and on hand will make you prepared for any enemy encounter. Having your weapon holstered will allow you to traverse the land faster.
Take the time to look around the station to find some yellow stash boxes. These boxes contain rations or spare parts that will be useful later.
Forage for a dapophet pod
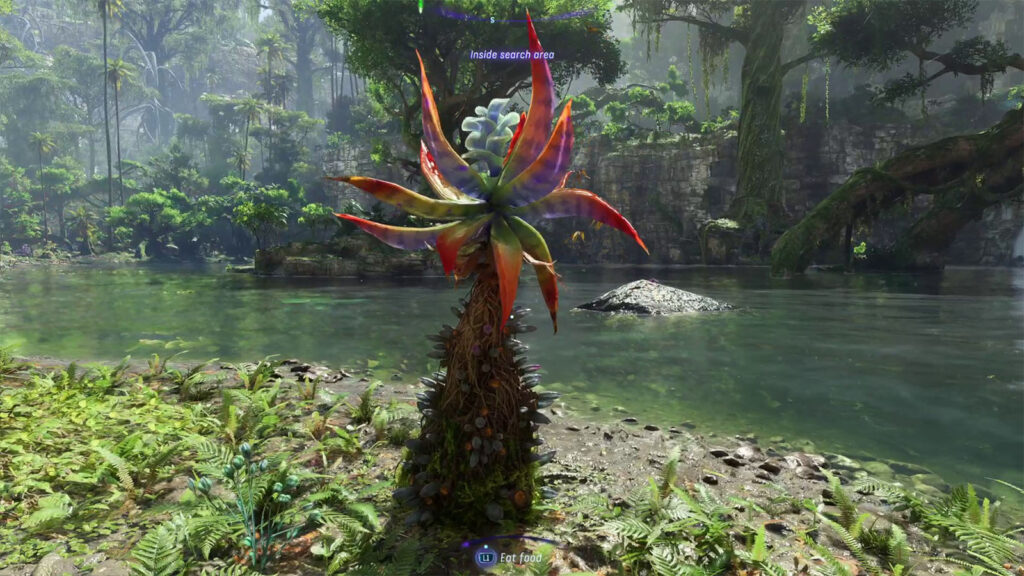
Your next objective is to look for dapophet pods for So’lek. Use your Na’vi sense and head over to the Dyer’s Bowl lake, where these pods grow.
If you need to get your bearings, open the Map by tapping the touchpad / M. You will see your current location as well as any areas and points of interest that you have discovered so far. The map is defaulted to north on the top part of the screen.
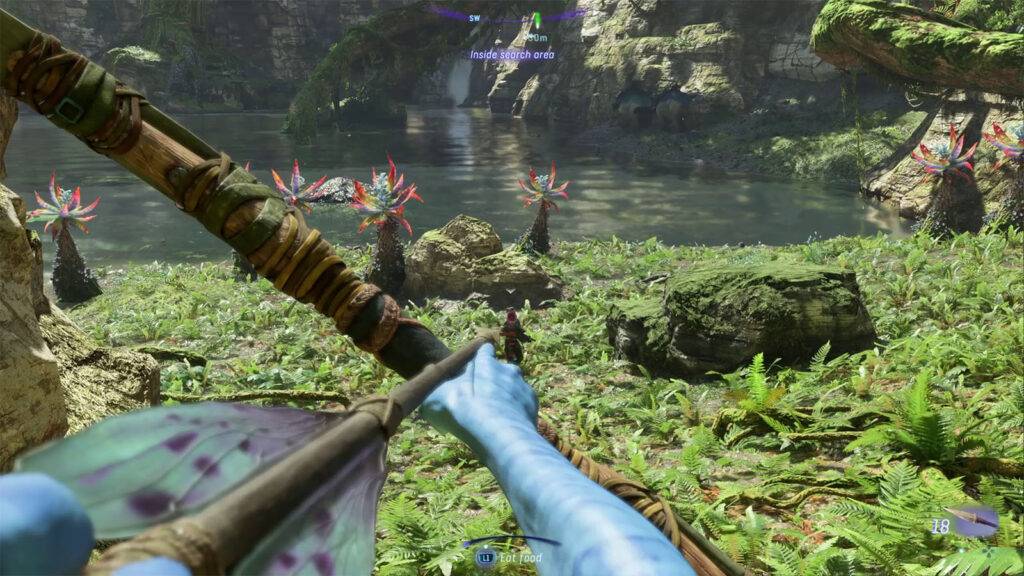
As you make your way to the lake, you will spot some RDA soldiers. Kill the RDA soldiers from a distance using your bow, while ensuring you are not spotted. Once it’s safe, go to the plant and harvest a few pods.
Return to So’lek with a dapophet pod
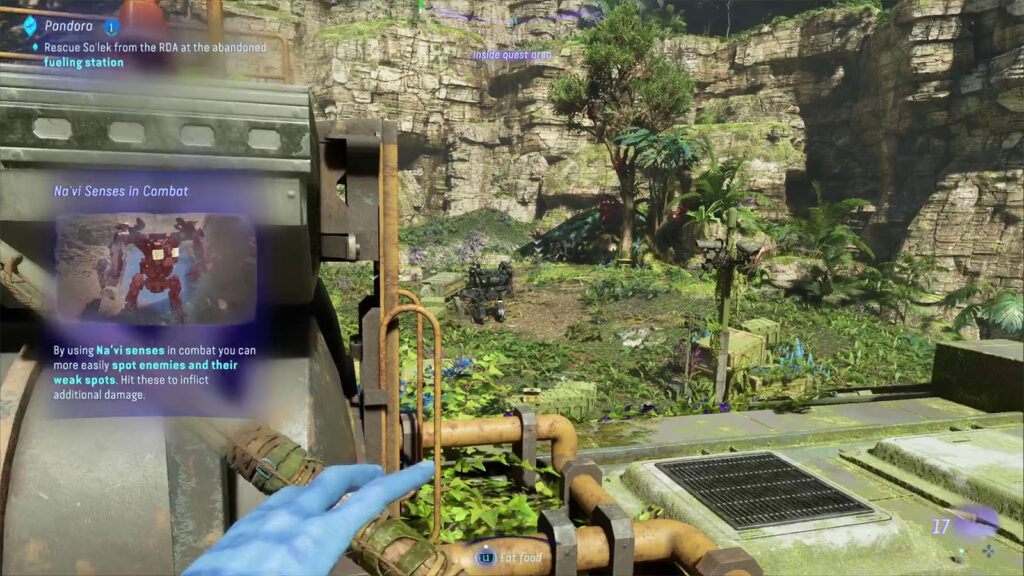
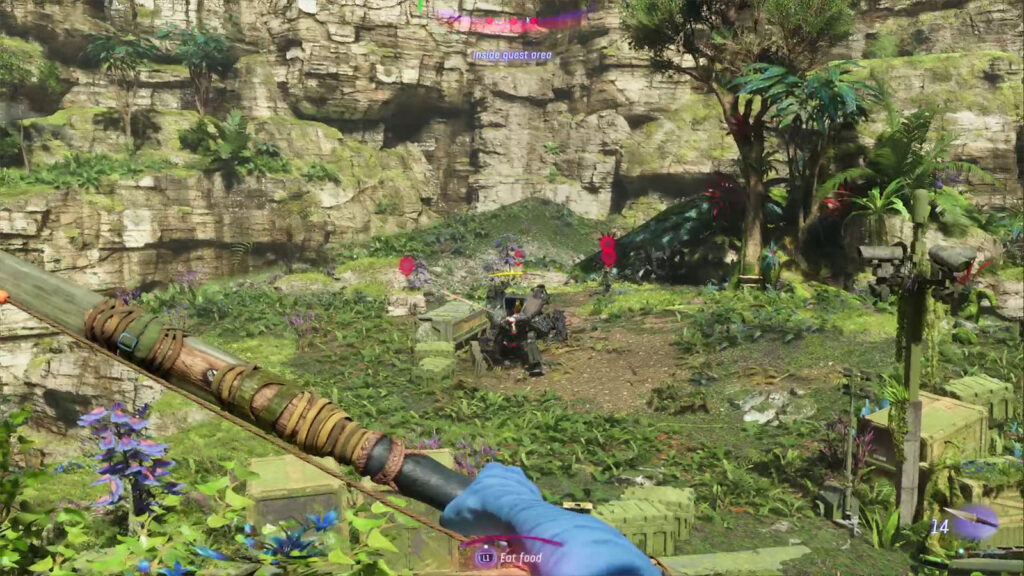
Make your way back to So’lek at the fueling station. But before you get there, use your senses to see that more soldiers have arrived and guarded the area around So’lek. Among the guards is an AMP suit.
Rescue So’lek from the RDA at the abandoned fueling station
Scan the AMP, and you will find that its weak points are the packs behind its back. Find a safe location where you can snipe these packs to deal with the AMP first, and then you can get rid of the remaining soldiers.
After dealing with the soldiers, talk to So’lek and give him the pods to heal up. You can also use these pods as a way to heal during emergency situations. Tap the Left D-Pad to quickly use a pod in your inventory.
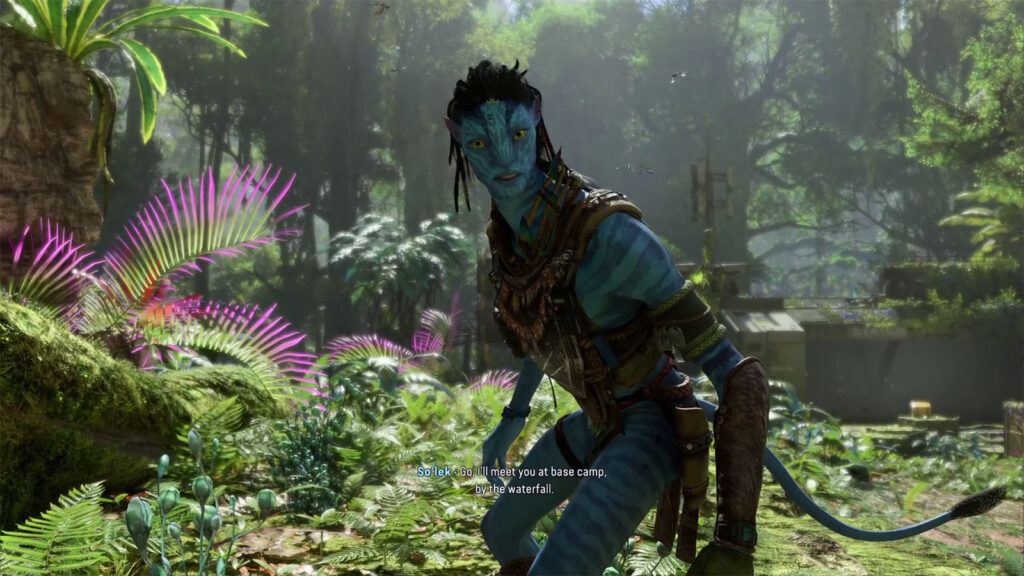
Soon after, you’ll spot another RDA helo fly by, causing So’lek to get worried for the safety of his people. So’lek tells you to meet up at the base camp by the waterfall.
See next: Chapter 3 – Welcome to the Resistance
