
Chapter 1 of Baldur’s Gate 3 follows the story of the protagonist who just survived the crash of the Nautiloid and is now in search of a way to remove the parasite that is in their brains.
This guide covers the quests and events related to the Removing the Parasite main quest. Read ahead as we go through these events in Baldur’s Gate 3 as we share some tips and secrets that will be helpful in the journeys to come.
Chapter 1: Part 2 Objectives
- Removing the Parasite (cont’d.)
- Get help from Healer Nettie
- Rescue the Druid Halsin
- Rescue Volo
- Find the Githyanki Crèche
- Deal with Auntie Ethel
- Accept the Devil’s help
- Tell Omeluum about the Parasite
Chapter 1 Part 2 Removing the Parasite Walkthrough
After reaching the Druid Grove in the first part of the game, we can now work on the quests that are actually connected to removing the parasite. These quests will get you closer on how to remove the parasite, or at least weaken its hold on you and prevent a full-on transformation.
Get help from healer Nettie
Within the Druid Grove, make your way to the Emerald Grove and interact the stone door to open it. In the next room is where you will find Nettie.
Follow Nettie
Follow her into the other room where she will hold out a thorny branch. If you agree to her, she will use the branch to slit you with it. She then reveals that it’s not part of the cure, but rather she gave you poison as they have no way to cure the parasite and that death is their immediate solution to save others from your imminent transformation.
Find an antidote for the poison
Continue with your conversation with Nettie and demand for an antidote. She will be reluctant at first, but after succeeding through various checks and offering to help find Halsin, she will hand you the Elixir of Silvanus that will cure you of the poison. She will also hand you Wyvern Poison as a failsafe should you transform. Drink the elixir and keep the Wyvern Poison for now.
Rescue the Druid Halsin
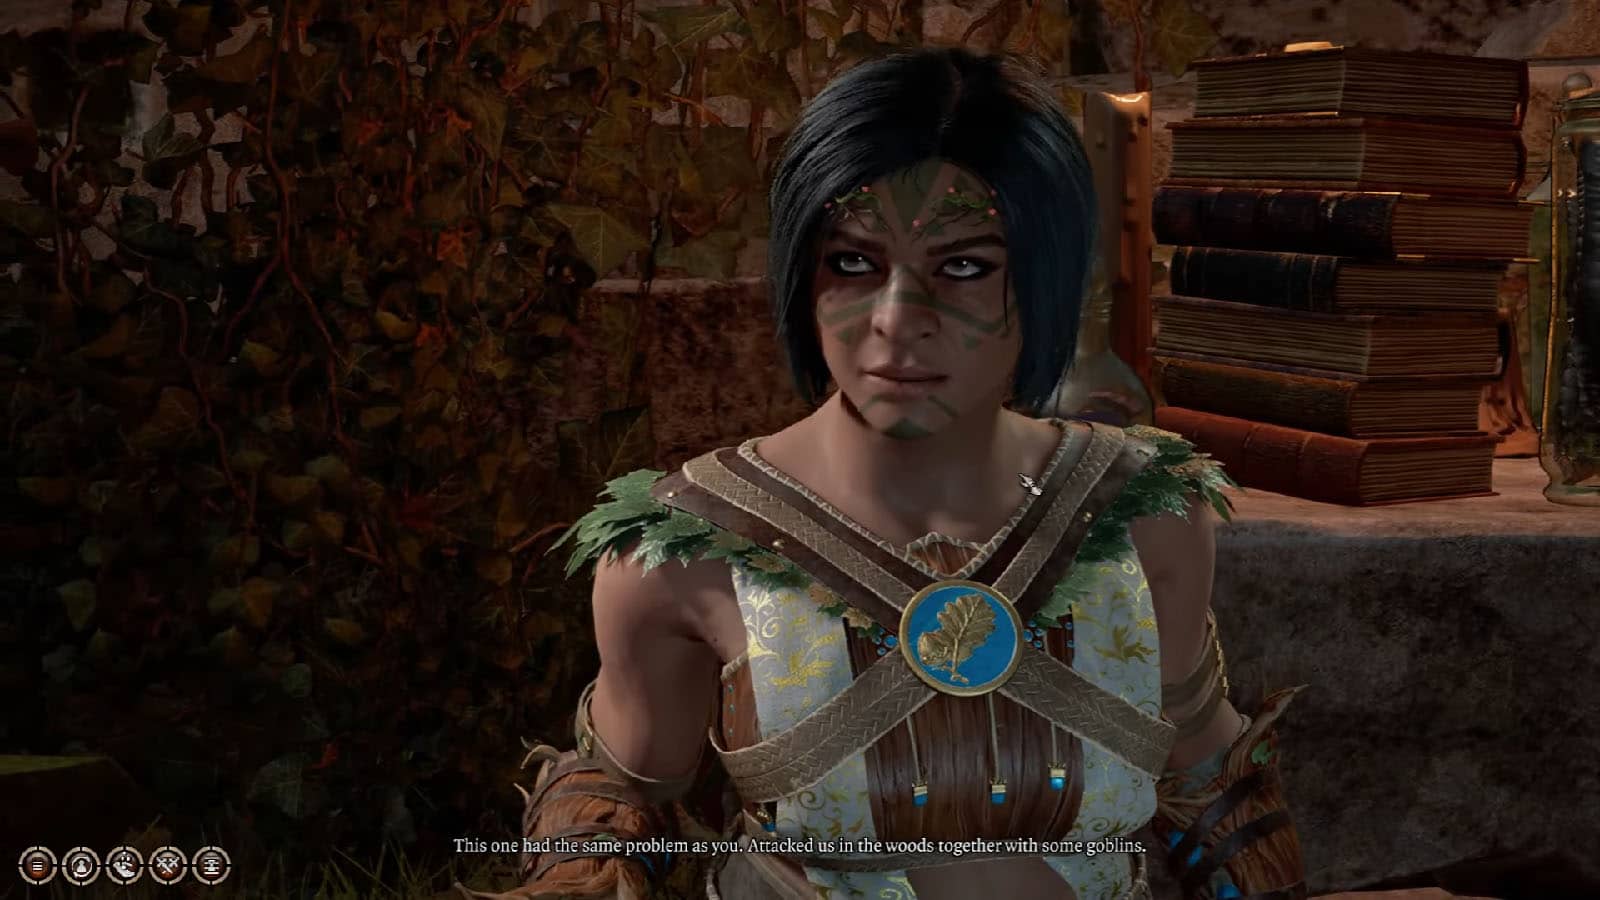
After the conflict at the gate against the goblins, you will learn from the adventurers that the druid Halsin broke off from their band and has been left behind. You are then told that the goblins took the survivors into their camp. Thinking that’s where Halsin probably is, you head to the Goblin Camp to the west, past the Blighted Village.
Search for Halsin in the Goblin Camp
Go to the Goblin Camp and either engage with the goblin guards or go through the side paths until you reach the upper fountain. Through a perception check, you will find a secret cracked wall. You can attack the cracked wall to chip it down. You first whack will wake up one of the drunk goblins, but you can persuade them or convince them to be silent. Continue whacking the wall until it crumbles down, revealing a secret entrance to the Shattered Sanctum.
You will be encountering a number of events and side quests within the sanctum, but your only objective for this quest for now is to reach the Worg Pens as you may have learned from the goblins that Halsin as transformed into a beast and has stayed that way when he was captured.
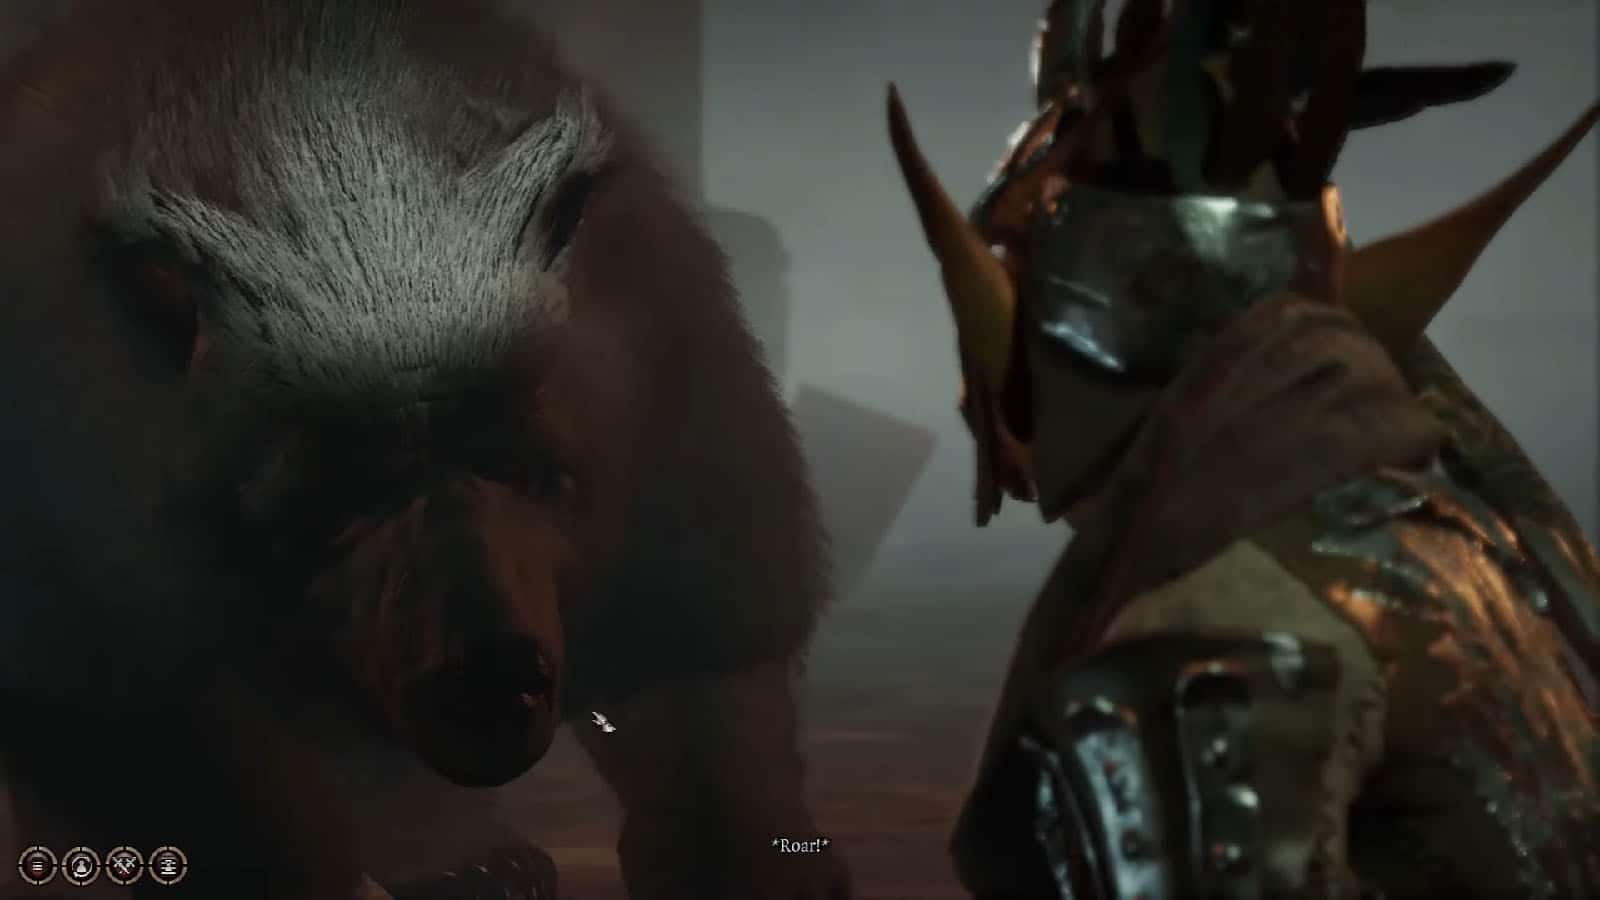
Once you reach the Worg Pens, go to the cage that has a bear in it to trigger a cutscene where young goblins throw rocks at it. Choose to stop the goblins by attacking them and Halsin will initiate by bashing down the gate. Alternatively, you can use your illithid power to manipulate the goblins to release Halsin instead, but it will still end up in a fight.
After releasing the bear, Halsin will introduce himself and will ask for your help in killing off the other goblin leaders such as Minthara, Dror Ragzlin, and Gut in exchange for his help. You have the option to include him in your party, but it will make everyone in the camp hostile towards you, or go without him and take on the leaders stealthily. Alternatively, if you have killed all the leaders before releasing Halsin, he would release himself instead and head back to the grove.
Meet Halsin in the Grove
Head back to the grove and speak with Halsin. He will tell you that the parasite pose no immediate danger and asks you to wait the next day instead.
Wait for Halsin at camp

Halsin will visit you at camp, but offers no immediate cure yet. Although, he brings some new details about the unusual tardiness of the ceremorphosis and suggests to go to the Moonrise Towers to find answers instead.
Rescue Volo

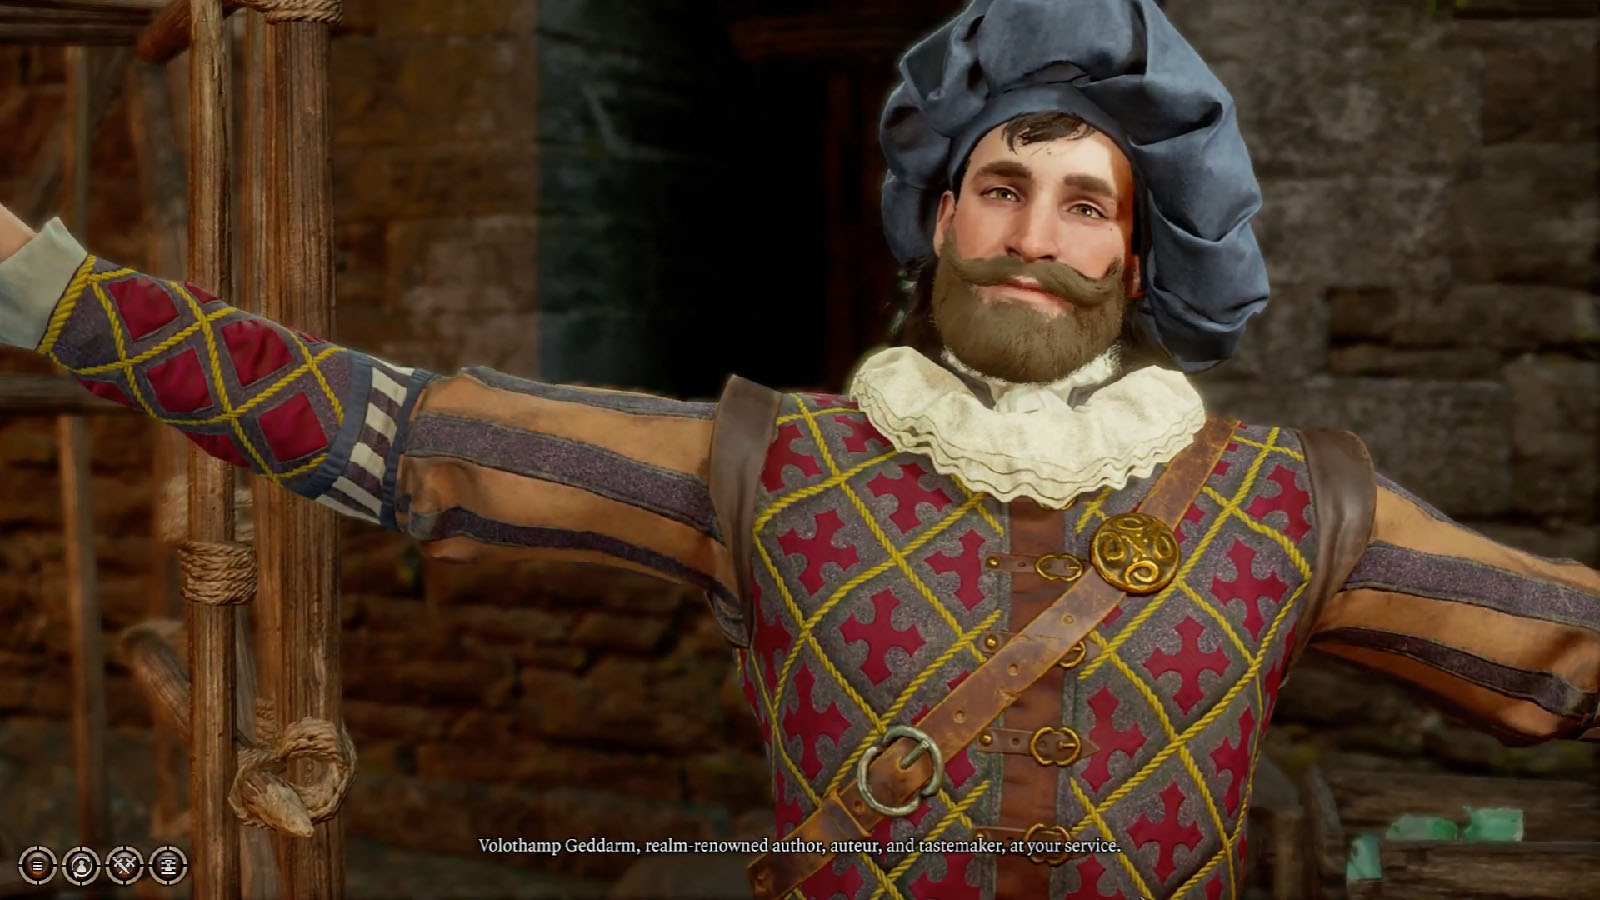
As you reach the Goblin Camp, head to the center where you will find Volo performing on top of a pedestal against his will. After the conversation between you, Volo, and his handler, he is escorted back to his cage inside the sanctum.
Once Volo is locked up, talk to his handler until she converses with you. You can then try to deceive, intimidate, or use your illithid power to set Volo free. After being successful, Volo will then meet you at your campsite.
Return to Camp
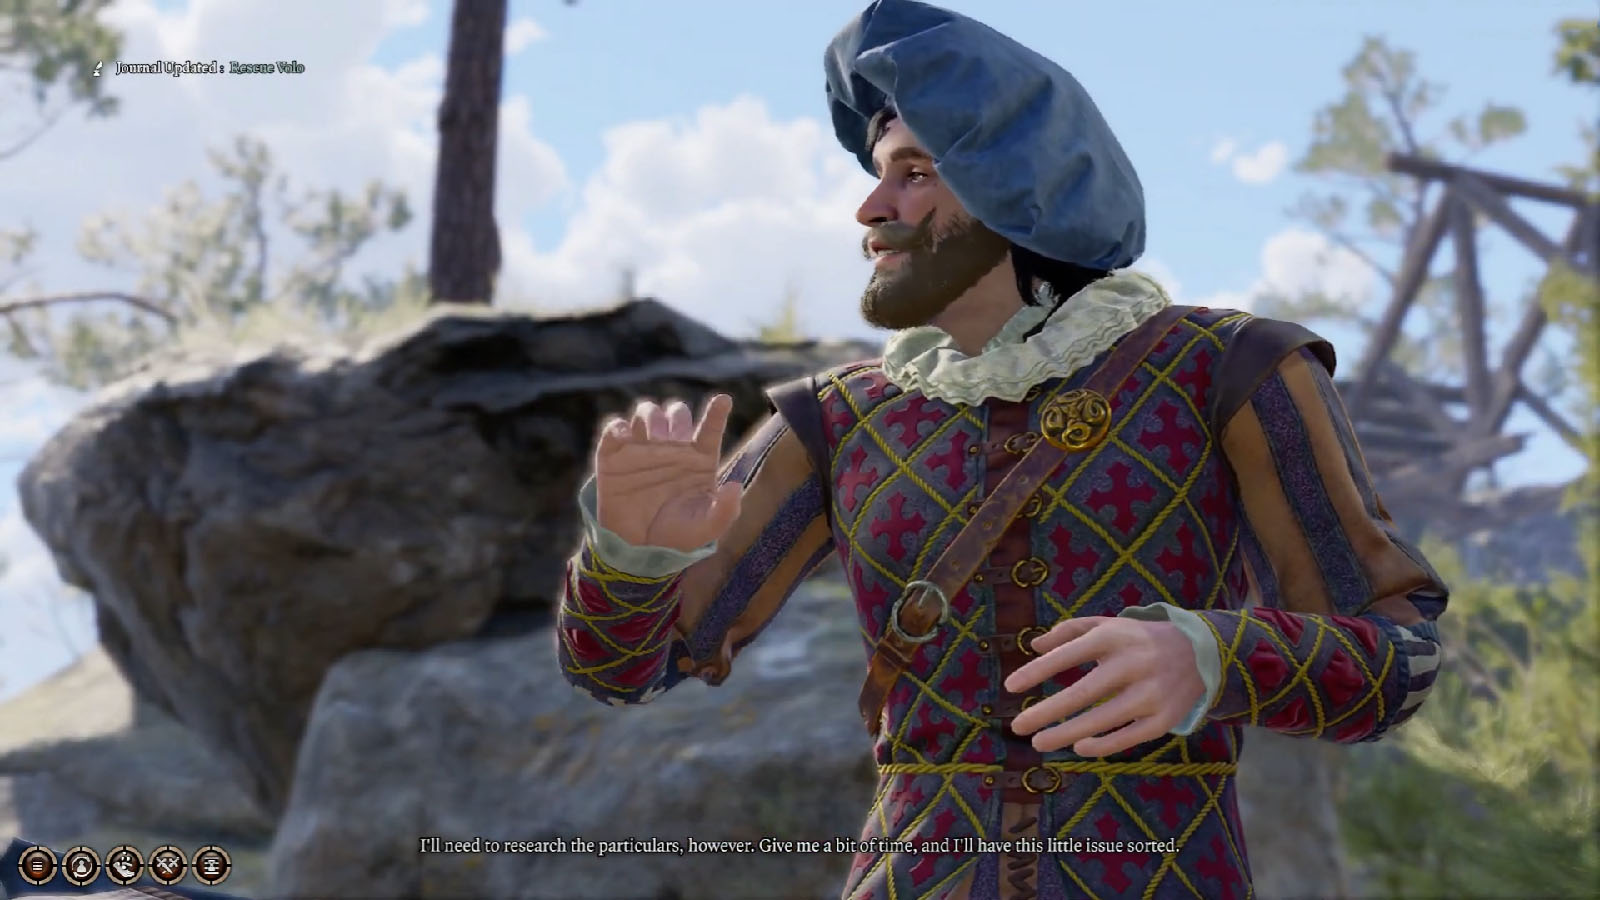
After a day has passed, Volo will then be prepared to help with your parasite. He will be doubtful at first that you have been infected with the parasite, but you can let him examine you for himself. If you proceed with it, he will poke your eye as part of his surgery and disable it in the process. However, this would not cure you of the parasite.
Now with one bad eye, Volo then offers you Volo’s Ersatz Eye to replace your eye which provides -1 to Intelligence and +1 to Charisma. Alternatively, you can just refuse to let hi do the surgery if you don’t want the stats change.
Find the Githyanki Crèche

If you have saved Lae’zel from the tieflings from earlier, she will tell you that she needs to talk to someone named Zorru at the grove. You can find Zorru near the Druid Grove’s training grounds. Bring Lae’zel and she will speak to Zorru. The conversation with him will give you a lead that points you to the Mountain Pass further west.

After reaching the pass, you will meet up with other githyanki soldiers. Despite asking the commander for their help to find the crèche, he orders his troops to engage you instead. After defeating the enemies, loot them to find the Elaborate Plate. Lae’zel pick the plate up and it will reveal the location of the crèche.
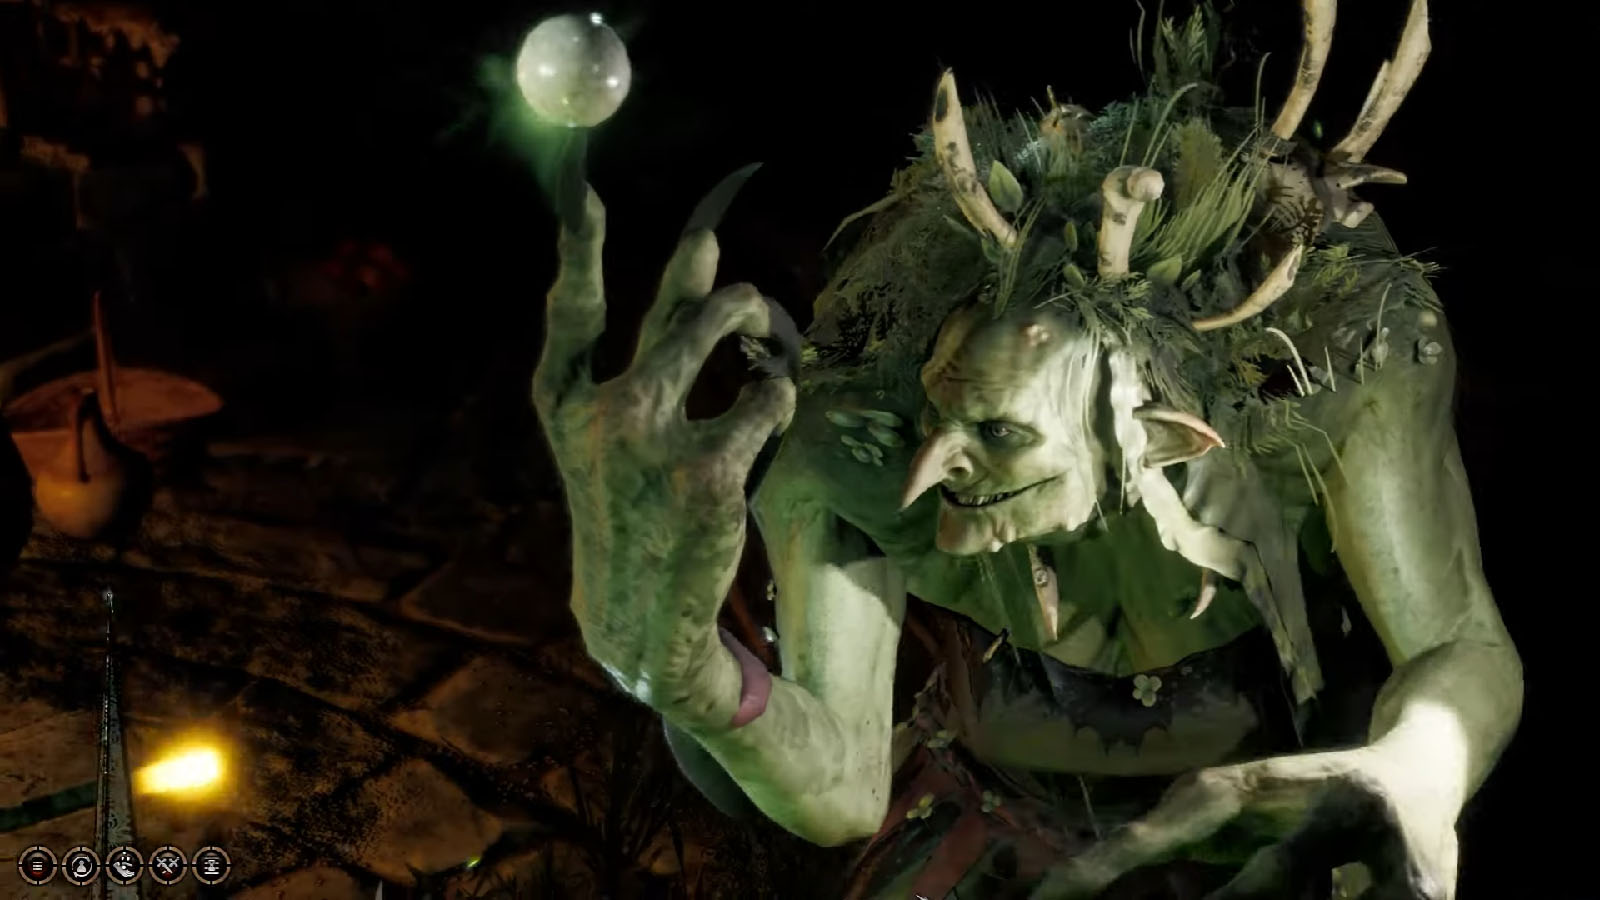
Deal with Auntie Ethel

Go to the Gnarled Teahouse in the Druig Grove and meet up with Auntie Ethel. She will then sense that you have a parasite in you and offers you a deal.
Get Auntie Ethel’s help
Auntie Ethel proposes that she could remove your parasite in exchange for your eye saying that she would just do something with it and give it ack to you once she’s done.
After agreeing to the deal, she will then transform into her real hag form. She will then ask you which eye you would want her to get; she could do either one, it would not matter. Once you have confirmed to go through the deal, she will pluck out your eye, do her thing on it, and place it back into your head.
After the procedure, she then proceeds to remove the parasite. However, she senses that there’s something more about the parasite and that it’s not just the Mind Flayers who are behind it. She also suggests that whatever it is is also the reason why you and the rest of the infected haven’t turned yet.
You try to demand her to hold the end of her deal, but she refuses and gives you the Auntie Ethel’s Charm instead. You also gain the permanent Paid the Price debuff which will prevent you from doing critical hits. Best avoid this quest altogether as there’s no way to remove this debuff.
Accept the Devil’s help
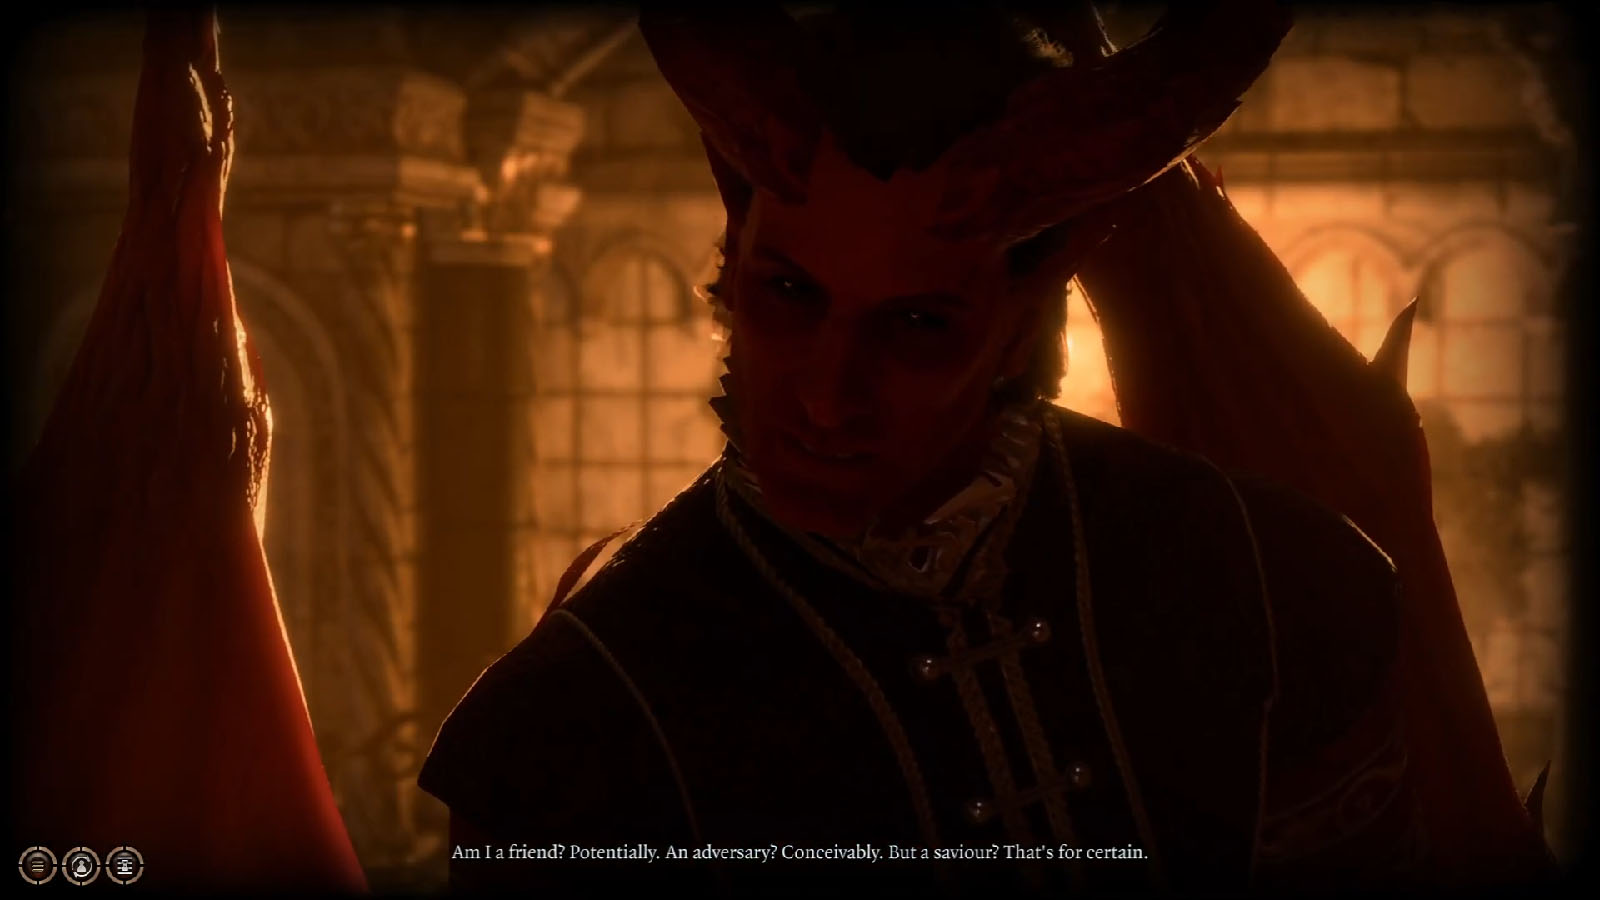
Raphael, a well-dressed man, will visit you in your camp one night and offers his help to remove the parasite. He then whisks you off into his mansion and reveals his true devil form. He then coaxes you to take his deal of helping you with the parasite in exchange for something that he does not reveal yet. Regardless of which option you choose, whether you agree or refuse, he won’t offer you his help in the end and will just whisk you ack to camp.
Tell Omeluum about the Parasite
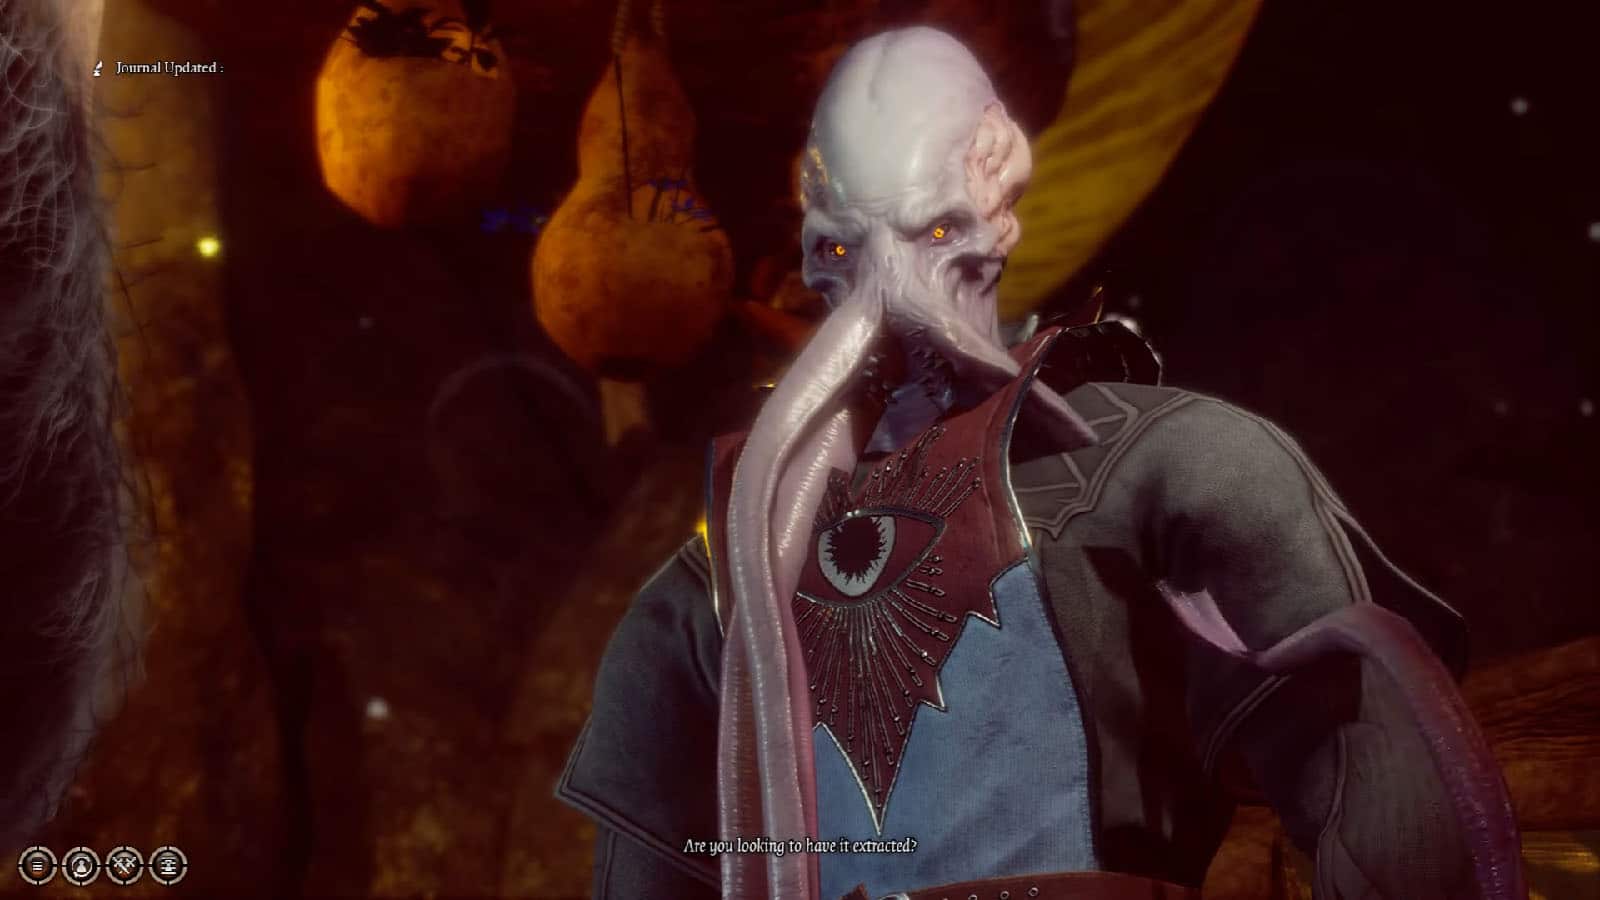
Travel into the Underdark and head to the Ebonlake Grotto where you will meet Blurg. After conversing with him and telling him about the parasite, he will call upon Omeluum, a Mind Flayer that has broken off his allegiance to his own kind.
Help Omeluum Investigate the Parasite
After knowing more about the parasite, Omeluum suggests to take on a potion, but he will need some help in gathering its ingredients. He will need a Tongue of Madness and some Timmask Spores, both of which can be obtained from the Arcane Tower.
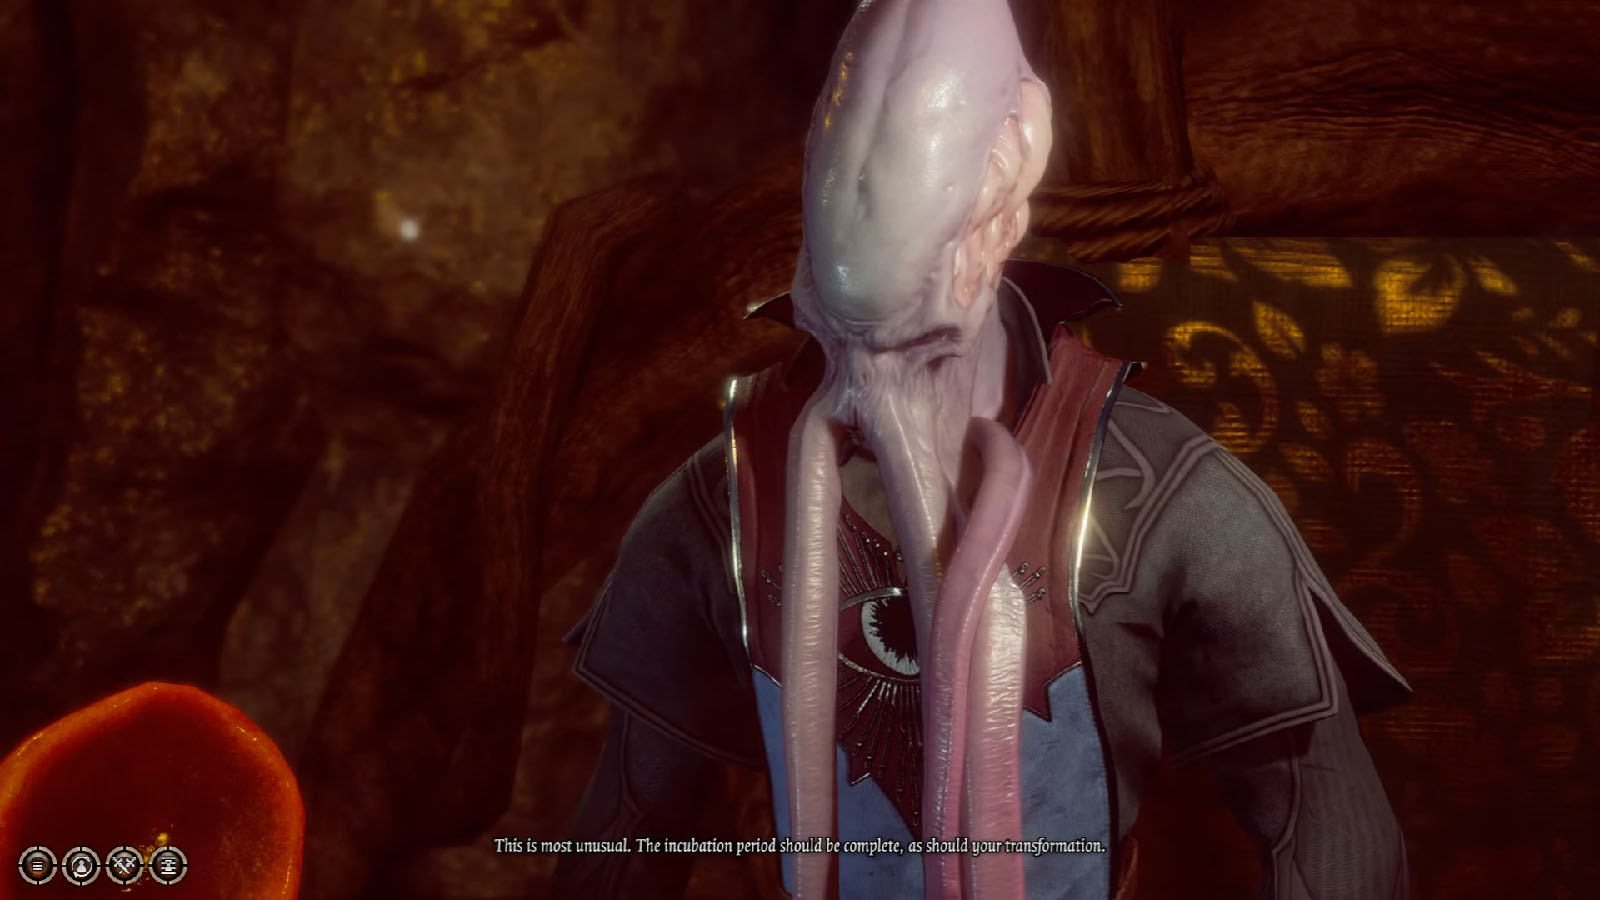
Once you have obtained both ingredients, head back to Omeluum and he will make the potion. After drinking it, you will feel its effects, but it also makes the parasite more active. You will have to go through a couple of checks, and once you succeed them, you will gain control of yourself once more.
Seeing that the potion has failed, Omeluum will suggest another temporary solution. He has with him the Ring of Psionic Protection which would suppress the parasite, both positively and negatively. You can purchase it from him for 400 coins and doing so will complete the quest.


