Destiny’s raids have always been the premium endgame activity. But they are not always accessible to all players as raids require a fireteam of 6 to tackle. This is where Dungeons come in. They are a good middle ground for something akin to mini-raids with 3 player activities and no matchmaking. Similar to Vault of Glass, which returned to the game in the Season of the Splicer, the Prophecy Dungeon is available to free-to-play players. For players who have not tried any of Destiny’s endgame, the Prophecy Dungeon is great place to start as it has a low recommended light level which is easily achievable.
The raid is divided into the following encounters:
- Prophecy Entrance
- Phalanx Echo Encounter
- The Wasteland
- Hexahedron Encounter
- Deadsea
- Kell Echo Boss
Prophecy Entrance
You will be directly teleported into this encounter once you launch the dungeon in the tower. And the main goal of this encounter is to familiarize you with the main mechanics of the dungeon with light and dark motes.

Once you kill the Taken Knights, they will drop either light or dark motes depending on where you are standing. If you are in the shadows they drop dark motes and light motes drop when you stand in the light; this is indicated at the bottom of the screen.
Once you collect five motes, you will have max motes, and this is where you need to go to a deposit plate where light motes are to be deposited on, and the same for the dark motes. Once all the motes are deposited, the gates will open and we travel to the first real encounter of the dungeon.
Phalanx Echo Encounter
This is the first encounter real encounter of the raid. Once activated, a big Phalanx appears in the middle of the encounter arena. The arena is small and one should be careful to not be pushed off by the enemies. The Phalanx has an immunity shield and to remove it you would need to deposit light and dark motes onto the plates similar to that of the first encounter.

Once the motes are deposited, all the players will need to damage the boss. Swords are a great option here along with Bubble or Well to damage the Phalanx as much as possible, and after that, repeat the same steps and damage the boss till it dies. This encounter gives the first loot of the dungeon.
Loot possibilities at the encounter :
- Ikelos_HC_V1.0.2 (Hand Cannon)
- Widow’s Bite (Sniper)
- Armor Legs/Class Item
The Wasteland
After defeating the first boss, stand on the sand in the middle with your fireteam and sink into the Wasteland. Travel around the desert on your sparrow while looking for Taken Blights in the area, and following a light ball which will guide you through them.

This encounter does not have a chest for itself but there is the first secret chest located in the area which will give random loot from the Prophecy Dungeon. Afterwards, follow the light ball to an opening in a monolith to the next encounter.
Hexahedron Encounter
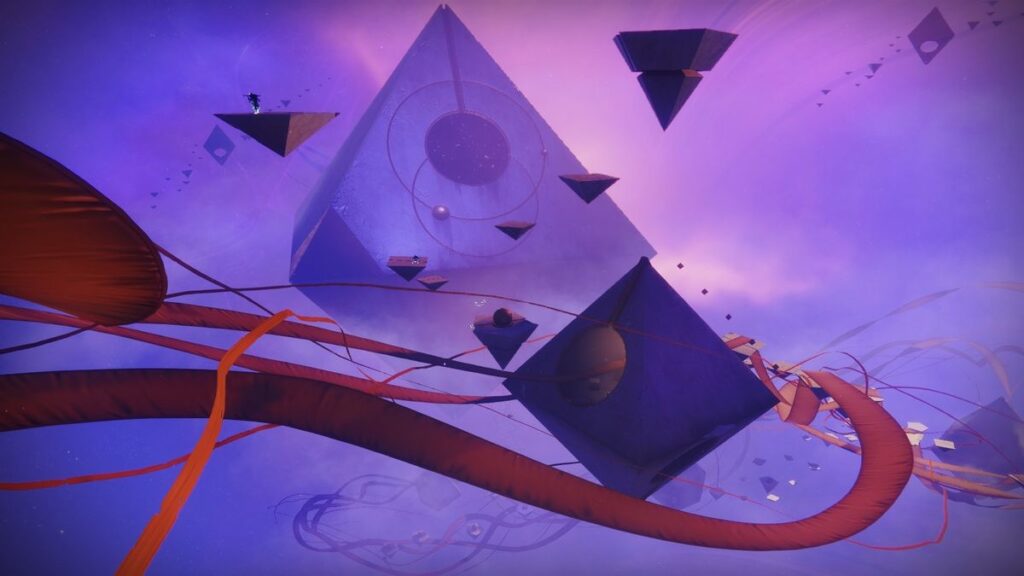
This next encounter is more of a puzzle encounter than a boss. Here players will be dropped into a cube shaped arena. There are sand plates on the floor and on every side of the cube.

One would need to collect and deposit motes under the plates according to which side the light ball appears on. After it is done, everyone needs to move to the center where you are teleported where the plate and the light shifts underneath you. This needs to be repeated until a particular side shifts under the players where two Phalanx bosses spawn with no shields and less health. Once defeated, you will have completed the encounter.
Loot possibilities at the encounter :
- Death Adder (SMG)
- Negative Space (Sword)
- Armor Arms
Deadsea
Once the Hexahedron encounter is complete, your fireteam would be back in the Wasteland but now following the apparition of a boss to another monolith entrance where one will be dropped into the Deadsea, which is more of a pit stop than an encounter. Here, just follow the ribbons to the bottom on your sparrows and try not to get pushed off the ribbon.

Similar to the Wasteland encounter, it does not have a chest for itself. But there is the second and final secret chest located at the end of the sparrow trail.
Kell Echo Boss
This is the final part of the dungeon and the hardest part. Here, I would recommend high damage supers and long distance weapons for boss damage.

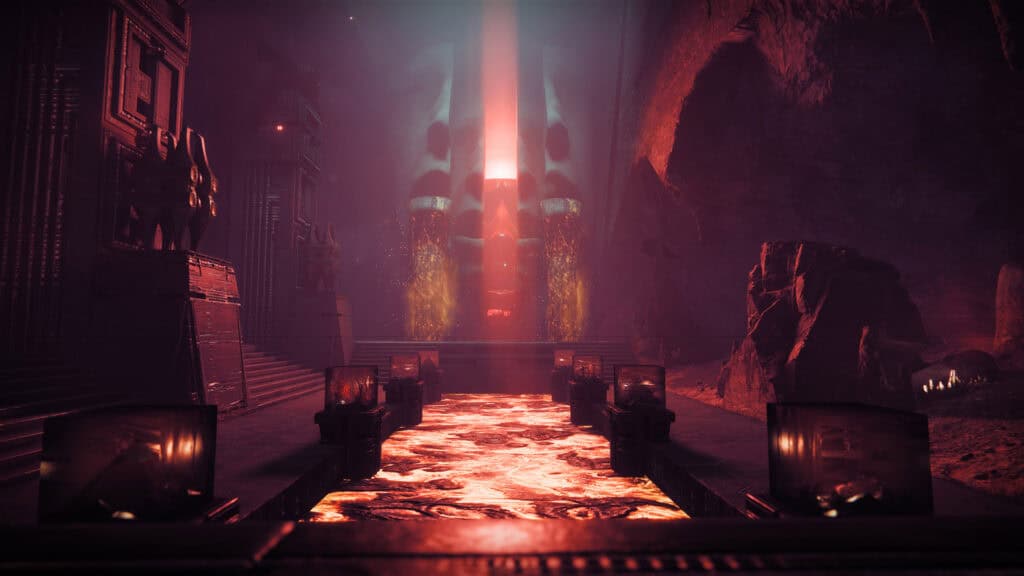
When the encounter starts, there would be apparitions of the boss in three corners of the arena and each has a light or dark plate in front of them in seemly random fashion. they need to dealt with similar to other encounter and when the motes are deposited an Ogre spawns in to damage the team. Once all three corners are deposited, the sand plate in the middle opens up, revealing the boss room.

Within this final room, the boss will be moving from the front of the arena to the back and players will need to continuously move close to the boss. If one is too far away a debuff called Dark Entropy appears and kills the players who are too far away. The boss would also attack you alongside the many snipers in the arena, and stomps at you if you are close. But mainly it throws a wave at you which teleports the players away from it. So one needs to find cover from that and chip at the boss’s health. If not damaged enough, you will need to go back to a new room to do the 3 plates part again and repeat. But once done, you and your team will have conquered the Prophecy Dungeon.
Final note, the boss drops any piece of the Moonfang Armor. And the players will be teleported to the Emissary who gifts them with any one of the following loot:
- IKELOS_SG_v1.0.2 (Shotgun)
- Hossegow (Rocket)
- Armor Head/chest/Class Item
New Weapons from Season 15
As of writing this guide, the Trails of the Nine weapons were confirmed to be dropping in the dungeon from the Season 15. This was done in order to make the weapons more thematically relevant.

So the changes, in accordance with the older loot pool, is yet to be specified. Till then this is just more loot to chase as one plays though the Prophecy Dungeon.


