Armor buildcrafting has been drastically altered in Destiny 2 Lightfall. For long-time players of the game, it is a whole new way of building armor and replaces an old time-locked system that has outgrown its initial purpose. For New Light players, however, the new system can be somewhat overwhelming.
In this guide, we’ll talk about the new Destiny 2 armor mod changes and we’ll touch a little bit on the new Loadout system.
Note: As for the writing of this article, Bungie has temporarily disabled the Reaper and Dynamo armor mods. Hopefully, they can be fixed sooner than later.
Destiny 2 Armor Upgrade Cost
But first, let’s talk about energy costs. Energy is what you need to apply armor mods onto the armor. Each level of armor costs a certain amount of resources to level up.
Here are the costs for each armor level for Legendary armor pieces: (Exotic armor pieces significantly cost more.)
- Level 2: 500 Glimmer, 1 Legendary Shard
- Level 3: 500 Glimmer, 1 Legendary Shard
- Level 4: 500 Glimmer, 2 Legendary Shards
- Level 5: 1000 Glimmer, 2 Legendary Shards
- Level 6:1000 Glimmer, 3 Legendary Shards, 1 Enhancement Core
- Level 7: 2500 Glimmer, 3 Legendary Shards, 2 Enhancement Cores
- Level 8: 3000 Glimmer, 4 Legendary Shards, 1 Enhancement Prism
- Level 9: 3000 Glimmer, 4 Legendary Shards, 2 Enhancement Prisms
- Level 10: 4000 Glimmer, 5 Legendary Shards, 1 Ascendant Shard
General Armor Mod Changes
General Armor Mod remains the same as it was before with the exception of the increased energy cost for Resilience mods. You have the option to put in 1 or 2 energy
Artifice Armor, obtainable from Master level raids and dungeons, no longer has a bonus mod slot for equipping a seasonal mod. This is because seasonal artifact mods are now passive bonuses rather than mods you put on armor. In this new system, the extra mod slot allows you to add a +3 mod of the stat of your choice at the cost of 0 energy.
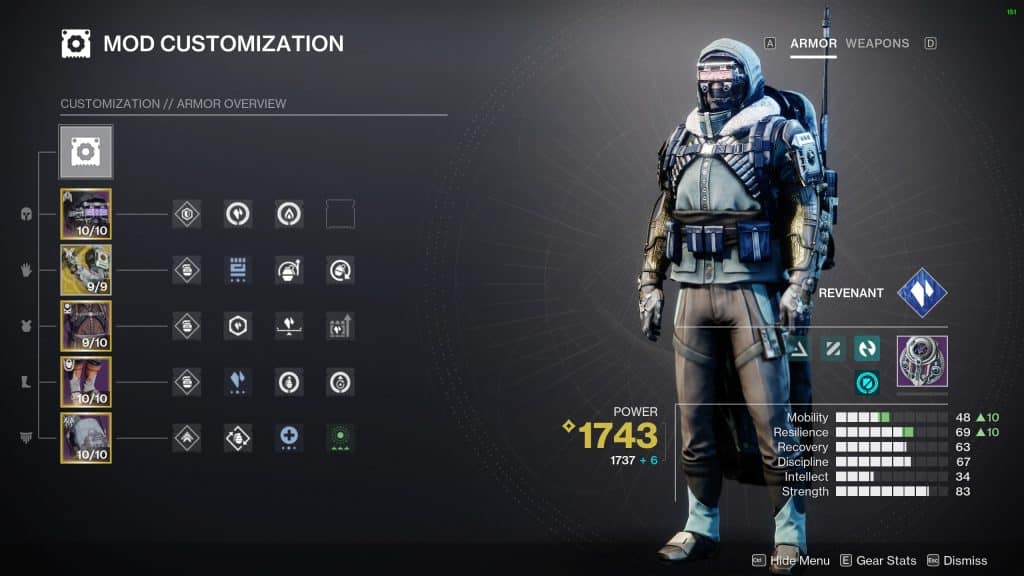
Armor elemental affinity has been removed completely and so have the combat styles. In its place is a third armor mod slot with the new streamlined armor mods. The combat style mods remained mostly the same as they were in the old system but now are confined to a piece of armor.
An example of this is the Powerful Friends mod. Previously it was a combat style mod with an Arc affinity, and you couldn’t see the mod unless your armor was Arc. It’s a helmet armor mod now that can go to any of the three available slots.
Destiny 2 Armor Charge Mods
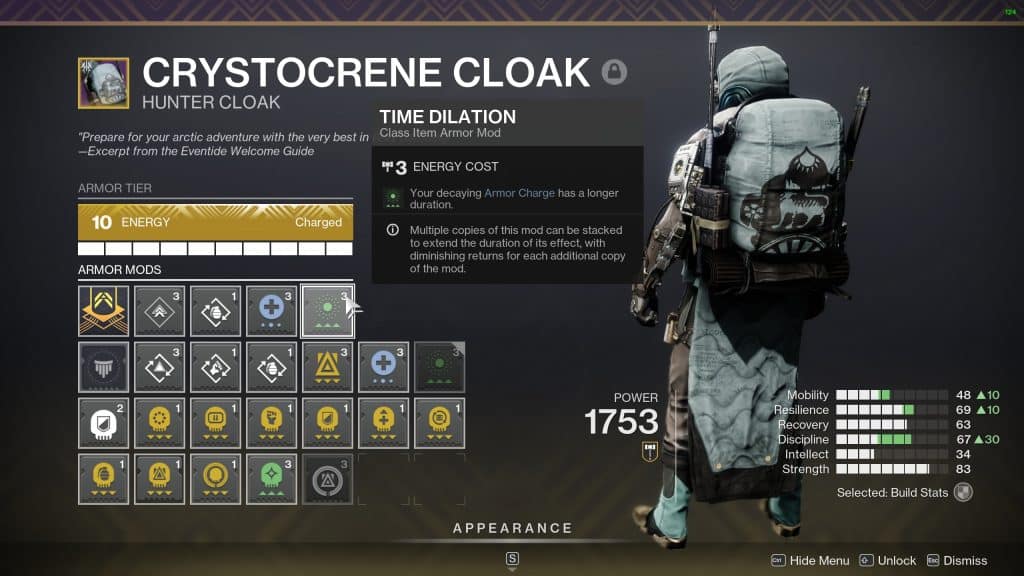
Moving on to Armor Charge mods. These have mostly replaced the Charged with Light and Elemental Well mods. These newly colored mods allow you to get various boons when you pick up Orbs of Power. The difference between the old system and the new one is that you now pick up Orbs of Powers with a full Super meter.
- Blue mods – Give you lingering passive buff while you have an Armor Charge meter active. The Armor Charge does decay over time, as seen by the countdown timer at the top of the Armor Charge meter.
- Yellow mods – Consumes a number of bars to activate perks.
- Green mods – Supplemental mods that further improve what you’re currently running.
You can stack the same copies of the same mod in different slots. Yellow mods become more potent the more copies you stack. Blue mods do not become more potent but they do extend the duration of the mod. Unfortunately, green mods do not stack.
Weapon-specific mods like weapon reloads, dexterity, and ammo finder are still there. They have been expanded to have weapon elemental types that increase the odds of Orbs of Powers spawning using that weapon type.
This is a breakdown of all the general mod types that go into each slot:
- Helmet: Scout, Finder, Siphon, Targeting
- Gauntlets: Grenade, Loader, Dexterity,
- Chest Armor: Resistance, Unflinching Aim, Ammo Reserves
- Leg Armor: Orb of Power, Weapon Surge, Holster, Scavenger
- Class Item: Most of the old Class item mods, Finisher,
Loadouts
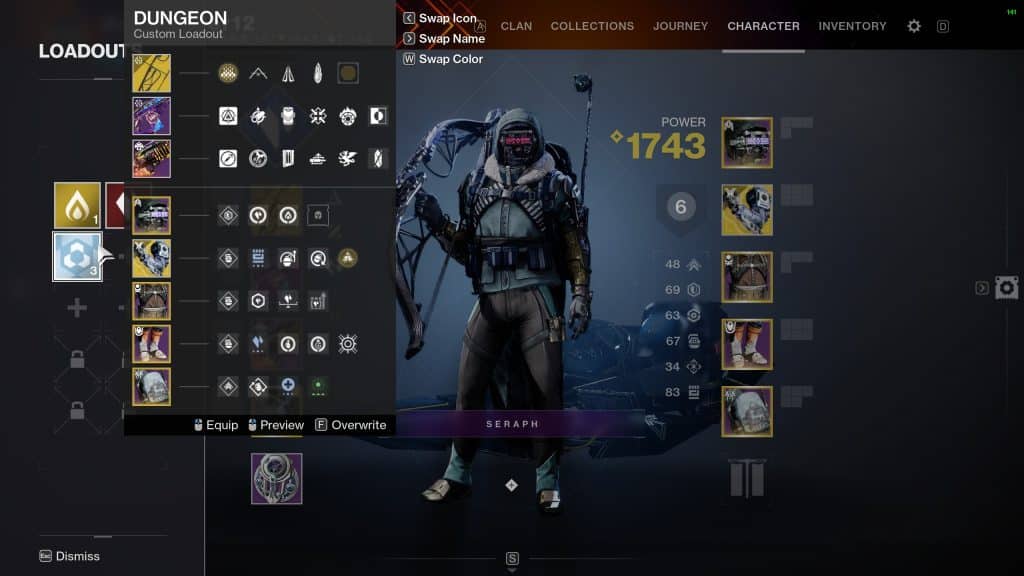
So, you have all your mods set up. Now you can save everything as a loadout. The new Loadout system is a great addition that allows you to save your currently held weapons, armor, and mods. To open up the menu, press the left arrow key. This will bring up all your loadouts.
You can press then Press left click to Save as a new loadout. You can then alter your loadout in any way you want and you can hold F to Overwrite the previous loadout. Additionally, you can press right and left on the keyboard to change names and icons respectively.
The best thing about the new armor mods is that it is easier than ever to coordinate mod setups with allies. For instance, you can run a special ammo scout while one of your allies runs a heavy ammo scout mod. An entire raid team can run all ammo mods to keep the entire team well-stacked for the whole raid.
To sum things up, the new mod system is a generally good change over the previous one in many ways. It’s a bit overwhelming for New Light players. But at least we no longer have to be at the beck and call of our mistress, Ada-1. That’s a win in our books. That’s it for this armor mods guide. Hope it helps you out, Guardians.
Check out this video from Youtuber Ehroar where he talks about the new armor changes in Destiny 2.


