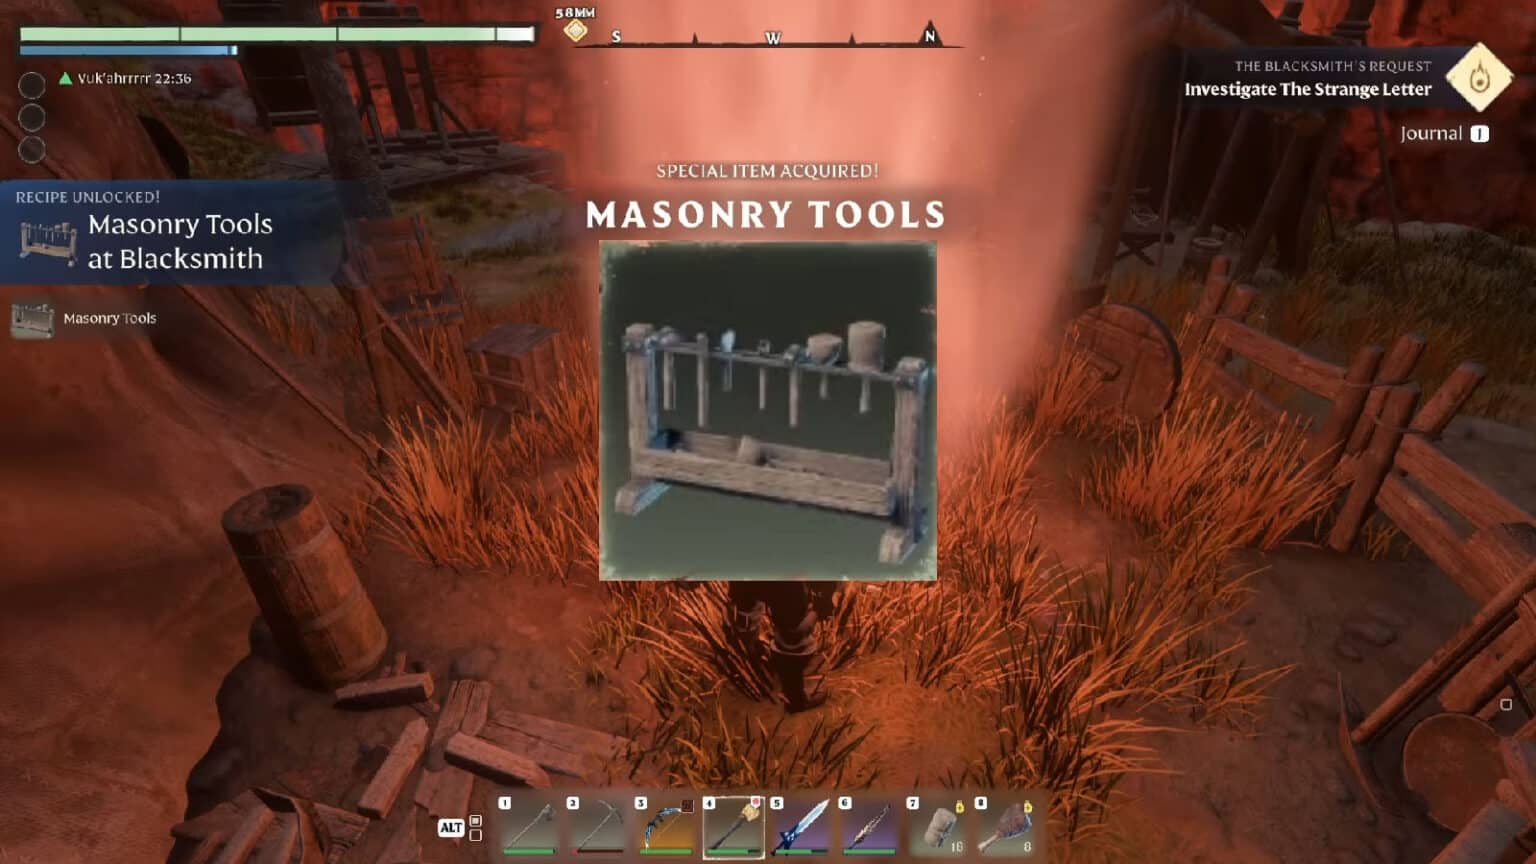
Finding Masonry Tools is one of the NPC side quests in Enshrouded, where the Carpenter requests to get more Masonry Tools in order to unlock more crafting stations. Read ahead as we go through the steps for completing the Finding Masonry Tools side quest in Enshrouded.
How to unlock the Finding Masonry Tools side quest
After rescuing the Carpenter and reaching Flame Level 4, talk to him, and he will tell you about his requests, one of which is the Finding Masonry Tools side quest. This will also reveal the marker for the first objective, which leads to the Pillars of Creation.
Reach the Pillars of Creation
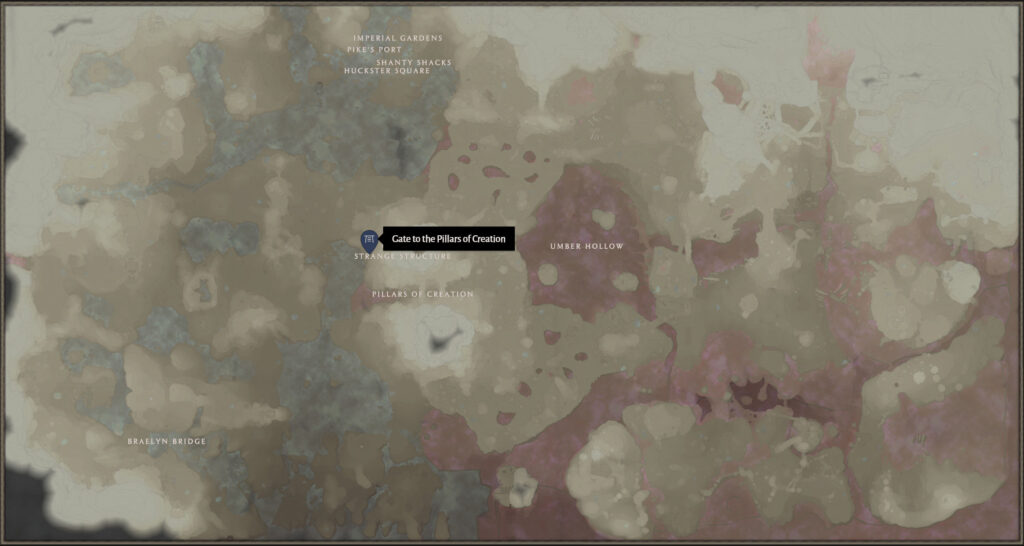
Make your way to the marked area to reach the entrance to the Pillars of Creation. You will have to pass the Glimmer Rock Mine along the way if you are traveling on foot.
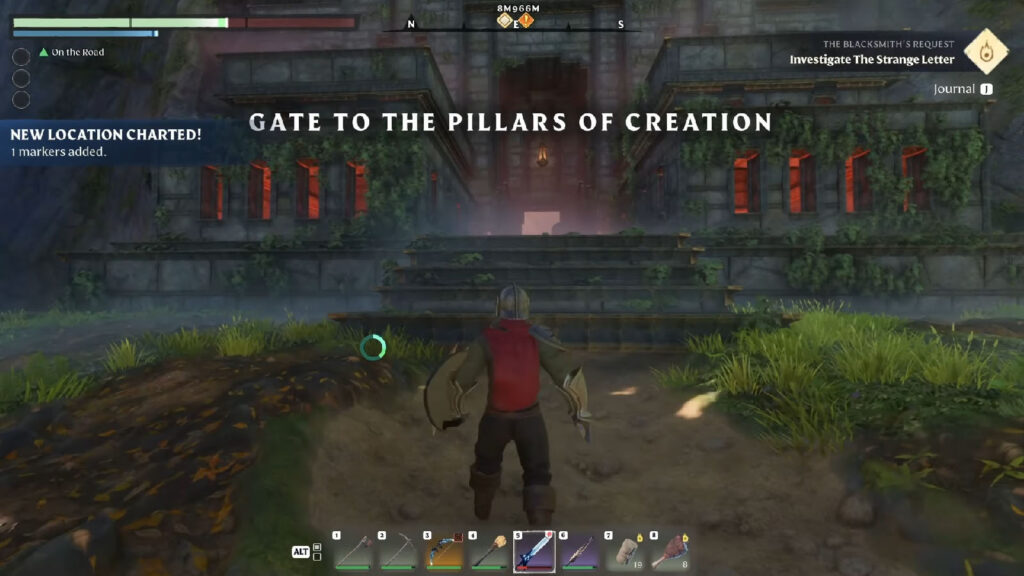
The mine has some strong enemies in it, so make sure that you are properly geared. It is also recommended to get the Double Jump skill for an easier traversal of the obstacles ahead.
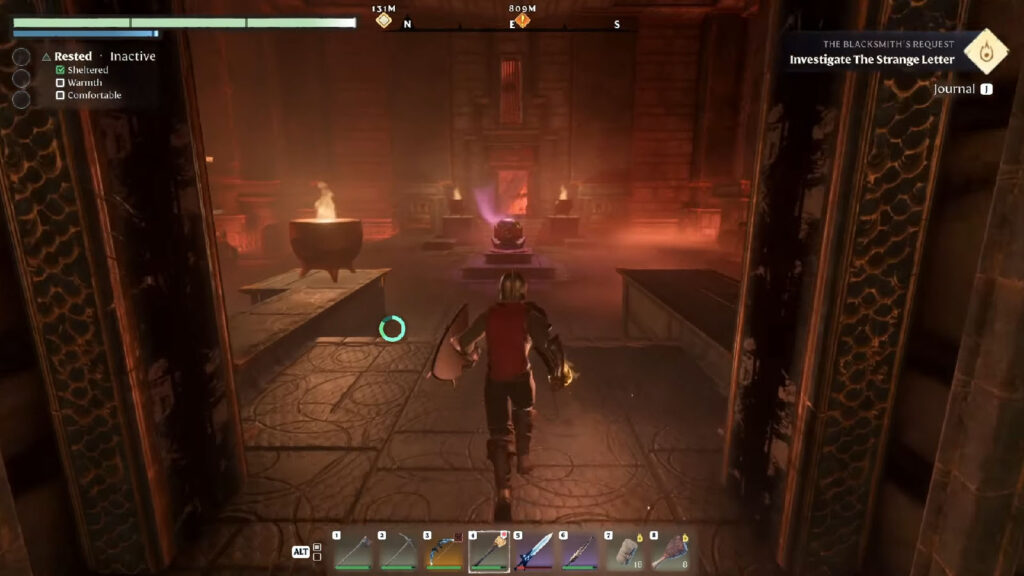
Past the entrance, the path ahead is shrouded, but keep following the path leading to some stairs on the right side, and you will arrive at the clear starting hall with a respawn point. Make your way to the opposite side to reach the Inner Sanctum.
Uncover the Masonry Tools in the Research Camps
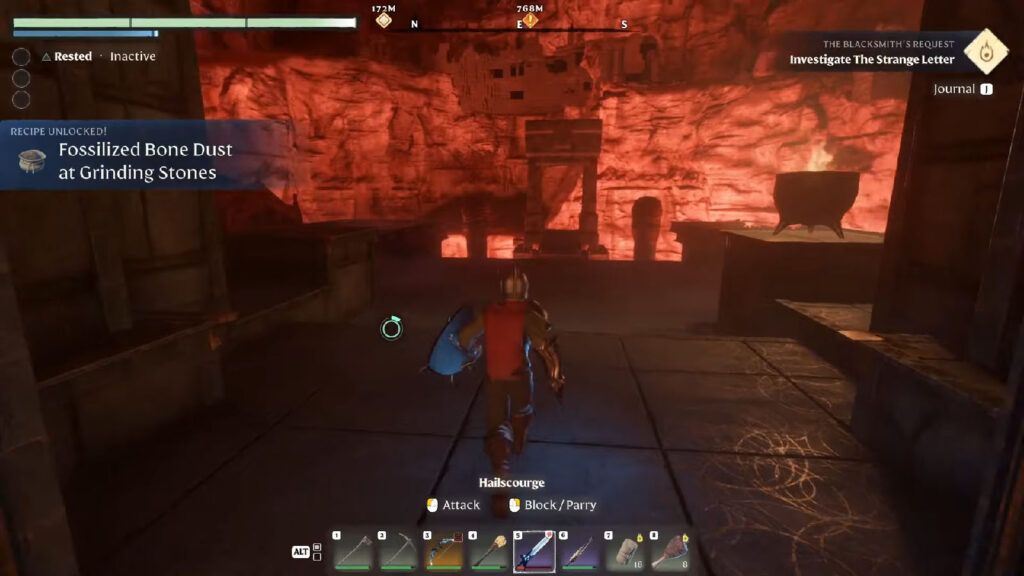
The Inner Sanctum is basically a structure created within the mouth of a volcano. Up ahead is a Strange Structure, but this leads to nowhere. For now, follow the ramp that goes around on the right side to reach a camp that has the Lore Page – New Theories.
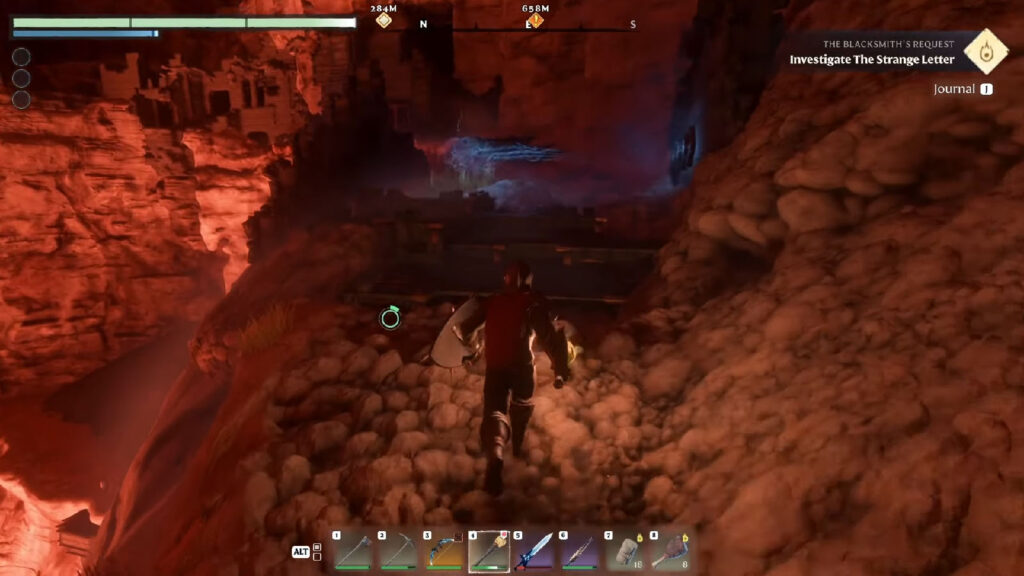
Make your way through the traps and the next camp until you reach the gate at the very top.
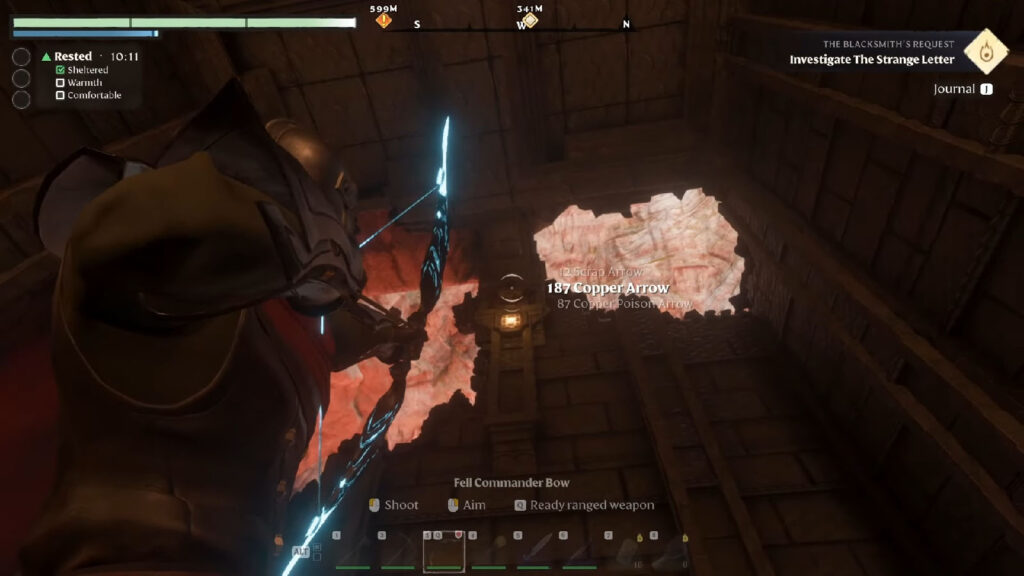
As you go past the gate, immediately turn around and look up to find the first switch; shoot this with a ranged attack.
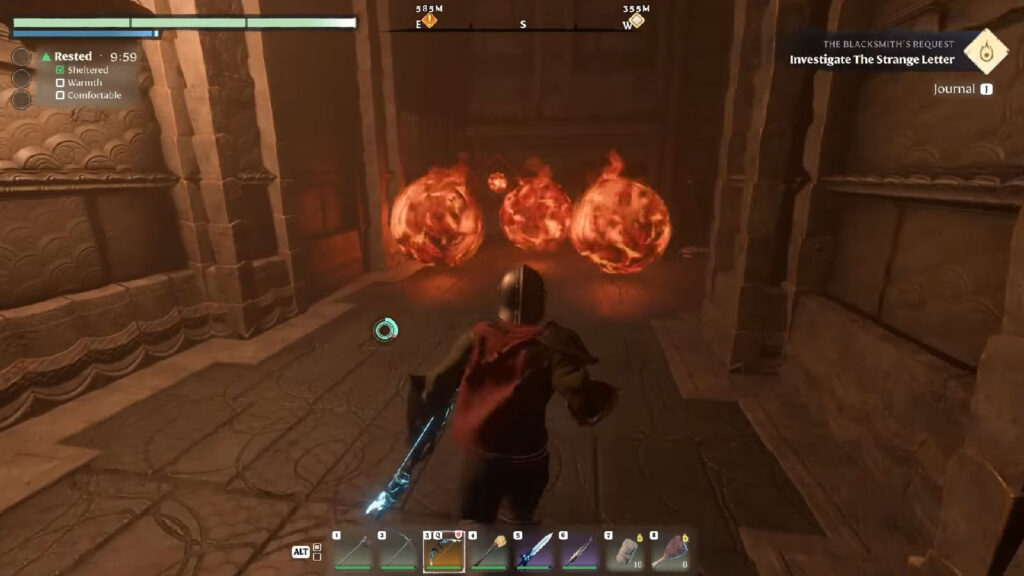
Be careful of the fiery ball trap just up ahead. Go through the trap along the corridor; the path turns left, but there is a room on the right with a silver chest inside.
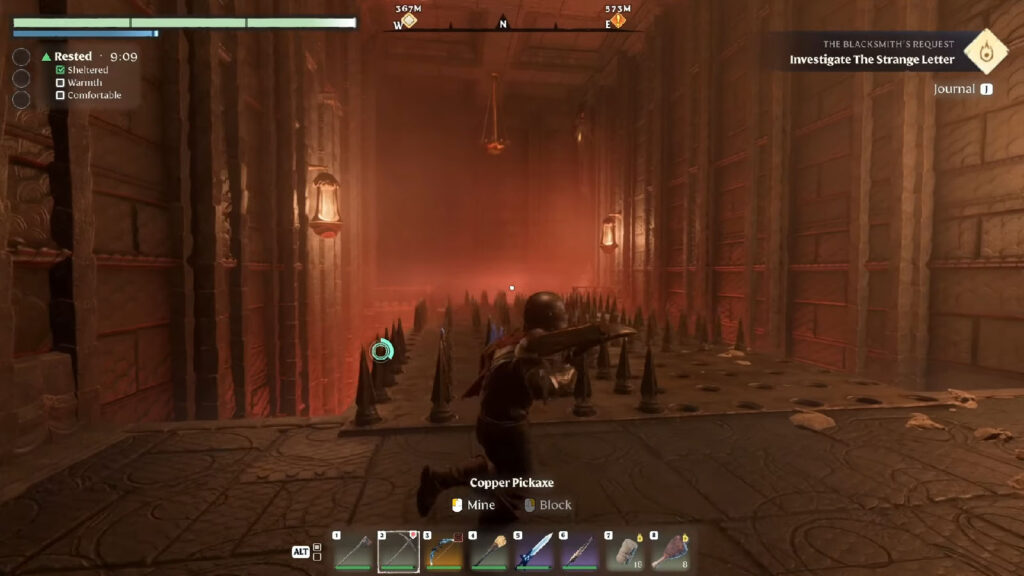
Go through the spike traps on the next room.
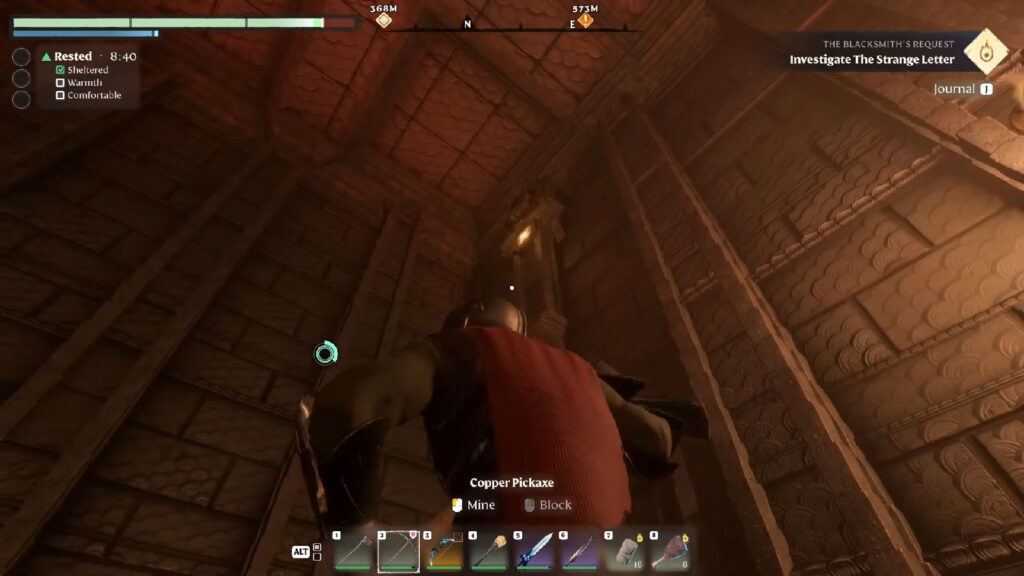
Once you’re on the other side, look right and up to find the second switch up high; hit this with a ranged attack.
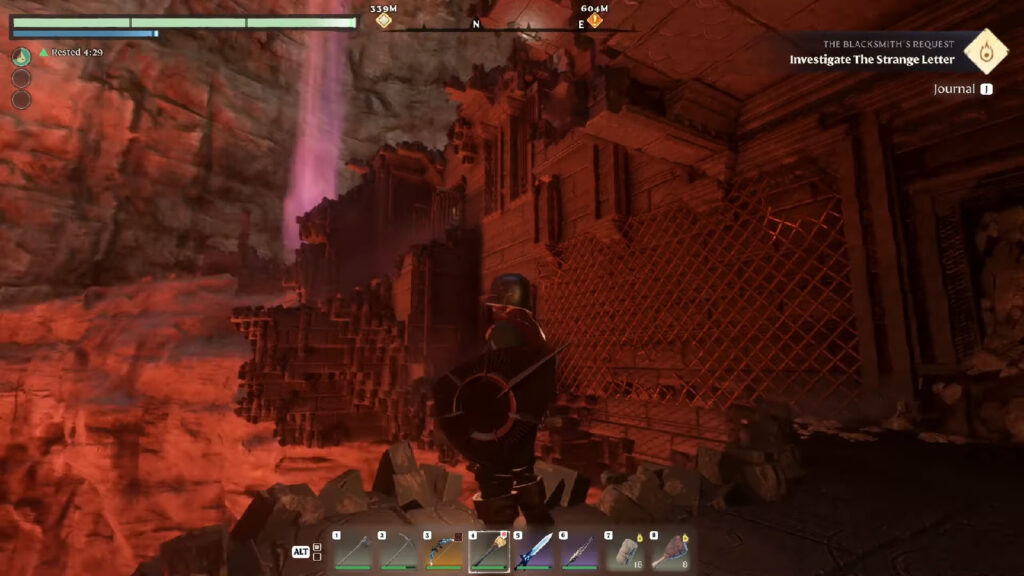
Go out the next gate and climb your way to the next ledge to reach the next gate. In this next room is a connecting room up ahead that has another silver chest.
The gate to the left is another path ahead that is lined with spike traps. If you have managed to find the two buttons earlier, the gate up the stairs should be open. Look for a grapple point to cross over to the other ledge and follow the path to find a room that has a chest containing Acid Bite and Light Burst.
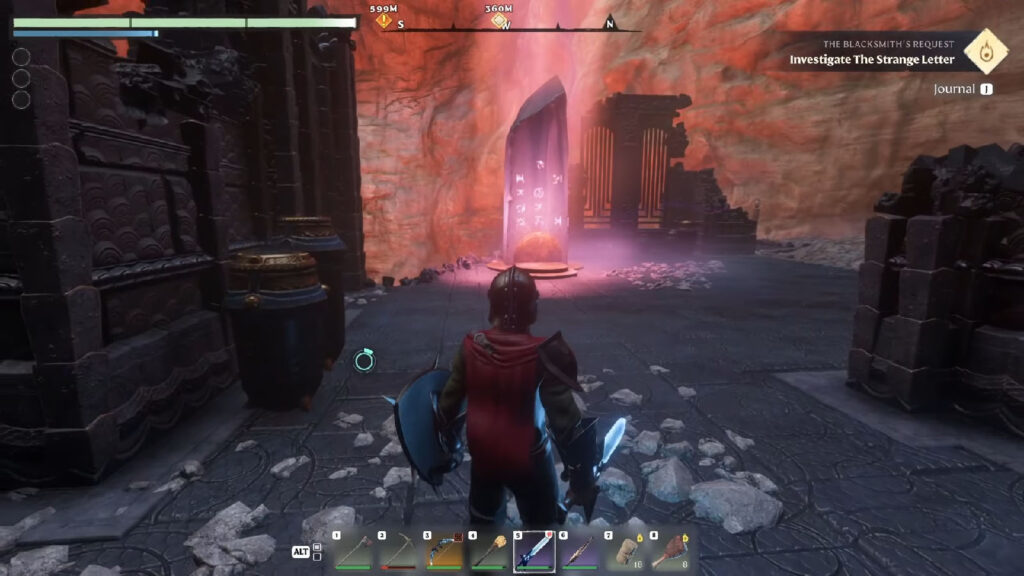
Follow the path and you will spot an Ancient Obelisk. Inspect this obelisk to start/progress through the Obelisk Research side quest.
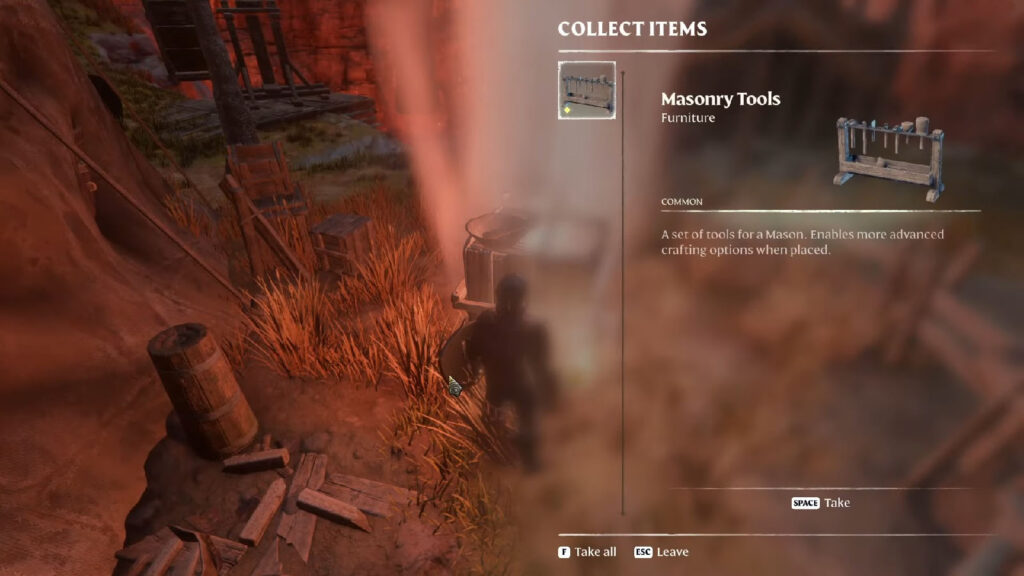
Follow the next ramp all the way up to the next campsite to find the Lore Page – I Completely Fumbled It and the Masonry Tools by the glowing crate.
Place the Masonry Tools
Head back to your base and place the Masonry Tools down to complete the side quest. You will be rewarded with 150 XP, the ability to create the Water Well and Improved Water Well, plus the recipes to build stone furniture and the ability to use refined stone structures.
That completes our Finding Masonry Tools Quest Guide. For more tips and walkthroughs, be sure to check out our main page for Enshrouded.


