
One of the side quests in FF7 Rebirth, “From Whence Life Flows,” takes players to the Cosmo Canyon Region. This quest involves Red XIII and the wise Bugenhagen as they set out on an environmental mission to survey depleted Lifespring locations. This guide provides a step-by-step walkthrough for each objective, including where to find each Lifespring Survey Station and how to measure the Mako Frequency.
How to Start “From Whence Life Flows” in FF7 Rebirth
To start the “From Whence Life Flows” quest in FF7 Rebirth, follow these steps:
- Complete Red XIII’s Trial in Cosmo Canyon to unlock the “From Whence Life Flows” quest. This trial is part of the main storyline, so you can’t miss it as long as you progress through the game.
- After completing the trial, you have two options to officially start the quest:
- Talk to Bugenhagen inside the Cosmo Canyon Observatory to start the quest.
- Check the Notice Board in Cosmo Canyon to start the quest. The board will have information or a request posted by Bugenhagen regarding the depleted Lifesprings survey.
The quest involves locating and measuring the Mako frequency for depleted lifespring locations around Cosmo Canyon with the help of vague, hand-drawn maps provided by Bugenhagen.
All Lifespring Survey Station Locations (Measure the Mako Frequency)
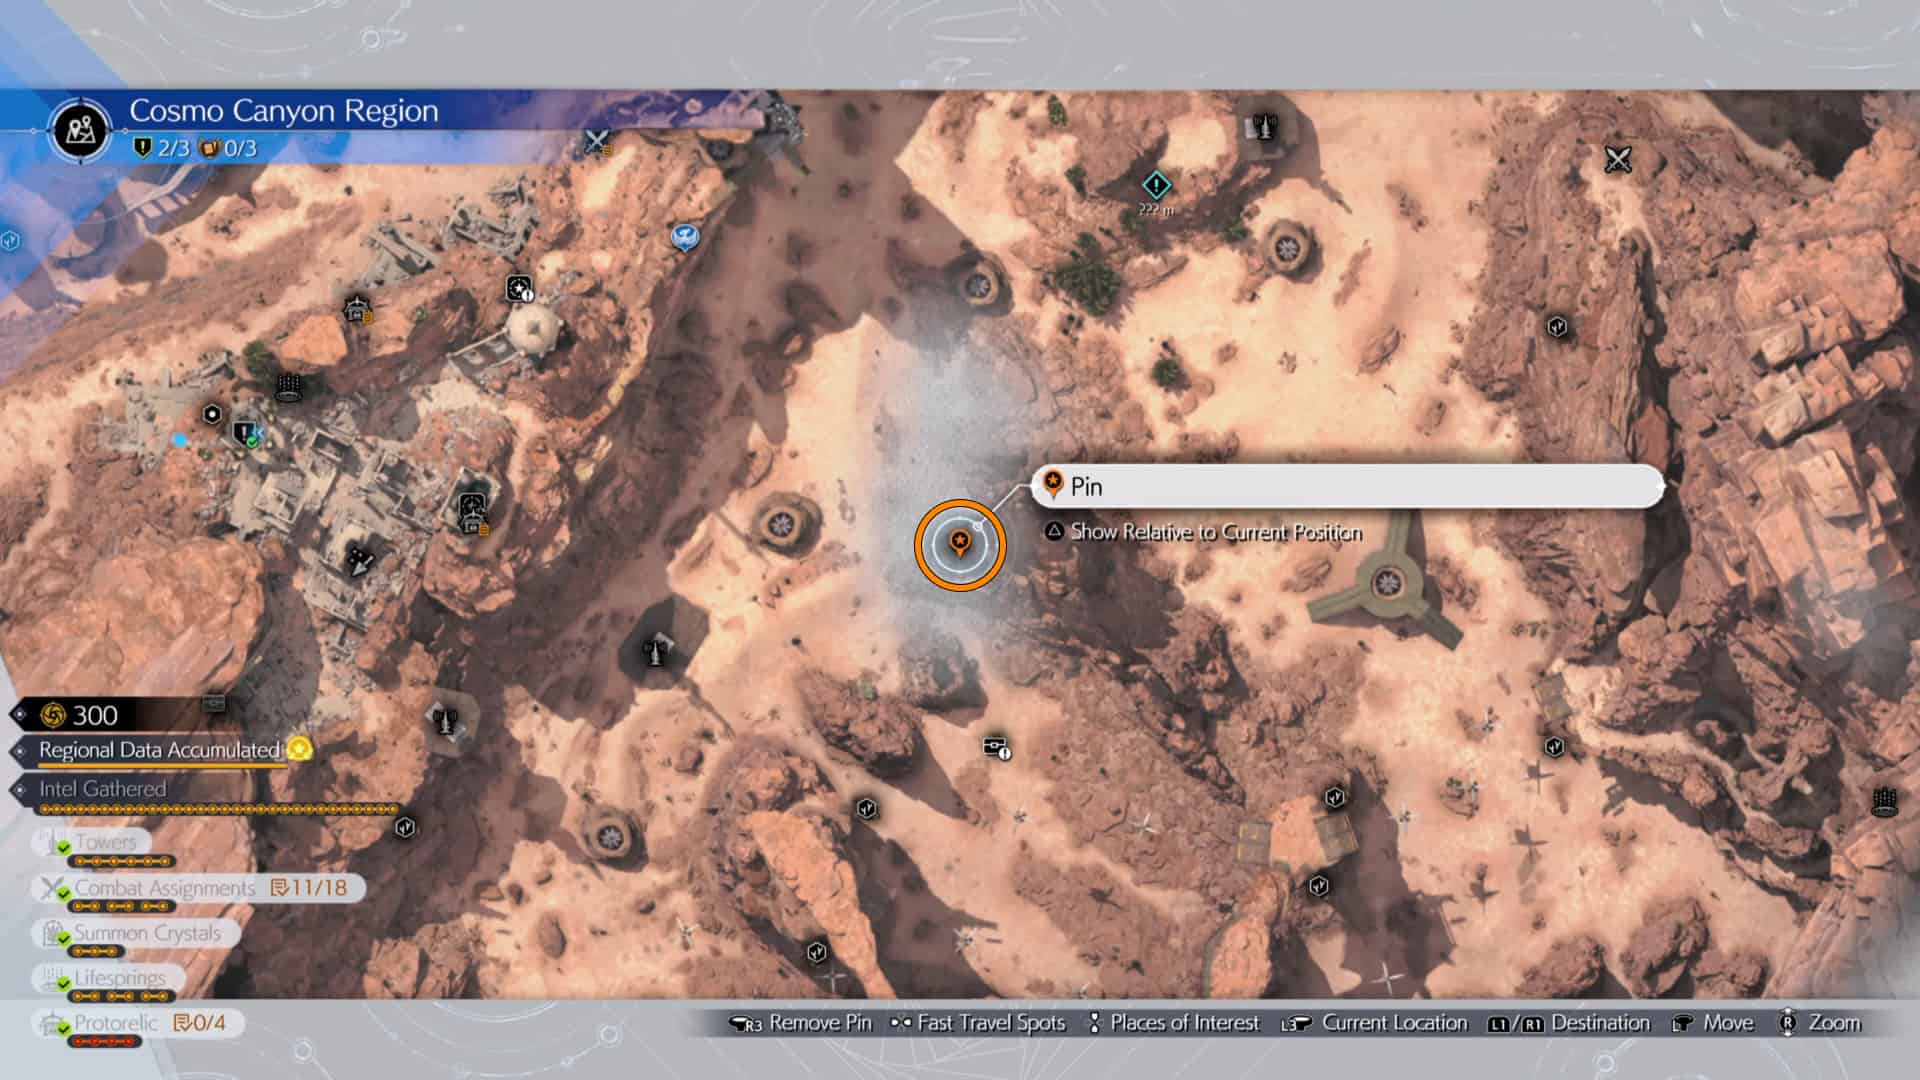
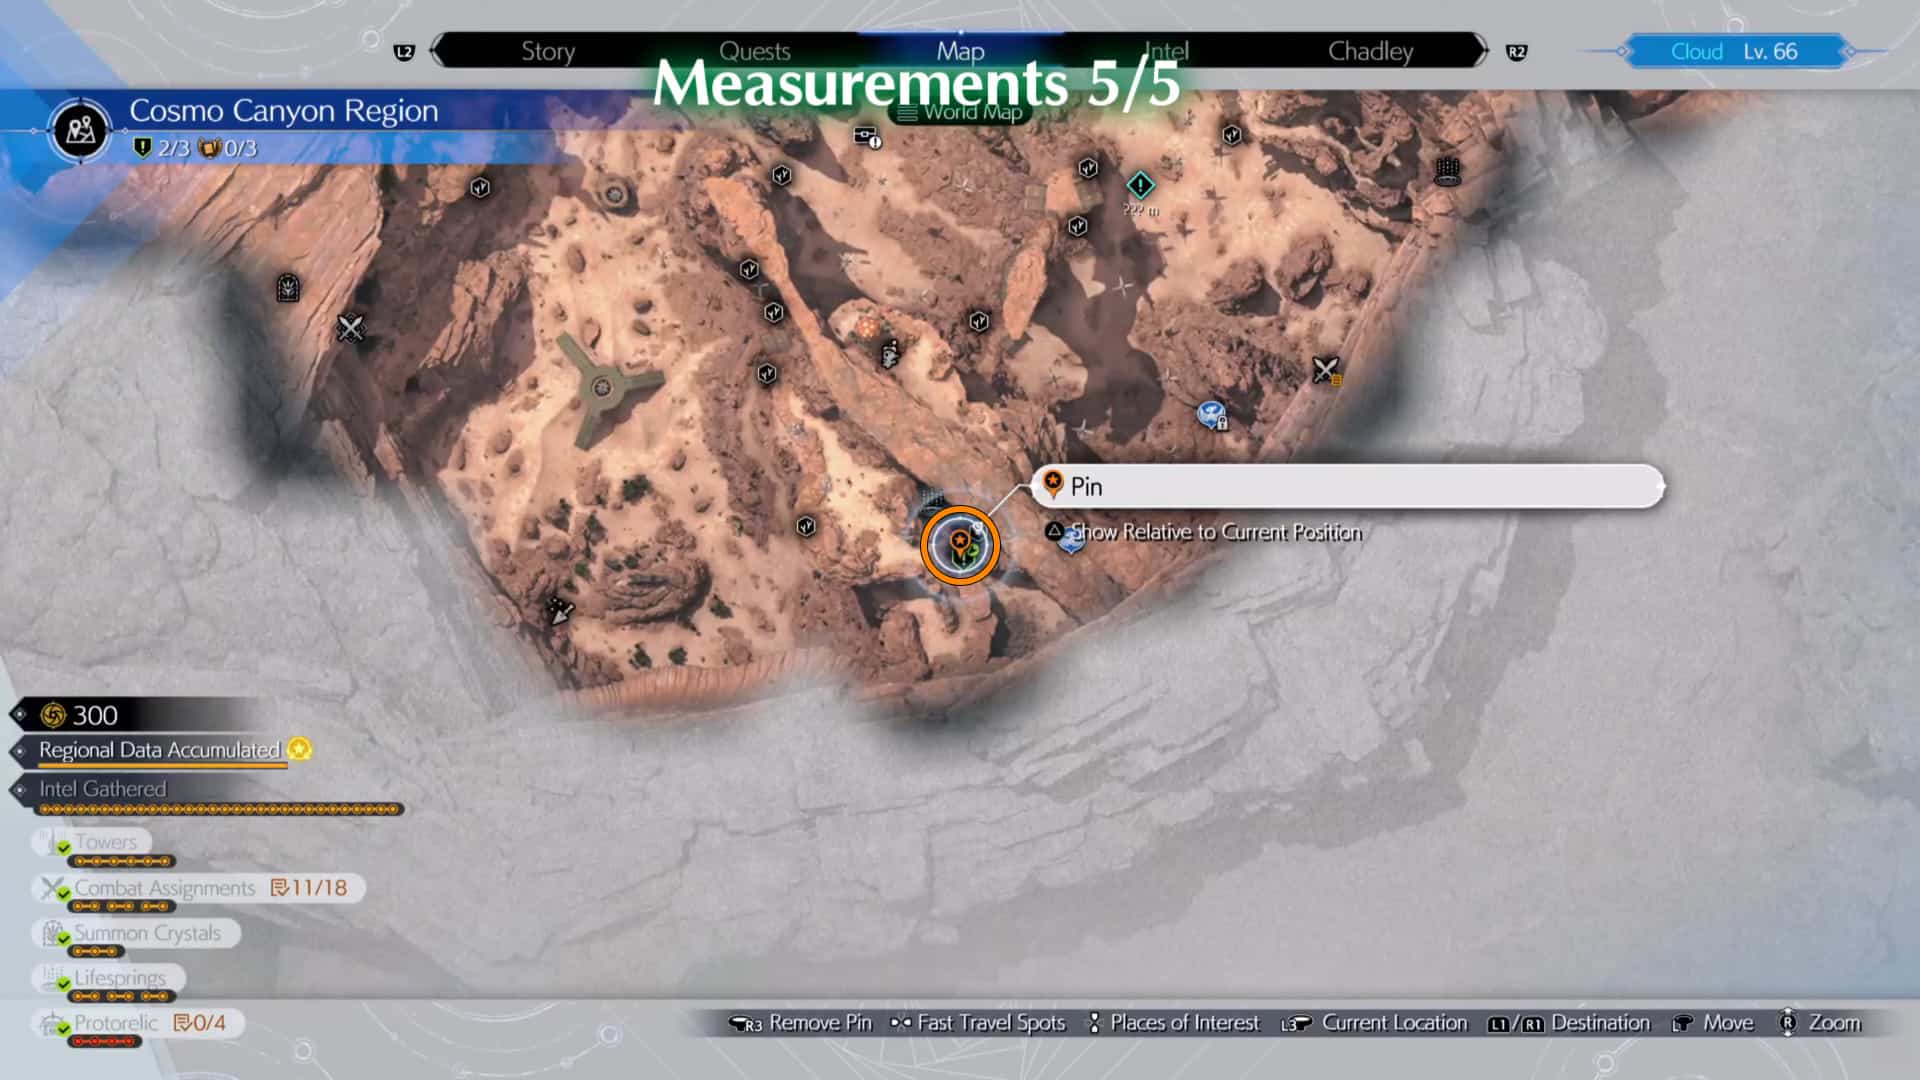
There are 5 Lifespring Survey Stations in total. Here’s where you can find all of them and measure the Mako Frequency:
Lifespring Survey Station #1
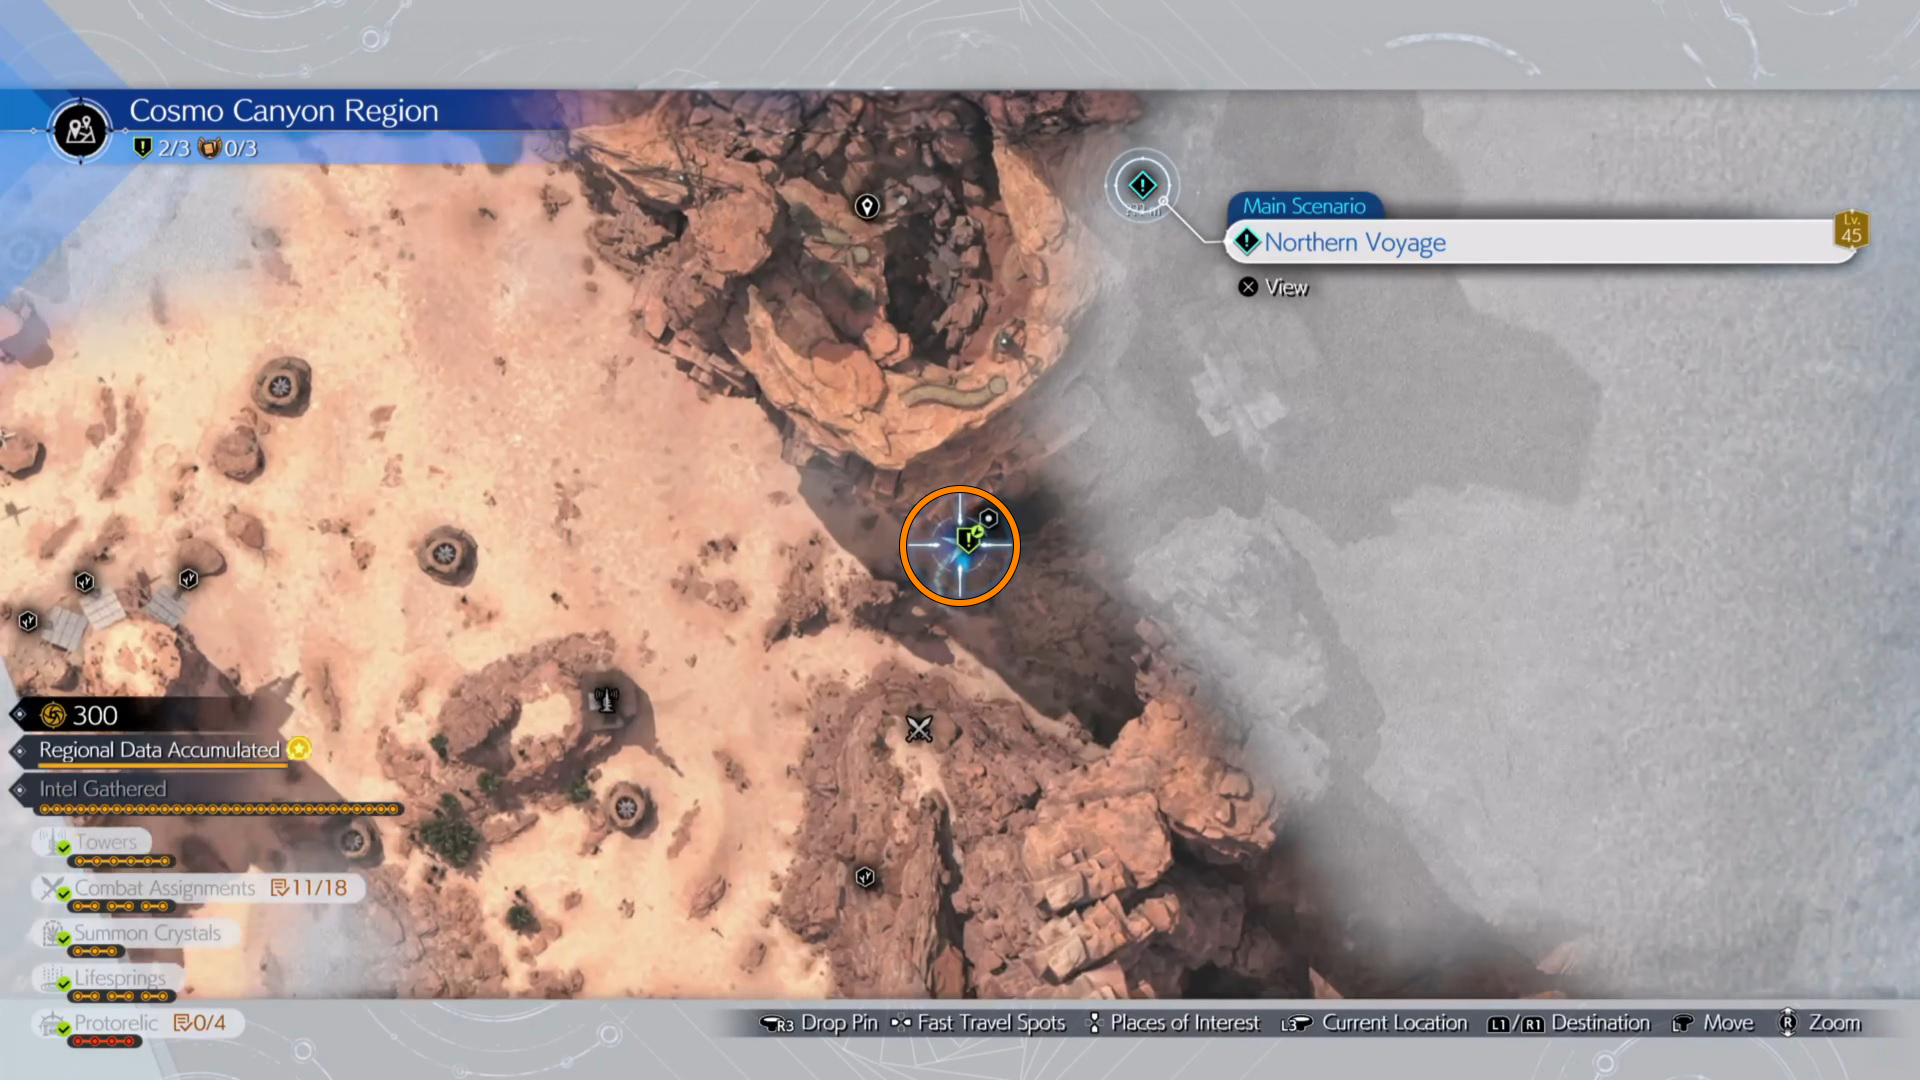
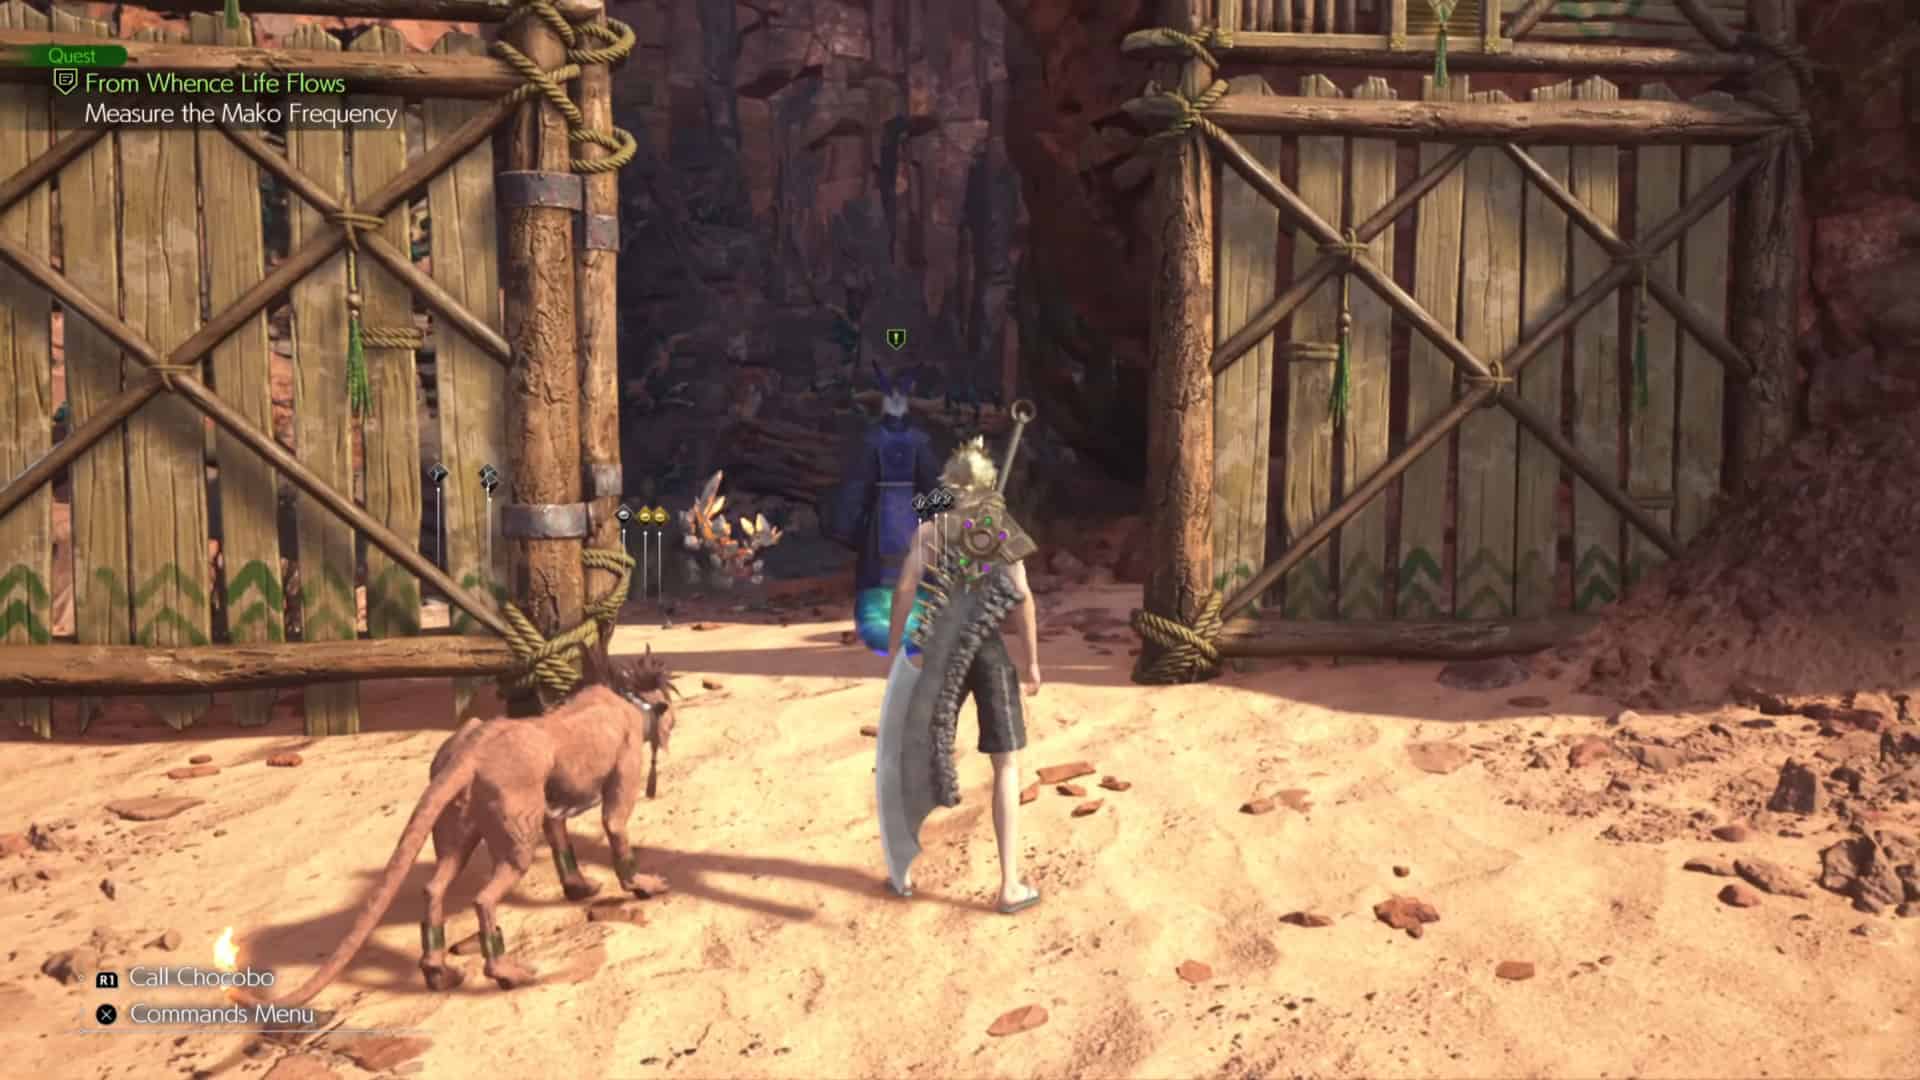
Located just south of Bugenhagen’s observatory, this station is the easiest to find. Head to the Dried Oasis Tower and then venture northeast until you stumble upon a locked door. Simply interact with the door to trigger a cutscene, completing your task here.
Lifespring Survey Station #2
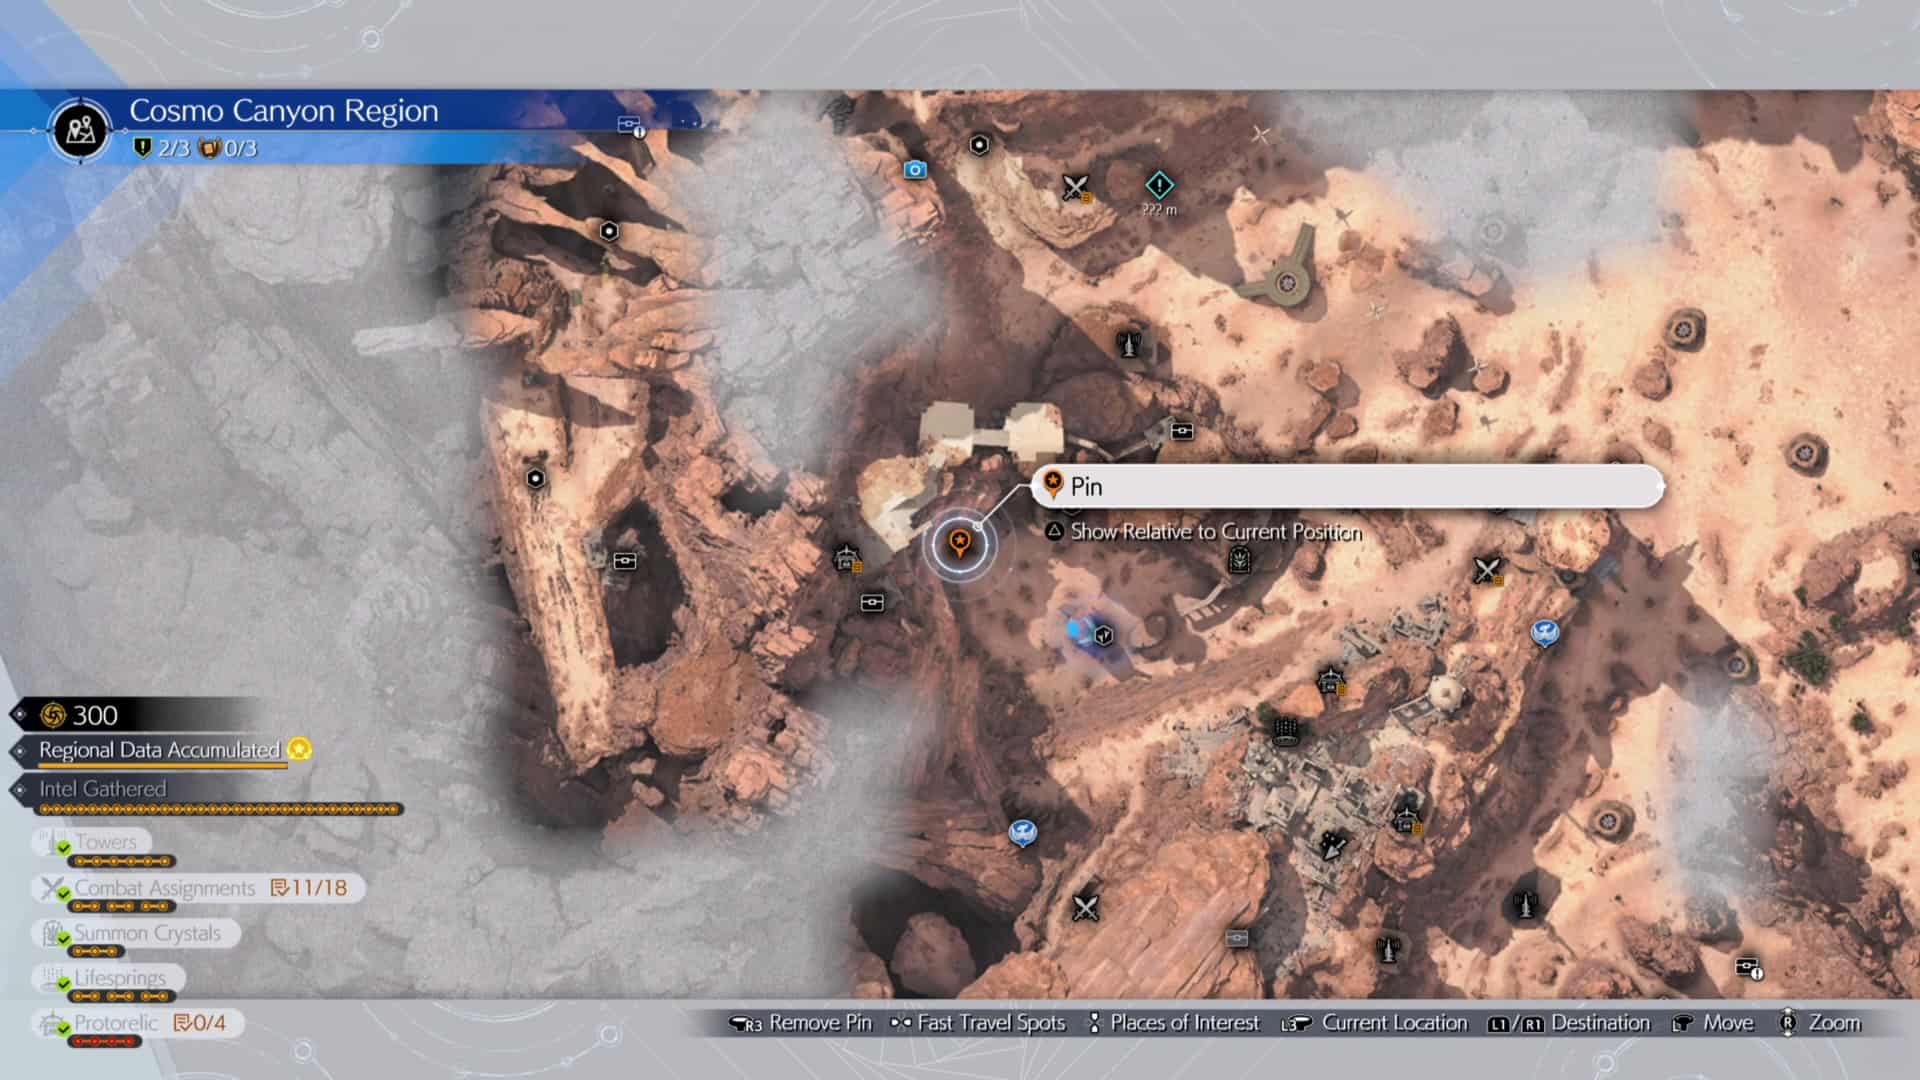
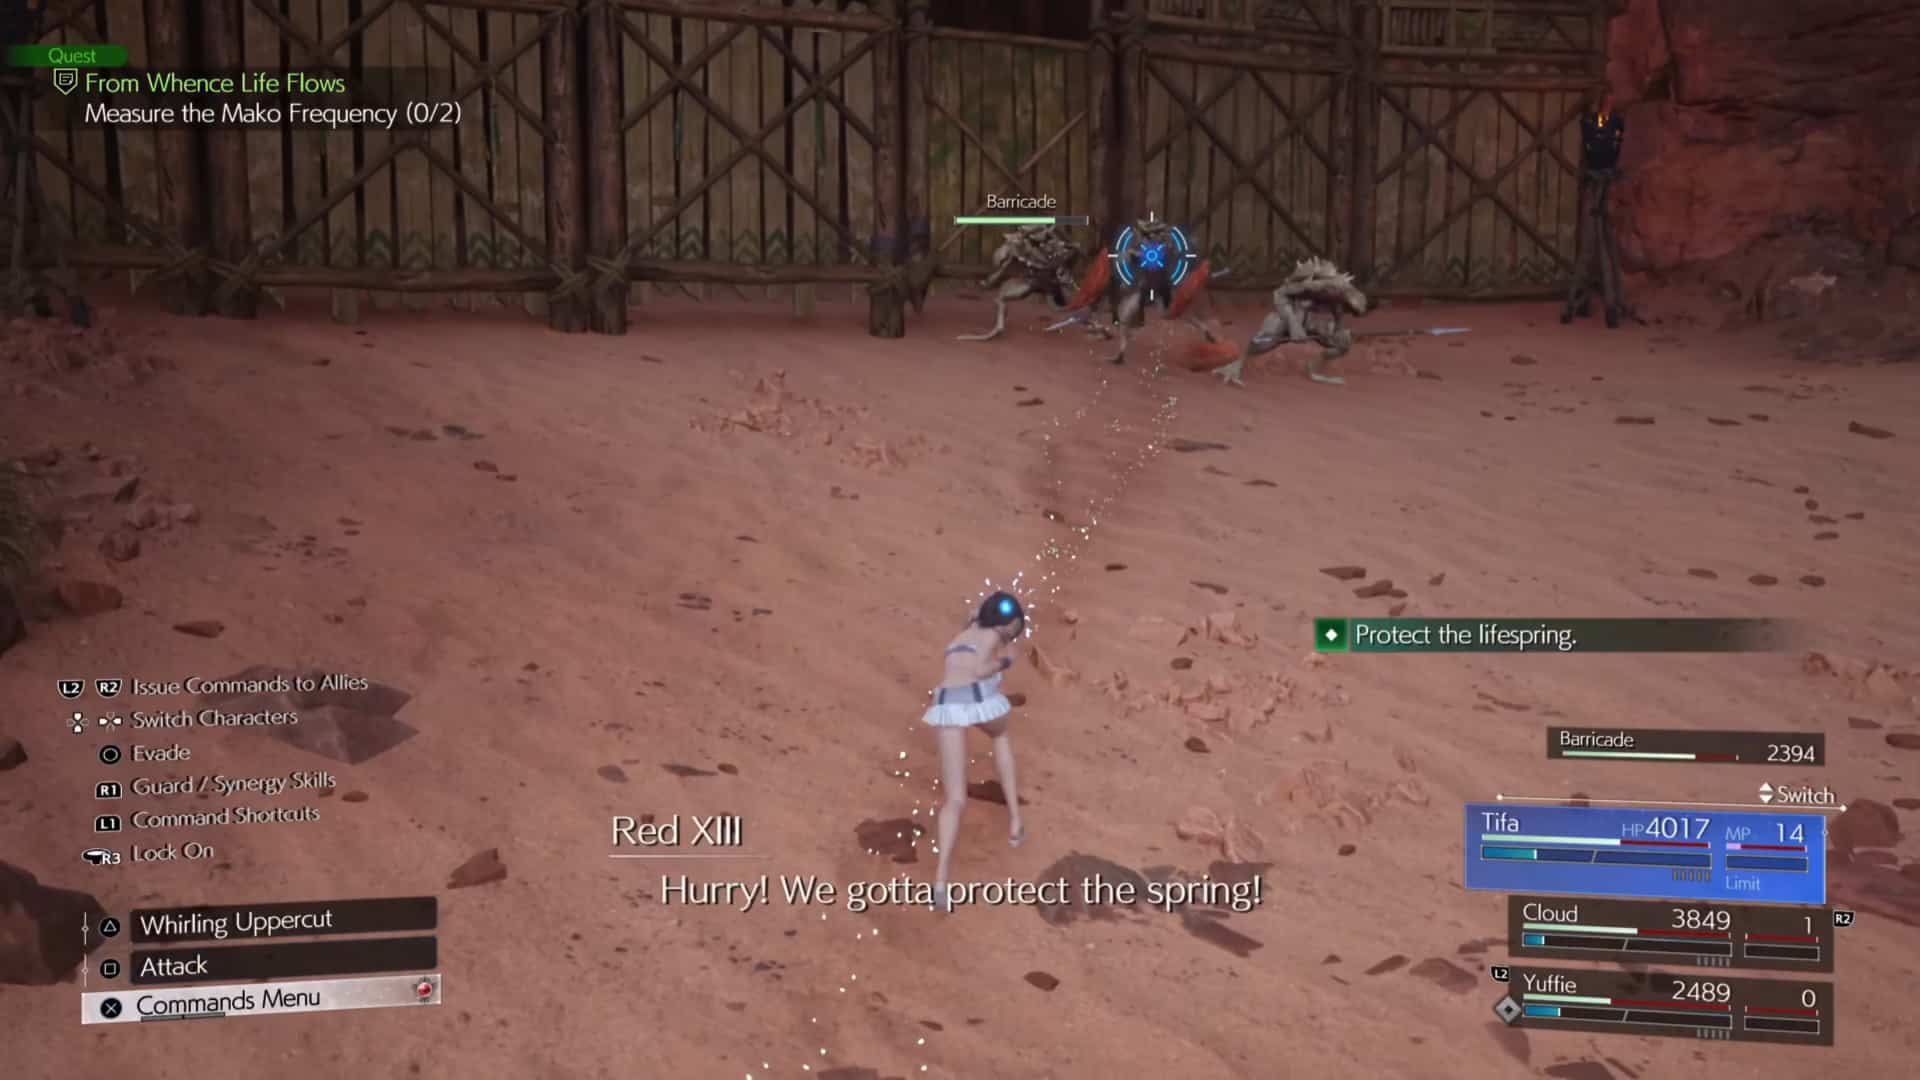
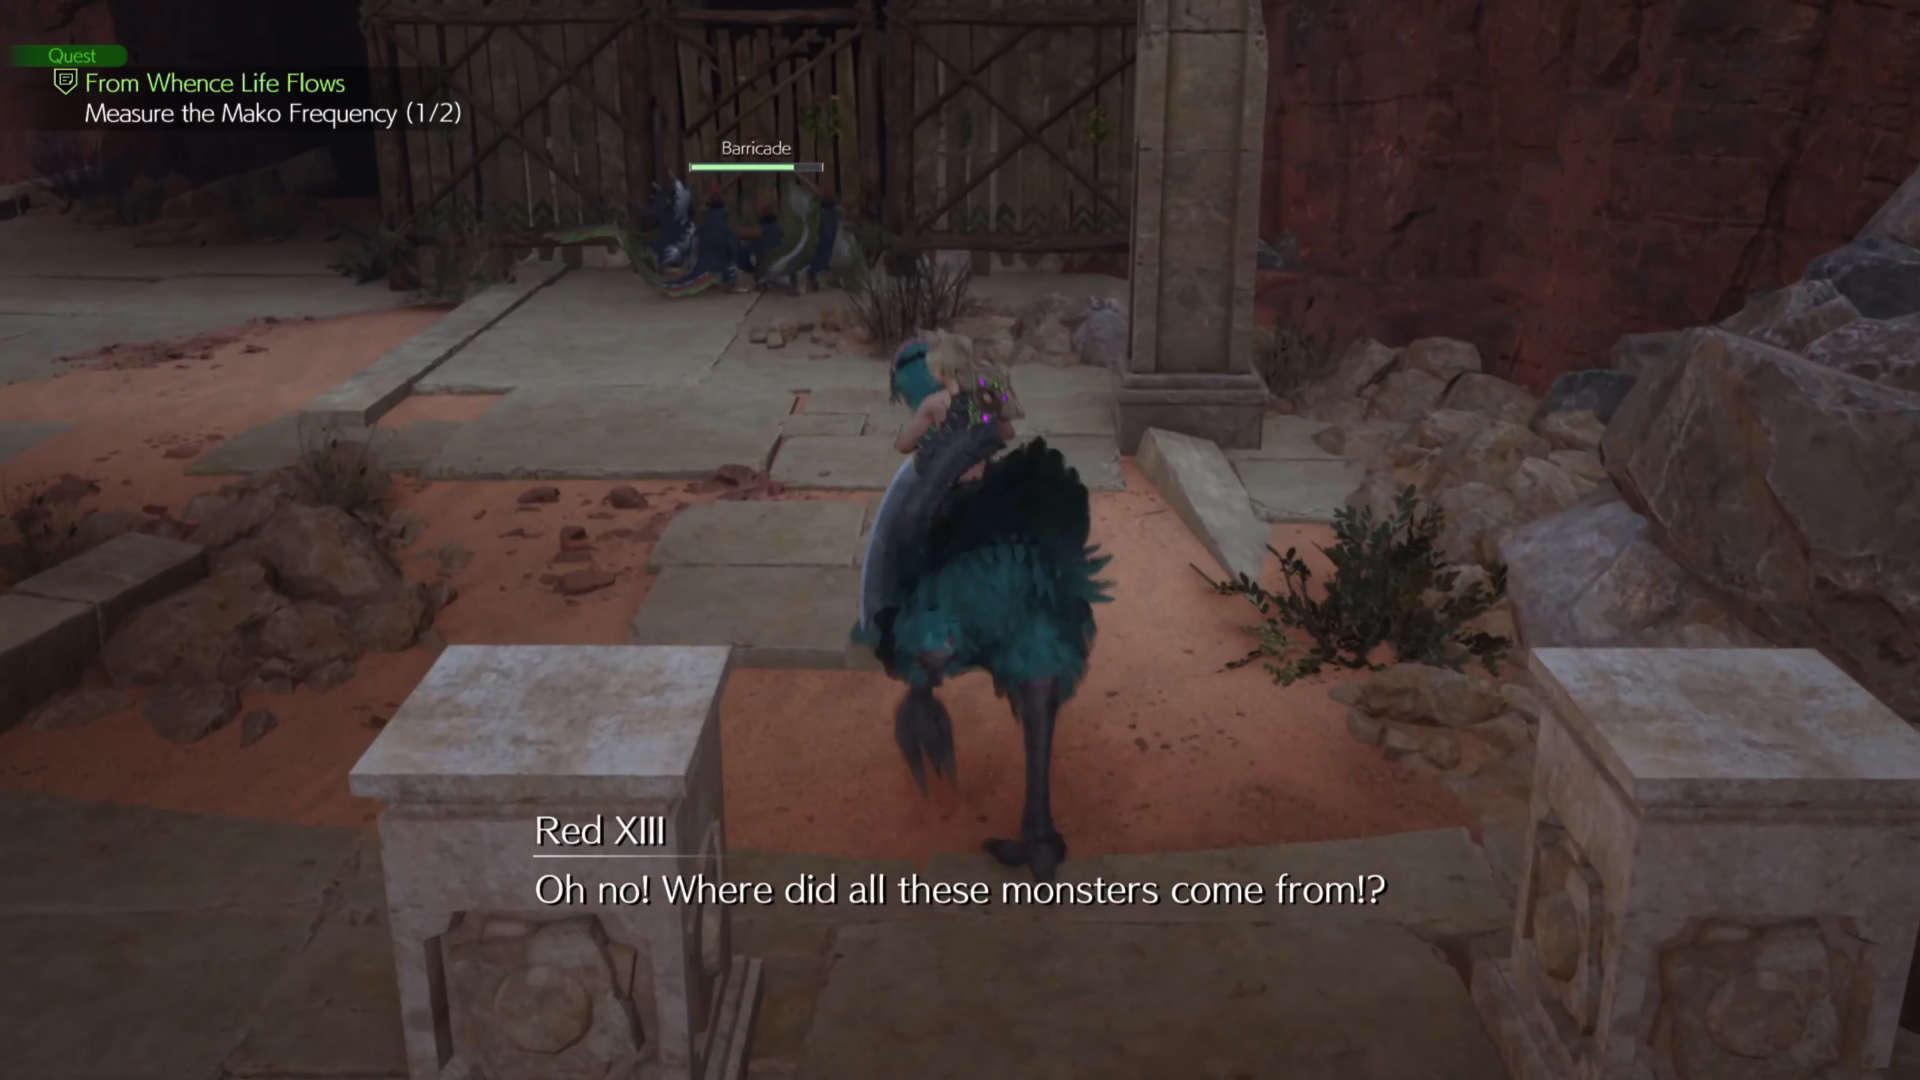
The second station lies beneath a large ruin set at the southern edge of Cosmo Canyon. Navigate to the heart of the canyon, head south, and follow a ravine that leads up to some hills. Your objective here is to protect a barricade from a group of attacking Sahagins. Utilizing Cloud’s Triple Slash or Barret’s Overdrive can swiftly deal with the enemies, followed by a cutscene.
Lifespring Survey Station #3

This station is conveniently located northwest of station 2, close enough to be visible as you depart. Approach on foot or by Chocobo to find more fiends. These Sahagin enemies are particularly vulnerable to Ice attacks. Equip Ice materia and employ spells like Focused Strike to pressure and stagger them for an easy victory.
Lifespring Survey Station #4
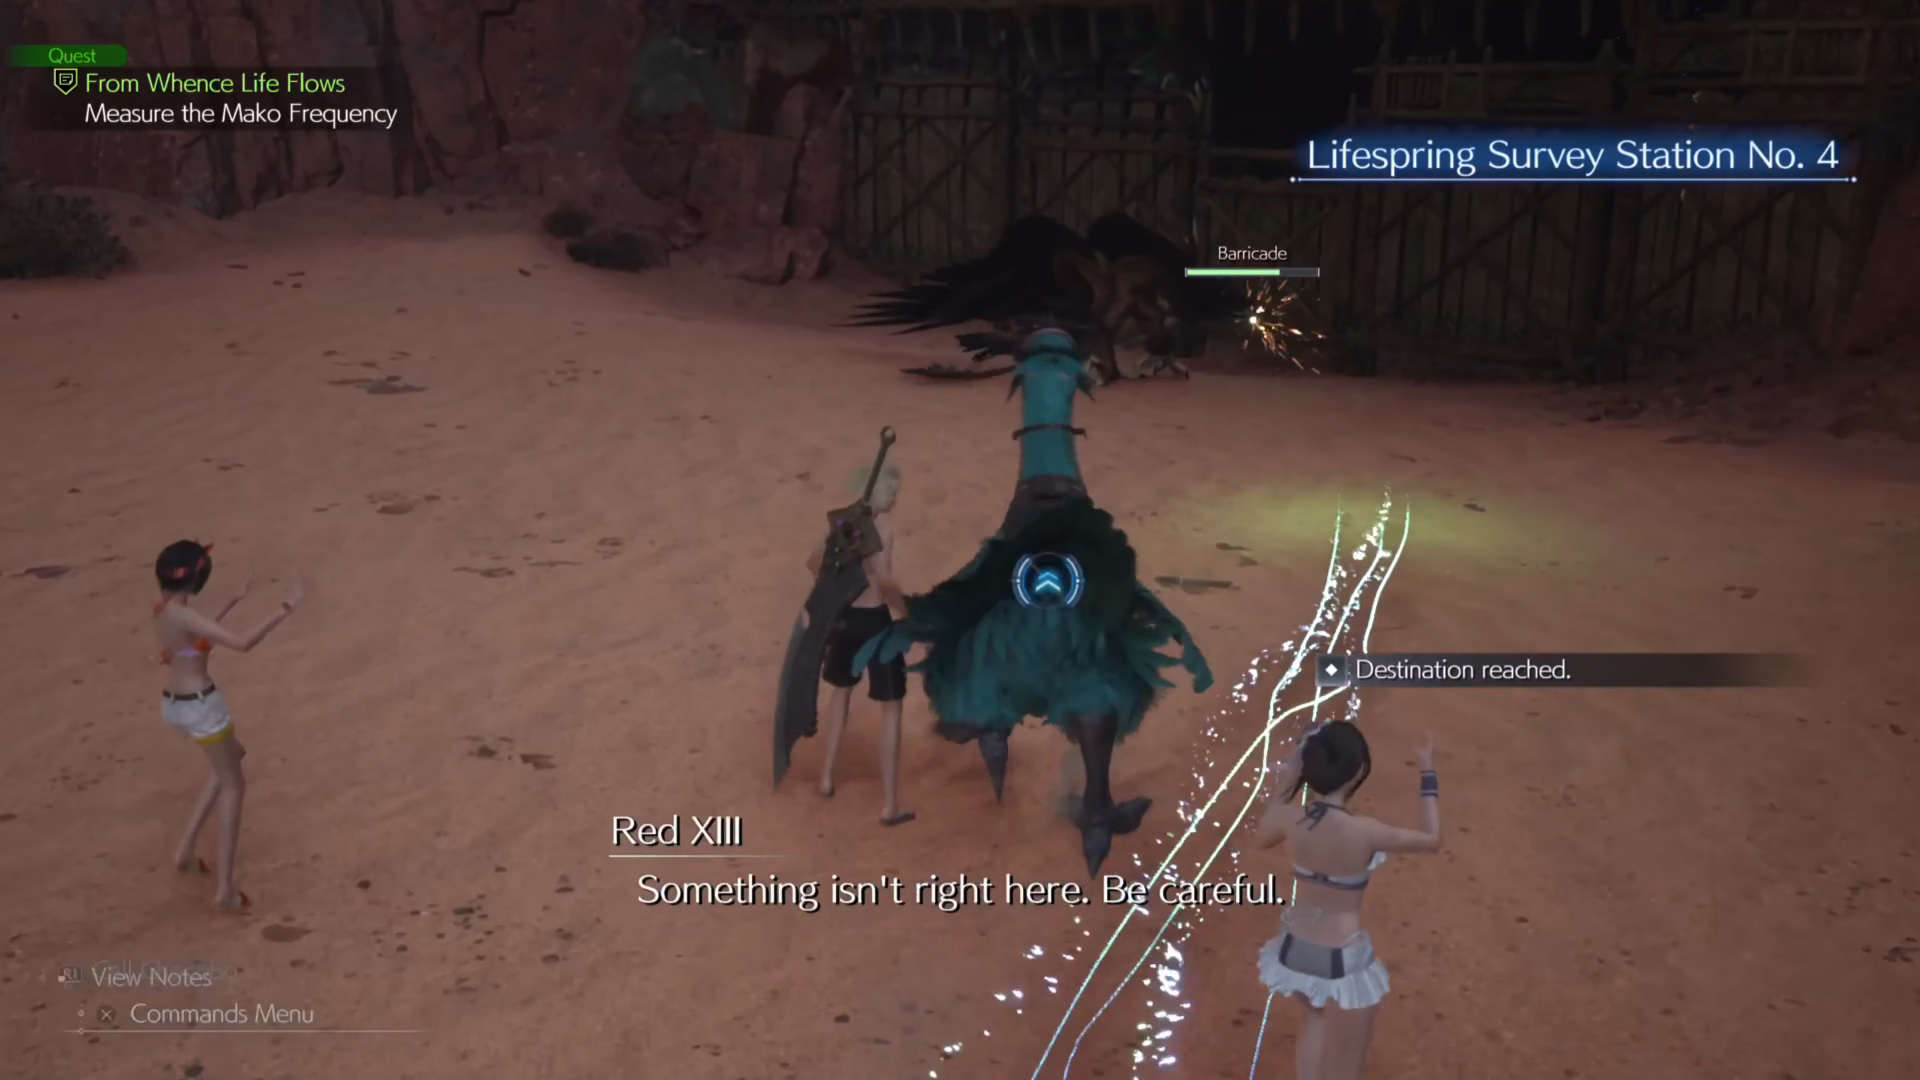
Head east from the second station, towards the Gliding Range Tower, then a bit northeast to find this station under a cliff. Here, you’ll encounter two Sahagins and a new enemy, a Griffon, which is weak to Lightning attacks. Focus on using Lightning spells to penetrate its defenses, and follow up with focused attacks to stagger it effectively.
Lifespring Survey Station #5
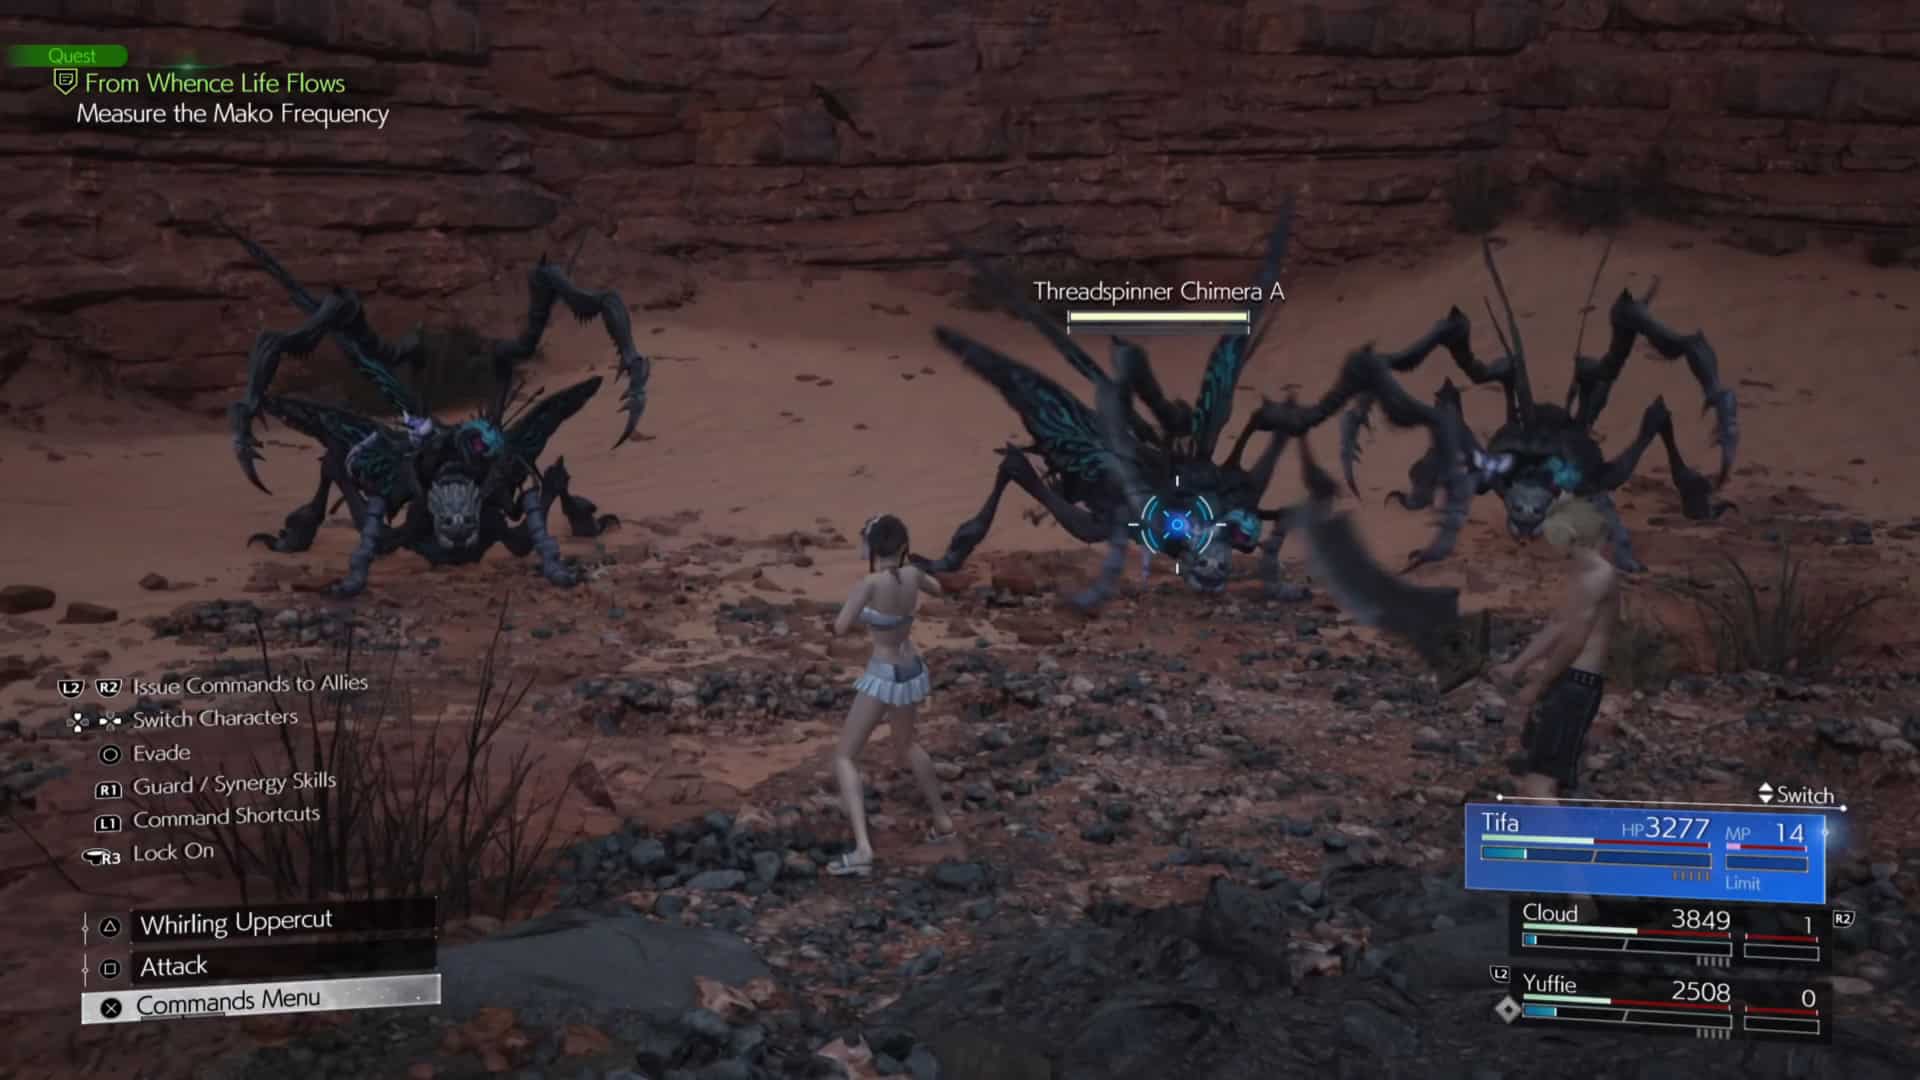
The final station is located at the southernmost end of the canyon and presents the most challenging route. Utilize a series of Chocobo Glide points, and make sure to hit floating fans to maintain altitude. After a series of glides and navigating through caves and inclines, you’ll encounter three Threadspinner Chimera. Use Ice attacks and be prepared to deal with status effects like Poison, which possibly calls for using Poisana or related items.

")
")