


Pandaemonium is the first set of FFXIV Endwalker raids, and this guide is to help you unlock and complete the fourth of the four raids, the Pandaemonium Asphodelos: Fourth Circle.
Final Fantasy XIV just released their latest update on the Endwalker expansion and it also brought in more challenges with the its newest high-end raid called Pandaemonium. This is the fourth part of the Pandaemonium raid that picks up from the third fight with the Phoinix in the Asphodelos: The Third Circle encounter. Check out our guide for the first circle here to learn more about how to prepare for the Pandaemonium raid.
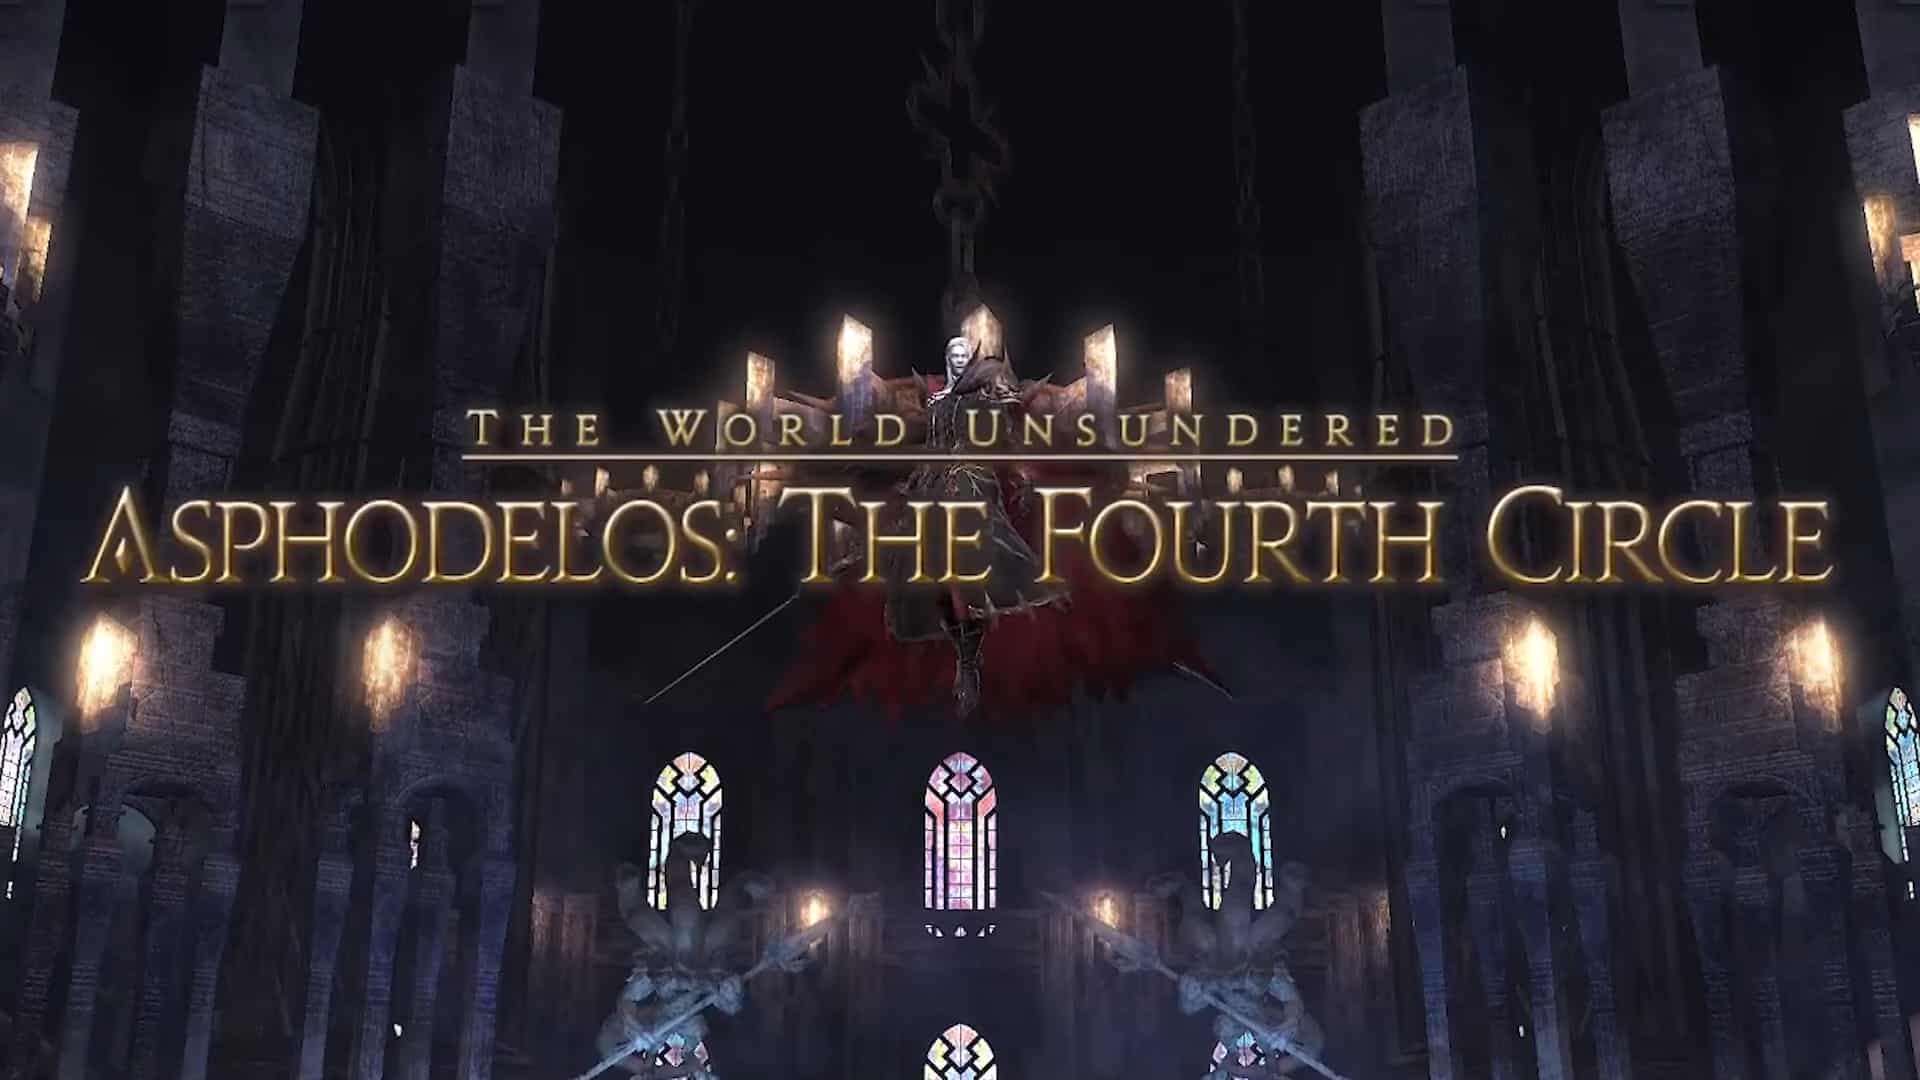
How to defeat Hesperos in Asphodelos: The Fourth Circle
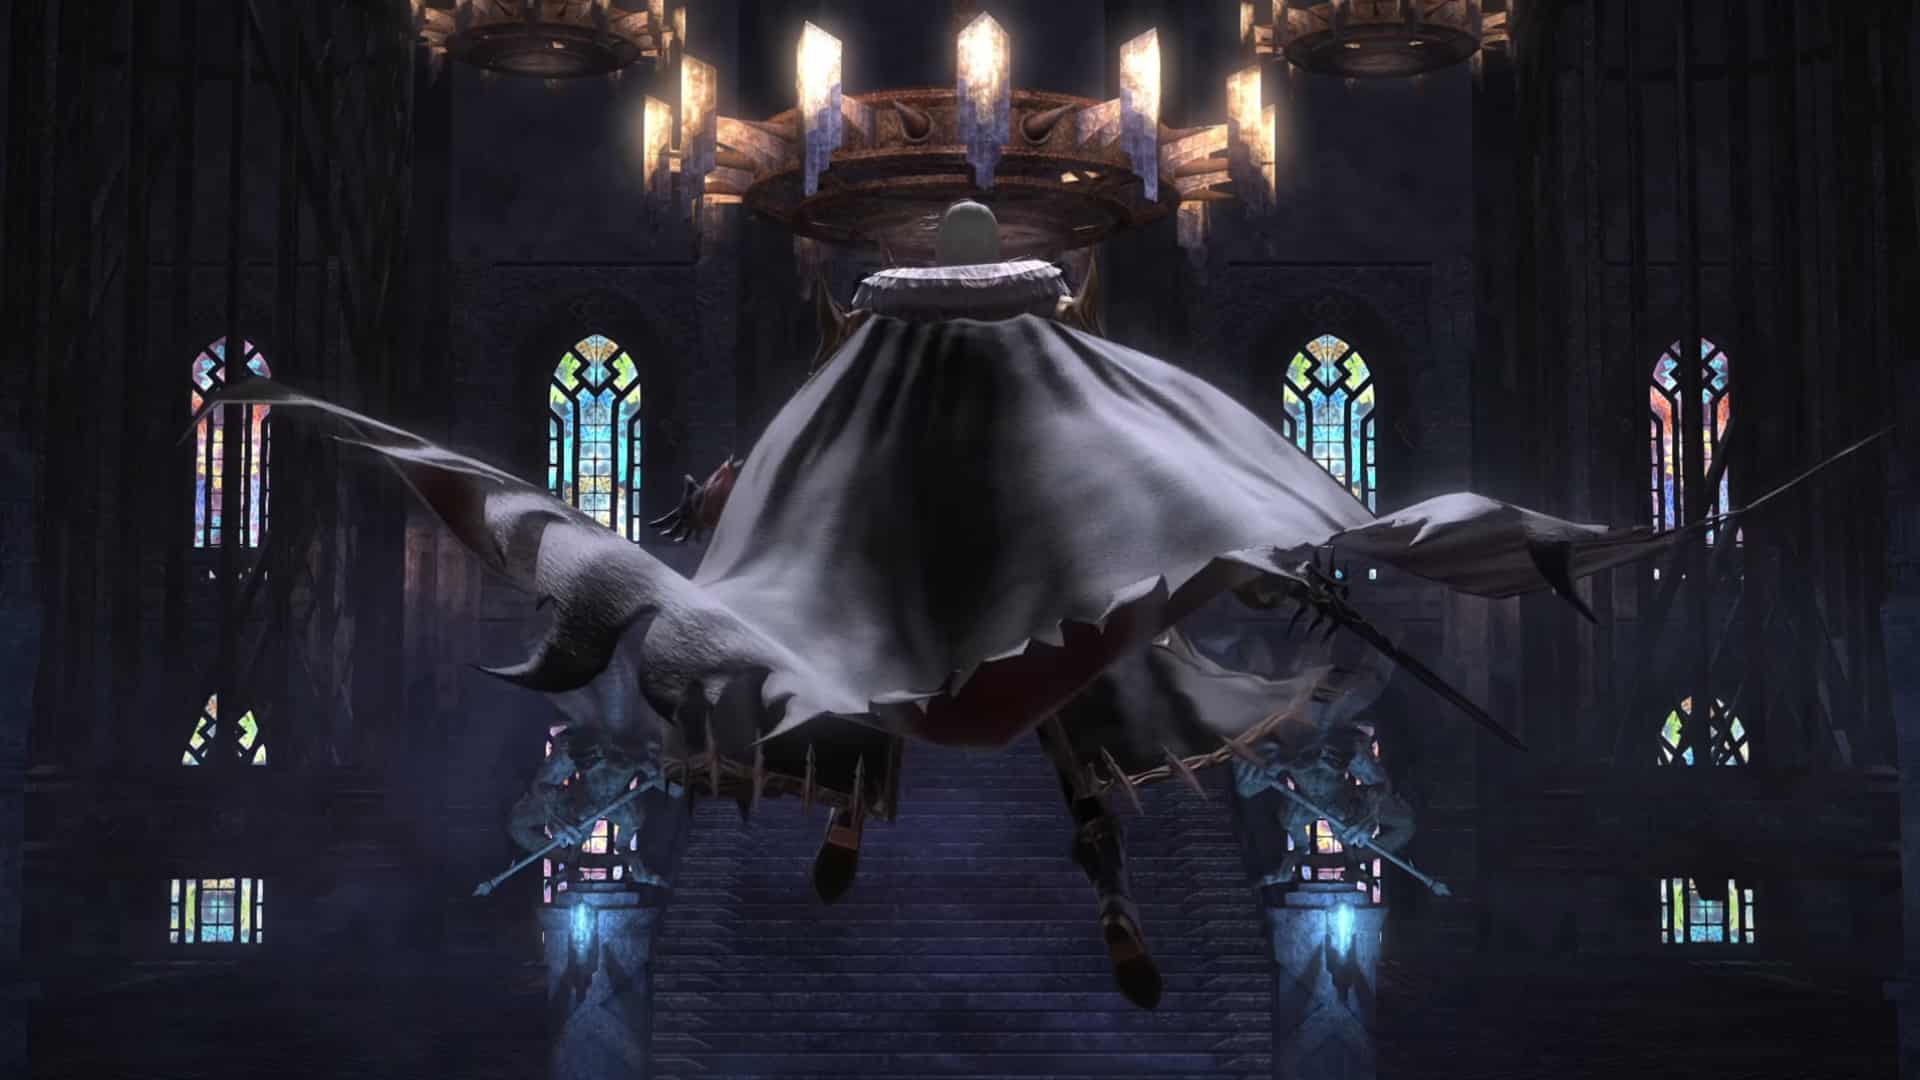
The fourth circle will have players face against Hesperos, the Hemitheos. To defeat Hesperos, you have to know that he makes the fight more challenging by terraforming the stage that could become instant death traps for clumsy party members. To beat Hesperos, Party members will have to learn how to deal with Hesperos’ attacks so as not to get double whammied by these traps.
This place is a mess from top to bottom, so the safest bet is to stay in middle ground. You’ll fight in a square arena where the edges mean insta-death.
First Phase – to defeat Hesperos in Asphodelos: The Fourth Circle
- Elegant Evisceration: An AOE tank buster. Try to stay away from your tanks once this is casted, or stay away from your party mates if you are getting targeted.
- Decollation: An unavoidable AOE attack. Healer/s should prepare with their heals right after.
- Setting the Scene: Hesperos will drop carpets on 1-4 quadrants of the arena which will transform the floor underneath them into different terrains with a elemental wells in the middle of the affected quadrant. The carpets or the changed floors do not deal damage, but players must stay out of the middle of the affected quadrants so as not to get damage from the elemental well.
- Pinax: A summoned well will light up and will dish out an attack depending on the element of the well. Throughout the fight, the number of transformed quadrants will increase from 1 to 4, so make sure to look at the wells to know how to respond and memorize each well’s attack patterns to survive the combos in the latter parts of the fight.
- Levinstrike Mekhane: The lightning well will light up and will always be the first Pinax attack. A storm will charge up in the center of the arena that deals massive damage once it discharges. Luckily, it’s not an arena-wide AOE but rather a proximity-based attack and moving towards the corners of the arena, which are the farthest possible spots you can be at, will mitigate almost all of the damage. Head towards one of the corners as soon as the lightning well lights up. Do remember to not touch the edge of the arena as it will be an instant death.
- Well Mekhane: The water well will light up as Hesperos charges up and releases a blast that knocks players away. the safest place to stand will be near the center, but not directly where the boss is, and try to align yourself on one of the edges of the quadrants, especially if all quadrants are transformed. This makes sure that once knocked back, you won’t be flung towards an active well and also be safe from getting KO’d upon touch the arena’s edge. Offsetting a bit from the center will also pre-determine your trajectory and prevent being knocked back to a random spot.
- Acid Mekhane: The acid well will light up and all players will be targeted for an AOE attack. Make sure to spread out and avoid being inside another teammates’ marker as doing so will guarantee a knockout for you and your teammate.
- Lava Mekhane: The fire well will light up and dish out an attack on a random teammate. Stack up on the team mate to mitigate the damage.
Second Phase – to defeat Hesperos in Asphodelos: The Fourth Circle
- Hell Skewer: Hesperos will fire a horizontal AOE in front of him. Simply move away from the line of fire.
- Bloodrake: An unavoidable AOE attack. It will always be followed up by either one of these two attacks, so healer/s should time their heals right:
- Belone Coils: Hesperos will summon four meteor circles with role markers marked with a red X. These role markers are for DPS, tanks, and healers, however players should avoid standing in the circle that match their role, hence the X. Doing so will damage the player significantly. At least one player should stand inside the appropriate circle to prevent the circles from blowing up and damaging the rest of the party.
- Belone Bursts: Hesperos will summon green orbs with the same role markers, still marked with an X. Also, these orbs are tethered to each of the players shown as a ray of light. Using the same mechanic, players will have to touch the orbs that does not match their role, or else they’ll get badly hurt. Another thing to remember is that players cannot touch the orb tethered to them regardless if it’s the right orb for their role, or else they’ll still get badly hurt. On top of all these, popping the right orb that’s not attached to you will still deal some damage, albeit still survivable, so long as you don’t touch a second one that will deal enough damage to take off your remaining health, or a third one which guarantees death regardless of your health level.
- Shift: This attack will be preceded by a cardinal direction such as Easterly Shift, but a marker will also spawn on the arena to guide players visually. Hesperos will then teleport towards these markers and will then do an attack depending on the icon that appears on top of these markers:
- Sword: Hesperos will do a wide cone attack that covers almost the entire arena in front of him. Positioning near his side will allow players to avoid the attack.
- Cape: Hesperos will do a very strong knockback from where he’ll teleport to. The safest place to be at should be close to the cape marker and in line with the center of the arena to make sure that the knockback will fling you towards the center and not towards the edges.
As the fight progresses, the interval between the attacks become tighter and attacks will stack up on one another, so be sure to keep a presence of mind and try to keep up.
The fight can get quite messy and confusing at the final parts once all the visual effects flare up, so it’s best to party up with friends with good comms and assign at least one or two dedicated shotcallers to keep things organized within the chaos.
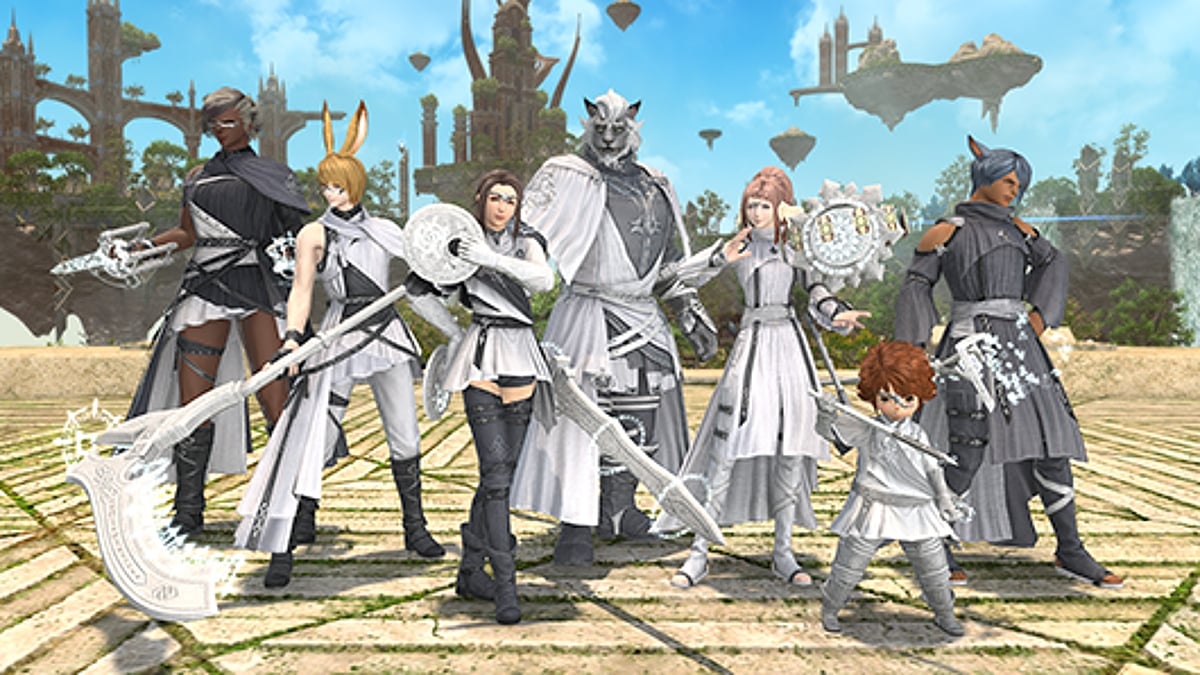
If you and your party members have managed to defeat and survive Hesperos, congratulations! You have conquered the Pandaemonium raids and have earned yourselves some sweet loot, along with bragging rights.
FFXIV Endwalker – Pandaemonium: Asphodelos Raid Drops
Running the Pandaemonium Asphodelos: The First Circle in FFXIV will reward you with loot. But take note that if you ran the raid and successfully rolled and obtained loot, you can’t get more loot from that raid until the weekly limit resets.
The weekly reset occurs every Tuesday midnight at 12:00 AM PST.
Getting gear from FFXIV raids isn’t simple. Each raid will drop loot corresponding to various equipment slots. Each raid only drops specific loot types, and you need a certain number of each loot type to trade in for the actual gear.
Loot Drop | # of tokens Required for Exchange | Pandaemonium Asphodelos Raid |
Unsung Armor of Asphodelos | 4 | The First Circle, The Second Circle, The Third Circle, The Fourth Circle |
Unsung Chausses of Asphodelos | 4 | The First Circle, The Second Circle, The Third Circle, The Fourth Circle |
Unsung Gauntlets of Asphodelos | 2 | The First Circle, The Second Circle, The Third Circle, The Fourth Circle |
Unsung Greaves of Asphodelos | 2 | The First Circle, The Second Circle, The Fourth Circle |
Unsung Helm of Asphodelos | 2 | The First Circle, The Second Circle, The Third Circle |
Unsung Ring of Asphodelos | 1 | The First Circle, The Second Circle, The Third Circle, The Fourth Circle |
Unsung Blade of Asphodelos | 7 | The Fourth Circle |
Every week, when you clear Asphodelos: The Fourth Circle, you’ll get a guaranteed Unsung Blade of Asphodelos. 7 can be traded for a Discal Tomestone. The tomestone is currently useless, but will be used to gain the next tomestone weapon in Patch 6.05. Obtain the weapon by trading a Discal Tomestone and 500 Astronomy Tomestones in patch 6.05.
Where to Exchange Pandaemonium: Asphodelos Raid Tokens in FFXIV
You can exchange your loot to Djole in Radz-at-Han (X: 10.3, Y: 9.6) or Mylenie in Labyrinthos (X: 8.3, Y: 27.6). Both are labeled “Pandaemonium Relic Exchange” and sell the same items, though the latter requires completion of the current Pandaemonium quest chain. Both Djole or Mylenie will accept 7 Unsung Blades for 1 Discal Tomestone.
This means you’ll need weeks of re-runs to fully equip yourself in item level 580 gear. You can only get one drop per week, so plan ahead. The drop restrictions should be removed in patch 6.1, then you can roll for anything based on previous expansions.
Also read:
- FFXIV Raid Pandaemonium Asphodelos – The First Circle Guide
- FFXIV Raid Pandaemonium Asphodelos – The Second Circle Guide
- FFXIV Raid Pandaemonium Asphodelos – The Third Circle Guide
If you want to invite your friends to help you out on the raids, they may have to wait for now while FFXIV sales are still suspended as of this writing. Read more about the suspension here.
Also read our other Final Fantasy XIV content.
Check out this video by Rainesama on the Pandaemonium – Asphodelos: The Fourth Circle – FFXIV Endwalker Raid:


