
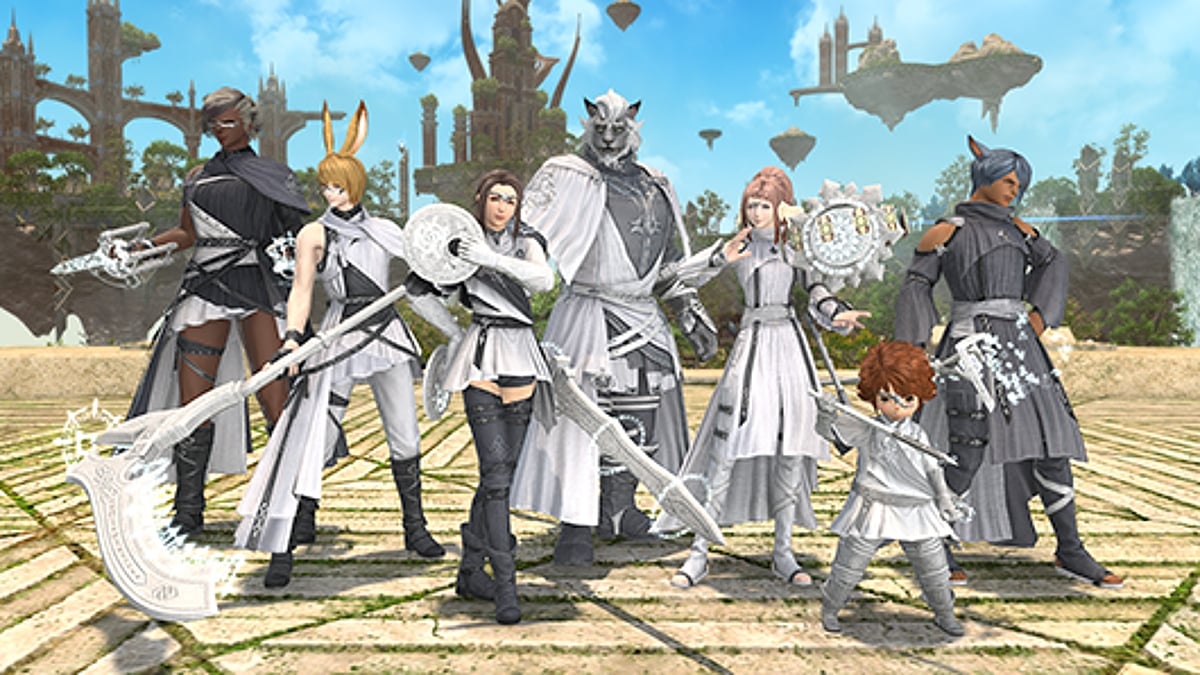
Pandaemonium is the first set of FFXIV Endwalker raids, and this guide is to help you unlock and complete the third of the four raids, the Pandaemonium Asphodelos: Third Circle.
Final Fantasy XIV just released their latest update on the Endwalker expansion and it also brought in more challenges with the its newest high-end raid called Pandaemonium. This is the third part of the Pandaemonium raid that picks up from the second fight with the Hippokampos in the Asphodelos: The Second Circle encounter.
Check out our guide for the first circle here to learn more about how to prepare for the Pandaemonium raid.
How to defeat Phoinix in Asphodelos: The Third Circle
In the third circle, players will face against the Phoinix, a Mythic Creation, which uses flames to burn anyone to a crisp. To defeat Phoinix, additional effort towards focusing on adds can help mitigate the challenge of dealing with multiple sources of damage. Phoinix ramps up the challenge by summoning multiple adds throughout the fight.
This fight takes place in a circle. Take note, the edge is a fire hazard and should be avoided. Because the Phoinix is a creature of endless rebirth, it must first destroy endlessly. Take down the raid.

First Phase – to defeat Phoinix in Asphodelos: The Third Circle
- Experimental Fireplume: Phoinix will summon two types of fireballs on or around it: one big fireball that will hit the center of the arena, while multiple small fireballs will hit the outer ring of the arena that will drop in a circular manner in pairs. Prepare to dodge accordingly as soon as the fireballs are being summoned.
- Scorched Exaltation: An unavoidable arena-wide AOE. Healer/s should prepare to heal everyone right after.
- Heat of Condemnation: An attack towards tanks. Tanks should make sure not to stack or be near each other to avoid overlapping damage.
- Brightened Fire: Random party members will be targeted with an AOE. The attack will hit on the spot where the member will be at once the cast is finished. Party members should spread out to try and avoid stacking damage.
- Darkened Fire: Phoinix summons 4 purple flaming adds. These adds should be put out immediately to avoid getting damaged from Darkened Blaze.
- Darkened Blaze: Any remaining summoned adds from Darkened Fire will explode upon finishing the cast.
- Left/Right Cinderwing: Phoinix will launch a half-arena AOE attack. No apparent tells coming from the boss itself, so pay attention to which side the attack will be launched during casting and be aware where the boss is facing so that you can dodge accordingly.

Second Phase – to defeat Phoinix in Asphodelos: The Third Circle
- Trail of Condemnation: Phoinix will fly out of the arena upon reaching around 75% of its health. It will then dive through the middle of the arena in a horizontal pattern, so try to find it as quick as possible before it swoops down.
- Sunbirds: Phoinix will summon adds called sunbirds that can cast Fore Carve or Rear Carve, both of which have half-circle range and will be casted relative to where the sunbirds are facing. Try to separate the sunbirds and be aware that it will also be raining fire while the sunbirds are around.
- Flames of Undeath: An unavoidable AOE that gets triggered as soon as the last sunbird is defeated. The defeated sunbirds will turn into Sparkfledged. Healer/s should make sure to heal everyone immediately as Phoinix will cast another unavoidable AOE
- Dead Rebirth: Another unavoidable AOE that gets casted right after Flames of Undeath. Healer/s might find their hands full so better prepare on cooldowns.
- Fledgling Flight: Sparkfledges will be summoned one by one in a circular manner, which will then do a cone AOE attack. Pay attention and find the second sparkfledge that gets summoned, then move towards the opposite side of it or where it’s facing. This will make moving to safe spots easier as the cones also get casted in a circular manner.
- Experimental Charplume: An AOE targeted to all party members. Spread out to avoid stacking damage.
- Devouring Brand: Four horizontal flame rivers will converge towards the center, dividing the arena into quadrants. Upon meeting at the center, the rivers will expand some more, so make sure to not get too close to the flames.
- Searing Breeze: Another AOE targeting all members like the Experimental Charplume, however the attack will hit the spot where the attack is first casted and will not follow the players. Move towards the safe spots accordingly.
You’re almost there, Warrior of Light! Only one more boss to defeat and you’ll conquer the Pandaemonium raid. As always, we got your back and have also prepared a guide for Asphodelos: The Fourth Circle for you.
FFXIV Endwalker – Pandaemonium: Asphodelos Raid Drops
Running the Pandaemonium Asphodelos: The First Circle in FFXIV will reward you with loot. But take note that if you ran the raid and successfully rolled and obtained loot, you can’t get more loot from that raid until the weekly limit resets.
The weekly reset occurs every Tuesday midnight at 12:00 AM PST.
Getting gear from FFXIV raids isn’t simple. Each raid will drop loot corresponding to various equipment slots. Each raid only drops specific loot types, and you need a certain number of each loot type to trade in for the actual gear.
Loot Drop | # of tokens Required for Exchange | Pandaemonium Asphodelos Raid |
Unsung Armor of Asphodelos | 4 | The First Circle, The Second Circle, The Third Circle, The Fourth Circle |
Unsung Chausses of Asphodelos | 4 | The First Circle, The Second Circle, The Third Circle, The Fourth Circle |
Unsung Gauntlets of Asphodelos | 2 | The First Circle, The Second Circle, The Third Circle, The Fourth Circle |
Unsung Greaves of Asphodelos | 2 | The First Circle, The Second Circle, The Fourth Circle |
Unsung Helm of Asphodelos | 2 | The First Circle, The Second Circle, The Third Circle |
Unsung Ring of Asphodelos | 1 | The First Circle, The Second Circle, The Third Circle, The Fourth Circle |
Unsung Blade of Asphodelos | 7 | The Fourth Circle |
Every week, when you clear Asphodelos: The Fourth Circle, you’ll get a guaranteed Unsung Blade of Asphodelos. 7 can be traded for a Discal Tomestone. The tomestone is currently useless, but will be used to gain the next tomestone weapon in Patch 6.05. Obtain the weapon by trading a Discal Tomestone and 500 Astronomy Tomestones in patch 6.05.
Where to Exchange Pandaemonium: Asphodelos Raid Tokens in FFXIV
You can exchange your loot to Djole in Radz-at-Han (X: 10.3, Y: 9.6) or Mylenie in Labyrinthos (X: 8.3, Y: 27.6). Both are labeled “Pandaemonium Relic Exchange” and sell the same items, though the latter requires completion of the current Pandaemonium quest chain. Both Djole or Mylenie will accept 7 Unsung Blades for 1 Discal Tomestone.
This means you’ll need weeks of re-runs to fully equip yourself in item level 580 gear. You can only get one drop per week, so plan ahead. The drop restrictions should be removed in patch 6.1, then you can roll for anything based on previous expansions.
Up next: Asphodelos: The Fourth Circle
- FFXIV Raid Pandaemonium Asphodelos – The First Circle Guide
- FFXIV Raid Pandaemonium Asphodelos – The Second Circle Guide
If you want to invite your friends to help you out on the raids, they may have to wait for now while FFXIV sales are still suspended as of this writing. Read more about the suspension here.
Also read our other Final Fantasy XIV content.
Check out this video by AzuriteRPG on the Pandaemonium – Asphodelos: The Third Circle – FFXIV Endwalker Raid:


