
Meet Your Maker is the newest asynchronous build-and-raid game which allows players to build their own base full of deadly traps to protect their resources, and also raid other players’ bases in order to steal their resources.
In this guide, we will be talking about the basics of building a base in Meet Your Maker, sharing some tips along the way to make your experience easy and effective.

Step 1: Get a Burial Site
Burial Sites are the places where you will build your base. There are a few things to consider when selecting a site. The first one is the type of resource that you are going to get from the site. There are five kinds of resources:
- Hardware
- Guards
- Weapons
- Traps
- Suits
These resources are needed for you to improve the different aspects of either your base or your raiding character. Each site also has varying amounts of these resources so you can gather these resources until the site gets depleted.
The next thing to consider is the capacity of the site. The capacity will tell you how much base building materials, such as walls and traps, can be built within the site. The higher the capacity, the more space you will have to build your base and you can also make it as intricate as the space can allow.
The amount of resources and capacity size are mutually exclusive, but the price of the site is relative to the capacity size, so keep these in mind when selecting a Burial Site.
Step 2: Assess your site
The only time that you would be able to see your site is after purchasing it, so once you have the site, the next thing to do is to do a quick assessment to learn the lay of the land.
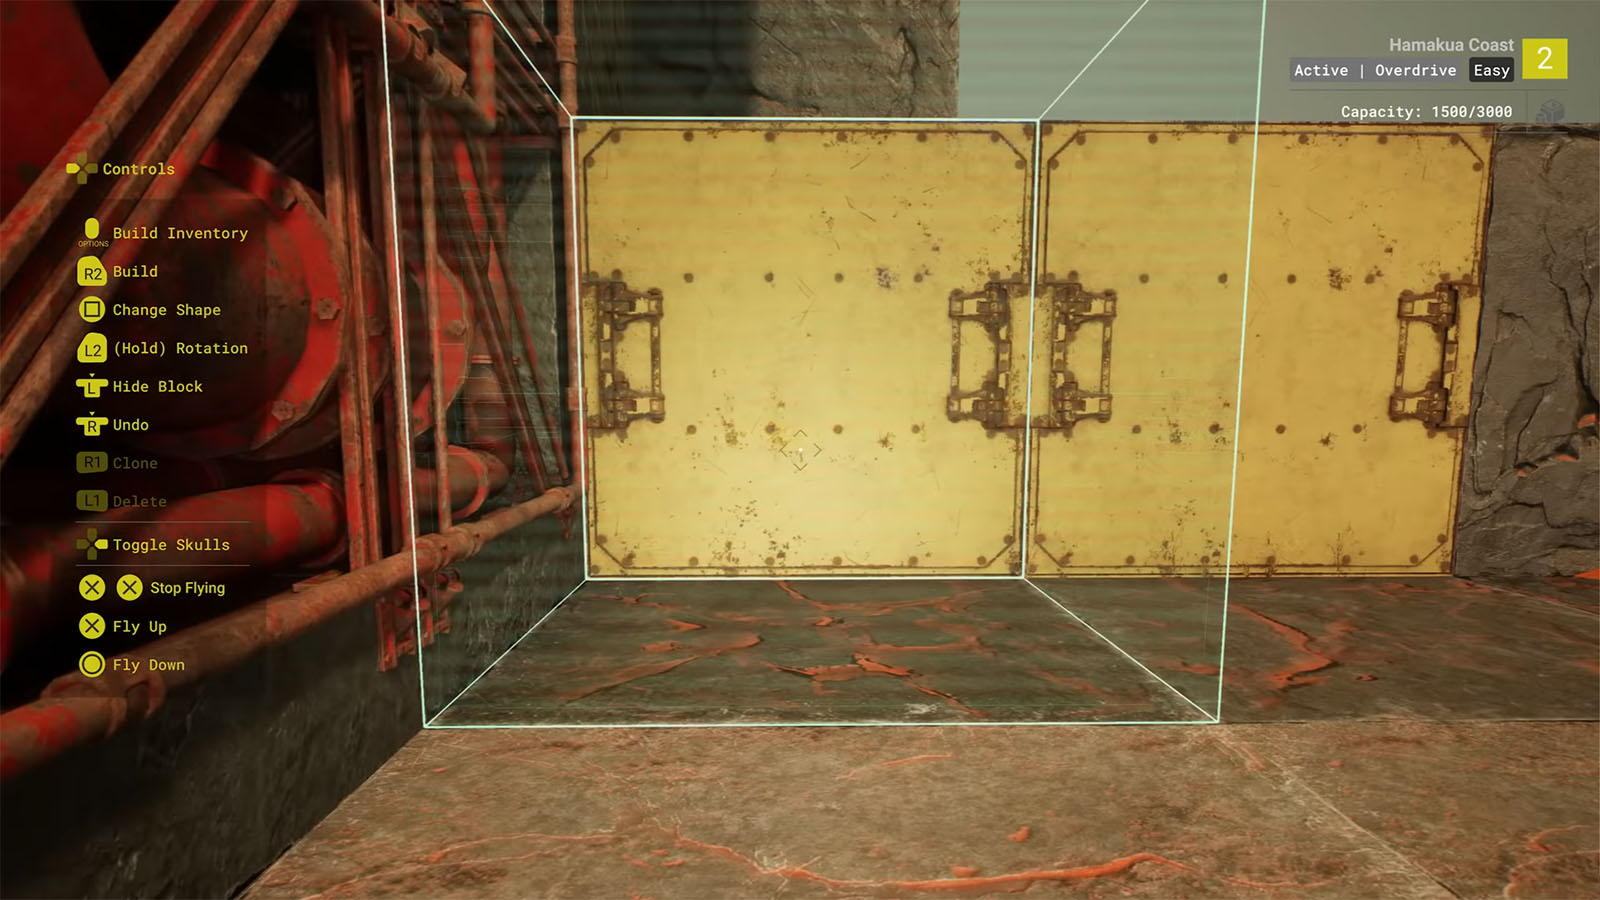
As you enter the site, you will be in build mode. You can press jump twice to hover, then use the directional keys to fly across the site. Additional controls will be available on the left side showing you the other controls available at your disposal.
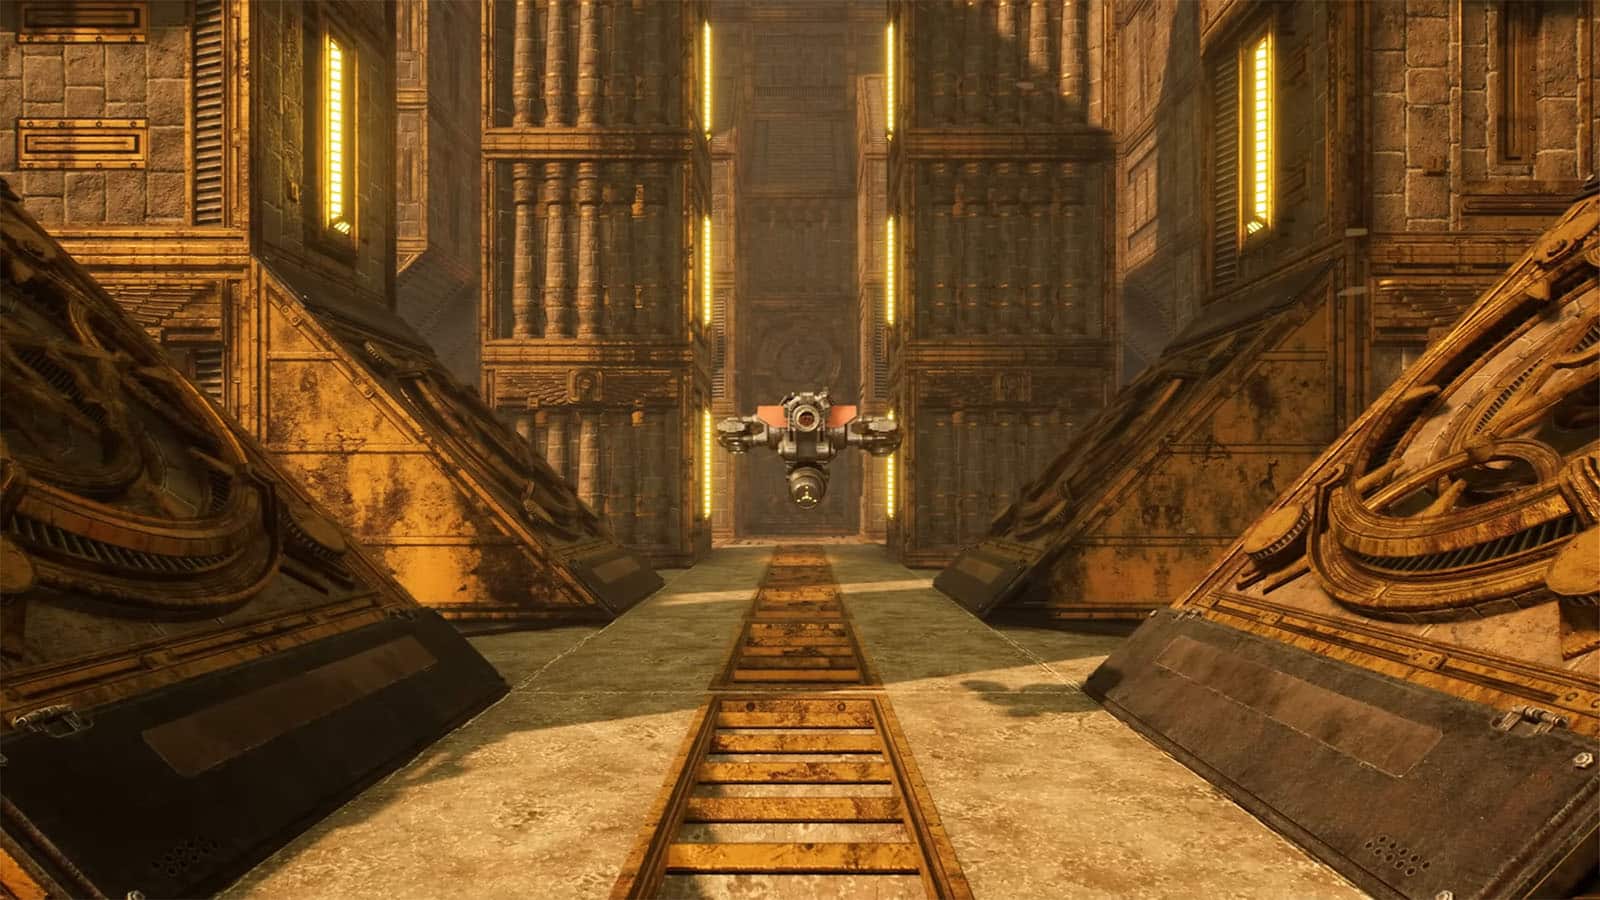
You will see that the site actually looks like it’s in a state of ruin with a lot of free blocks just lying around. The Genetic Material or GenMat site is also somewhere in the middle; it is a fixed site and it’s also connected to the edge of the site with a bridge of blocks that allows your Harvester to go back and forth to gather resources.
You can leave the site as it is and start building the rest of your base, or you can clear out the blocks first and then rebuild according to your plans. The present blocks are already taking some space from your site’s capacity, and removing them will free up the site’s capacity as well.
Step 3: Start building
You can then start building your base using the materials available to you. The best way to start is to start from the GenMat itself and create a chamber for it. Just make sure to not fully enclose it as the Harvester should still be able to walk towards it from the exit. Simply leave the Harvester Path view option ticked so that you can always see the Harvester’s path and use it as a guide. The Harvester will always choose the shortest possible route to the GenMat, so keep this in mind.
You can then alter the path of the Harvester as you like and then slowly build connecting rooms or chambers until you reach the entrance. Remember that raiders can enter the base from any side and has the capability to grapple upwards, so do not leave your base exposed and try to keep entry points to a minimum.
Going back to the Harvester, it is almost pointless to create a maze with multiple paths to the GenMat as raiders will just simply follow your Harvester during a raid. You can still create narrow corridors or channels for long range traps such as the Bolt Shooter.
Speaking of traps, you will have to be strategic on where to place them. These traps can be destroyed with one hit from a raider (but will be reconstructed in every run), so consider placing them on hard to reach or inconspicuous spaces and make sure that they can still be triggered by a passing raider. Also, traps have upgrades that can be applied to them, such as the Second Wave upgrade that will only make the trap visible once the raider gets hold of the GenMat, making their exit possibly as hard as their infiltration.
You can also place guards within the base. These guards only stay in place and have varying sight range. Once a raider gets detected, the guards will then go aggro and chase after the raider until they are eliminated. It’s good to have them stationed at strategic spots.
The base blocks only take up 1 point while traps and guards take up varying points depending on their function. Once you are satisfied with the main playable path and all the traps are set, you can then get more creative with the exterior of your base by adding more blocks as many as your site capacity permits. There are also some decals and props that you can add without taking up any capacity points.
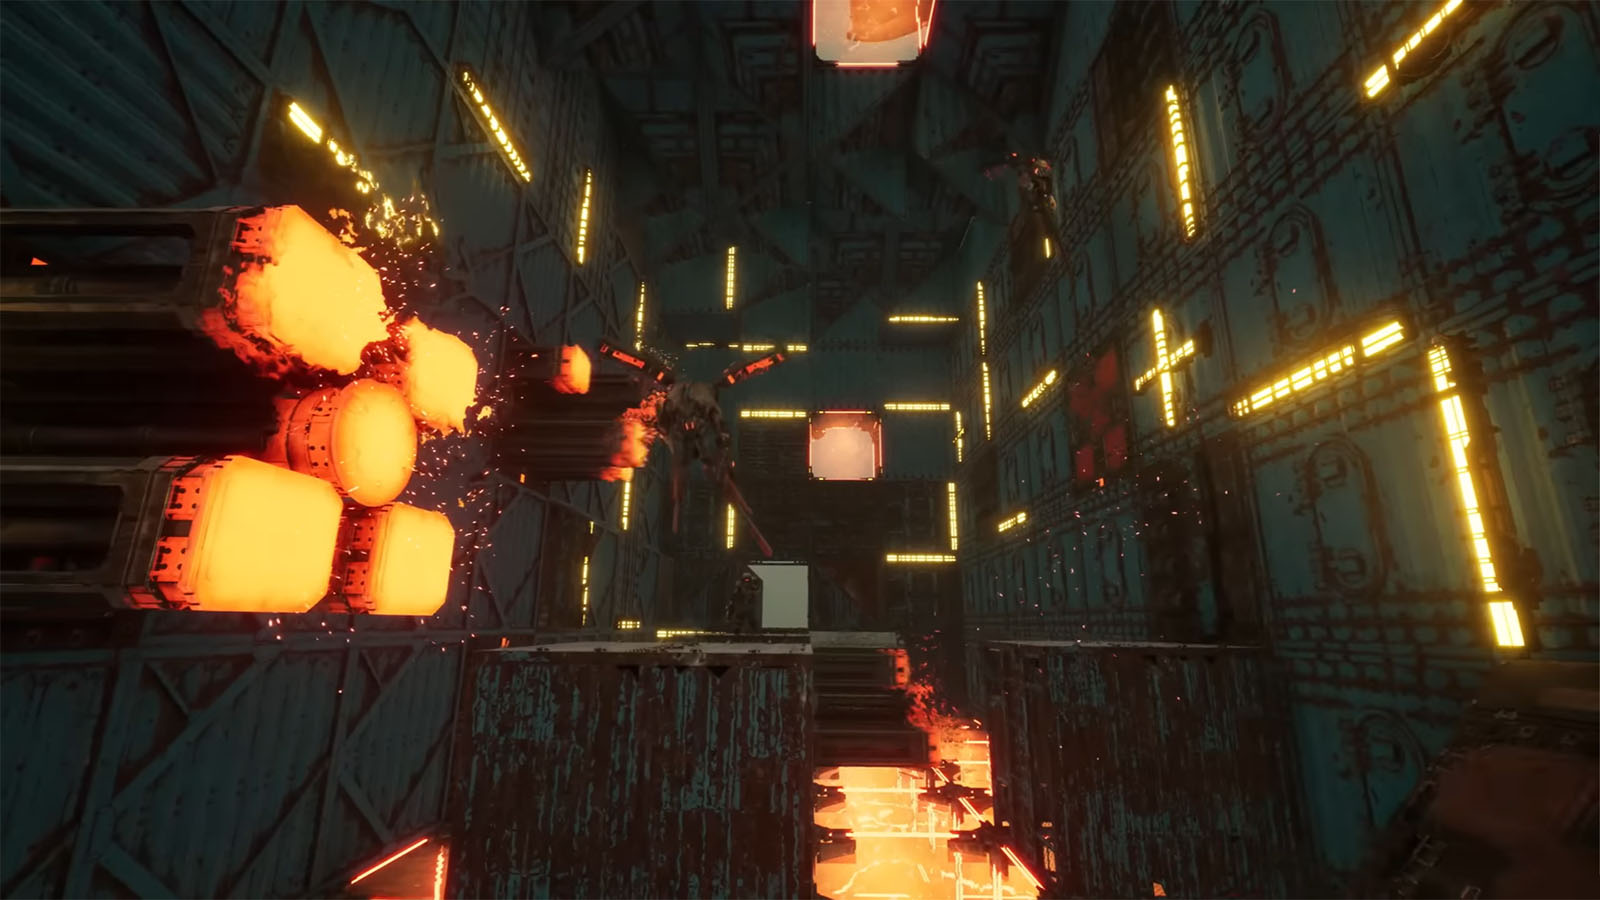
Step 4: Test your base
You can test your base as a raider and go through the gauntlet that you have created. It is recommended to do this in order for you to find any lapses or any parts that can be improved. You may also want to have some friends test it out for you so that you can get a better feedback, and it can be done through the next step.

Step 5: Activate your base
Once you are satisfied with your entire base, you can then activate it. You can select from several types of activation based on your preference.
- Active – Your base can be raided by players and progression can still be earned, but you will not lose GenMat if raiders successfully steal them.
- Overdrive – Your base can be raided by players and progression can still be earned, and you will lose GenMat if raiders successfully steal them.
- Social – Your base can be raided only by the people in your Social Raid list. No progression will be earned and no resources will be lost or earned.
If you have your base set to Active or Overdrive, it will then be available for other players to try out. You will be rewarded with Prestige points depending on how successful your traps are at killing raiders. Reaching higher prestige will allow you to get more build capacity for that particular site, and some XP for your own level progression.
Check out this video by SIMPLYAMAZING going through the steps on how to build a base in Meet Your Maker:


