
Meet Your Maker puts some players in a pinch when it comes to raiding other people’s bases, so it’s not so bad to look for the Best Base Raid tips and tricks to give you an edge before you play.
Understanding how to build a base with well-placed traps is essential to earning the materials and resources needed to further progress in the game and fortify a base. Read ahead as we go through some helpful Base Raid tips and tricks for creating a starting base in Meet Your Maker.
Start small and keep it small
As you start your own playthrough, you will definitely only have a limited amount of resources to work with. However, you can still make an effective killing base that can earn you a reliable amount of resources, and it’s just all about trap placement.
Other than that, you can take advantage of baiting more people into raiding your “normal” difficulty base. Usually, the more parts a base has, the higher it gets pushed on the difficulty ladder. So the tendency is that you can trick more newbies and a bit more experienced players into trying out your base thinking it’s an easy raid, and it should translate to a higher resource yield.
Build from scratch and start from the center
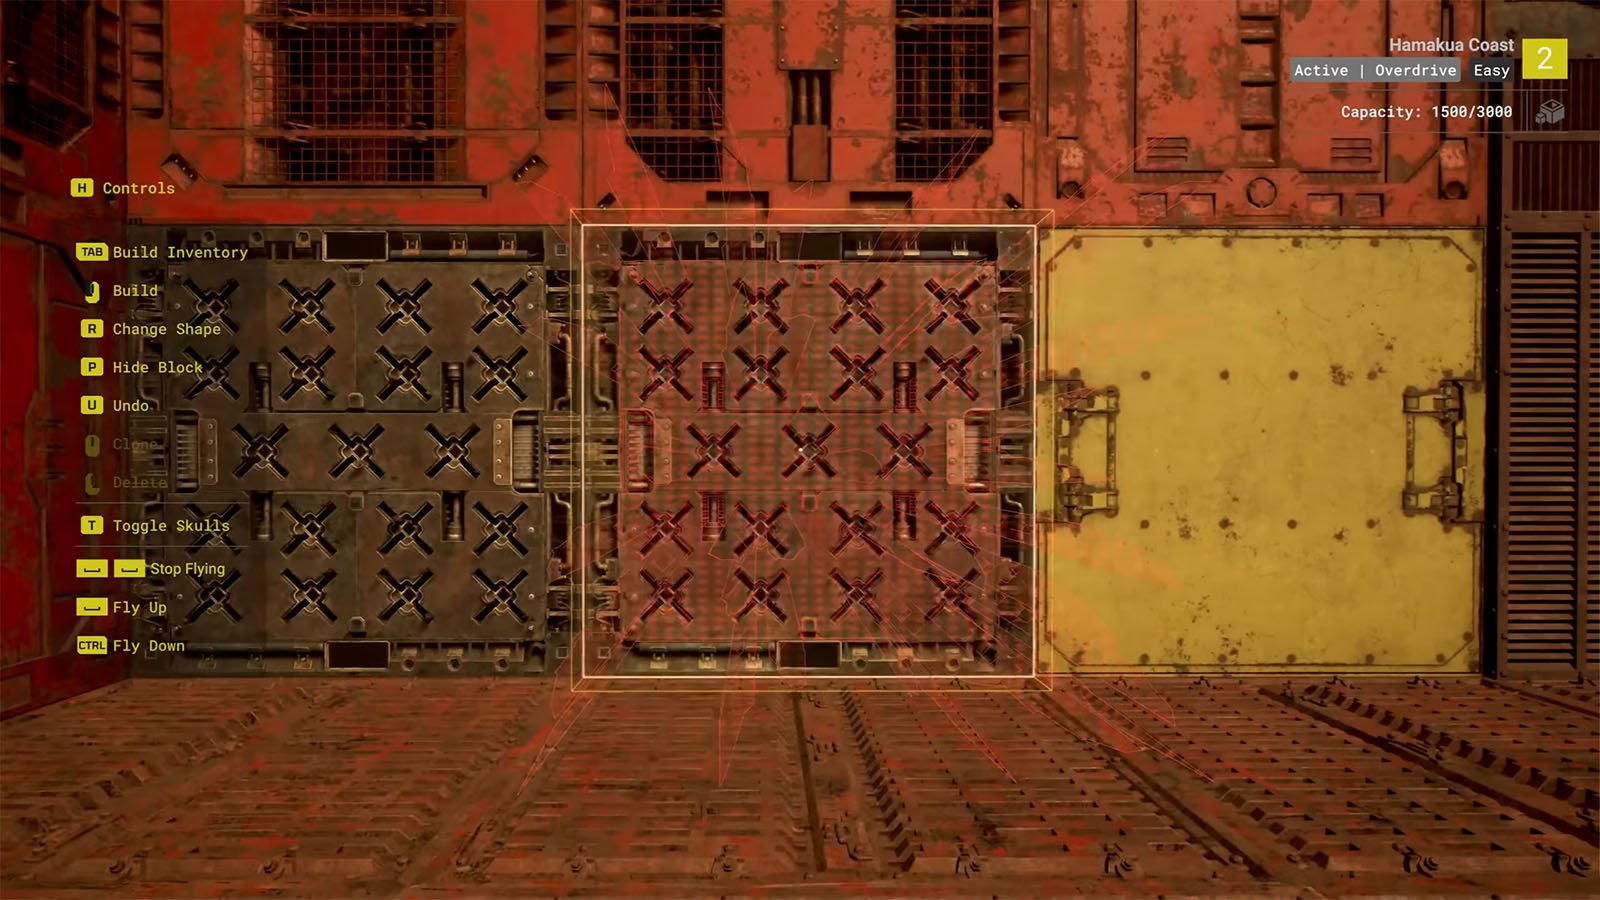
Upon getting your first base, it will be full of debris and extra parts that you do not necessarily have to incorporate into your build. You can delete these blocks so that they won’t take up space in your base building limit. Every base can only have a limited amount of things that can be built within its perimeter, and the number varies depending on how big or small the area of the base is.
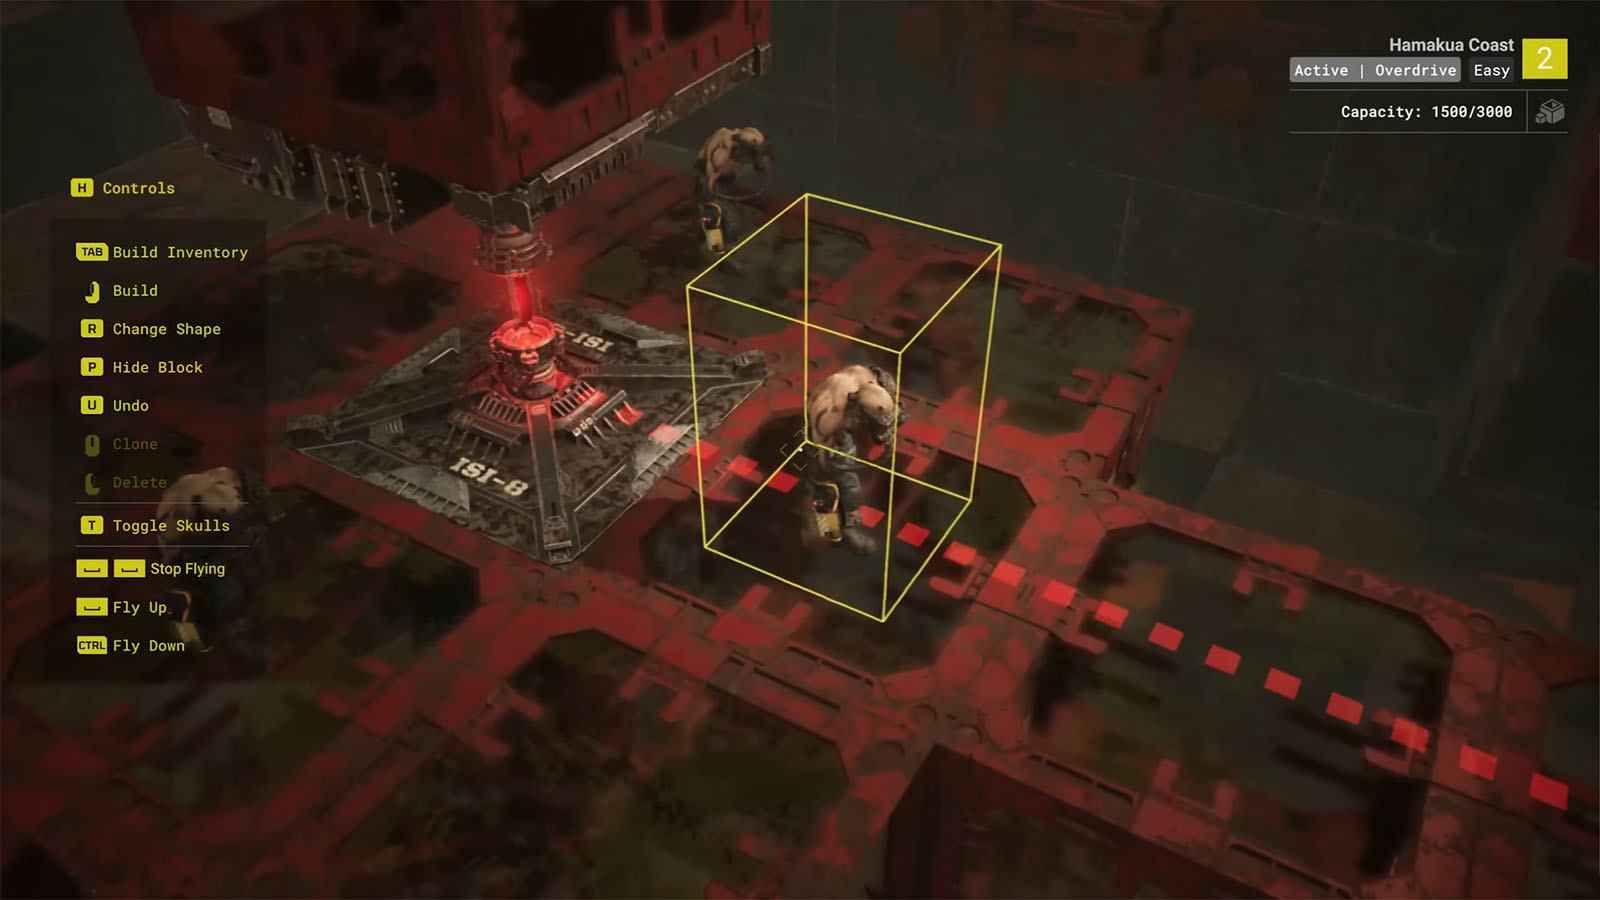
Once you have cleared your base, you can then start building. It’s best to start building from where your GenMat will be and then build backwards towards the entrance or exit of the base. Make sure that your GenMat chamber is sealed except for one pathway, as players can even enter from the top of your base if it is left without a roof.
Trap placement is key
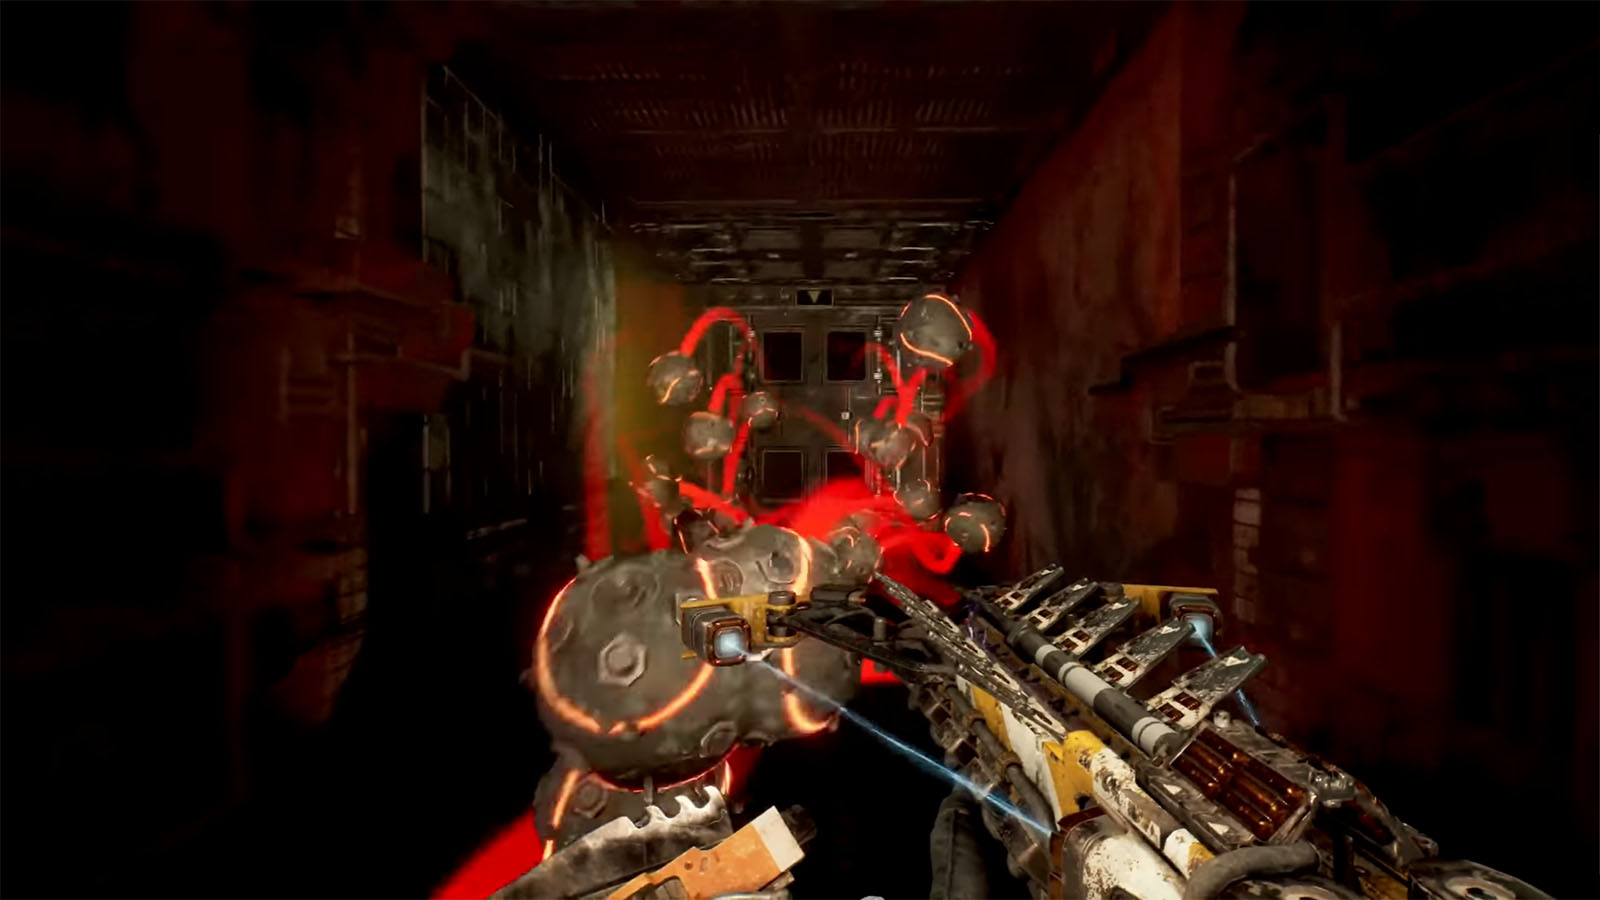
Knowing where you place your traps will tell you how inefficient or useless they will be. First of all, you would need to understand how traps work, as there are different types of them and they can be very useful in certain scenarios. You cannot just place a trap all willy-nilly and let it free out in the open without expecting that raiders will just destroy it; but you can actually do so intentionally if you are aiming for a distraction.
Speaking of which, you can also have your minions deployed at strategic locations. The Enforcer unit is a ranged unit that can be placed at a farther distance, so you can have them stand in plain sight if your intention is to force the raiders to use their ammo.
Flank with traps, use semi-one-way paths
Players can only go through your traps a few times before they manage to figure out how to avoid them, so try to make your traps count. One method that can slow down raiders’ progress in figuring out your base is to use the flanking method, which basically just means having your traps come from multiple directions. Since the danger will be coming from more than one side, raiders will either have to have lightning-fast reflexes to avoid them or just find other resourceful ways to get through the traps via ammo or bombs.
For these flanks to be effective, you need to set them up where the player would not have an easy time retreating from where they just came from, such as a fall or a climb.
Use blind spots and recesses
Another way of raising the effectiveness of traps is to keep them from being spotted right away. Placing traps on blind spots such as the side of a ledge, overhang, or ceiling will keep them from a raider’s immediate line of sight, therefore raising the chances of them taking out the intruder.
Also, consider creating recessed areas on walls along corridors or turns. This would force a raider to turn around to look, and the recess would also provide cover for your traps. Some raiders might also think that a recess is a safe spot from a trap up ahead. Once you get the holocube, you can use it to cover up these recesses, as these cubes will disappear and reveal your traps as soon as a raider is within close proximity.
Plan for the exit path, too
Getting in is just part of the raiding experience, as raiders will still have to get out of your base alive for the raid to count as a success. To make it harder for raiders to do so, consider getting the Second Wave upgrade on some of your traps. This upgrade makes your traps invisible until your base’s GenMat has been stolen. As a raider, you can’t drop your guard yet, as the path that you may have cleared before might still have traps that have now been activated.
Think ahead and test out your base
You can always try out your base for yourself to see what things should be tweaked. Put yourself in the shoes of the raider and try to anticipate how they would move or react against your traps. If you find a spot where they can easily survive or hide, use the tips above to incorporate a trap that will eliminate that safe spot. The only safe spot that should be present is the one outside your base. If it is hard and impossible to clear, then it’s good.
That’s our Meet Your Maker Best Base Raid Tips and Tricks guide. Check out this video by ESO talking about some tips and tricks on how to build an effective base in Meet Your Maker:


