
The Celestial Guardians is the sixth chapter of Prince of Persia: The Lost Crown. After facing against Azhdaha and defeating it, the evil serpent agrees to help Sargon by leading him to find the four Celestial Guardians and call them to obtain their powers. Read ahead as we go through the events of The Celestial Guardians in Prince of Persia: The Lost Crown and share some tips, locations of collectibles, and other helpful tricks to complete the chapter.
See previous: Chapter 5 – The Darkest of Souls
Chapter Objectives:
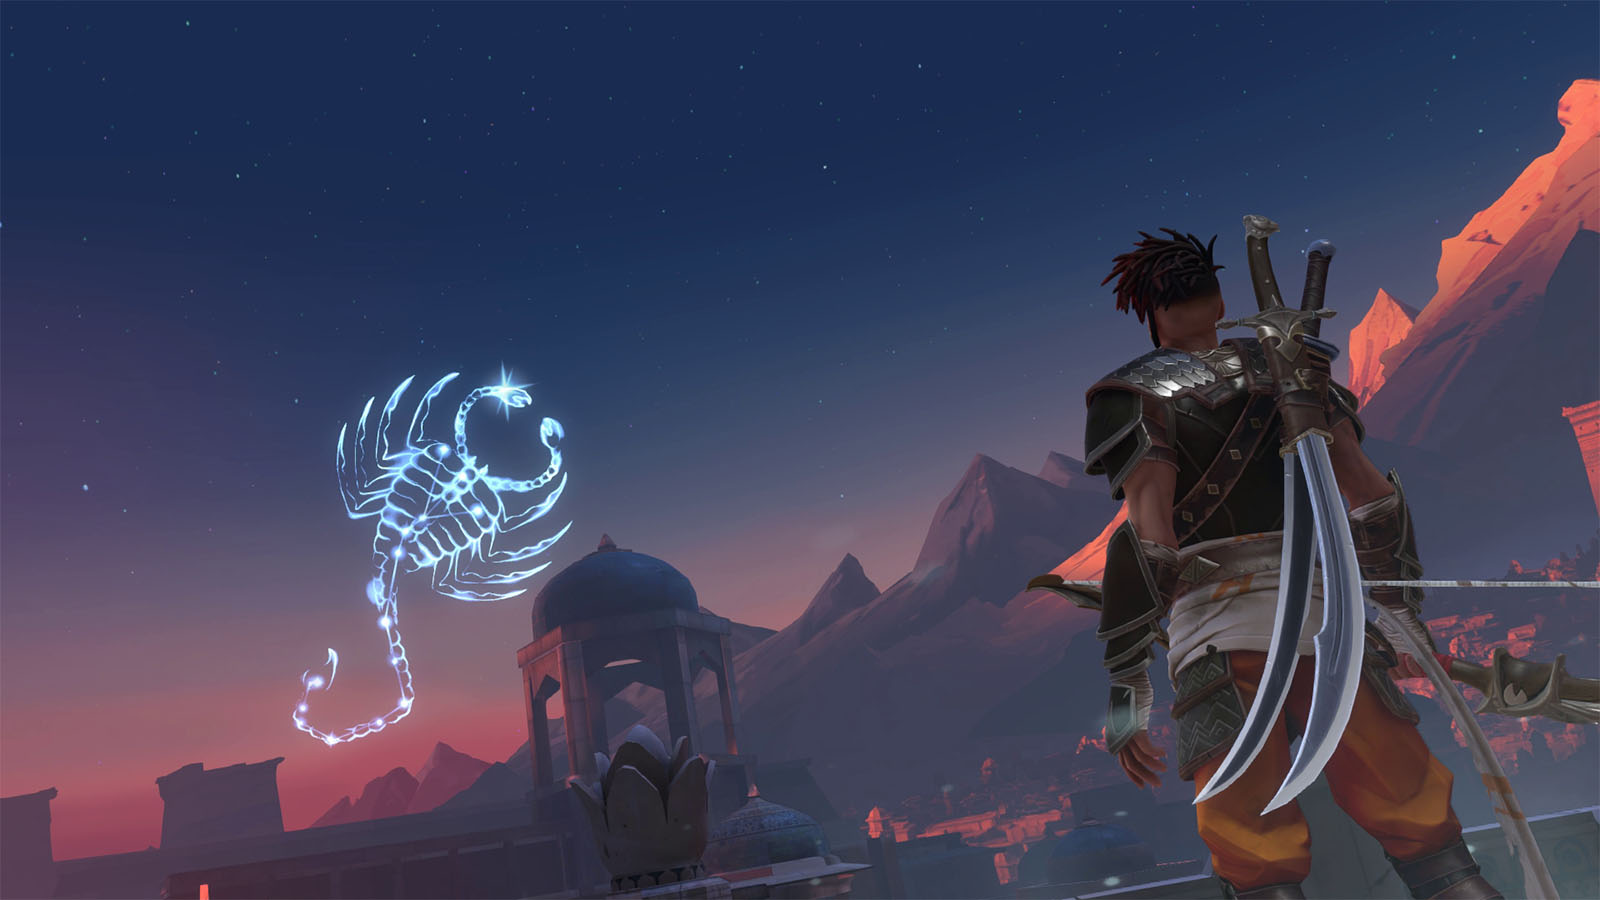
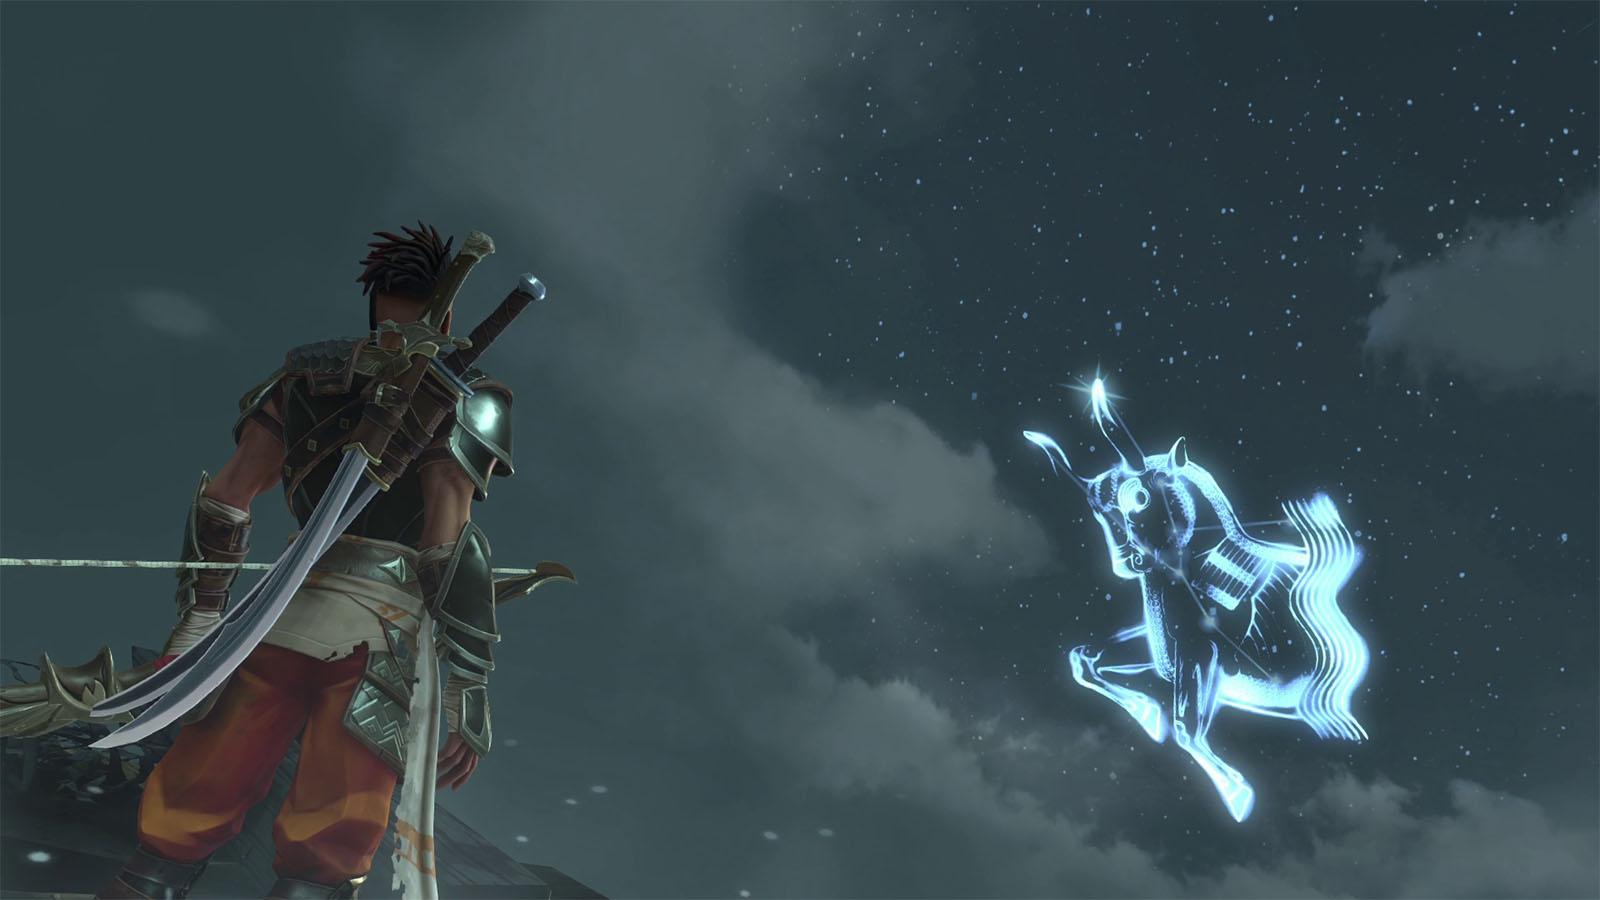
Summon Satevis, Guardian of the South
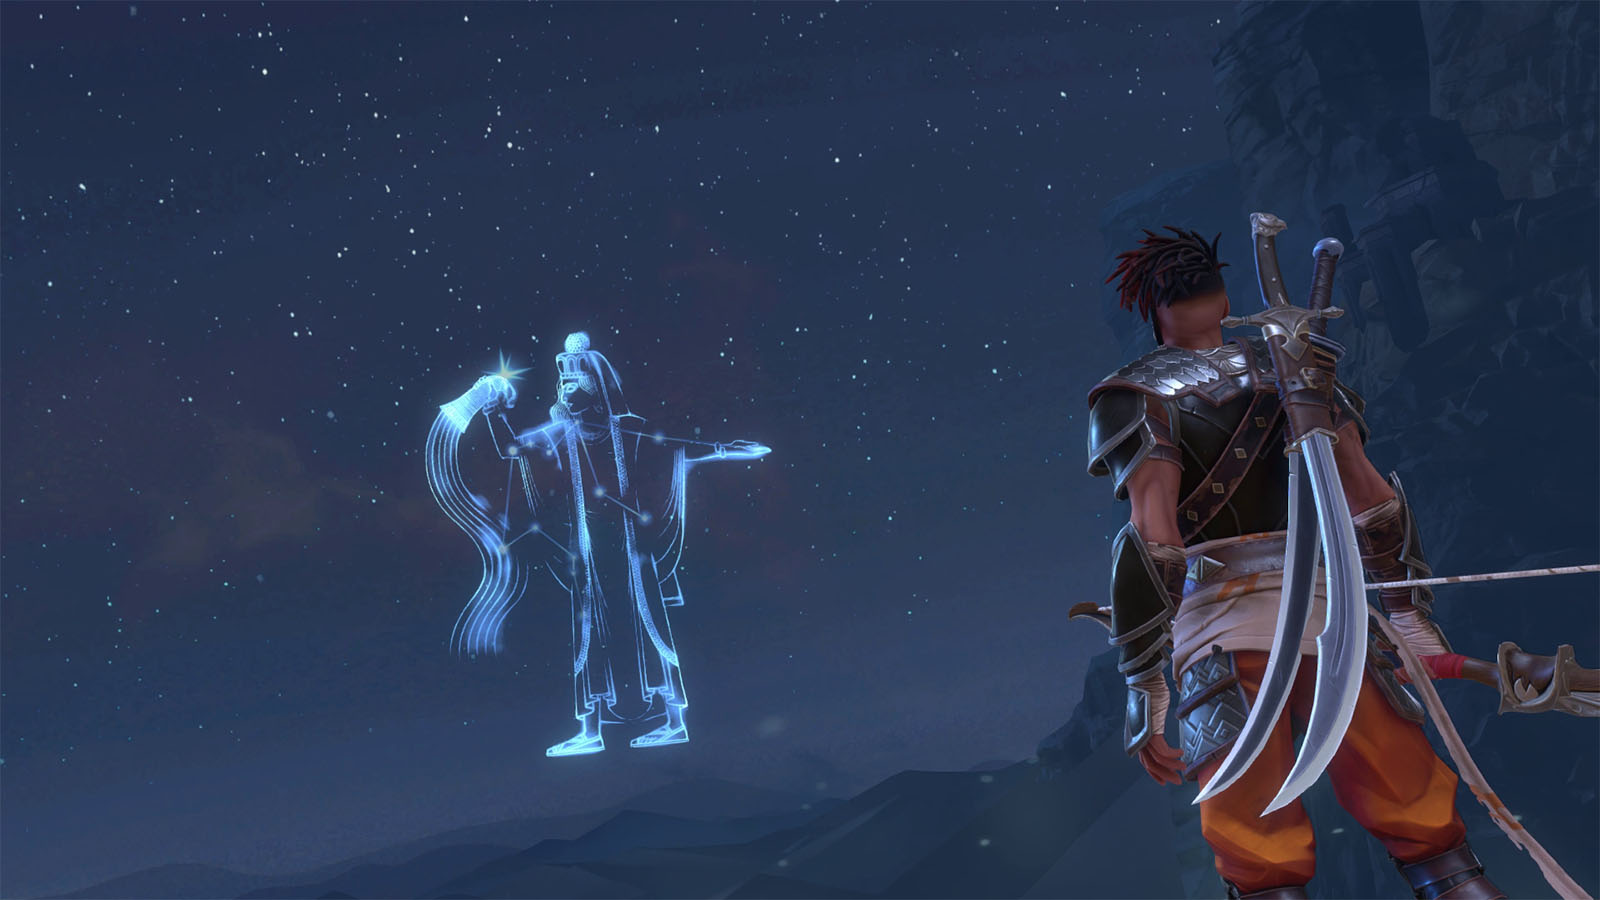
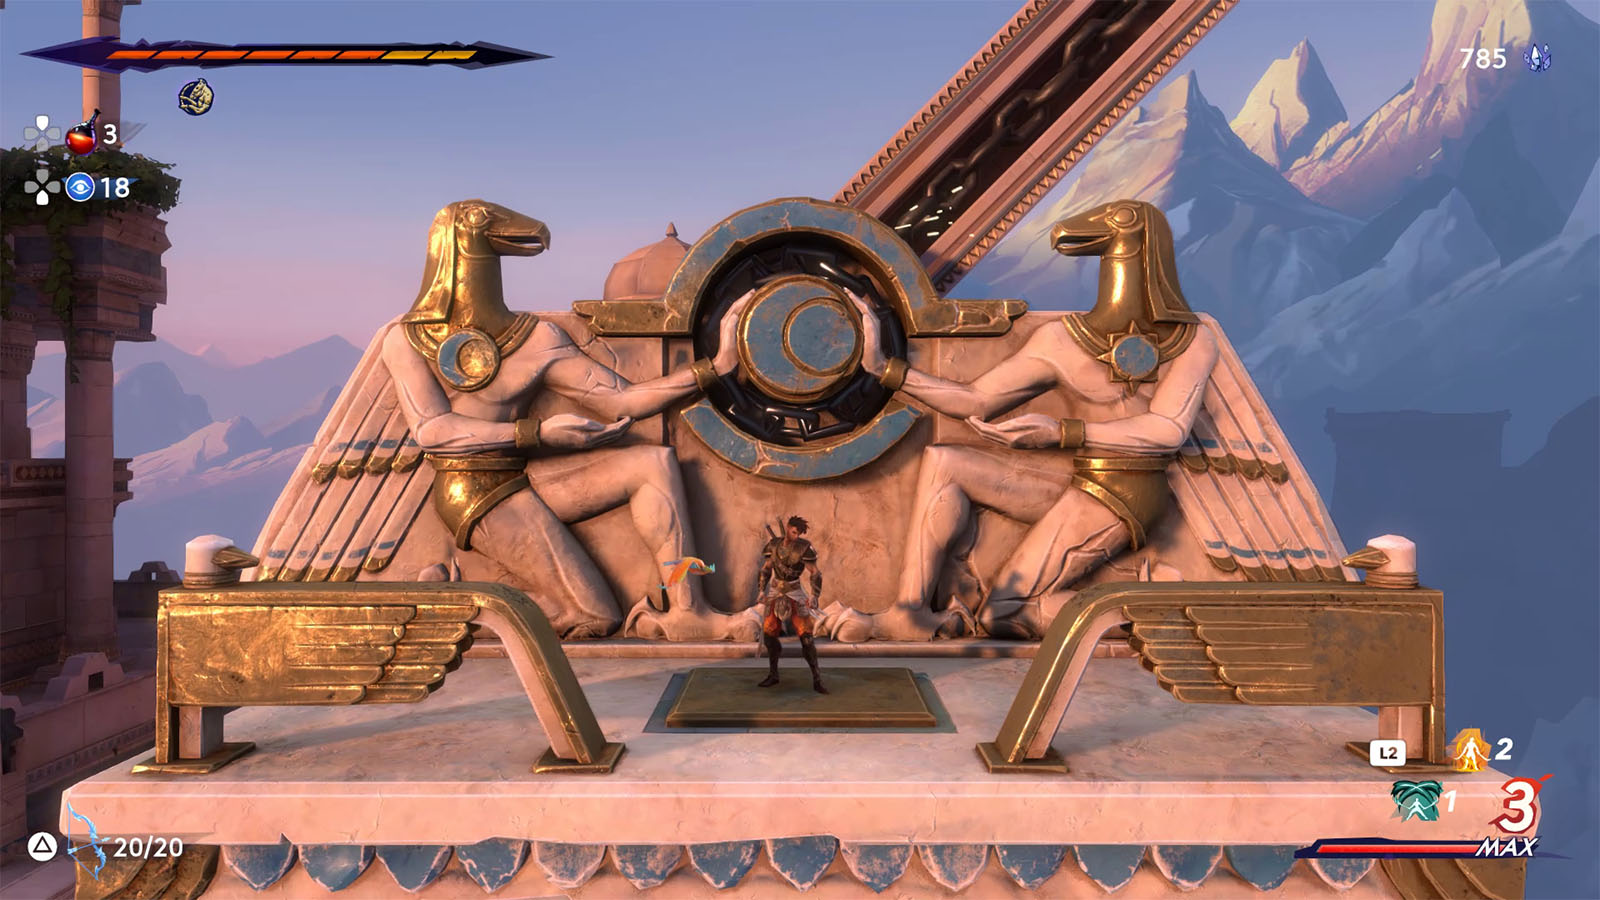
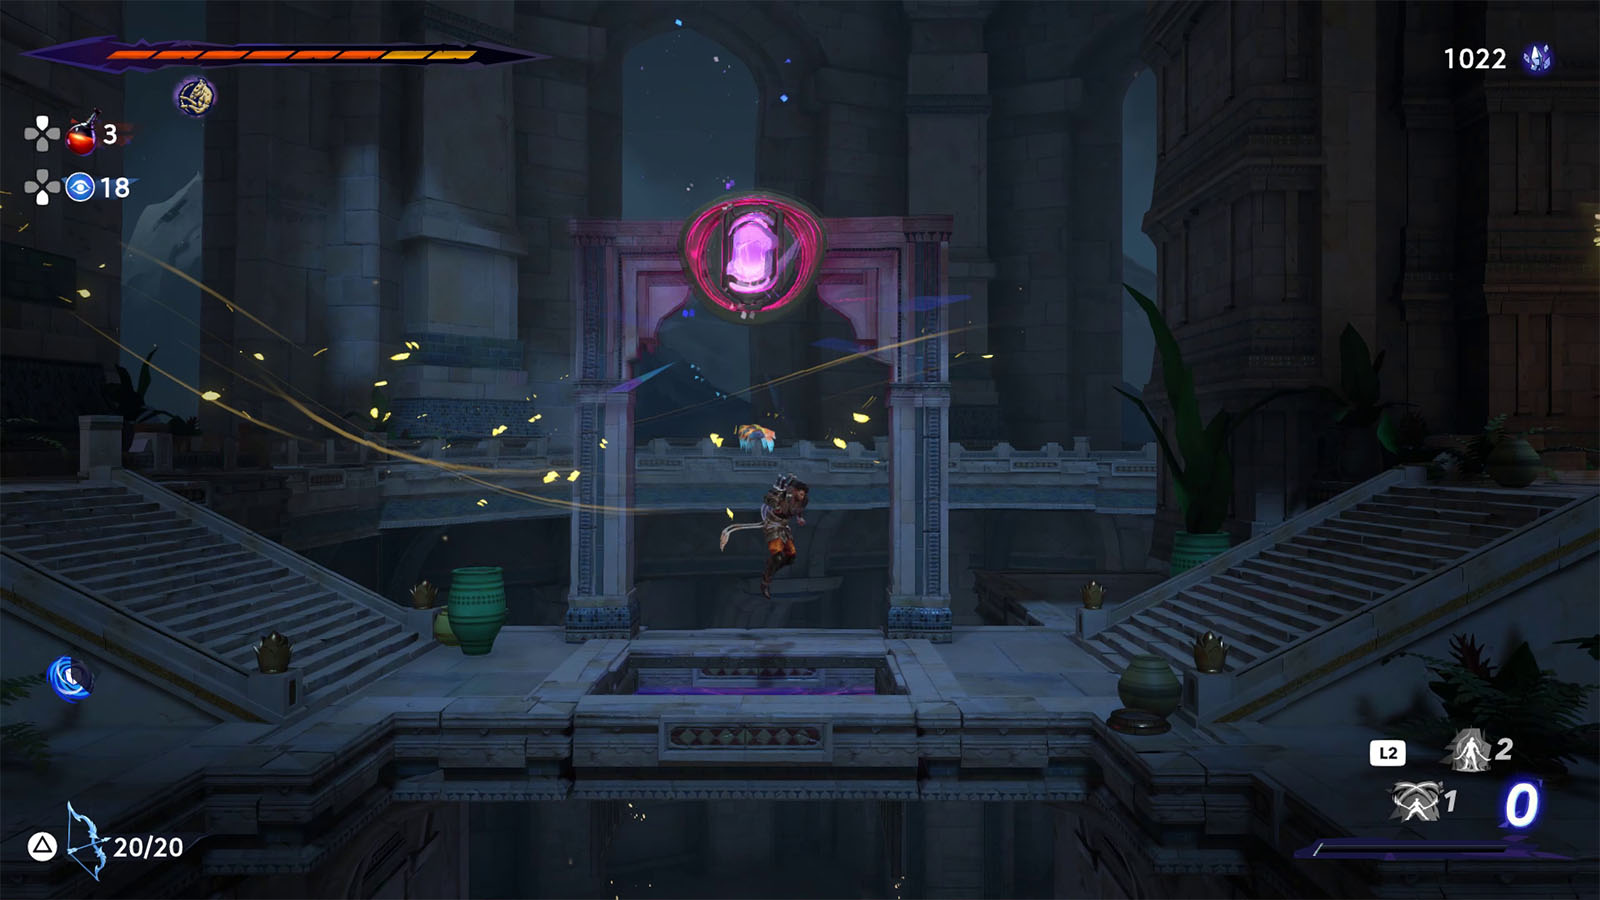
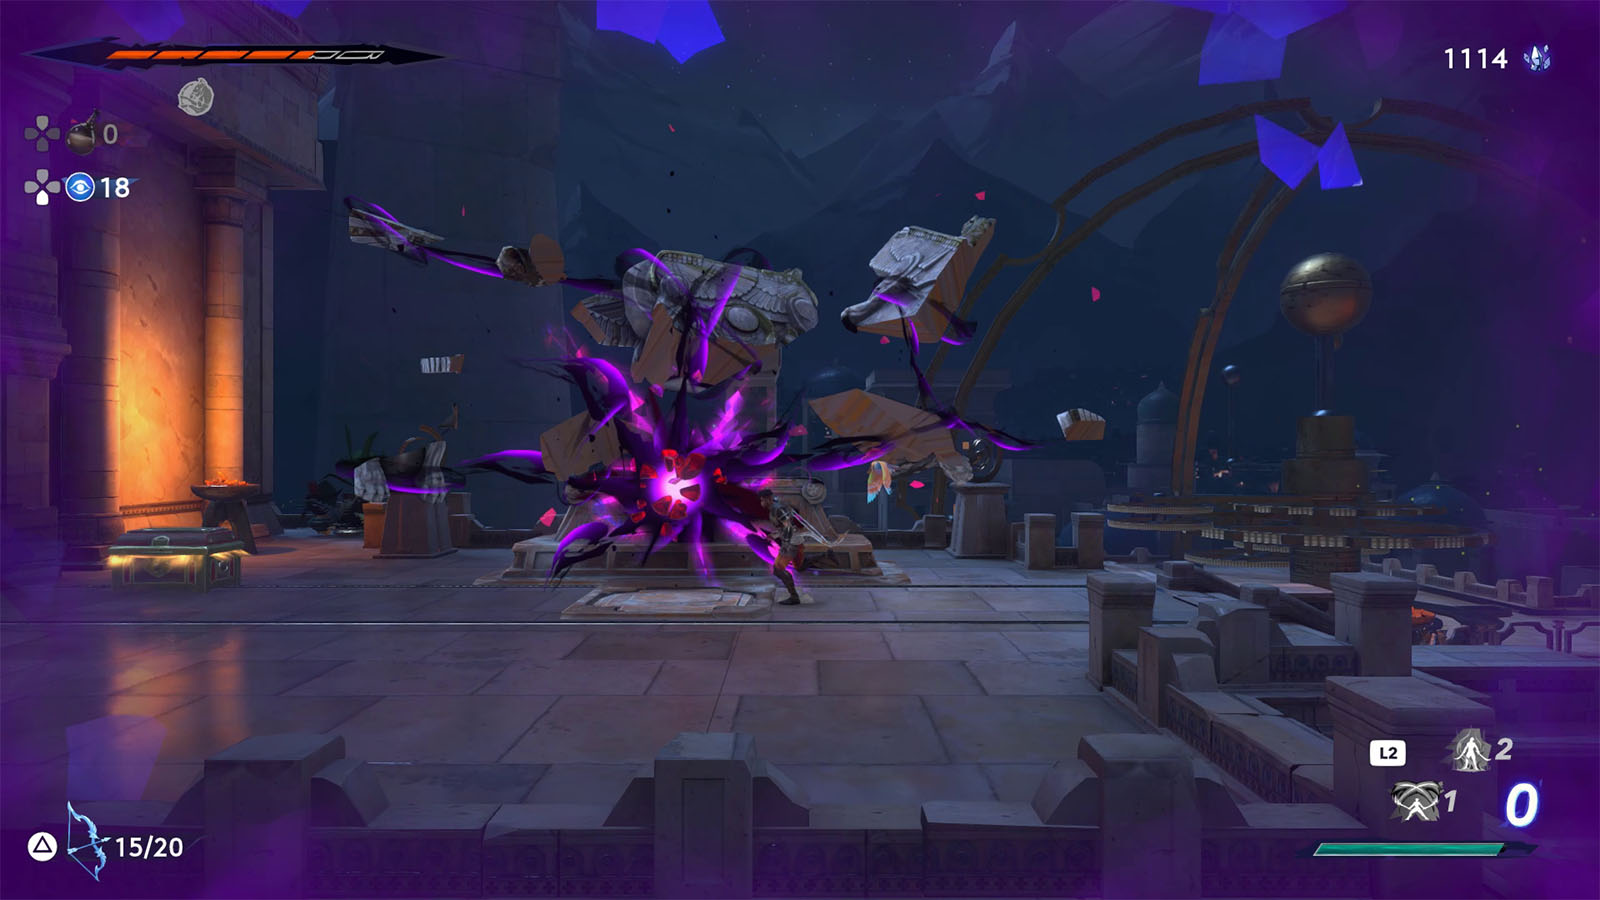
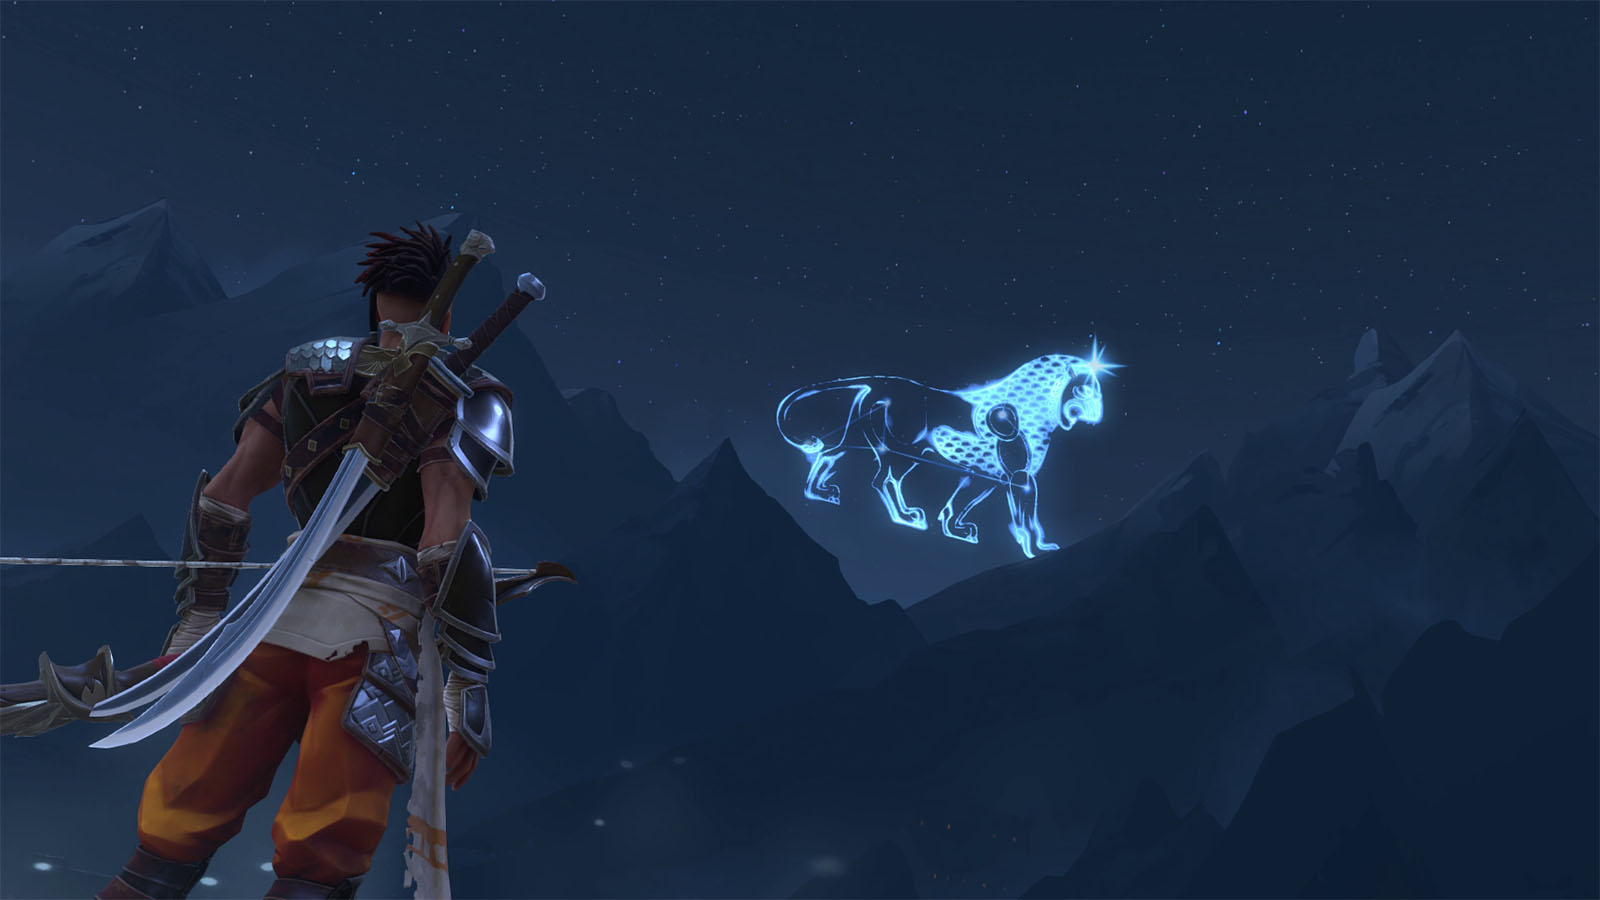
From Azhdaha’s chamber, head towards the west and stand on the circle. Sargon will then use one of the arrows and shoot it towards the sky, revealing the constellation of Satevis. One down, three to go.
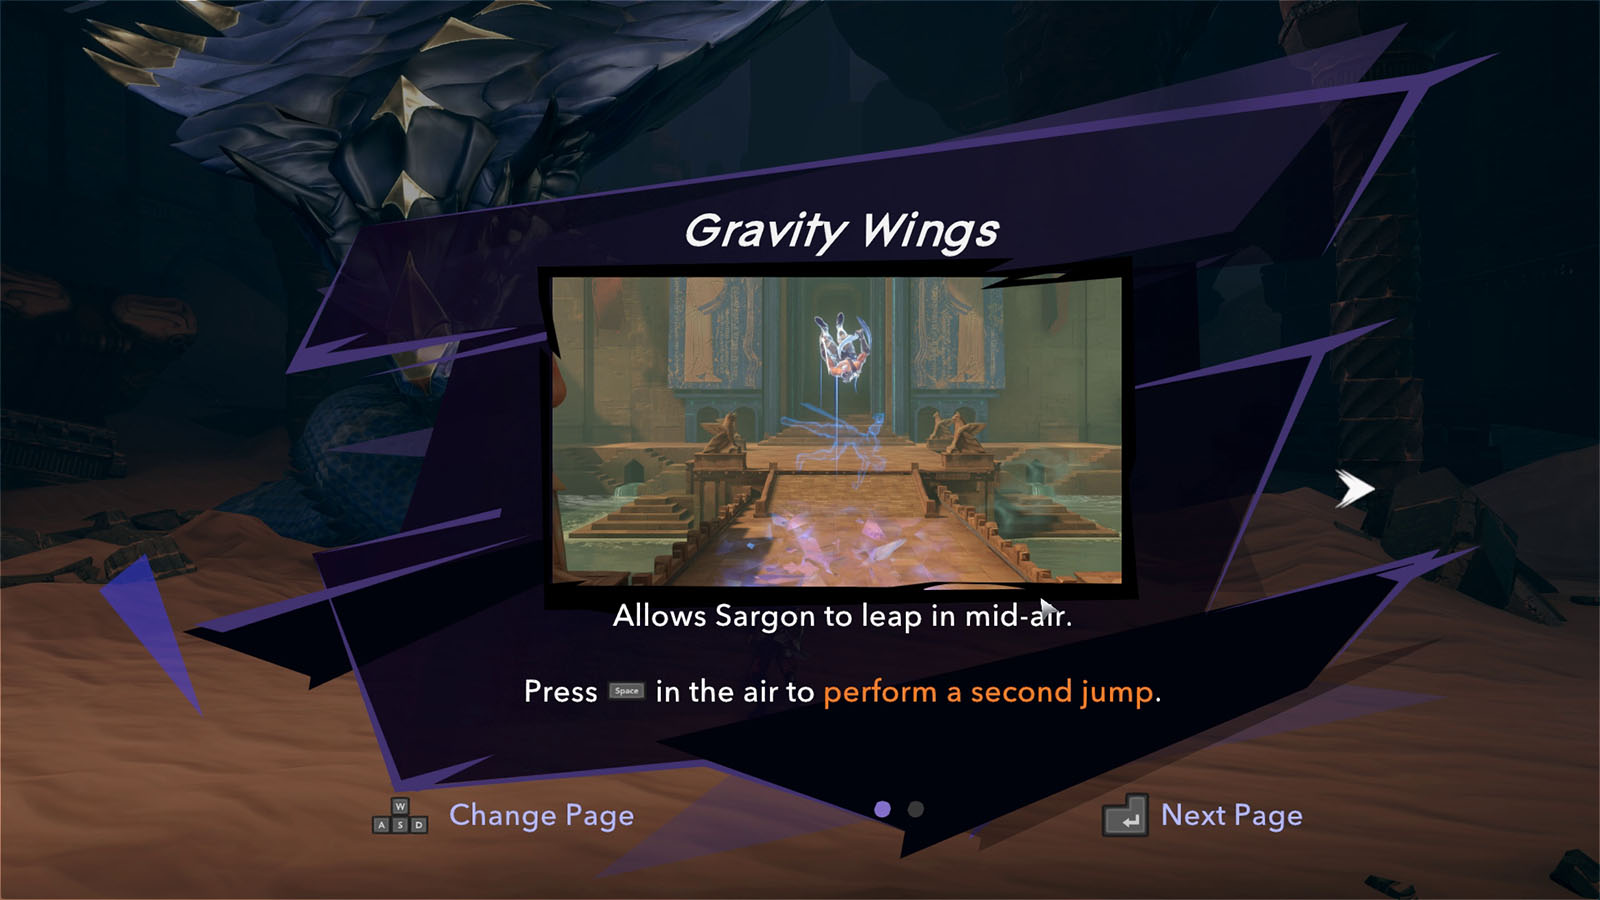
Head back to Azhdaha’s chamber. After your conversation, you can then obtain the Gravity Wings ability. This ability allows you to do a double jump and reach higher places.
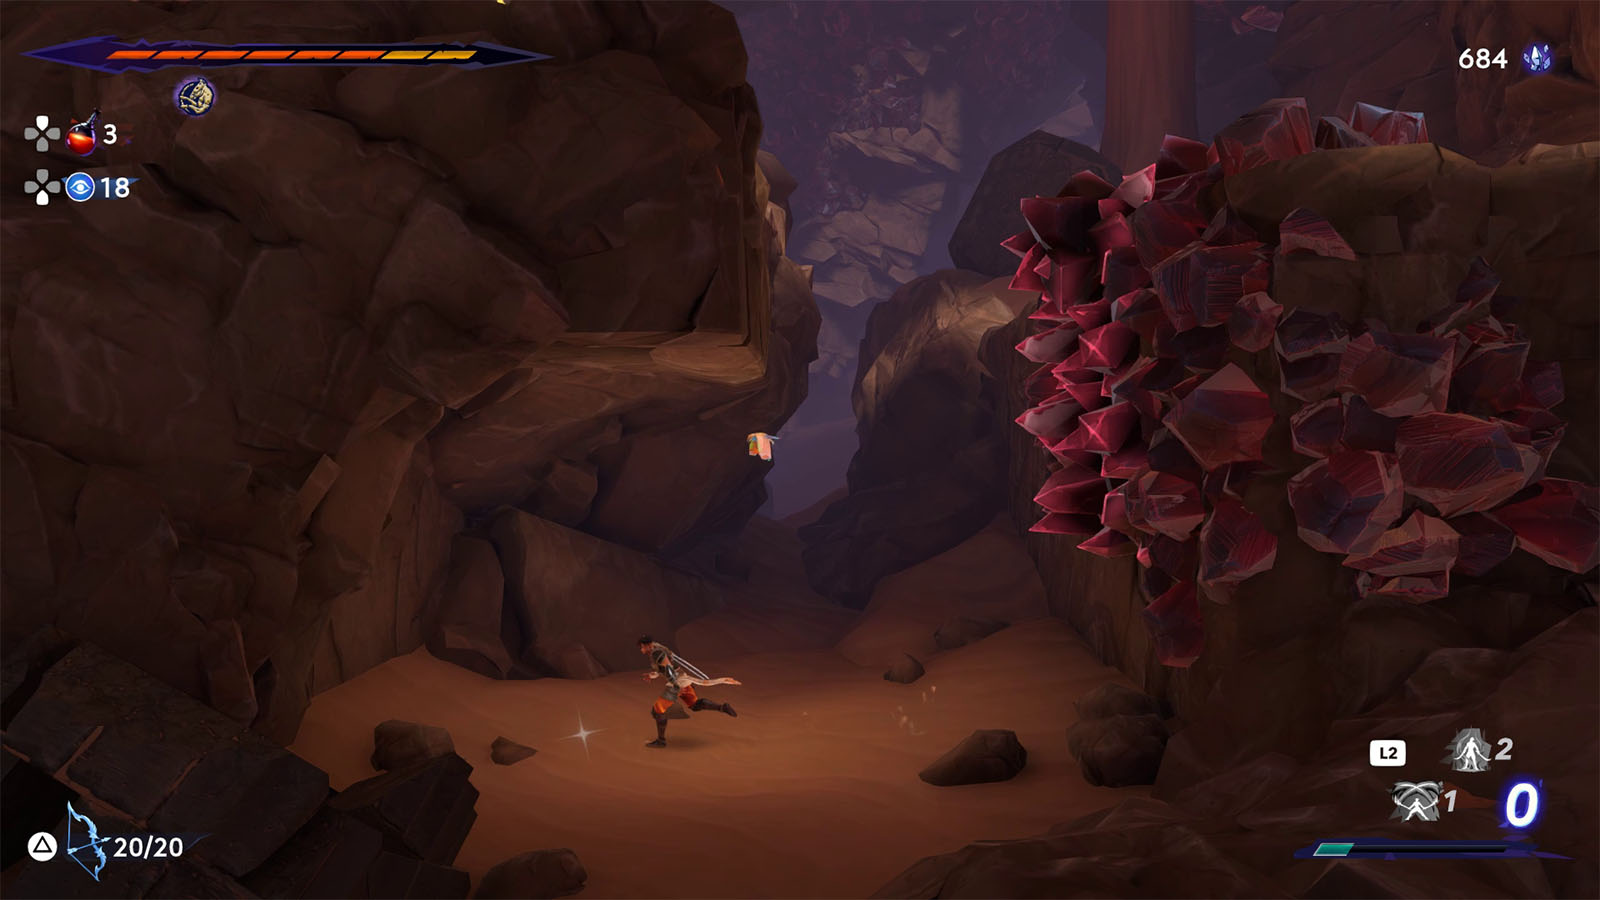
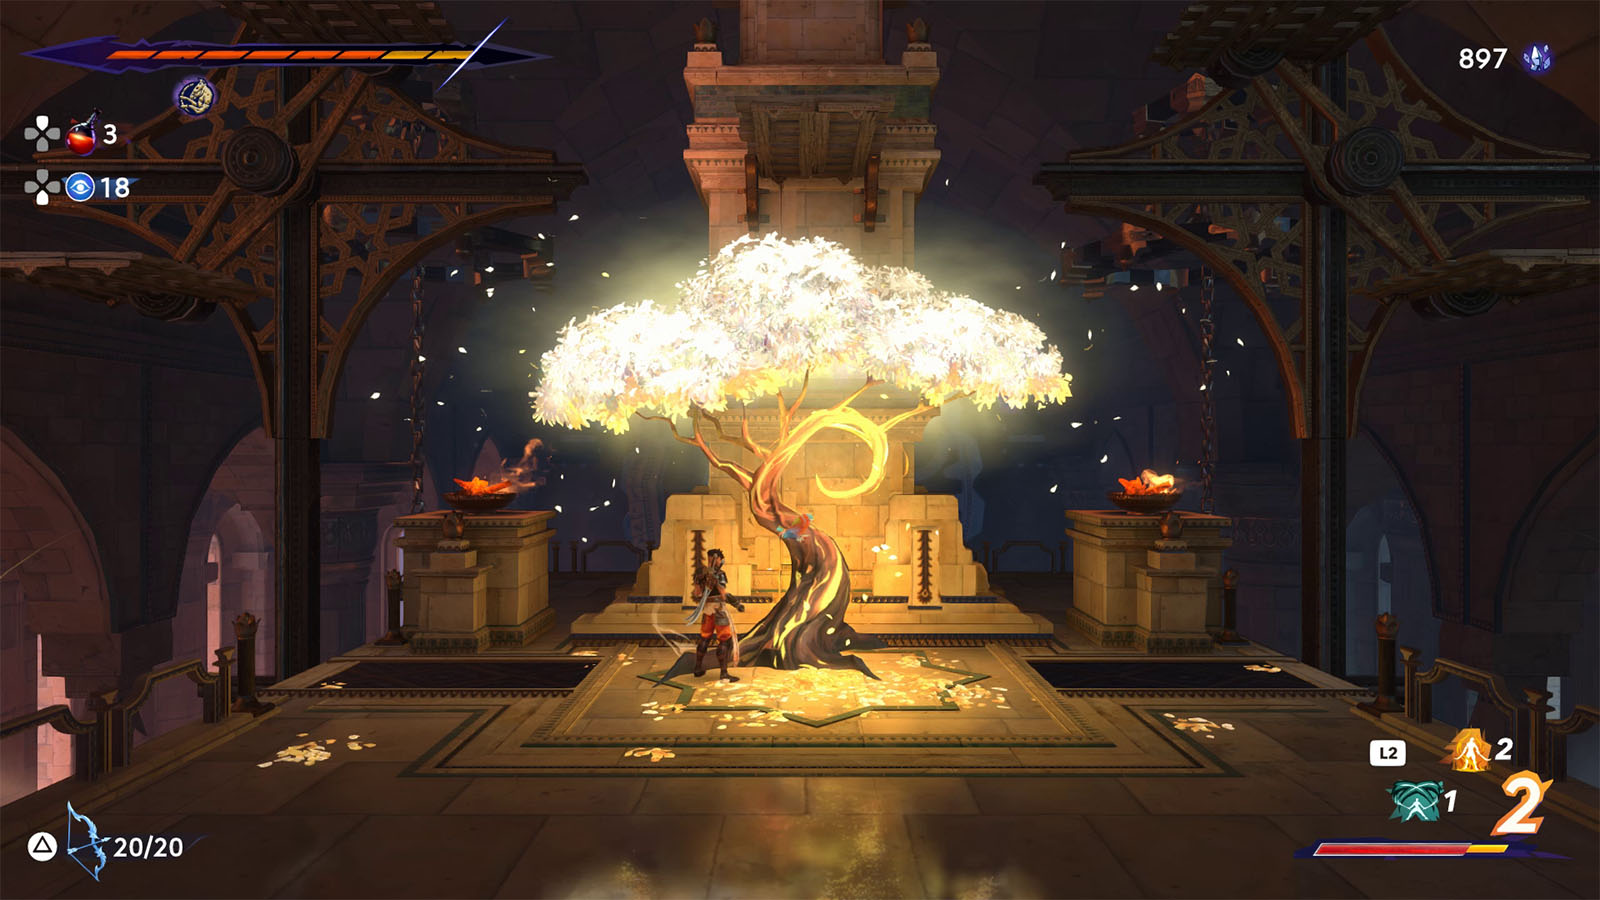
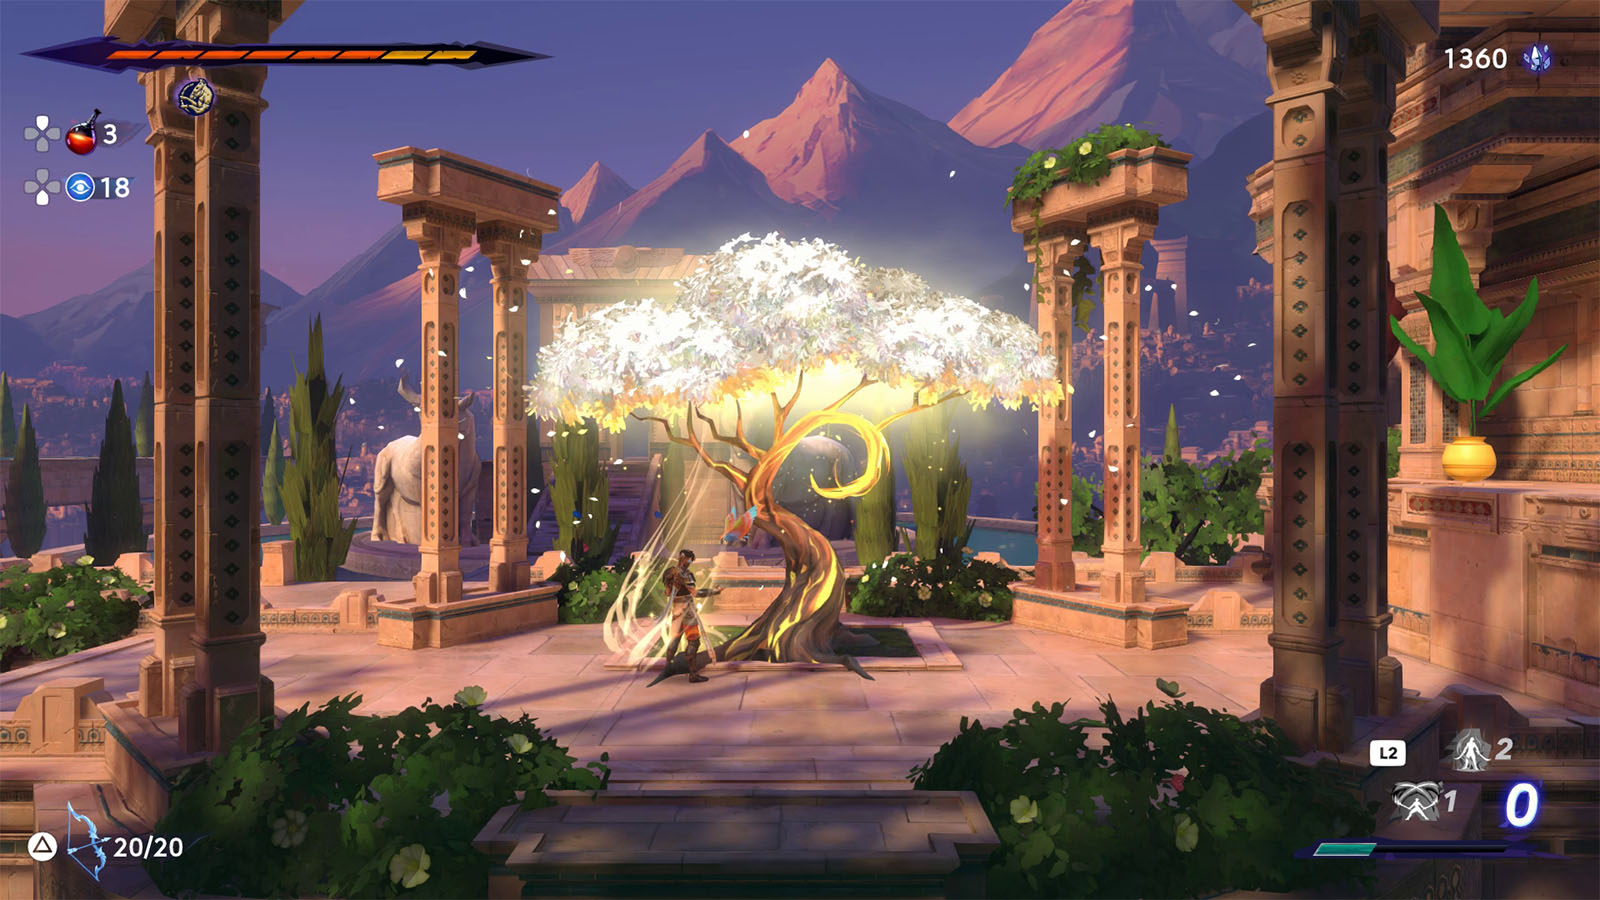
With your new ability, make your way out of the pit. As you make your way out, you’ll pass by Alkara once more before reaching the next tree.
Just below the tree is where you can find the Collectible – Object Found in Azhdaha’s Lair.
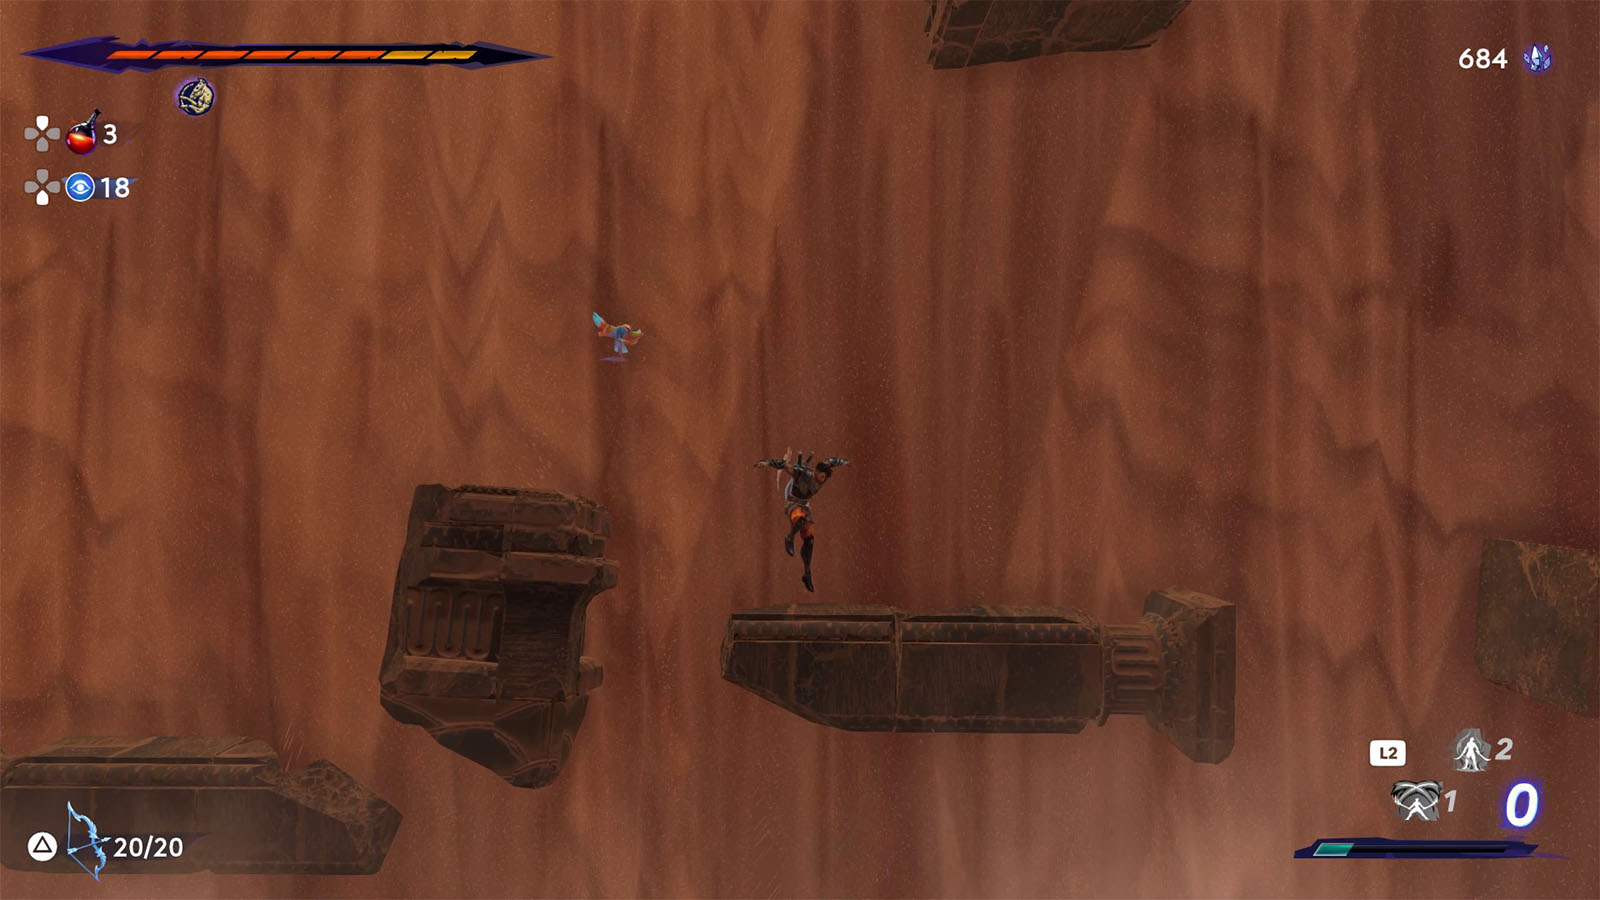
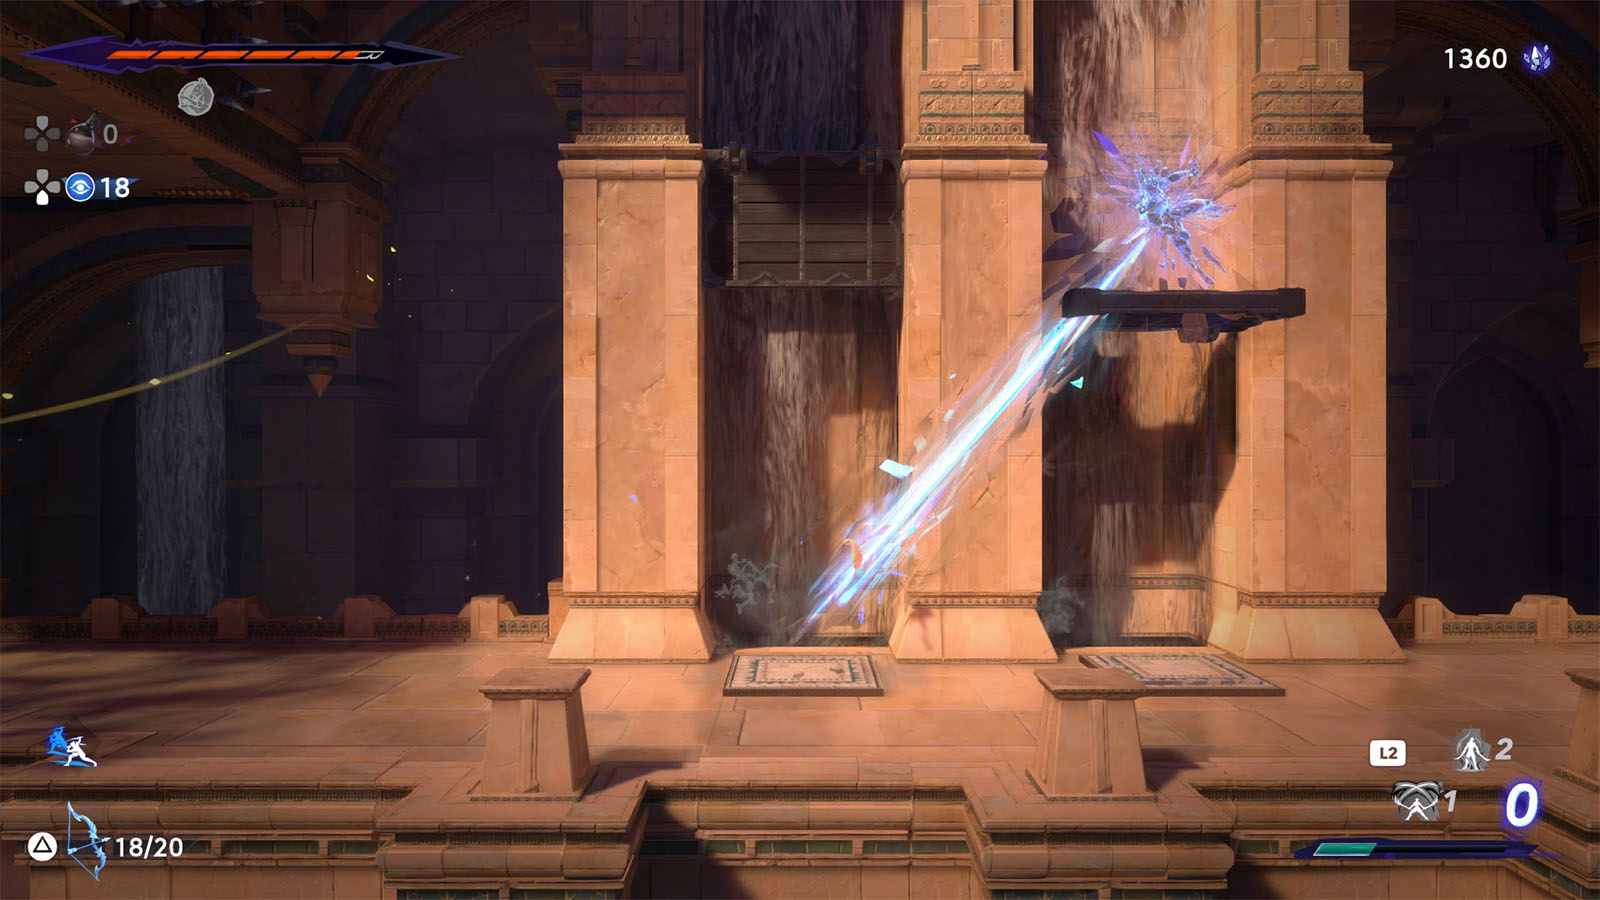
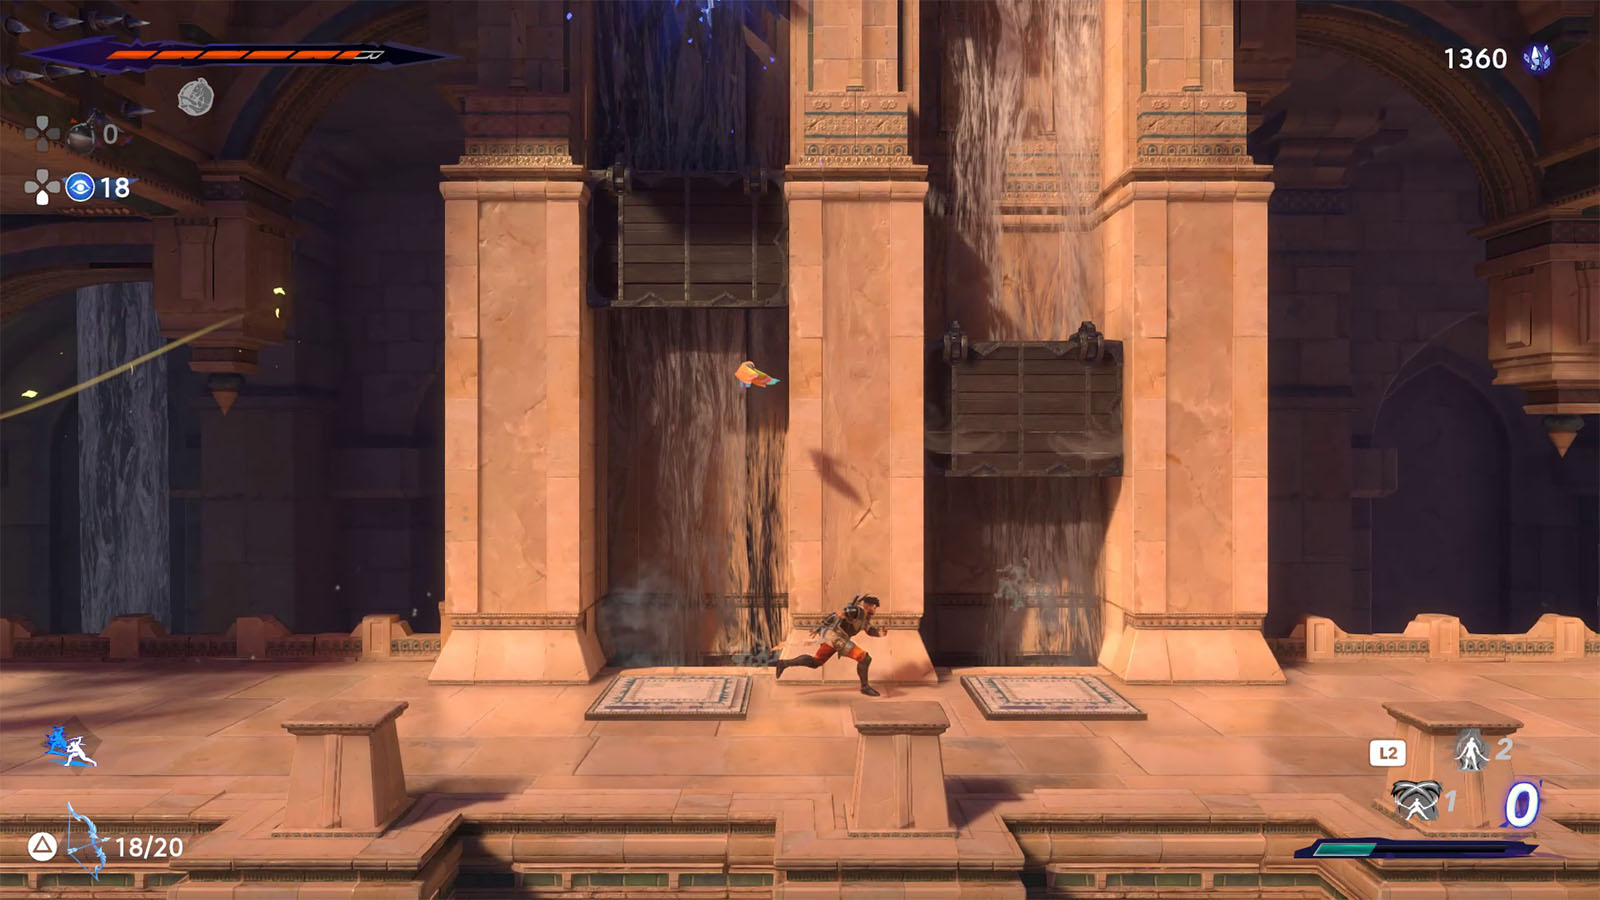
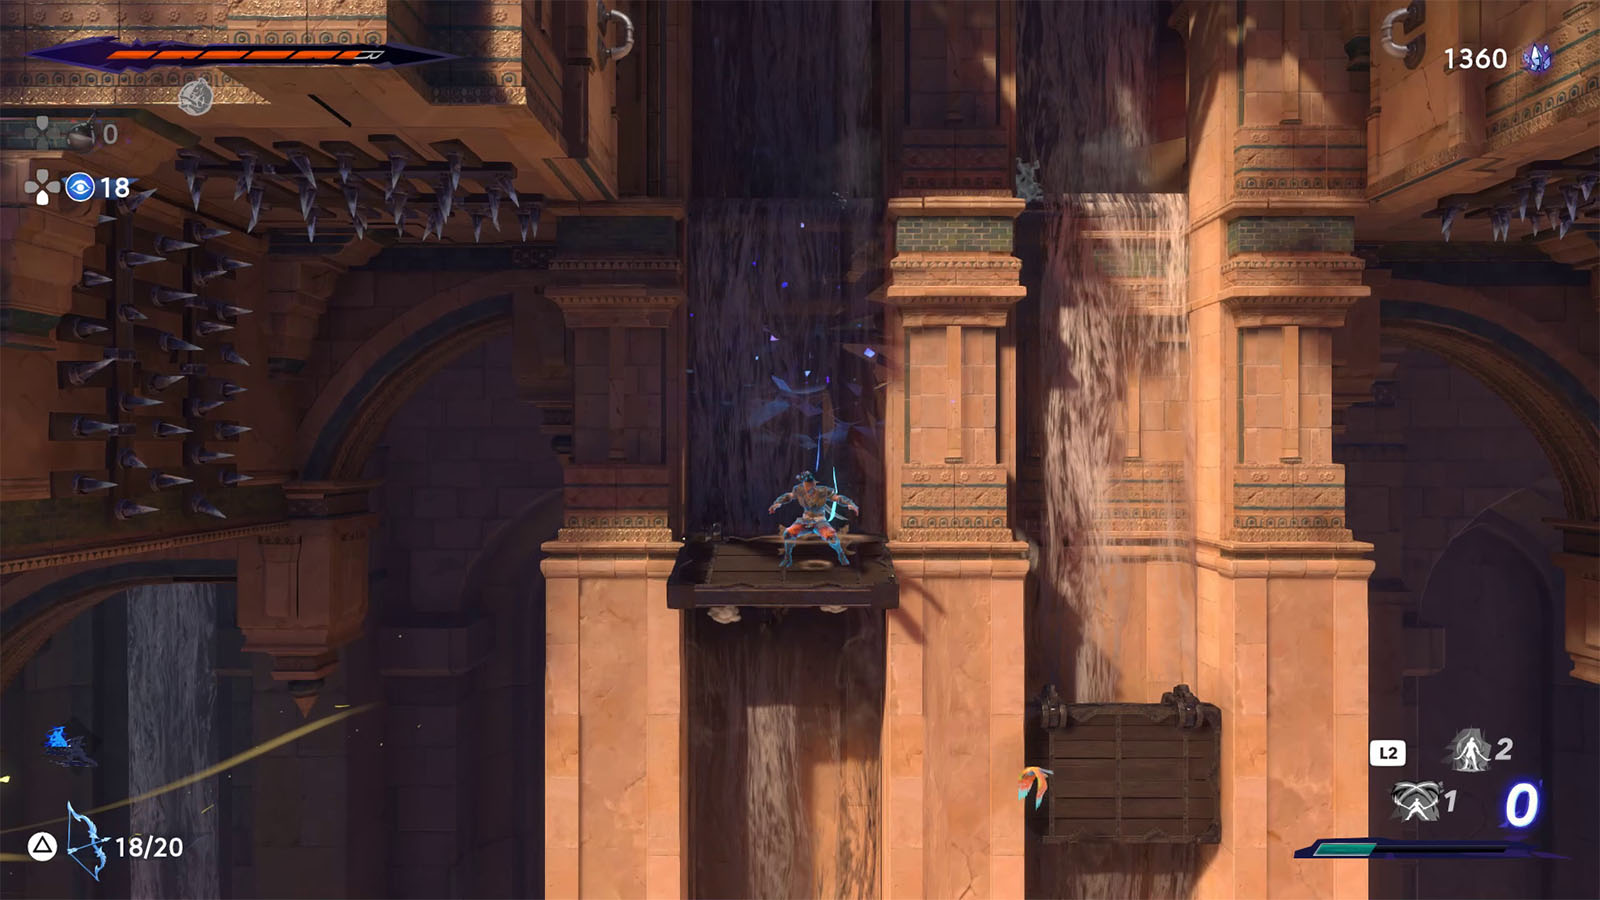
Continue moving east until you reach the sandfalls. Climb up the falls using the walling debris. Look out for shards that will home in on your direction as you climb. You will eventually reach the previous tree and Homa Statue from which you can then fast travel to the next location.
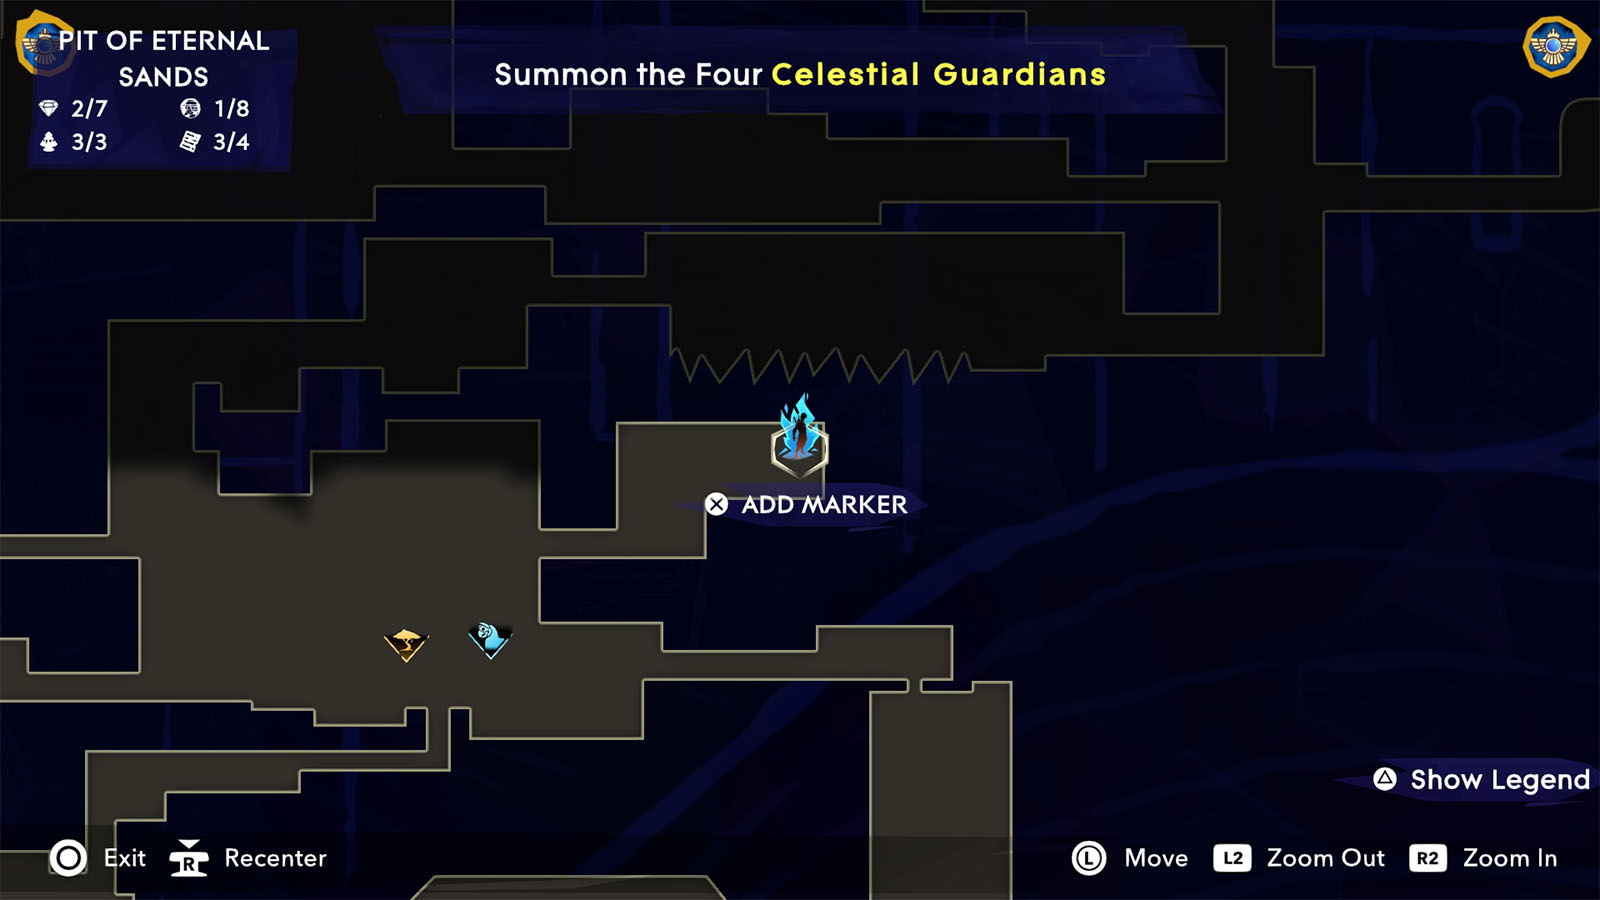
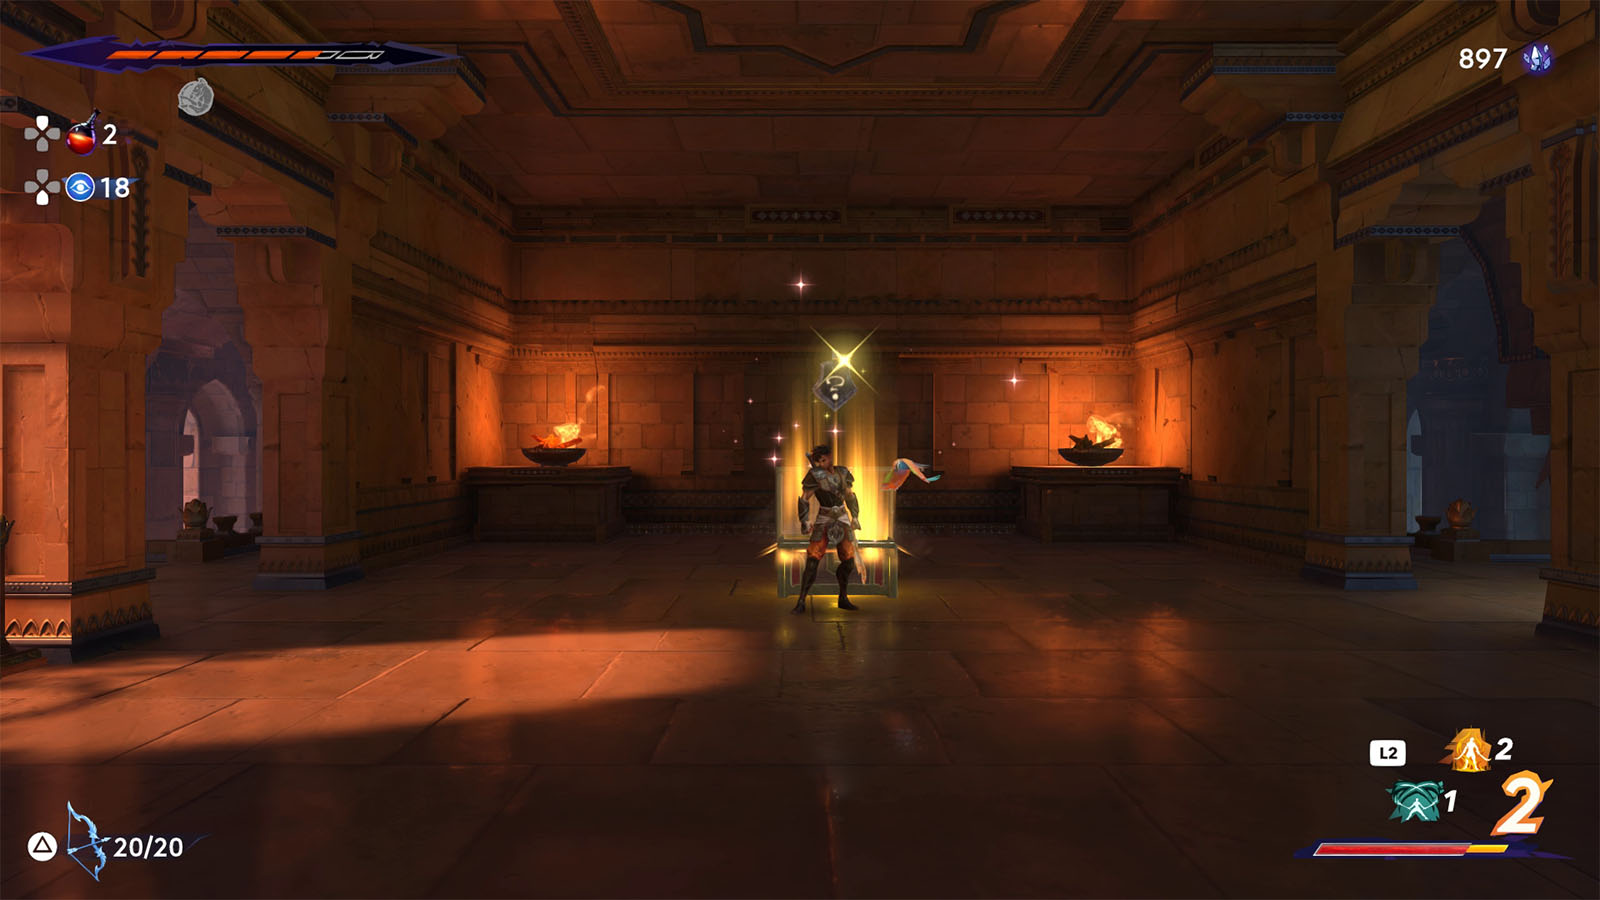
From this tree in the Pit, go to the room in the upper right corner to find a Spirited-Sand Jar.
At this point, you can pursue any of the other Guardians, but for this guide, we will continue on from the easiest to the hardest and farthest.
Summon Haftorang, Guardian of the North
The next Guardian to go for is Haftorang which is at the northernmost part of the Upper City.
Start by fast traveling to the Temple of Knowledge, then head to the elevator shaft towards the east.
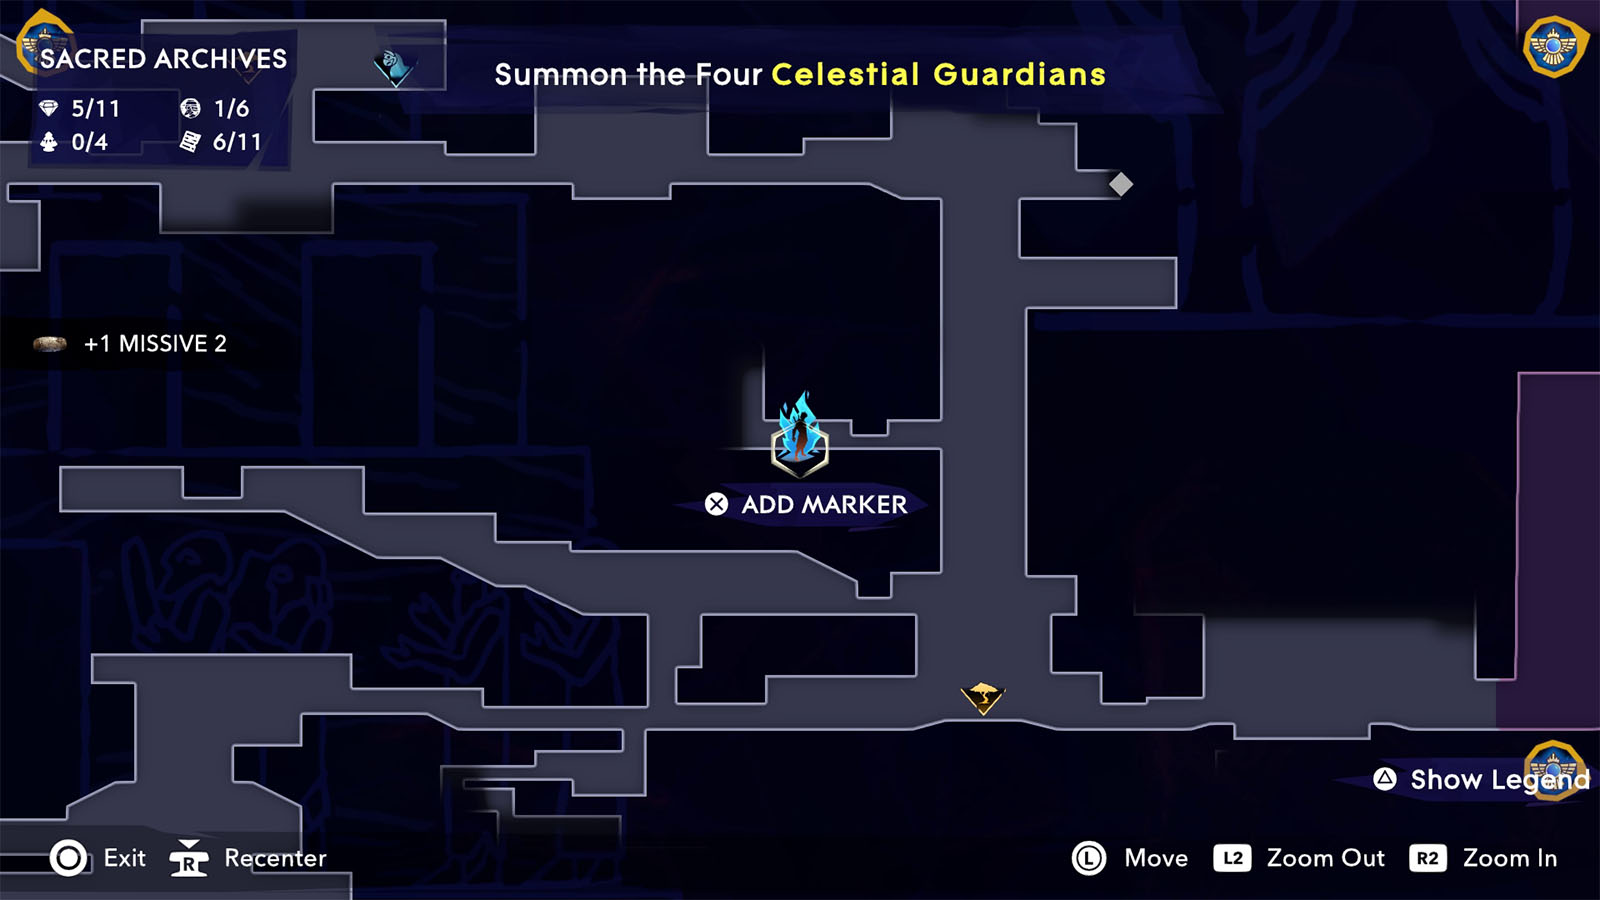
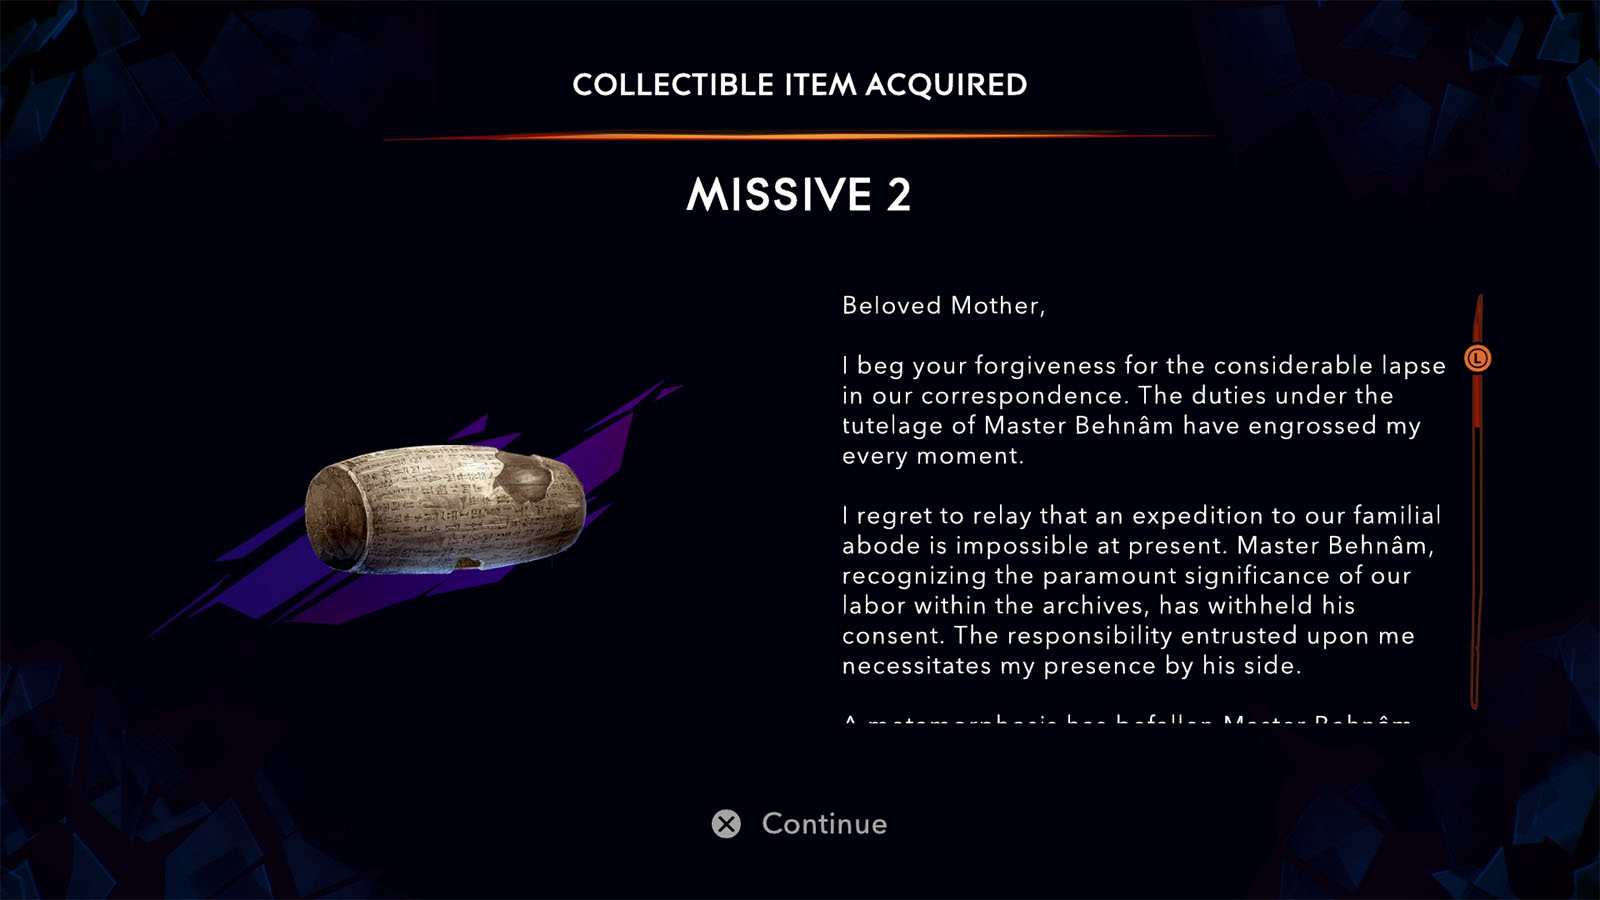
If you haven’t yet, you can stop by at the middle of the elevator shaft to buy the map of the Temple of Knowledge from Fariba. You can also get the Collectible – Missive 2 along the way.
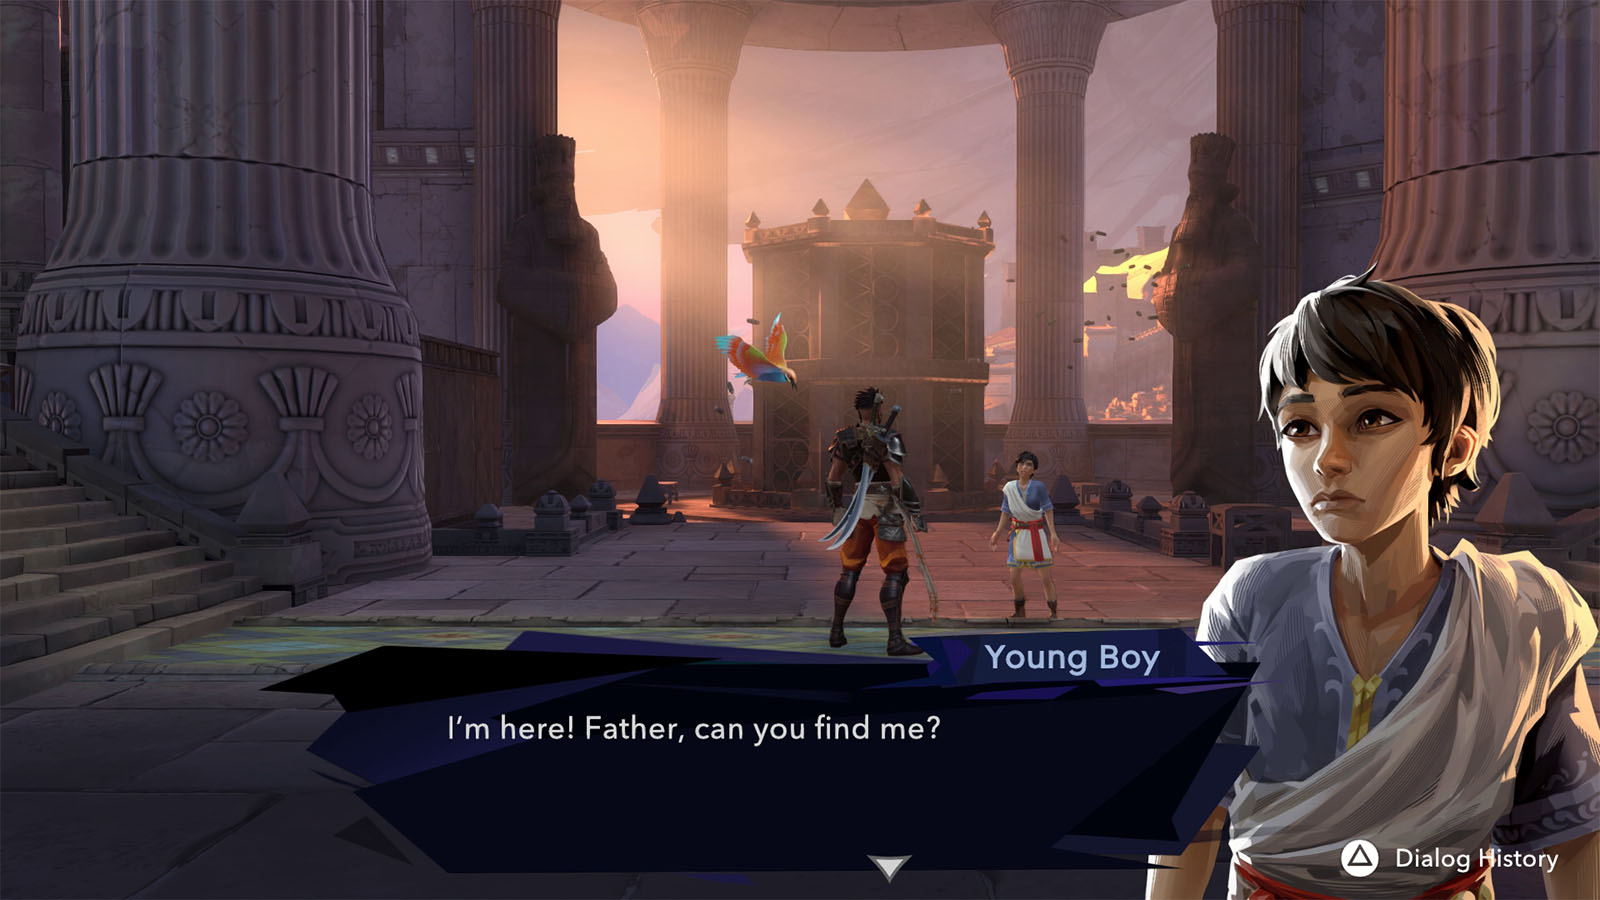
Go back to the top floor of the elevator and head east. You will then meet up with young Vahram once more who is still looking for his father. After the conversation, head east to open a door that leads to the Upper City-West.
Head towards the Day Temple Homa Statue and then ride the lift up.
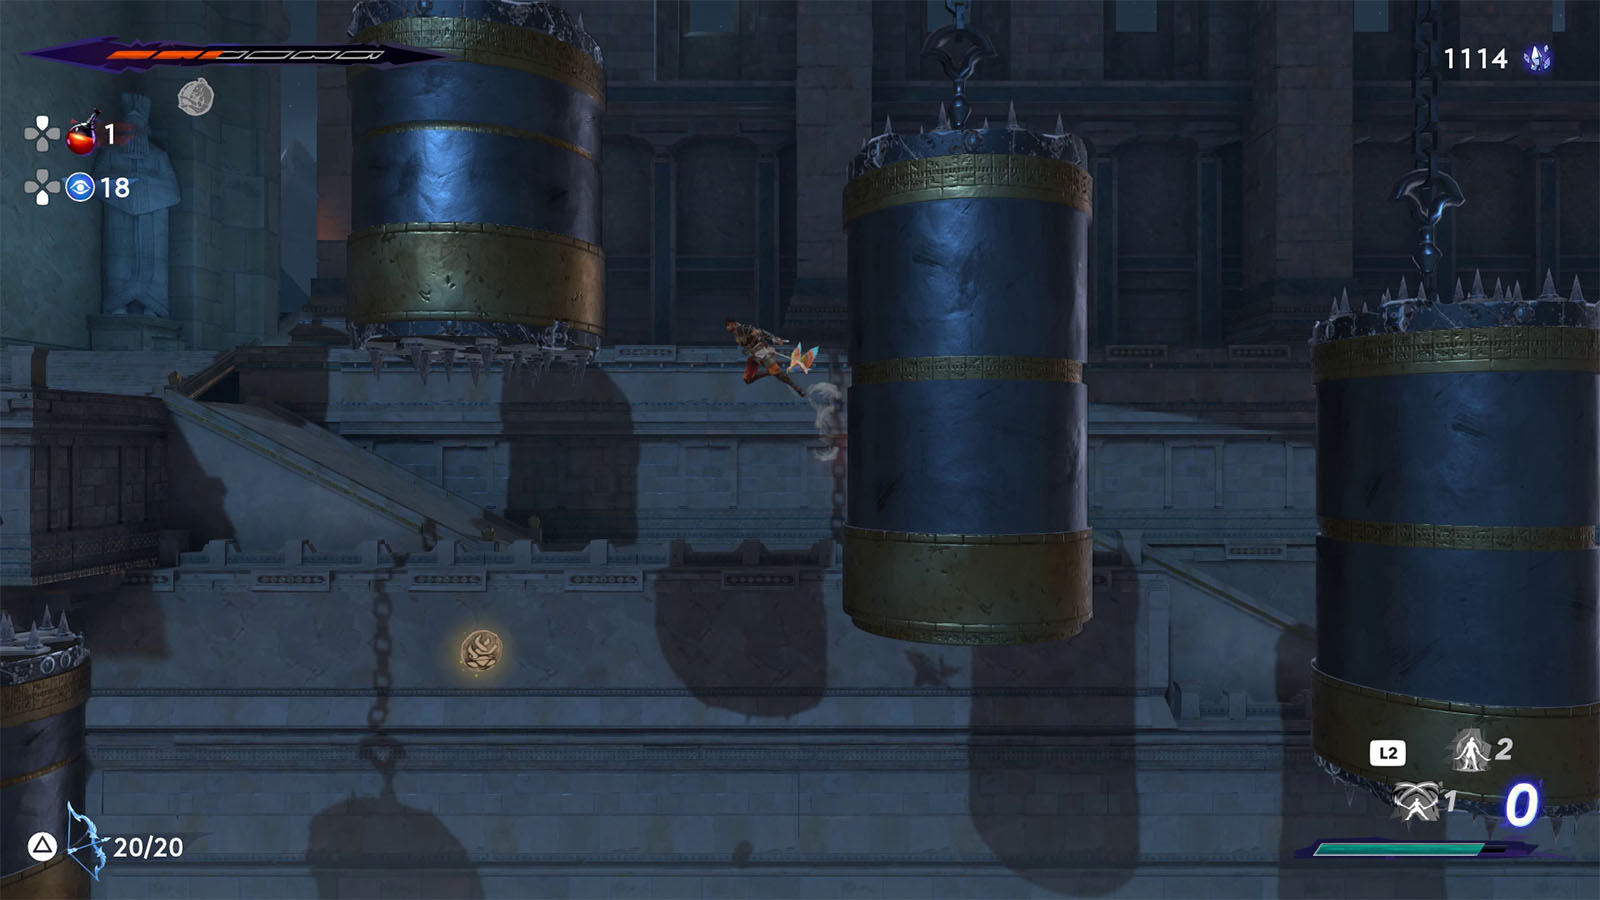
Go to the next area where you will be back near the chain connected to the barrels below.
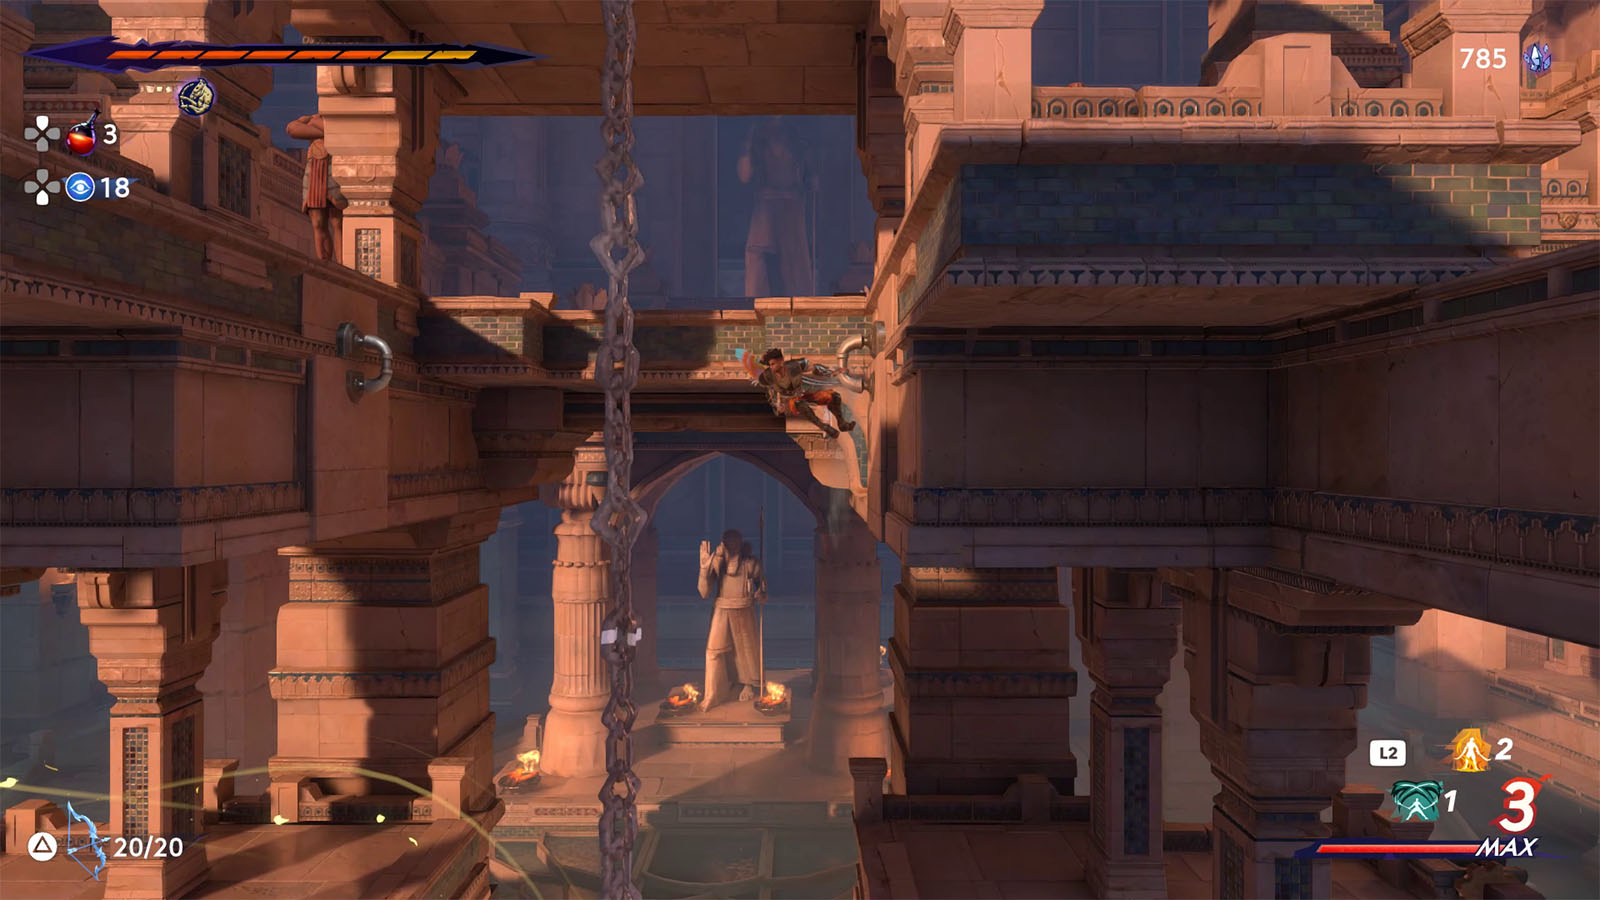

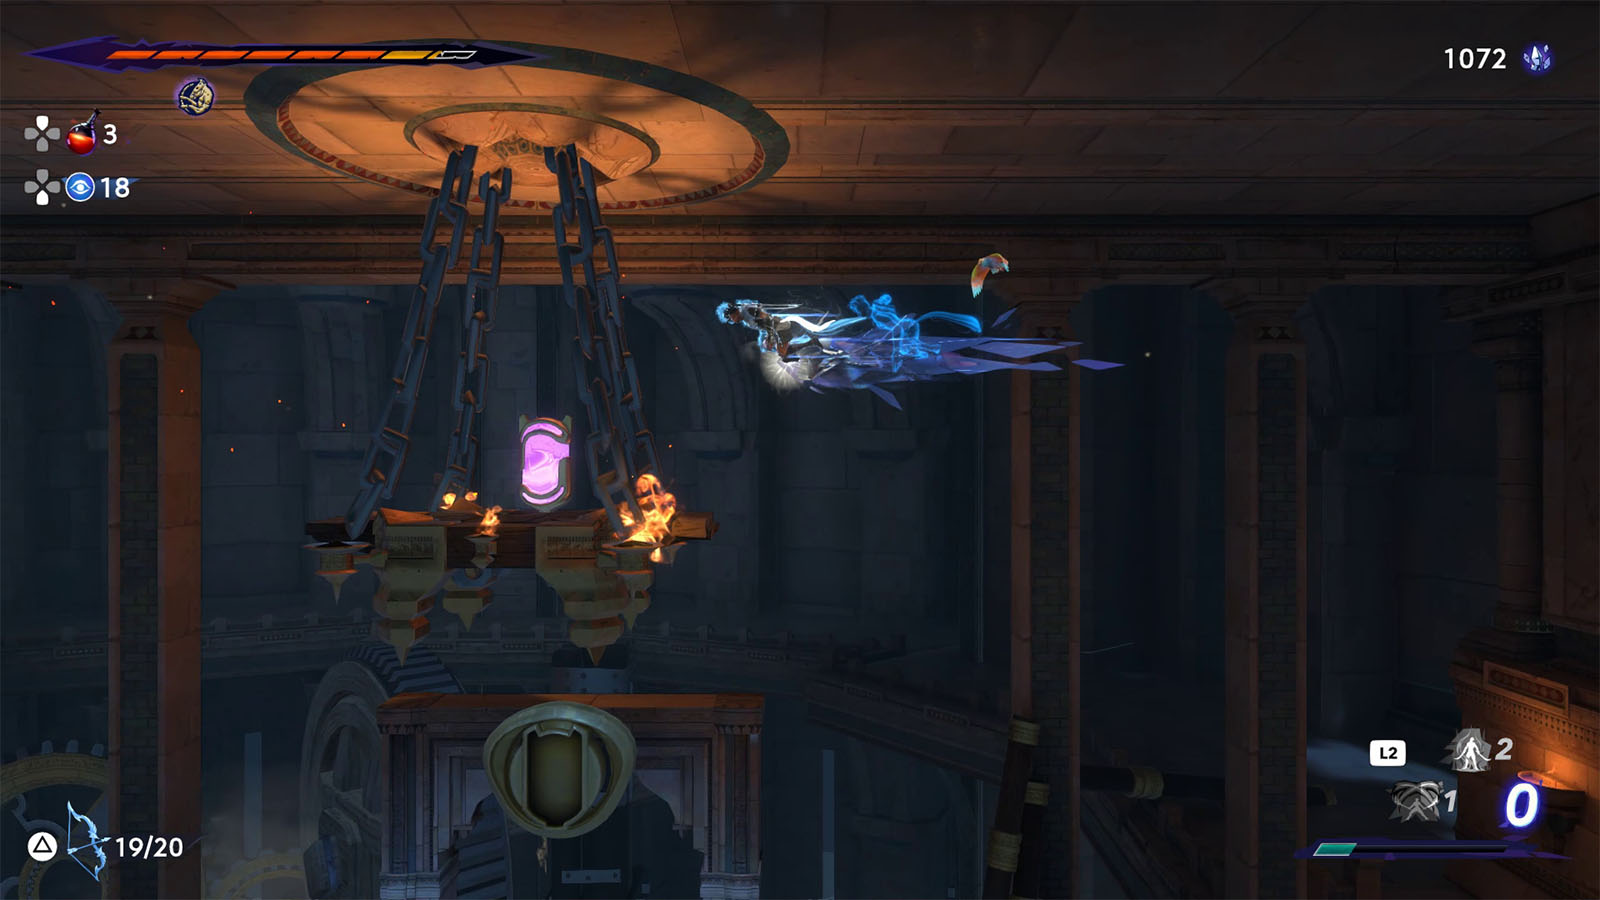
Use your Gravity Wings to reach the upper rungs, and then continue climbing upwards through the hanging platforms.
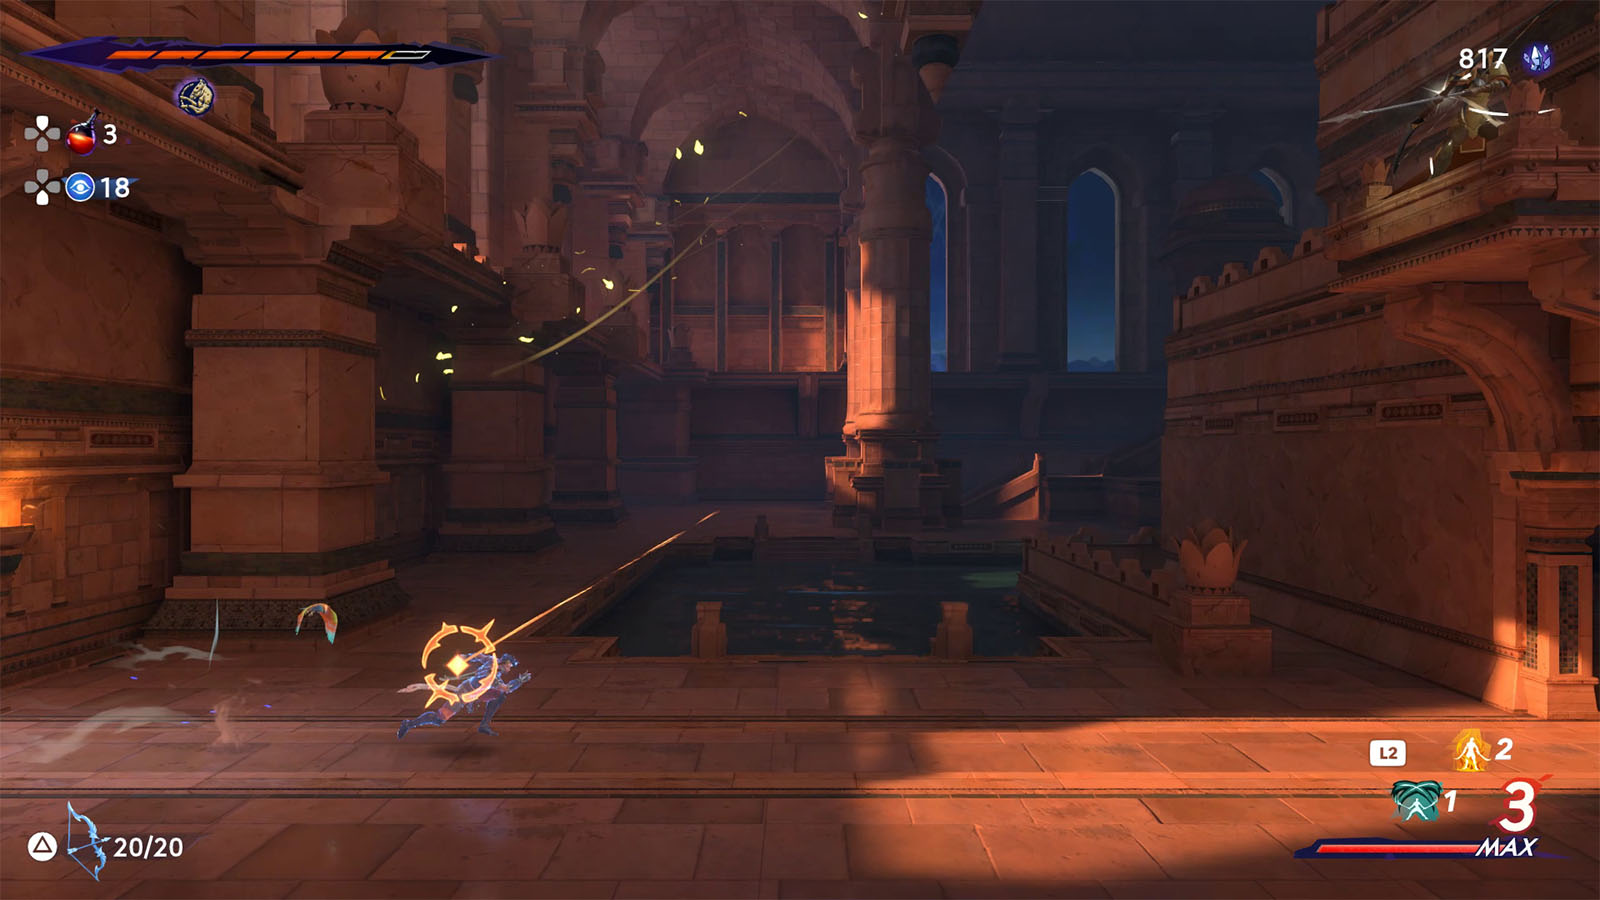
Once you reach the next area at the upper right side, look out for the sniper enemies that will relentlessly shoot arrows at you. You will see a reticle on you once you’re spotted. Their shots deal a lot of damage, plus they cause a moderate amount of knockback which can get annoying as you try to climb the next platforms.
Try to make a beeline towards the tree first to secure a save point in the area. You will also meet another one of the Wak-Wak Tree inhabitants named Kazra.
Just below the tree is a chest that contains the Void Blade Amulet. This amulet adds an energy wave in your attack.
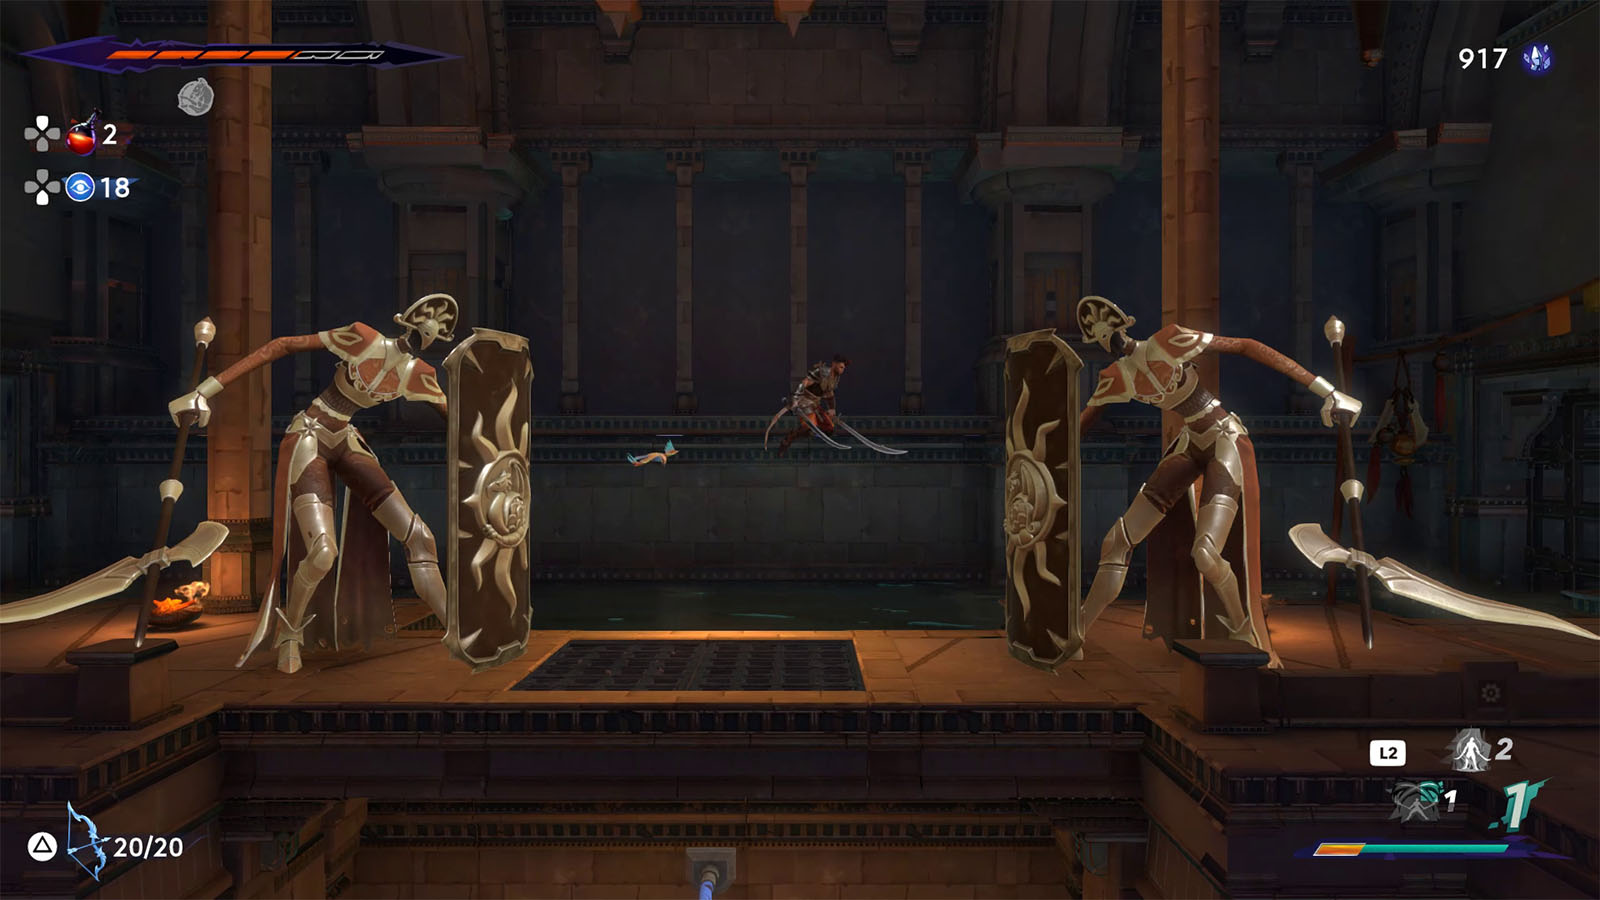
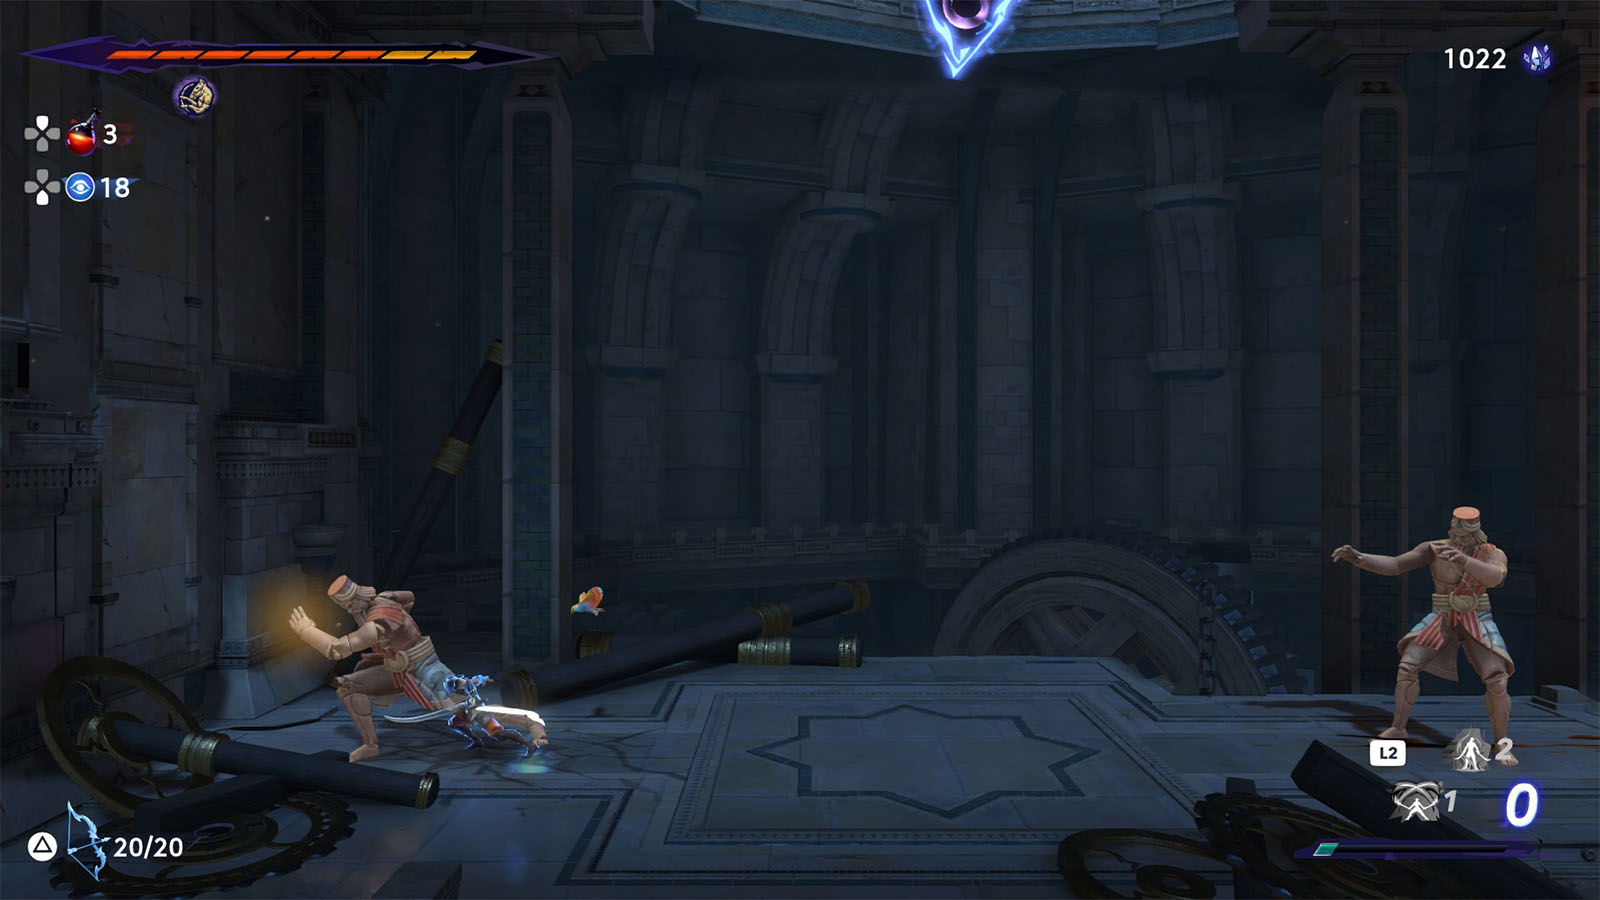
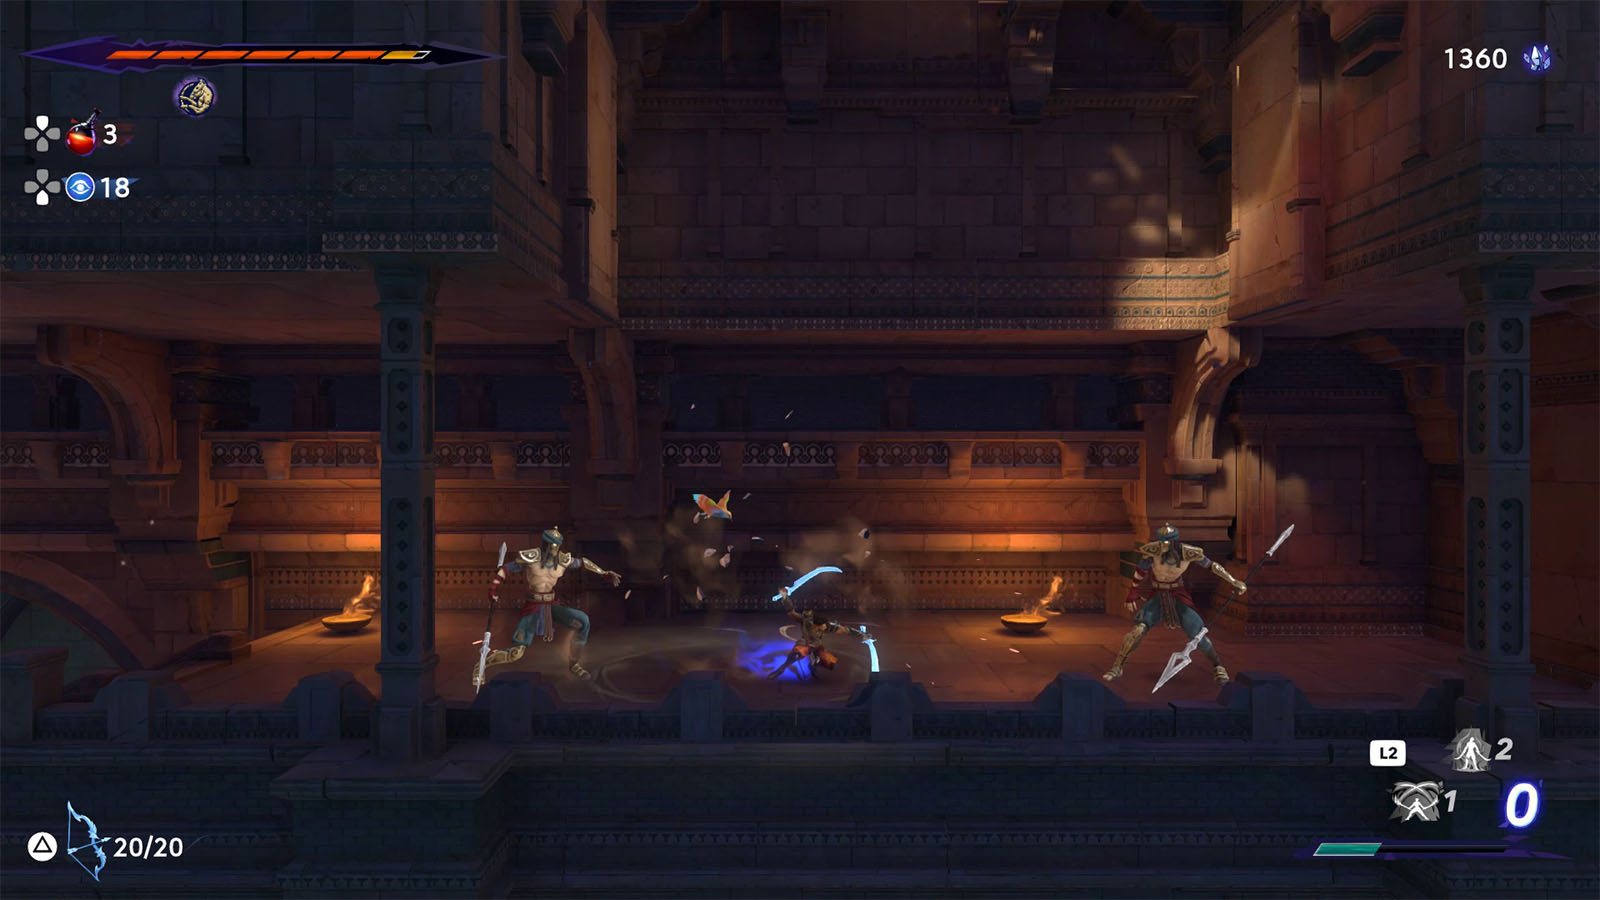
From the tree, continue climbing upwards into the next area. Be prepared to fight two huge shielded warriors. Once cleared, head to the west and climb up.
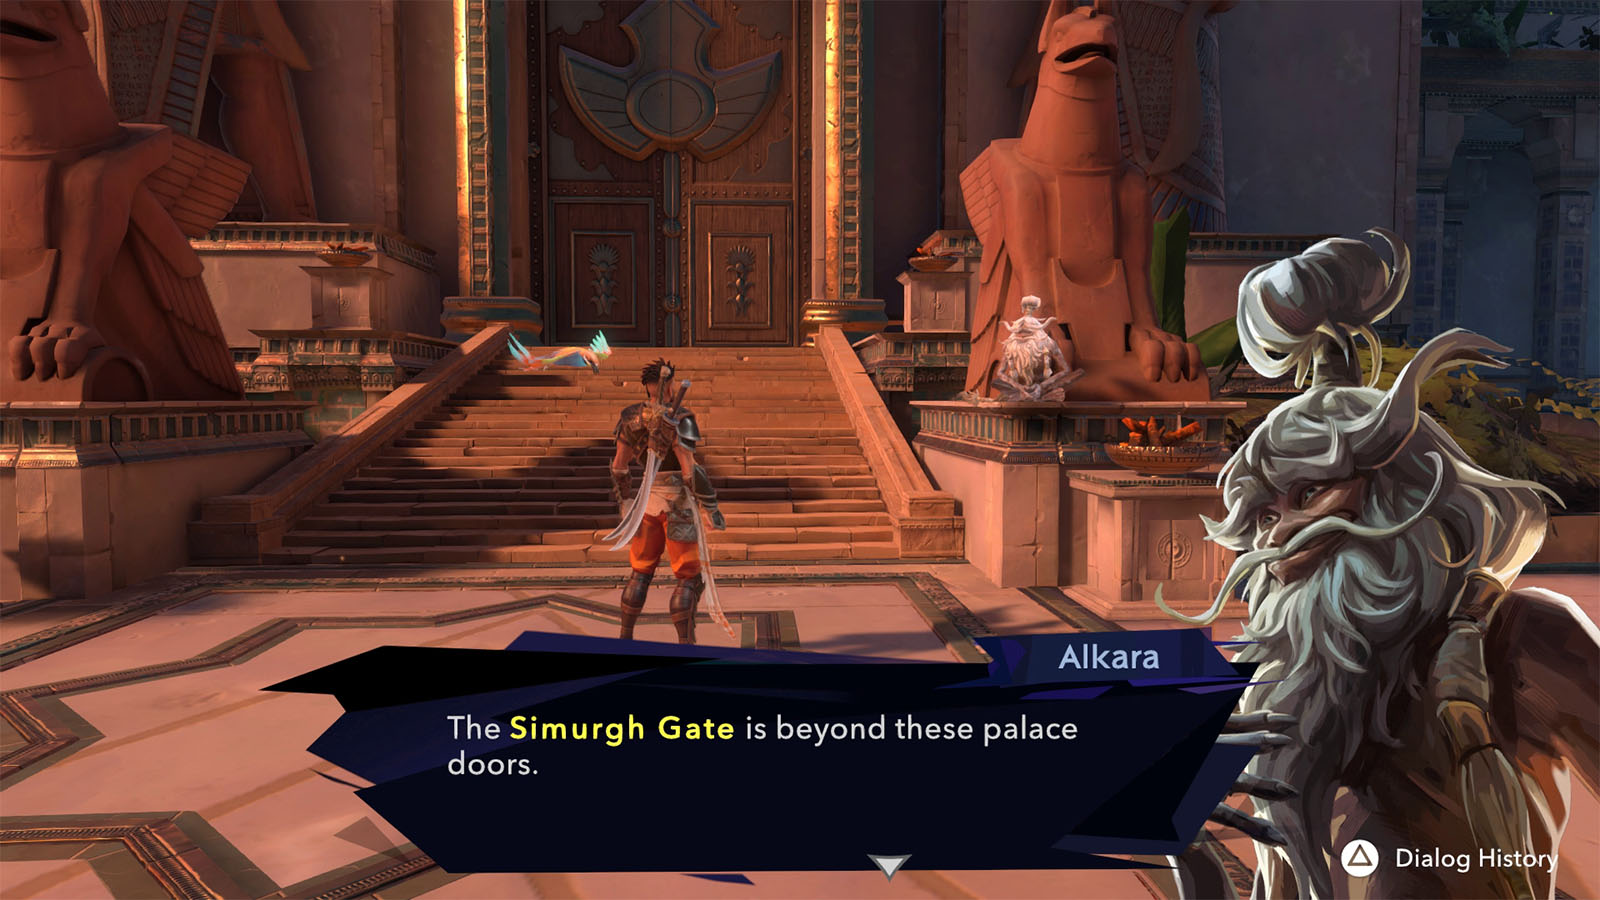
You will pass by the palace door where Alkara is waiting, but you won’t be able to get in yet, so take note of this for now as you head towards the east.

You will then arrive at the Upper City – East where you will find another tree.
To the east of the tree is a room with a pink canister. These things serve as batteries that you can grab and place into the sockets to activate mechanisms. These batteries can only stay within the rooms they are found in. Once you pass a purple barrier, the battery you’re holding will disappear and reappear at its last location.
Grab the battery and insert it in the slot above the hatch on the ground west of the tree to get to the lower level.
Clear out the enemies at this level, then make your way to the top platform to grab the battery, and then insert the battery to the next slot to go further down.
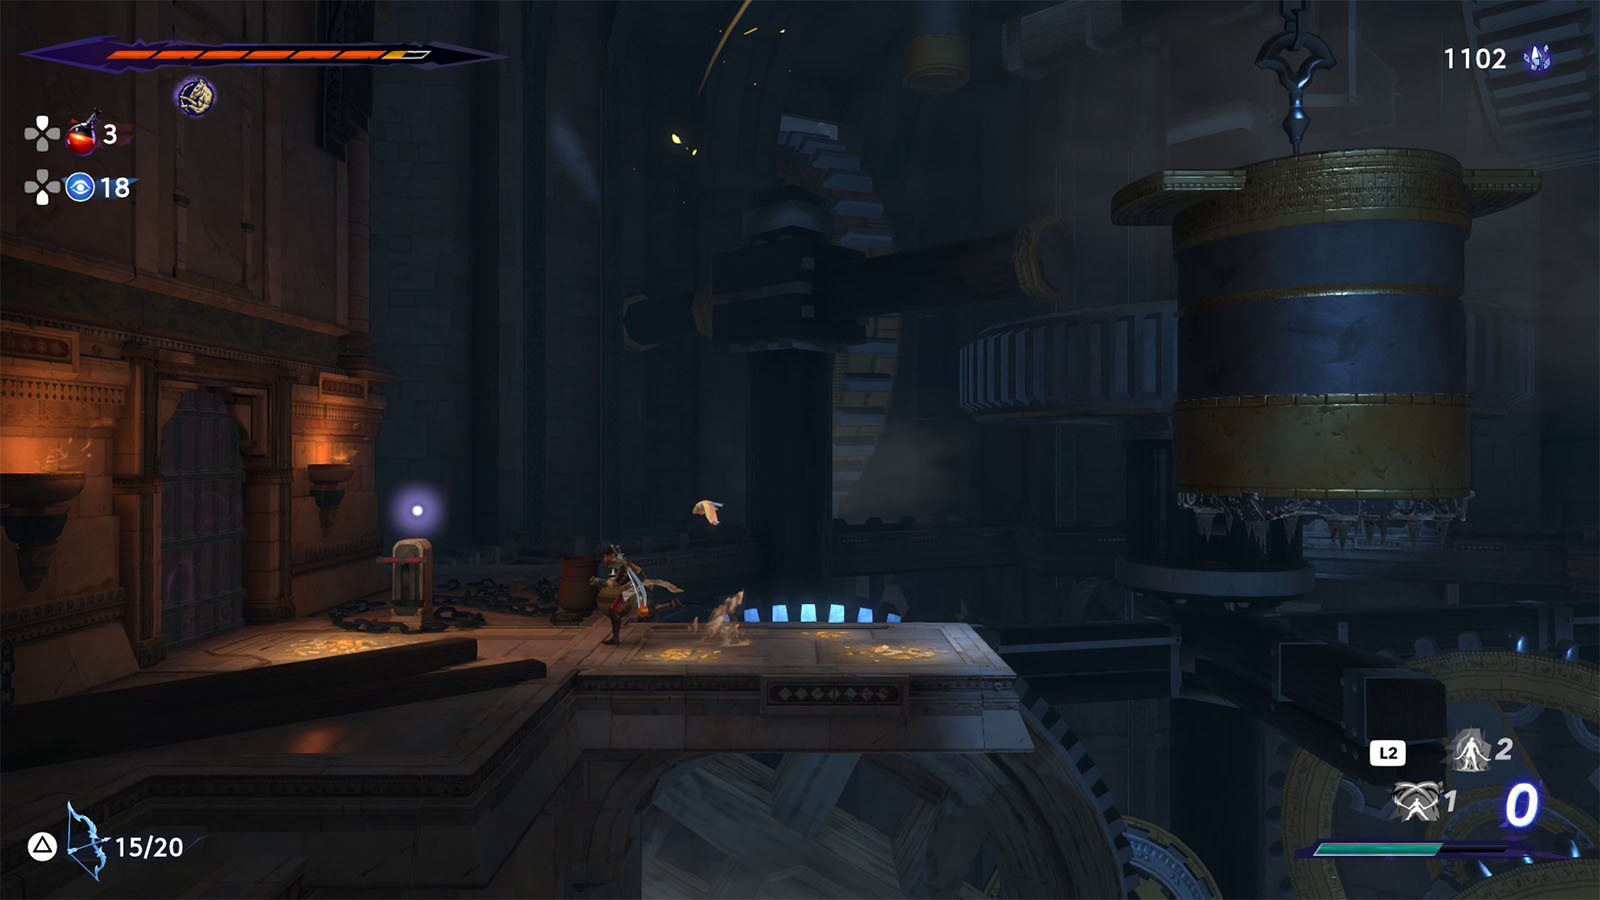
You will then arrive at the room where the hanging barrels are at. Jump down towards the left side first and open the shortcut leading back to the Upper City – West.

Back in the barrel room, you will need to traverse through the hanging barrels towards the east. You will be able to do this by wall jumping in between the barrels as they go up and down. Be mindful of the spikes that are often at the top and bottom of the barrels.
The next area will have you go through more barrels, and your goal is to reach the east end. There is also a Xerxes coin that you can grab along the way. It’s best to clear out the enemies first to make the crossing a lot safer.
How to solve the Golden Wheel Puzzle
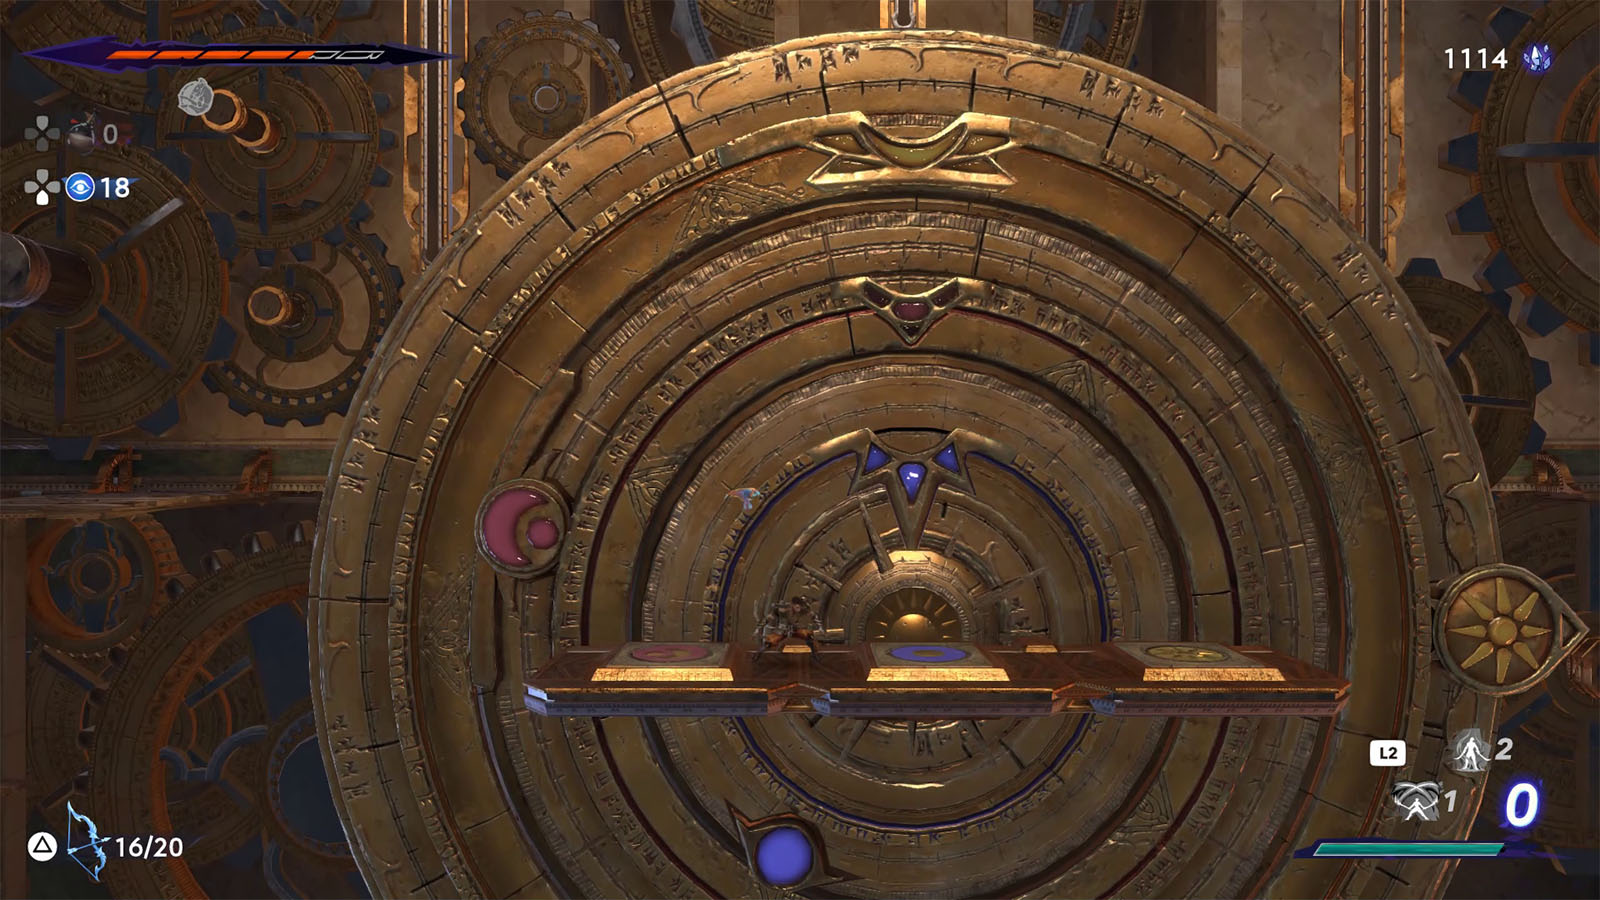
The next room will have you solve a puzzle that involves as giant golden wheel. The objective of this puzzle is to line up the markers to their respective icons on the wheel. But first, you will need to power up the rings for each marker in the wheel.
There are three areas around the golden wheel, each of which powers up a certain ring in the wheel. These rooms are puzzles on their own where you will have to find a way to insert the battery in the proper slot. These puzzles will require you to craftily use your shadow and find the right steps and timing to move the battery from point A to point B.
Refer to each of these guide to know the solution for each room:
- Upper City-East Golden Wheel Right room
- Upper City-East Golden Wheel Bottom room
- Upper City-East Golden Wheel Left room
Once all three rings have been powered up, they will start rotating counterclockwise. The next step is to line up the markers to their respective icons.
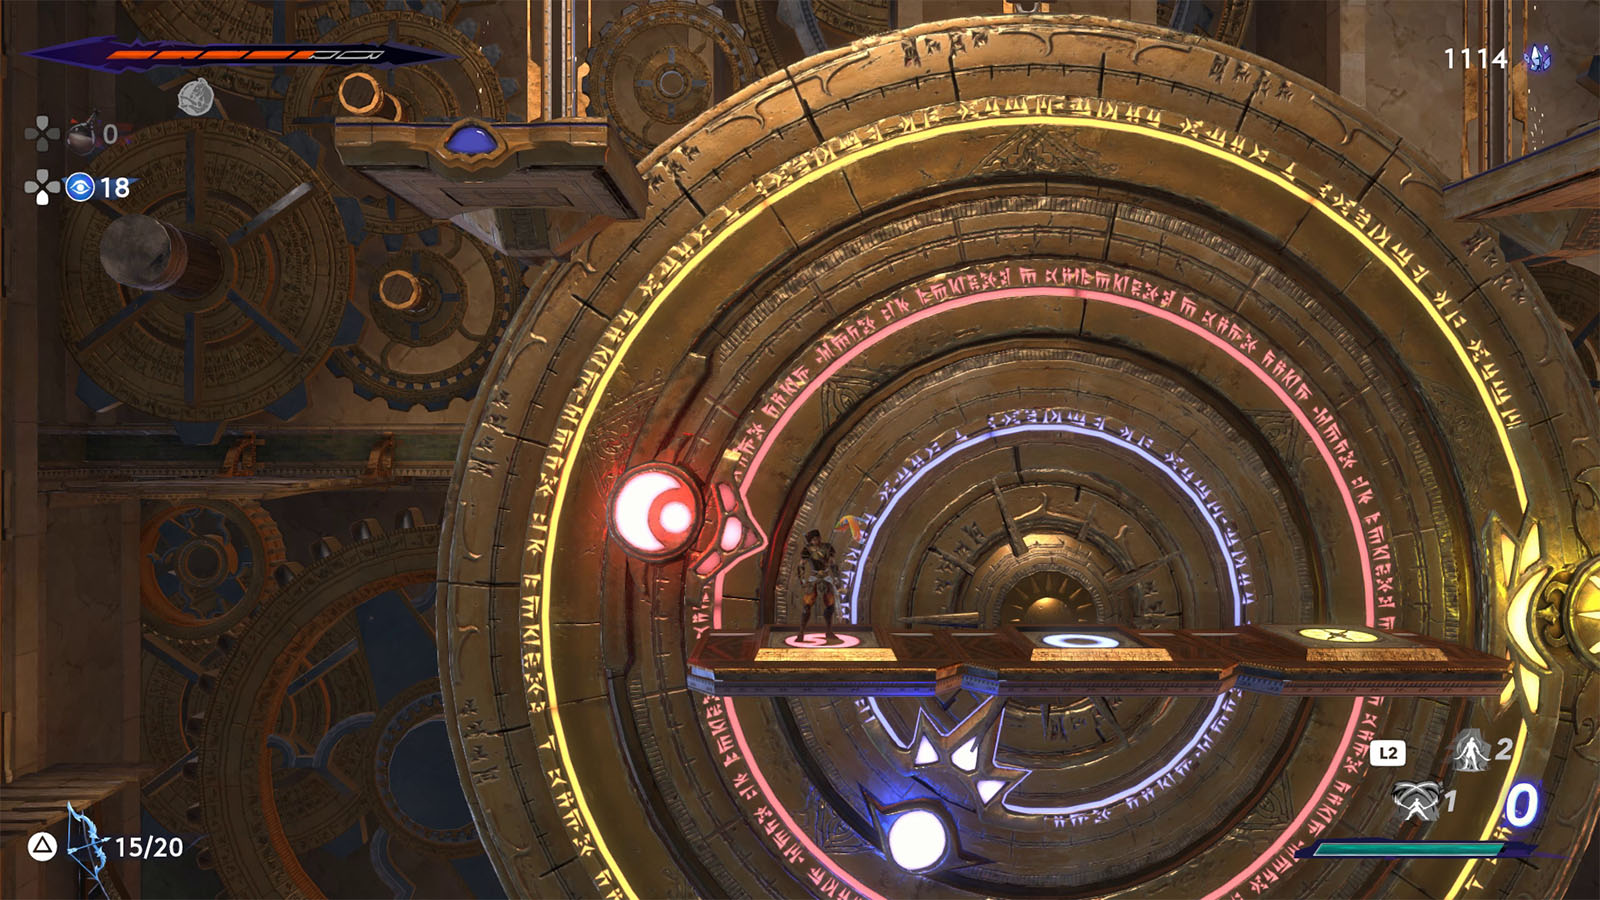
Climb up to the middle platform in front of the wheel to find three pressure pads. Each pressure pad will stop its corresponding ring from turning. However, you can only step on one pad at a time and moving away from the pad will make the ring resume its rotation.
The trick is to line up all rings based on their icons’ relative positions from each other so that the markers will line up to them all at the same time.
Once done successfully, the path above the room will open up where you can find the next Homa Statue. Make sure to check the chest near the statue to find another Amulet Holder.
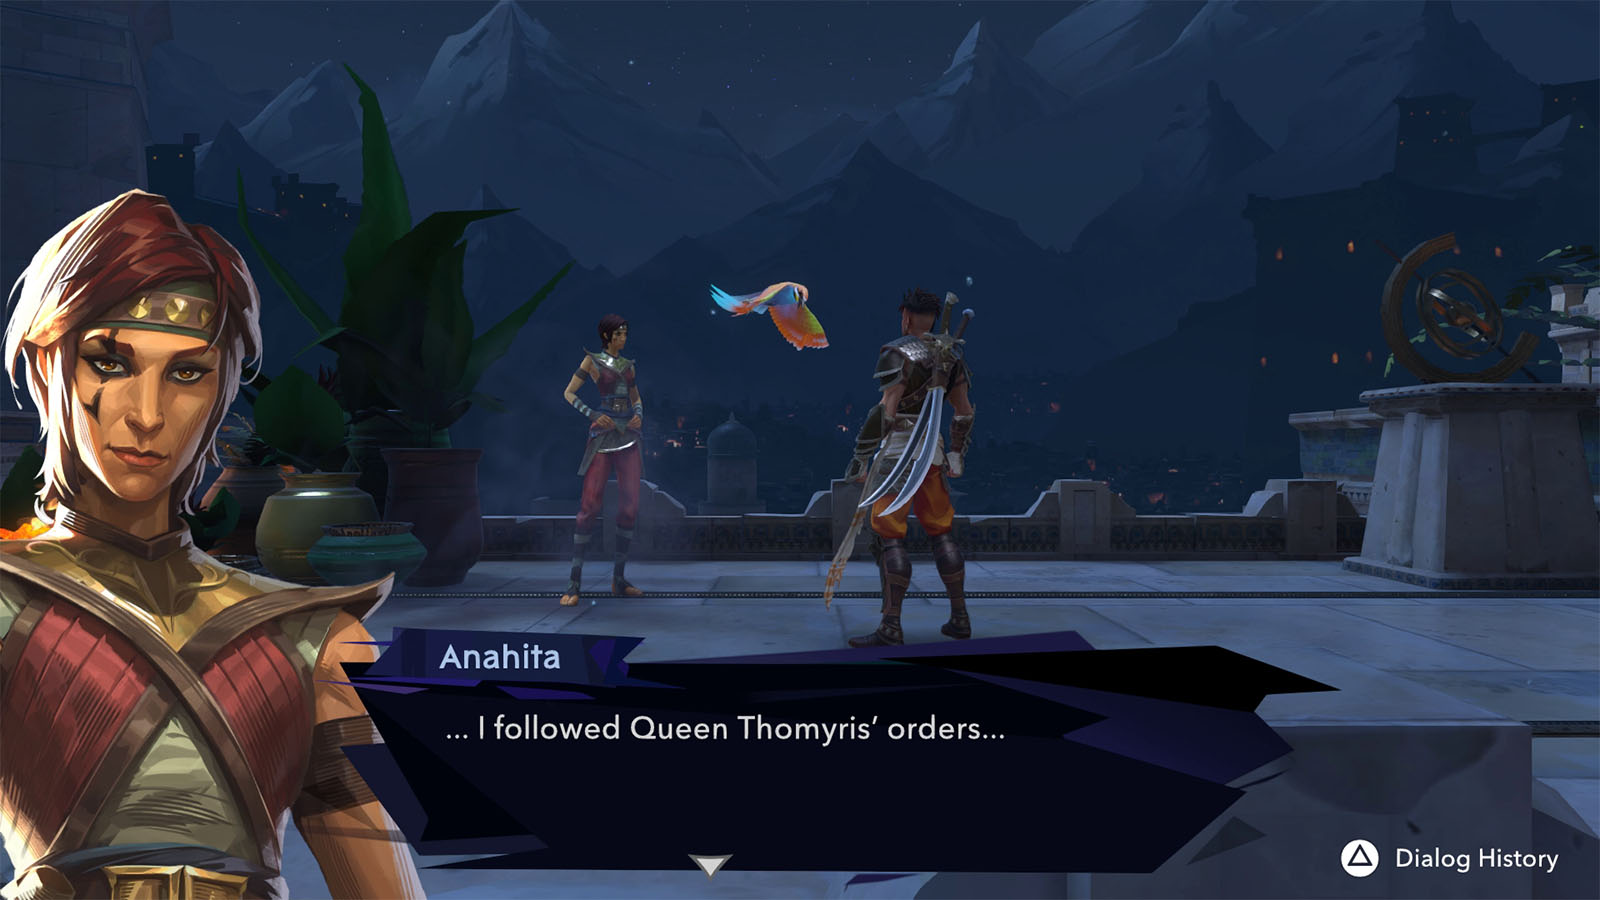
Head towards the east and you will meet up once again with Anahita.
After the conversation, head east and stand on to the next circle to call upon Haftorang. That’s two down, two more to go.
At this point, you may want to take some time exploring the previous areas with your new abilities and get upgrades. The next two areas will have you face two strong bosses before you can get to the Guardians.
Summon Venant, Guardian of the West
Travel back to the central part of Upper City just below where the palace doors are and head towards the west path this time to reach the Gardens.
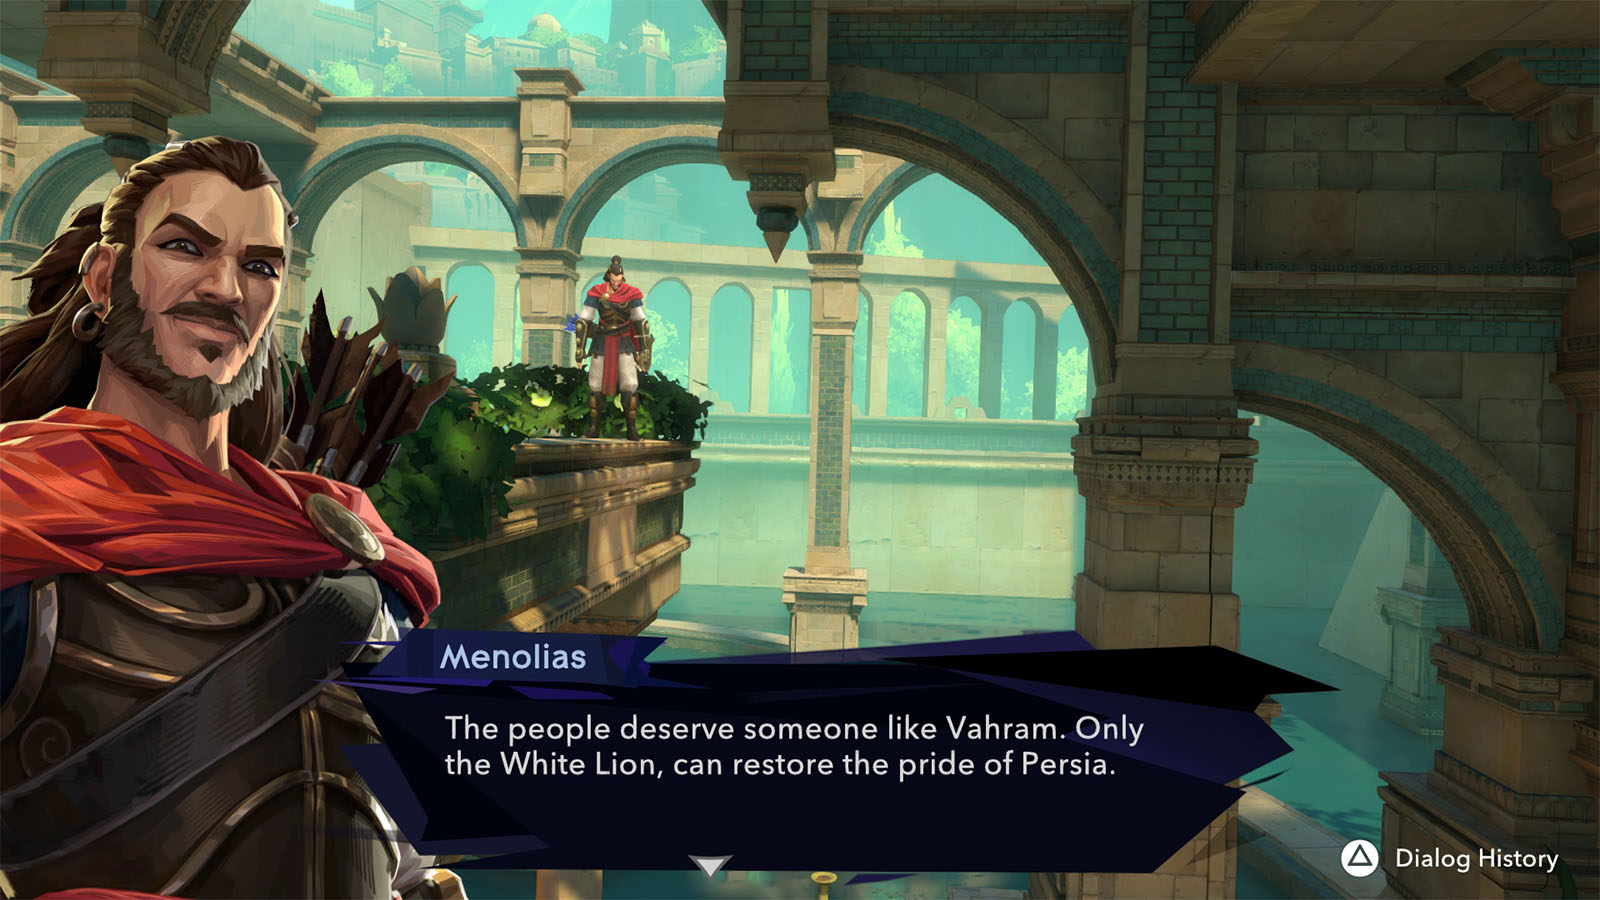
Not long after arriving at the Gardens, Menolias spots you who has clearly been tricked to take Vahram’s side. After talking to you, Menolias then leaves. Move ahead and look for the platforms that lead down to the lower levels.

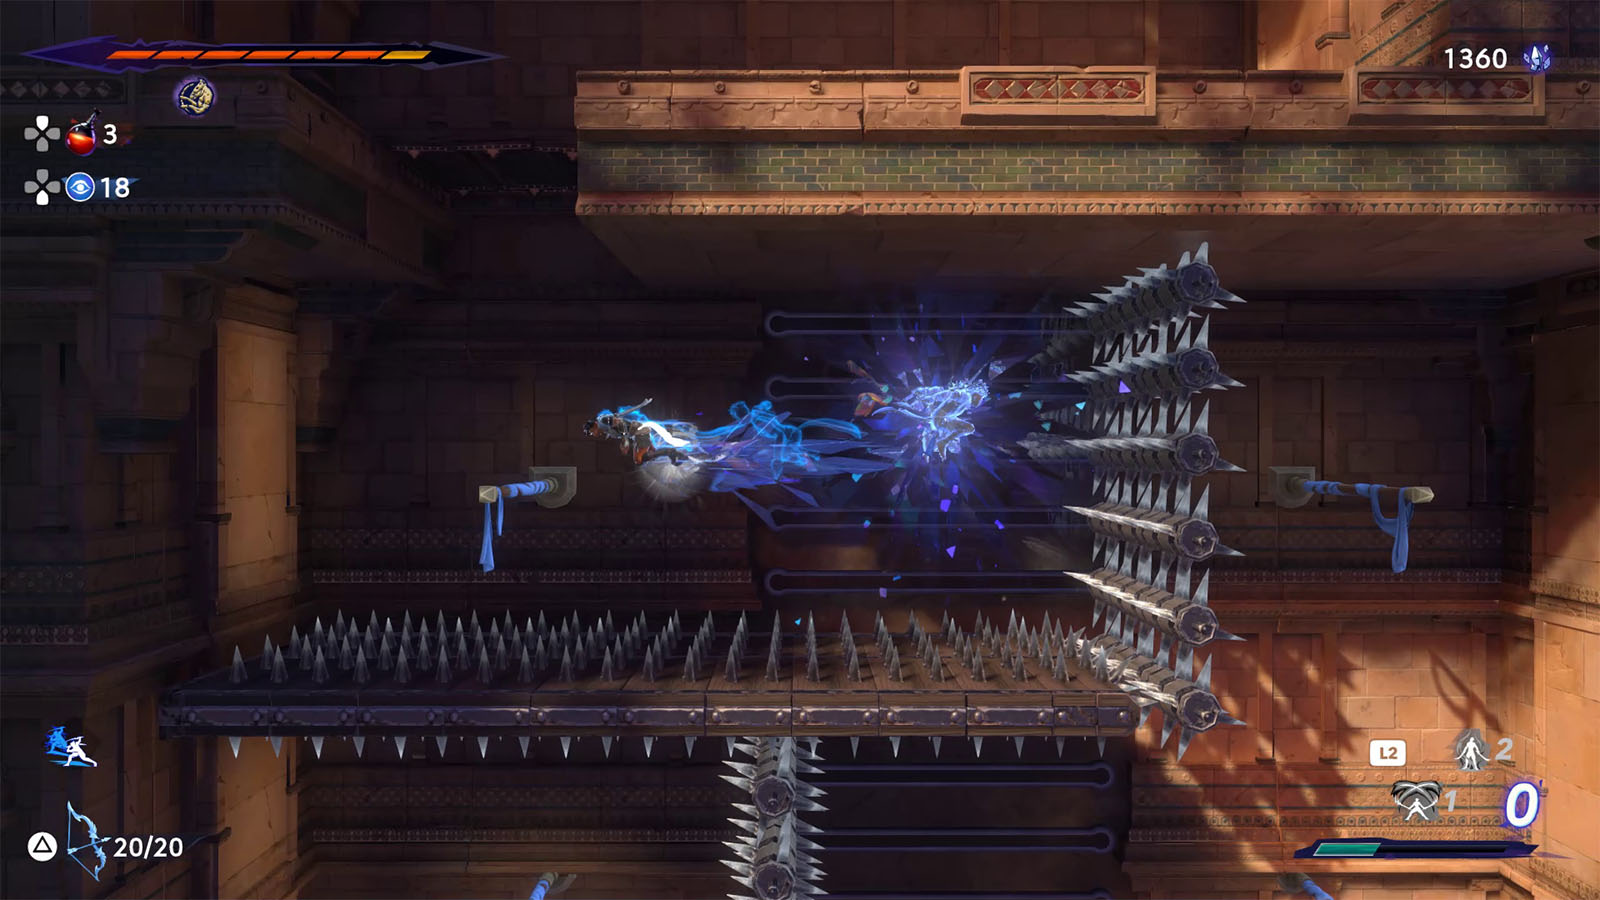
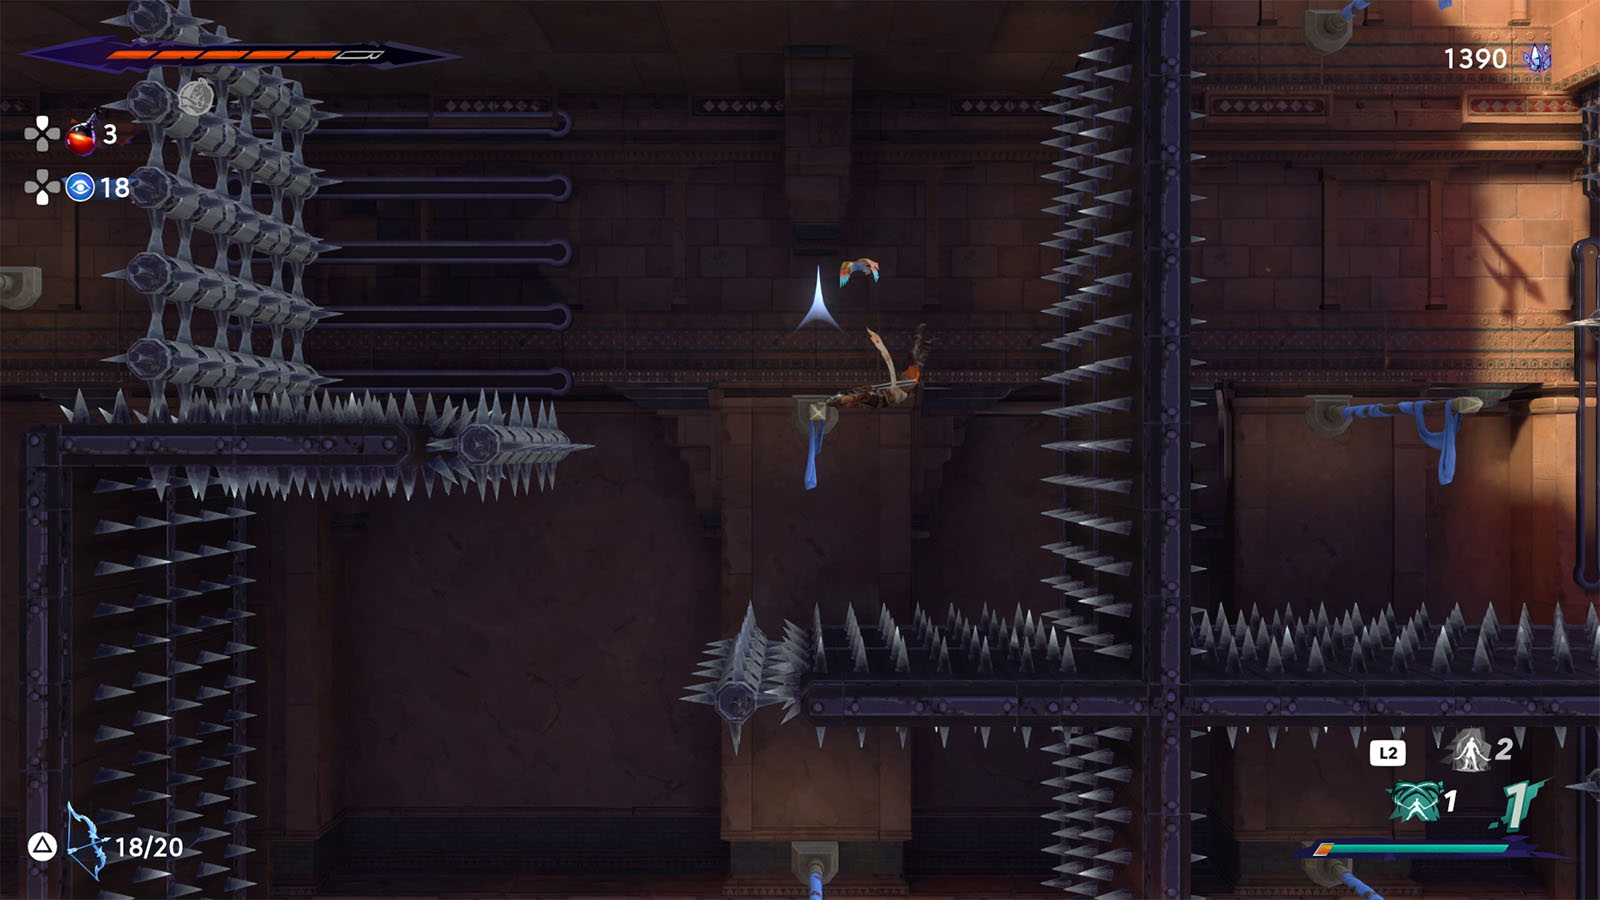
In these next areas, you will have to go through a course lined up with spikes and traps. This course will definitely test your dexterity and reflexes as some parts of the path require precise threading and quick maneuvering in order to pass through.
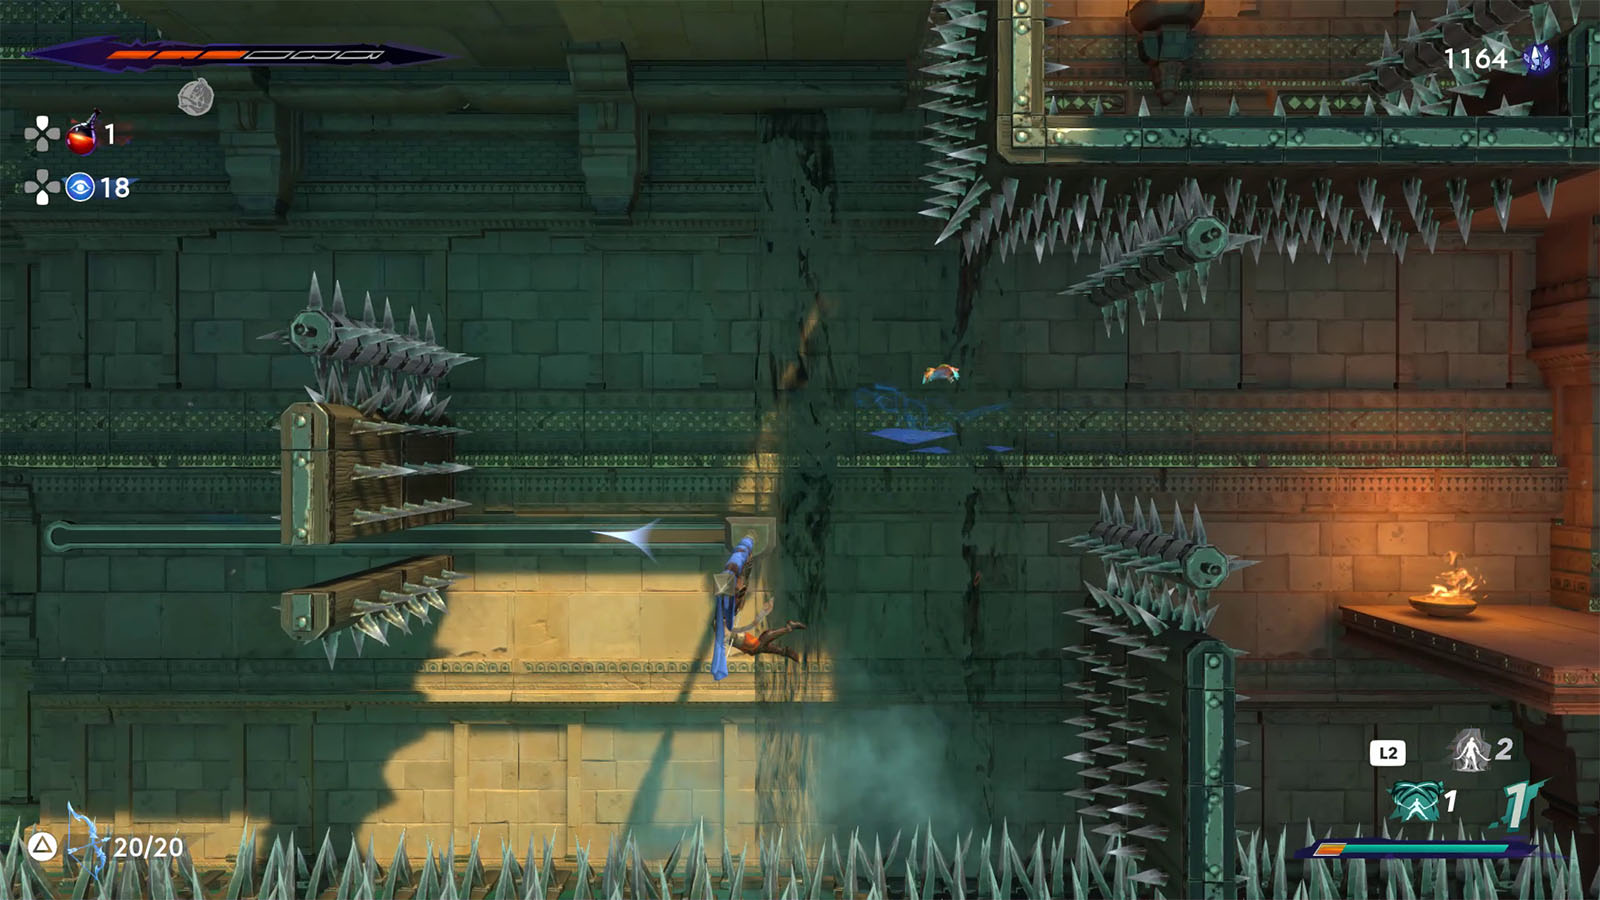
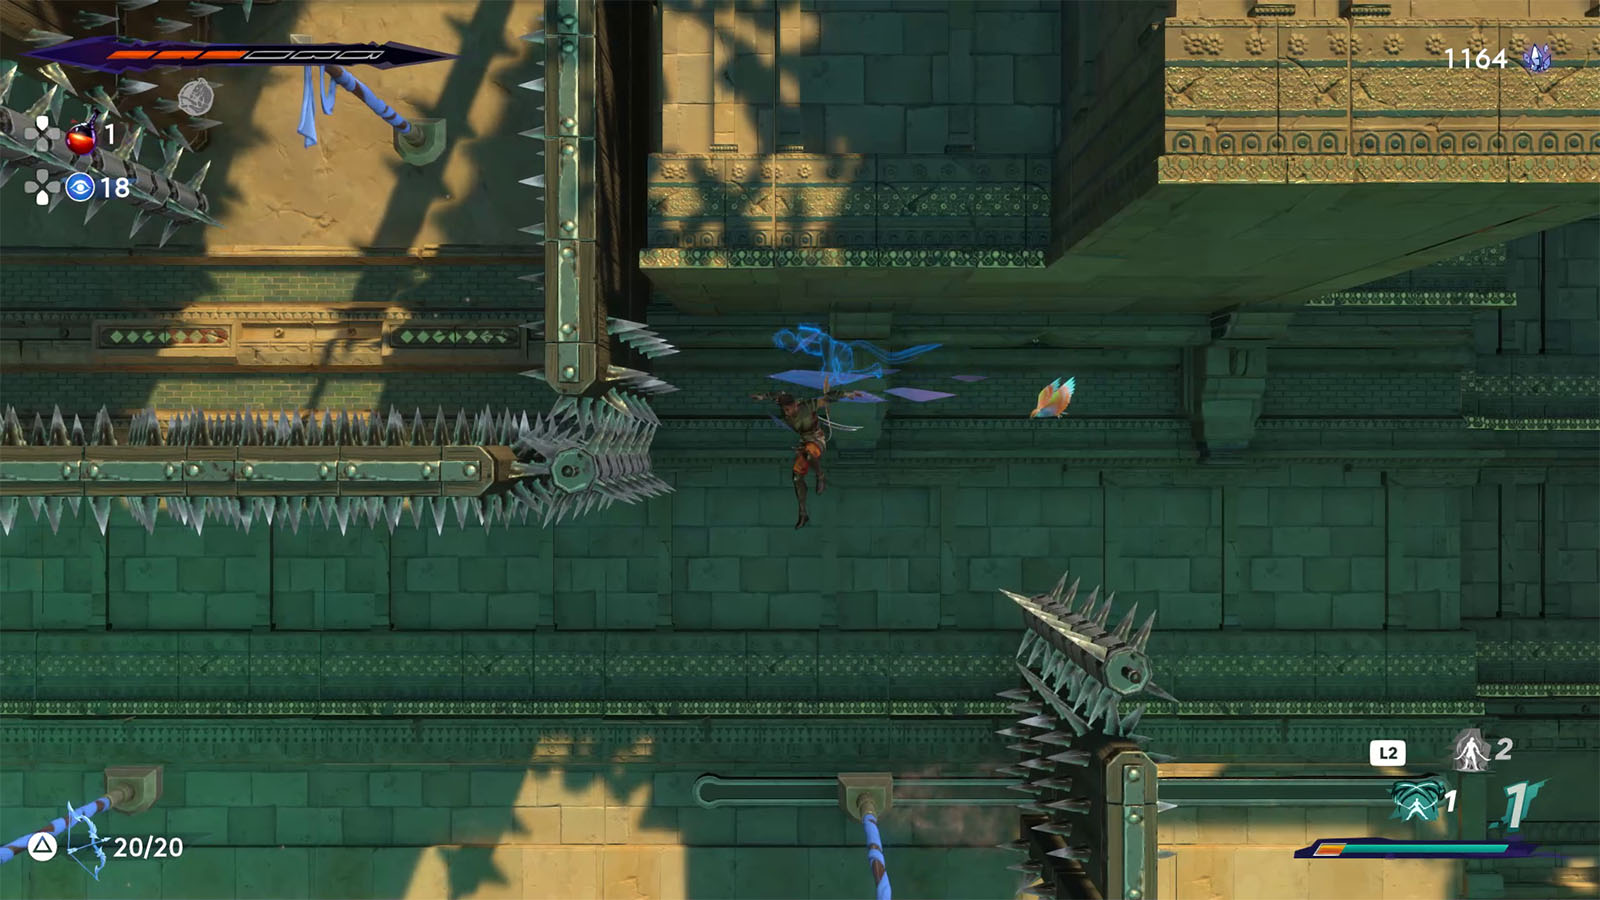
At the first part of the course, look out for poles that move back and forth through a spiked wall. You will need to launch yourself over these walls and catch the pole as it moves to the other side.
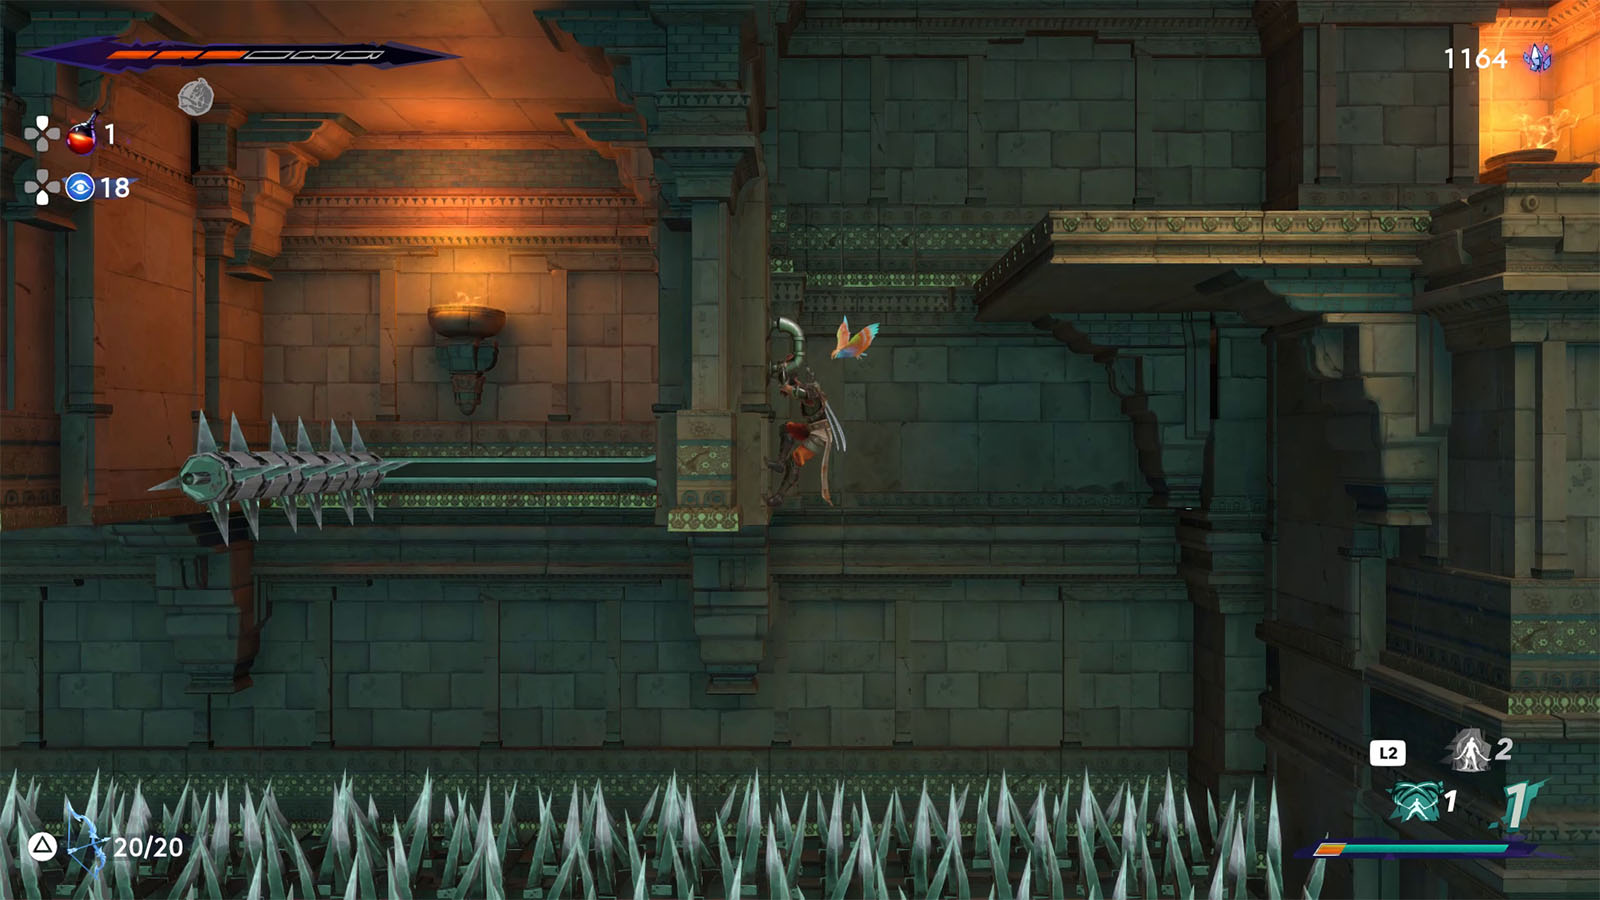
After reaching the halfway point, you will have to cross underneath the walls without hitting the moving spikes or falling into the spike pit. This part requires patience and precise movements as there’s not much room to move.

The trick to crossing this part is to time your jump after your freefall to avoid the spikes below, but make sure to press on the jump button long enough to go high enough to reach the wall and be able to grab it after a dash. You also need to make sure that you are aiming towards the right direction as you hit your move commands, especially in the case of the second wall where you are about to climb the middle section; you will most likely bump your head after the freefall if your aim is not right or not be able to reach the wall if you just tap the jump button.
Once you have managed to get past the entire gauntlet, carefully make your way through the enemies on the right side and open the shortcut back to the previous section of the Garden. Afterwards, continue heading towards the upper left to reach the next area.
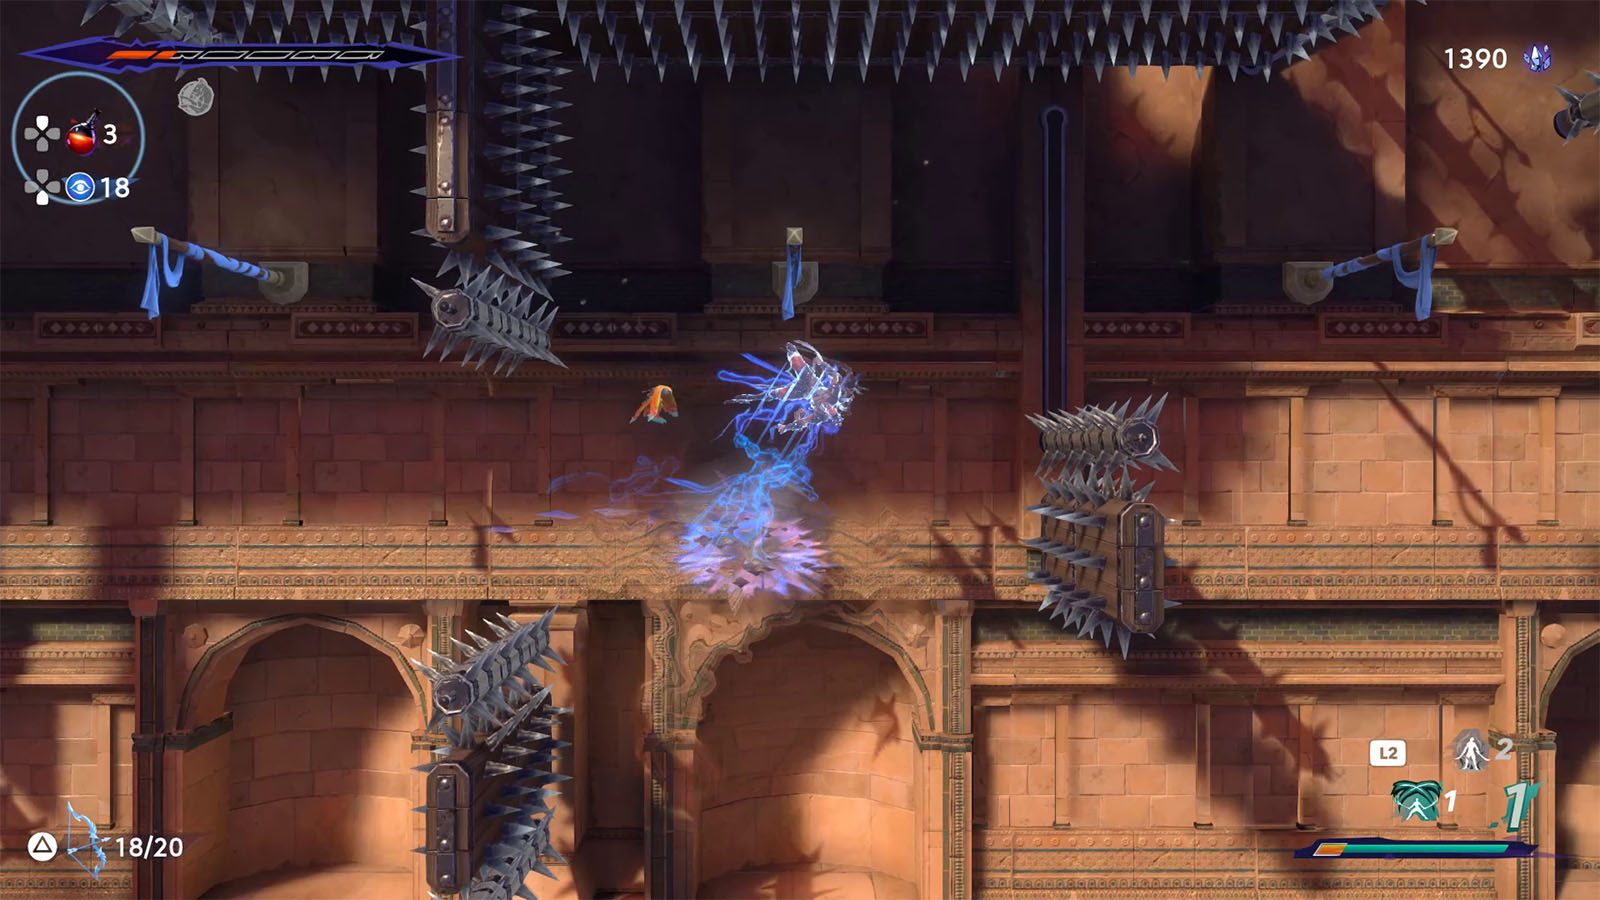
Climb up higher into the next area until you find the two small waterfalls. There are pads on the floor that control a platform on the side opposite to where the pad is.

To climb these waterfalls, go to the right side, jump above the platform and leave a shadow. Then, stand on the left pad and return to your shadow.
While standing on the right platform, jump towards the left platform and leave another shadow. Step on the right pad next and return to your shadow again while the platform is up. From here, quickly jump and grab on to the higher walls to proceed.
Follow the breeze to reach the next tree and Homa Statue.
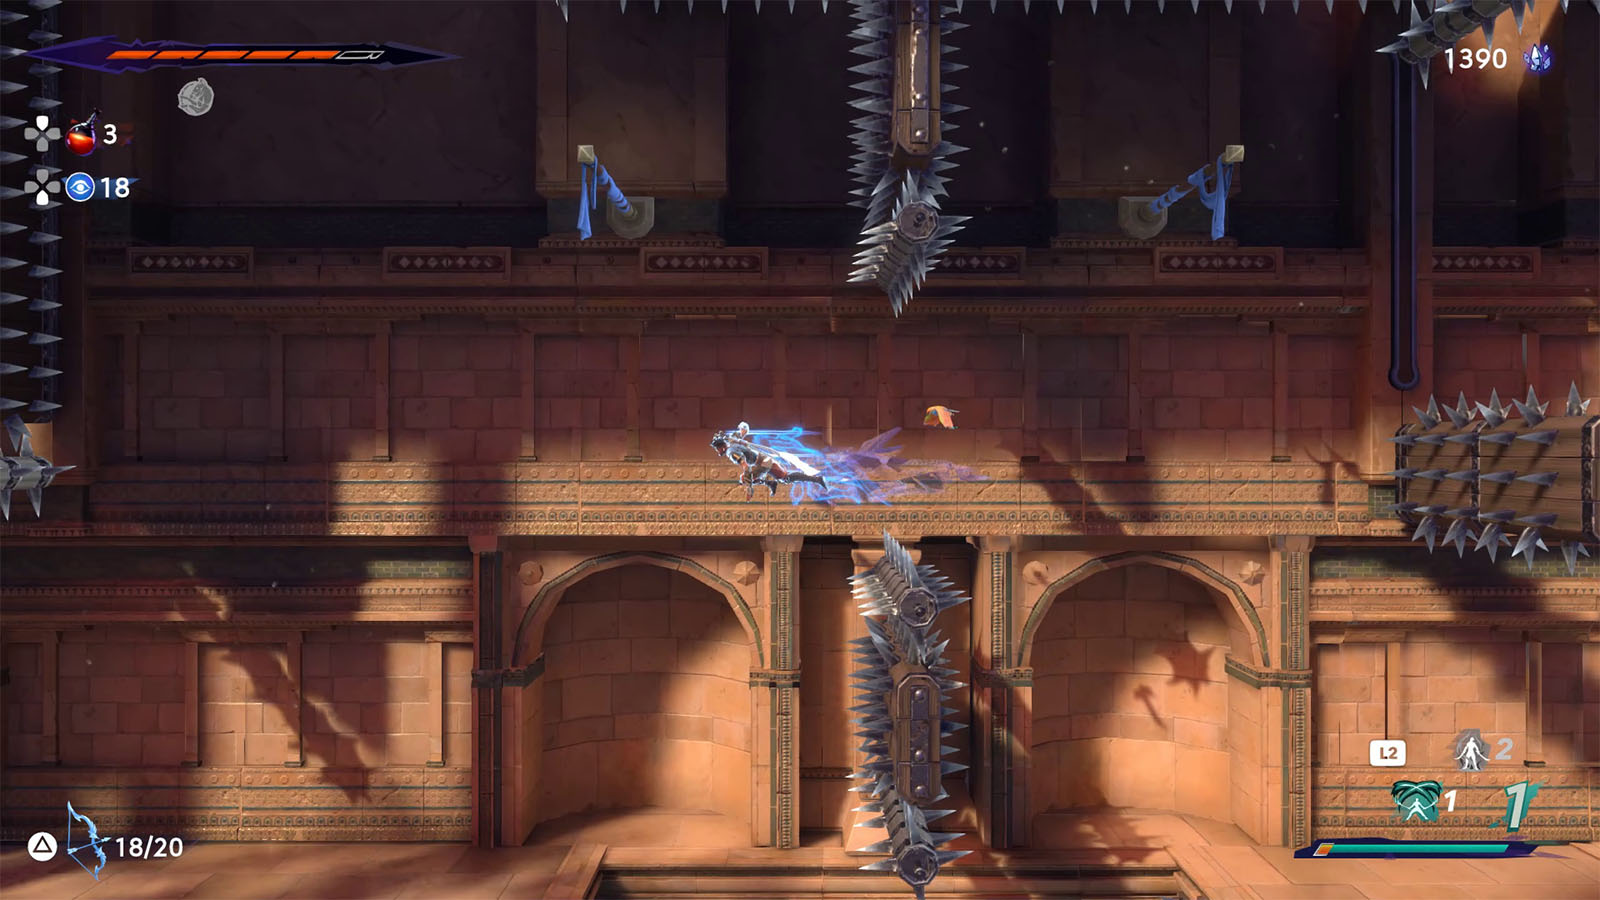
Make your way through the first room to the left by heading down the platform on the ground. You will have to go through another gauntlet of obstacles and traps once more to get into the connecting room.
At the start of the course, you will have to get past a moving wall of spikes. In order to do so, jump towards the middle of the wall’s path while it’s clear, leave a shadow, then quickly dash back to the pole. Return to your shadow once the path ahead is clear and then dash towards the next pole.
Once you’re at the bottom, head to the right side to open up a shortcut. You can then take the path going down where you have to fight two enemies. Then, go through the wall jump course heading to the west where you will find a chest containing an Azure Damascus Ingot.
Back at the forked room, take the path to the left where you have to go through another gauntlet to progress.
Once you get past the first wall of spikes and reach the next pole, your next objective is to go around the spikes below you to reach the pole below. For this, it’s best to aim your jump upwards instead of downwards to make your descent slower and more controllable, allowing you to grab on to the other pole easily.
As for reaching the next pole, aim diagonally and time your jump as you clear the wall of spikes above you. Make sure to dash early enough to not lose height, but not too early that you’ll hit the spikes.
After clearing this course, head to the right side and open up the shortcut. You may want to head back to the tree and do your preparations at this point as the next encounter will be a boss fight.
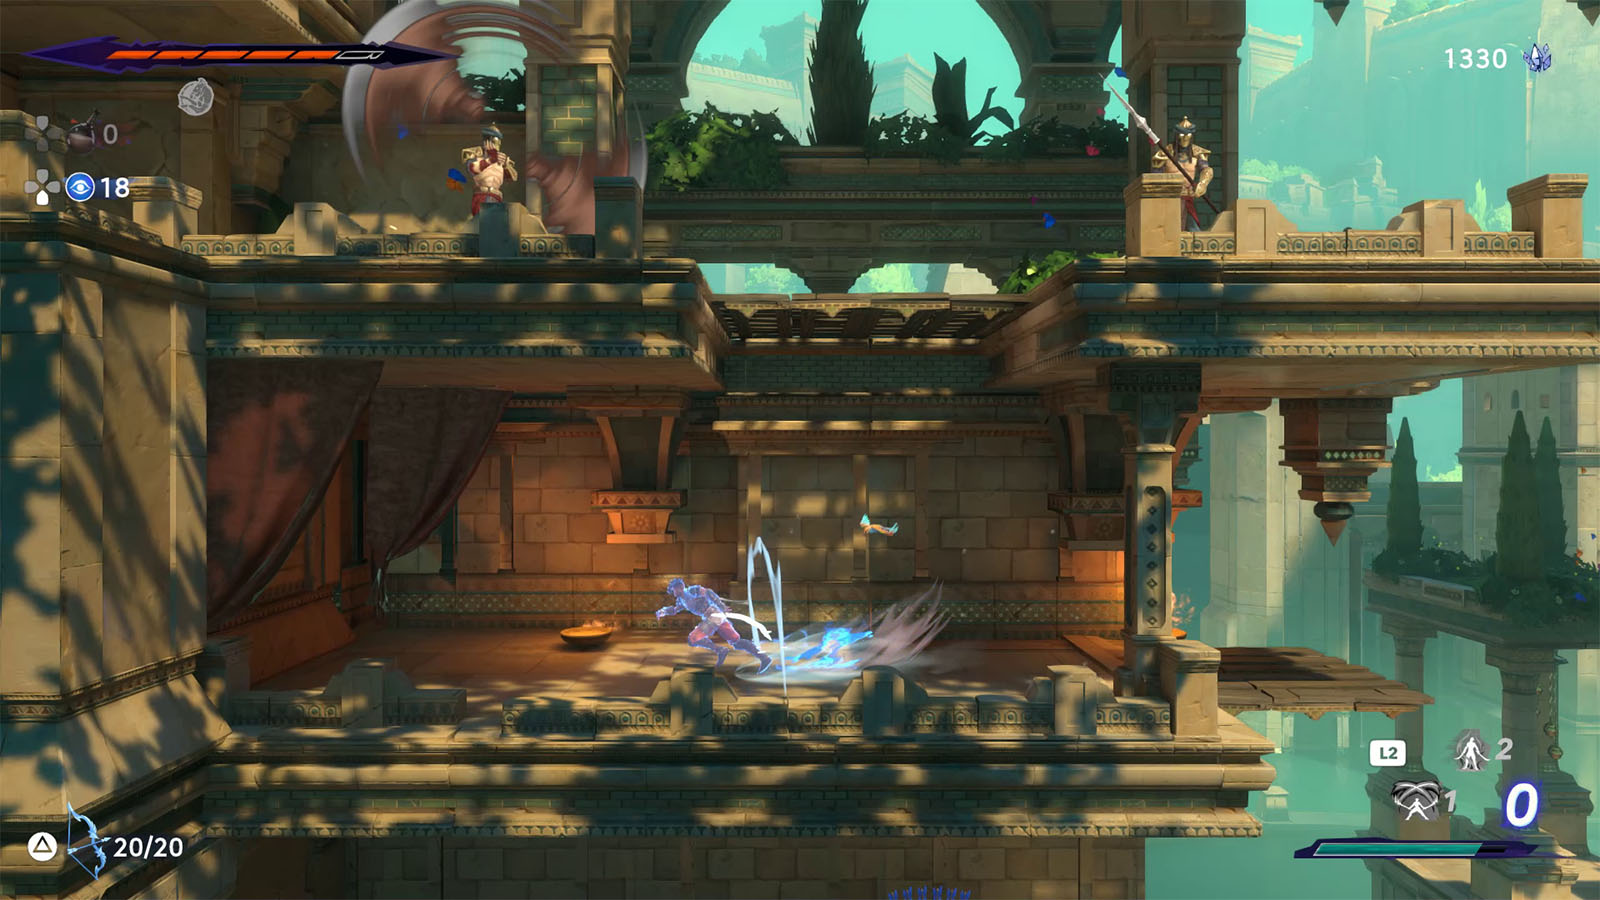
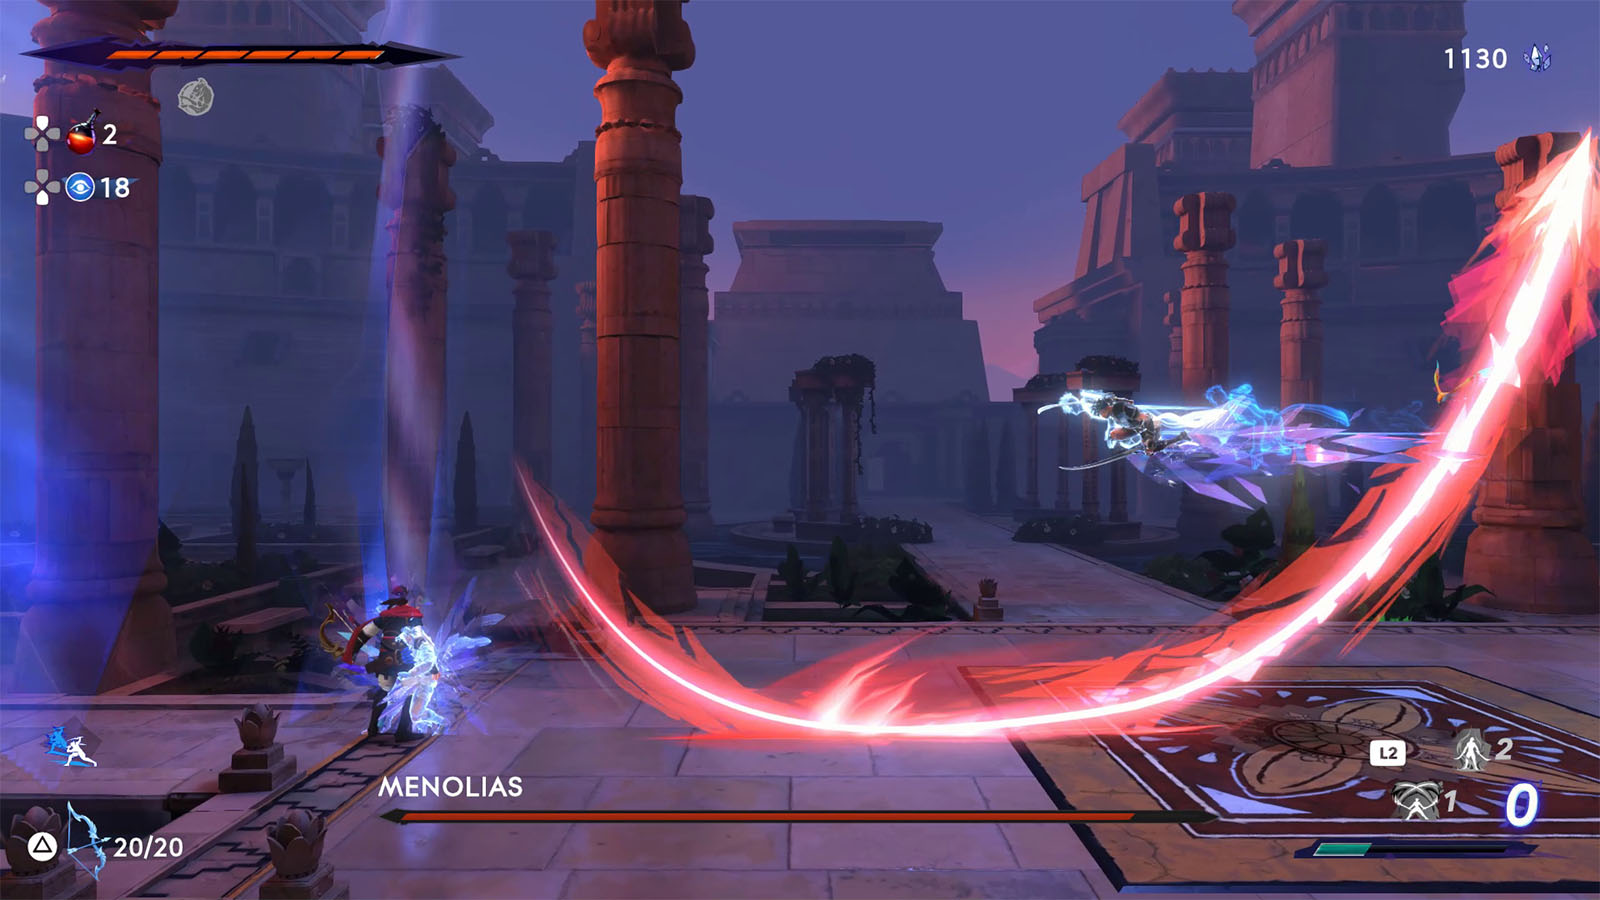
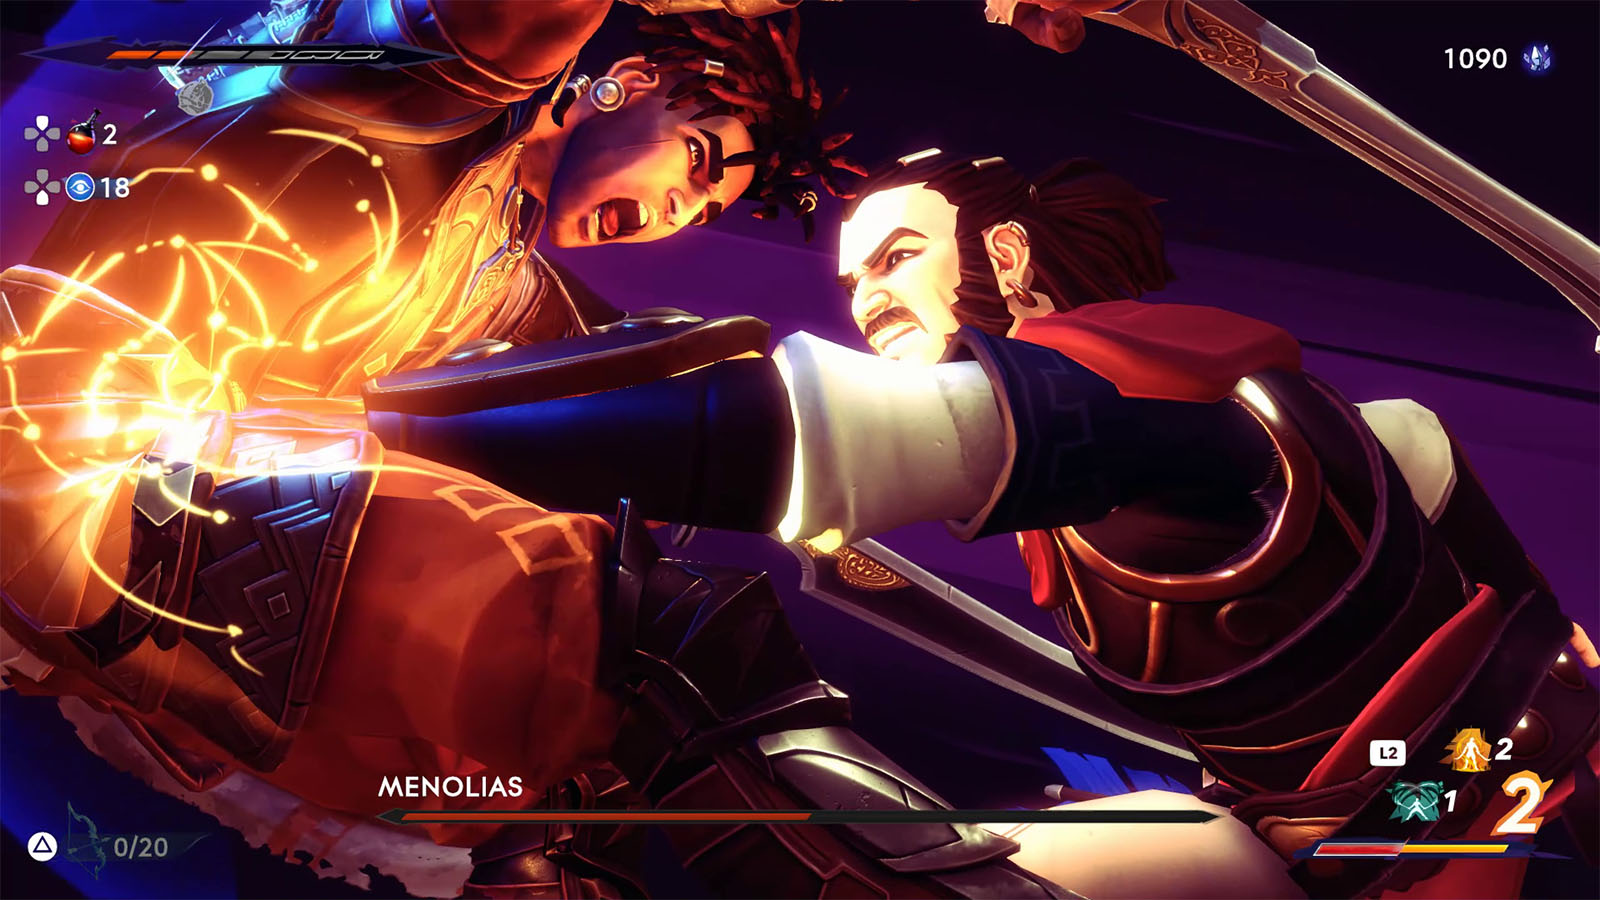
How to defeat Menolias, the Arrow of Destiny
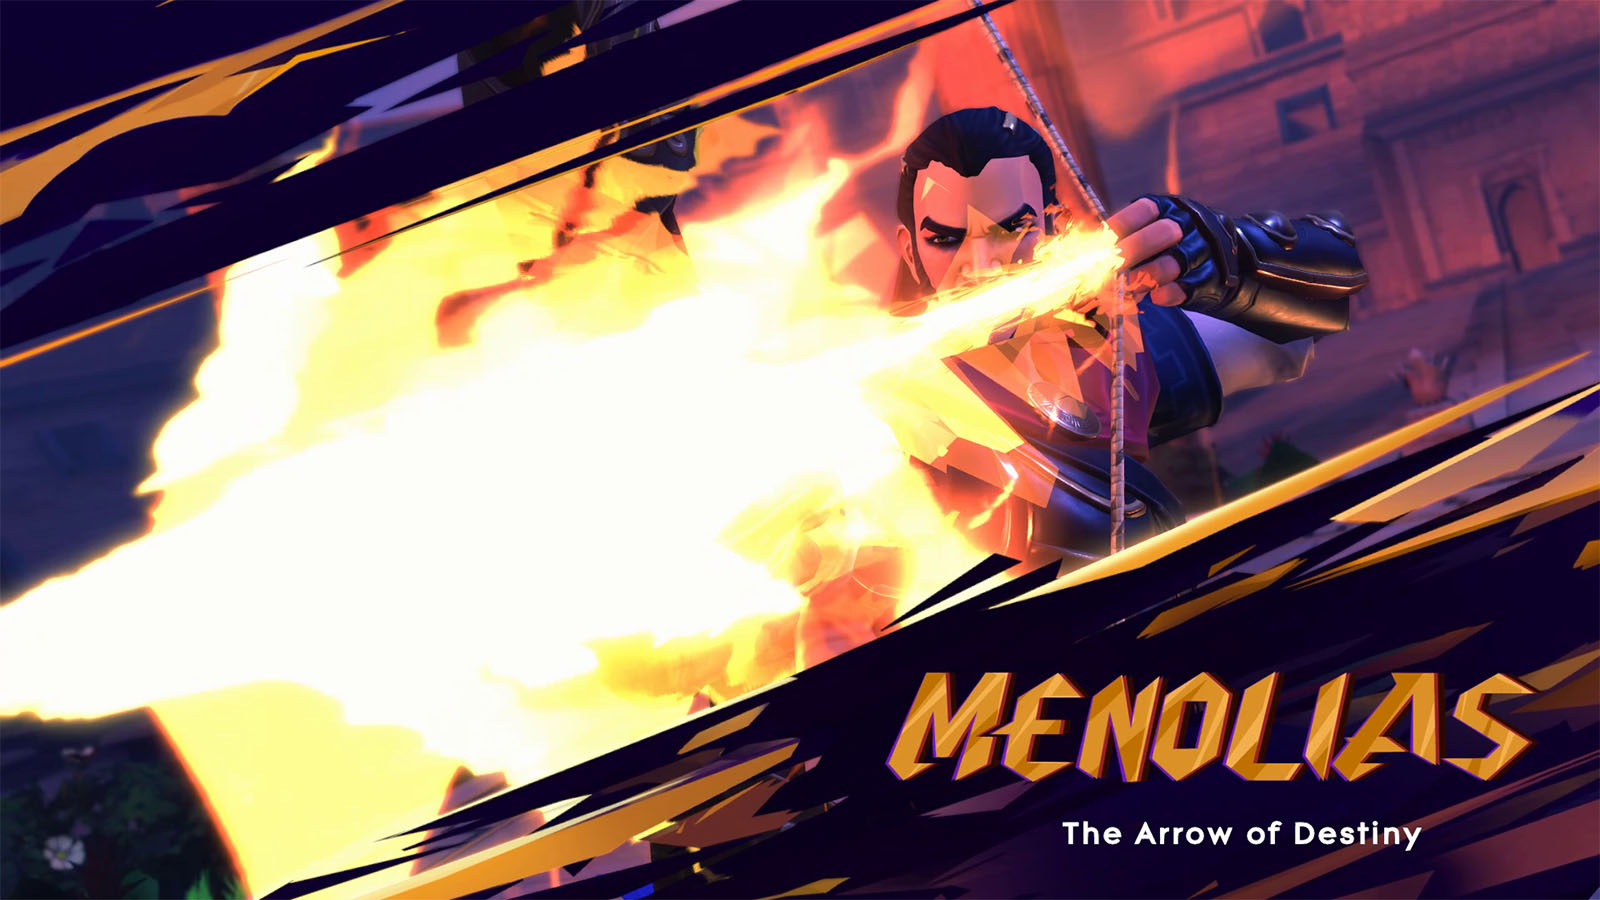
Menolias is a master of the bow and is also a master of the martial arts as he will reveal in the latter half of the fight. His attacks can cover a wide area of the arena and can he can also make his arrows shoot out with immense force.
Menolias has the following attacks in his skill set:
- Charged Shot – Menolias locks in at your position and shoots an unstoppable charged arrow. In later phase, he can also do this attack while in the air, usually chained with a Chakram Throw.
- Fanned Shot – Menolias jumps up and shoots out a fan of arrows at you. The arrows can be parried or stored in the rift. In the later phase, he can shoot two sets of fans.
- Curved Shot – Menolias jumps in the air and fires an arrow downwards which then curves back upwards.
- Caltrops – Menolias sends out several floating caltrops that deal contact damage. These caltrops can be stored in the rift or destroyed.
- Arrow Rain – At <60% health, Menolias shoots at the sky and makes arrows rain down at random points on the arena. This signals a phase change.
- Chakram Throw – At <60% health, Menolias throws his chakram which can also hit during its return.
- Rashnu’s Judgment – At <60% health, Menolias charges up his aura. If you get caught within the aura, he will then perform a strong punch that deals massive damage.
- Punch Combo – At <60% health, Menolias charges at you with an eye glimmer before punching. If it connects, it will continue into a combo and cause a fatigued debuff for a few seconds. This attack can be parried.
For this fight, it is recommended to have Bahman’s Breath, and either Shahbaz’ Spirit or Arash’s Ray as your offensive surge. As for amulets, it is recommended to get the Gleaming Lion and the Ayyar Amulet to quickly regain Athra, plus the Rukhsana’s Gift for some regen and Mount Damavand for some defense against the melee attacks.
Menolias has an arsenal of ranged attacks, but he is more deadly during his second phase when he starts throwing in his punches. This can be turned around against him as his ranged attacks can make it hard to approach him. So instead of you chasing Menolias, you can make him come closer to you instead.
In the second half of the fight, Menolias can get into a loop of attacks. The attack to look out for is his Chakram Throw which is usually followed up by his Punch Combo. During this point, you can stay low and on either side of the arena and anticipate the punch to parry it. This will give you a window for a counterattack, after which Menolias backs up and cycles through his attacks again. This strat can be cheesy, but it works.

Don’t forget that you can parry the arrows from the Fanned Shot, although you can only parry one from the first set in the latter half unless you reposition to parry an arrow in the second set. This can stagger Menolias and prevent him from performing the next attack which is usually a Charged Shot.
The caltrops, as well as the fanned arrows, can be grabbed and stored in the rift to be thrown back at him.
Once Menolias has been defeated, you will unlock the Chakram upgrade which allows you to use your chakram as an extension to your Shadow of the Simurgh ability. With this, you can get into areas that only your chakram can get through, including past cage bars or even high platforms.
You can also absorb the power that Menolias left to gain the Rashnu’s Jusgment Athra Surge.
Head towards the left path to find a Soma Tree Petal.
Then approach the circle to call upon Venant. That’s three down, one final Guardian to go.
Summon Tascheter, Guardian of the East
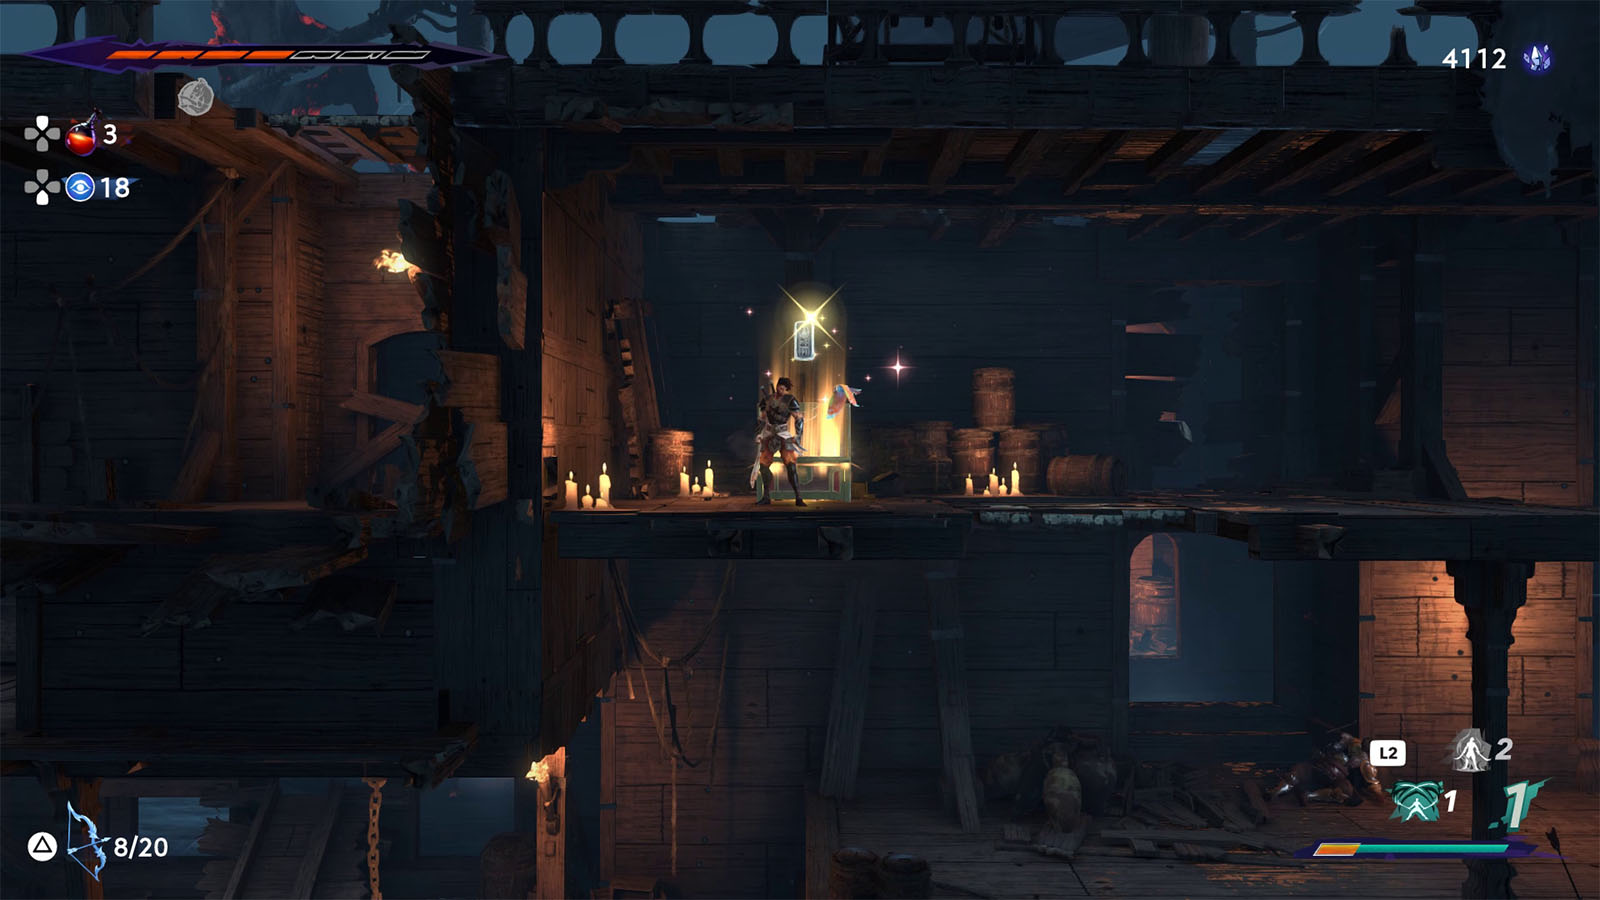
The final Guardian is way out east in the Raging Sea. For that, fast travel to the Pirate Village in the Sunken Harbor and head out east. Take this time to revisit the other places that you can now access with your chakram and strengthen your gear for the upcoming fights.
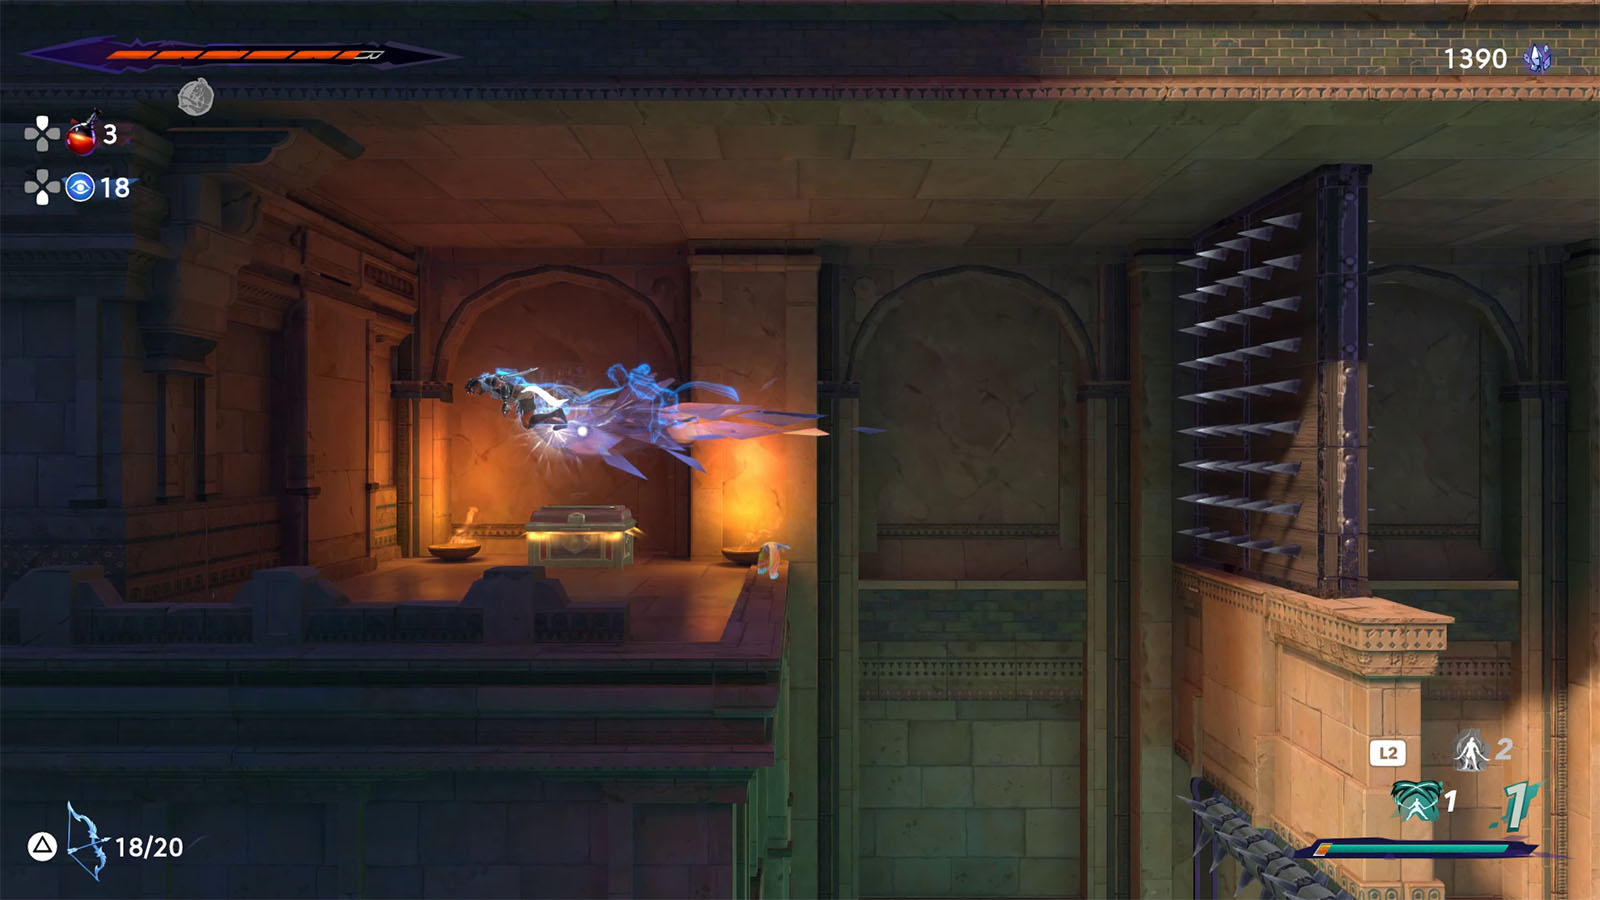
As a practice for the new chakram ability, head for the spot just prior to the place where you fought Menolias and go up the platform. You will see a grate right above you.

Aim your chakram to pass through the grate, throw it, then as soon as it passes through the grate, press your shadow return button to instantly move to where the chakram is at.
Defeat the enemies up top, then go through the next gate with the chakram again. Aim the chakram through the grate on the ground to reach the next room below where you can get a chest containing crystals.
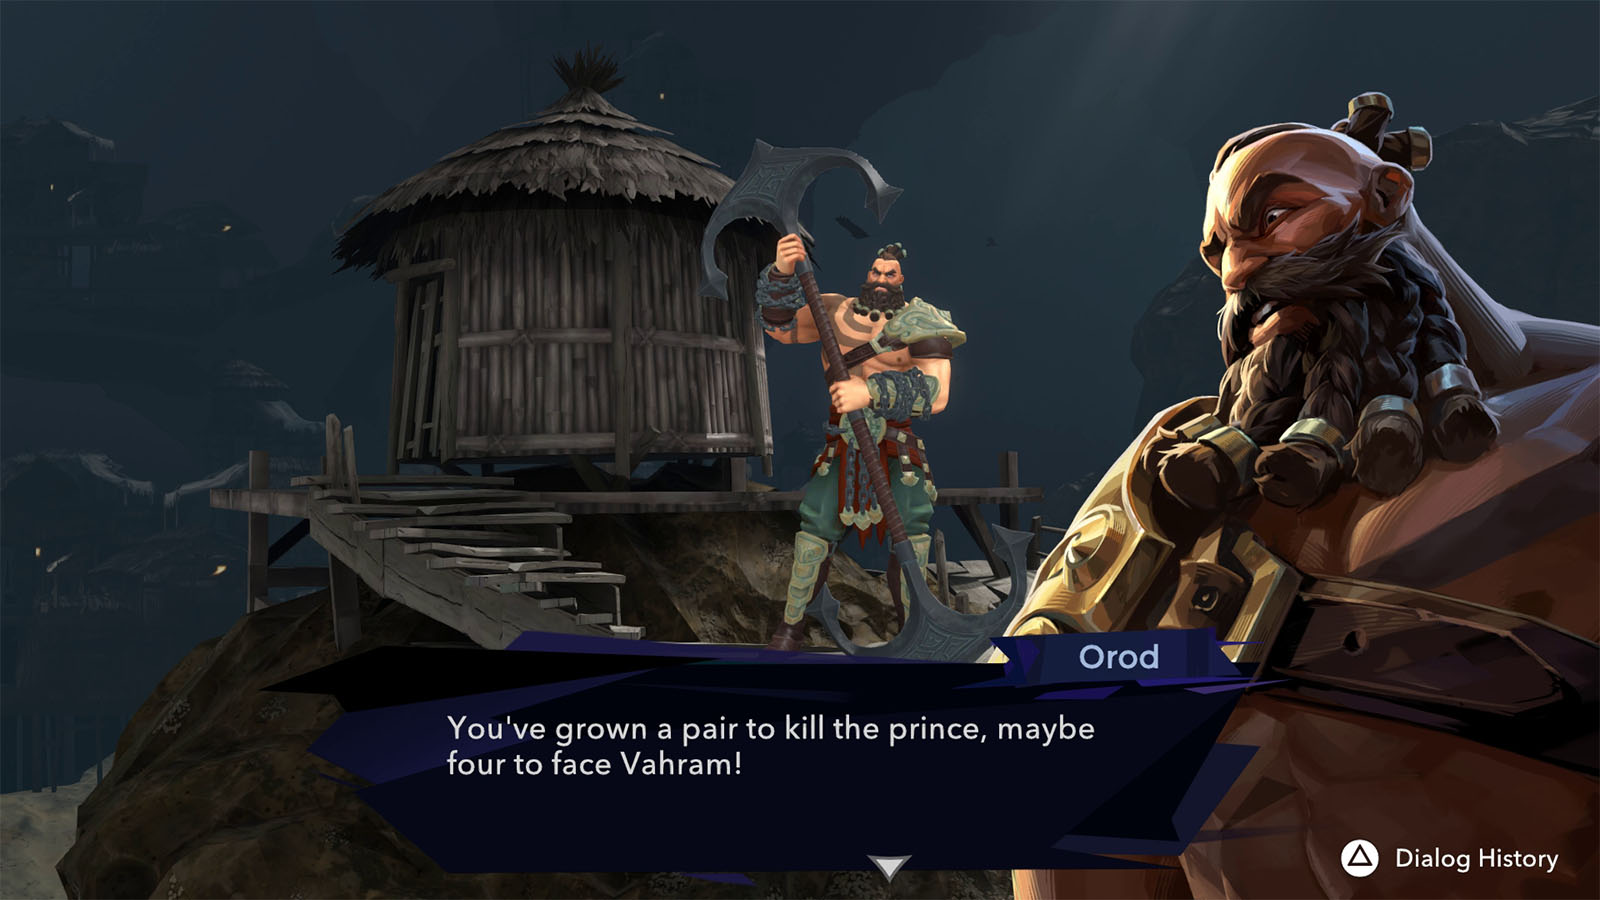
As you make your way to the Raging Sea, you will meet up once again with Orod who still believes that Vahram is right. He then challenges you to a fight at the farthest end of the sea.
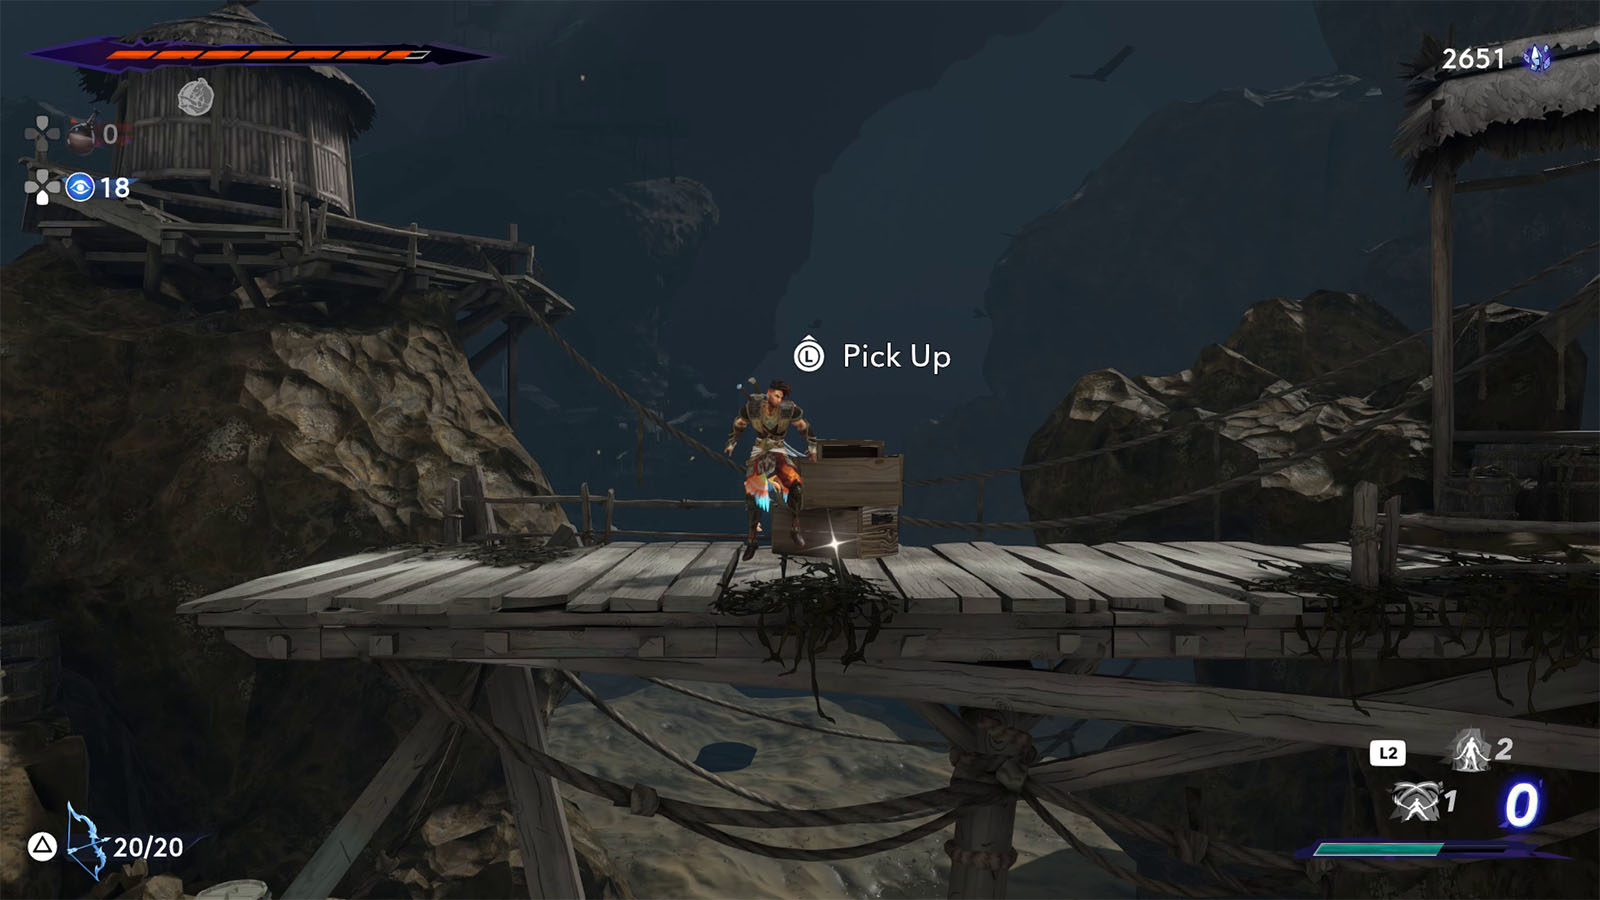
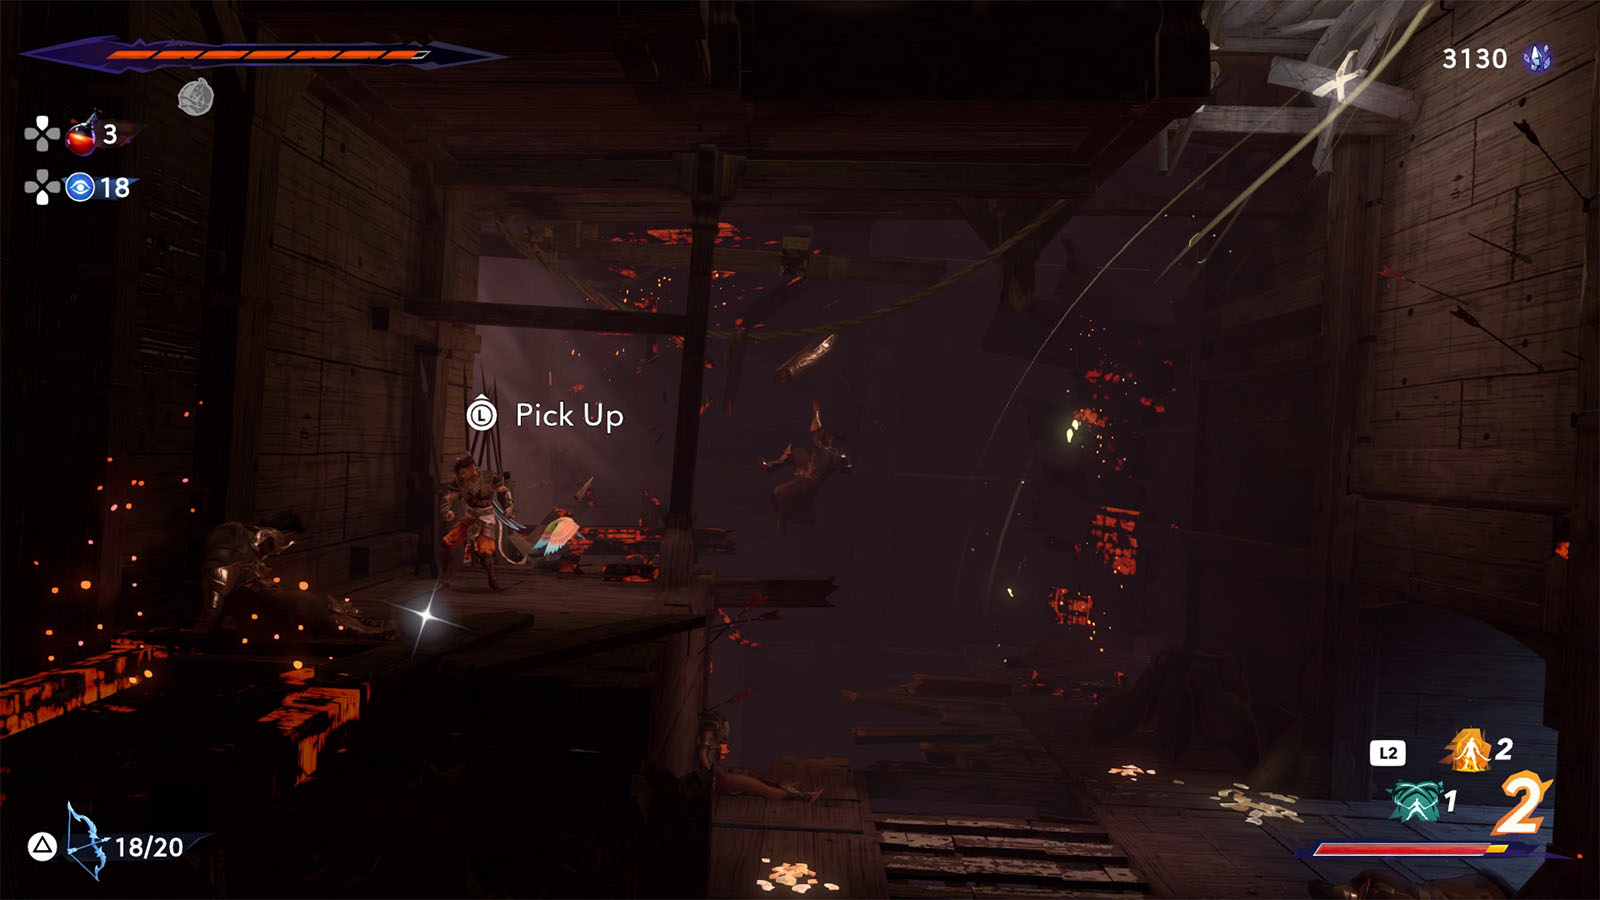
After your conversation, get up the nearby platform to find the Collectible – Rusted Hook by the crates.

Once you reach the docks, you will meet a Fisherman who remains positive despite being stuck in the curse of Mount Qaf.
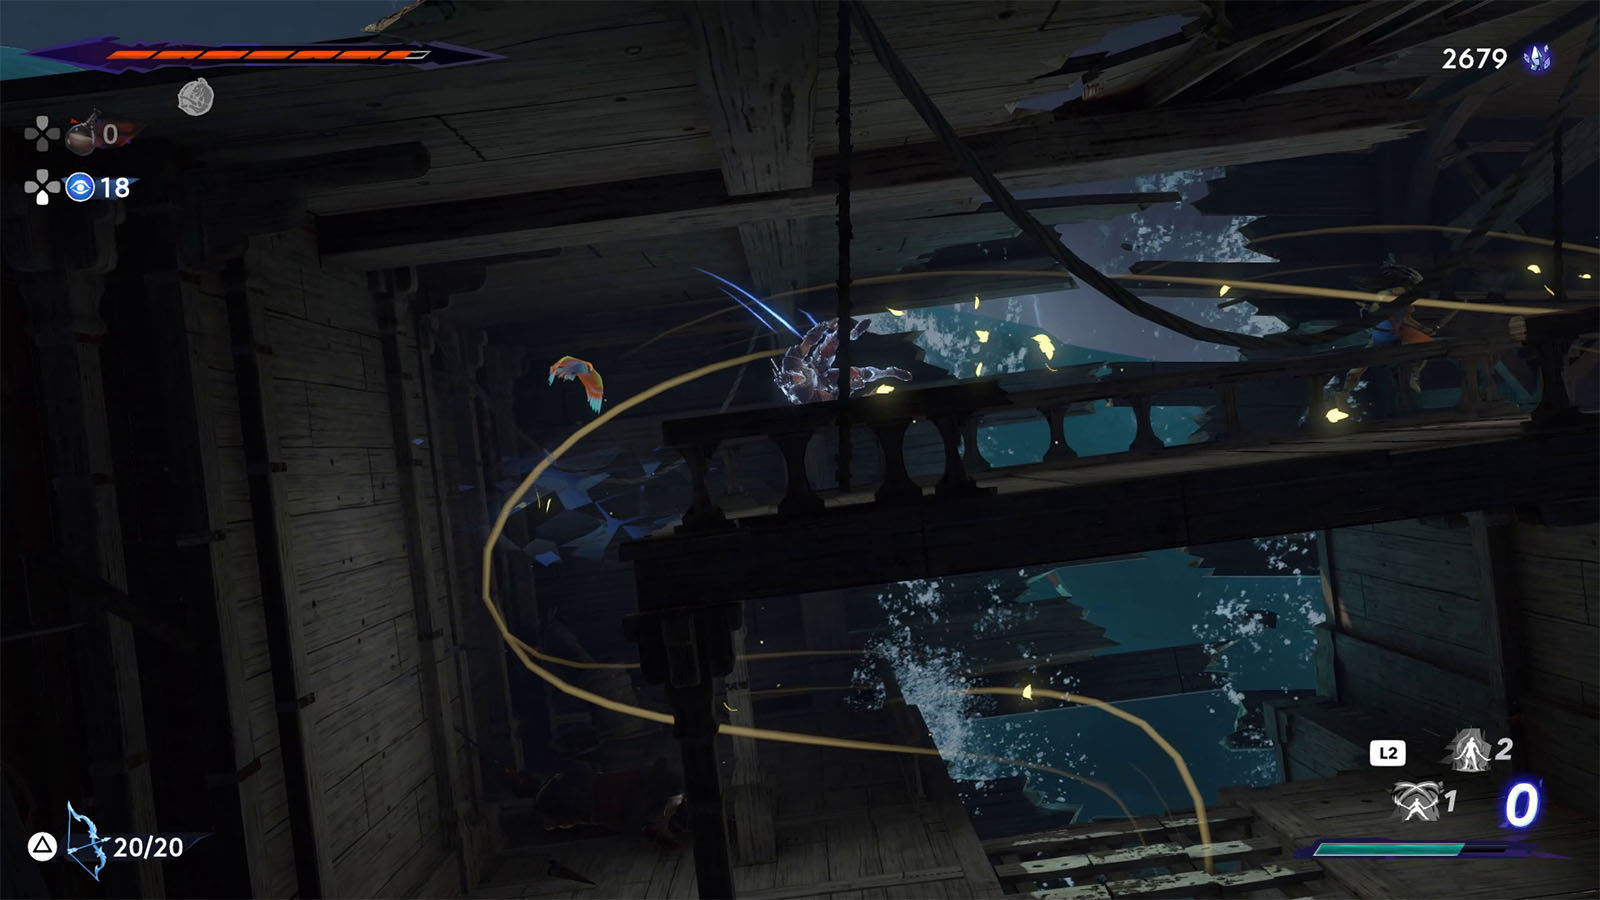
Continue through the frozen debris to get to the Raging Sea. Make your way through the ship to reach your first tree.
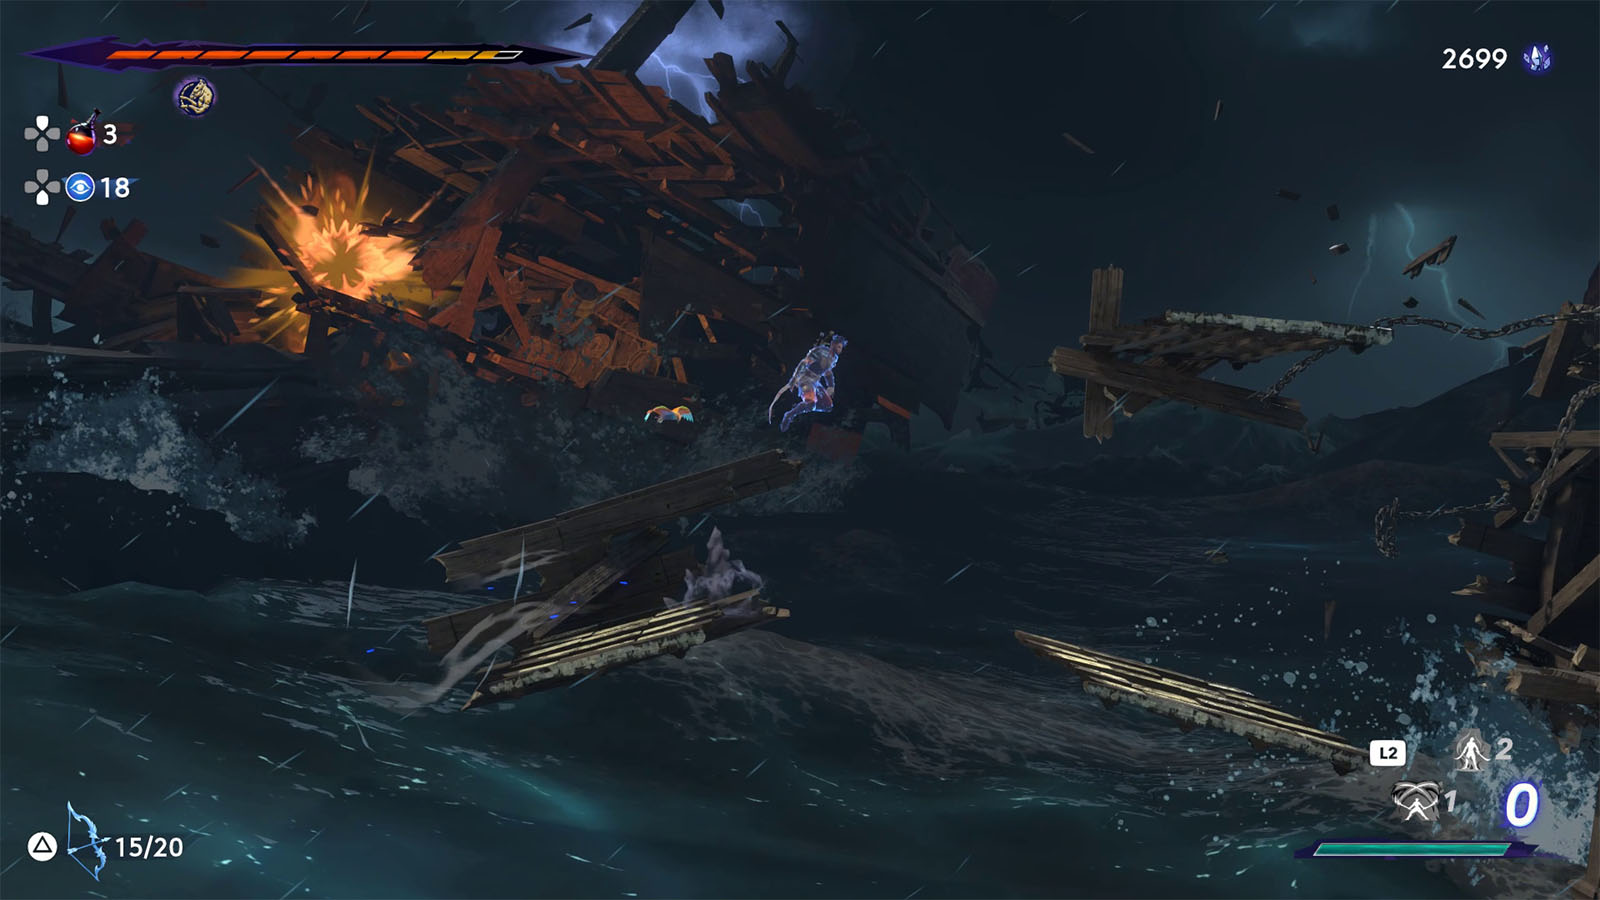
Time has frozen still in the Raging Sea so you can even walk on water. You will also encounter hostile sea creatures and drowned sailors along the way. The sea creatures have the ability to electrify you which prevents you from using skills for a few seconds.
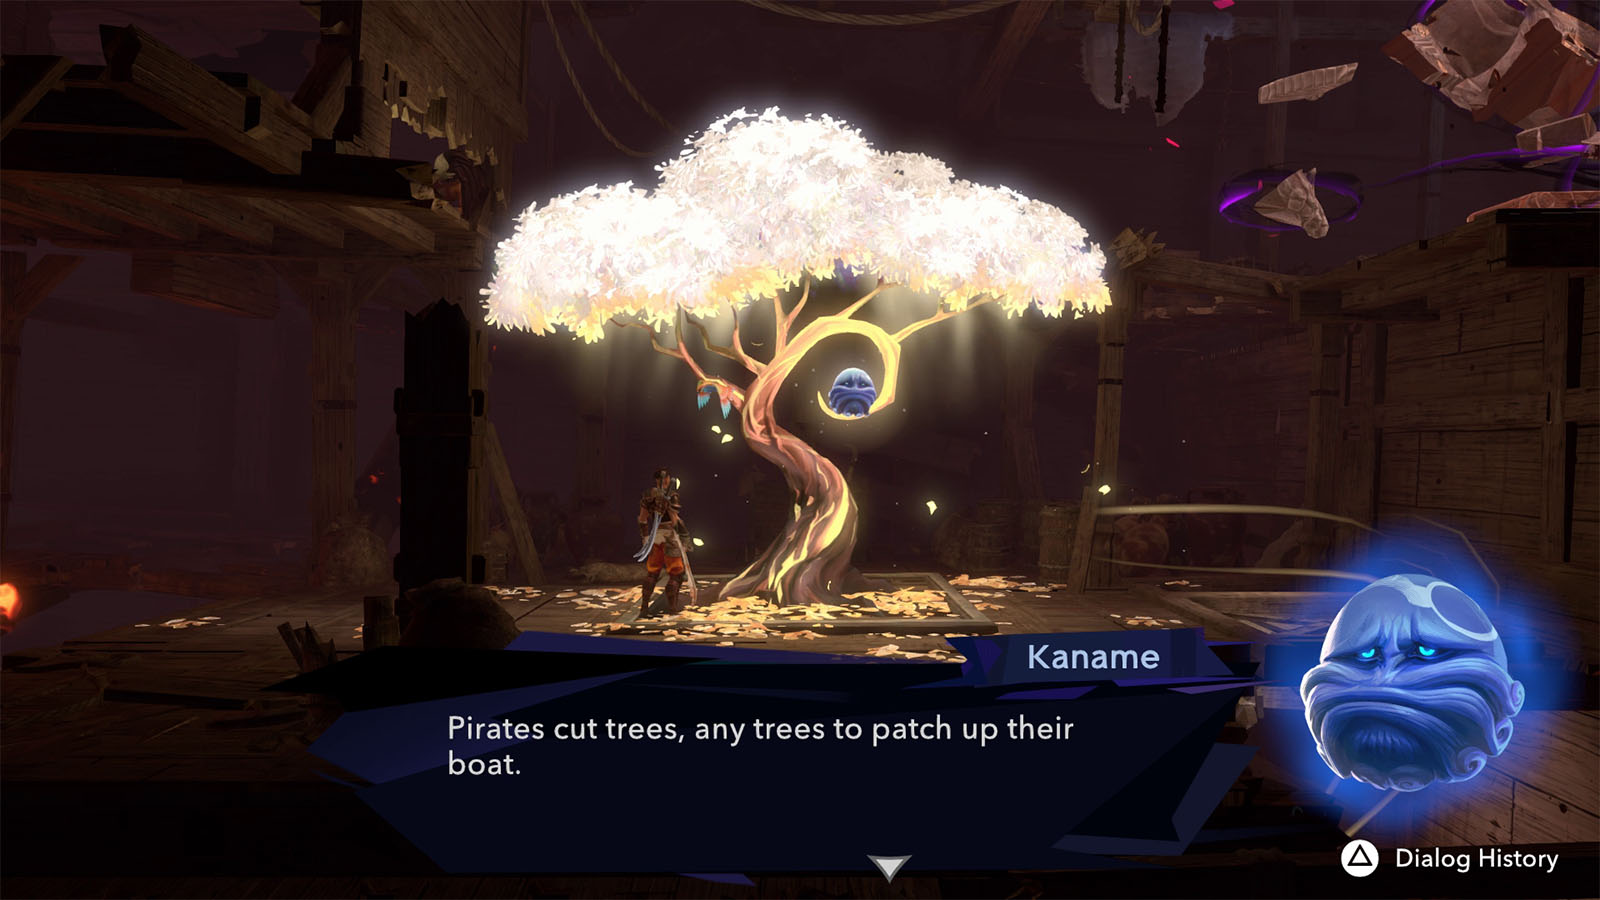
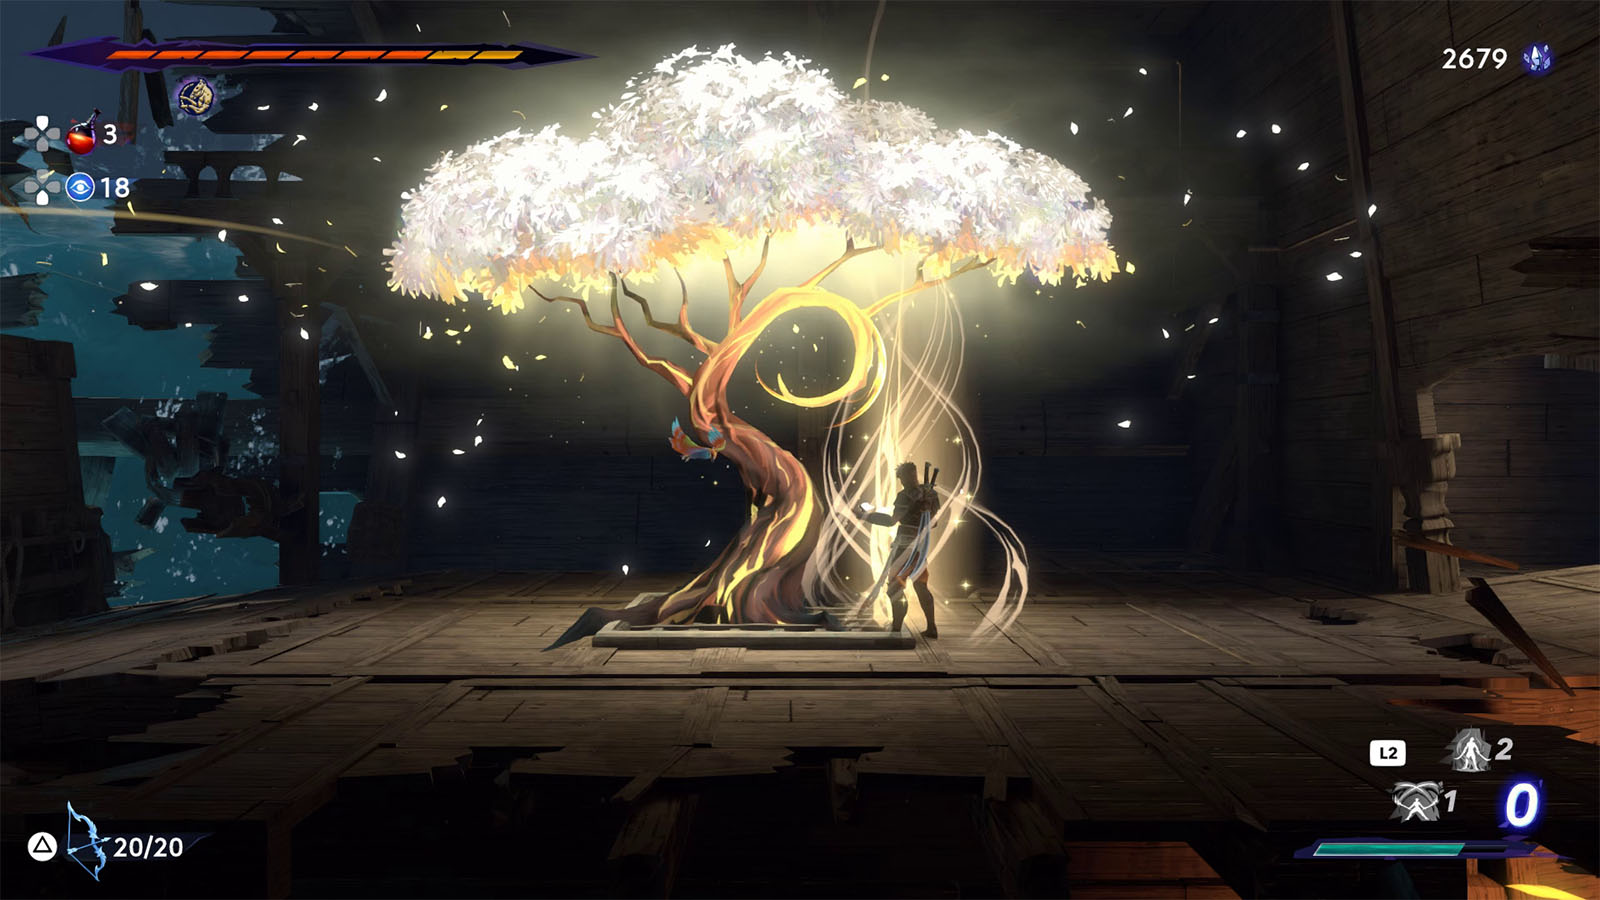
Make your way through the next ship to find the next tree and another Homa Statue.
Take the path down to the left of the tree to reach the belowdecks. Then fight through the wave of drowned sailors. Up ahead through the next path leading back to the tree is where you can find the Collectible – The Comb of a Princess.
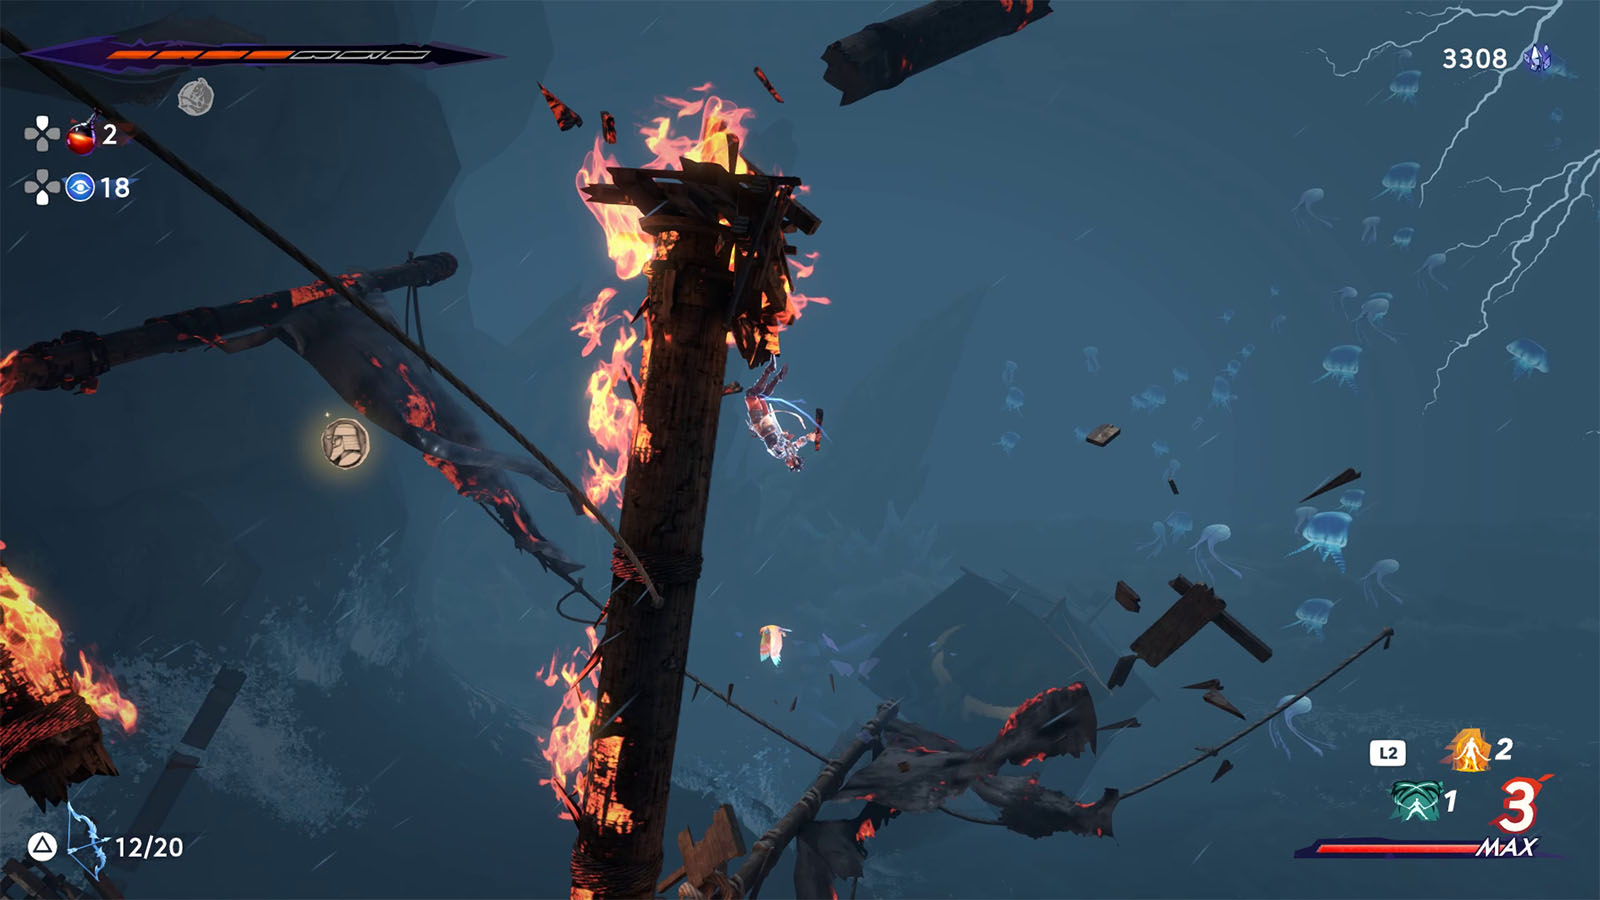
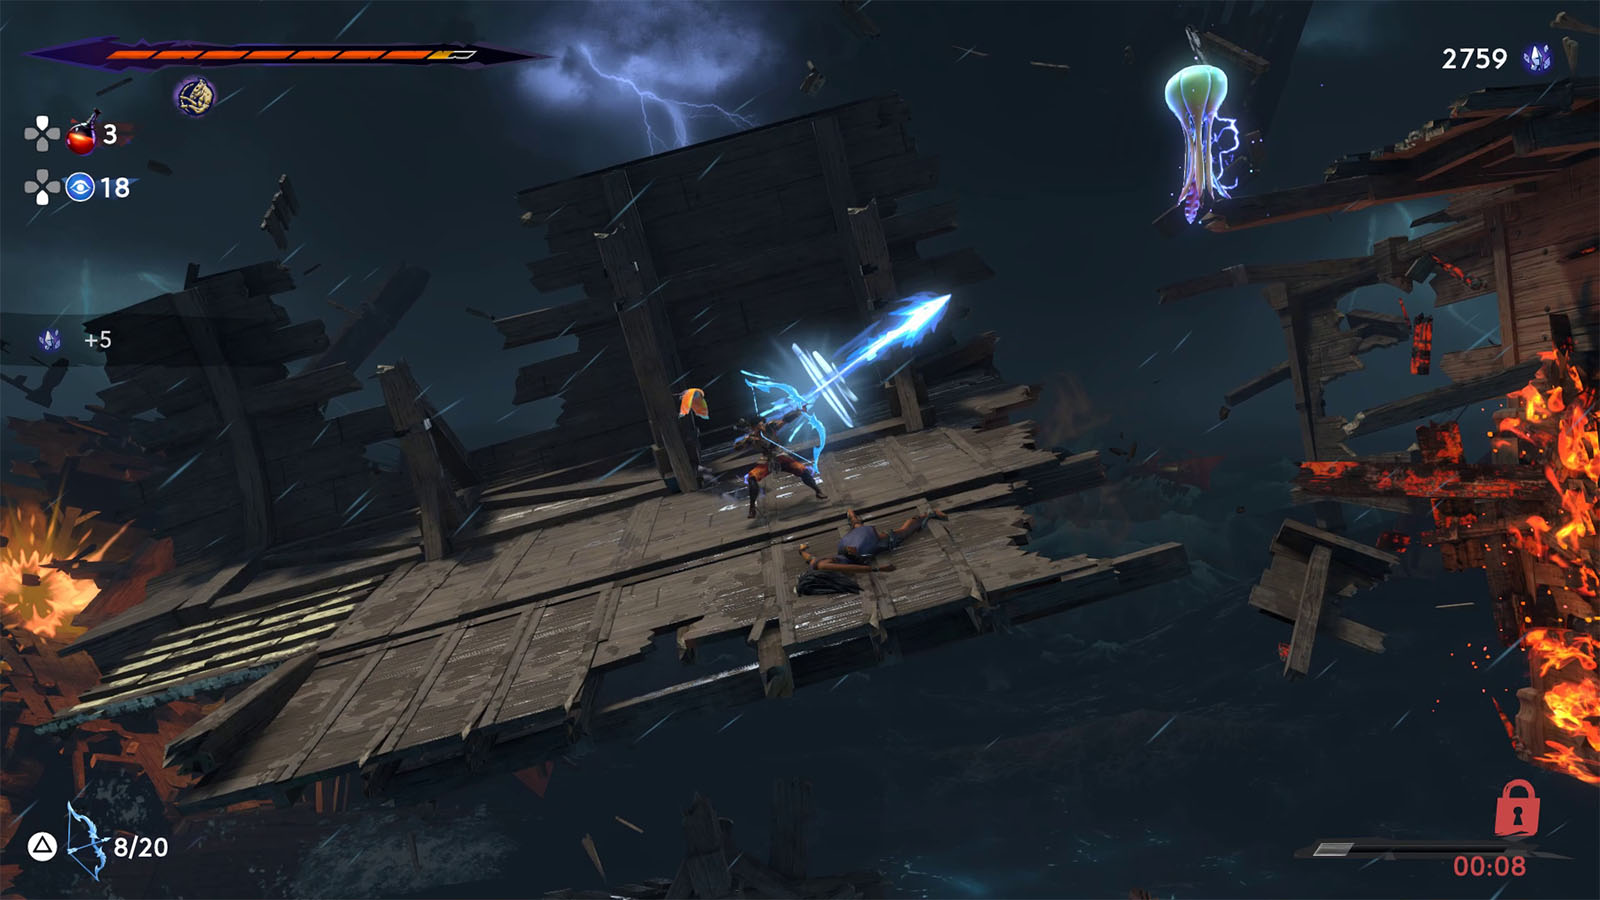
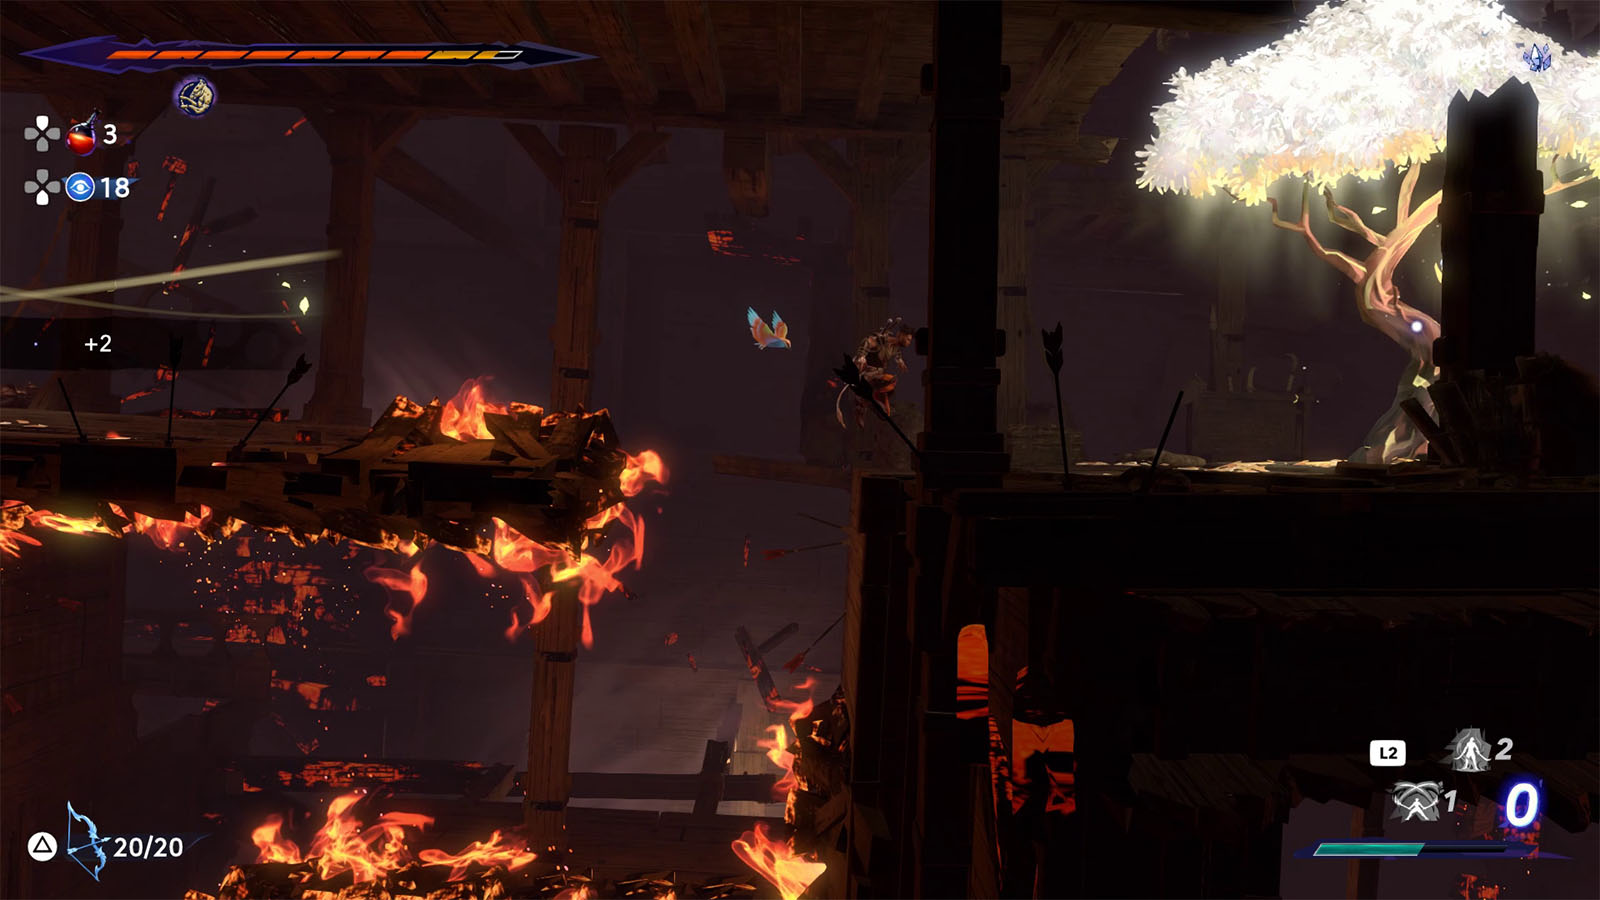
On to the next area, get on top of the second ship to the right where you can find a pole you can swing on. Aim for the non burning part of the mast and make your way up to the very top without touching the flames. Over on the other side is a Xerxes coin that you can get; just make sure that you land safely once you grab it.
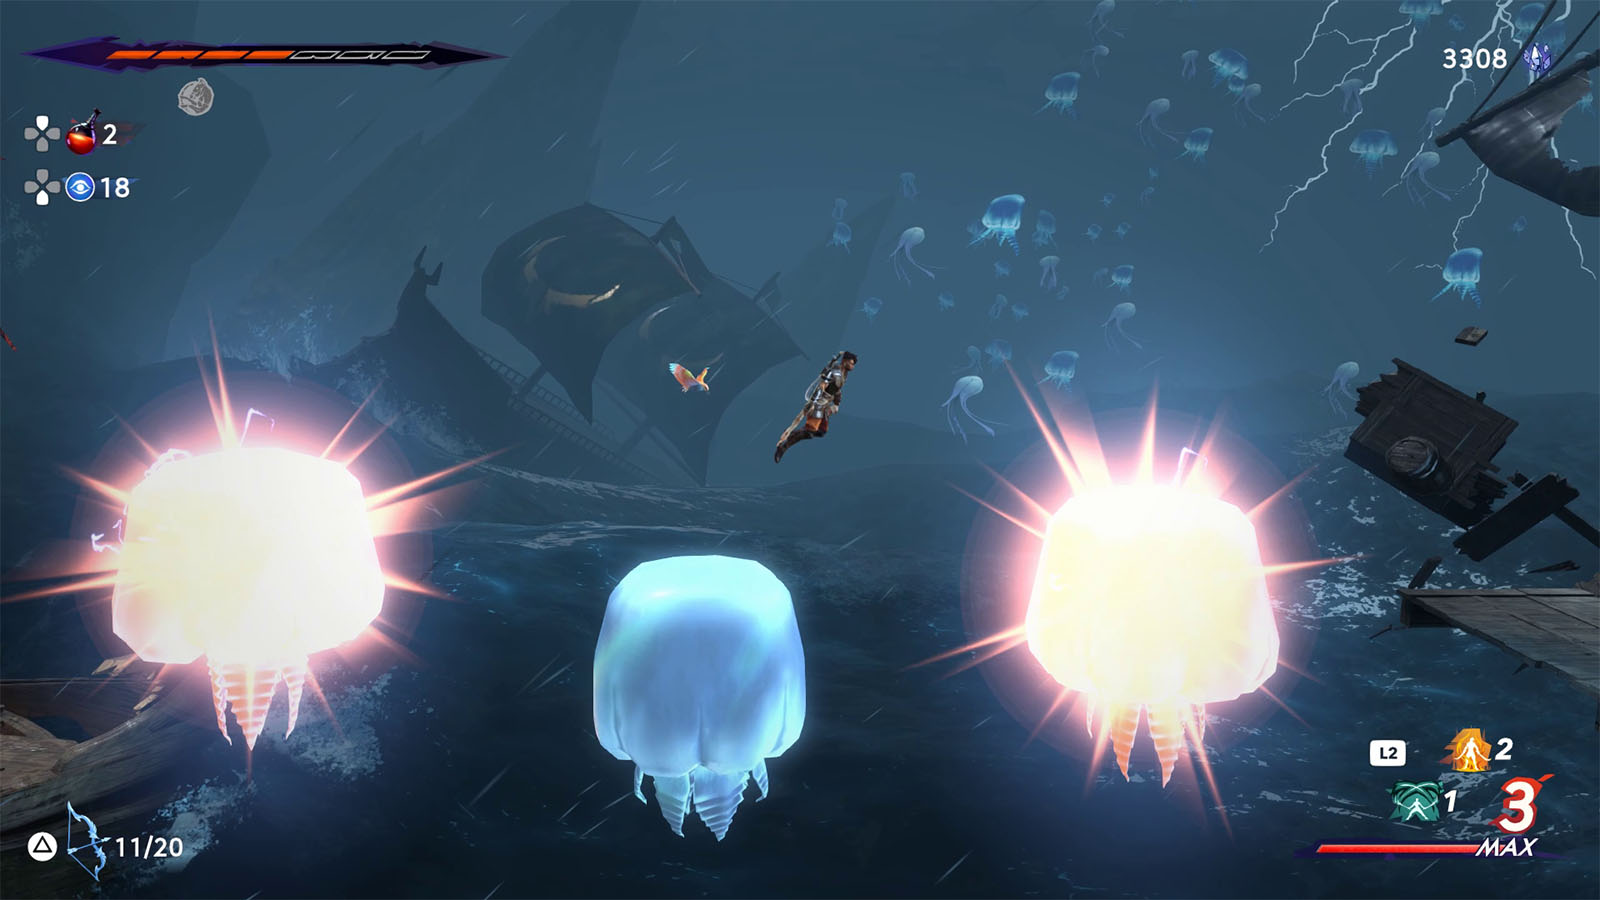
Go through the next area by jumping on top of the large jellyfishes; time your jump so that you avoid their zaps.
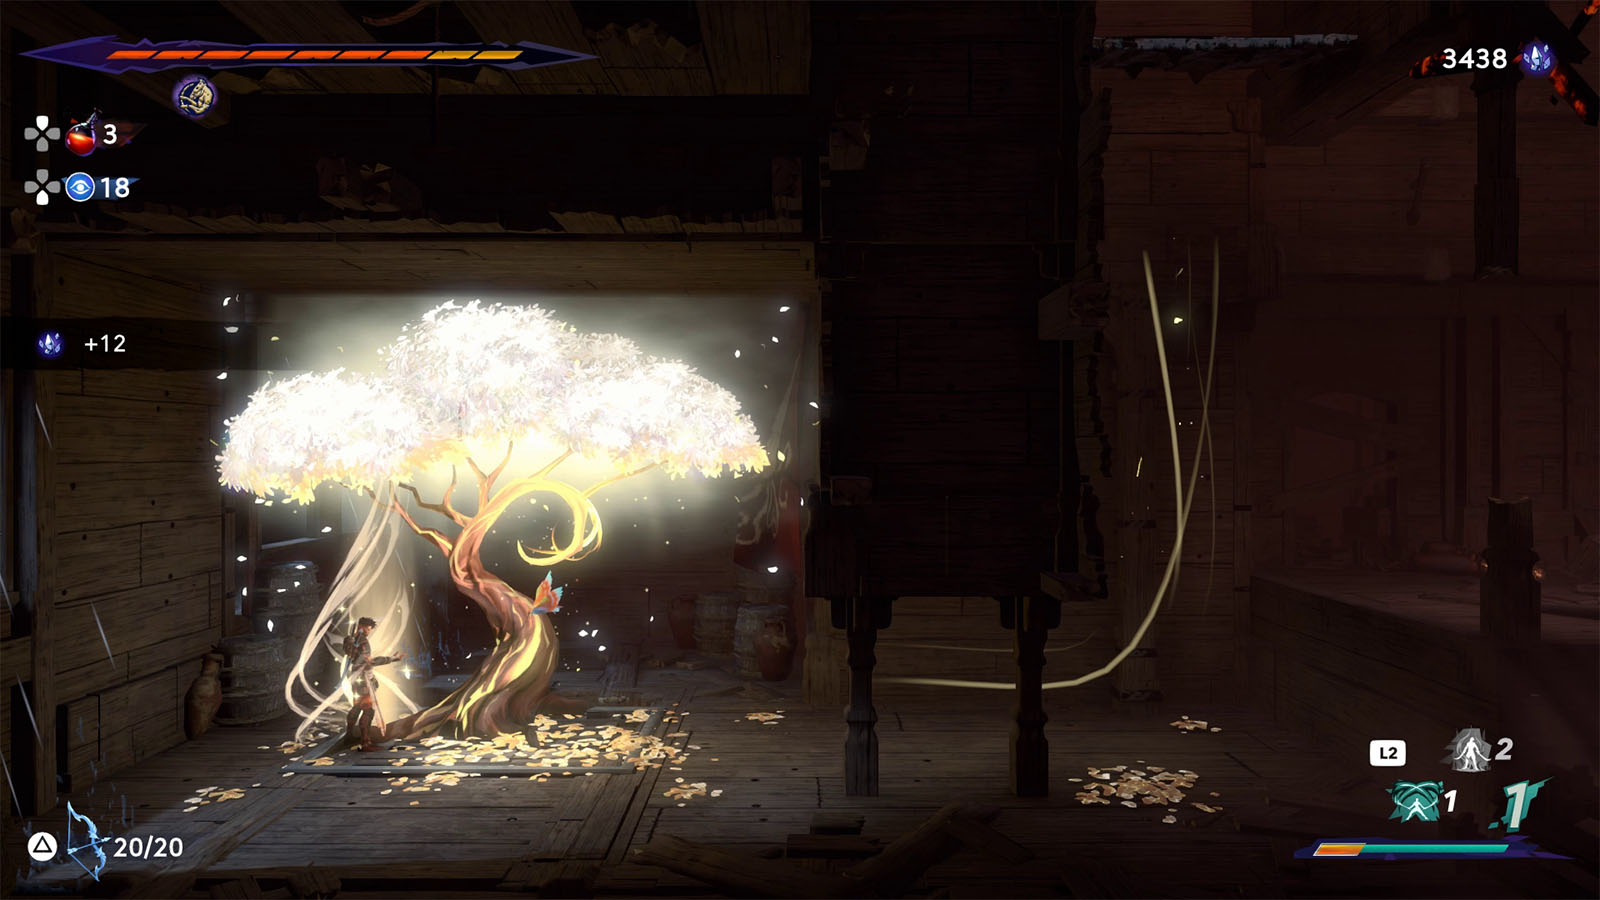
The next ship will have another tree below its decks.

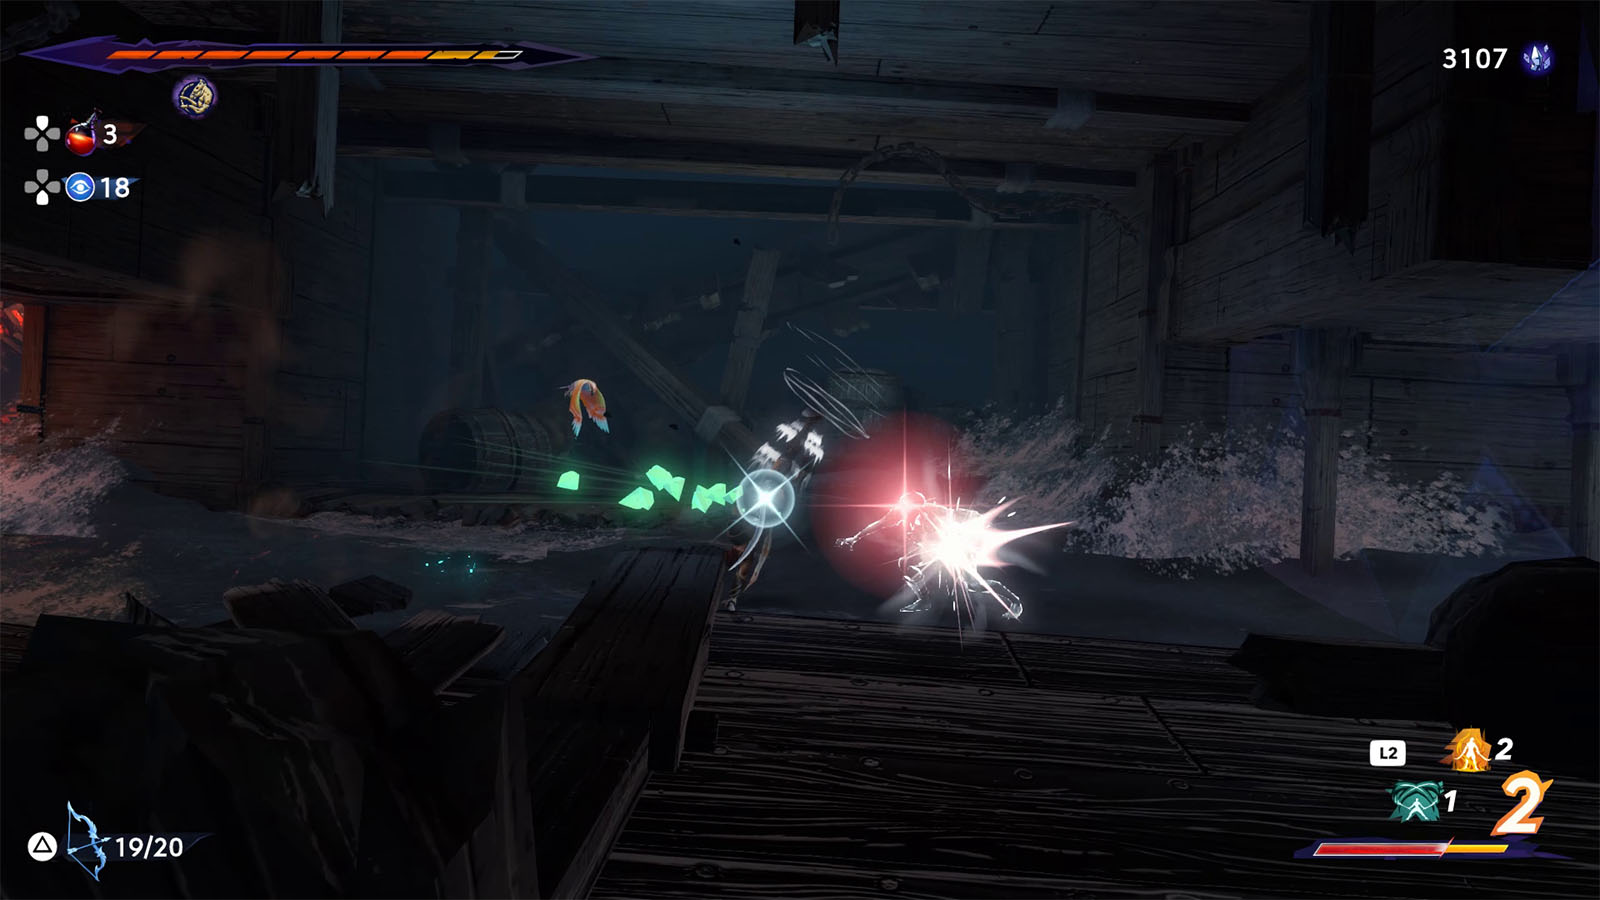
Out into the next area, you will find another Time Orb. Destroying this orb will make the time in the area flow once again. Defeat the enemies that show up, then make your way through the next obstacles. Watch out as you can now drown if you get into the water.
In the next ship that you’ll get into is another chest that contains an Azure Damascus Ingot.
Continue on to the next ship where you will find another Homa Statue and the fourth Wak-Wak Tree for this region. From this point on, you will be facing against Orod, so take the time to revisit some other regions and enhance your gear.
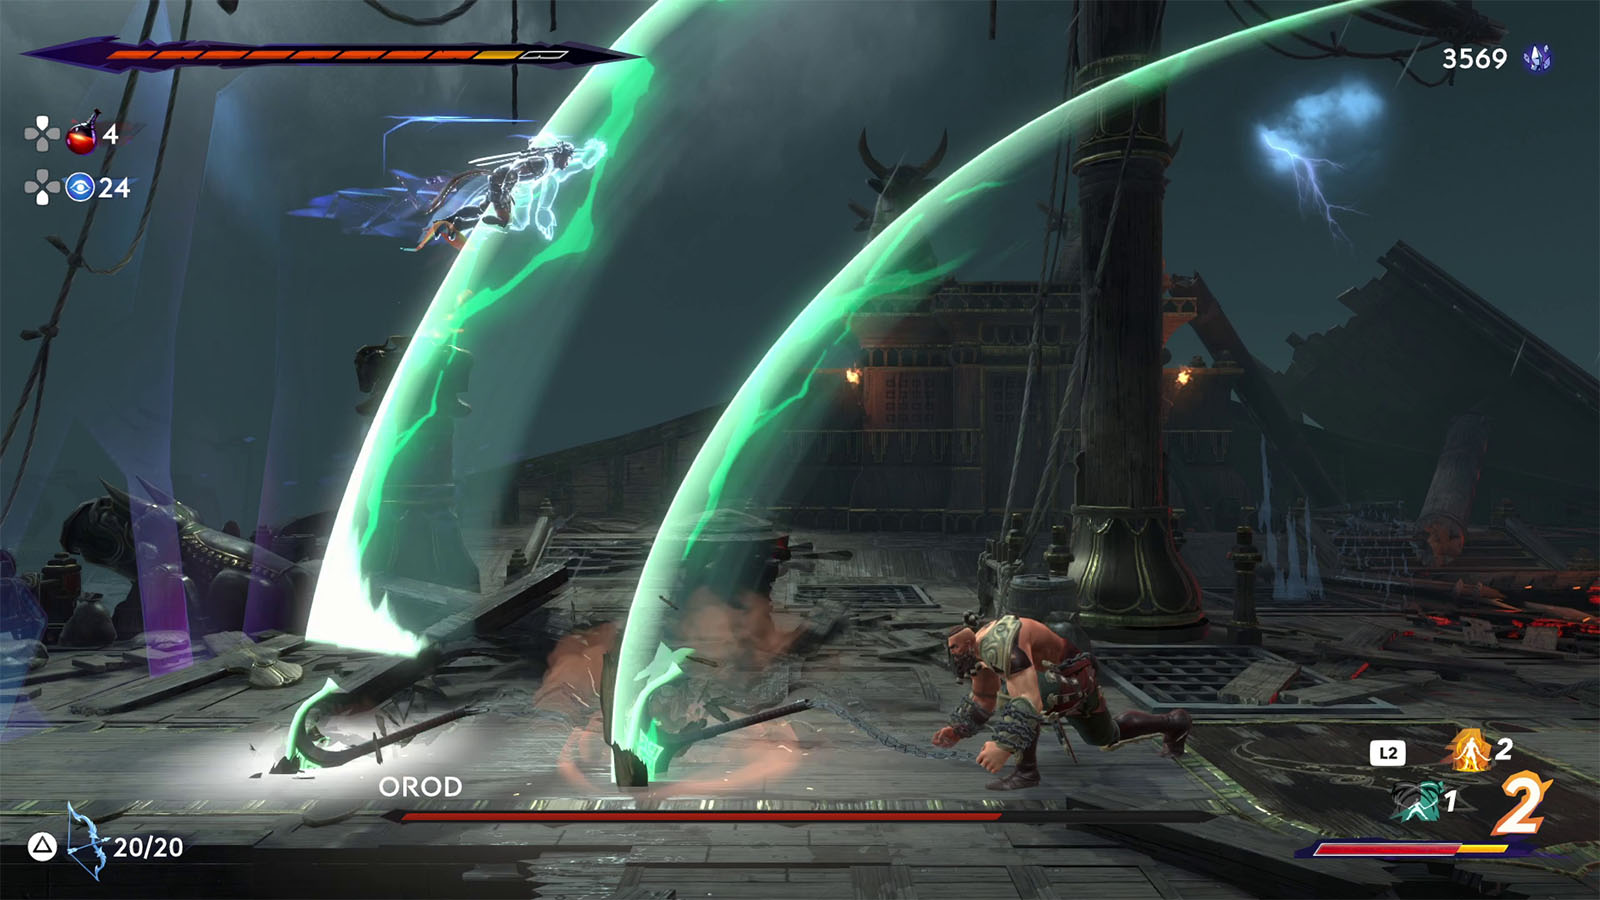
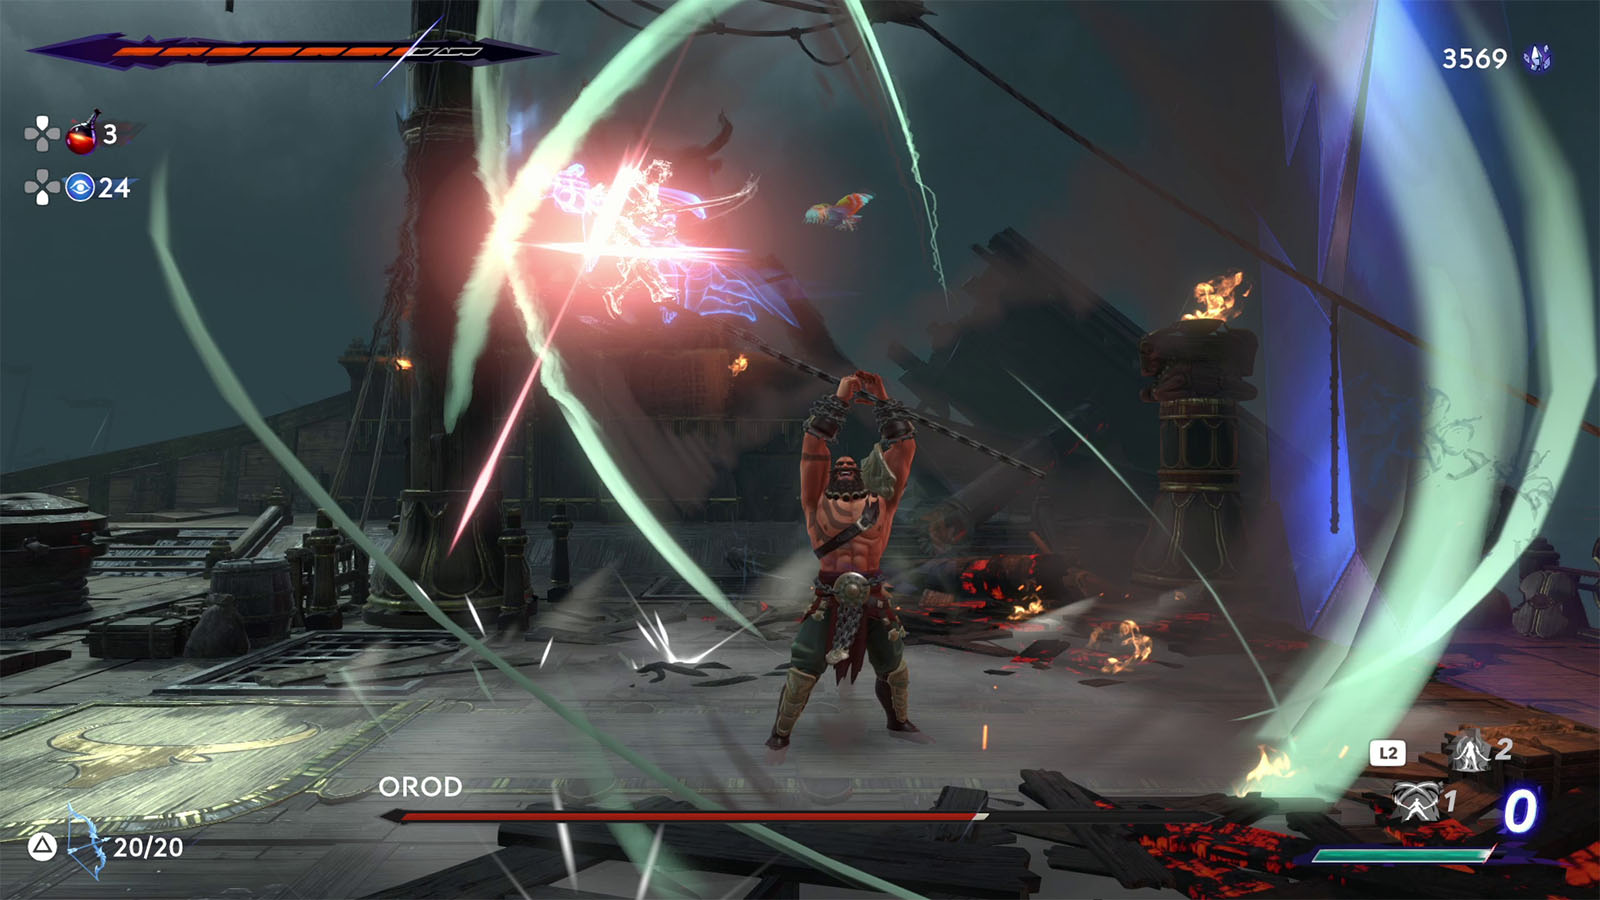
How to defeat Orod, the Storm Master

Orod is the brute among the Immortals who uses his double-ended poleaxe to fight and also has control over lightning. Despite his size, he is agile enough to get from one end of the arena to the other in an instant.

In the latter part of the fight, he can go into his berserk mode where he splits his weapons in two and imbues his attacks with lightning. Getting hit by his lightning causes shock that prevents you from using abilities.
Orod has the following attacks in his skill set:
- Dash – Orod dashes at your direction leading with his weapon. In berserk mode, he leaves a trail of lightning that can
- Poleaxe Throw – Orod jumps high and throws his poleaxe at a curve which then returns to him.
- Throw and Dash – At <75% health, Orod throws his axes towards your direction and pulls himself for a dash.
- Swing, Throw, Slam – At <75% health, Orod swings one of his axes upwards as he floats in the air, throws it down, then slams back down, releasing a wave from both sides. In berserk mode, he summons a lightning bolt on where he lands.
- Tornado – Orod spins and creates a tornado that splits into two tornadoes that go towards the sides of the arena.
- Spin, Slam, Pull – Orod spins his axes then slams them to opposite sides before pulling them back.
- Flurry – Orod spins his axes around him which can hit you multiple times when caught.
- Spin Special – Orod goes to the middle and whips out his axes twice, covering the entire floor of the arena. If caught, he will then throw you upwards and slam you to the ground, causing massive damage.
For this fight, it is recommended to have Bahman’s Breath for survivability and another ability of your choice. As for the amulets, go for the Wolf-Bride, Will of Rostam, and the Thunder Charm. You can also go for either the Mount Damavand or Dragon King if you need extra help with survivability. Upgrade your swords to at least +2 and your quiver to hold 20 arrows.
Orod’s wide and fast attacks will leave you little room to move to, so you will have to act quick. His Tornado attack can be evaded with your chakram by throwing it through the tornado and teleporting to it. As for his Spin Special, take note that he spins twice. You can evade both spins effectively by jumping on the right time and suspending yourself by shooting arrows downwards. Two arrow shots per spin should be enough and a 20-arrow quiver will last an entire fight if used correctly.
Orod often evades at the right time too, so time your special abilities properly and use them when he’s just about to recover from an attack.
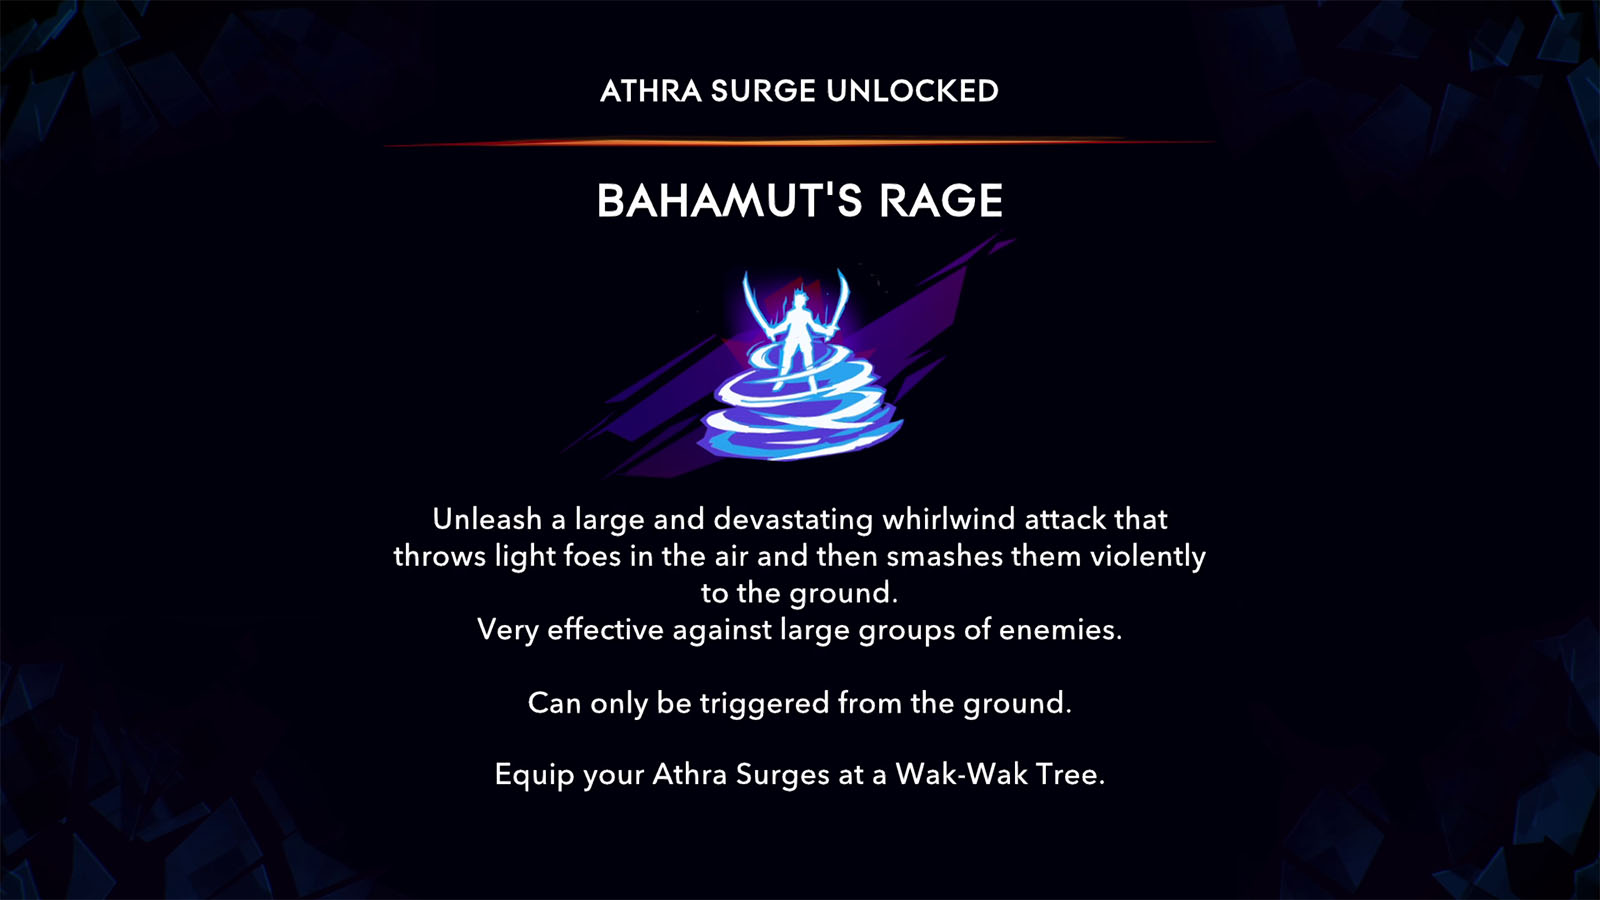
After defeating Orod, you will be able to absorb the Bahamut’s Rage Athra Surge.
You can then proceed to the circle, pick up another Soma Tree Petal along the way, and call upon Tascheter. Doing so will complete the entire chapter and update your objective to head over to the Celestial Alter in the Upper City.


