
The Darkest of Souls is the fifth chapter of Prince of Persia: The Lost Crown. Sargon must now venture deeper into the Pit of Eternal Sands to find the Darkest of Souls as part of the quest to acquire more of the Simurgh’s power. Read ahead as we go through the events of The Darkest of Souls in Prince of Persia: The Lost Crown and share some tips, locations of collectibles, and other helpful tricks to complete the chapter.
See previous: Chapter 4 – The Path to the Sand Prison
Chapter Objectives:
Find the Darkest of Souls
As you arrive at the Pit of Eternal Sands, your next objective is to go deeper into the pit. However, the path up ahead has more seals that you have to destroy before you can get to the Darkest of Souls.
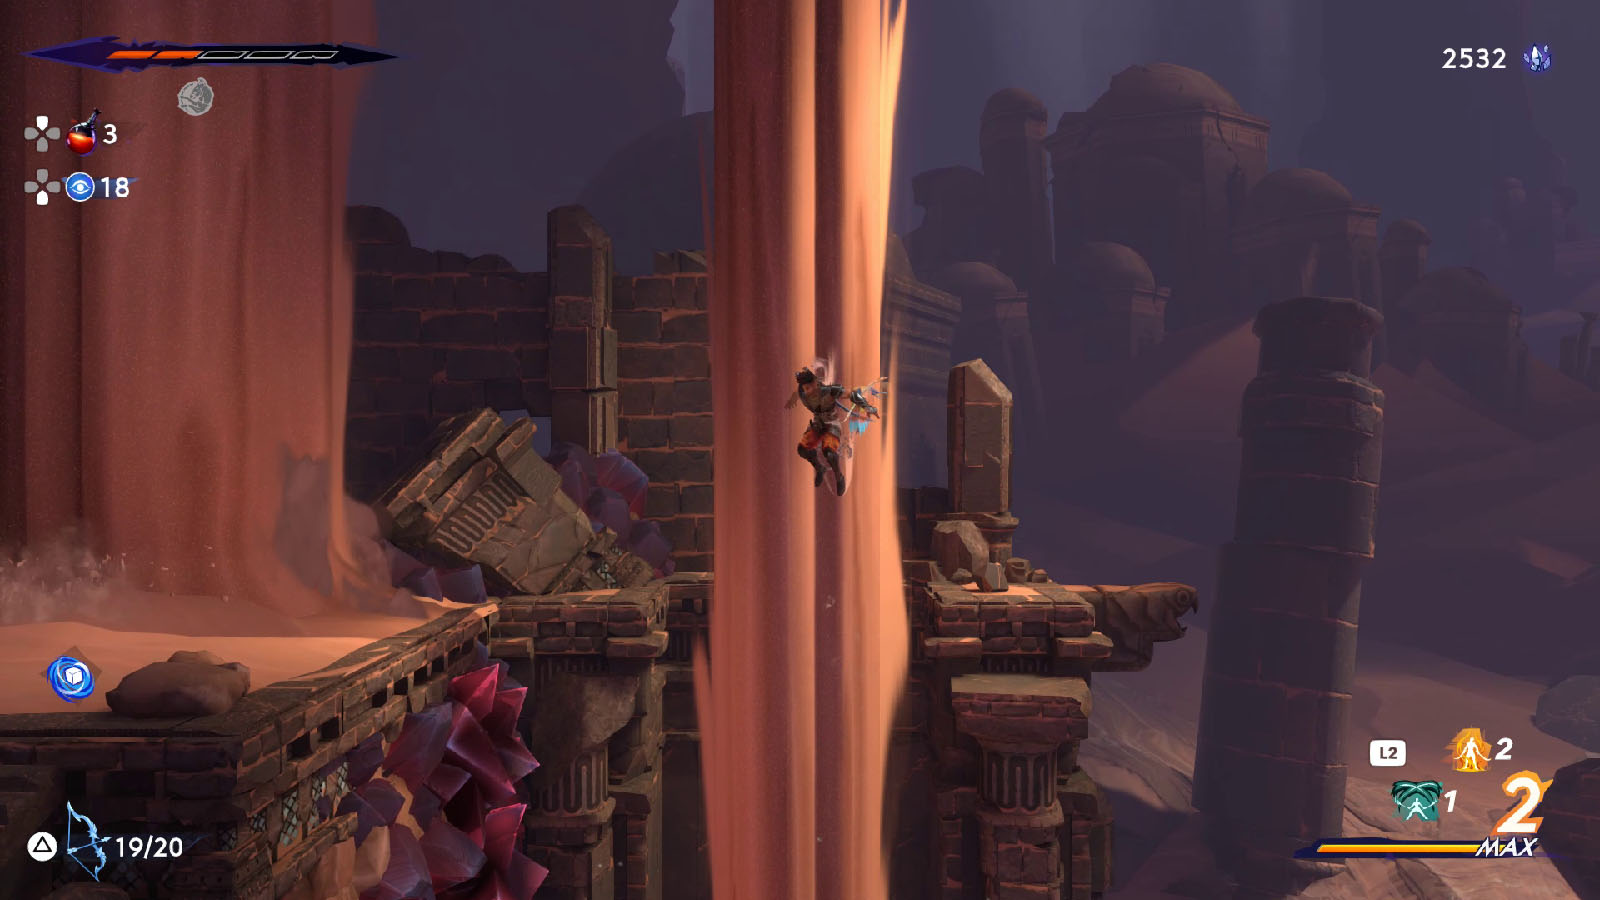
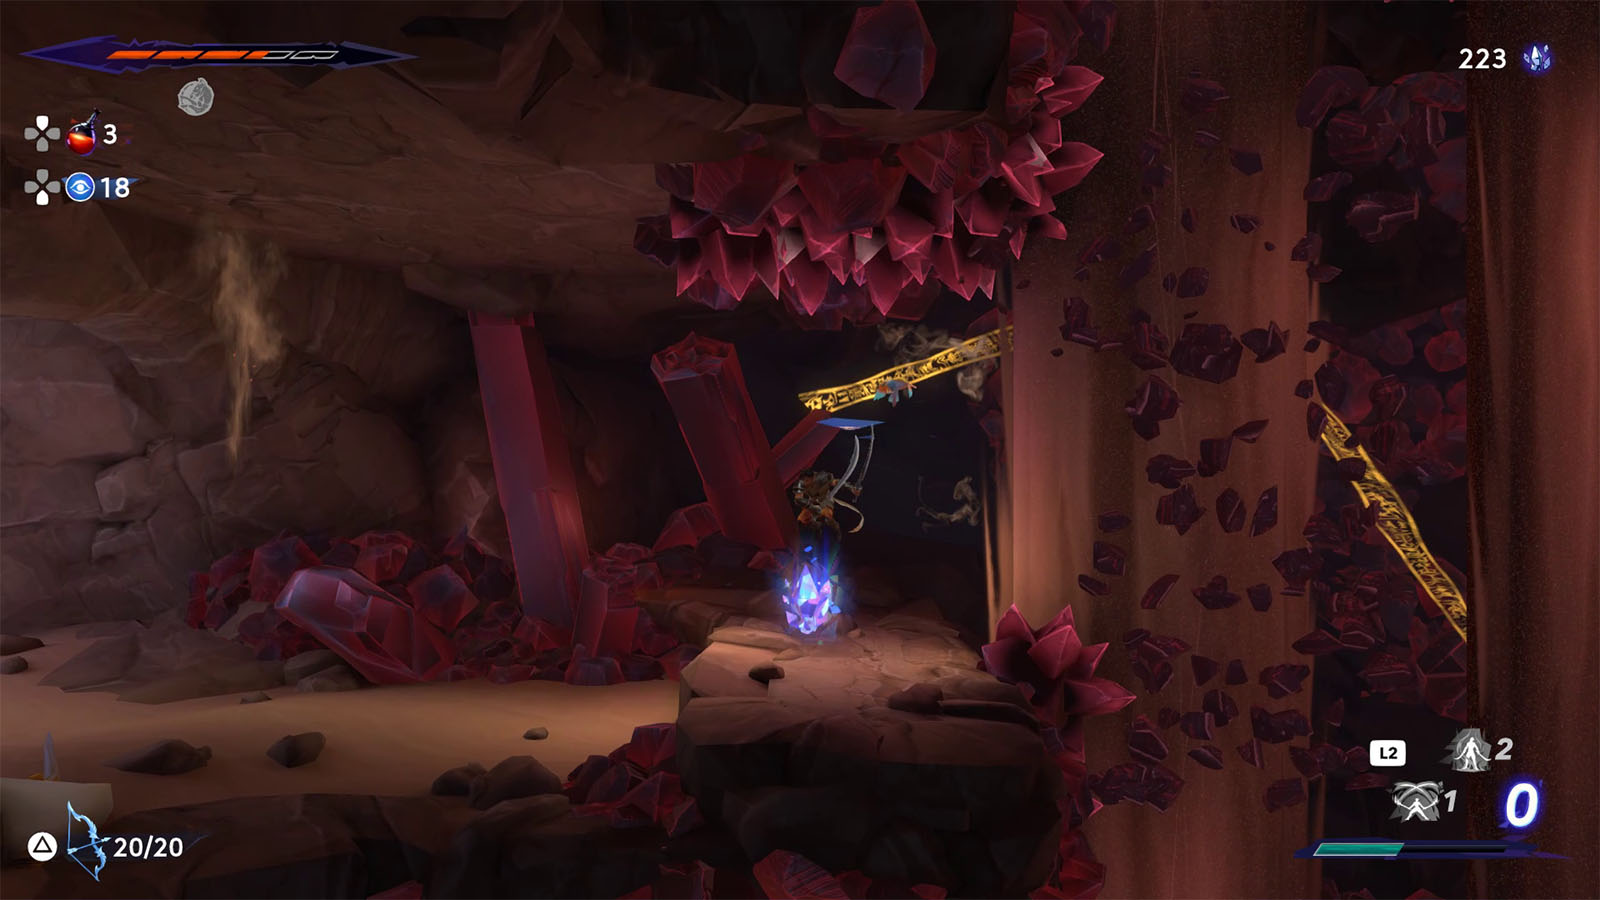
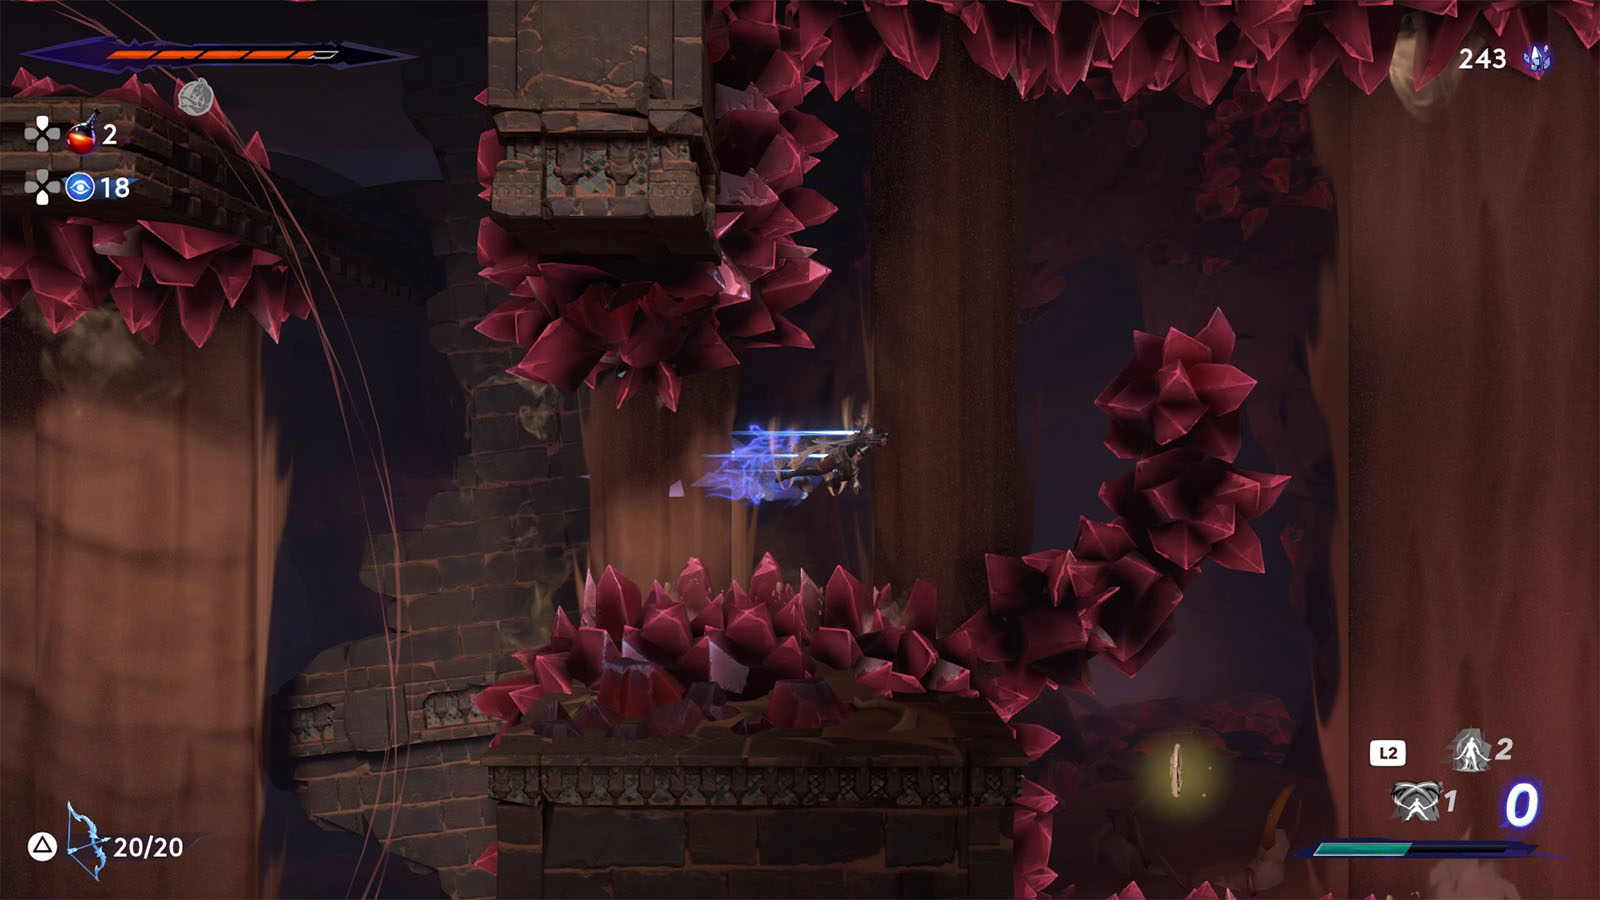
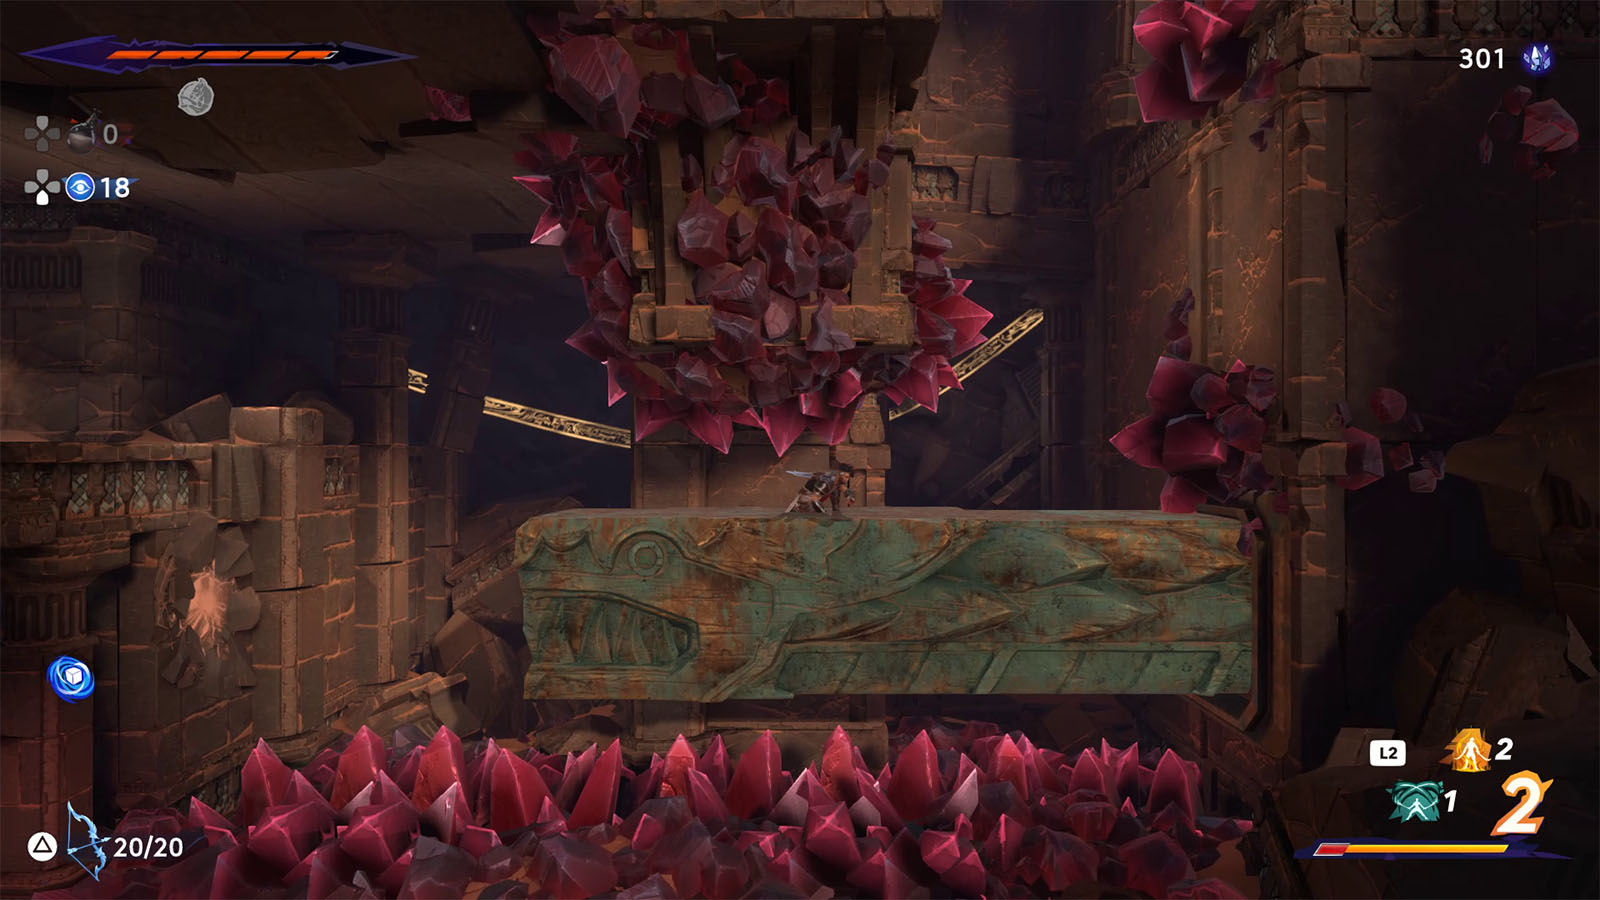
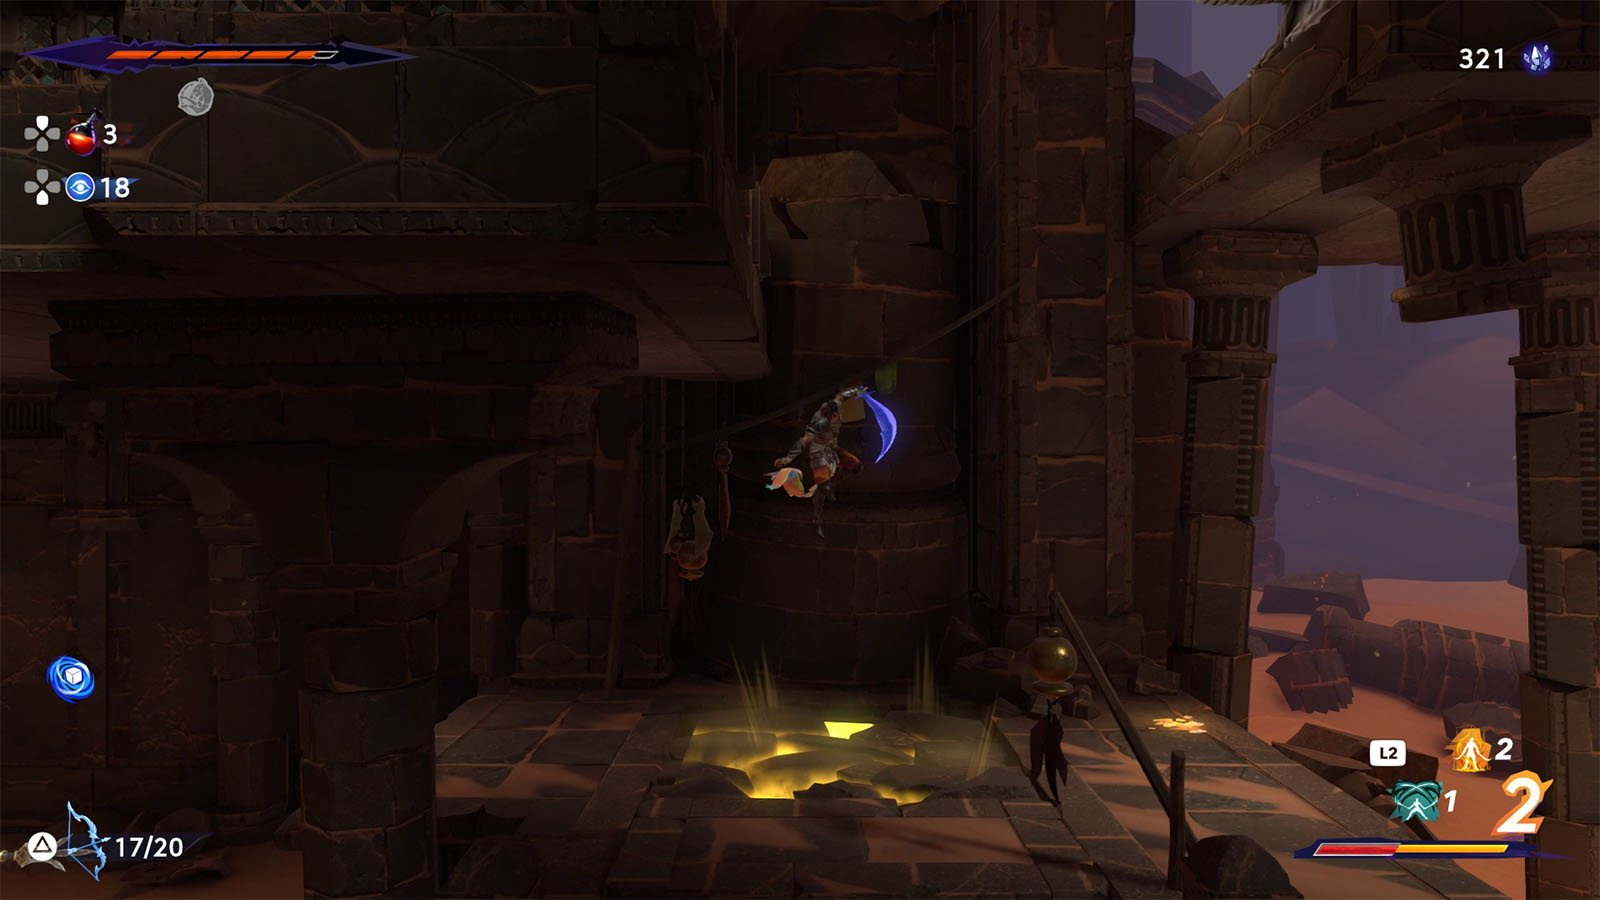
Start with the west path for now which is the closest one. Down here, there are sand pillars that go upwards. You can repeatedly jump up these pillars to get up to a higher level. You can also use these pillars to soften your landing.
There are also red crystals that line up most of the caves in this area and they inflict contact damage. If you take damage from these crystals during your traversal, you will be sent back to the last solid ground you stood on.
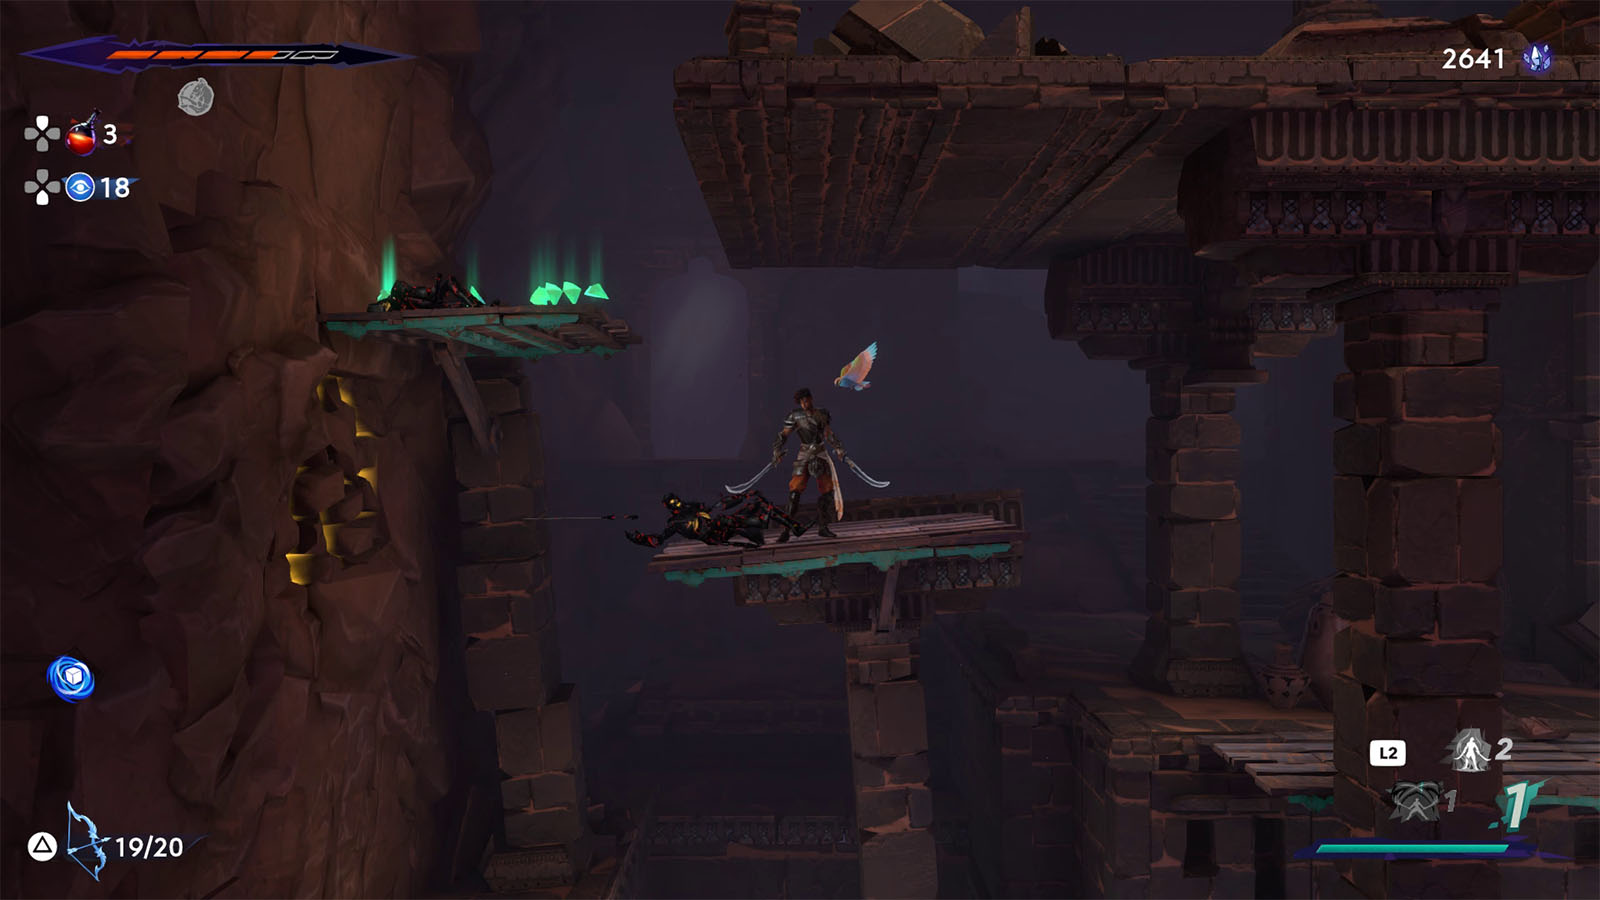
Navigate your way through the pillars and crystals until you reach the next safe ground. Eventually, you will encounter one of the common enemies in the pit. This enemy has the ability to summon a spear that flies in reverse and goes towards it instead.
The next area leads to the nearby Wak-Wak Tree. You will also encounter another type of enemy that has the ability to summon daggers and rocks around it.
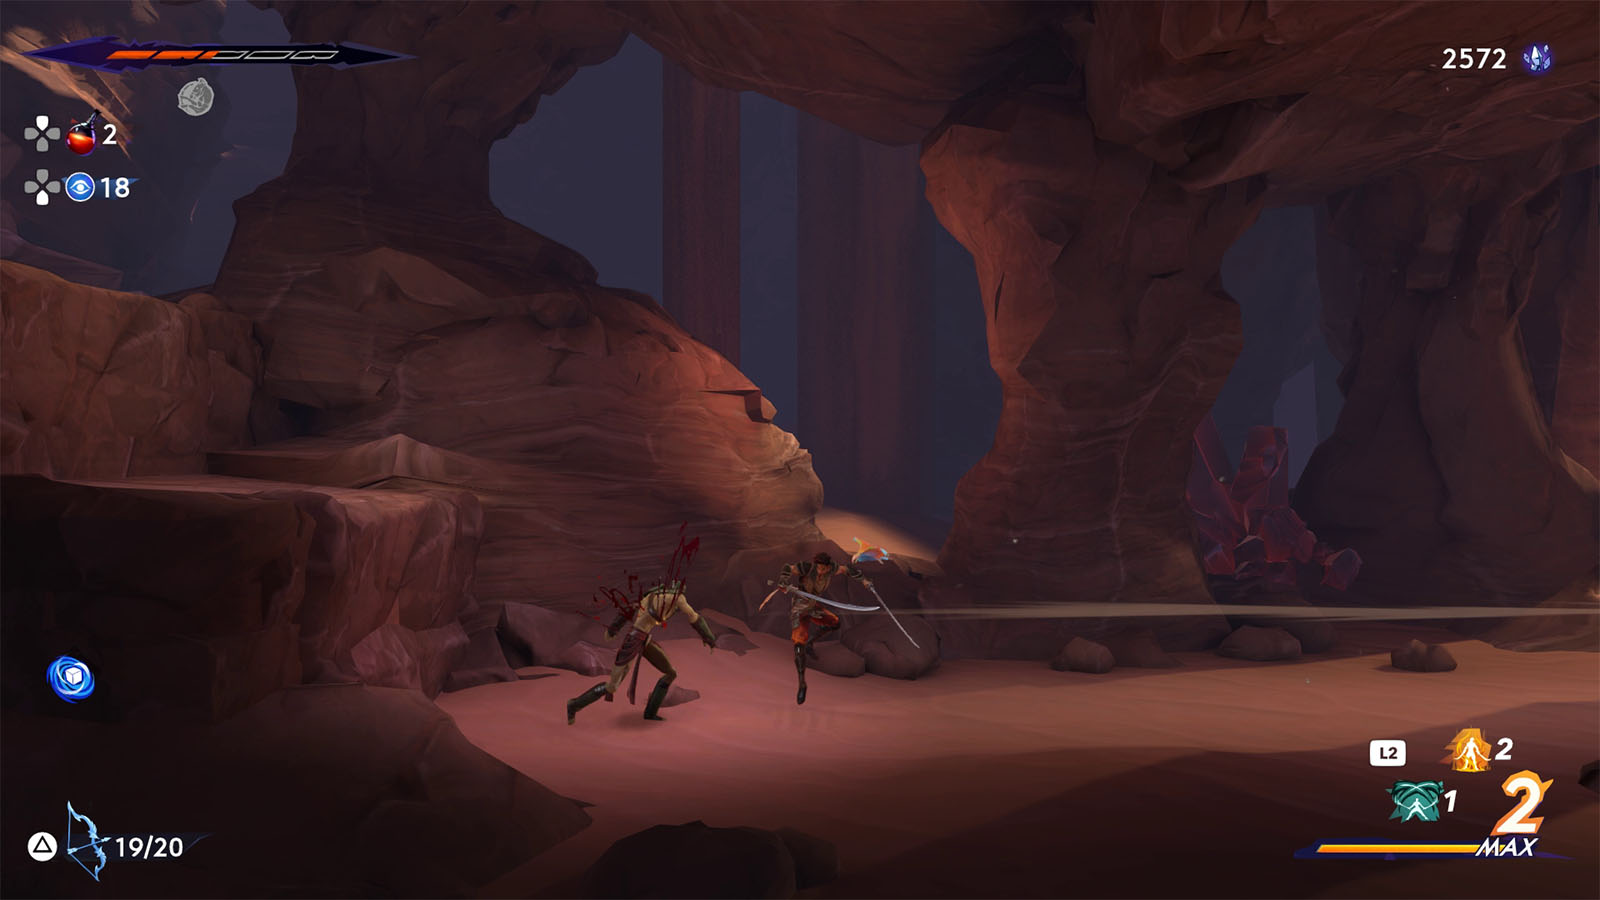
From the tree, take the path that goes down and defeat the enemies that you will encounter. Look for glowing boulders that you can grab with your Dimensional Rift and use it to break the rubble on the left wall. This path leads you to a fight against another Alternate Sargon.
How to defeat Alternate Sargon #5
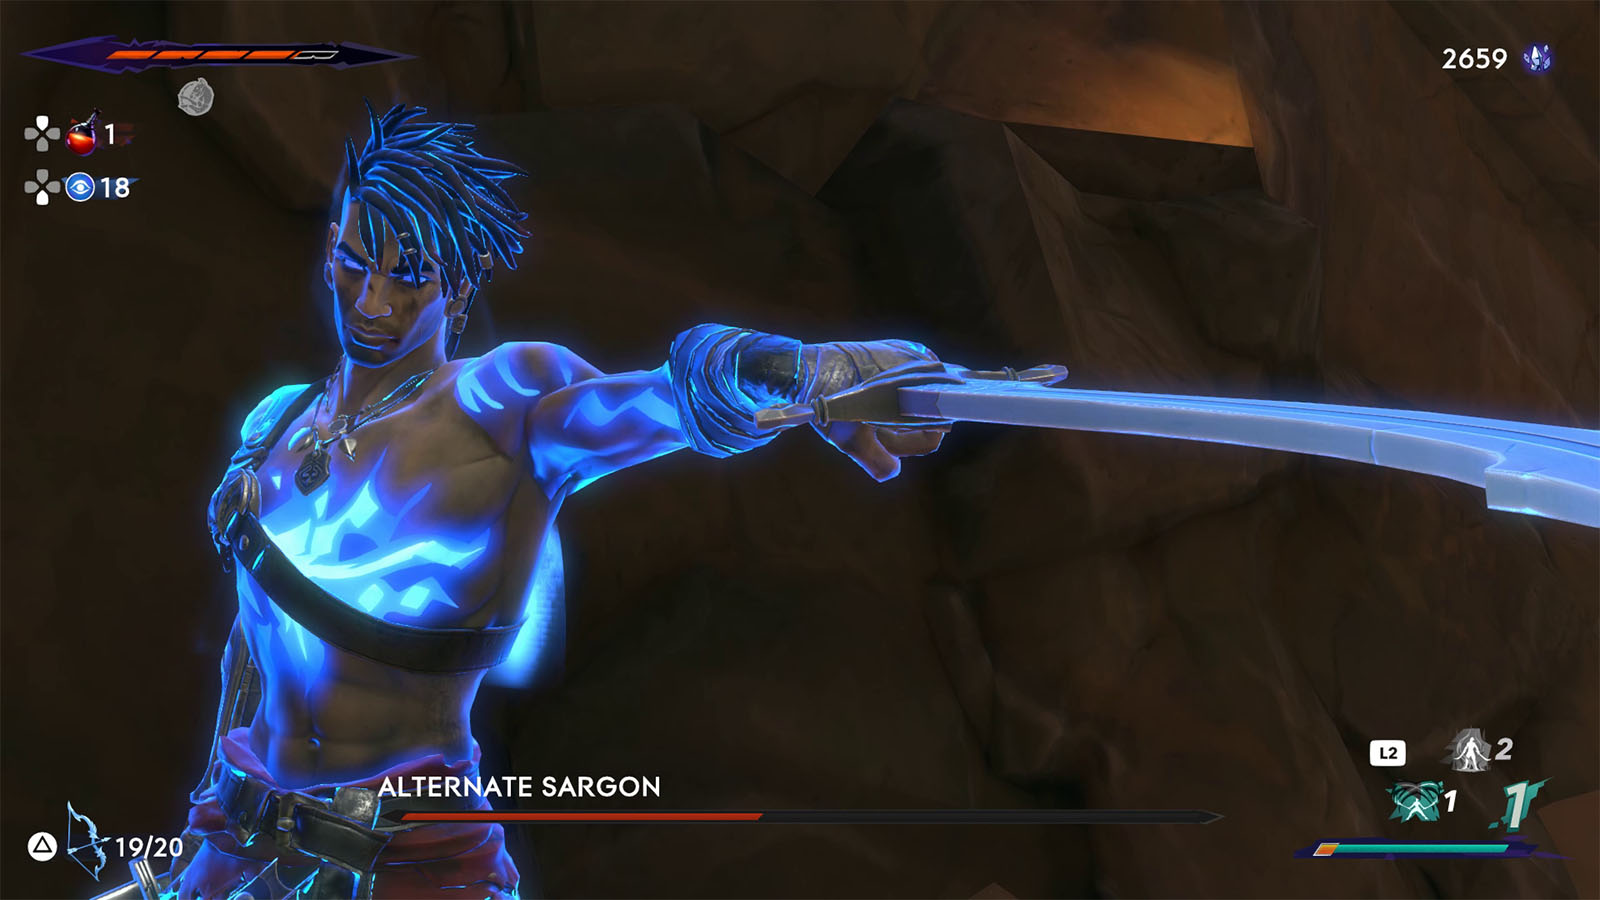
This Alternate Sargon is more ruthless than the previous ones. Not only does it have the ability to blink and reappear at a different area, but it also has the Soul of Gilgamesh ability which buffs its speed, attack, and defense.
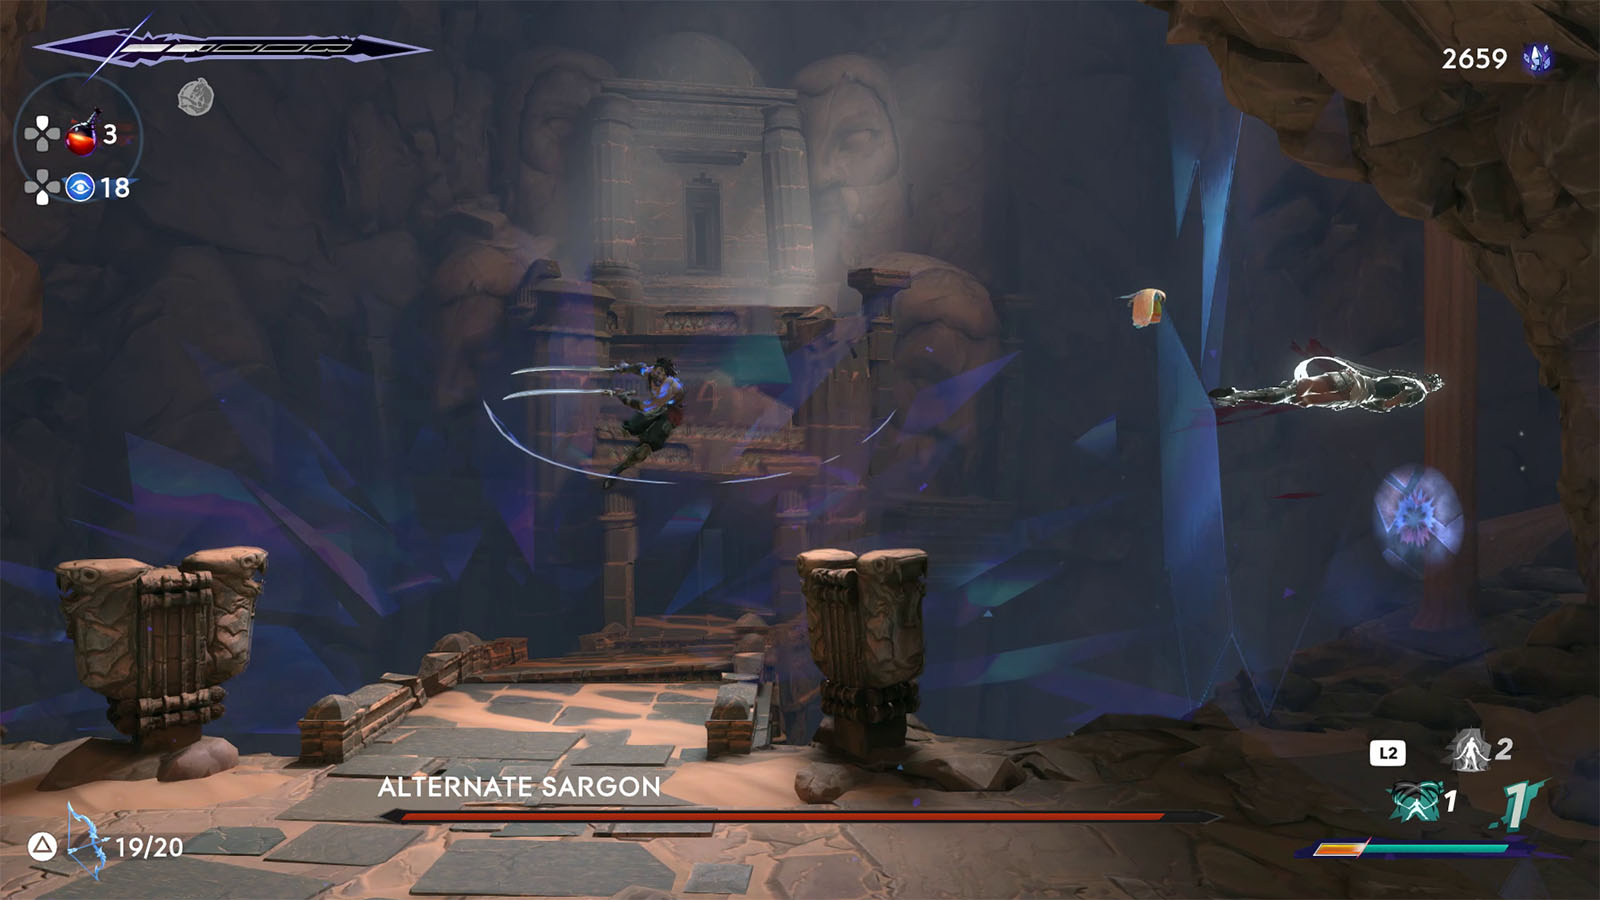
Focus on parrying and getting an opening, then try to juggle the Alternate Sargon in the air to keep it from being able to attack back. Be on the defensive especially when it pops its ability.

Once the Alternate Sargon has been defeated, you will be rewarded with 180 crystals and be able to absorb the Soul of Gilgamesh.
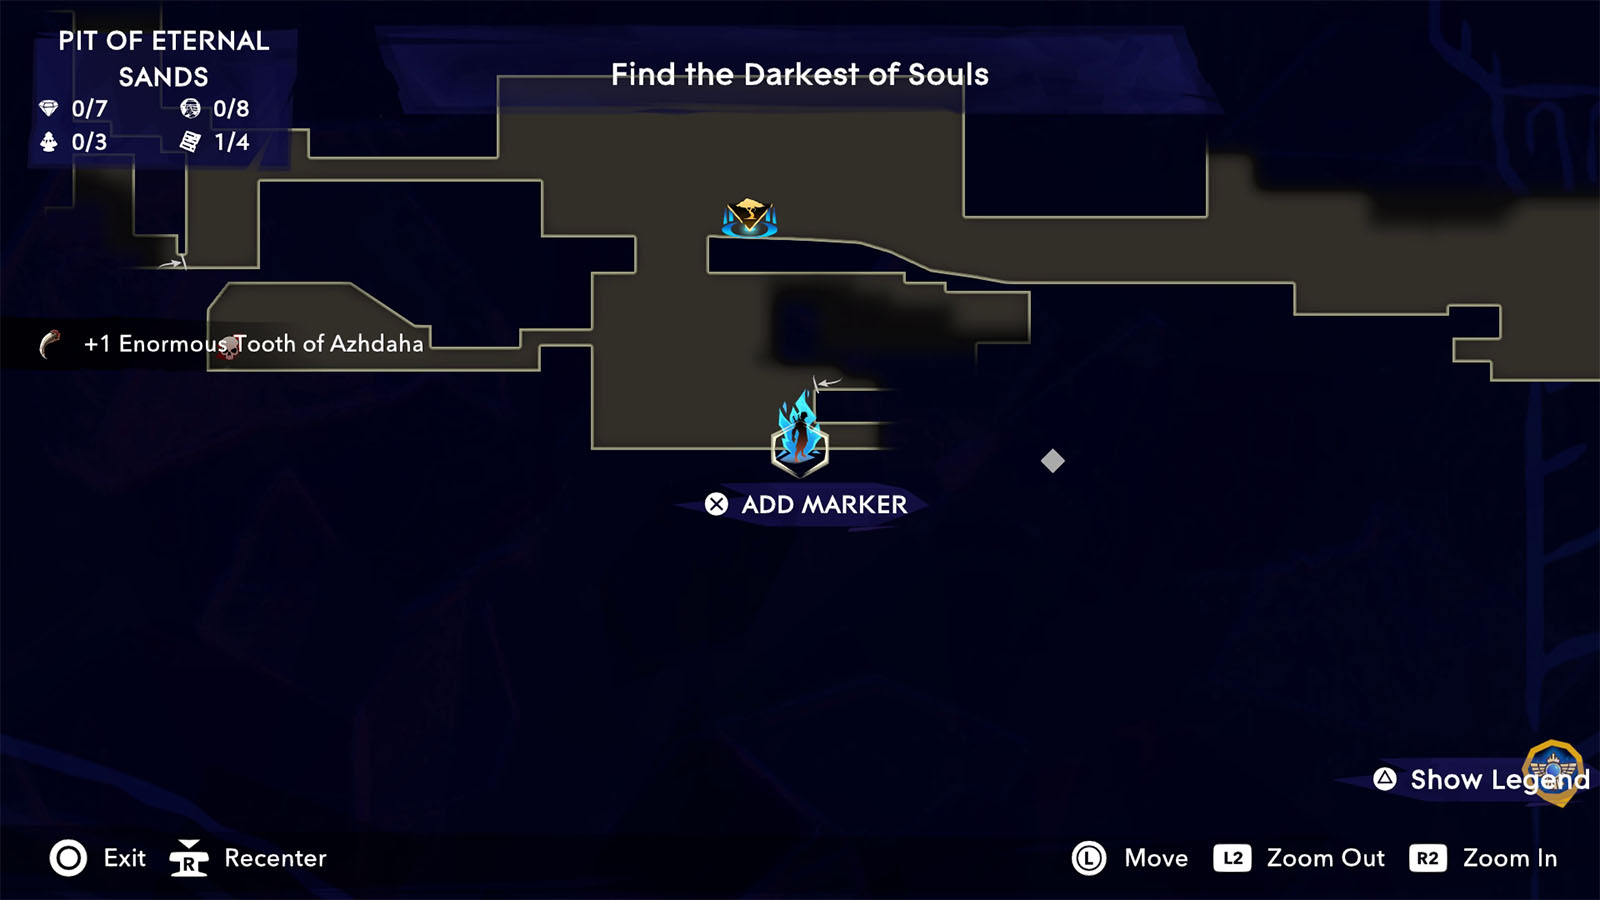
Head back out to the main path and go down to where the crystals are. Slip under the wall to the right to find the Collectible – Enormous Tooth of Azhdaha.
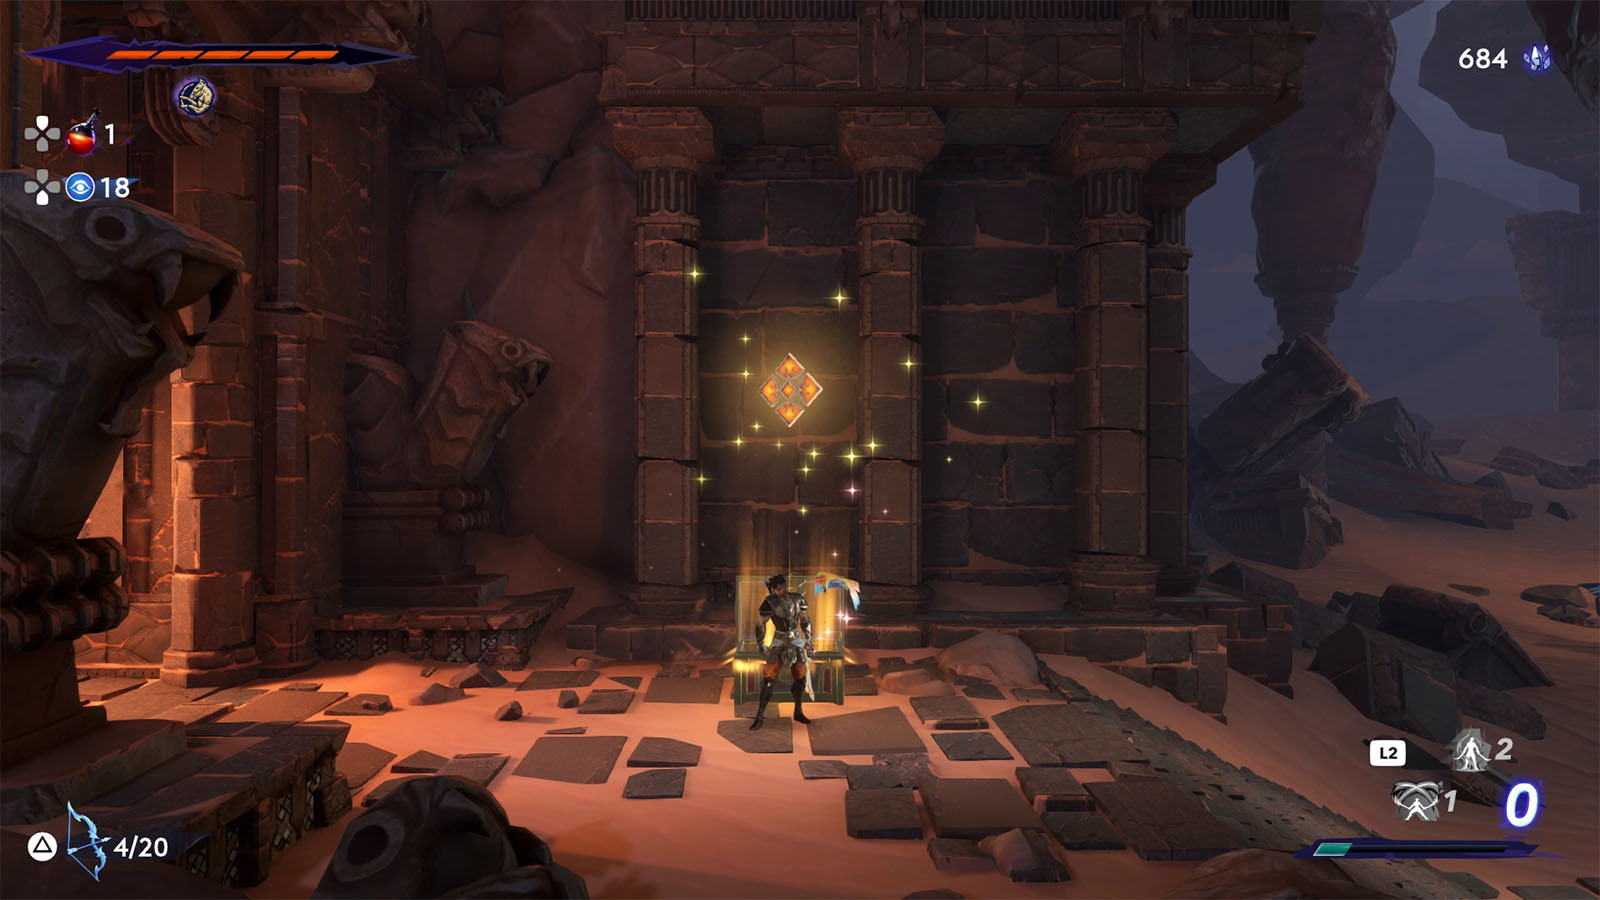
Head up the next level for now and go around the room with the gate. Break the rubble on the other side and defeat the enemy, then you can get the chest to find an Azure Damascus Ingot.
Follow the path to the lower right side to get to the next area. From here, go all the way down and go to the east path. Follow the breeze that leads to the next tree.
You will come across a platform leading down where the breeze is headed. Before going down, head to the left wall and break it to find a hidden room. Inside the room is another Spirited-Sand Jar. There is also a shortcut you can open on the upper left corner.
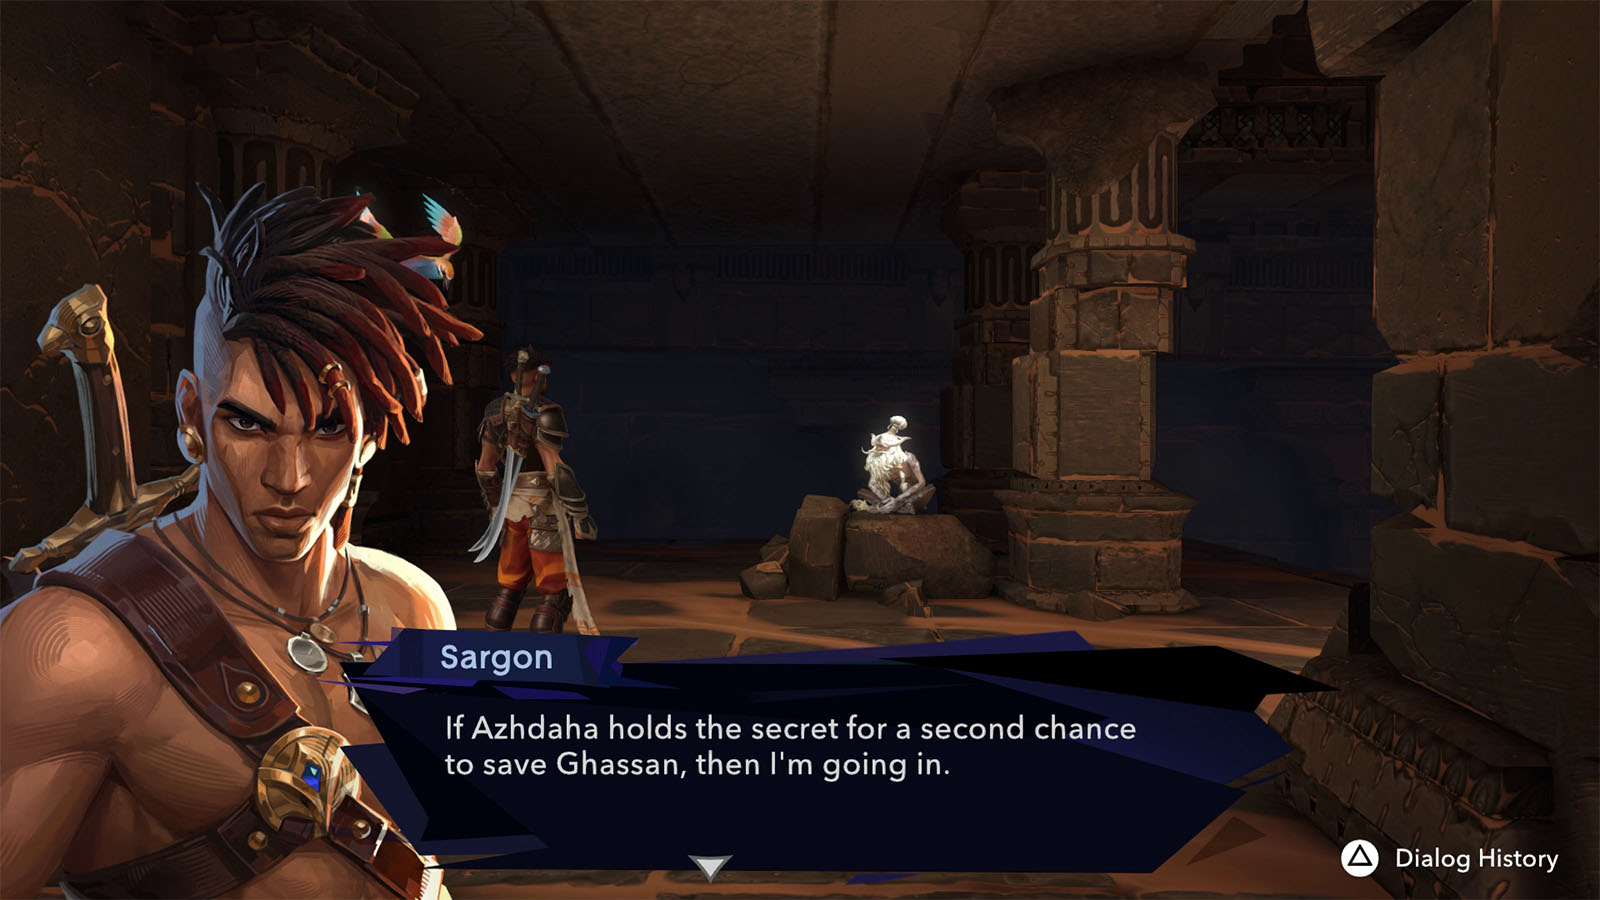
Follow the breeze again and you will meet Alkara along the way who asks you again if you are determined to fight Azhdaha.
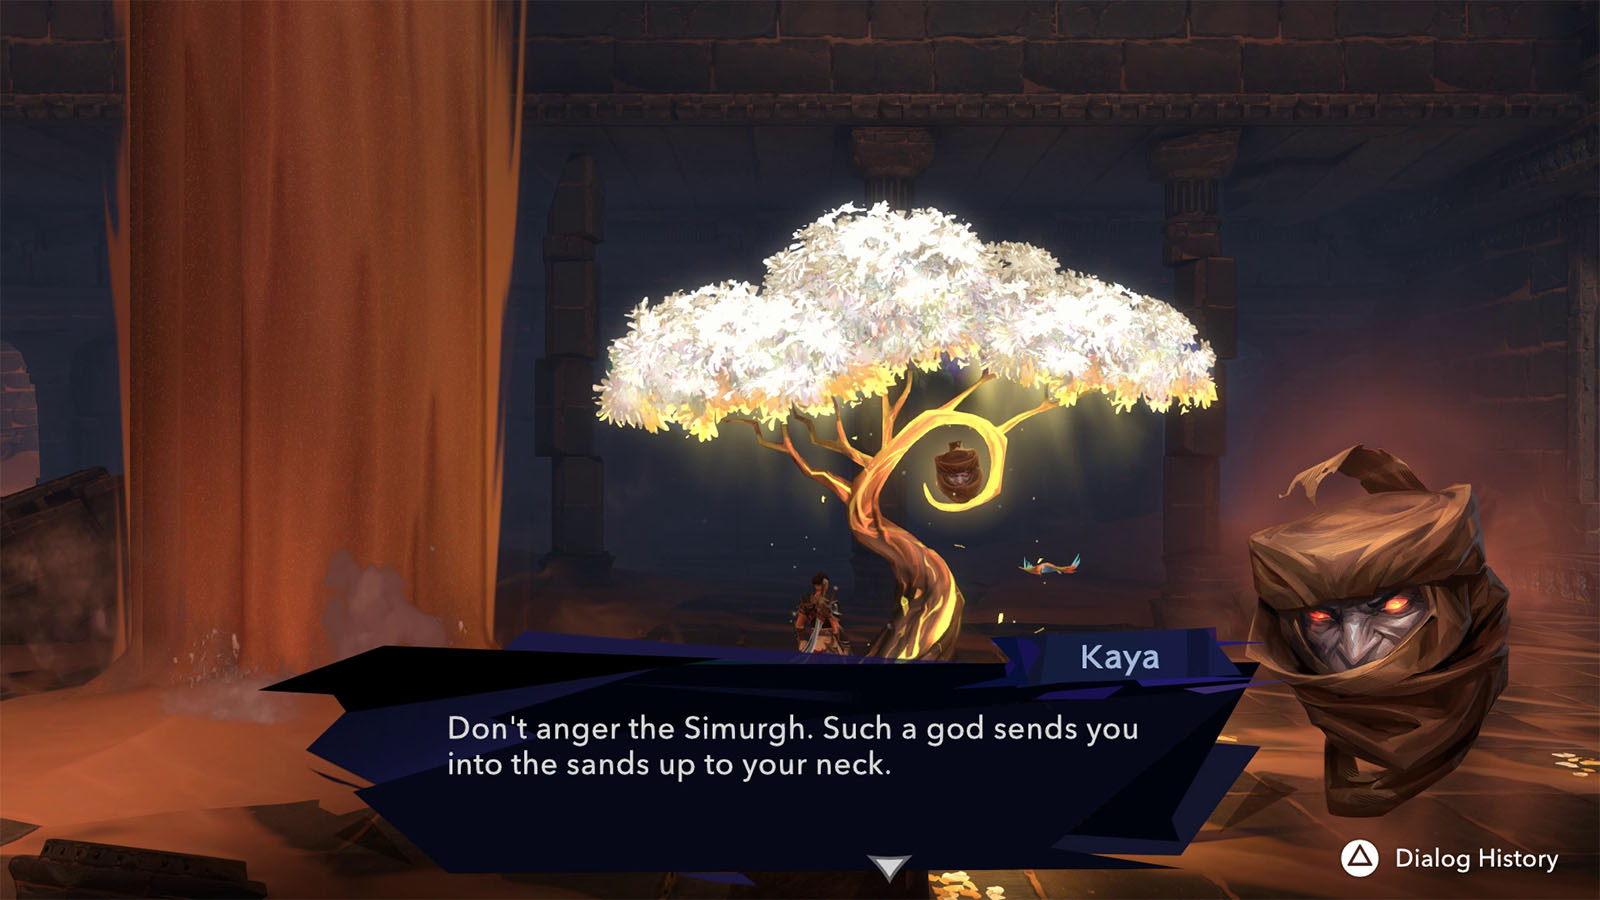
Continue heading down to reach the tree and the next Homa Statue.
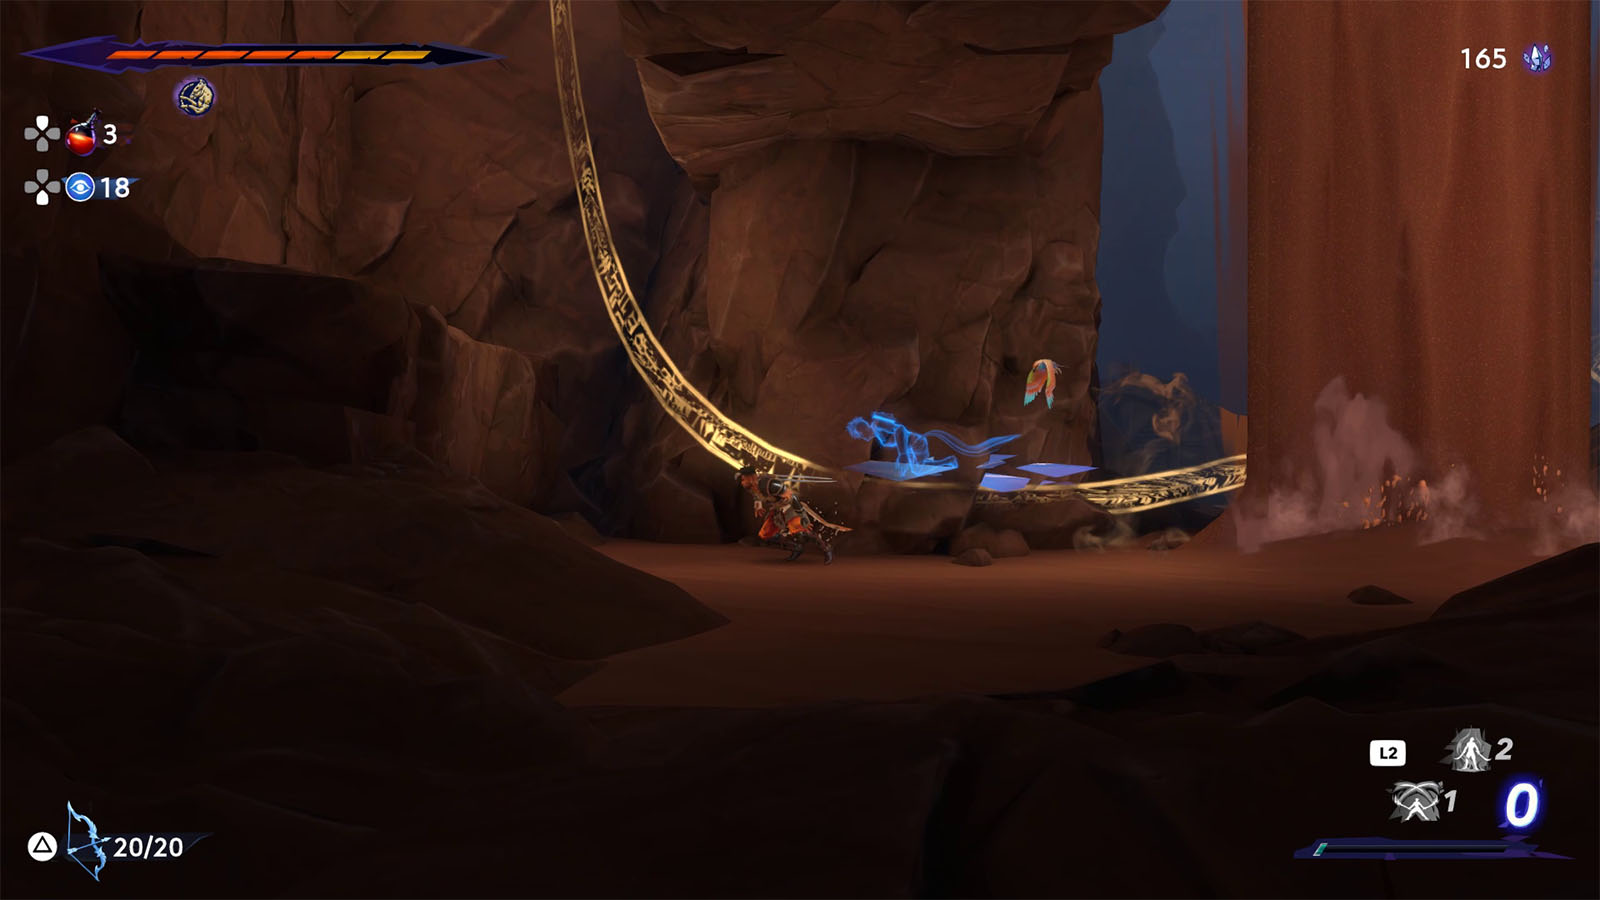
From this huge chamber, take the pillar on the west side and go down to the bottom to find a strand of the seal. Following this strand as it goes up will lead you to a crystal cave.
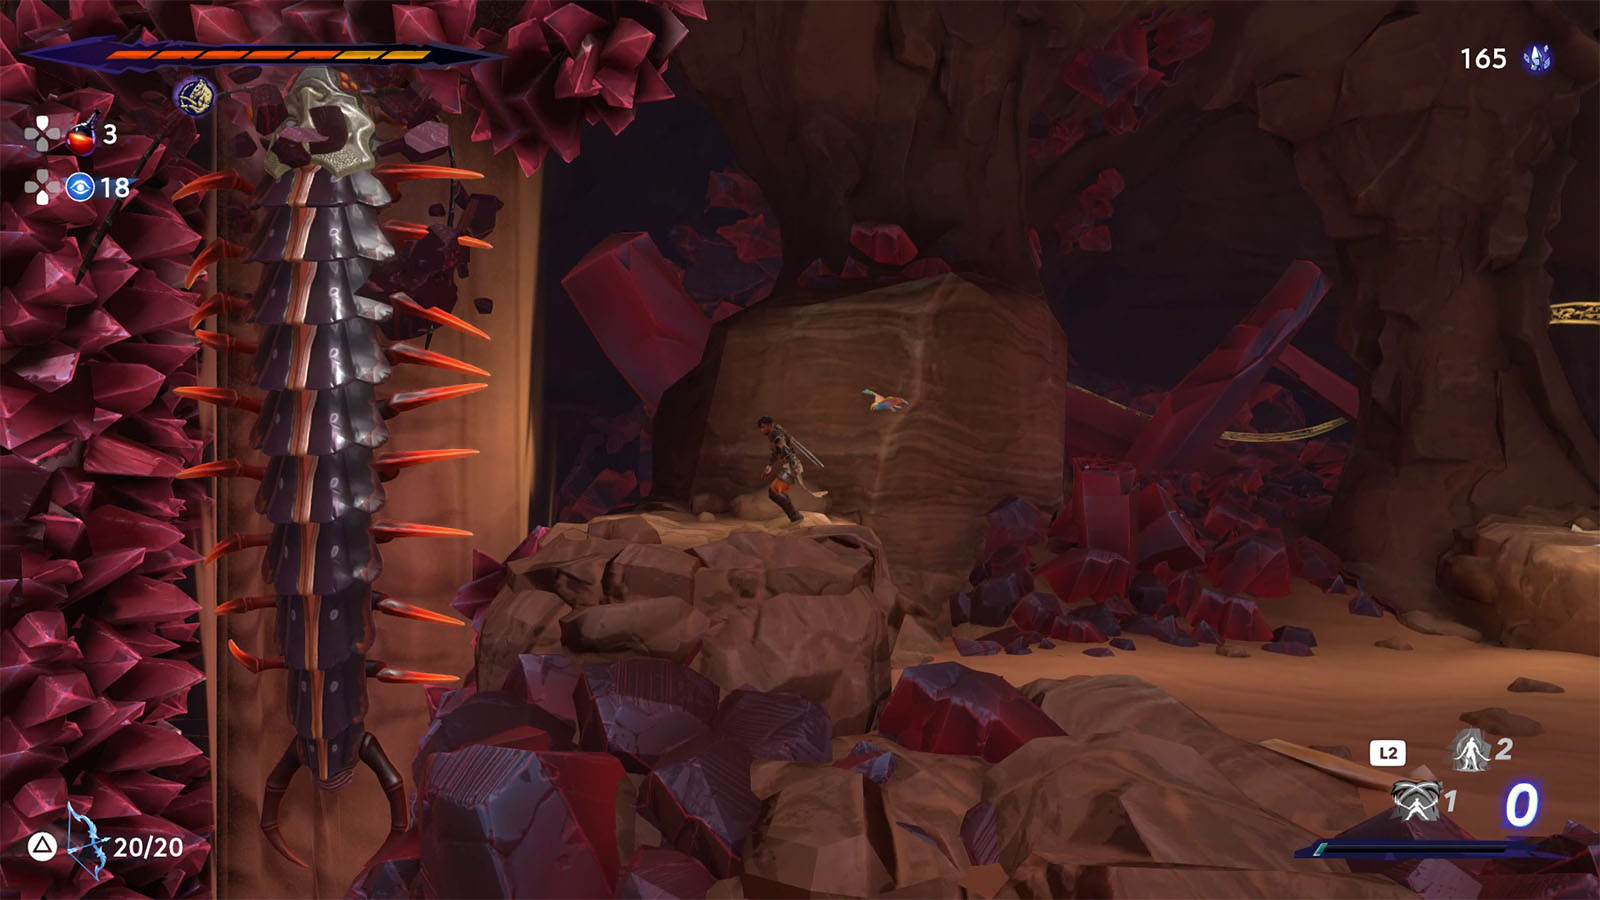
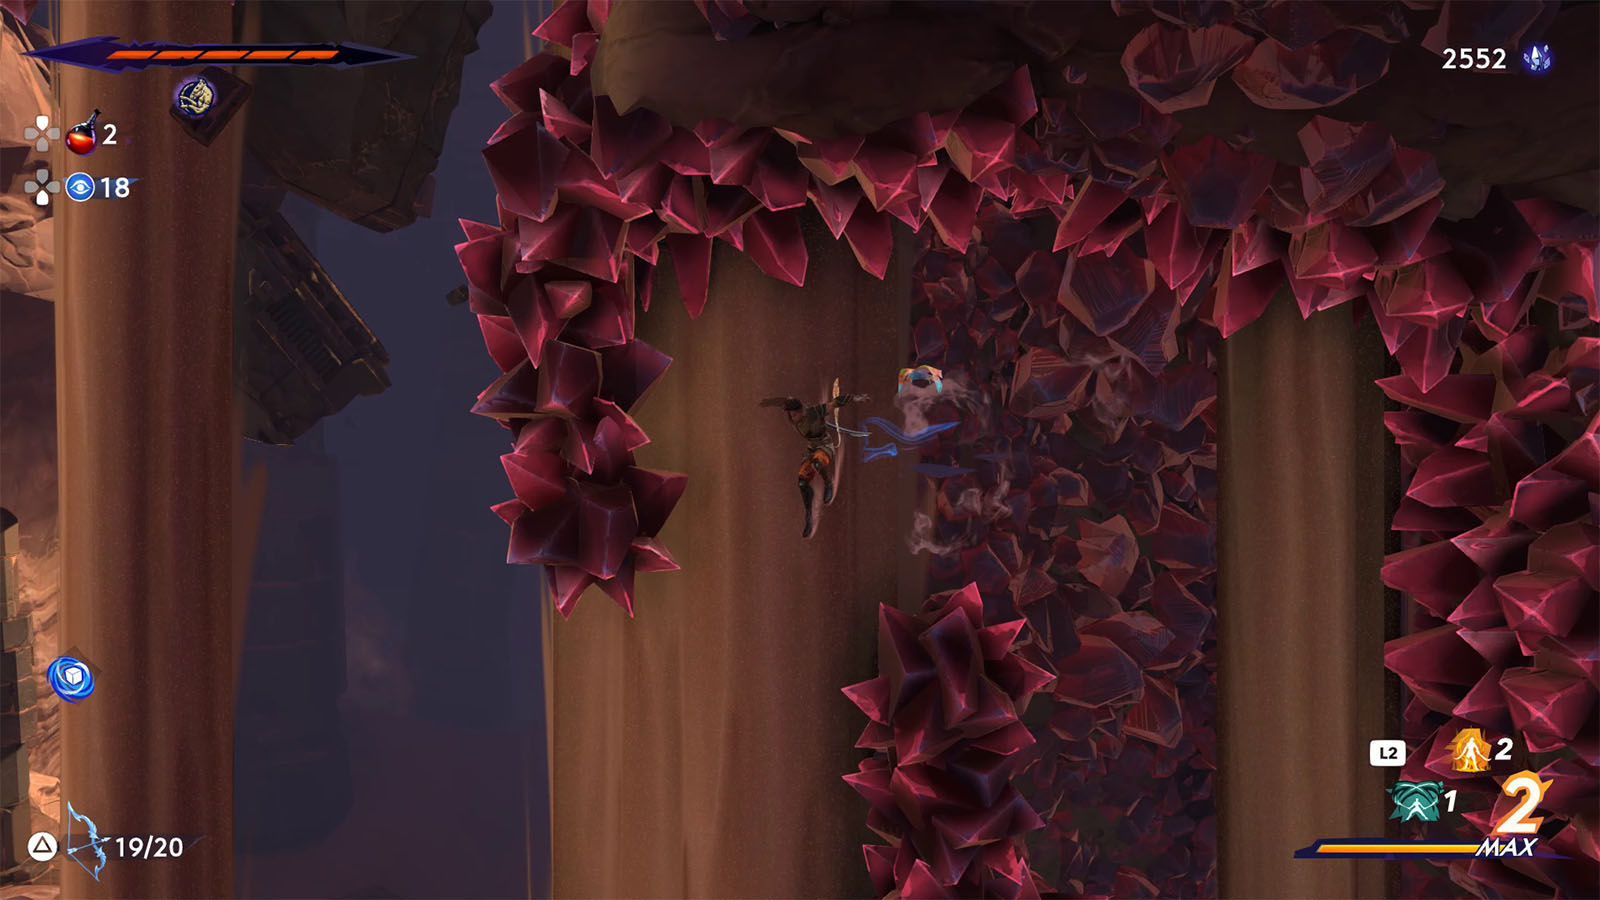
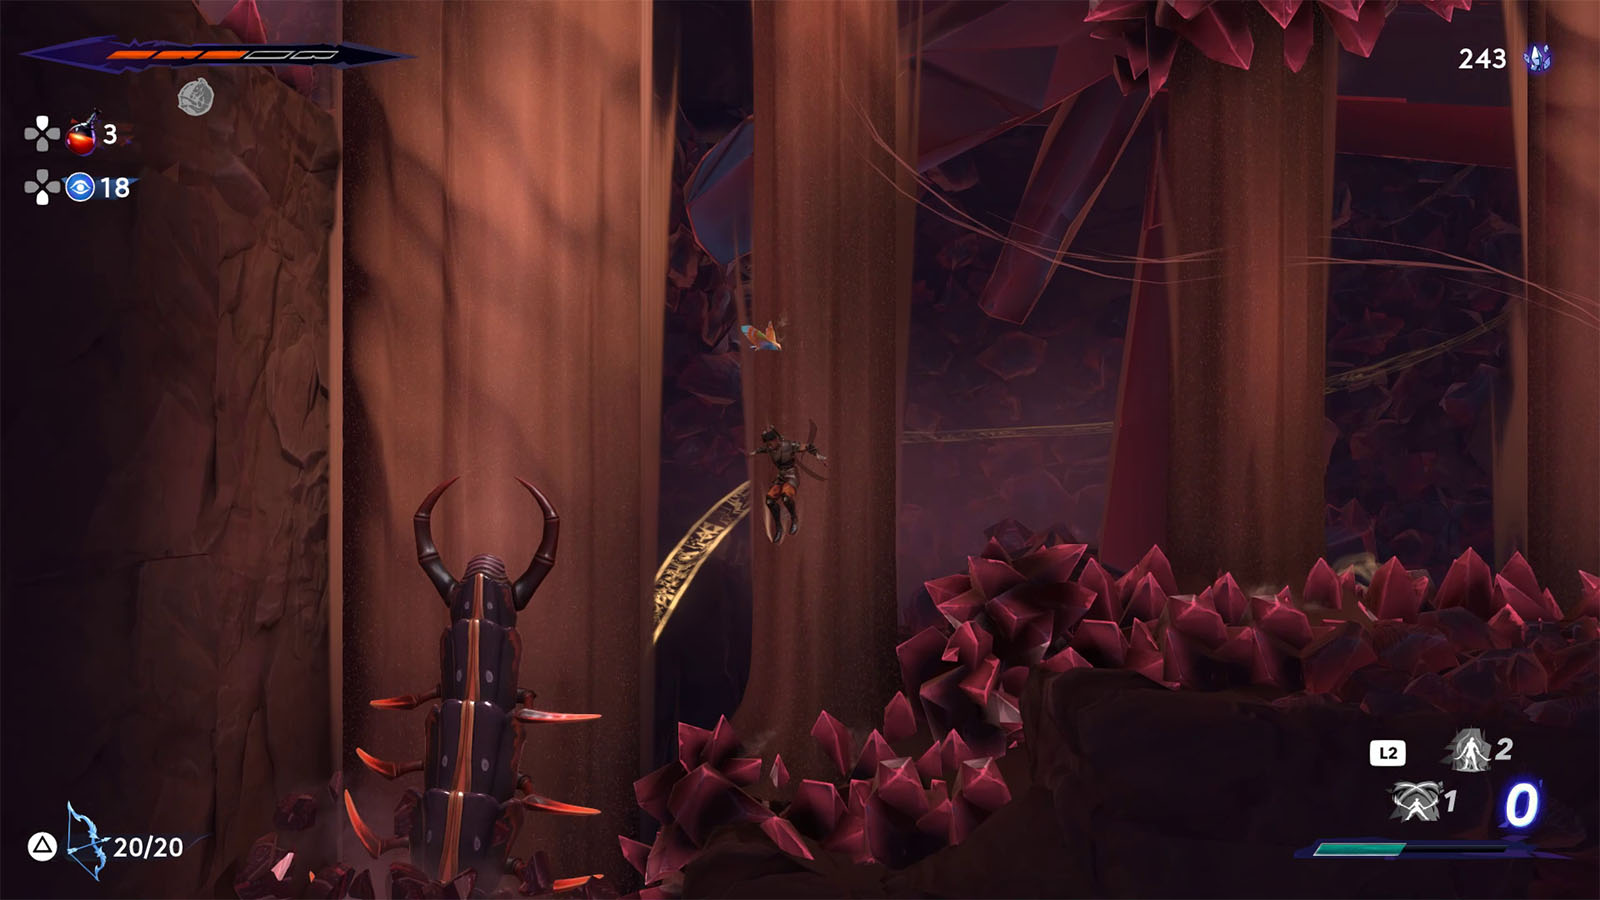
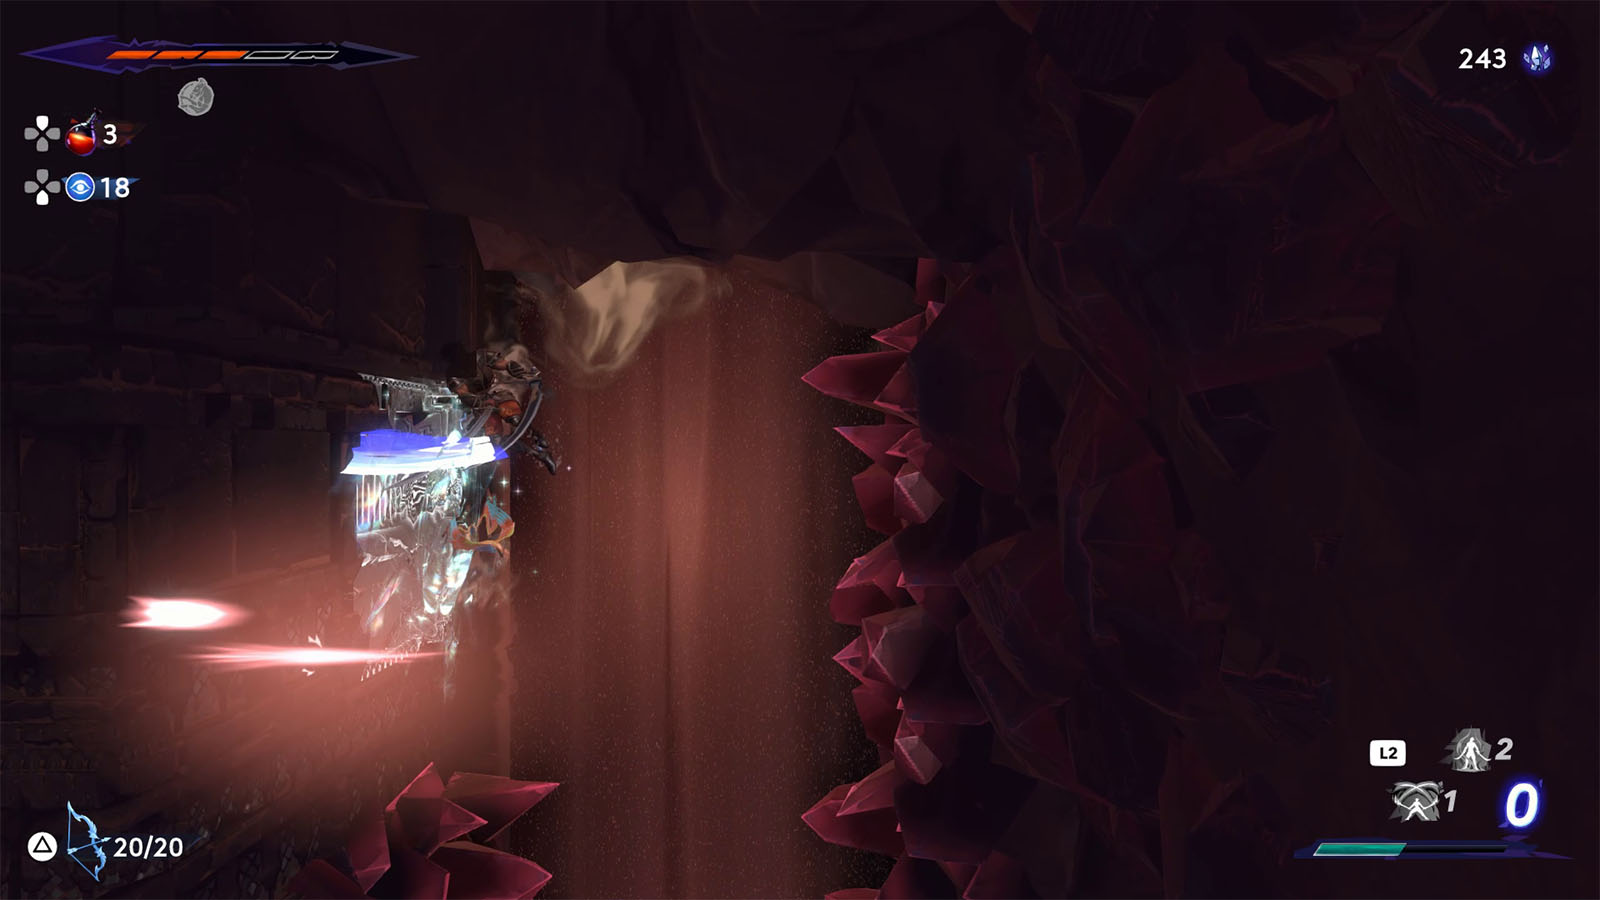
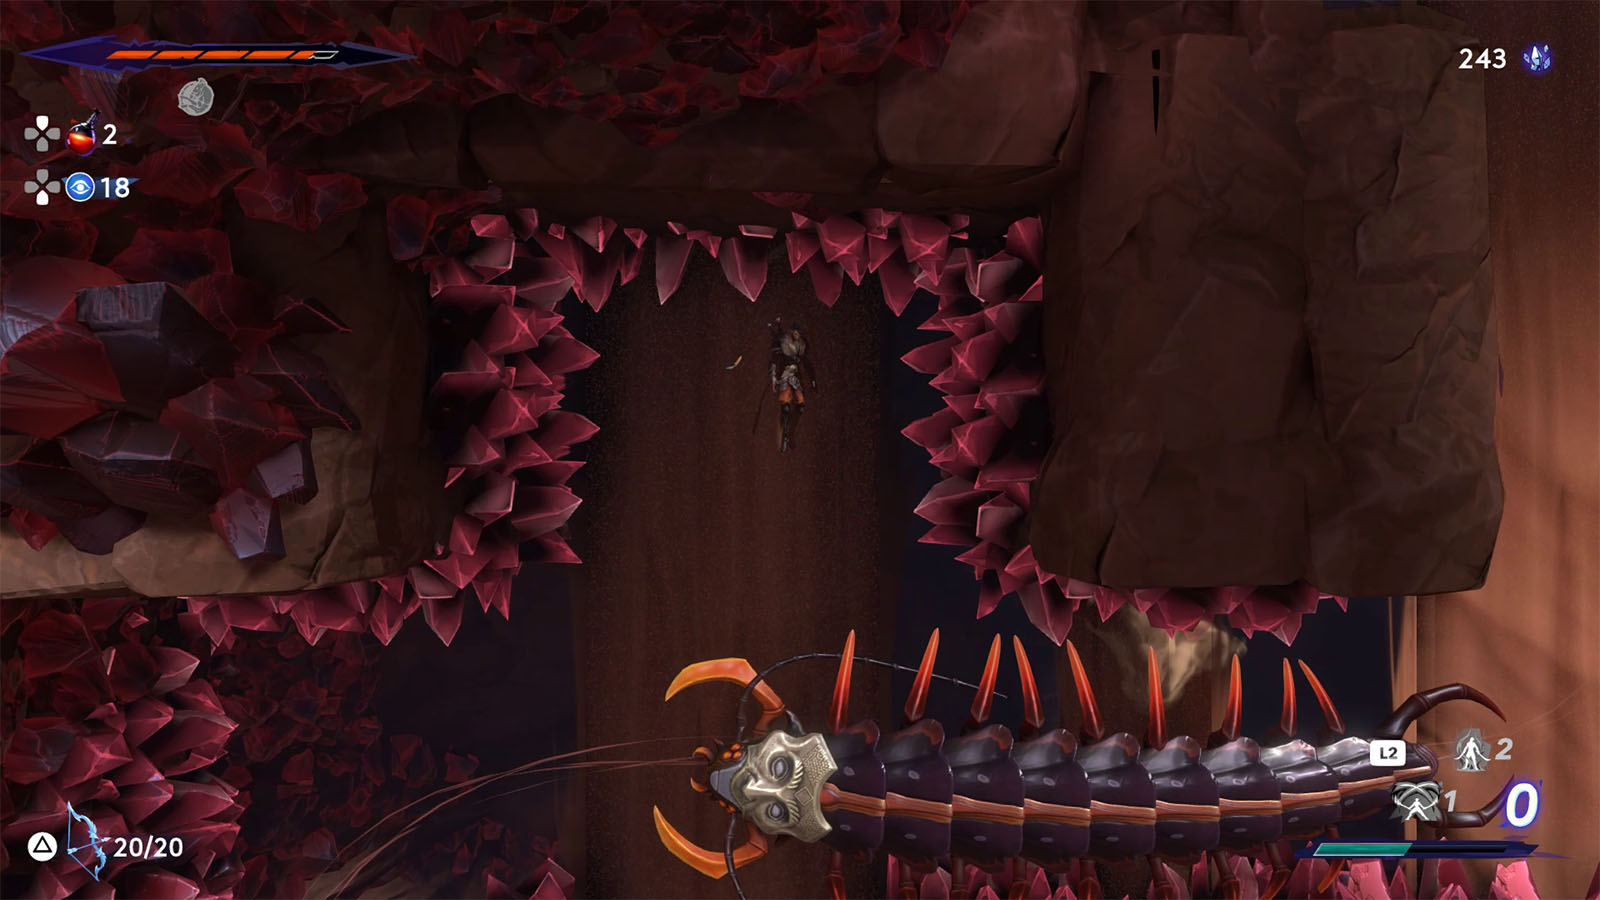
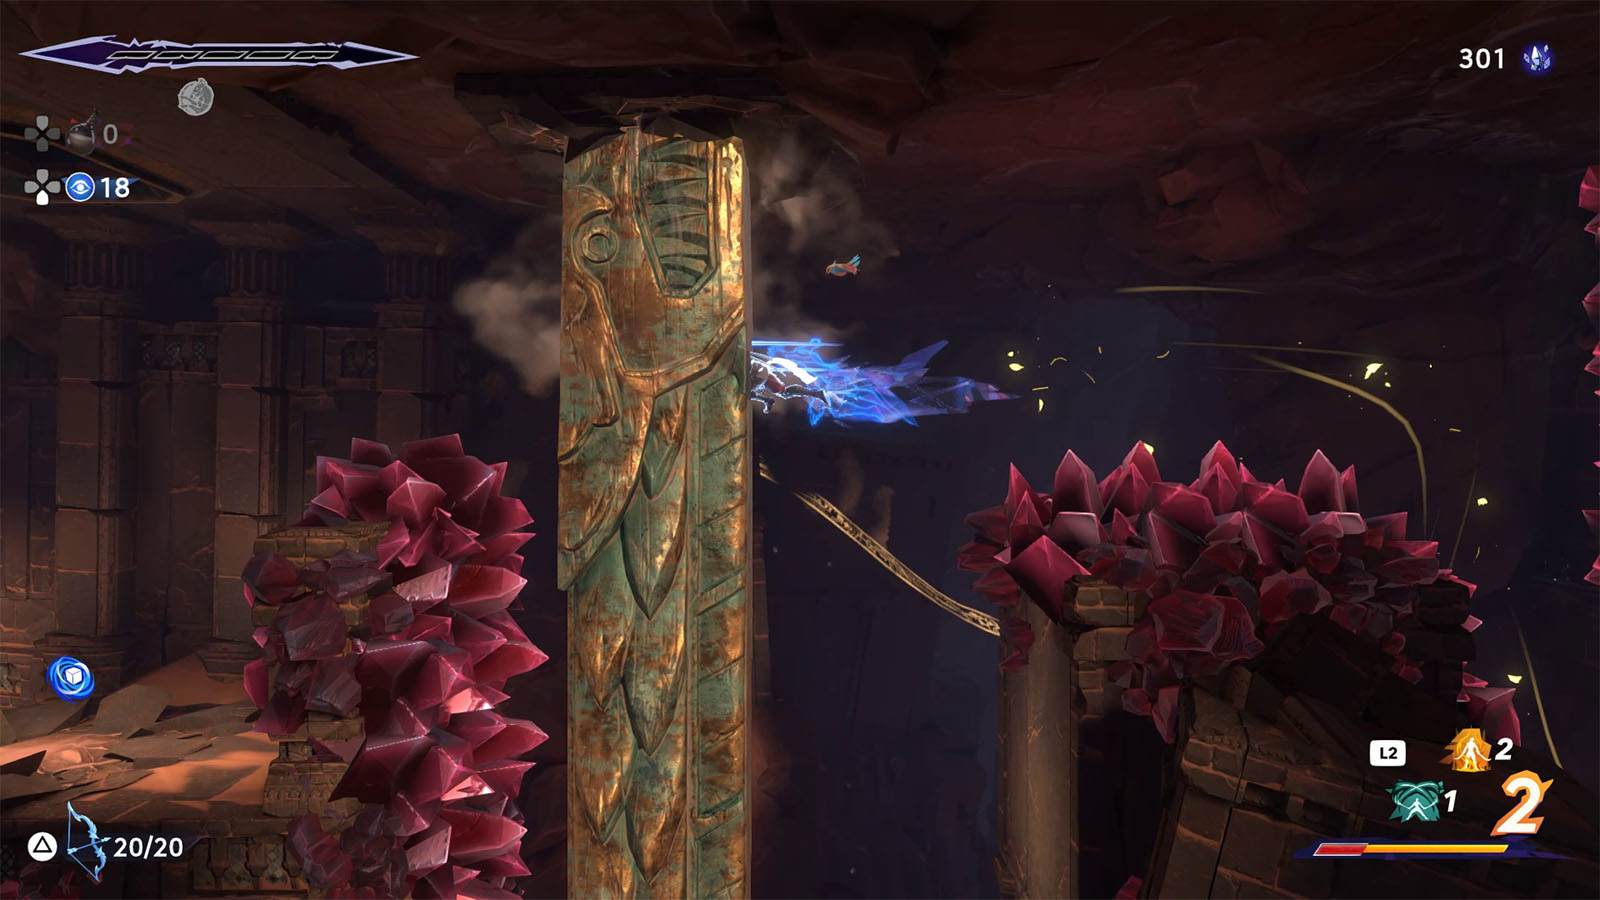
In this next area, you will have to navigate through the cave system using the sand pillars while avoiding the red crystals and the patrolling centipede enemies. These enemies have a set path that they take and are not hostile against you, but they can still deal contact damage. There are very faint strands within the sand pillars that tell you the path where the centipedes go through.
The centipedes can also break through the red crystals as they pass. These crystals eventually recombine after a few seconds and there will be times that you will have to pass through these paths to progress through the cave.
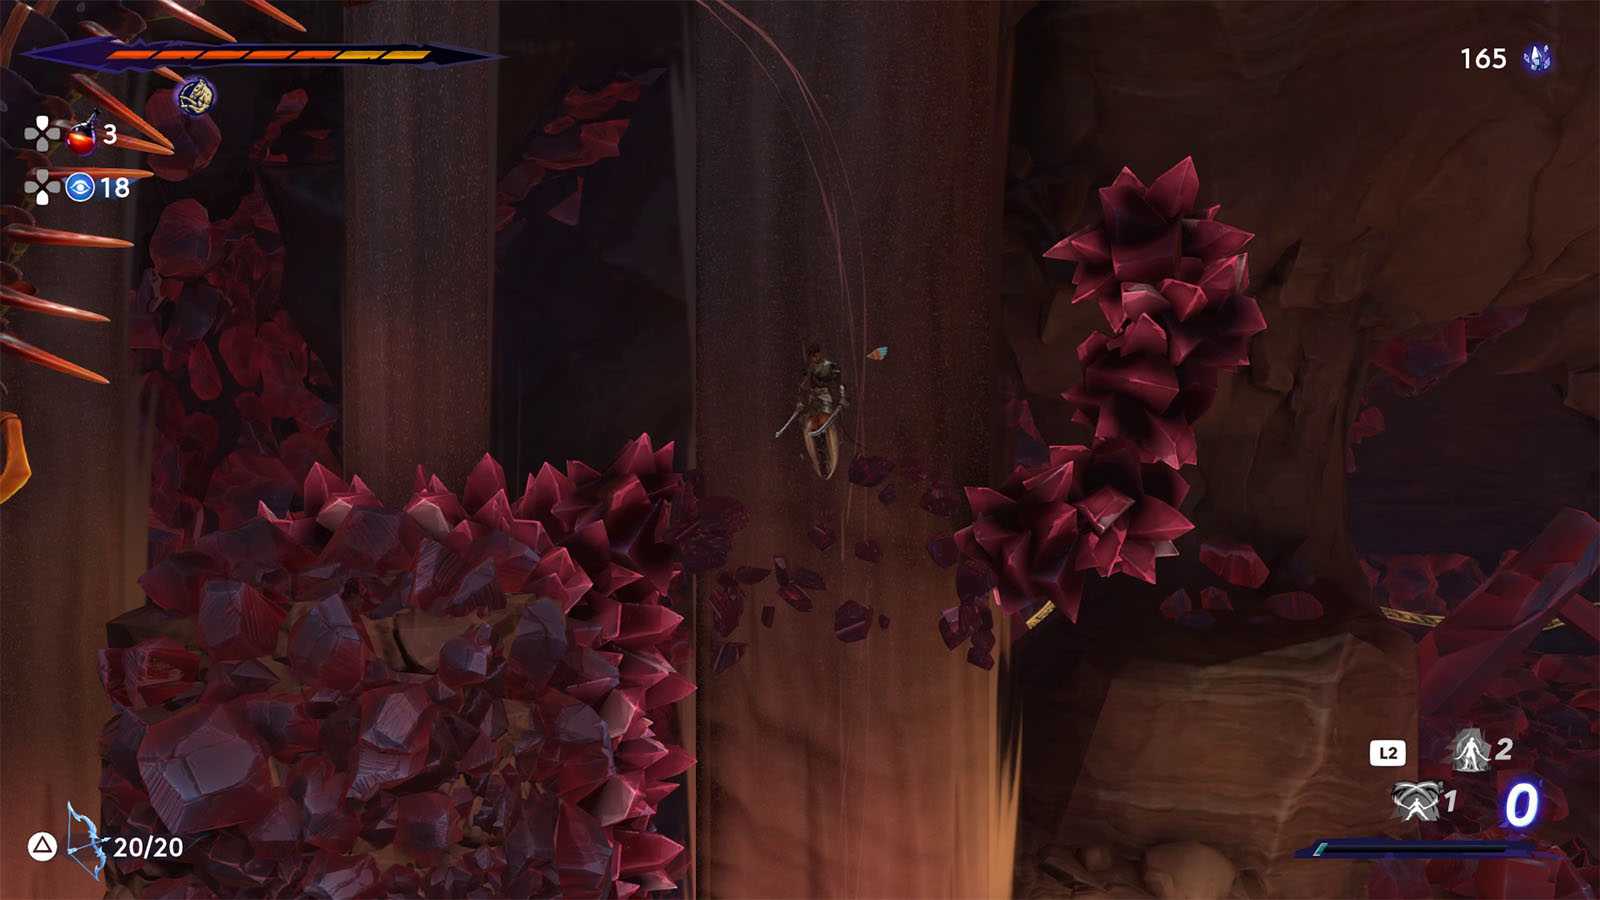
For the first loop, you simply need to follow the centipede as it goes through the crystal wall, then transfer over to the left on to the second loop.
On the second loop, there is a dead end on the lower left corner that has some crystals. The next path from this look is covered by a thick wall, so wait for the centipede to break through this wall on the side pillar.
The next area will have loops that are patrolled by multiple centipedes. Follow the centipede that takes the outer loop until it breaks the crystals blocking the path to the next area.
On to the next loop, wait for the two centipedes to pass through first, then make your way to the west. Avoid the first centipede that goes down by staying on the left, then quickly move to the safe pillars to the right. Pass through the broken crystal as the second one passes by.
The seal strand goes back towards the east, but you can continue up the pillar to find a hidden wall. Behind this wall is another Spirited -Sand Jar. Be careful with the pillar trap that will spring once you pass by its path.
The next area will have more caves to navigate through. On the upper right corner is a path that leads you to a Xerxes coin. Make sure to land on the nearest solid ground before and after you get the coin.
In this loop, there are two centipedes sharing the same path. You will have to go against their route and use the safe spots to hide while they pass through.
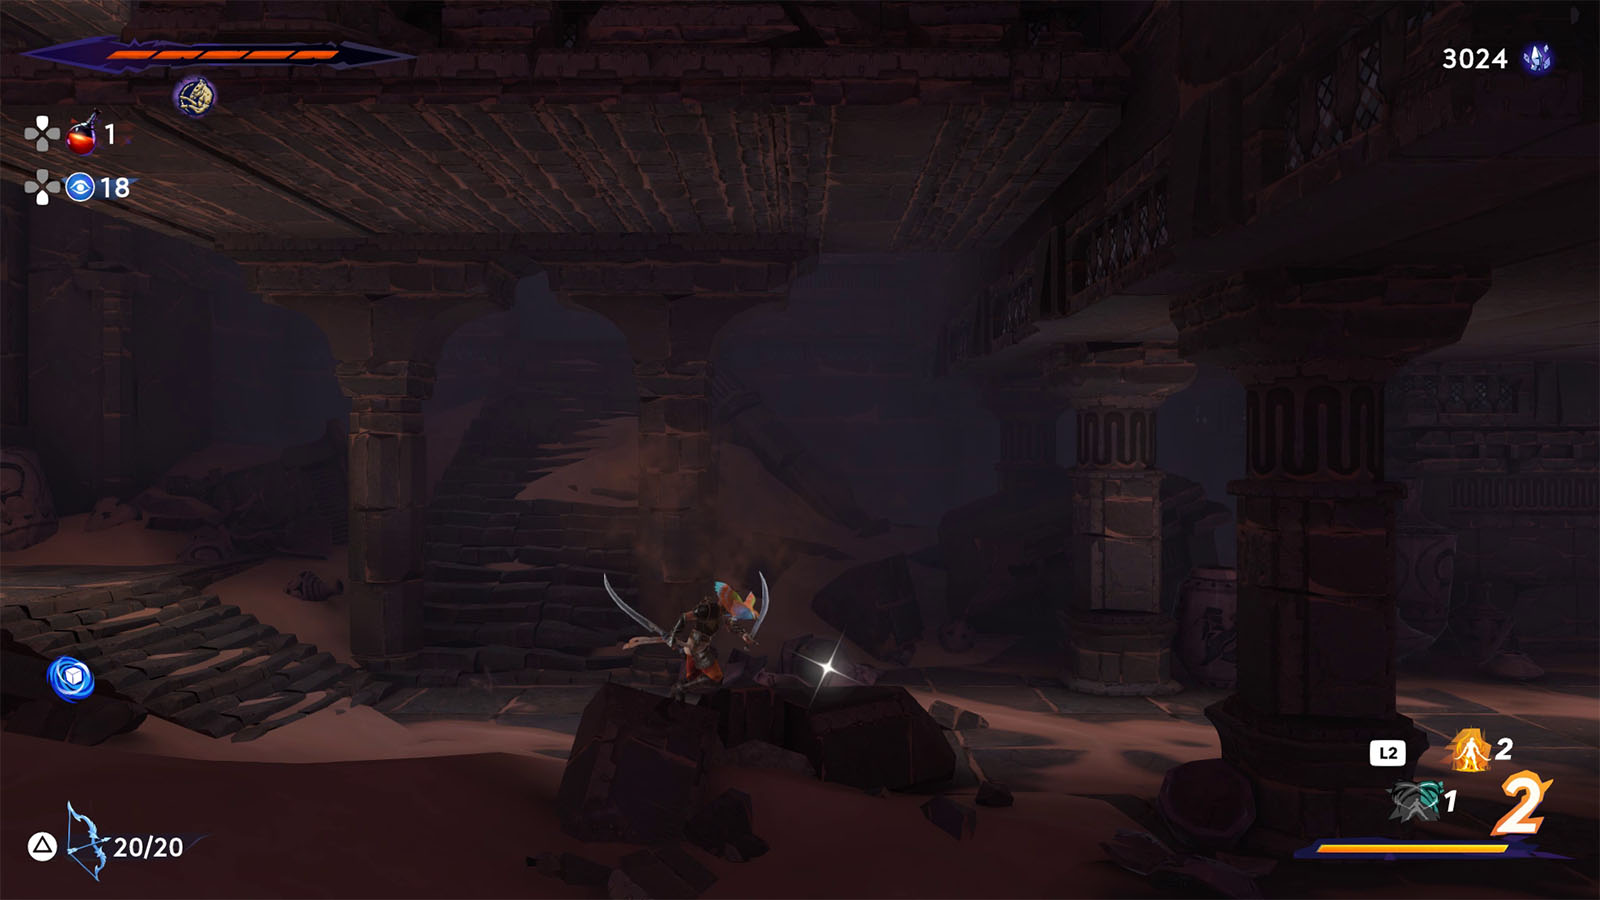
At the end of this loop is where you can find a seal. Break it with a charged slash and it will also open the door back to the main area. Travel back to the tree to replenish your health or make some quick upgrades back at The Haven.
Starting from the tree again, take the pillar that goes down towards the seal, then follow the strand to the next area to the right.

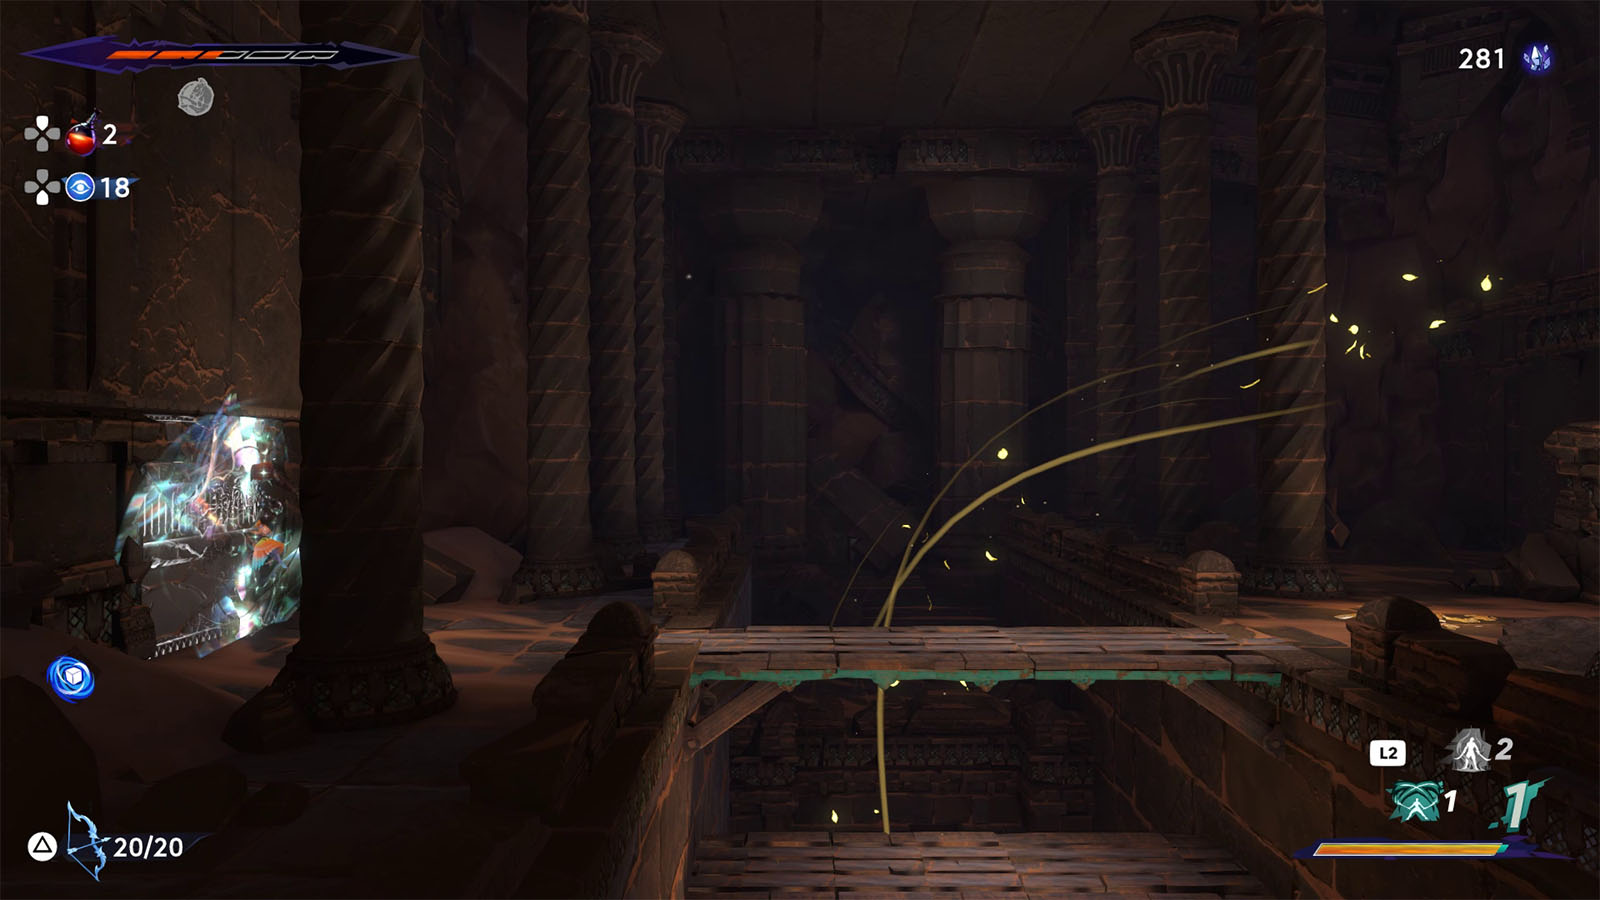
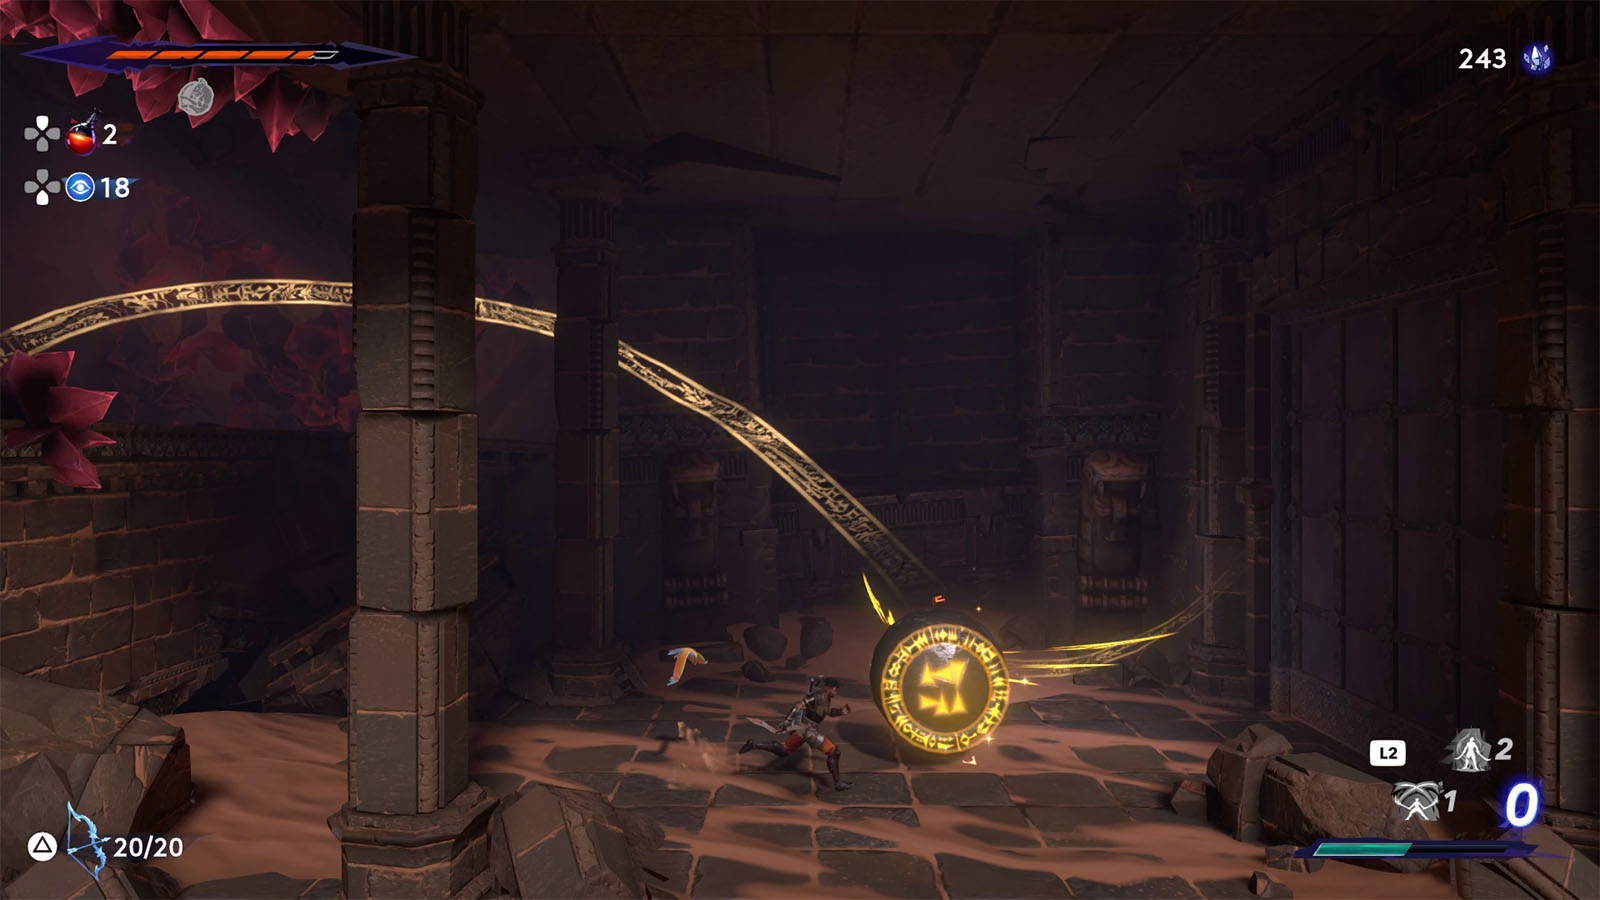
The next area will have you navigate through the path while avoiding the pillar traps. These pillar traps retract slower than they go out, allowing you to use them as platforms or walls at certain points along the path.
Go through the first few traps and have a feel at how they come out and retract. Some of the traps will require you to trigger them first before you can move past.
Once you arrive at the pit full of crystals, you can cross this by leaving a shadow first, jumping into the pit to trigger the trap, then quickly returning to the shadow. Make sure that you duck as the pillar retracts to avoid hitting the crystals on the ceiling. Be aware that the solid ground up above also has a trap that comes out of the ceiling.
Use this next trap to launch yourself to the right side. Another trap will be triggered from the ground, and once you get past it, slide down on to its side, wall jump, and launch towards the right to get to solid ground.
In the next area, look at the base of the sand pillar to find the Collectible – Legend from the Pit.
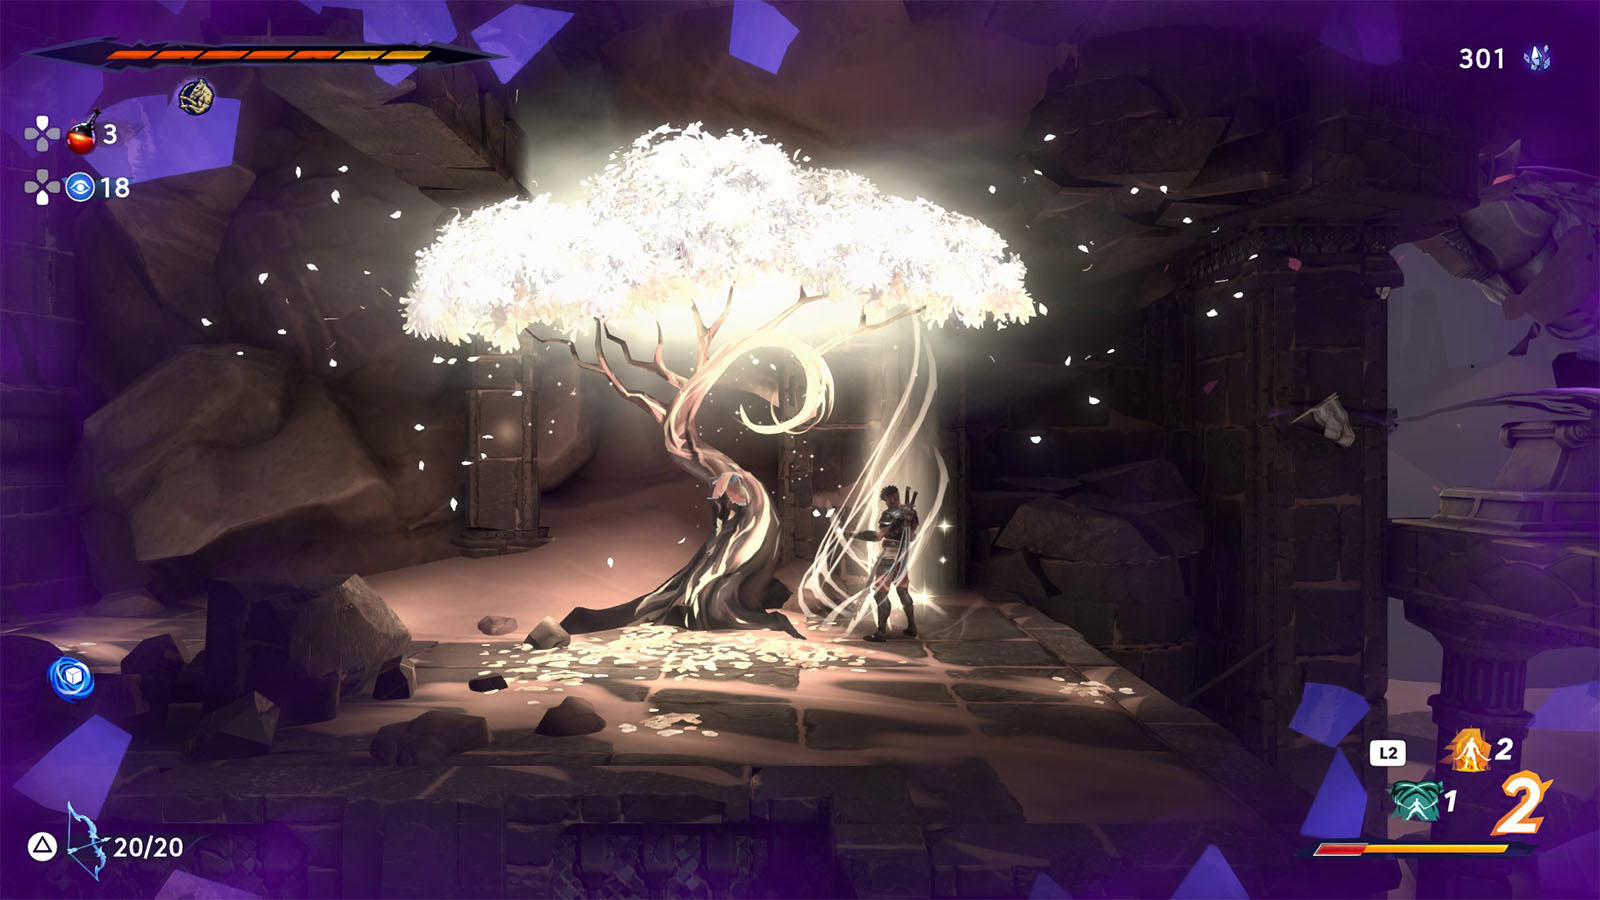
Climb up the pillar to reach the next tree and Homa Statue.
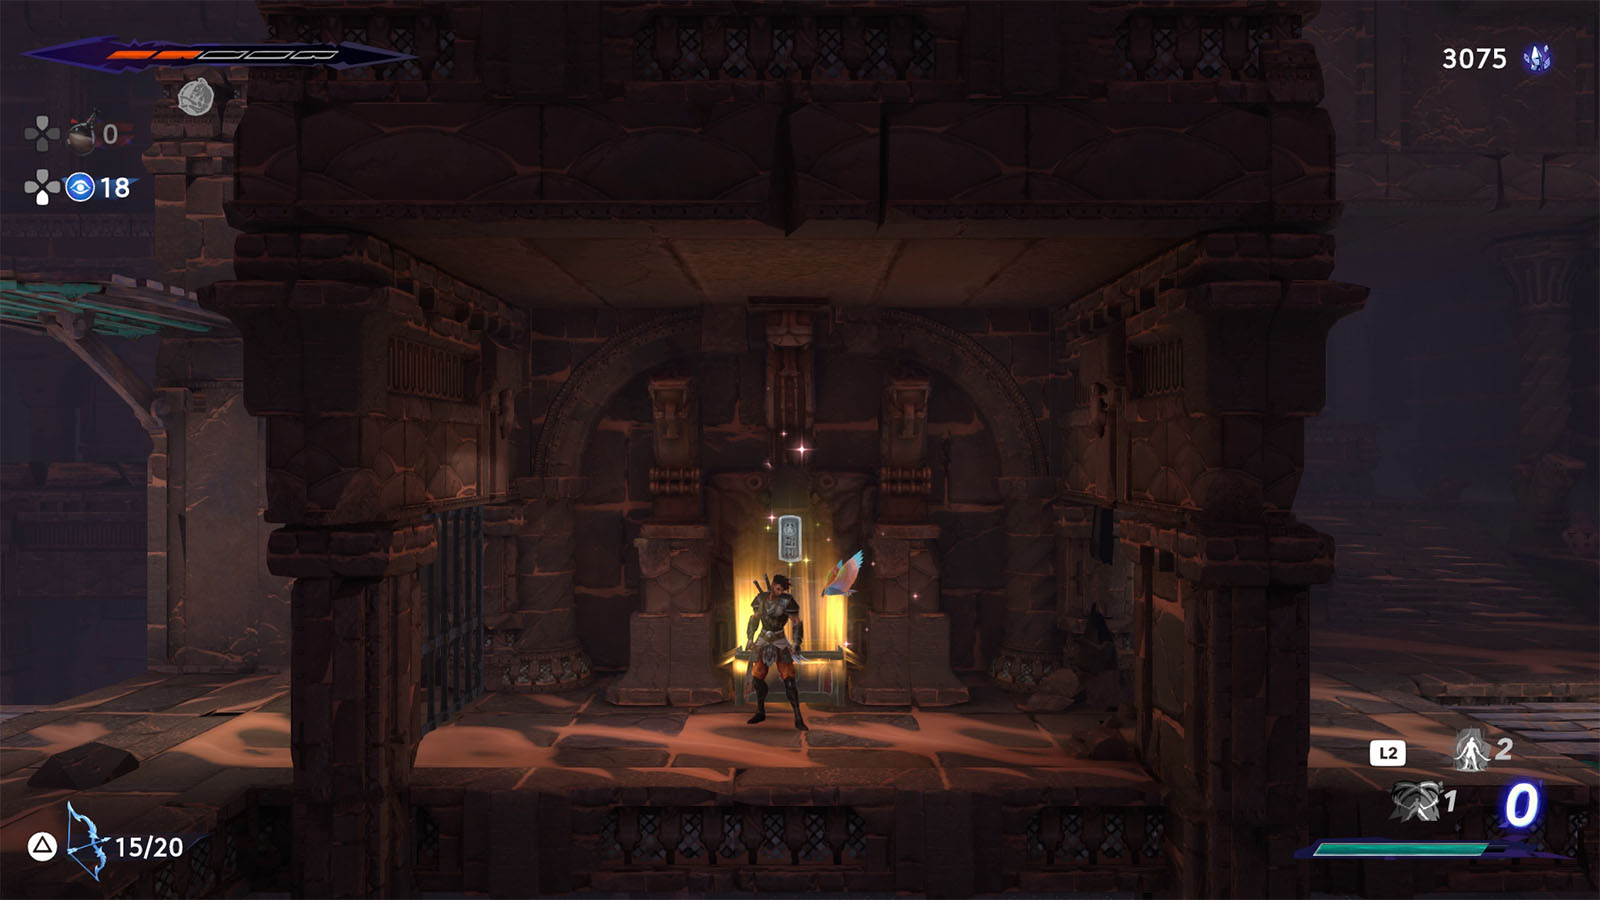
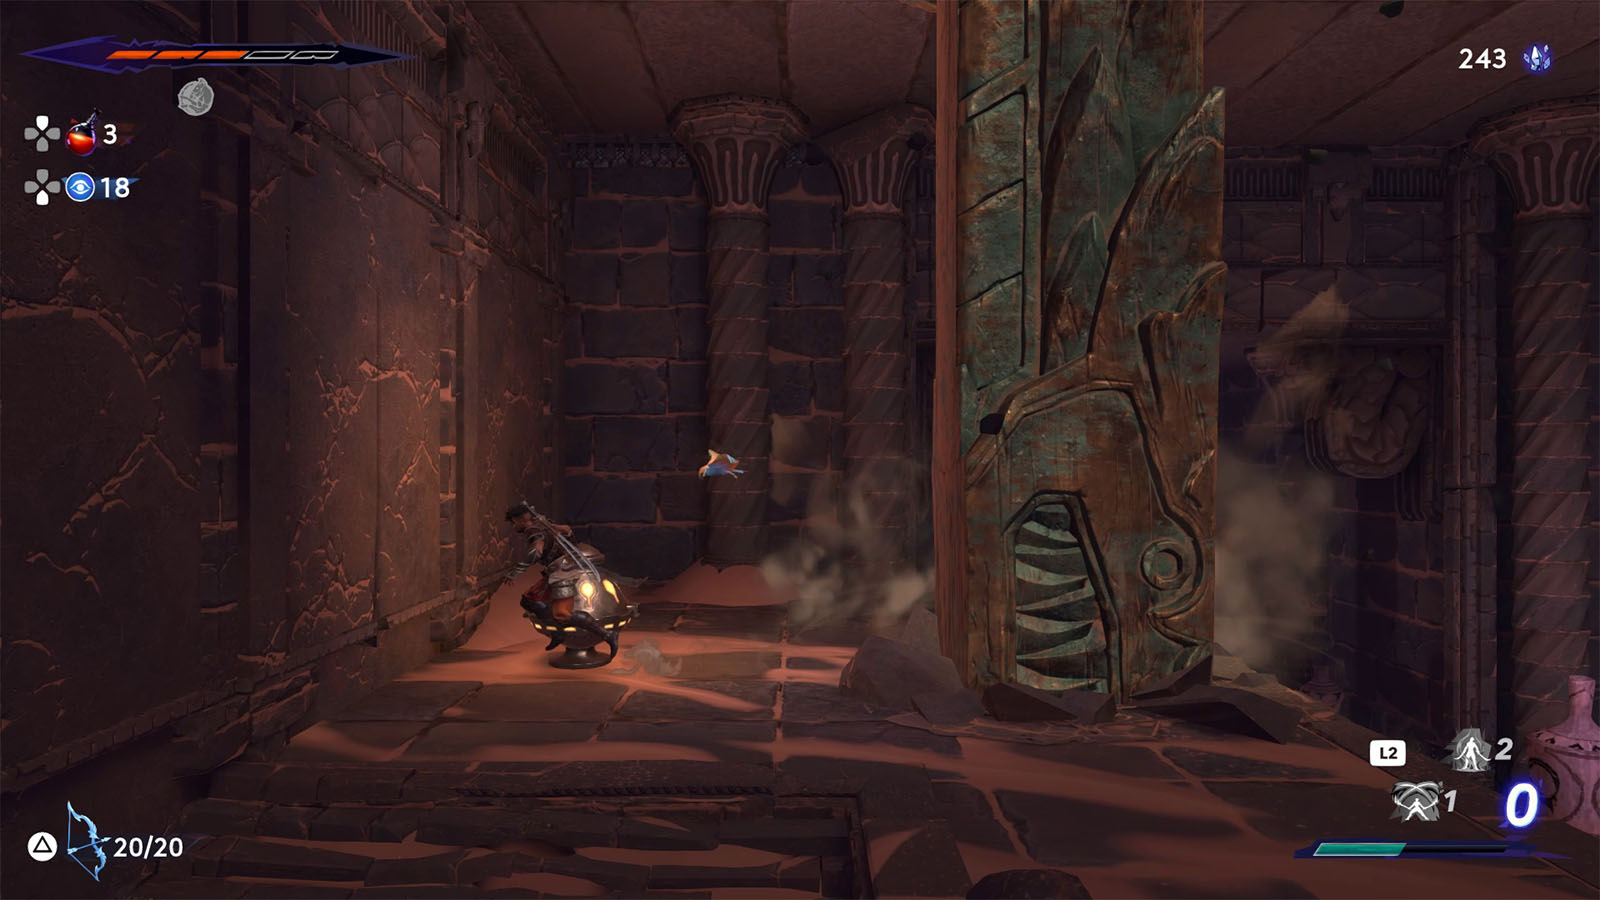
Look for a boulder on the right side of this area and grab it. Then, head to the level underneath the tree to find a breakable floor. Break through it using the boulder and you will find Fariba who will sell you the map for the Pit of Eternal Sands.
Find another boulder to break the wall to the left of Fariba to reveal a path that leads to a secret puzzle chamber.
To solve this puzzle, you can take the hint of what is inside the room itself. The room is full of clay statues or sentinels, similar to that ones that can be found in the Upper City.

Go to the Upper City and capture a sentinel using your Dimensional Rift and bring it back down into the puzzle room. Make sure to release the sentinel down in the pit where the pillars could crush it.
Once the sentinel has been crushed, the chest will appear underneath it which will reward you with a Soma Tree Petal.
Head back to the main chamber and go to the next area to the upper west of the recent tree.

Next, navigate through the next set of pillar traps in this area. Be aware that there are platforms that easily crumble under your weight and that there are also traps that come from above or below you.
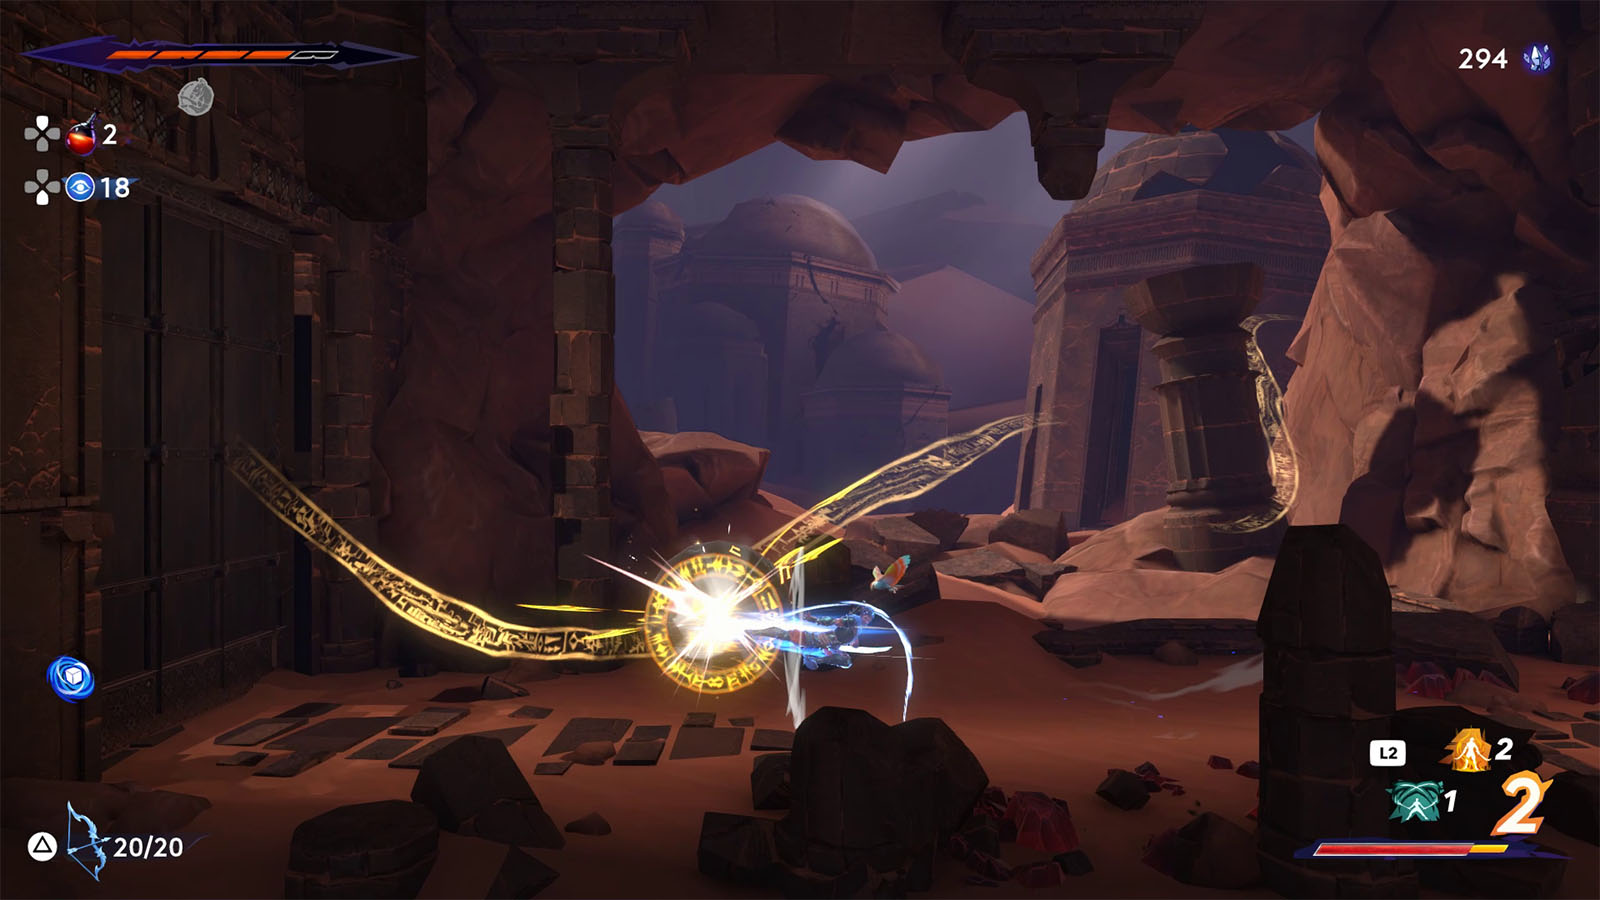
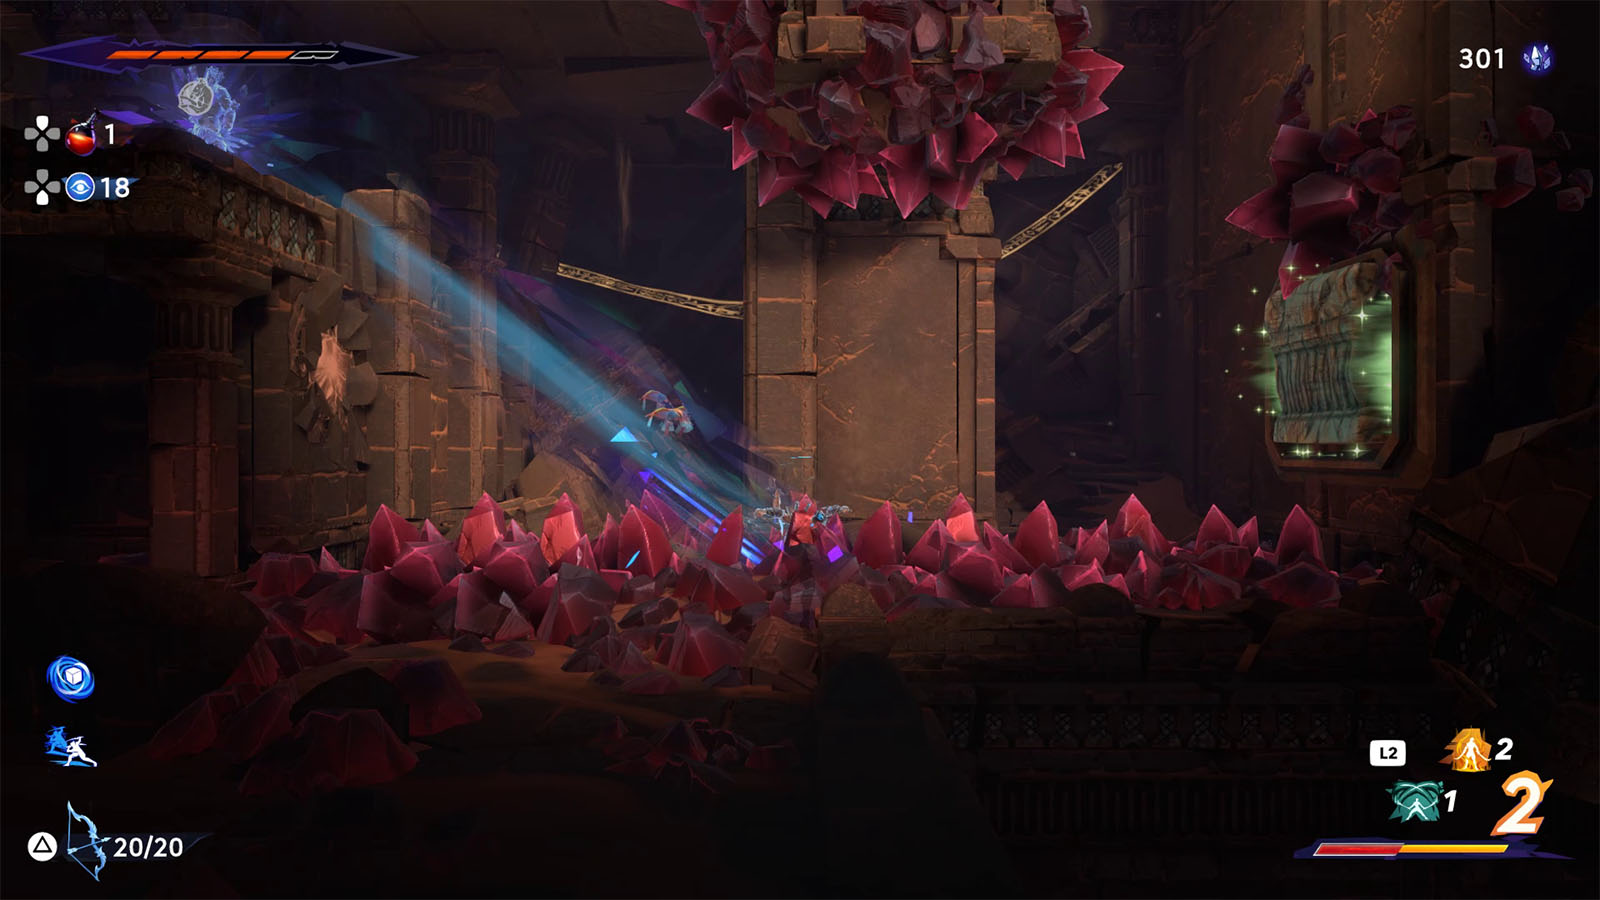
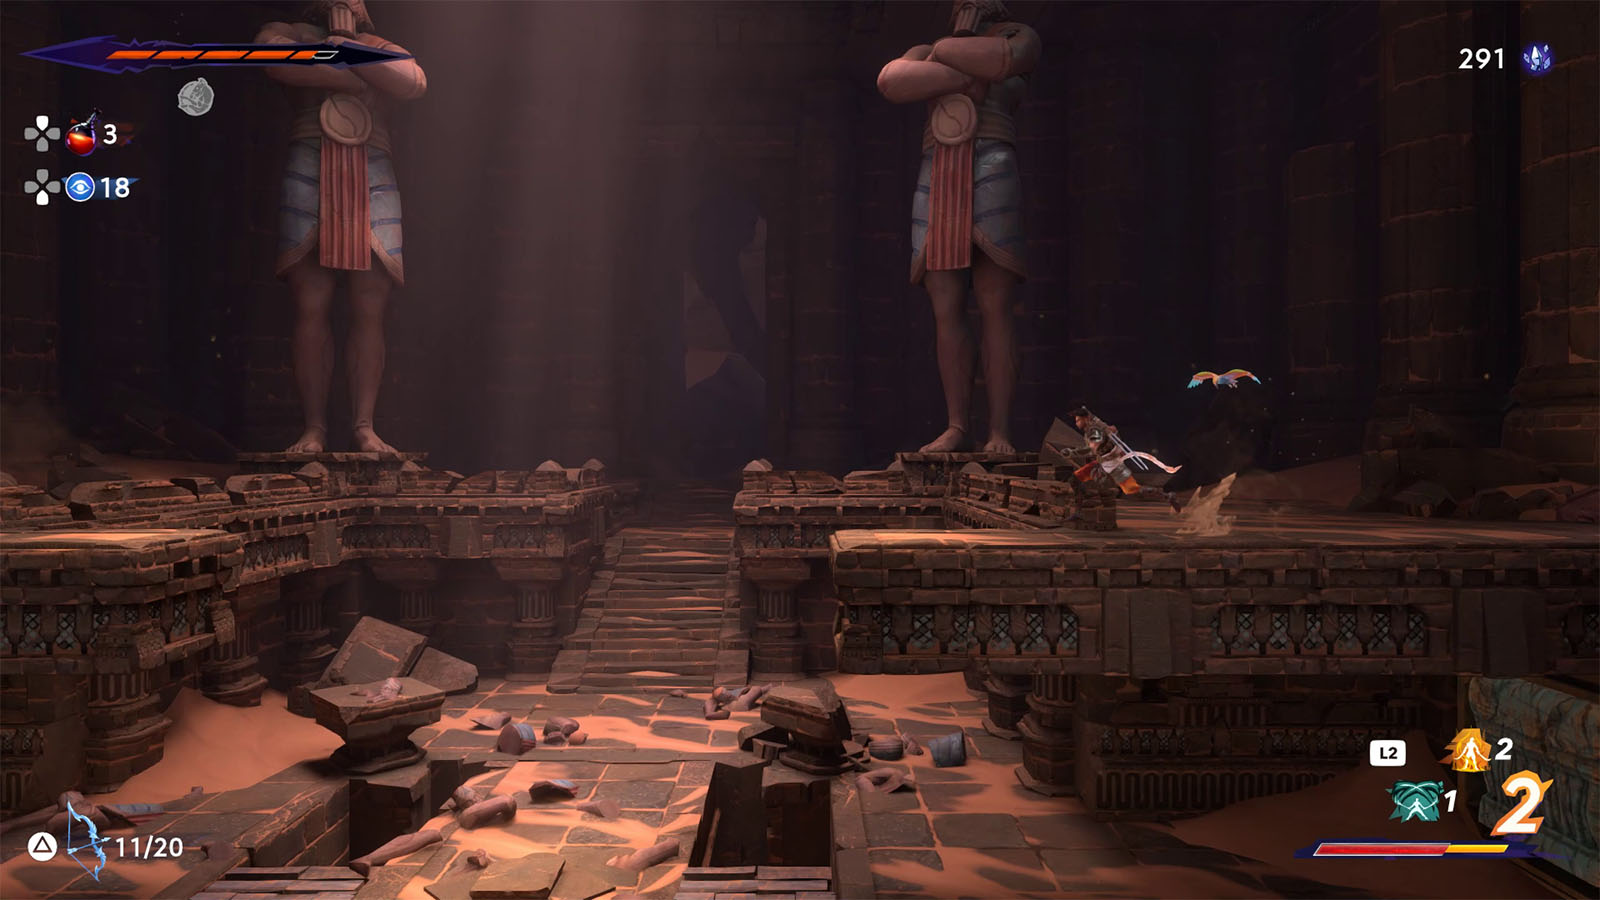
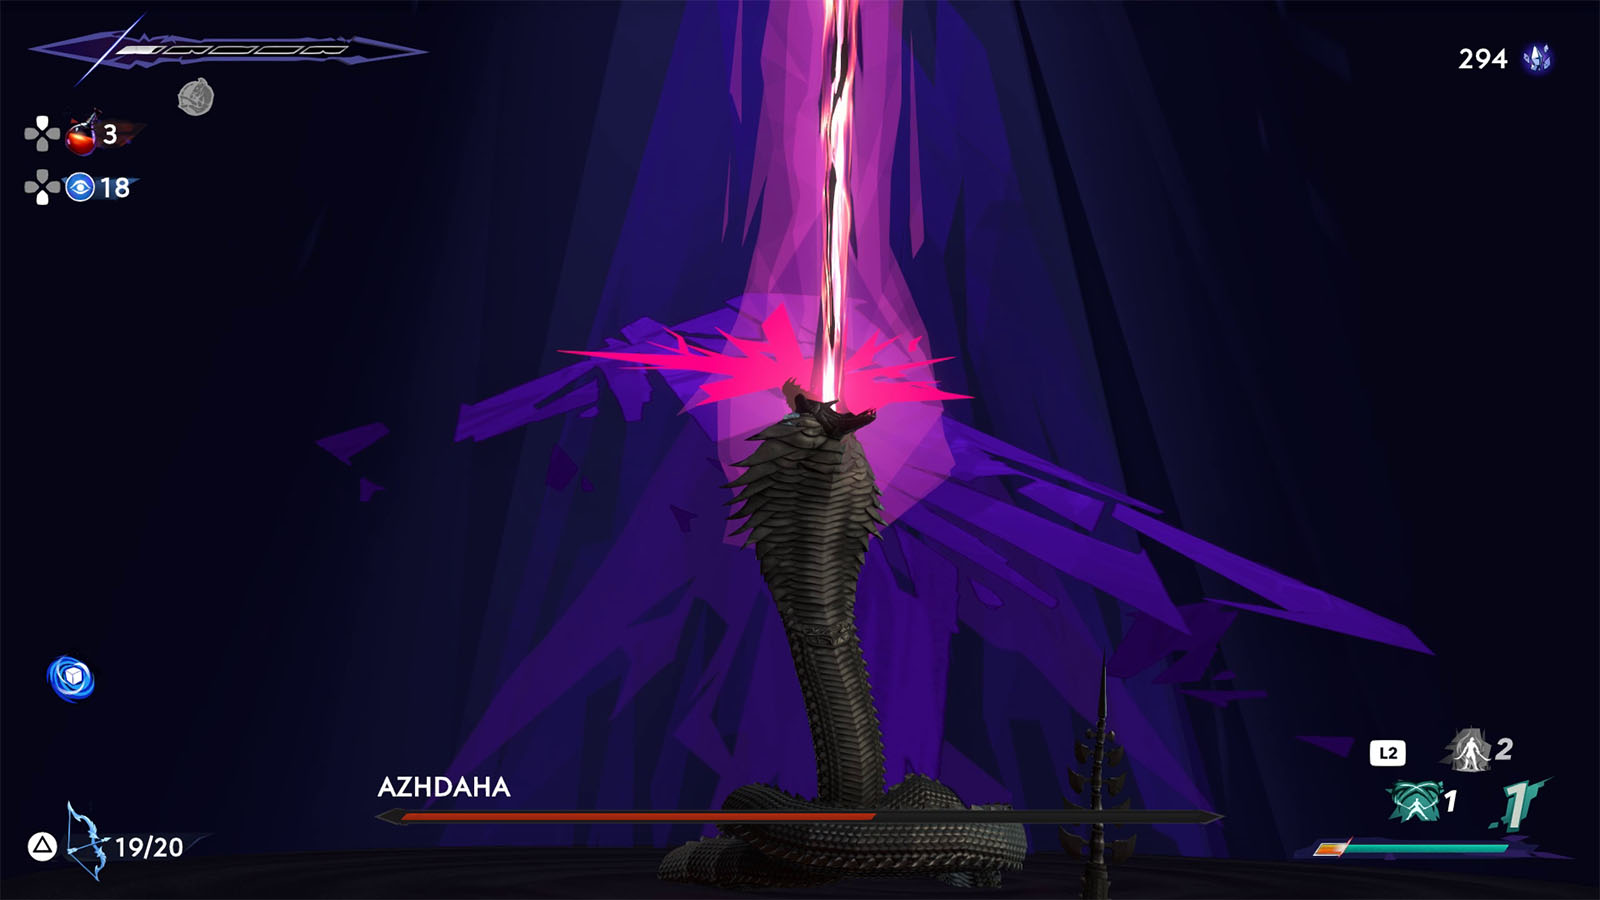
At the end of the path is the next seal. Break it and it will open the main seal in the middle. Before heading deeper into the pit, make sure to save up on the closest tree as you will be heading into a boss fight.
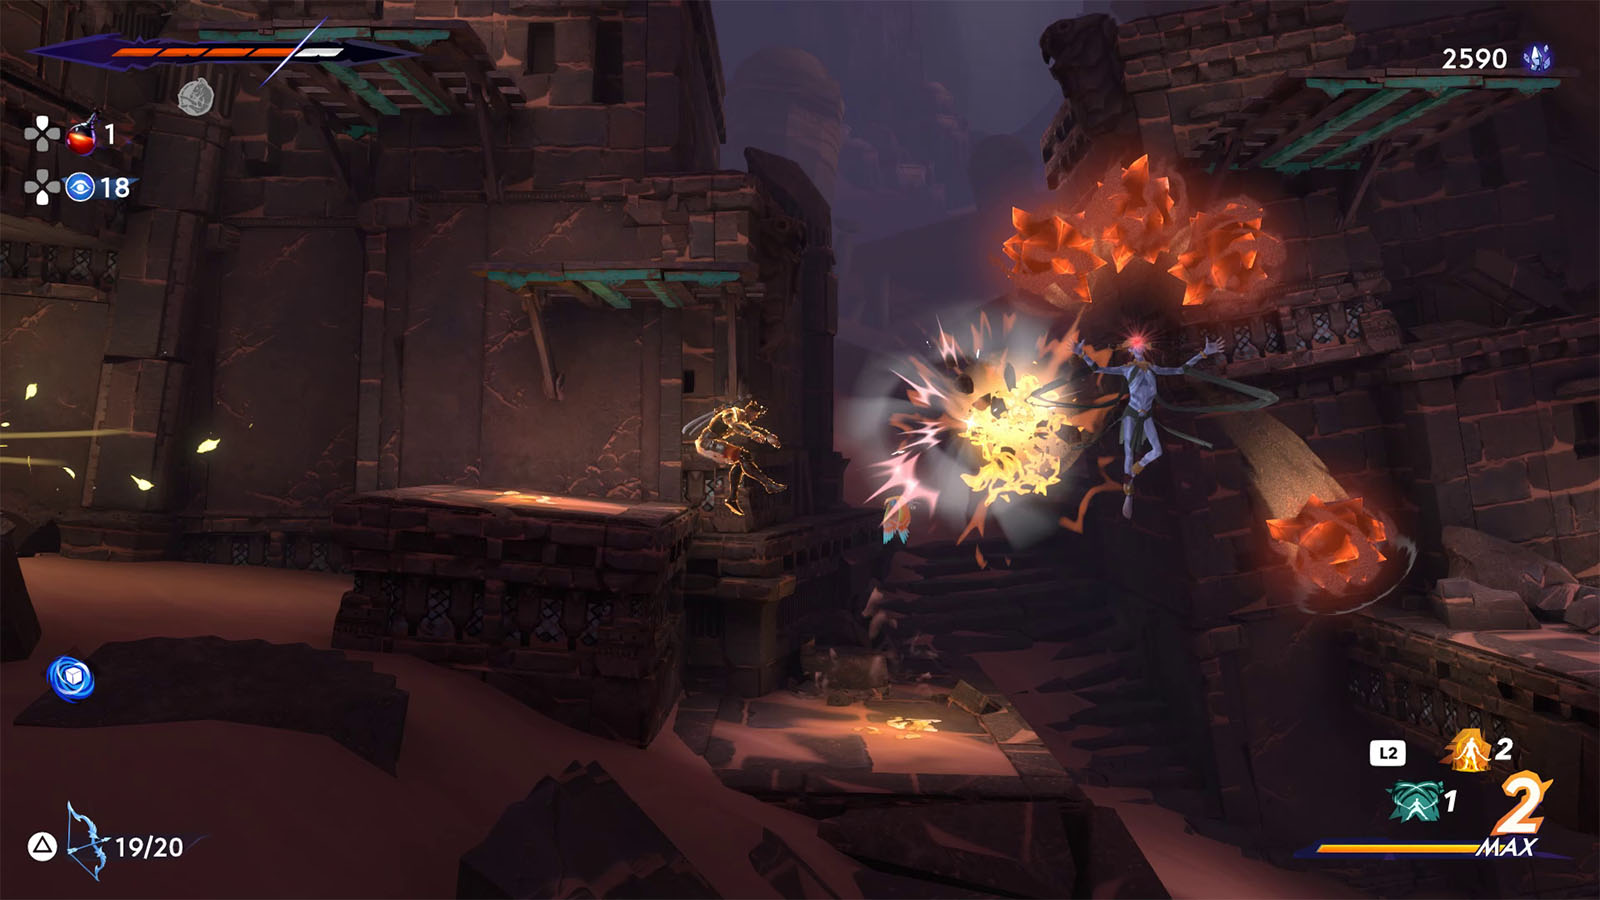
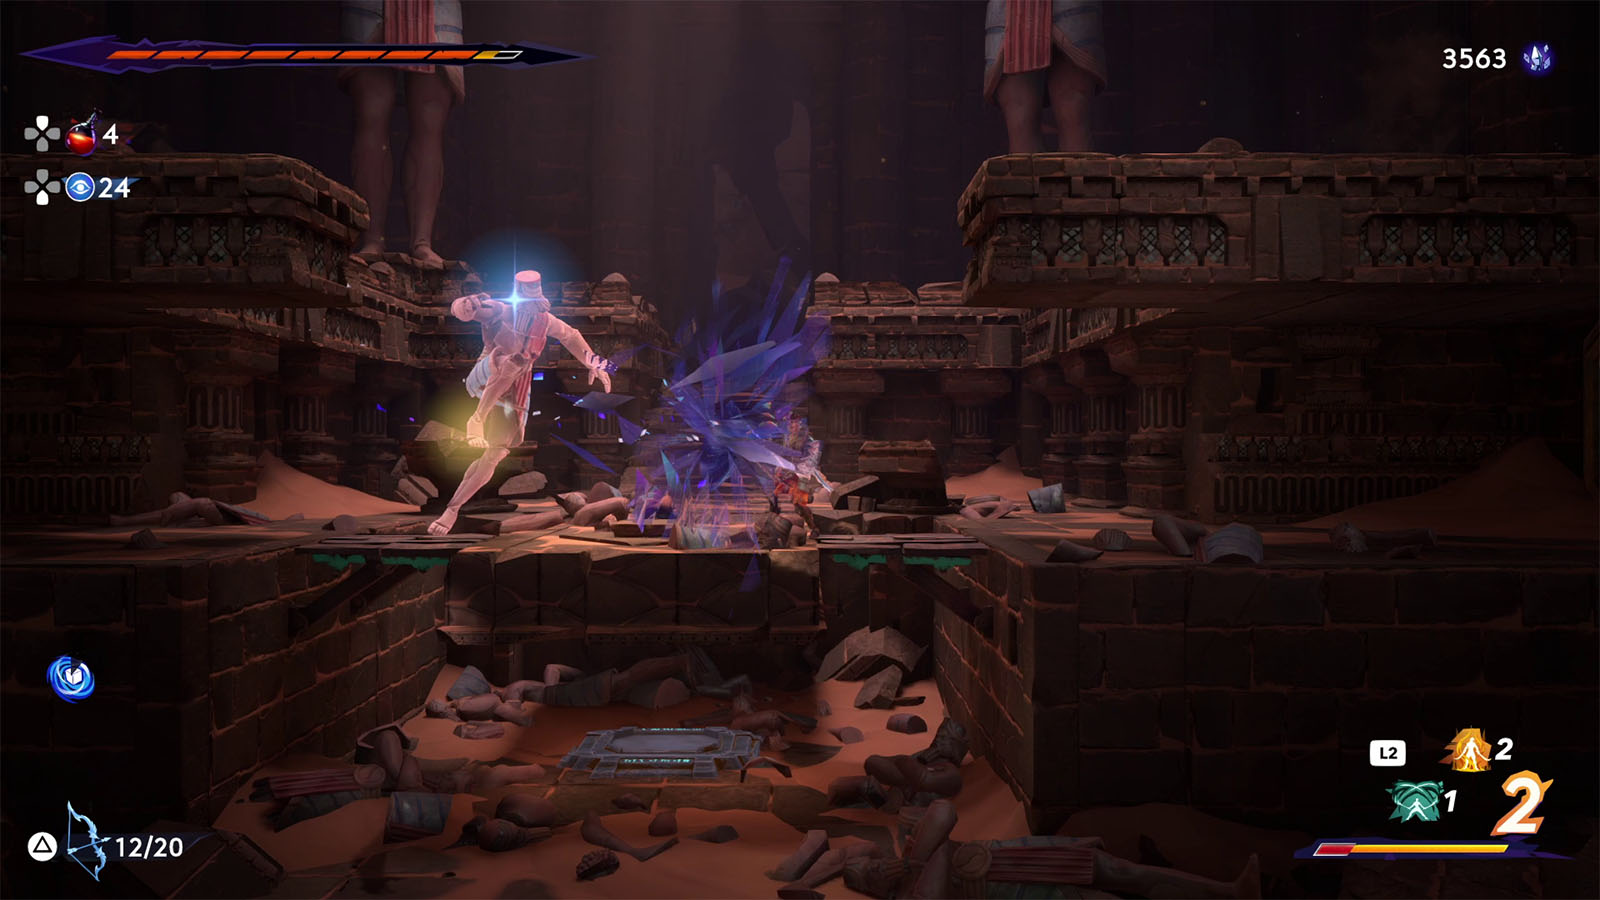
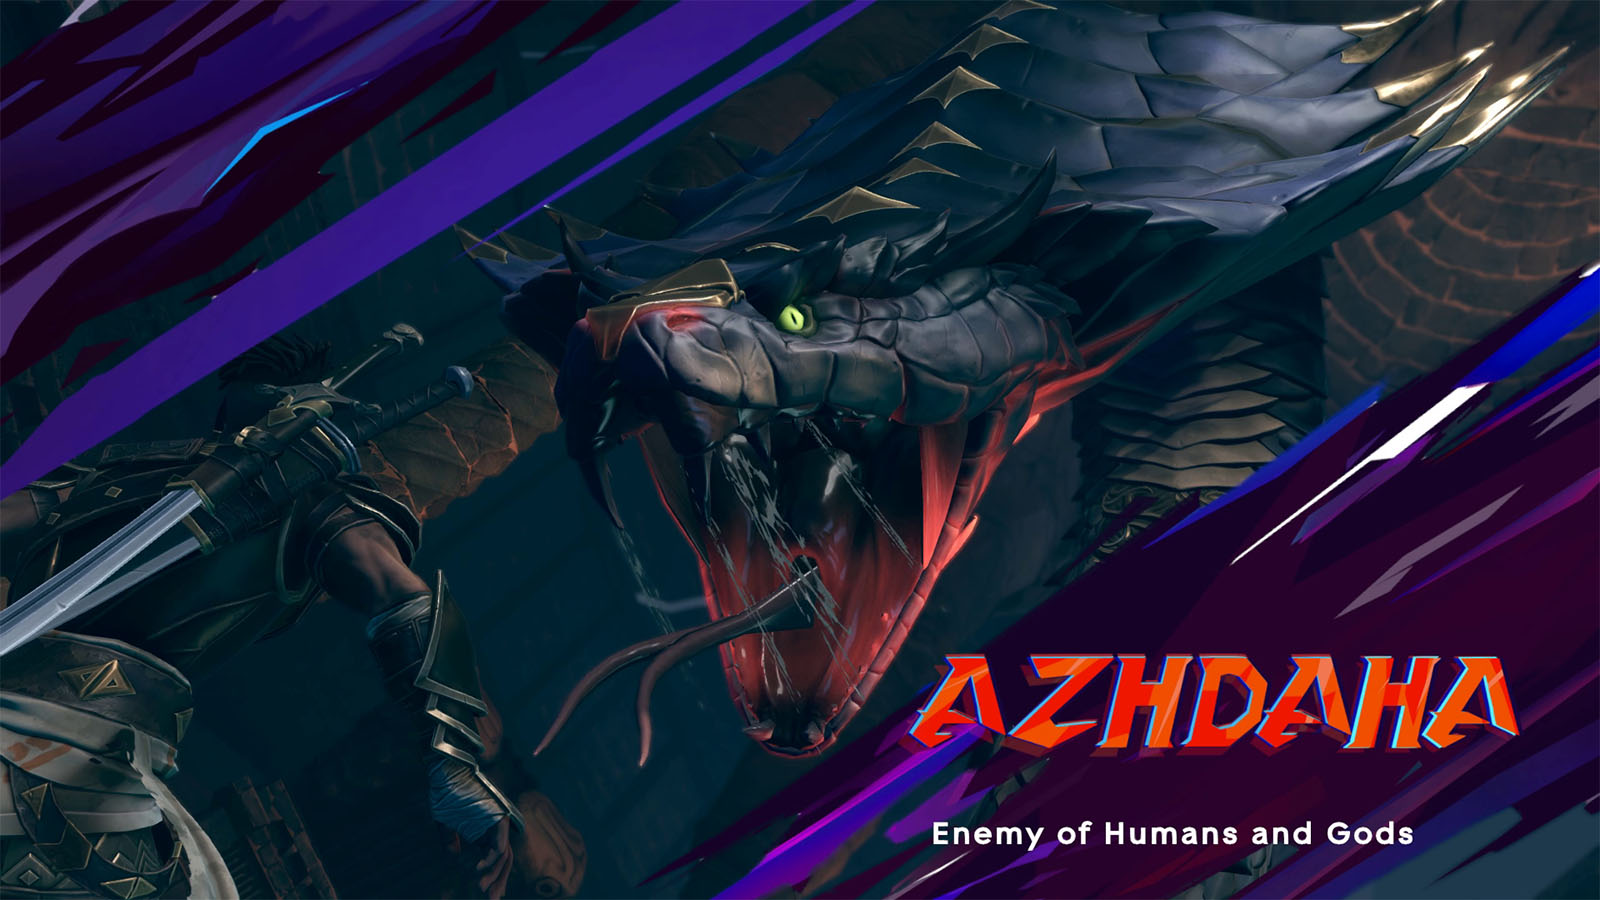
How to defeat Azhdaha, Enemy of Humans and Gods
Azhdaha is a giant serpent that has the ability to shoot out beams from its mouth and summon projectiles in the air. Because of how wide its attacks cover the arena, you will need to utilize your shadow to try and avoid the sweeps at the right time.
Azhdaha’s attacks are as follows:
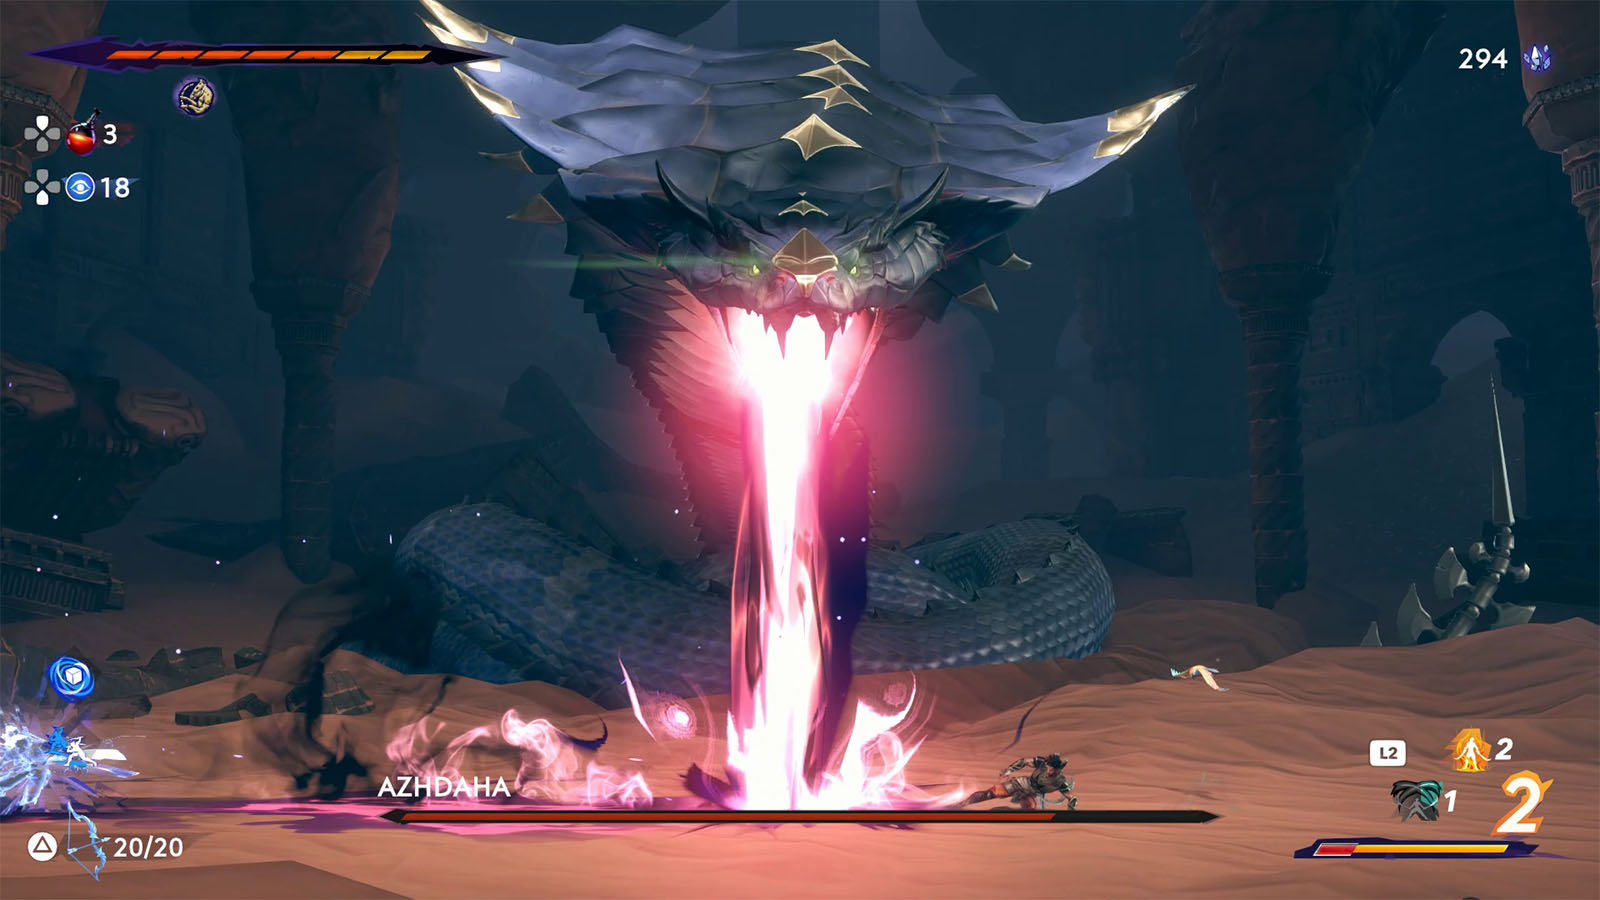
- Head Smash – Azhdaha slams its head on to the ground after its eyes glow red. In later phases, the boss can chain this multiple times.
- Tail Sweep – Azhdaha sweeps its tail from right to left.
- Energy Beam – The boss shoots out a beam of energy from its mouth and sweeps from side to side. At later phases, the ground that the beam passes through will grow crystals that linger for a few seconds. It can also chain this attack with another beam.
- Energy Balls – The boss summons energy balls in the air and makes them wall to the ground, causing a pillar explosion.
- Crystal Shards – The boss summons crystal shards in the air that home in on your location.
- Head Sweep – At <75% health, Azhdaha’s eyes will glow yellow before sweeping its tail from right to left, followed by its head from right to left. Take note that only the head’s swipe can be countered. If you get caught by the head, Azhdaha will throw you in the air and shoot a beam at you that deals massive damage.
- Tail Shards – Azhdaha sticks its tail out in the middle of the arena and shoots out crystal shards in both directions.
Before heading into this fight, it is recommended to get your upgrades, including the upgrade to expand your quiver and some health and damage upgrades. It is also recommended to have Bahman’s Breath and any one of your damaging Athra Surges. Bahman’s Breath can help extend your survivability during the battle and would mainly be the surge that you should pop often or as needed.
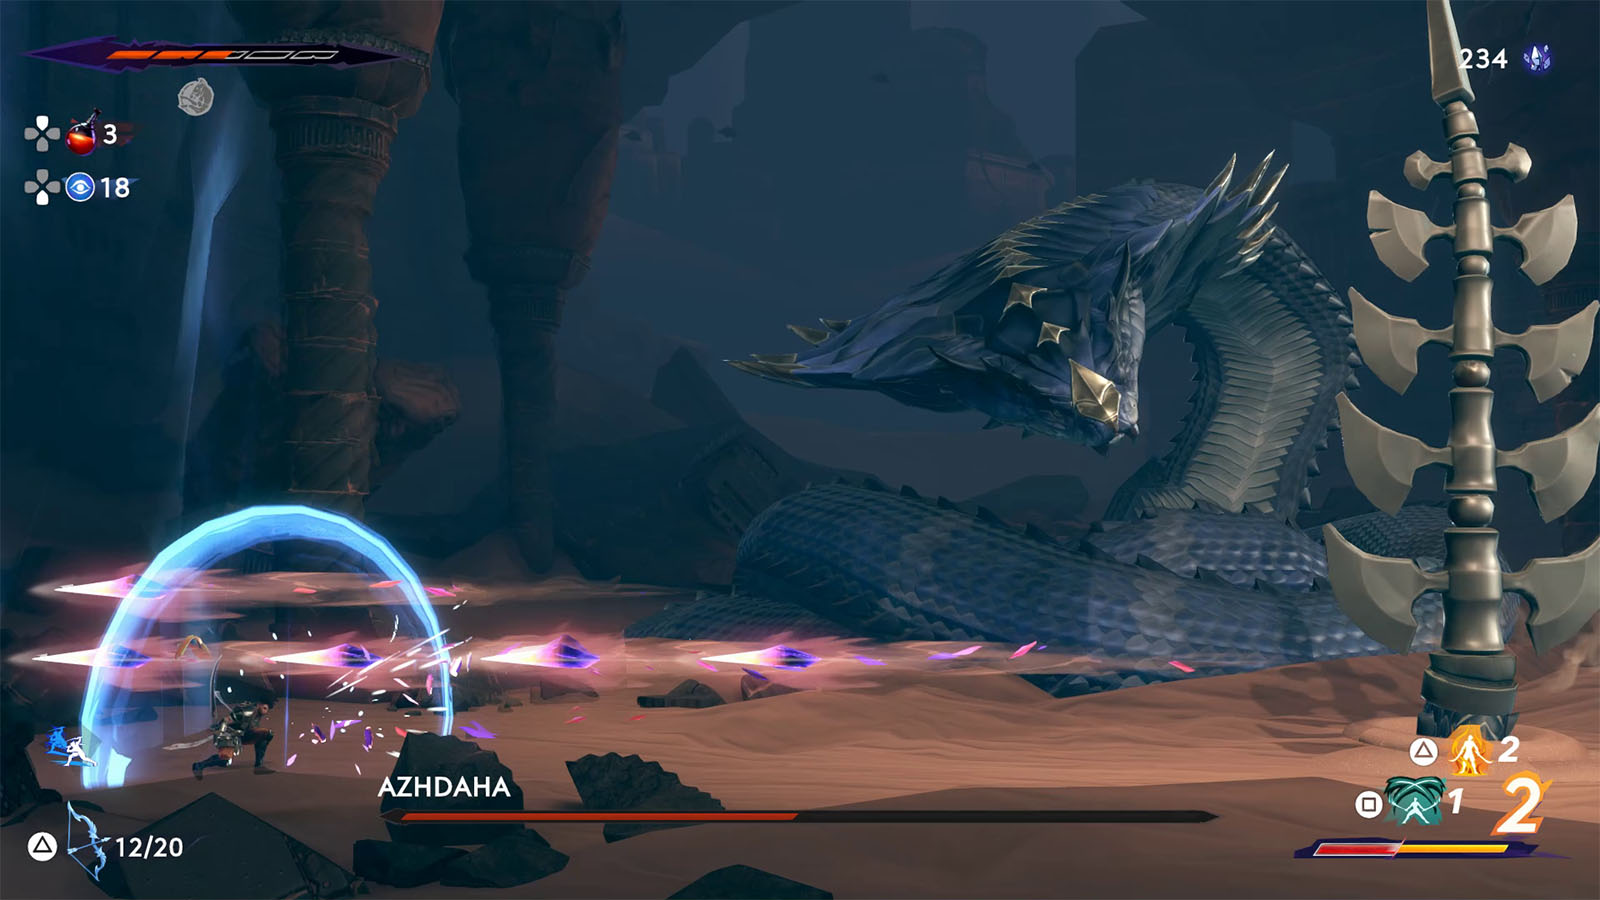
Azhdaha has several attacks that can be taken advantage of for charging the Athra Surge, namely the Crystal Shards and Tail Shards. Parrying the shards would give a significant amount of Athra charge, even boosted if you have the Gleaming Lion amulet equipped. Since these attacks often get dishes out, you should have your Athra Surge bar topped up most of the time. Alternatively, you can also equip the Wolf-Bride amulet to maximize the charge gain.
For a more aggressive approach, these projectiles can be caught using the Dimensional Rift and thrown back at Azhdaha, though catching them comes at a high risk of getting hit. The Head Sweep can also be parried, but it requires perfect timing to not be hit by the preliminary tail swipe.
Using the bow to keep yourself afloat in the air during swipe attacks is also a valid and helpful strategy to stay alive for longer.
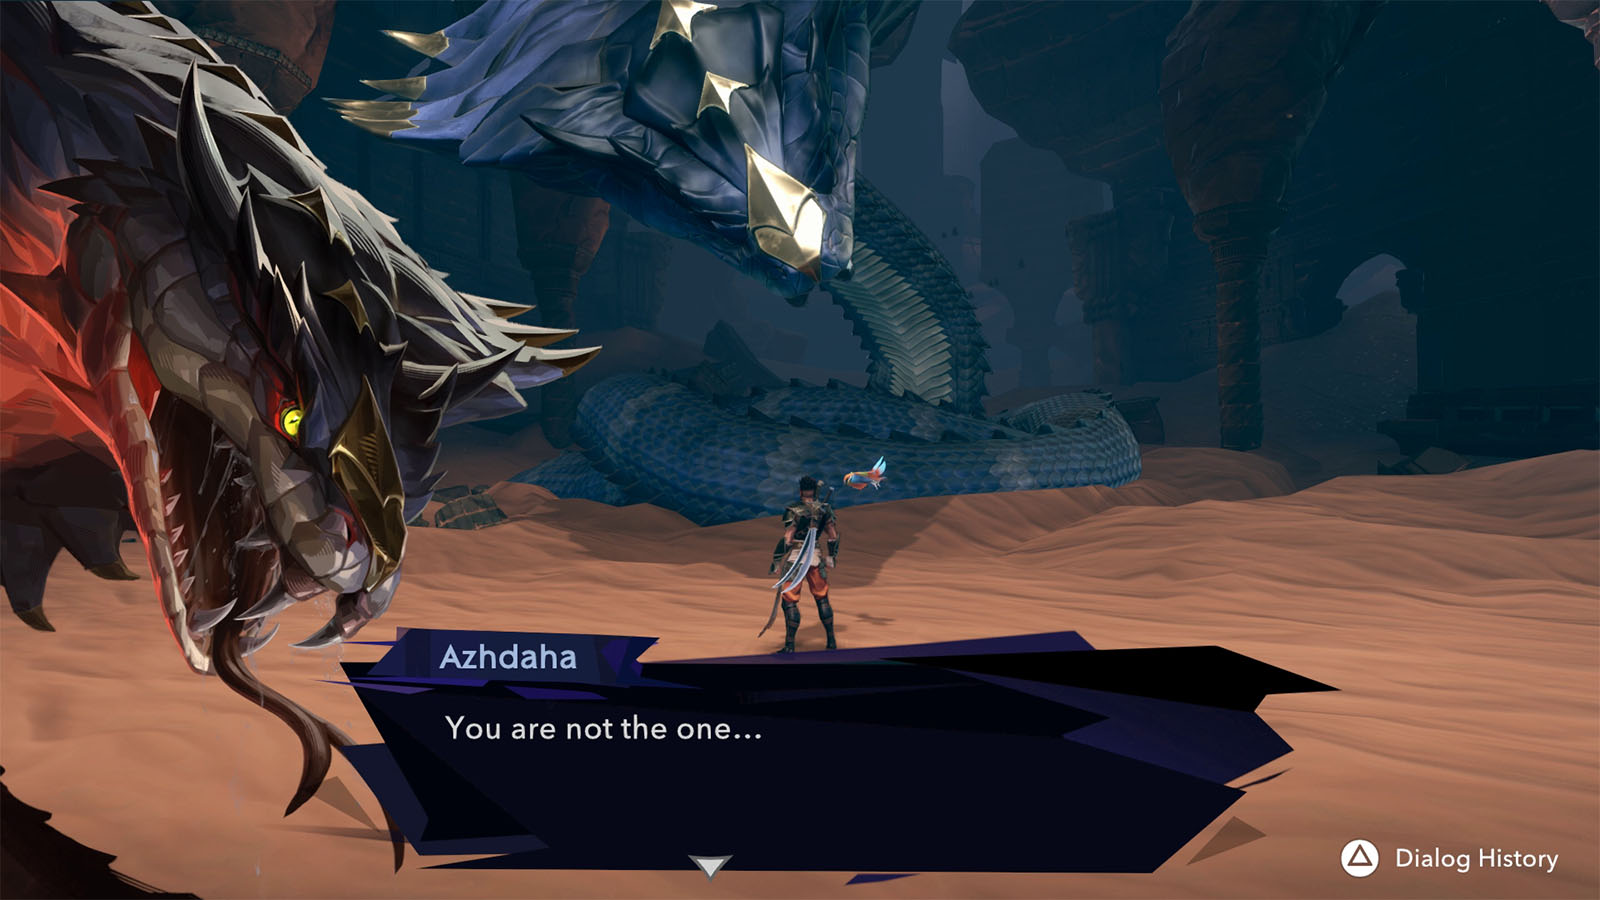
Once Azhdaha has been defeated, it will then yield and talk to you about the prophecy. It then gives you four Celestial Arrows that you will be needing in the next objective. With these arrows, you must call down each of the Celestial Guardians surrounding Mount Qaf’s skies.
After the conversation, the chapter will conclude and you will be rewarded with 450 crystals. Make sure to check the chest on the left side near the spot you landed on to get a full Soma Tree Flower.
See next: Chapter 6 – The Celestial Guardians


