
The Crossroads of Time is the ninth and final chapter of Prince of Persia: The Lost Crown. Sargon now has to find a way to save Vahram from taking the Heart of the Simurgh for himself and destroying everything in existence.Read ahead as we go through the events of The Crossroads of Time in Prince of Persia: The Lost Crown and share some tips, locations of collectibles, and other helpful tricks to complete the chapter.
See previous: Chapter 8 – Father and Son
Reach the Simurgh Gate
Once you have obtained the Key of Kings, proceed to the palace gates to arrive at the Royal Corridors. Activate the first tree up ahead and then proceed.
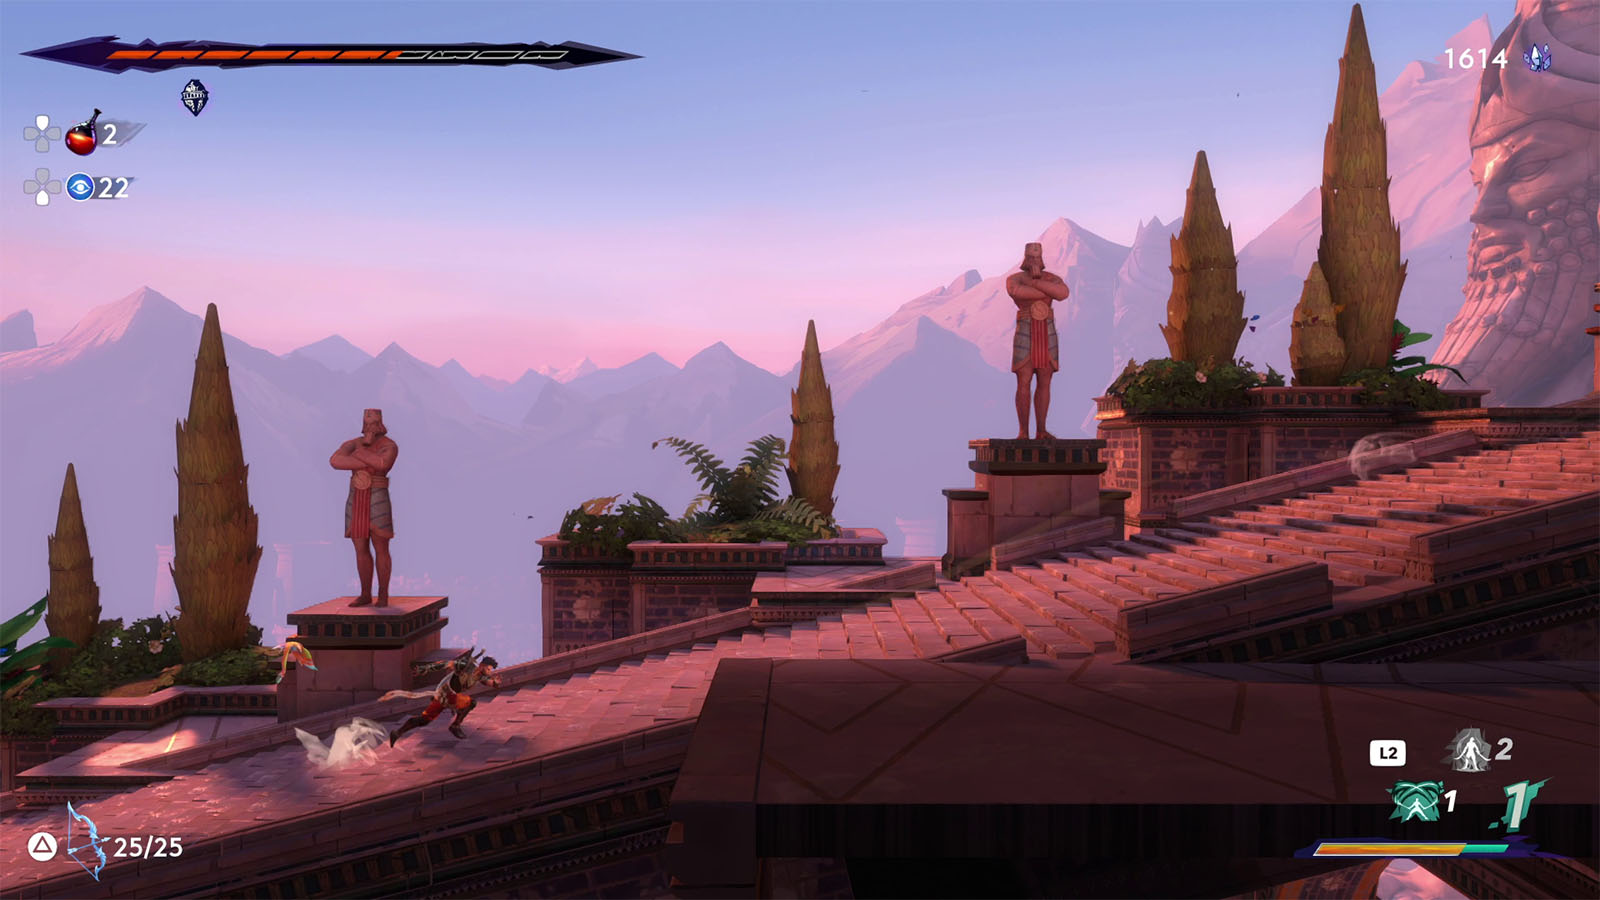
The path through the corridors is a relatively short one, but there will be enemies that will try to stop you. Your main objective at this point is to just reach the end of the corridor where you will find the final Homa Statue and Wak-Wak Tree.
Take this time to make your final preparations as the path ahead will be the ultimate fight of the game. Refer to our amulet recommendations in the following section.
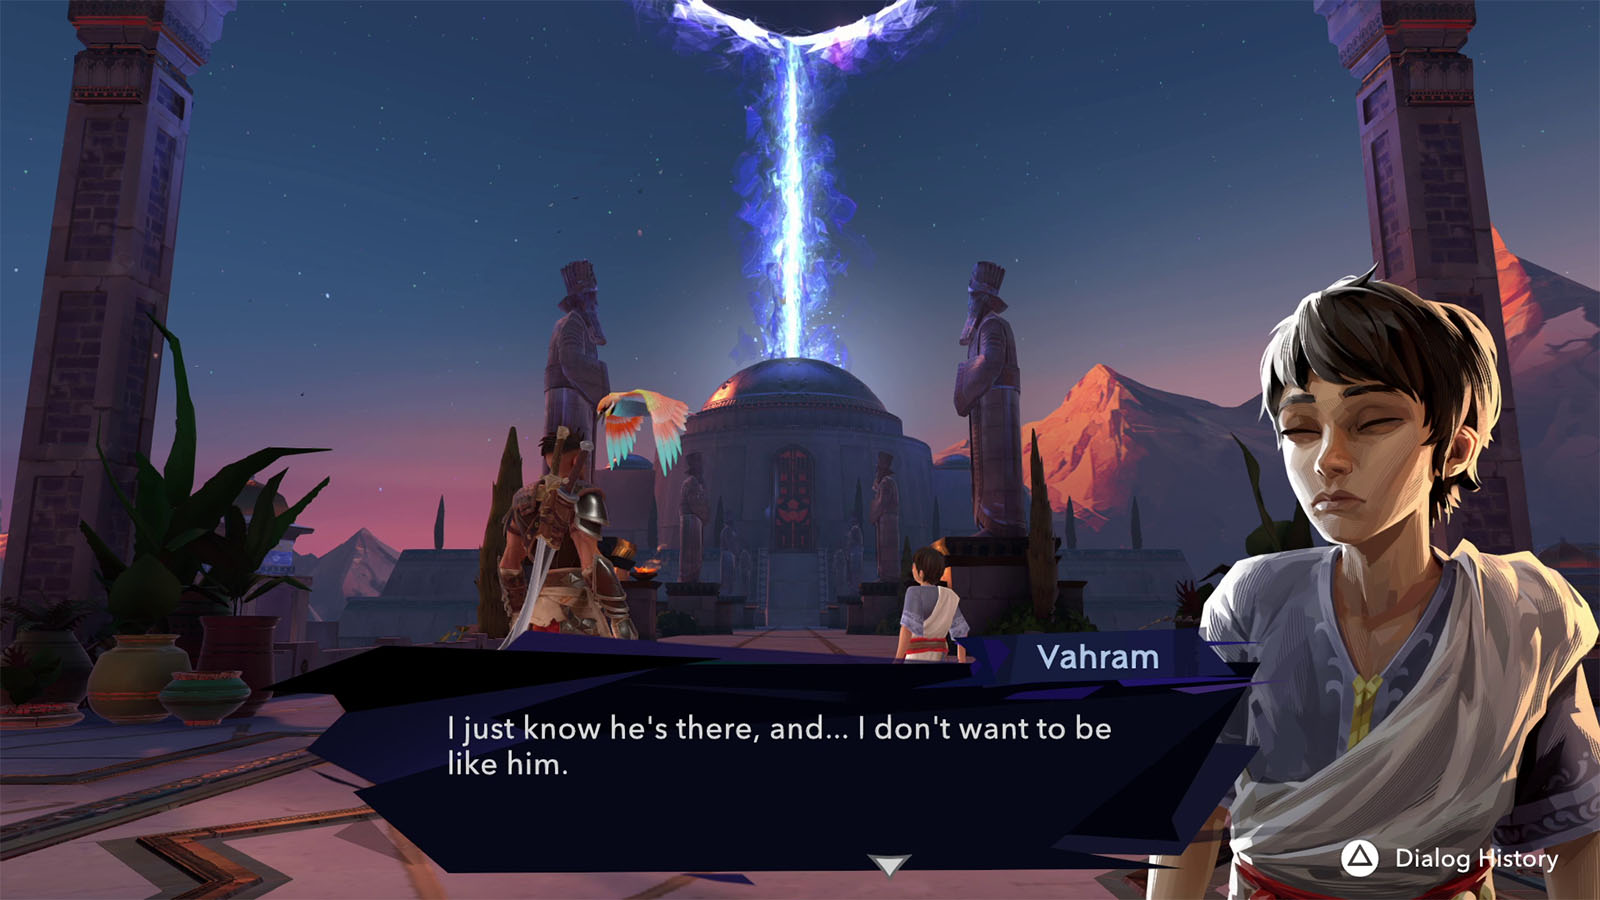
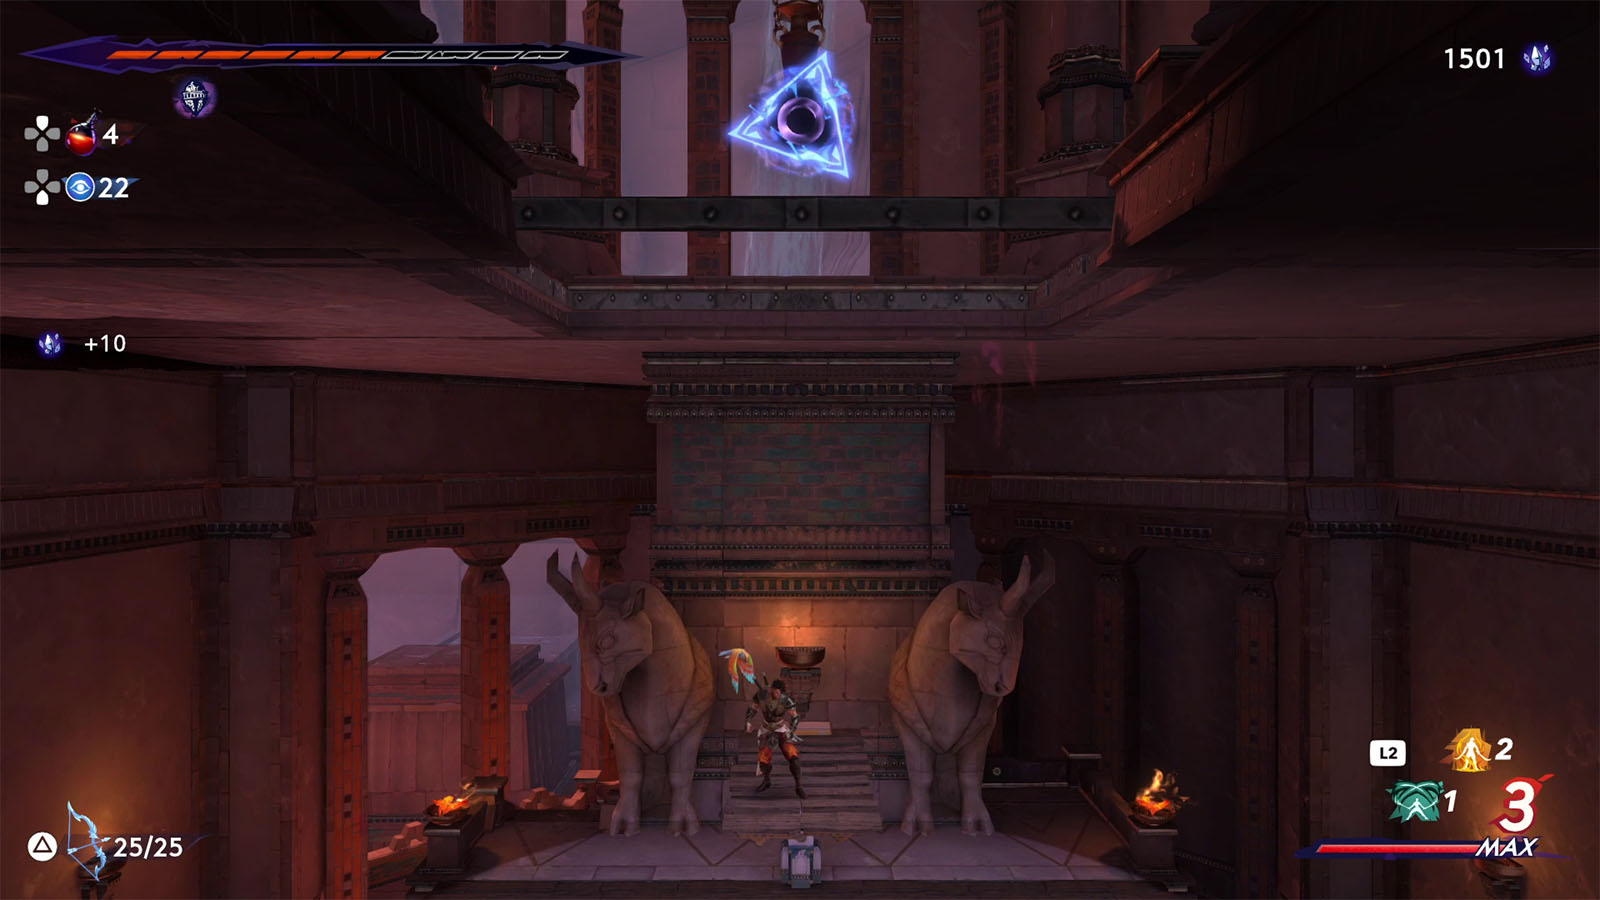
Once you reach the final stretch leading to the Hall of Divination, you will meet up with young Vahram once again. The game will also give you a prompt about proceeding to the final fight.
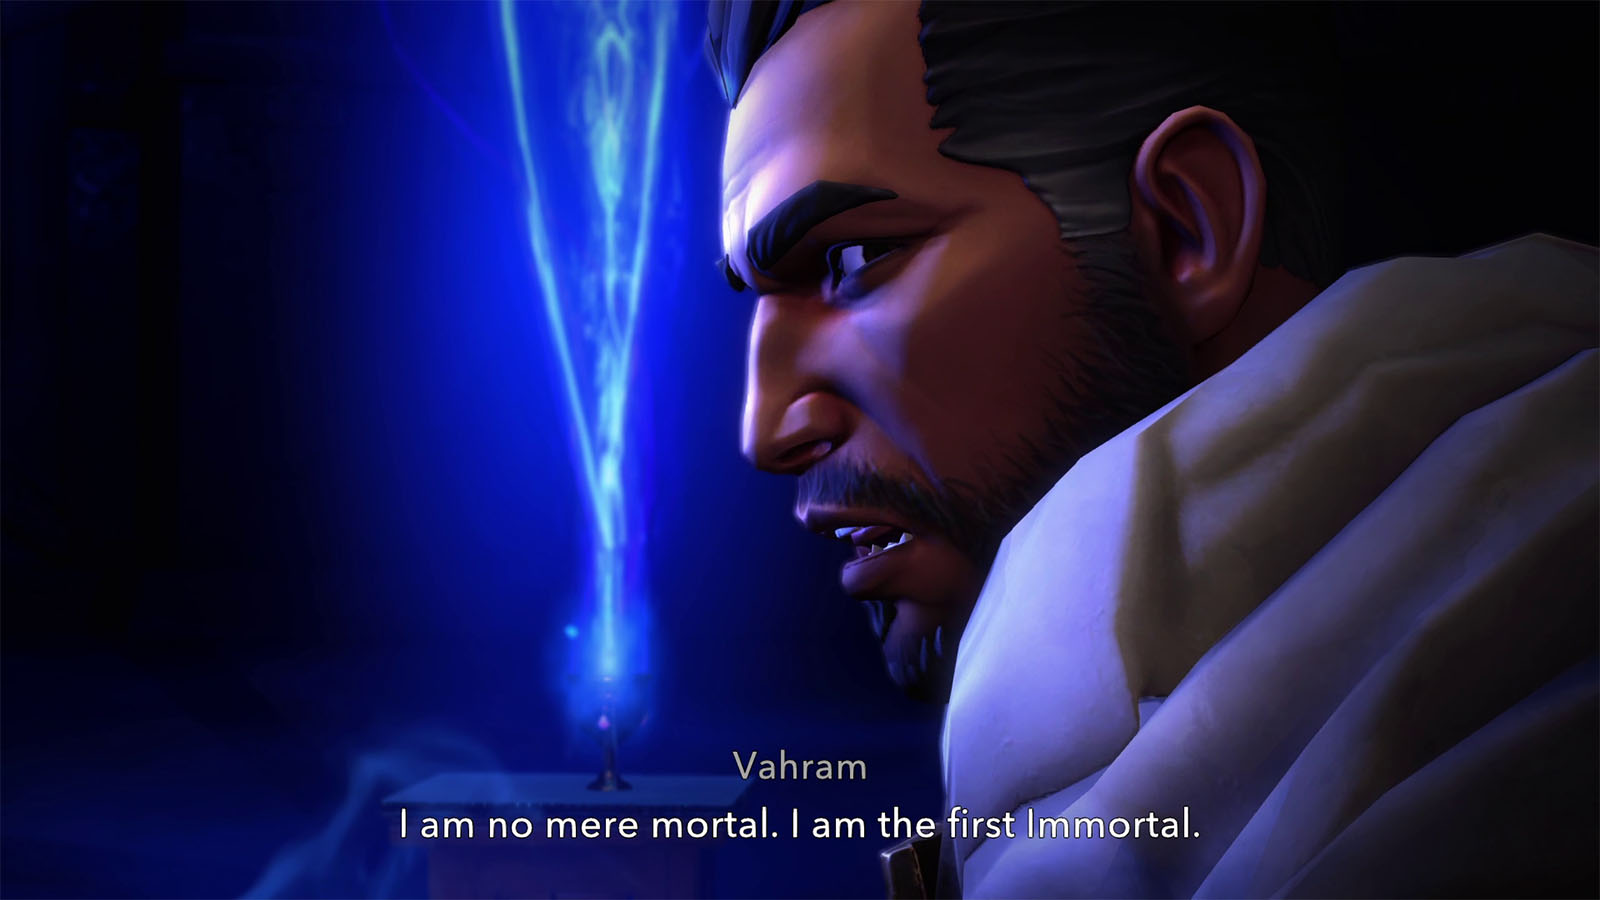
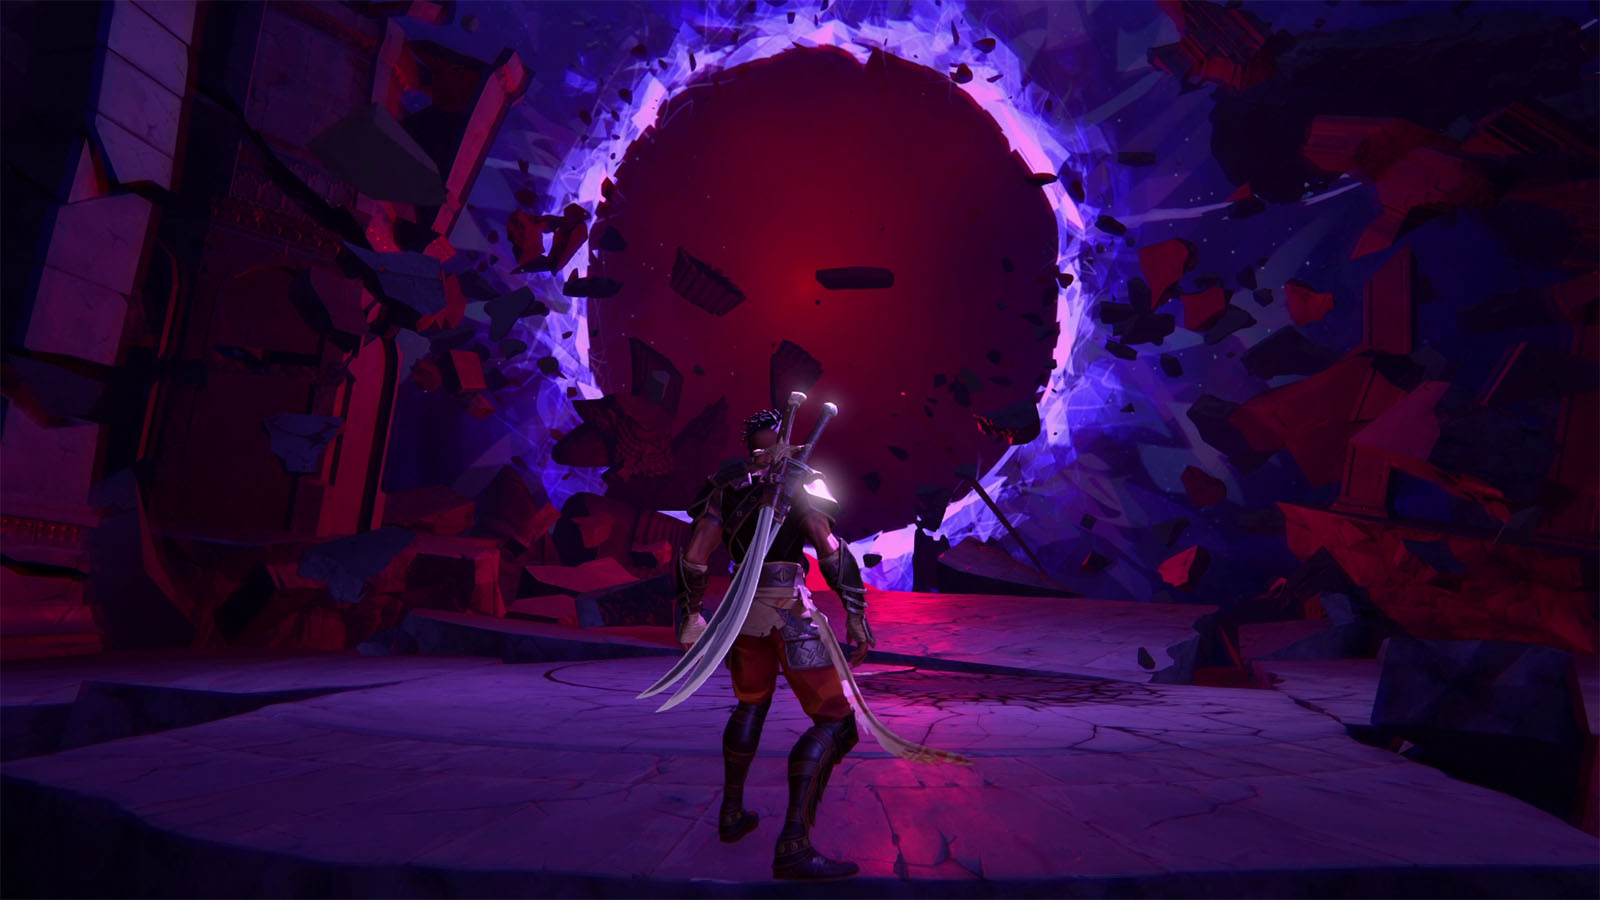
You then meet up with Vahram in the Hall of Divination as he asks you for the final time to give him the powers of the Simurgh. After refusing his request, Vahram merges himself with the Heart of the Simurgh, but this action caused all of reality to be destroyed, leaving Sargon in the void.
The Simurgh then reaches out to Sargon to make him realize that he still has the power to save Vahram and urges him to continue on.
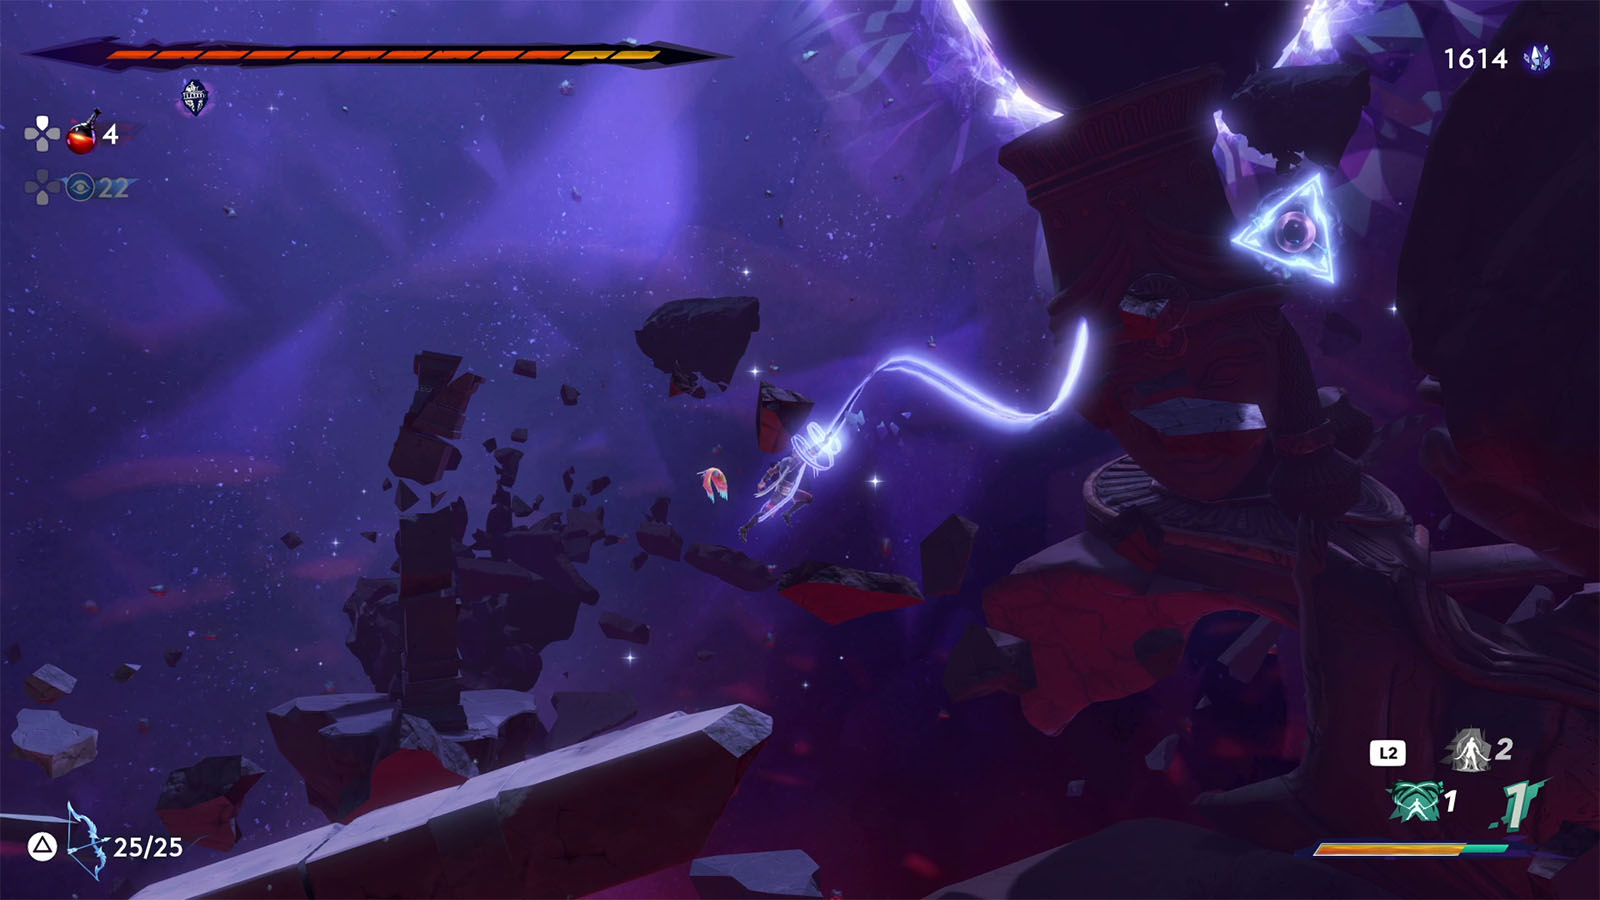
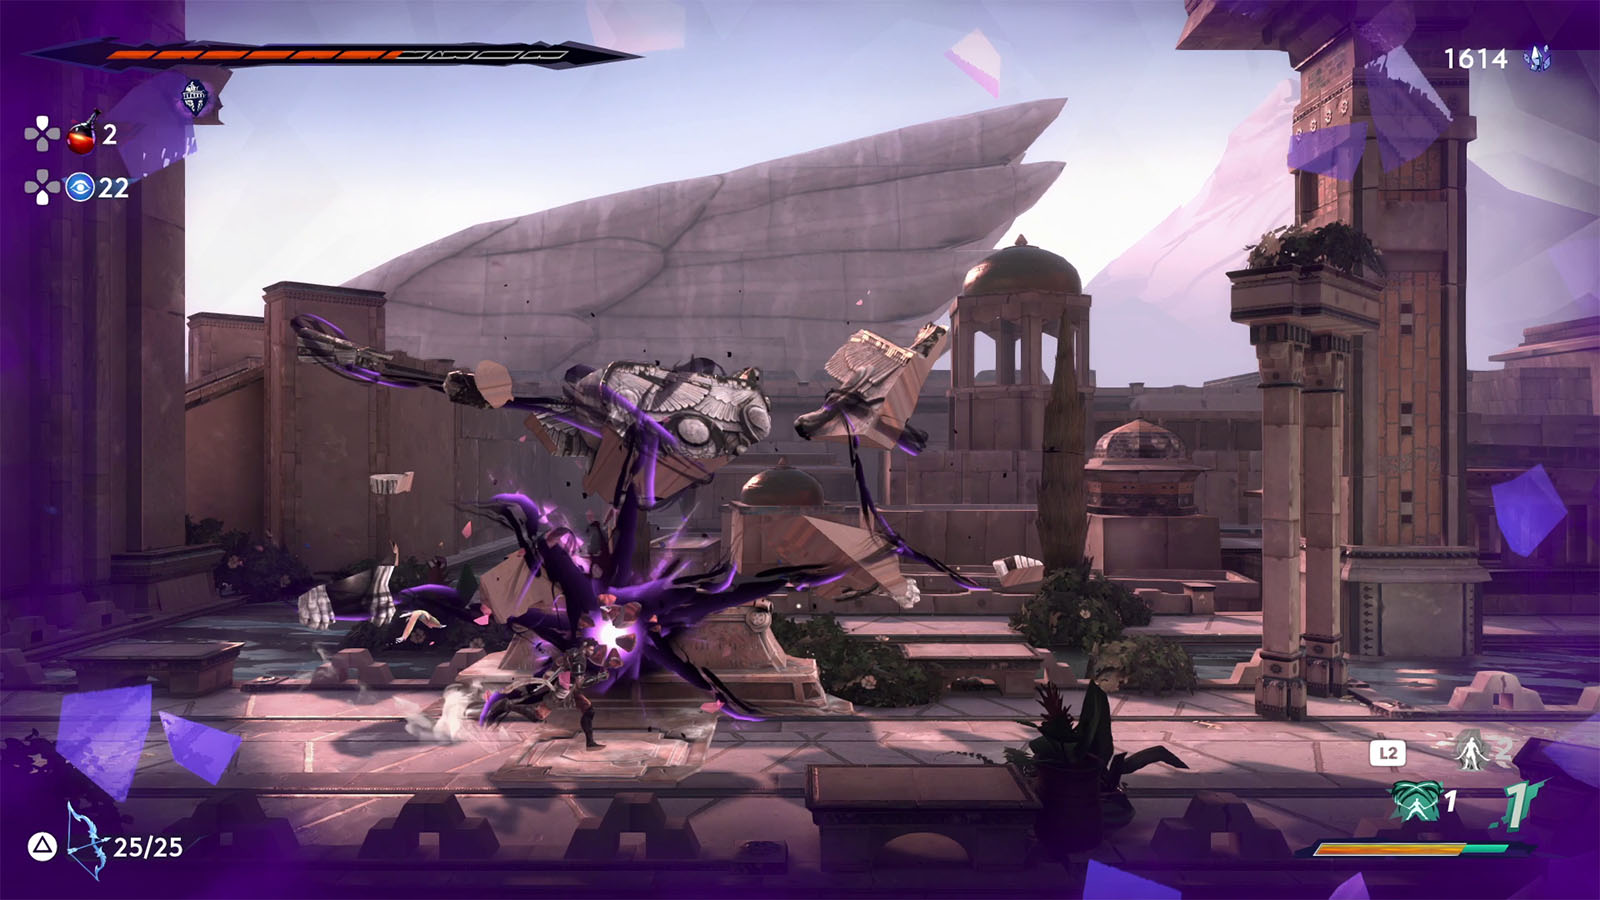
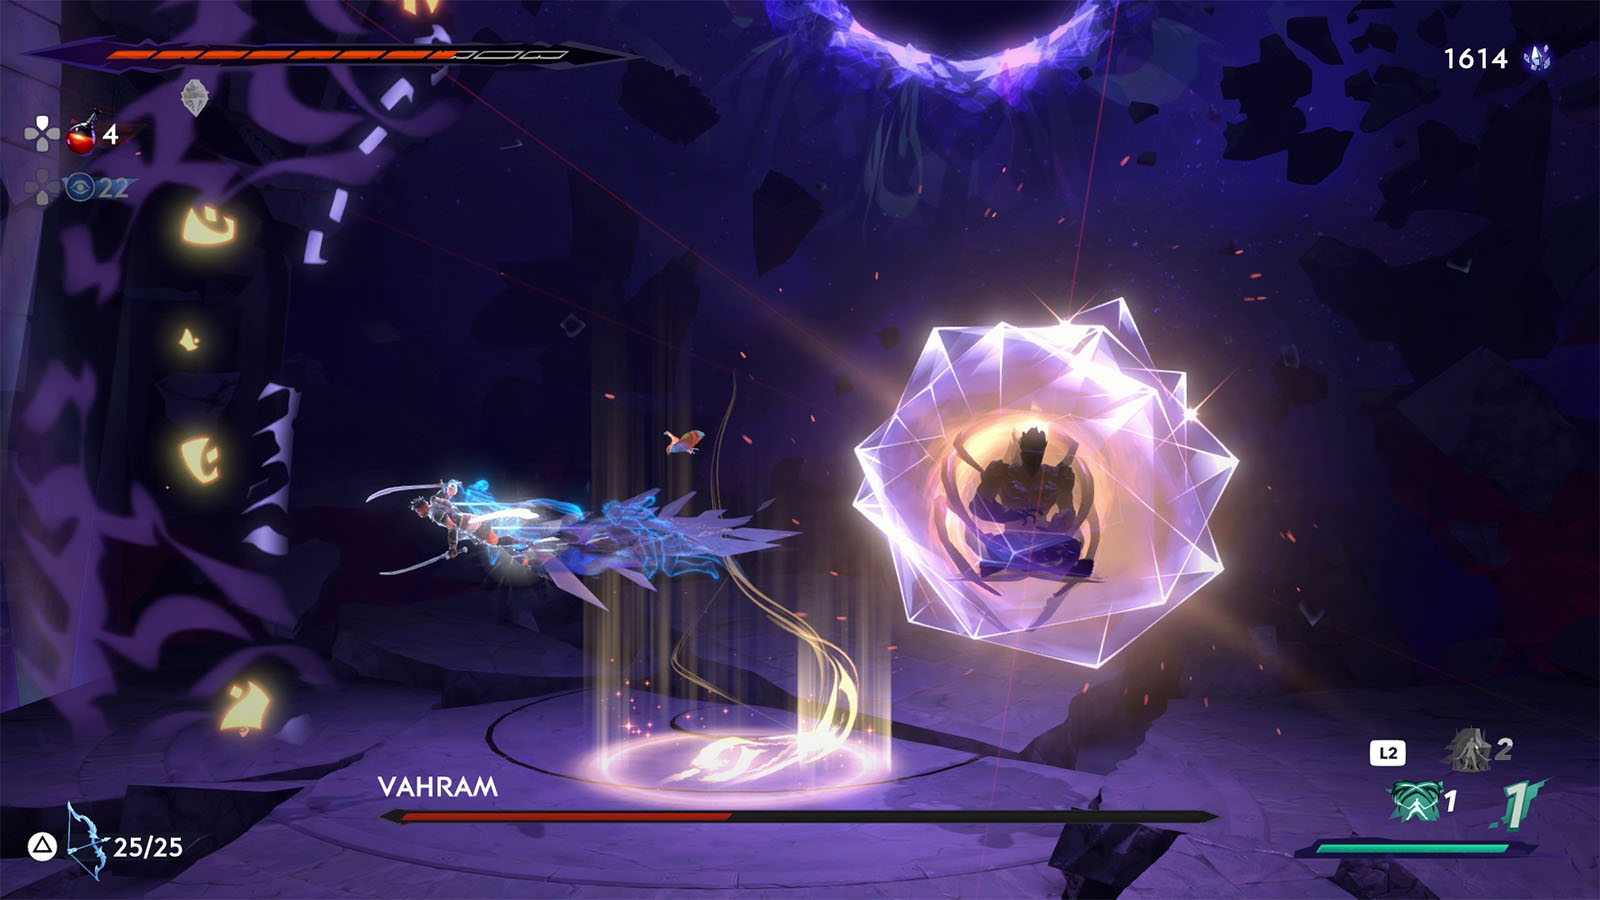
Make your way through the debris until you are near the void where Vahram reveals himself once again, but in his ascended form.
How to defeat Vahram, Time and Space
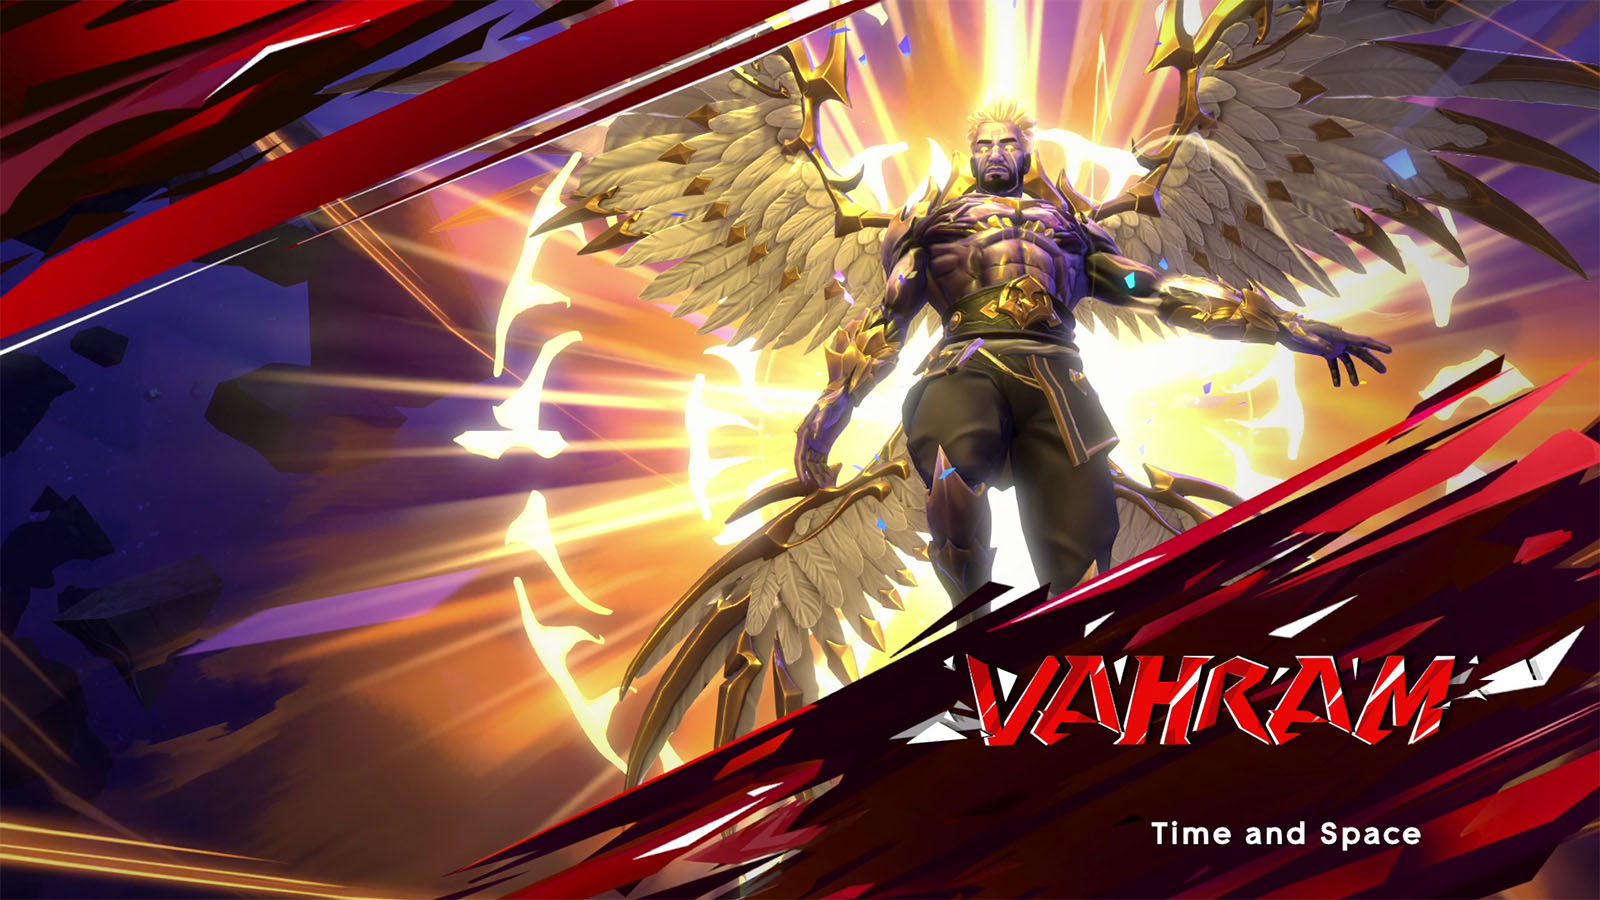
Vahram has obtained the power of both time and space, giving him the ability of not only time manipulation, but he can also instantly travel from one point to another, and he can also release massive amounts of energy.
Vahram has the following attacks in his move set:
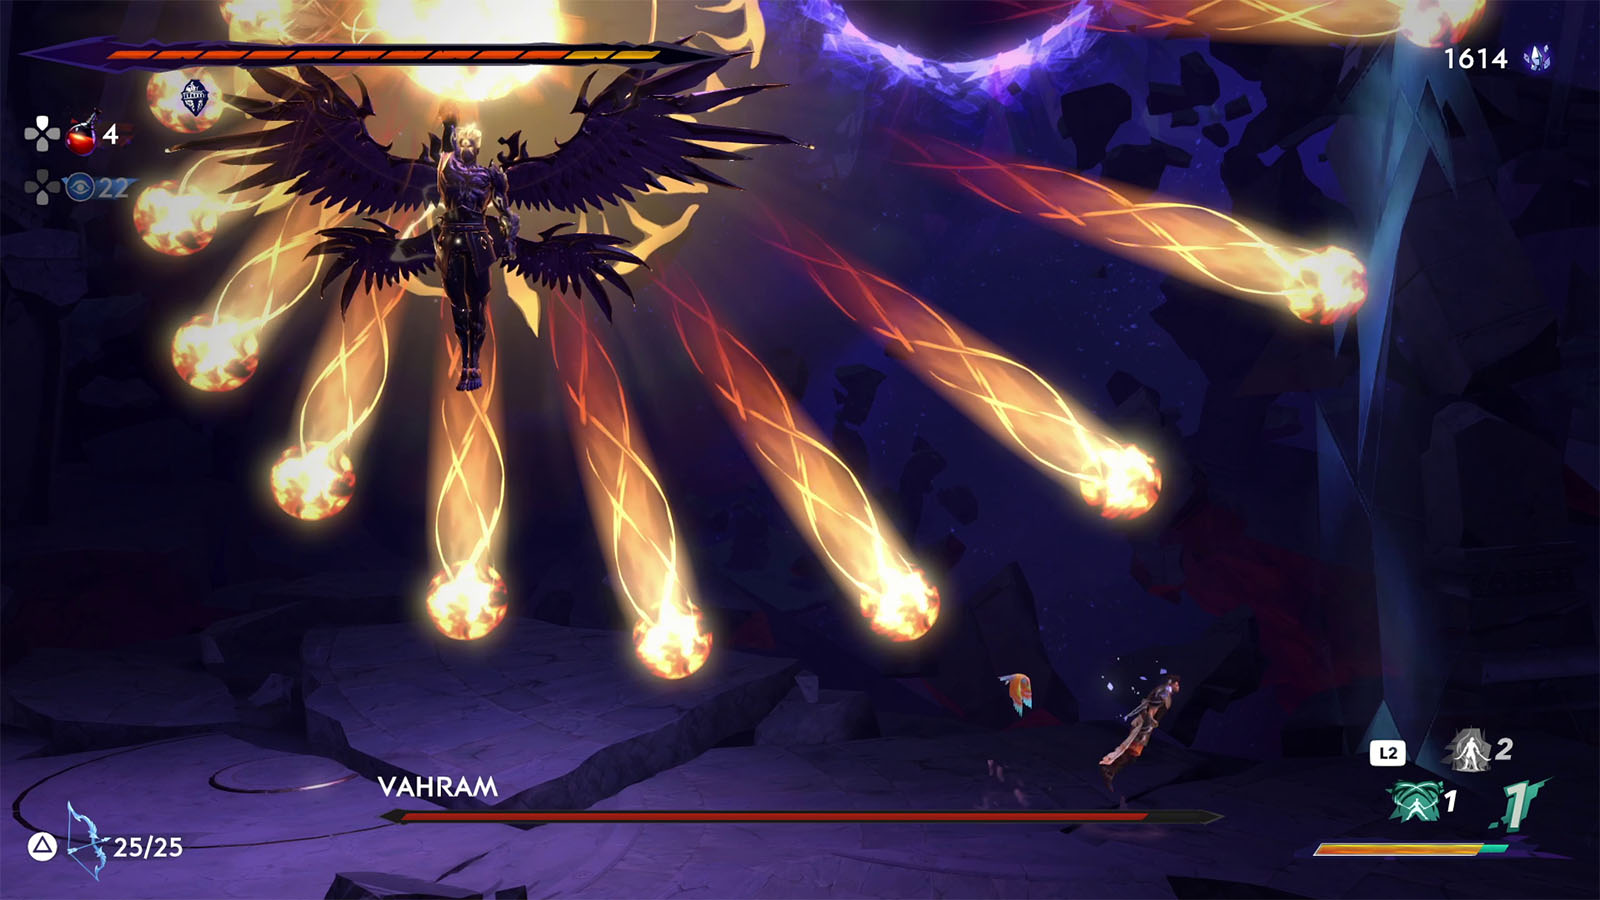
- Energy Balls – Vahram flies in the middle of the screen and summon large energy balls that slowly follow you around before dissipating. In later phases, Vahram will summon more energy balls. During this attack, two hooks will appear near Vahram.
- Energy Barrage – Vahram sends out a barrage of smaller energy balls in a spiral pattern. These smaller energy balls can be deflected back.
- Energy Blast – Vahram goes to one side of the arena and blasts out a beam of energy towards the other side. In later phases, he follows it up with an upward pillar of energy.
- Daggers – Varam blink in and summons daggers from above and on one side which then fly out after a second.
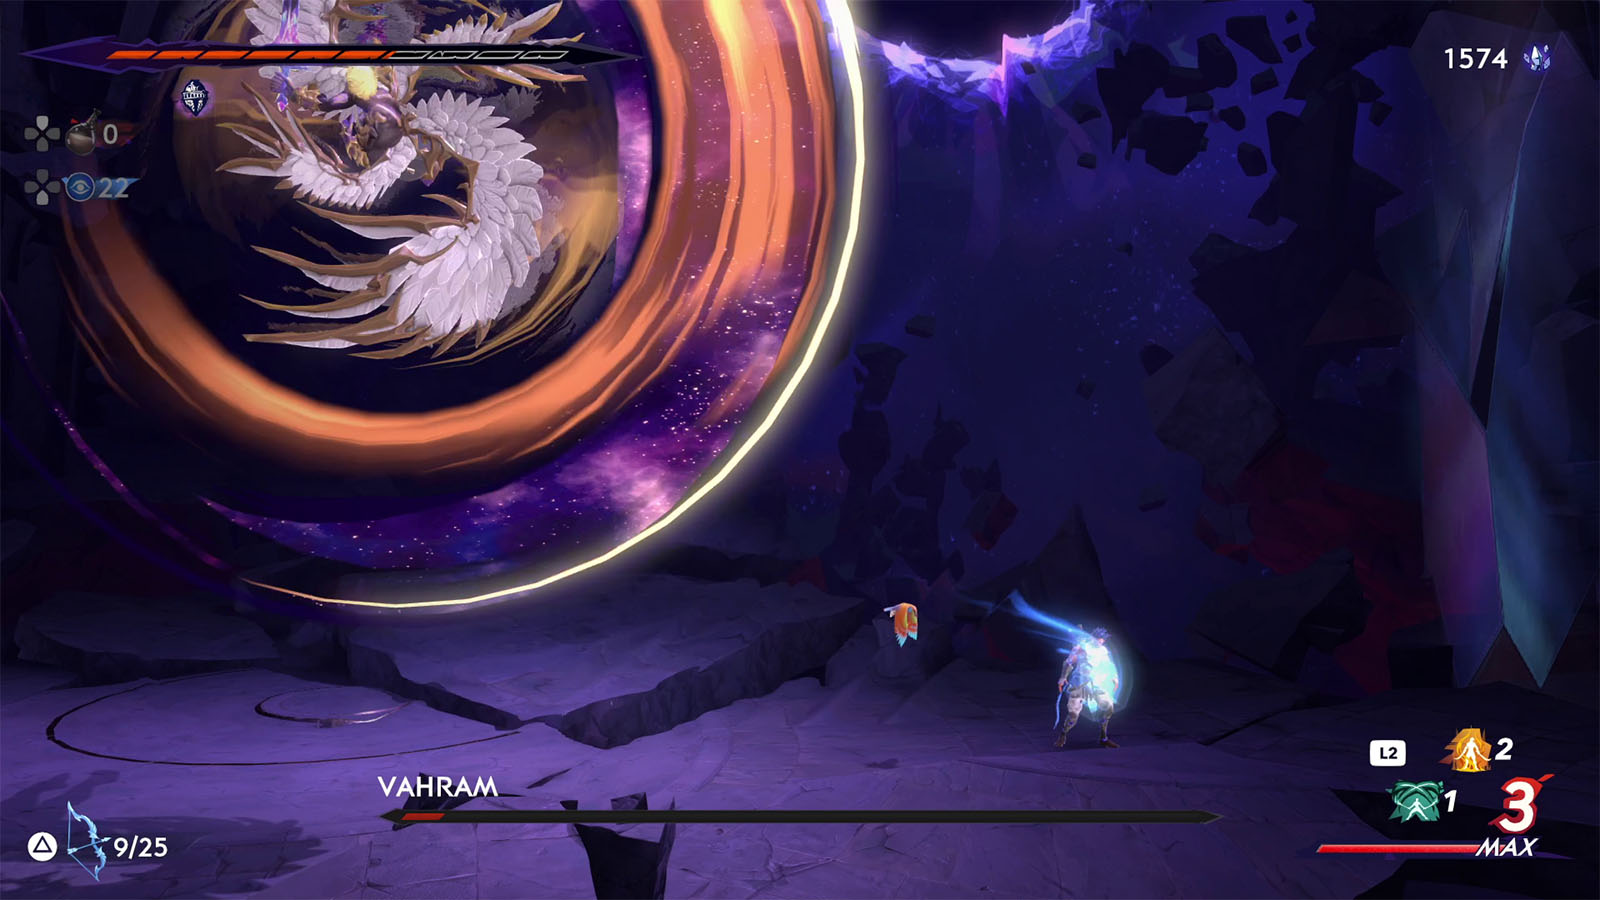
- Crystal Cocoon – Vahram encases himself in a crystal cocoon which is surrounded by a ring of energy. The ring slowly narrows down into the cocoon three times, and on the third time, Vahram will burst out of the cocoon and release massive amounts of energy. The cocoon can be broken to prevent the explosion.
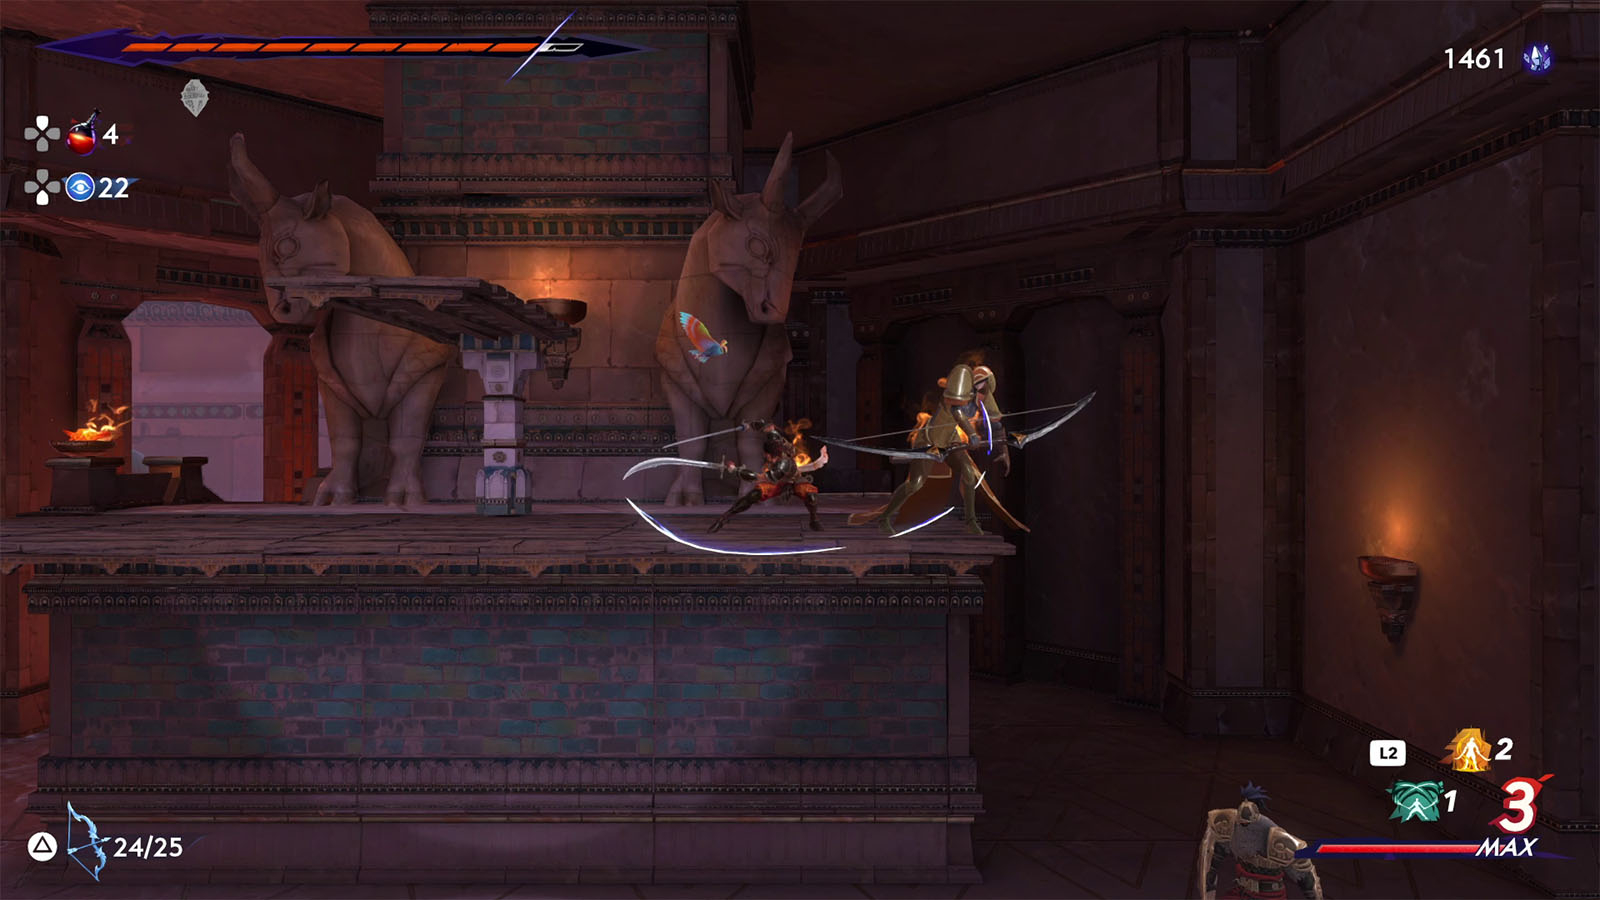
- Sword Combo – Vahram does two sword slash combos on your direction and ends it with a spinning slash.
- Shadow Strike – Vahram summons shadows of himself across the arena which then cascade down for sword strikes. Vahram also strikes down at the very end of the line and follows it up with a spinning slash.
- Delayed Slashes – Vahram prepares his slashes as slash lines appear on the arena. He strikes three times in different patterns and ends it with a dash strike across the arena.
This fight against Vahram has three phases, plus a fourth one where Sargon becomes empowered. Every time Vahram’s health gets down to 0 in every phase, the Heart of the Simurgh appears encased in a shell. Destroying this shell will cause Vahram to rewind time and enter into the next phase.
After clearing all three phases, Sargon and Vahram enter into the final phase where Sargon gets empowered by the Simurgh, dealing more damage while also taking in less damage.
For the amulets to equip, it is recommended to get the following: Wolf-Bride, Four Royal Stars, Will of Rostam, Gleaming Lion, Ayyar Amulet. Depending on your skill level, you can swap it with either for survivability like Rukhsana’s Gift, or for more damage like Verethragna’s Wrath or Evil-Eye Amulet. As for the abilities, Bahman’s Breath is highly recommended, plus either Verethragna’s Smite or Shahbaz’ Spirit for the offensive ability.

Most of Vahram’s attacks are telegraphed clearly so you will have time to react accordingly. You can also take advantage of some attacks like the Energy Barrage or the Daggers to build up your Athra meter and sustain your surges. Whenever the Heart is present, you can take the time to heal up with Bahman’s Breath.
The Crystal Cocoon can be easily broken by a pop of an offensive surge, so it’s best to have enough Athra in your meter for this move. Successfully destroying the cocoon will also render Vahram vulnerable for a few seconds. As for the Delayed Strikes, you can employ the same tactic of suspending yourself in the air while in a safe spot, either by shooting an arrow or performing a Dimensional Rift.
The Energy Blast can be avoided with a well-timed double jump and dash. Once his clone appears on the third phase, it can be used as sort of a hook, which can be helpful in avoiding the Energy Blast attack as well. He also tends to double up his Energy Barrage attack with his clone which sends out more energy balls to potentially deflect and get more Athra from.
After defeating Vahram, he then accepts that mortals should not possess the power of the Simurgh. He then decides to return the Heart and sacrifice his life in order to restore everything back to normal.
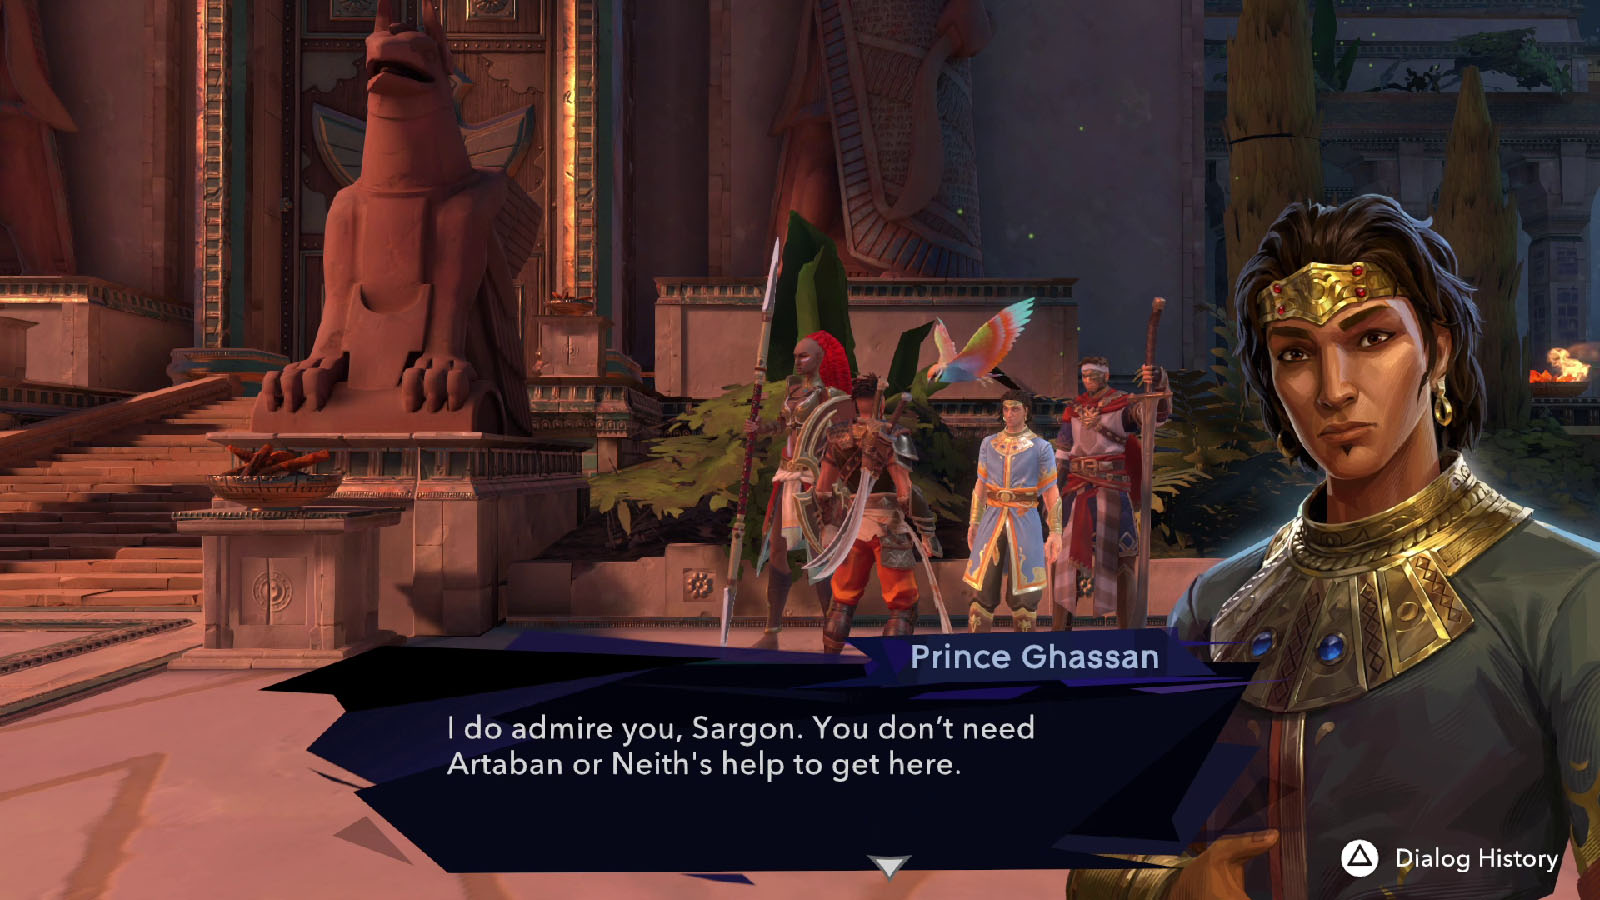
The scene then shifts back into Thomyris’ Castle where Prince Ghassan and Sargon arrive. Queen Thomyris is glad to see the prince’s return, but Prince Ghassan shocks everyone by giving up his royal status. Sargon also reveals the truth behind King Darius’ death and left the queen to explain for herself in front of her subjects.
Sargon then heads out into the courtyard where he is then accompanied by his companion bird (from the Prosperity Bird amulet). The reflection on the water then reveals that the bird has been Alkara all along.
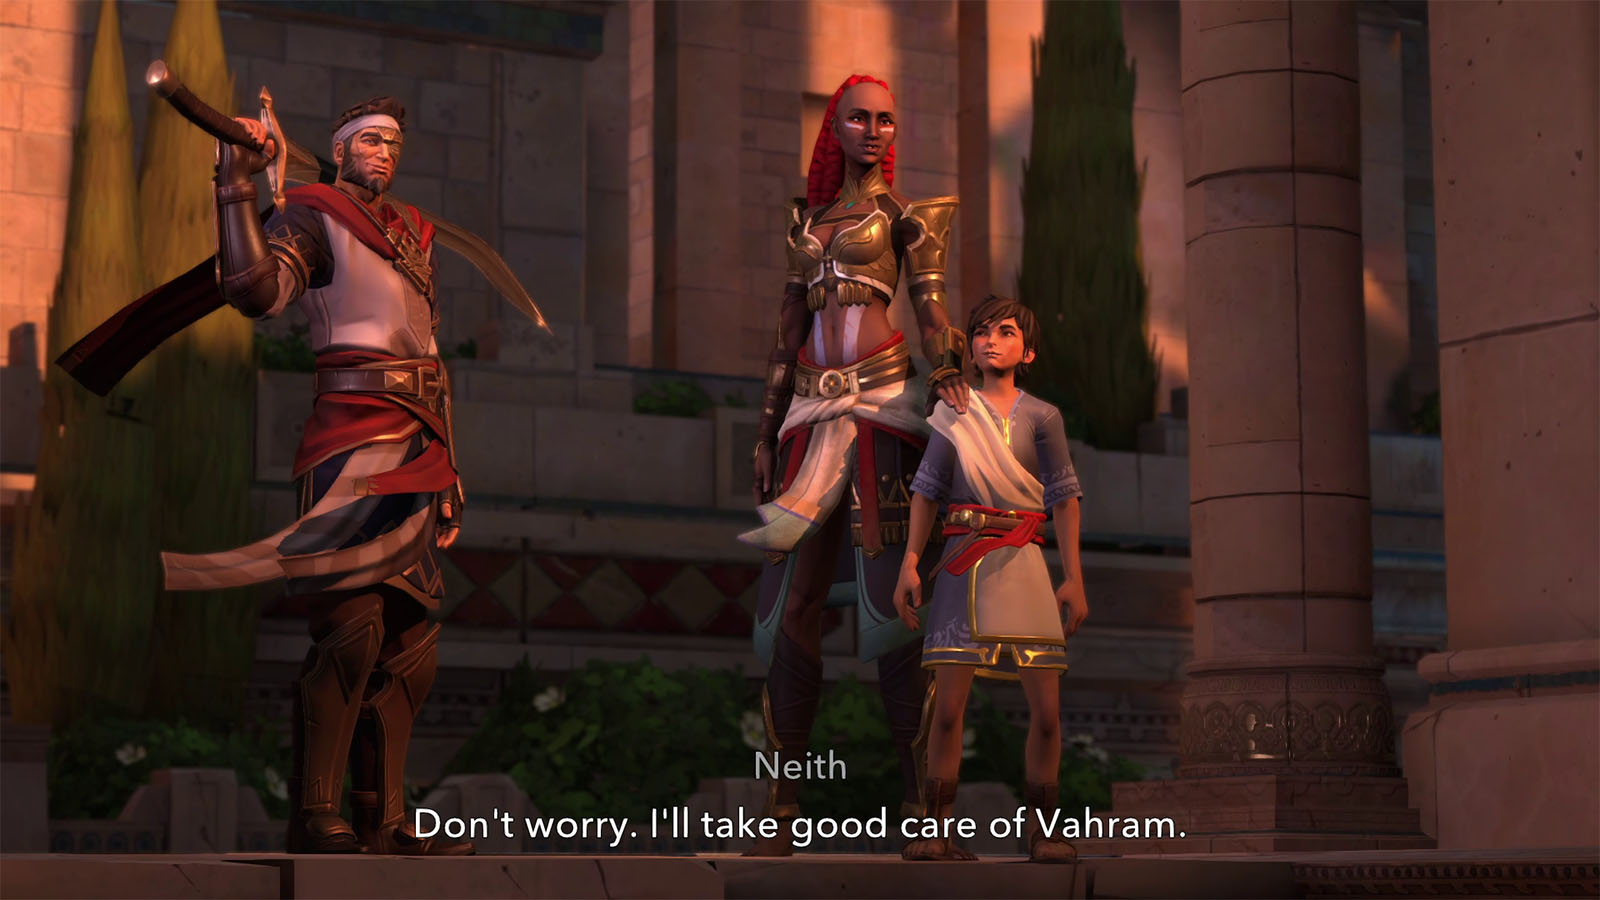
After the credits, a cutscene then plays showing Sargon preparing to set off into his next journey. He then sees Artaban, Neith, and young Vahram all safely back in Persepolis. Congratulations! You have completed Prince or Persia: The Lost Crown. You can still play through your completed save which puts you back just prior to the final fight in case you want to explore more and find the other collectibles in Mount Qaf.


