
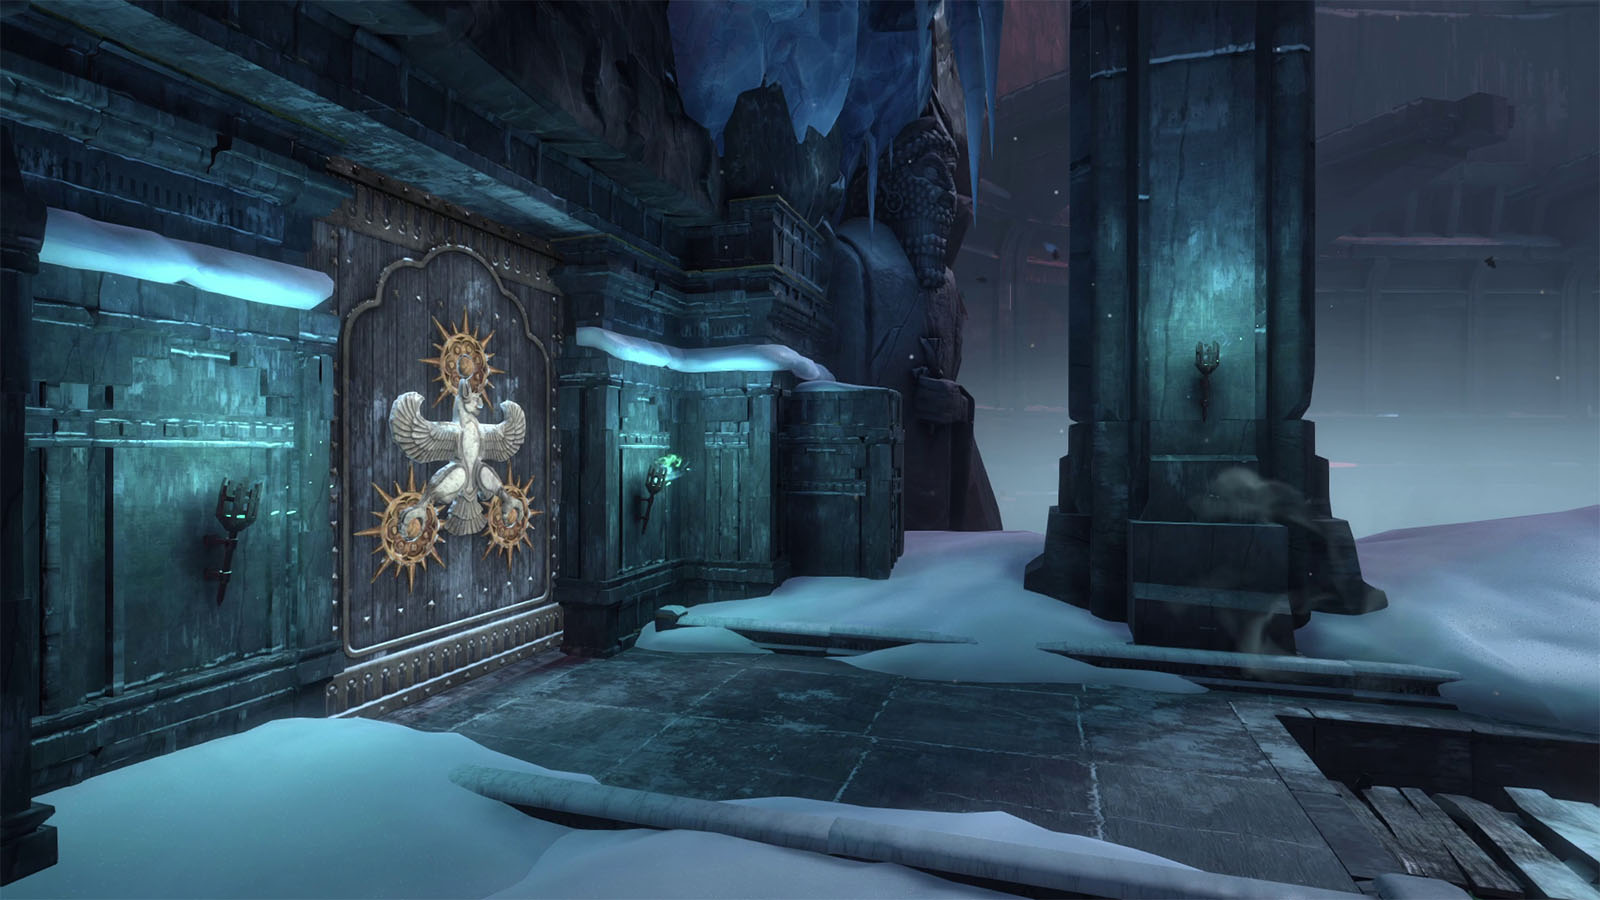
Father and Son is the eighth chapter of Prince of Persia: The Lost Crown. Sargon’s next journey takes him to the Tower of Silence in order to retrieve the Key of Kings before Vahram takes over the Heart of the Simurgh. Read ahead as we go through the events of Father and Son in Prince of Persia: The Lost Crown and share some tips, locations of collectibles, and other helpful tricks to complete the chapter.
See previous: Chapter 7 – Return to the Past
Chapter Objectives:
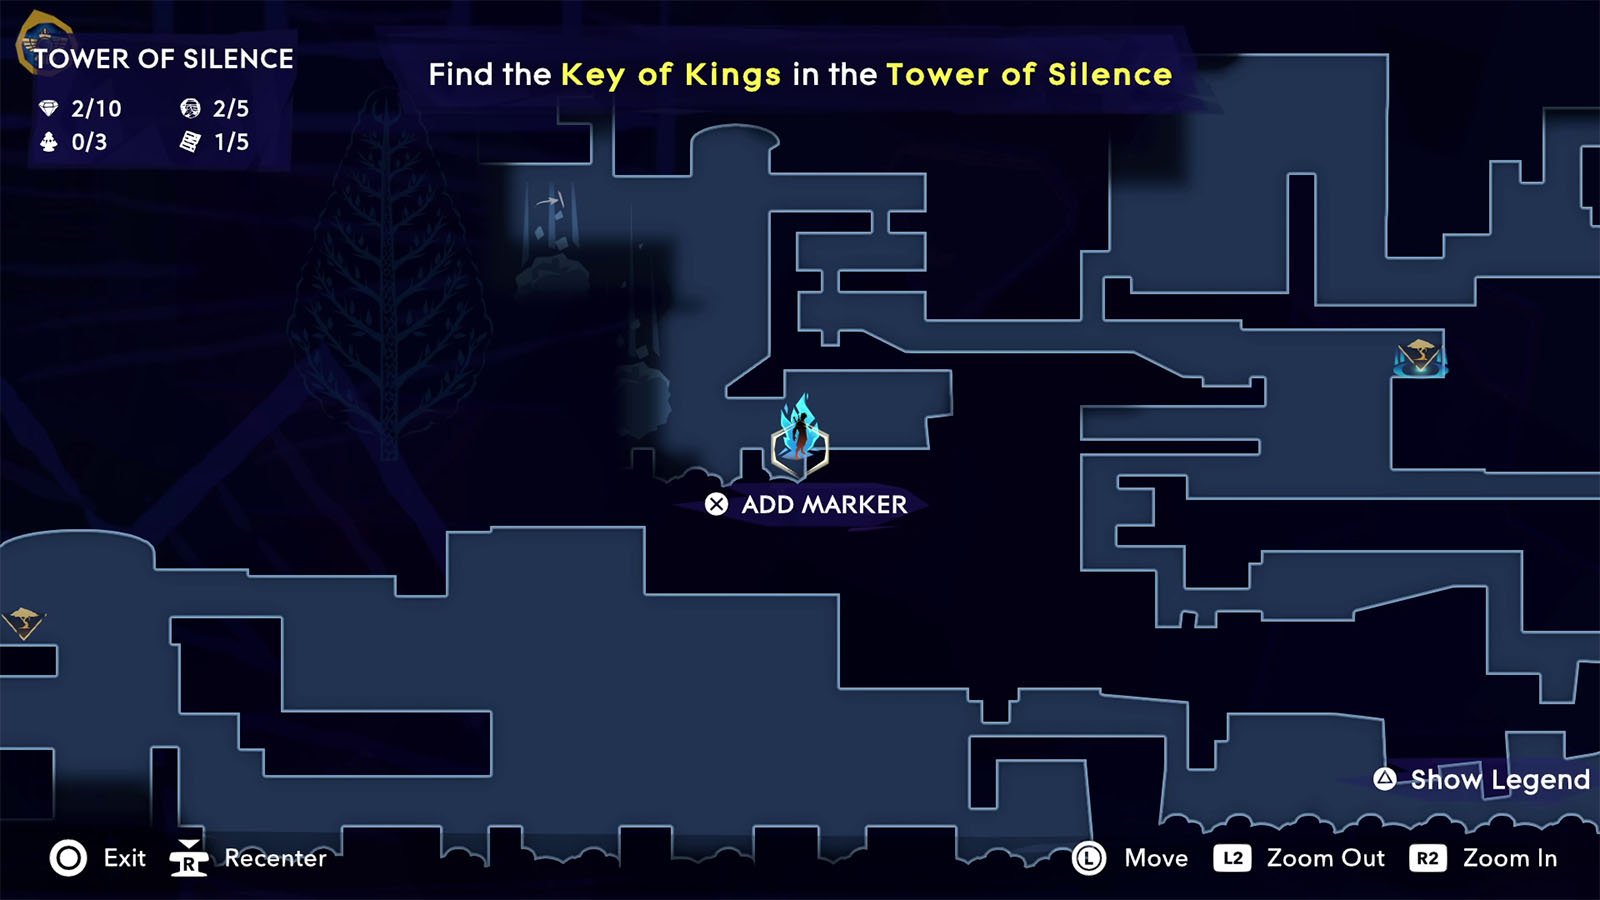
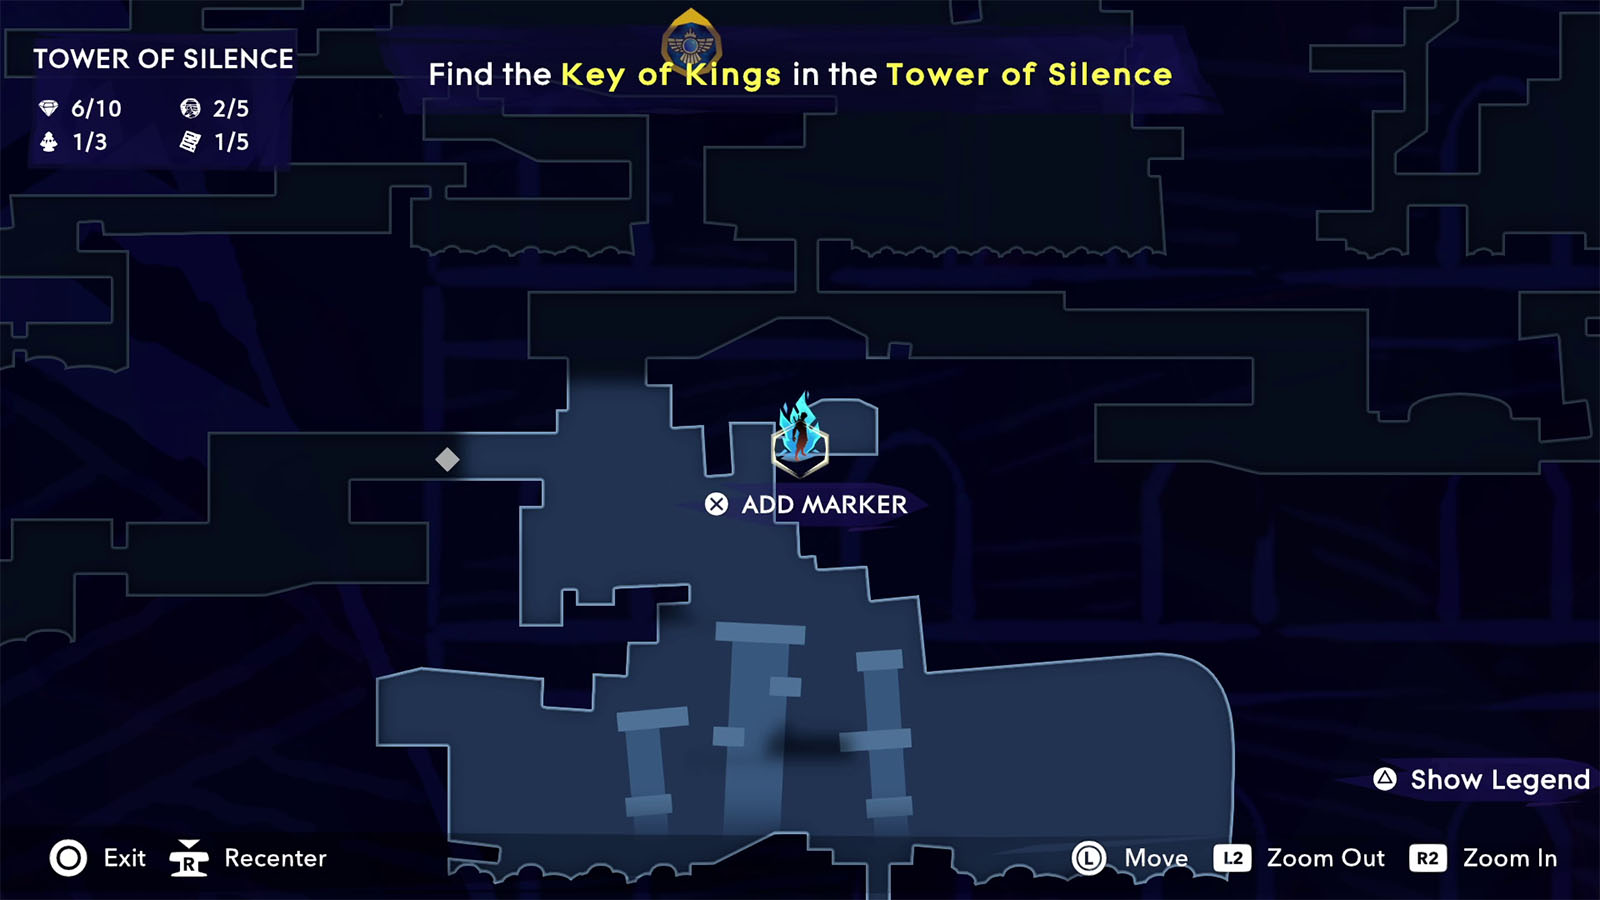
Find the Key of Kings in the Tower of Silence
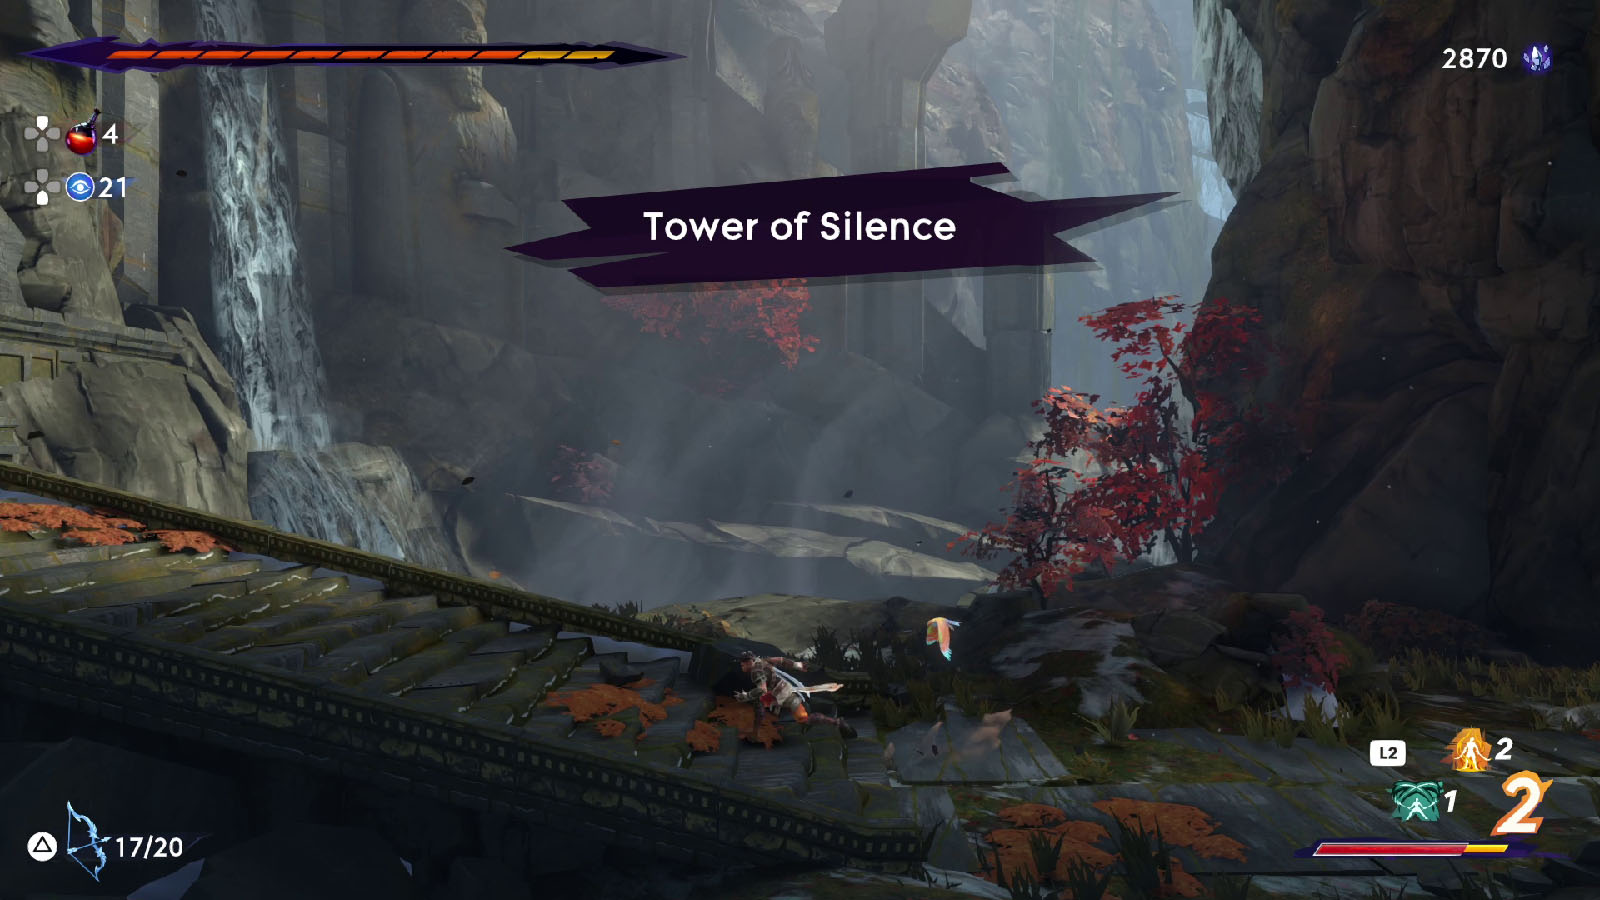
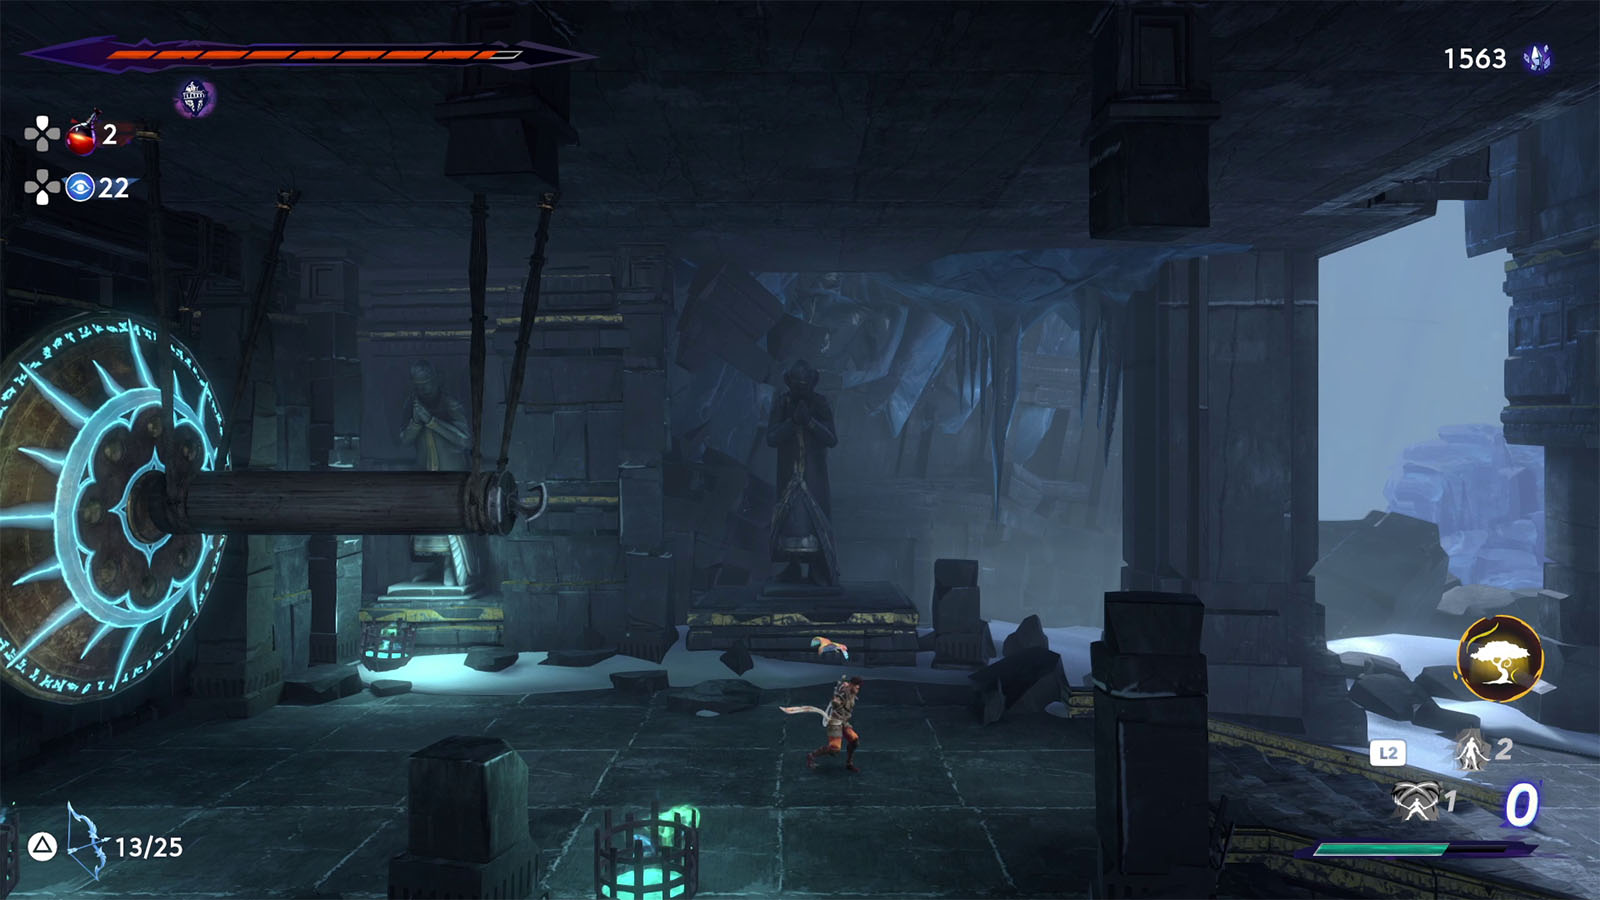
Start your journey to the Tower of Silence from the path north of the Hyrcanian Forest. Although you can also access the Tower of Silence from Kaheva’s Forge, you won’t be able to get to the main path to the top from there.
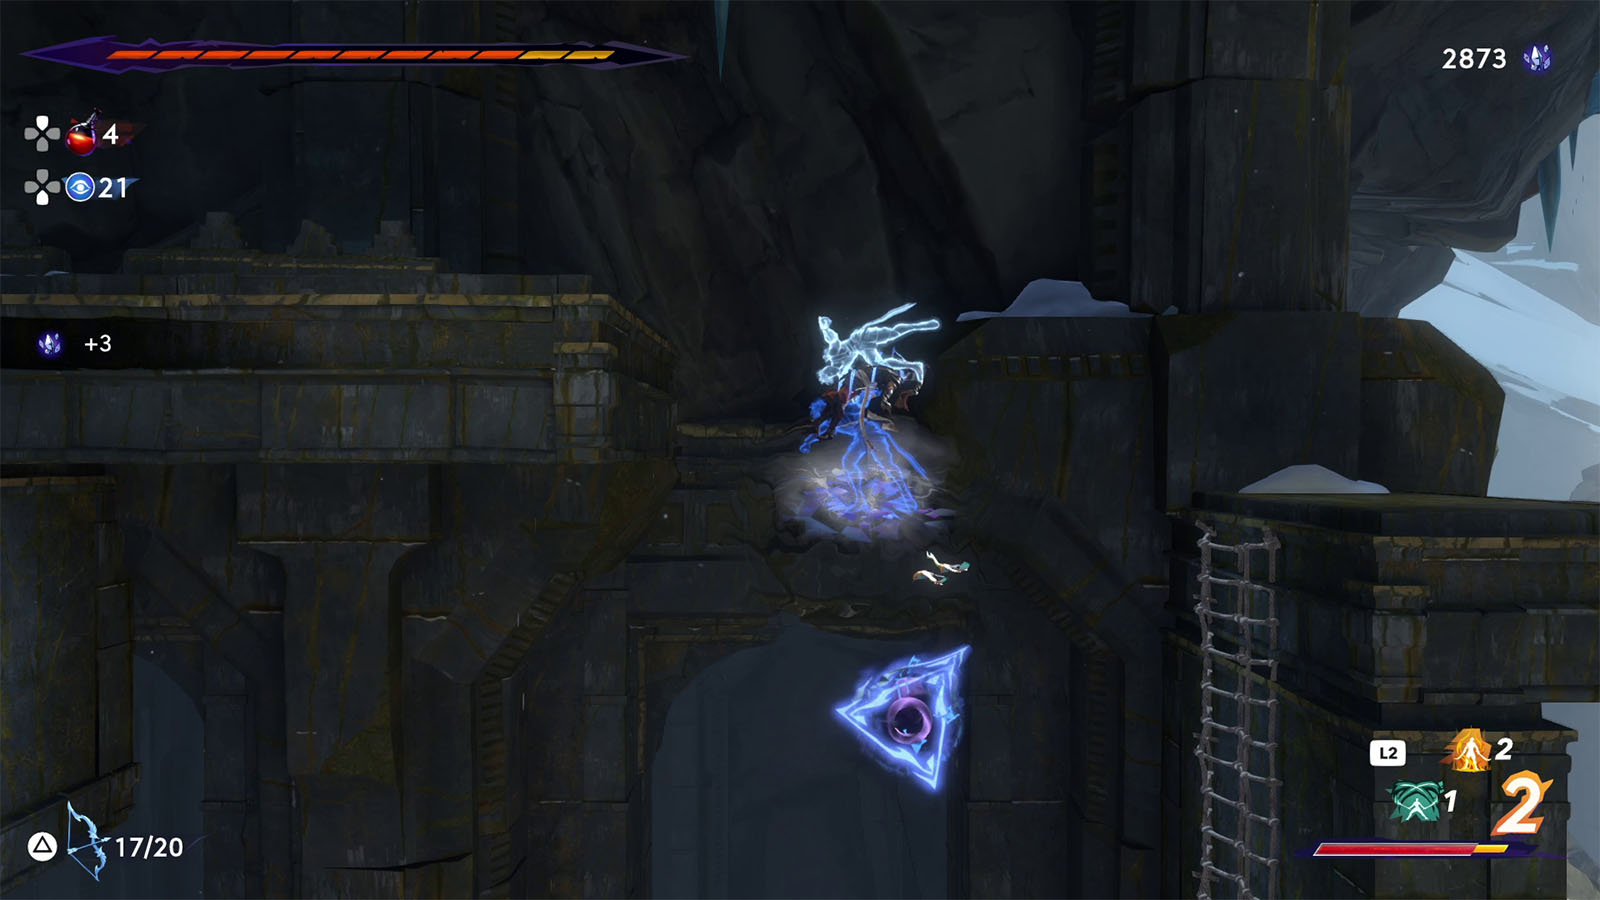
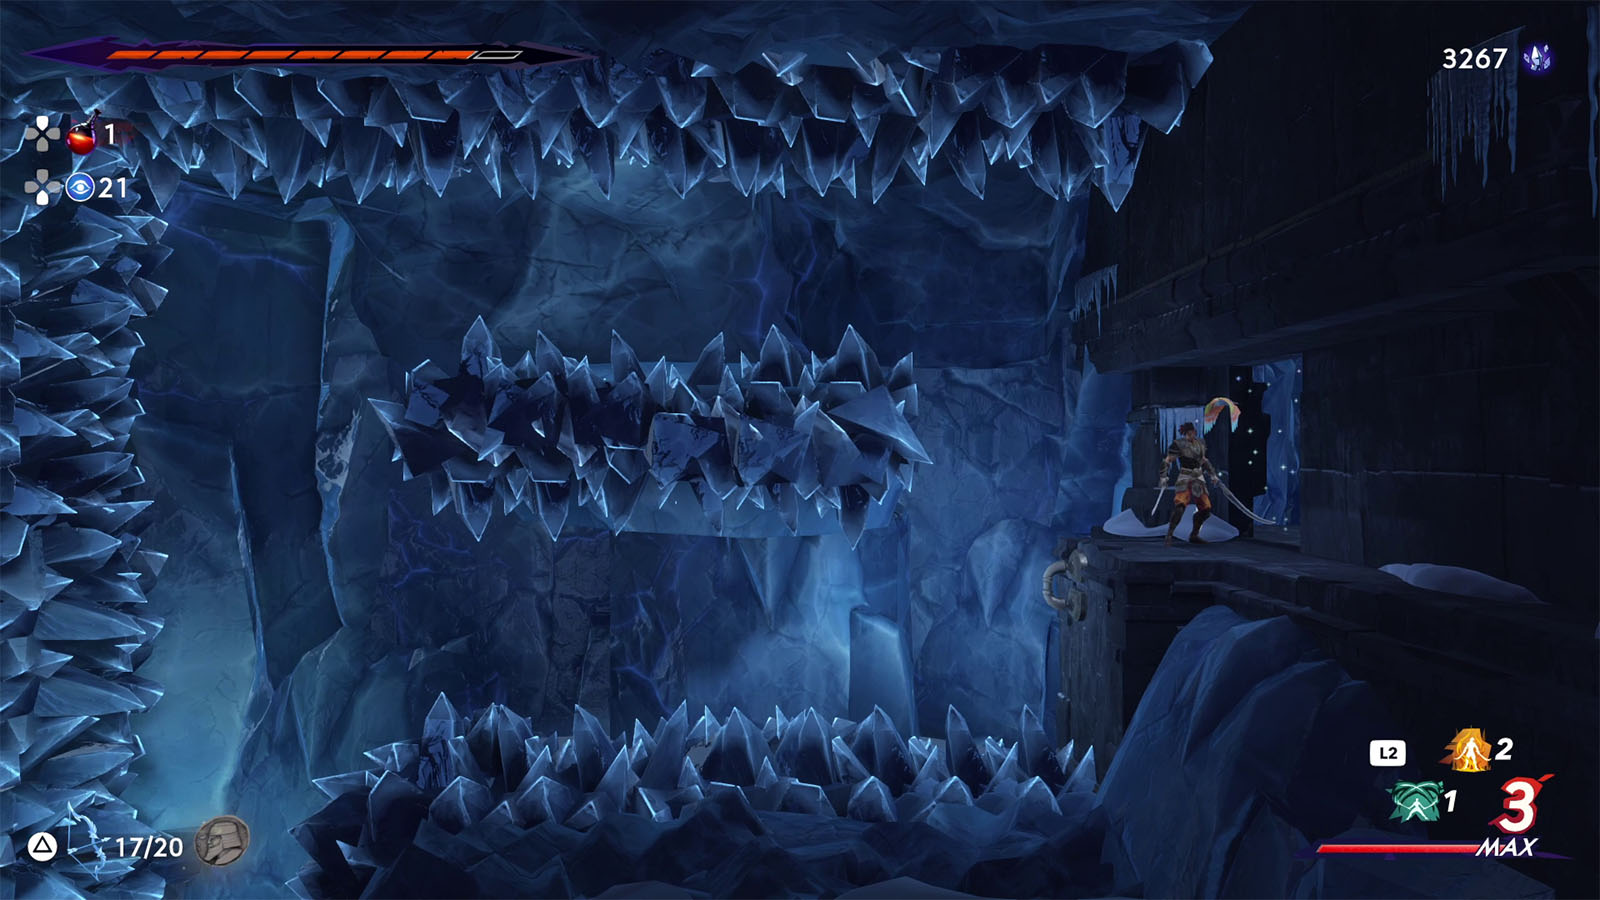
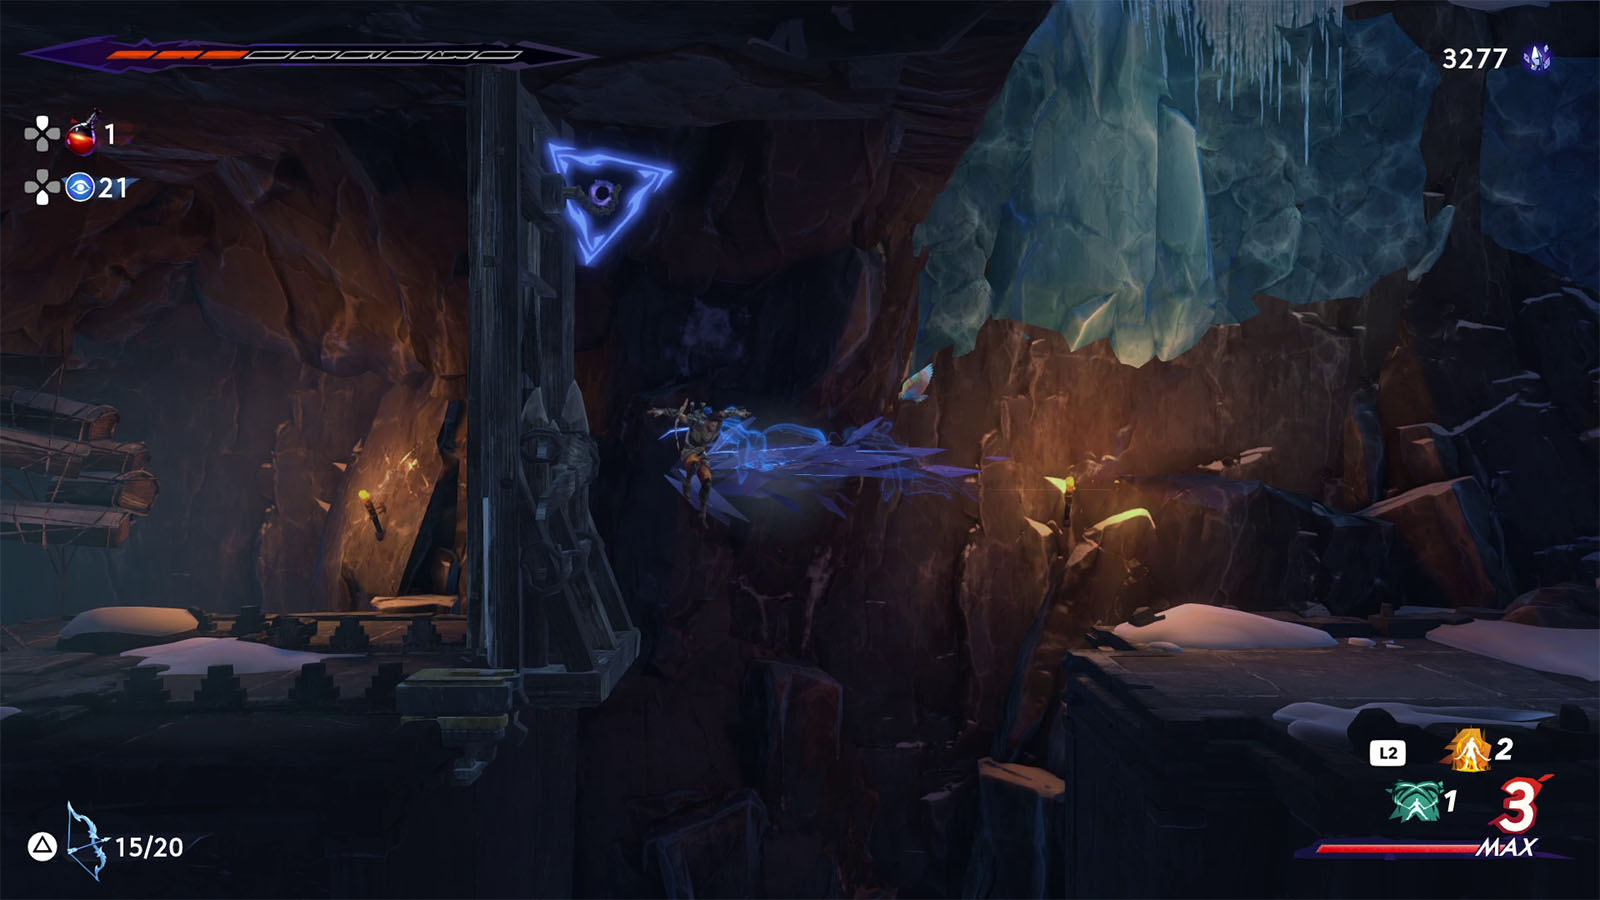
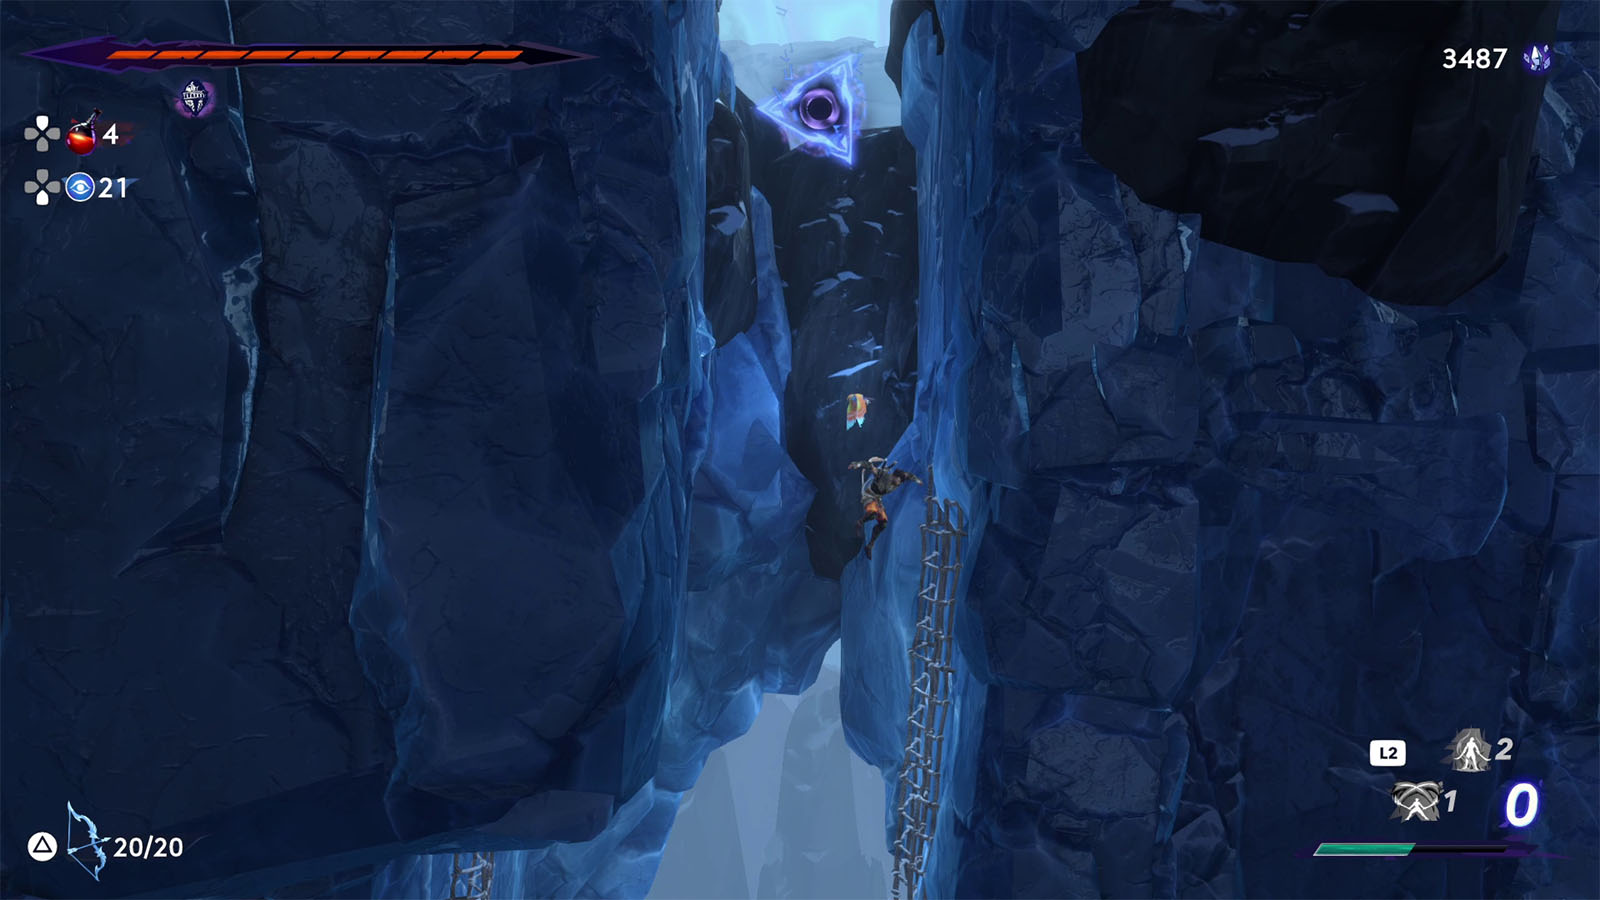
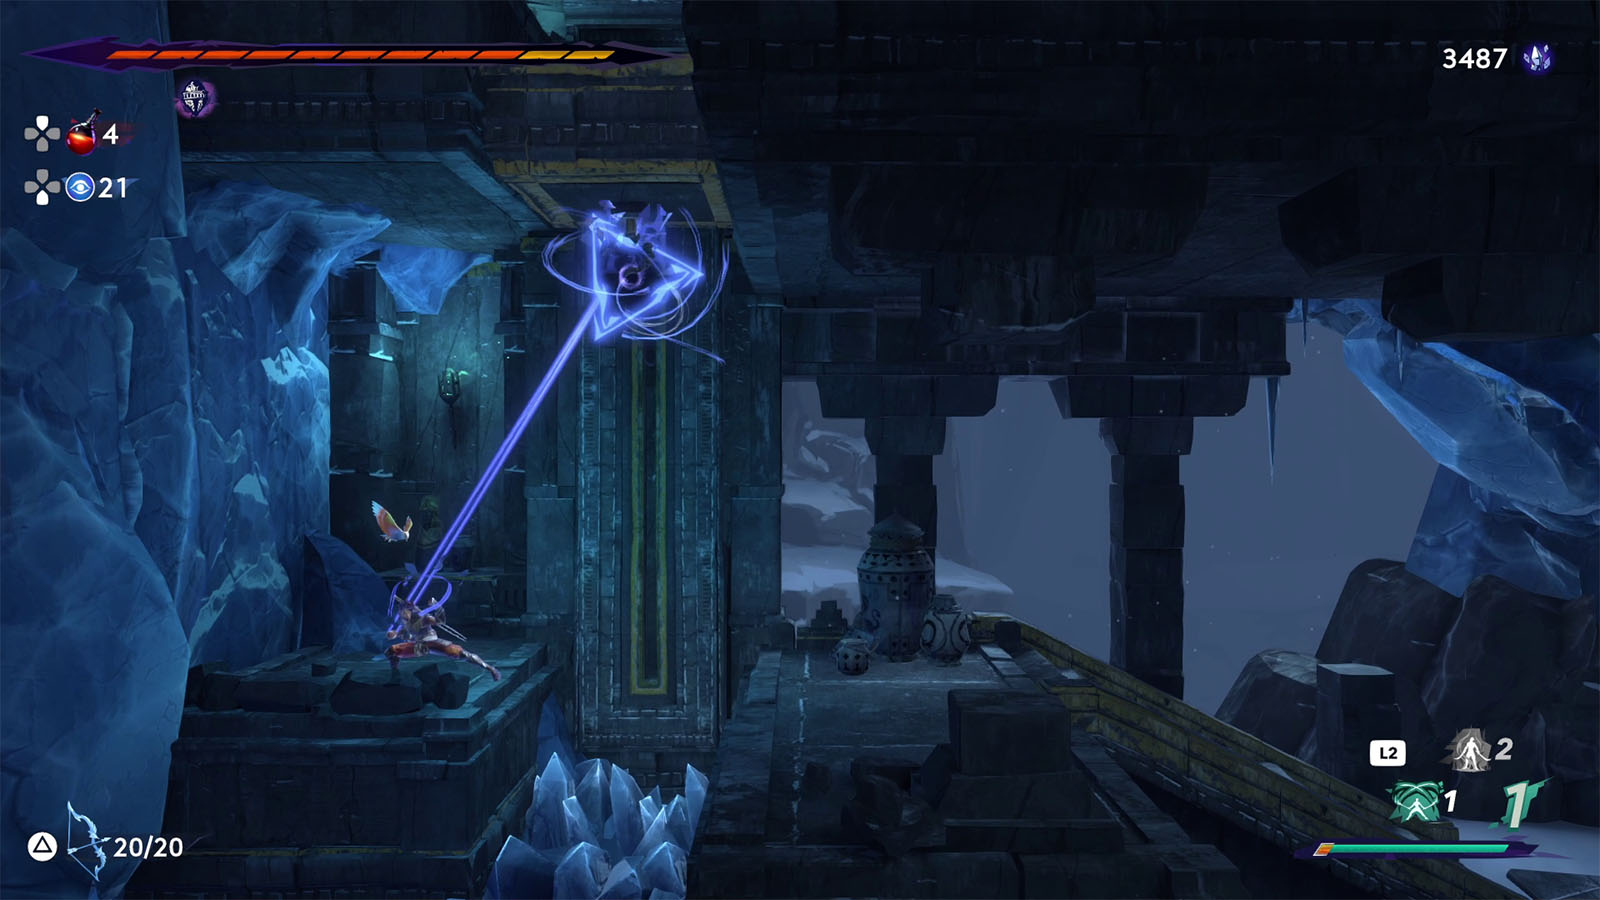
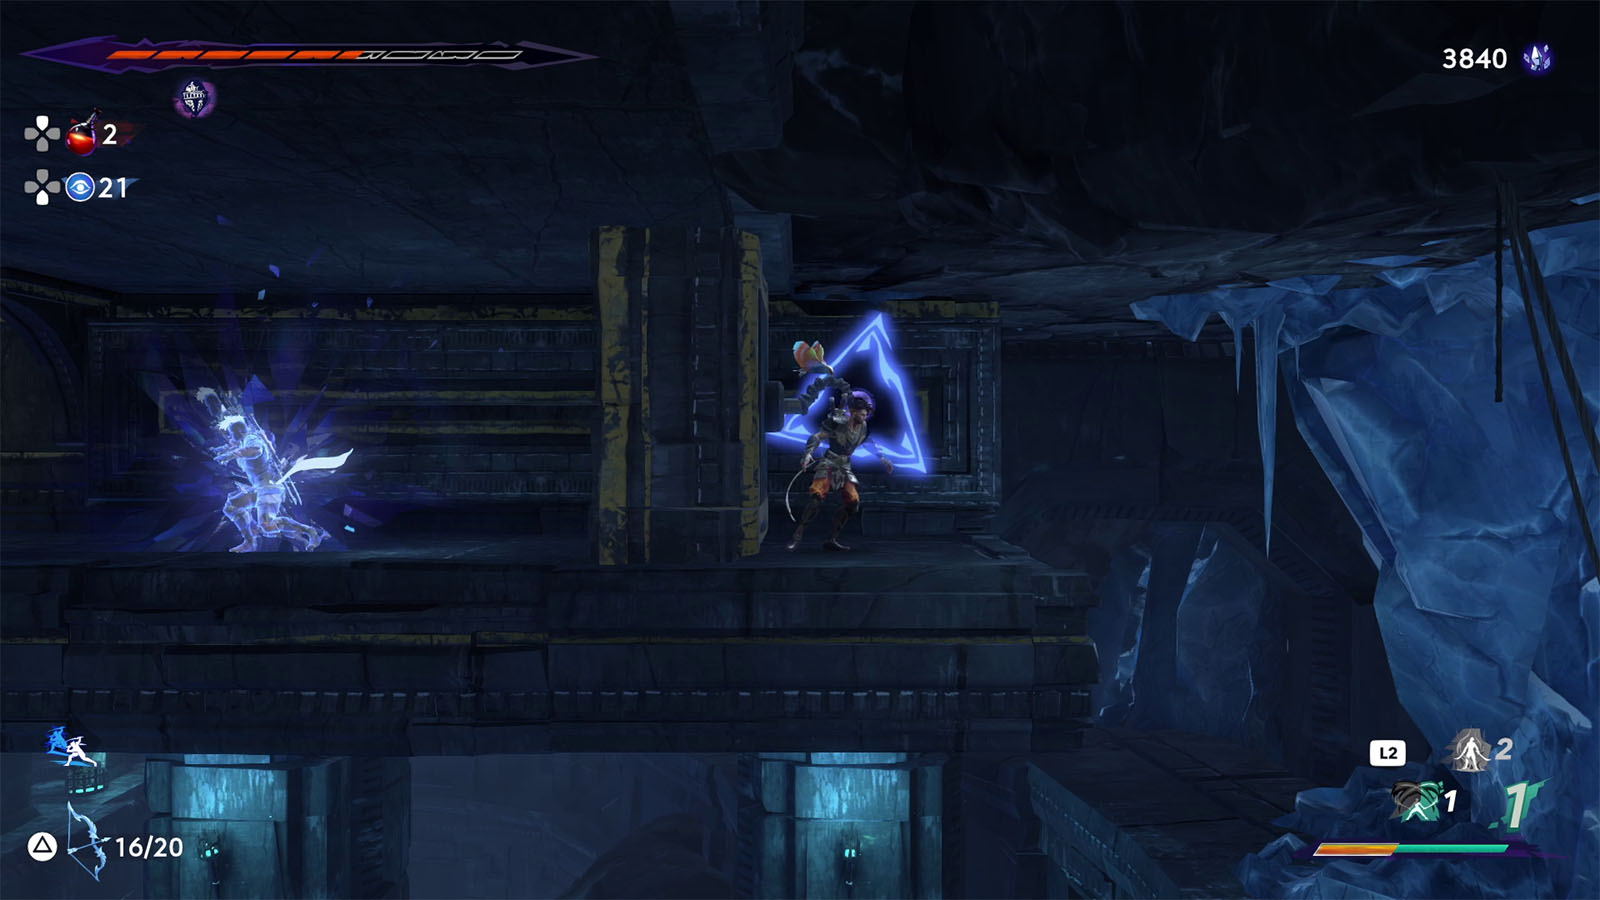
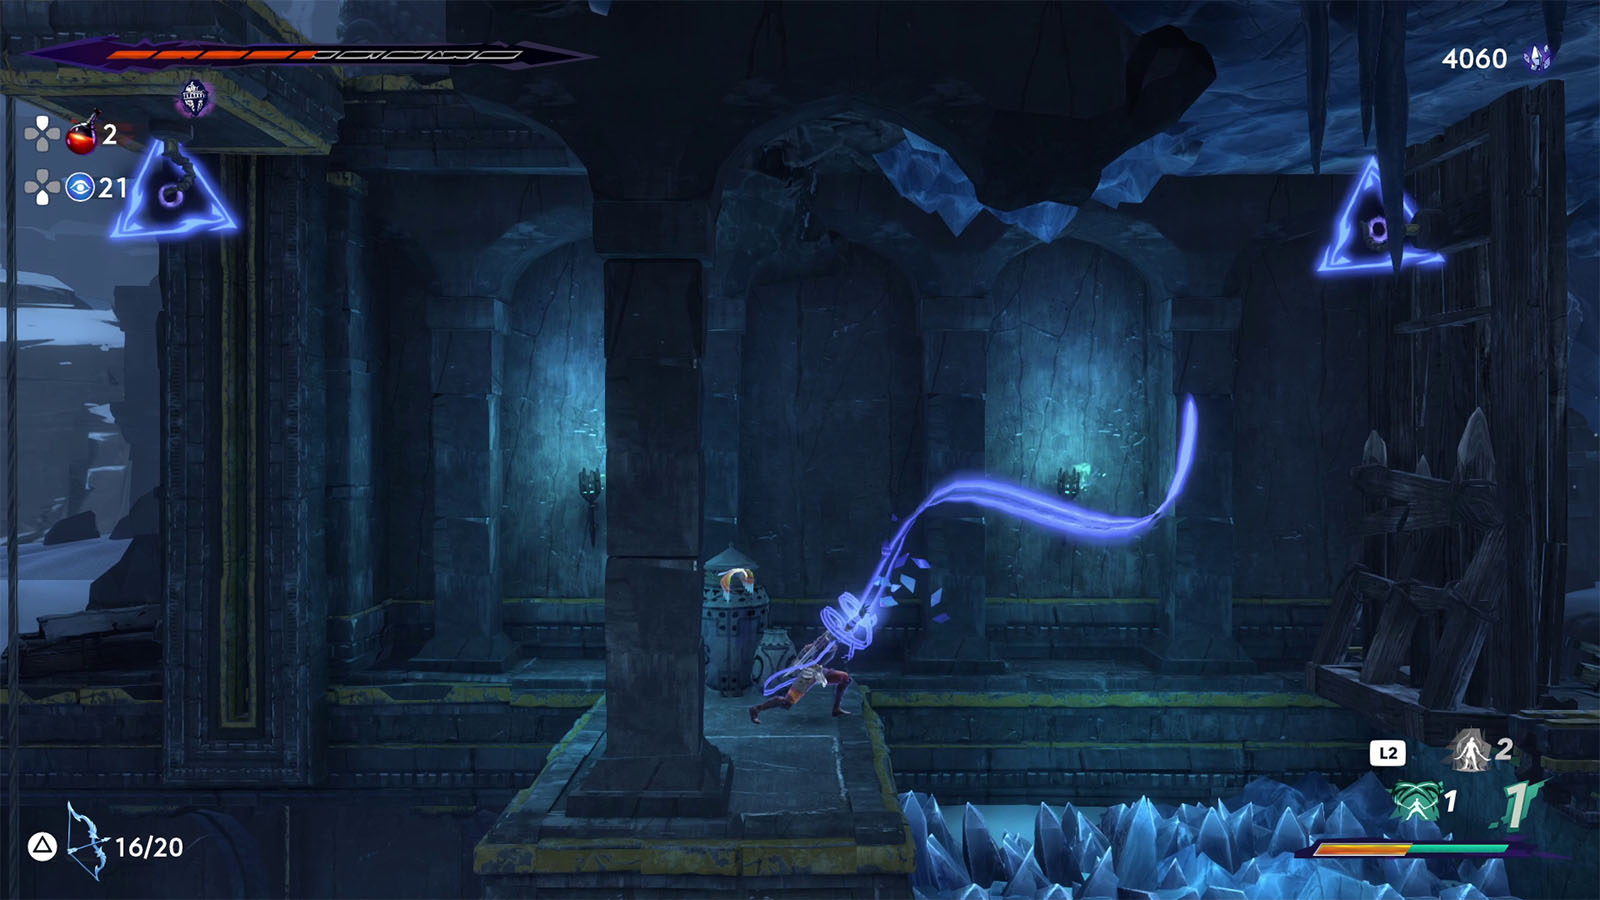
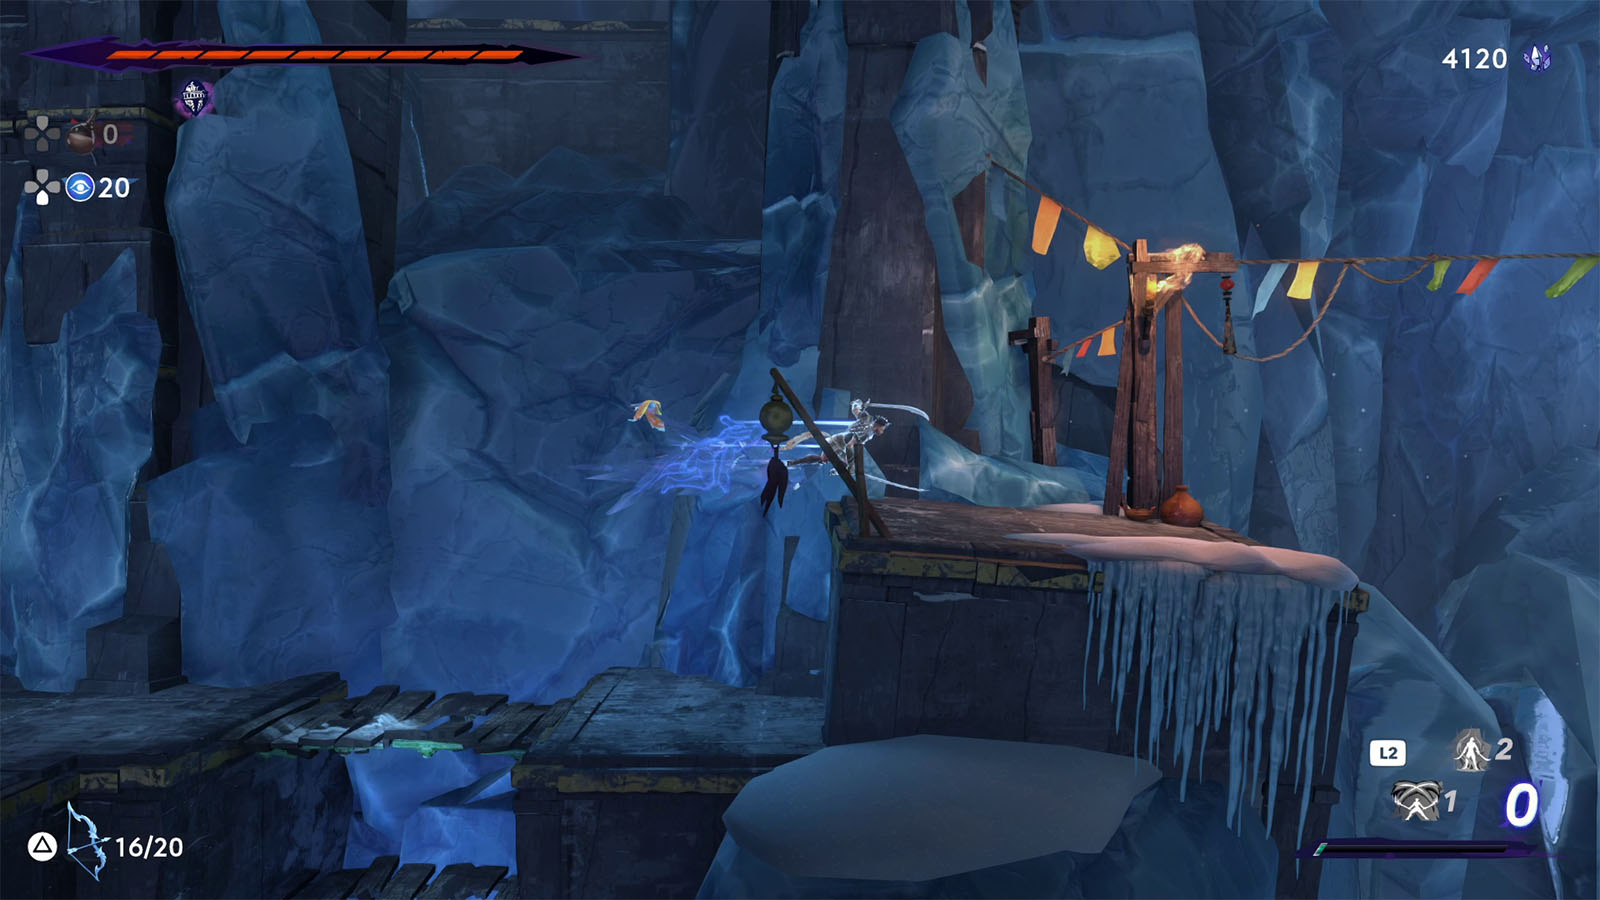
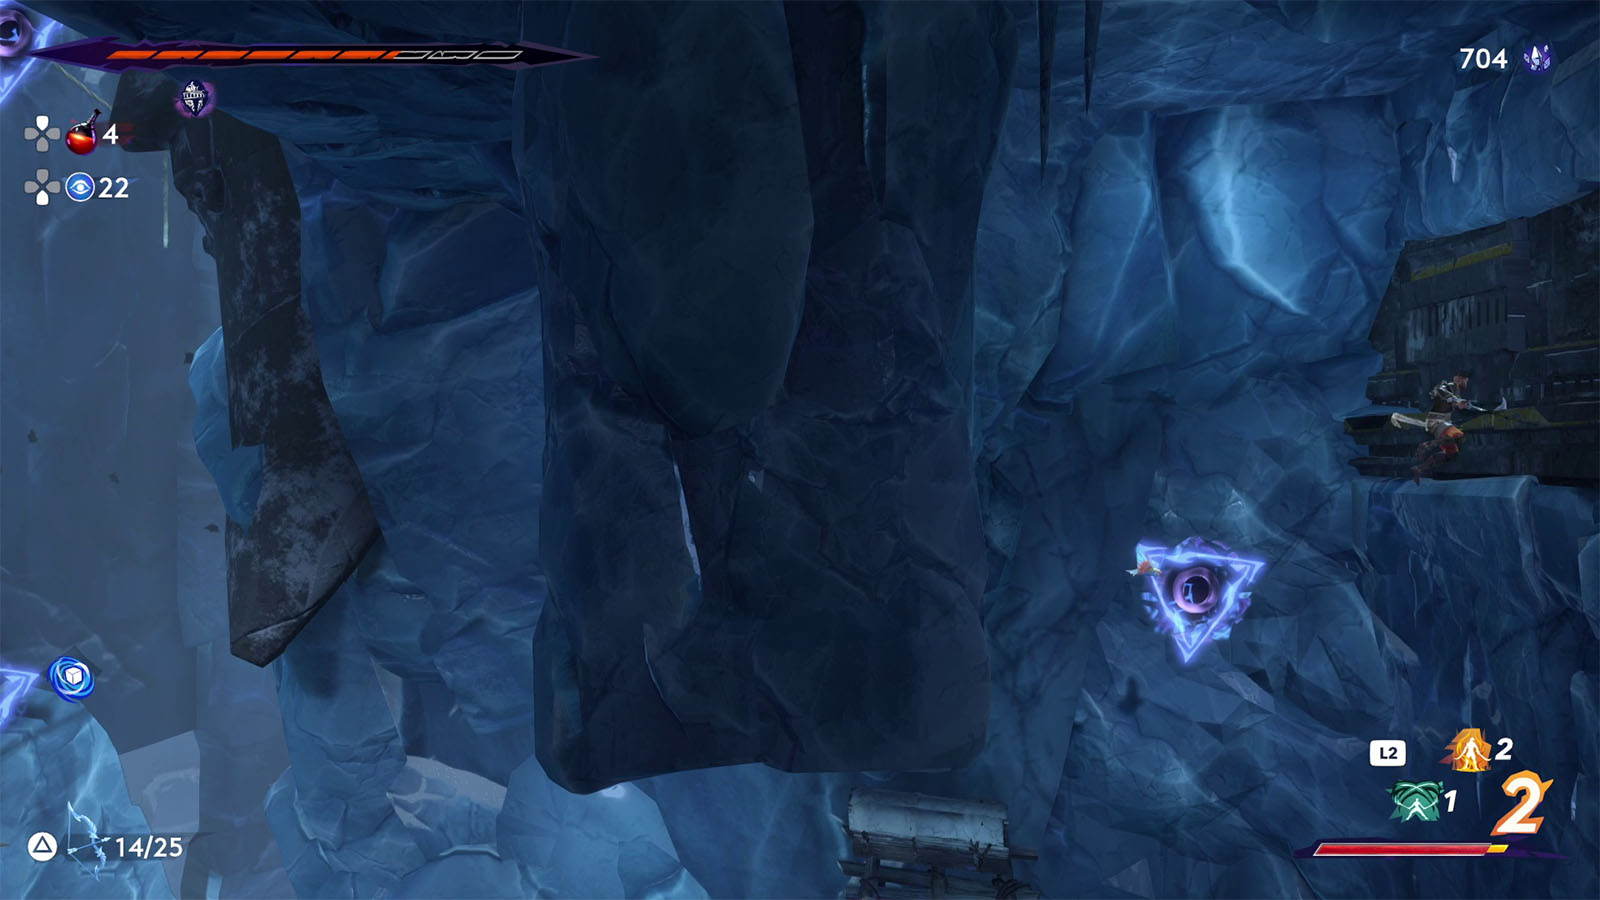
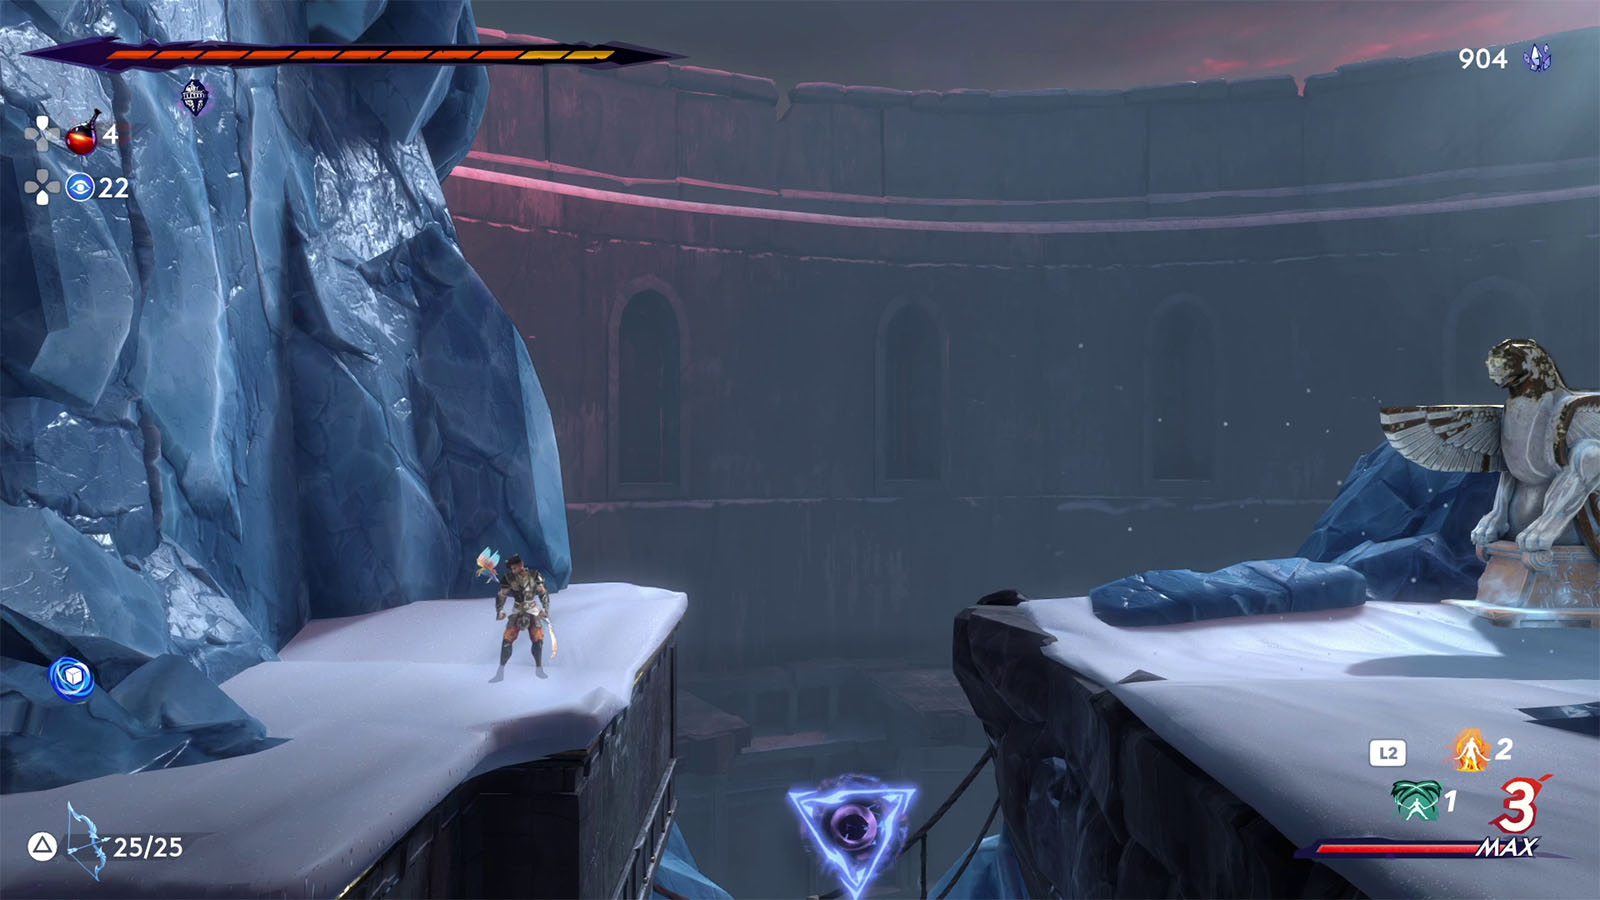
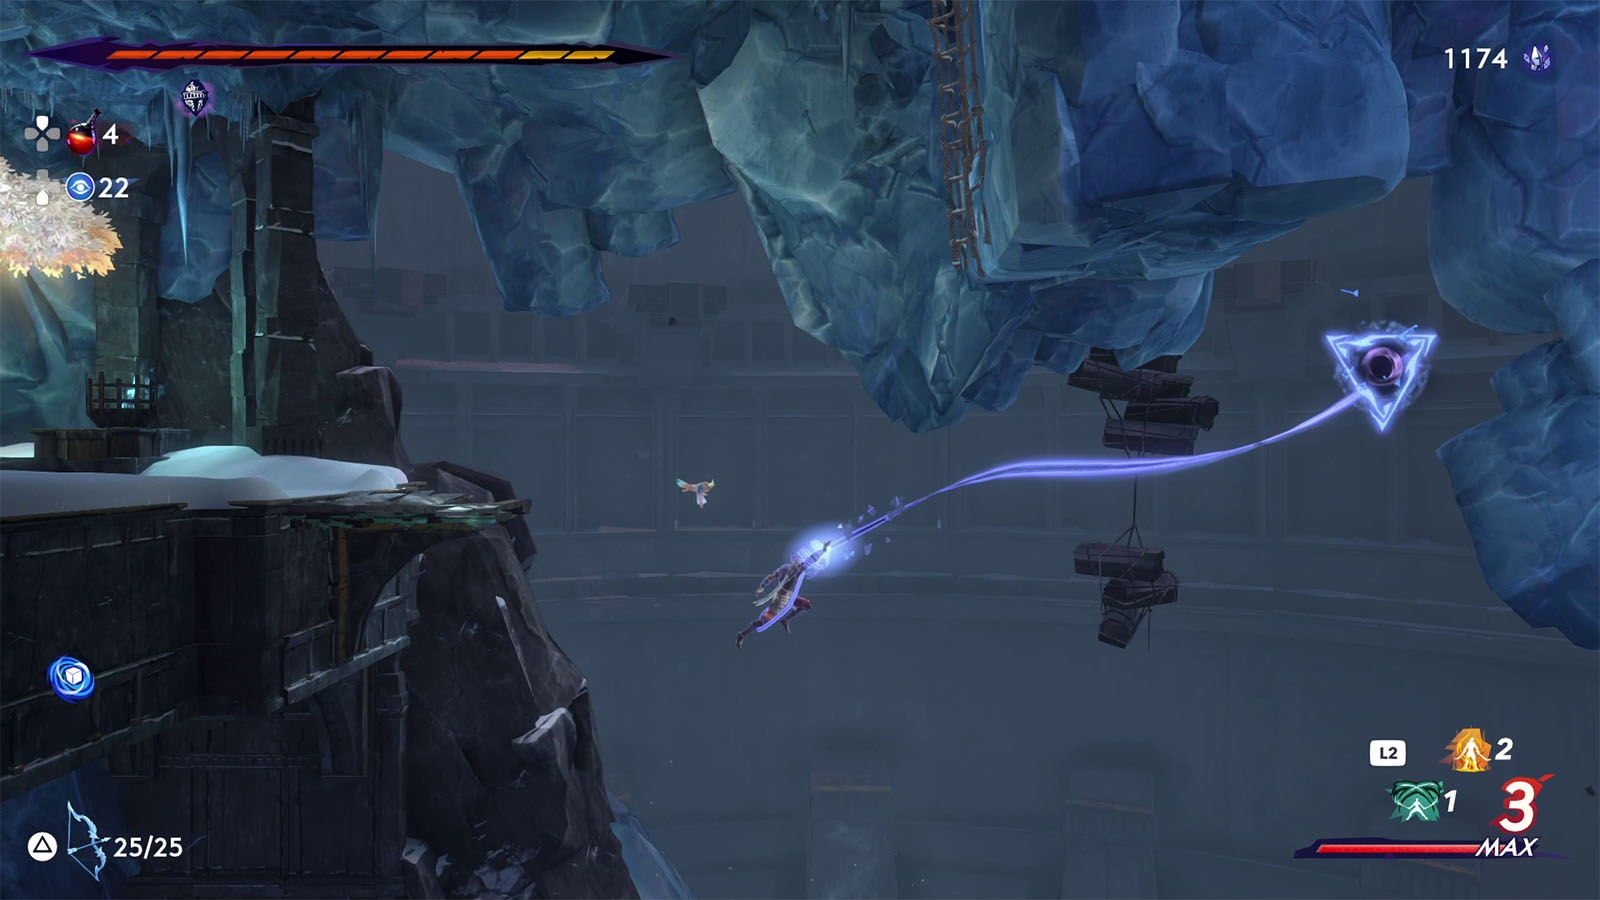
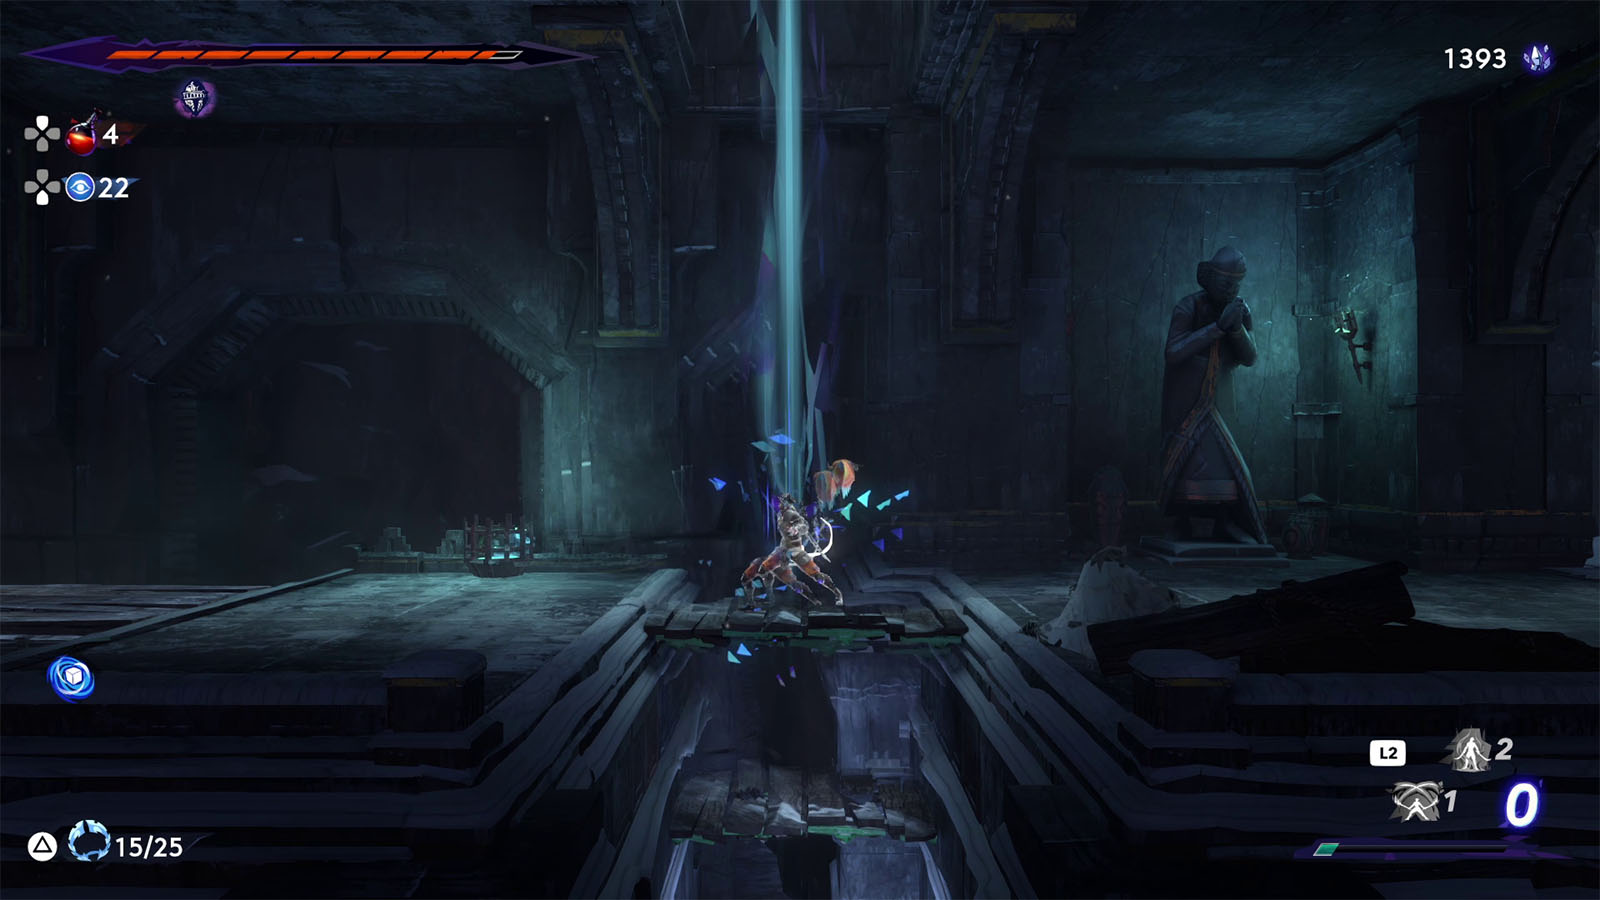
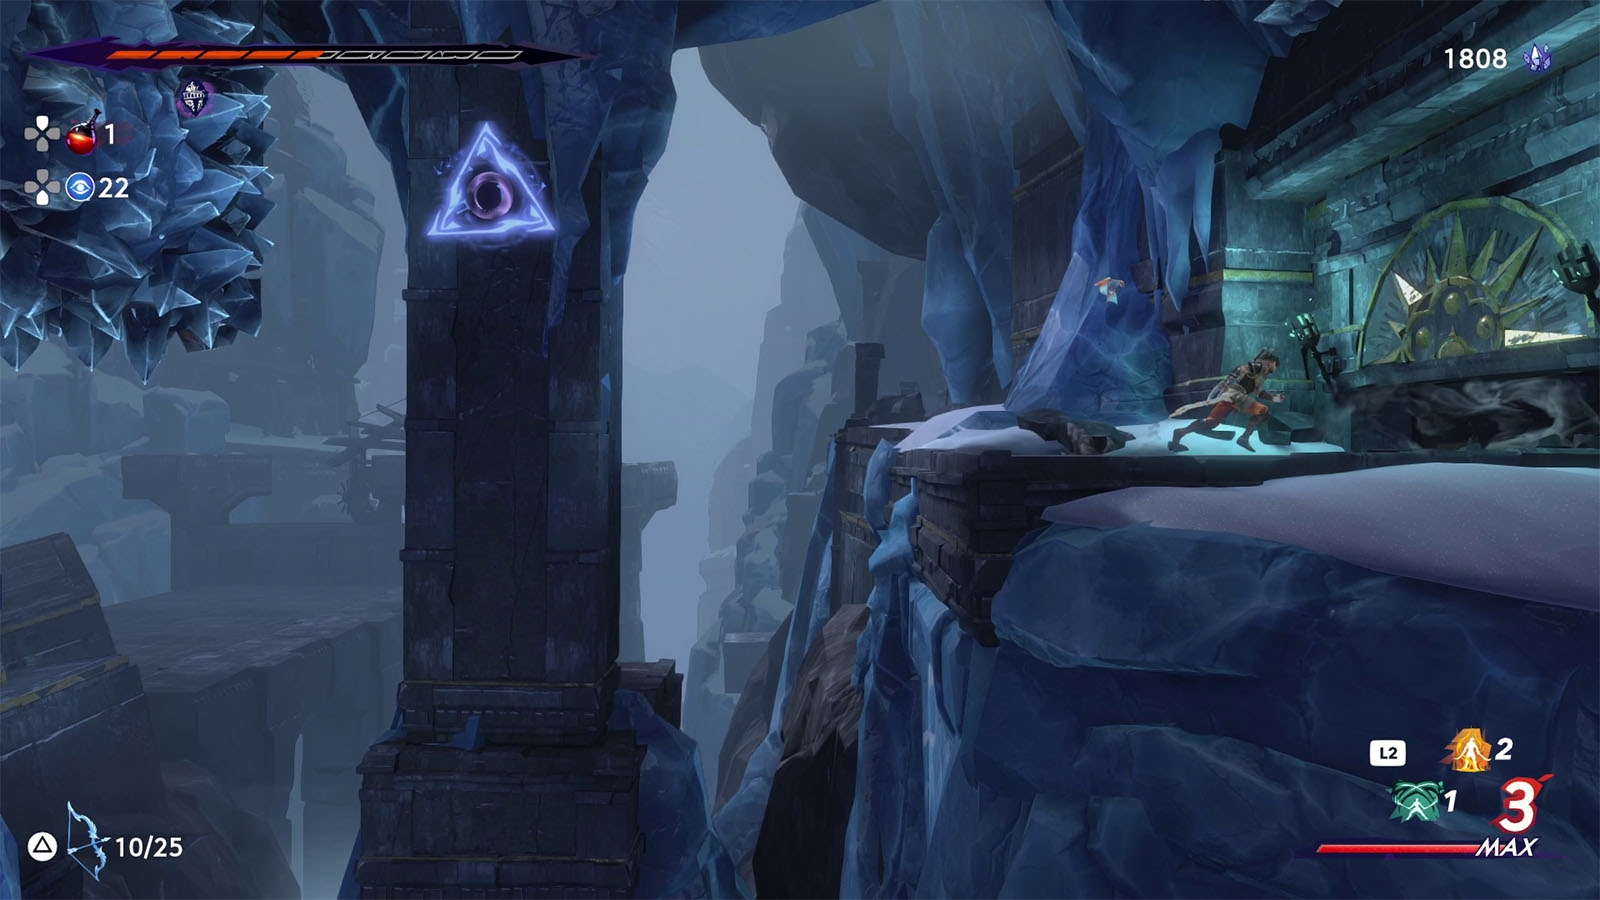
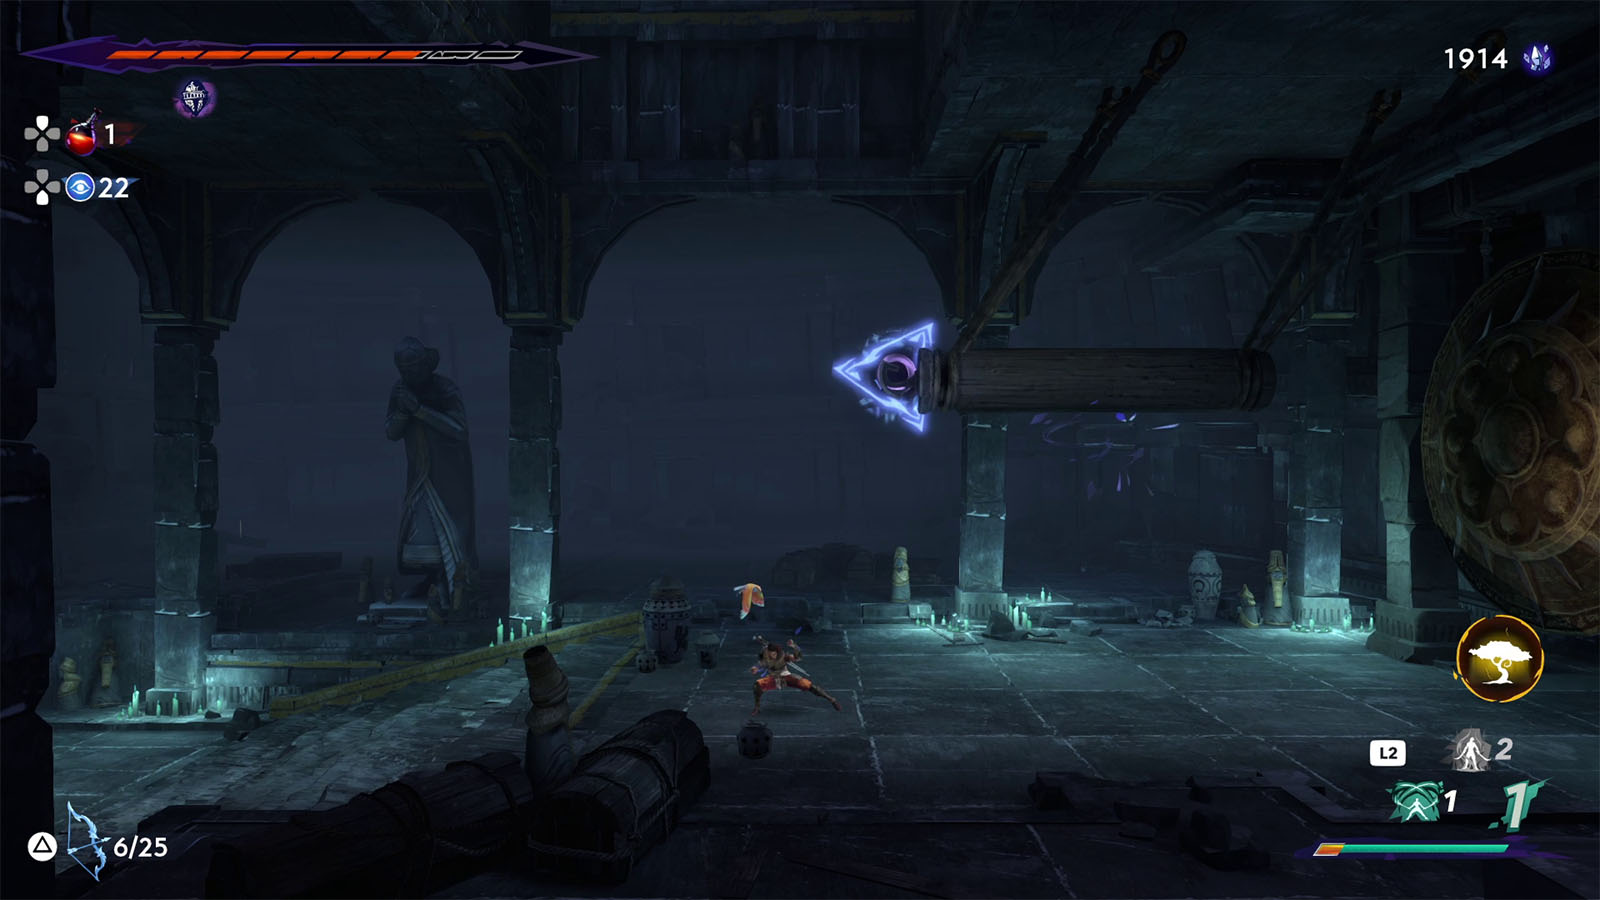
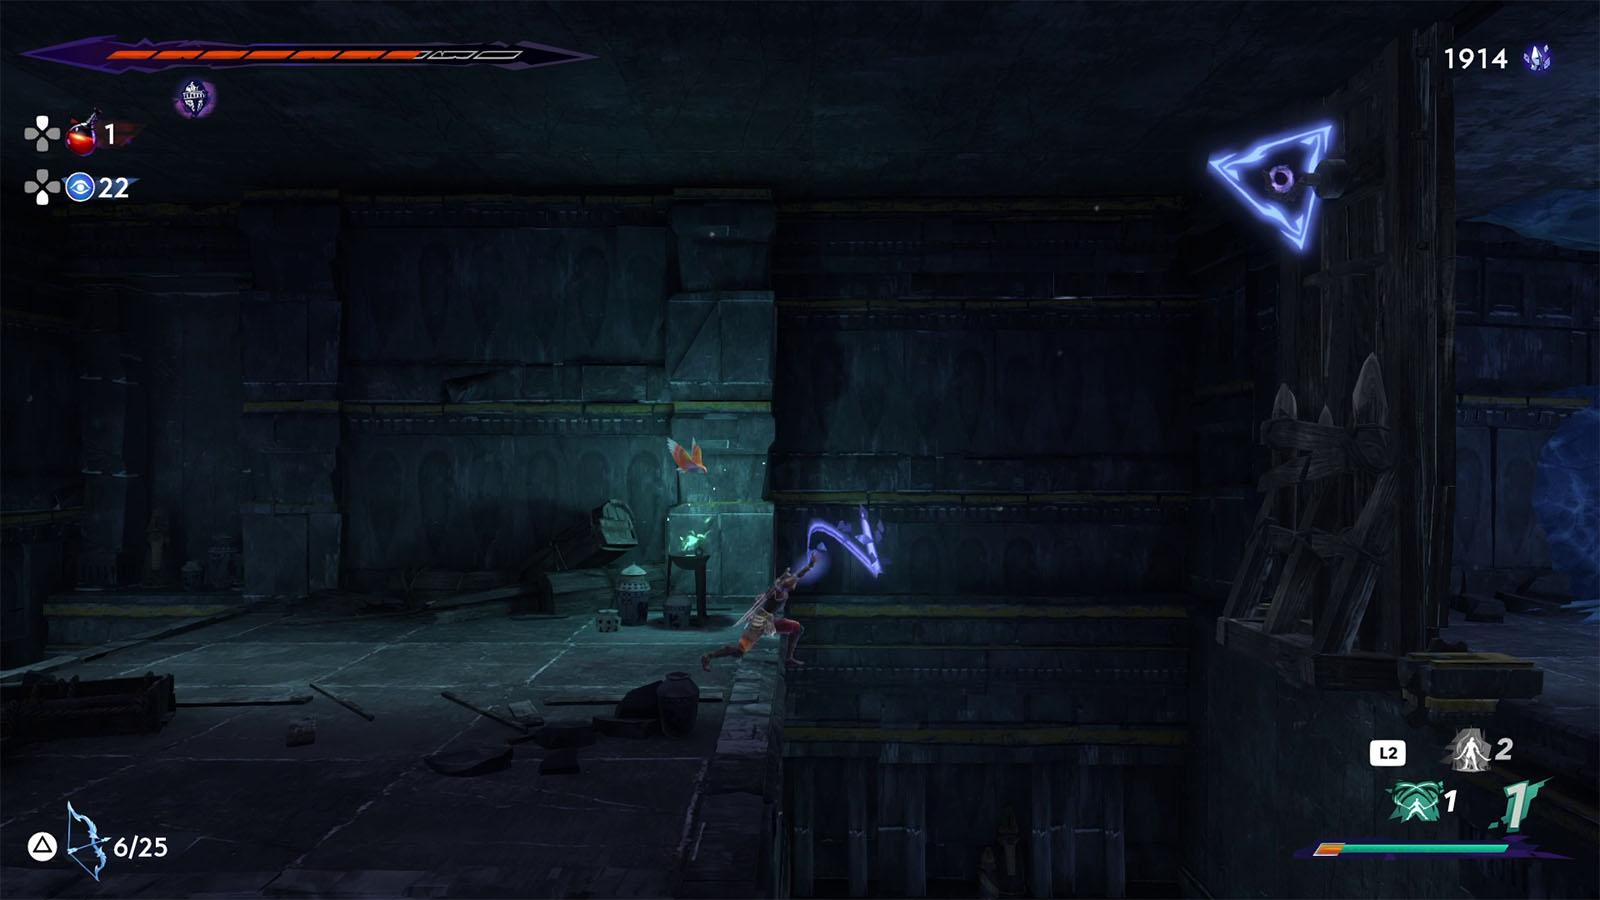
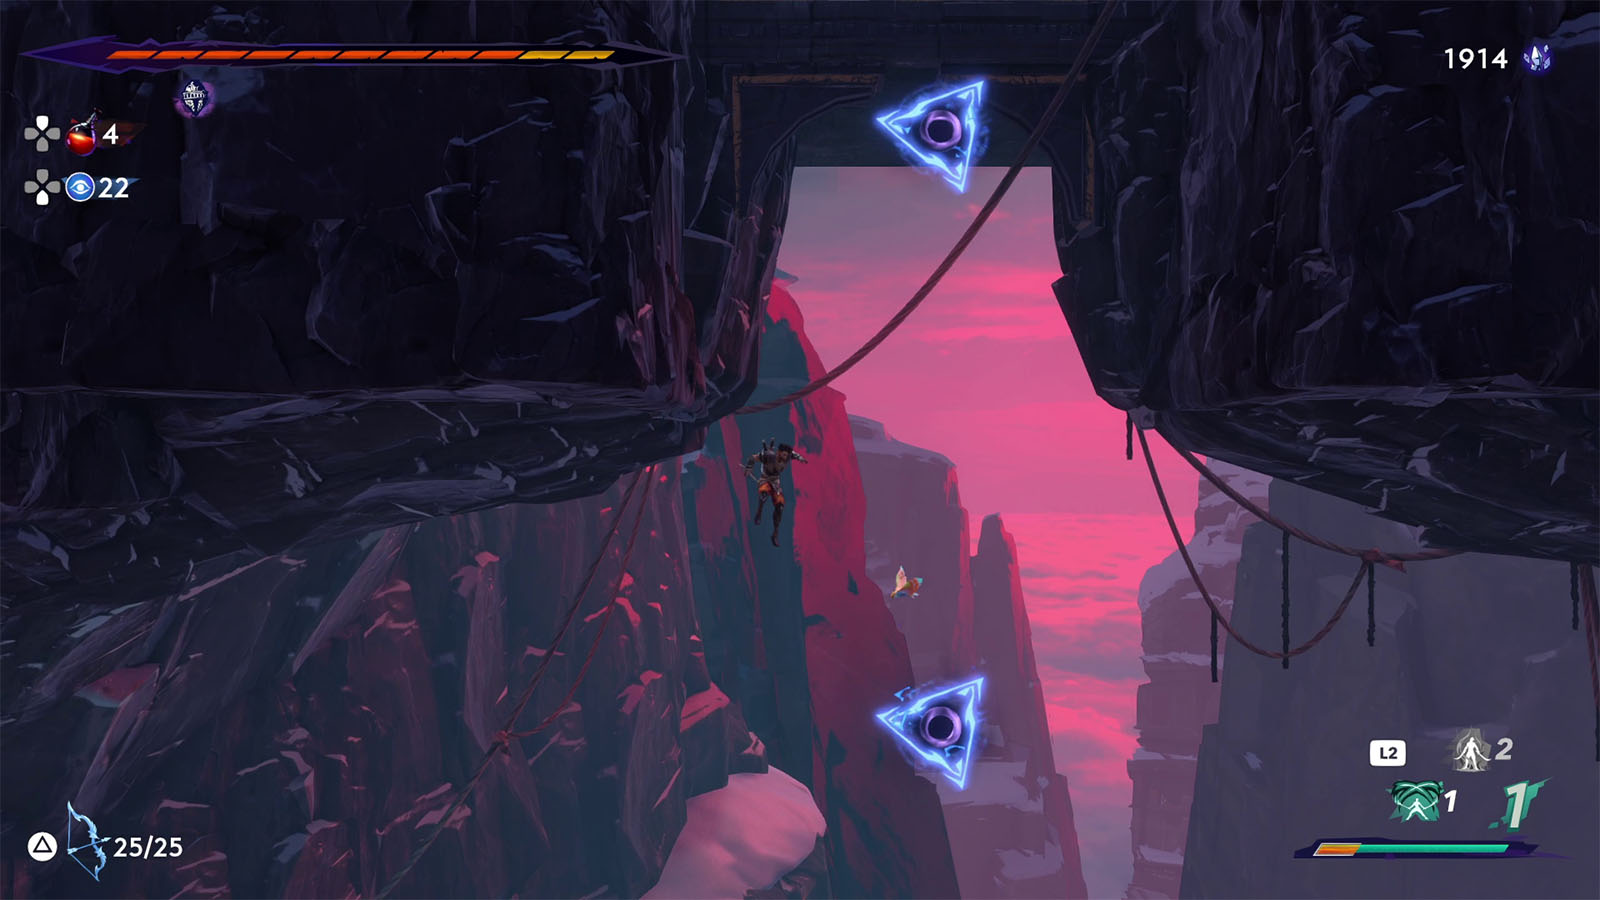
Use your sash to traverse the Tower by aiming and latching on to the floating triangle symbols or hooks.
Once you get to the chained gate, latch on to the lock with your sash and pull it.
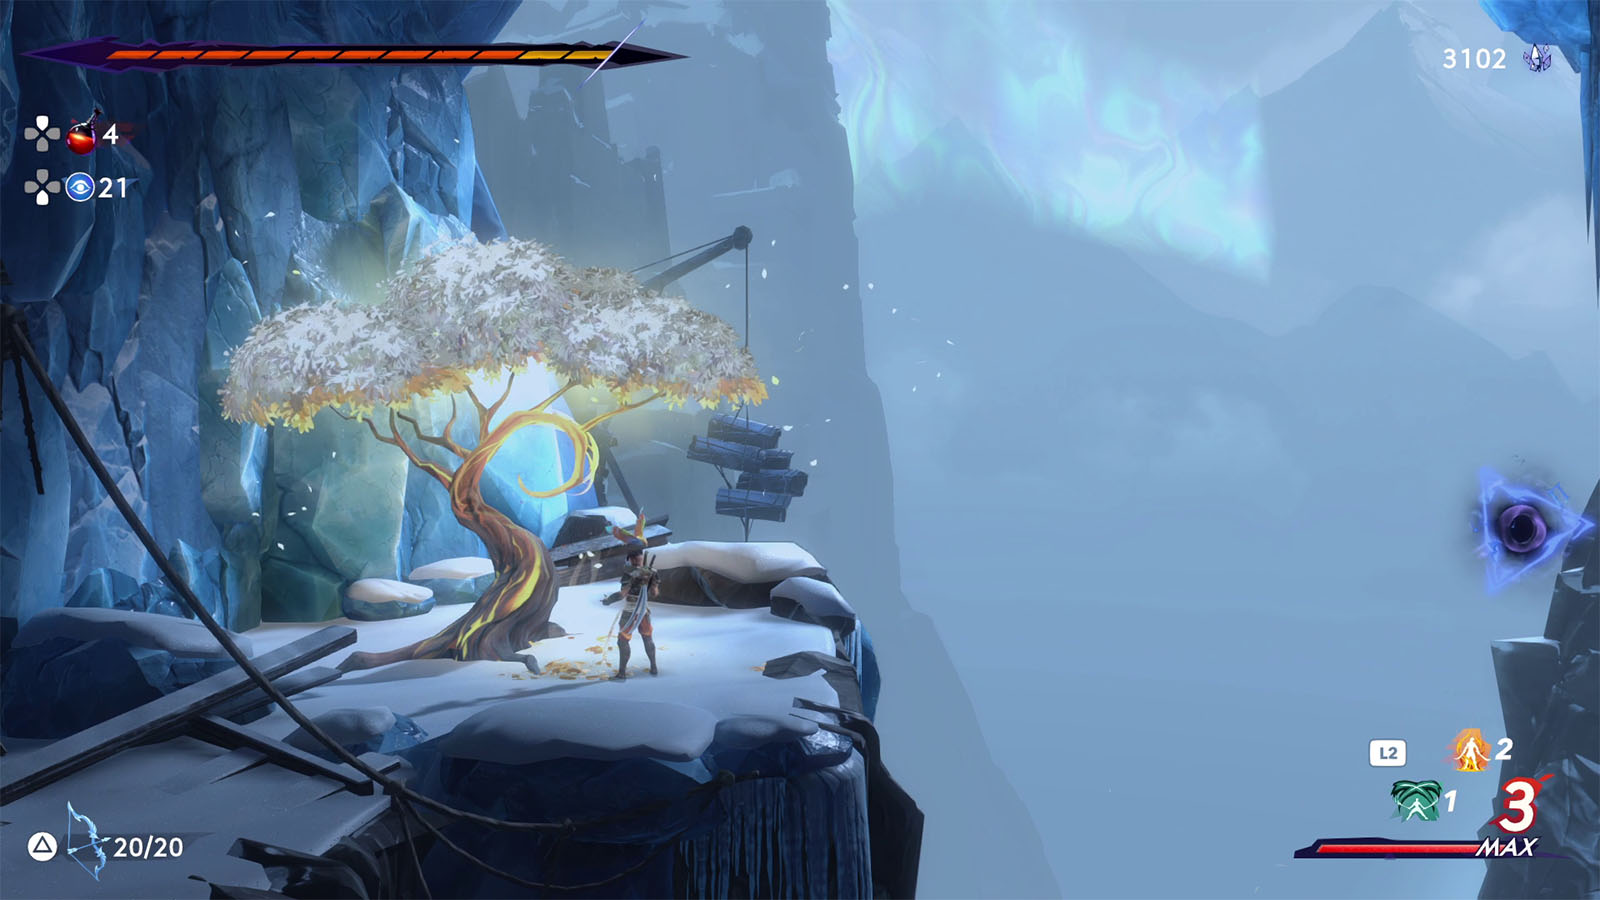
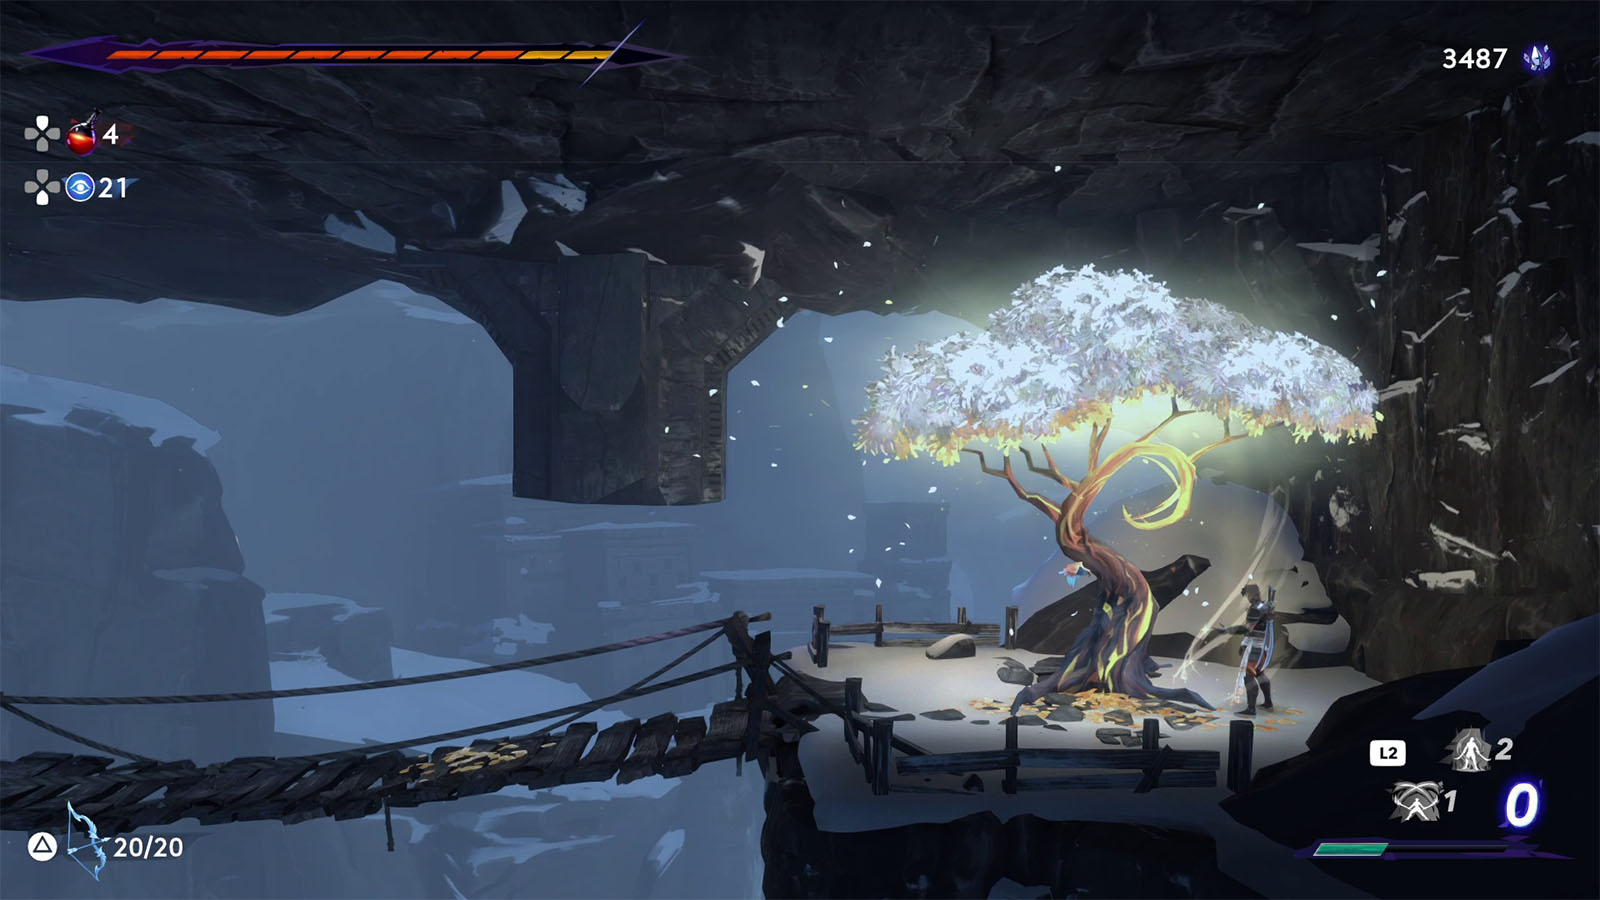
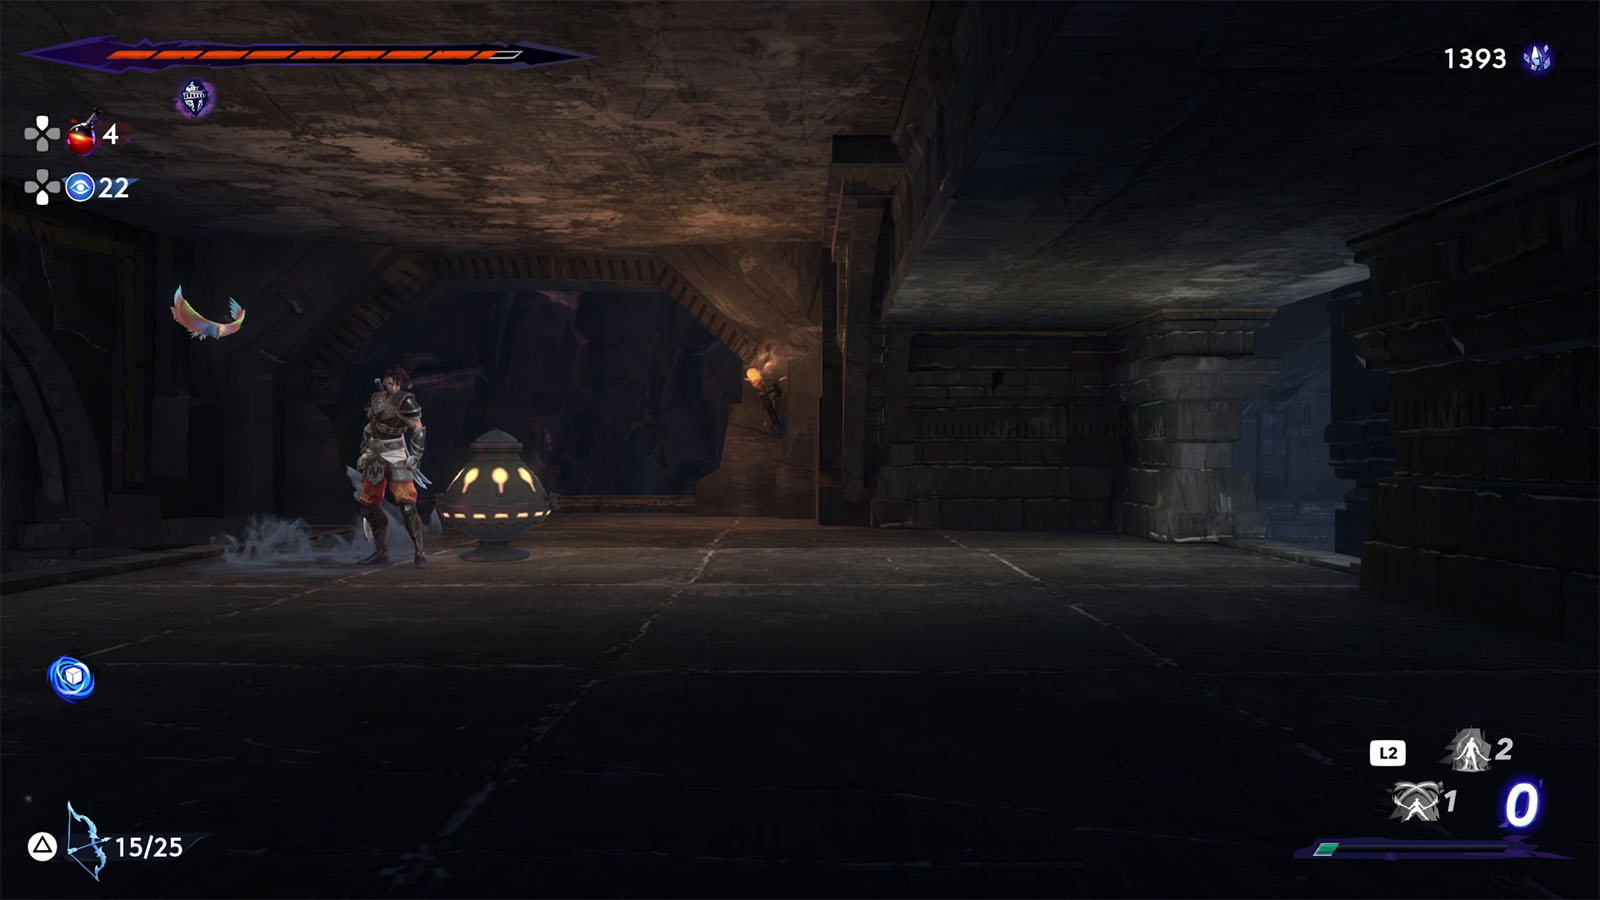
Into the next area, climb up to find the first Wak-Wak Tree. The path east of the tree is locked at the moment and can only be opened from the other side, so for now, drop down from the bridge and follow the path to the east from there.
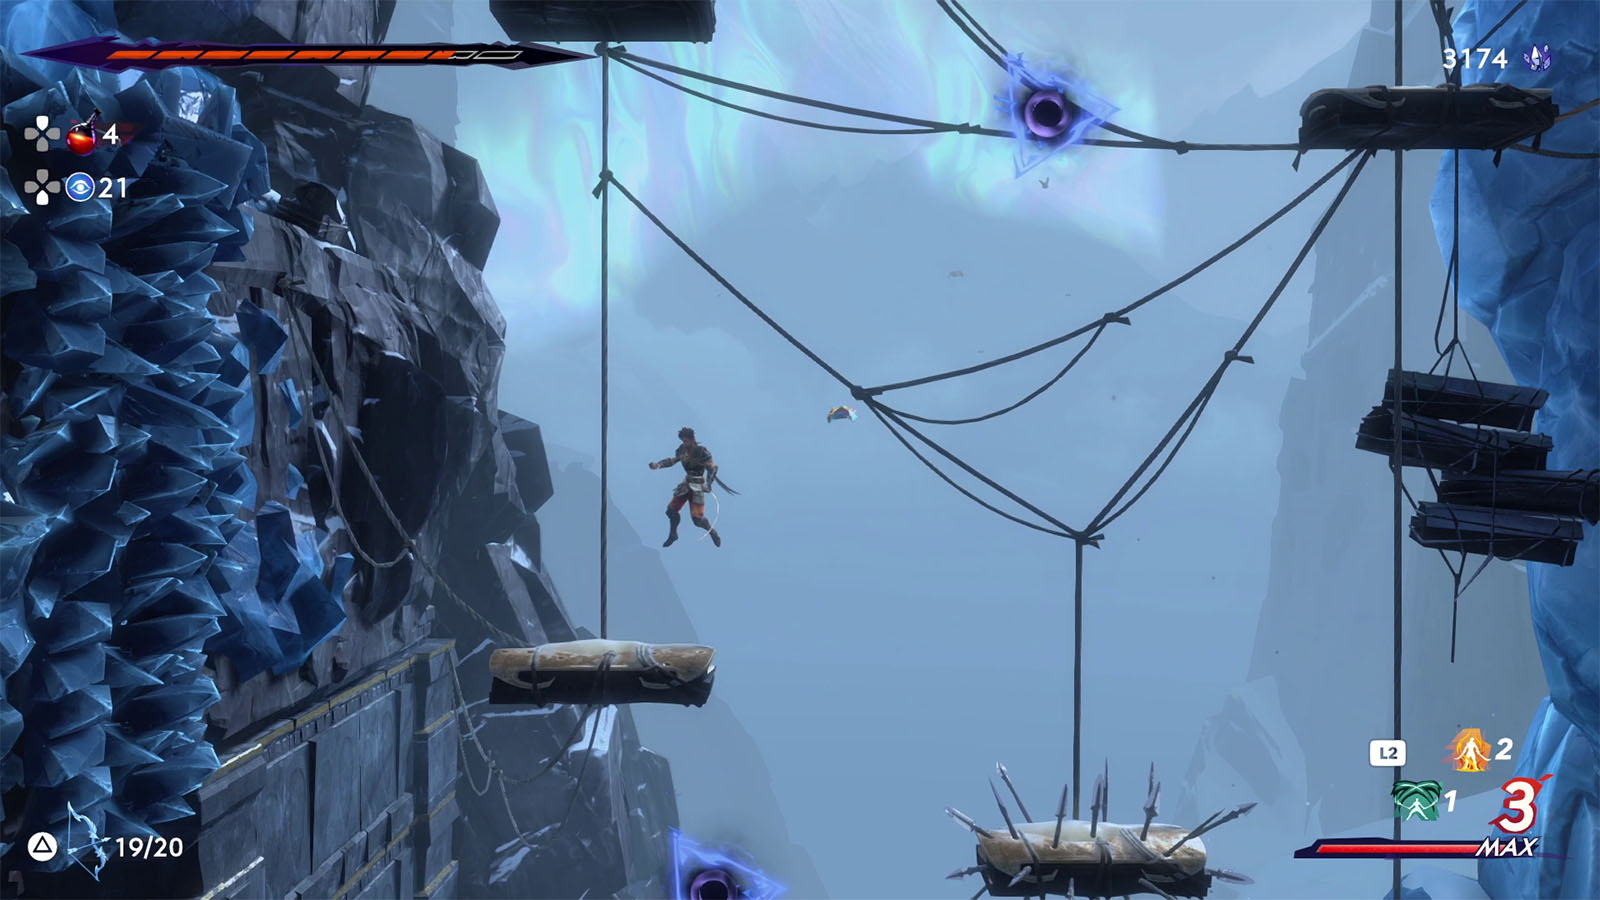
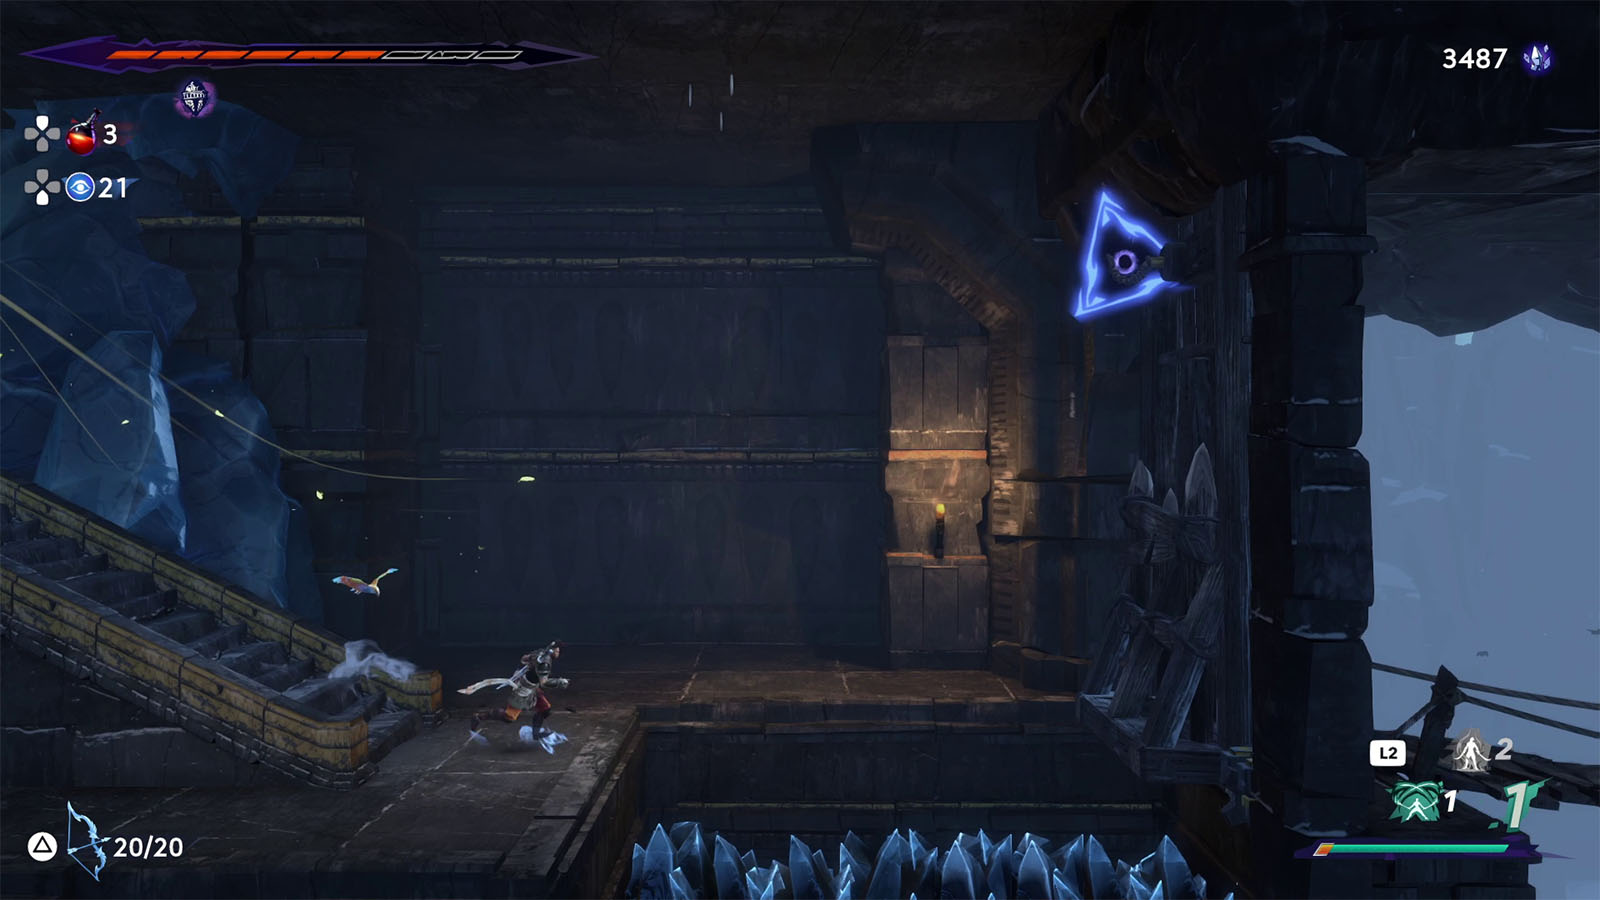
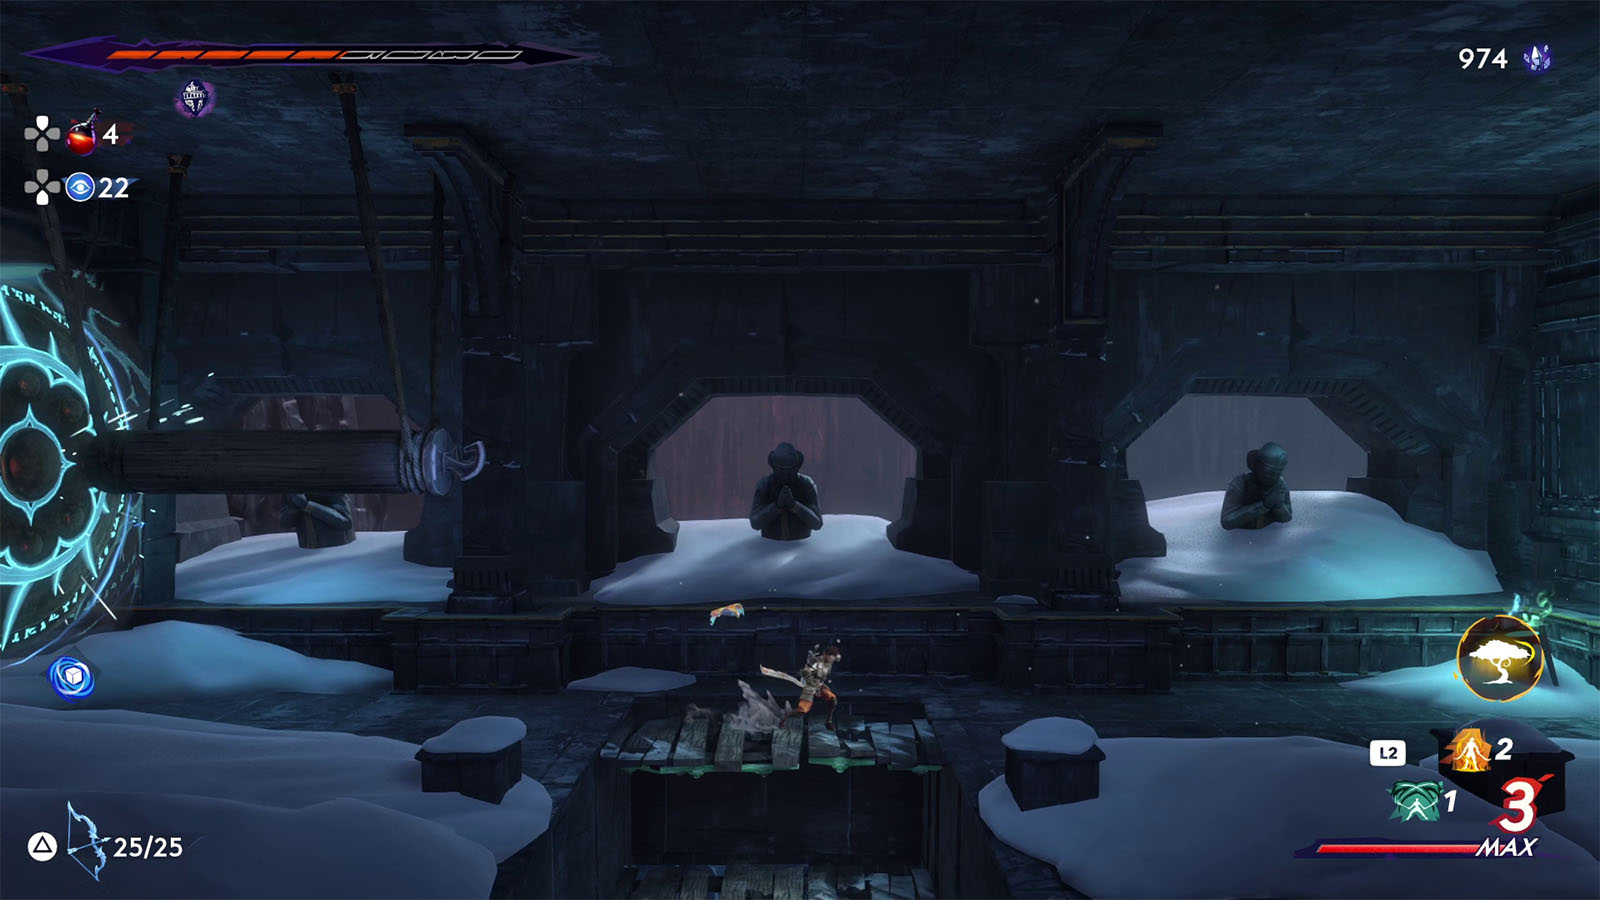
Be careful as the Tower is lined up with traps such as the spiked walls and the hanging platforms that pop out spiked when stood on. You may want to equip the Hardiness amulet which decreases environmental damage. The amulet can be bought from the Magi Emporium.
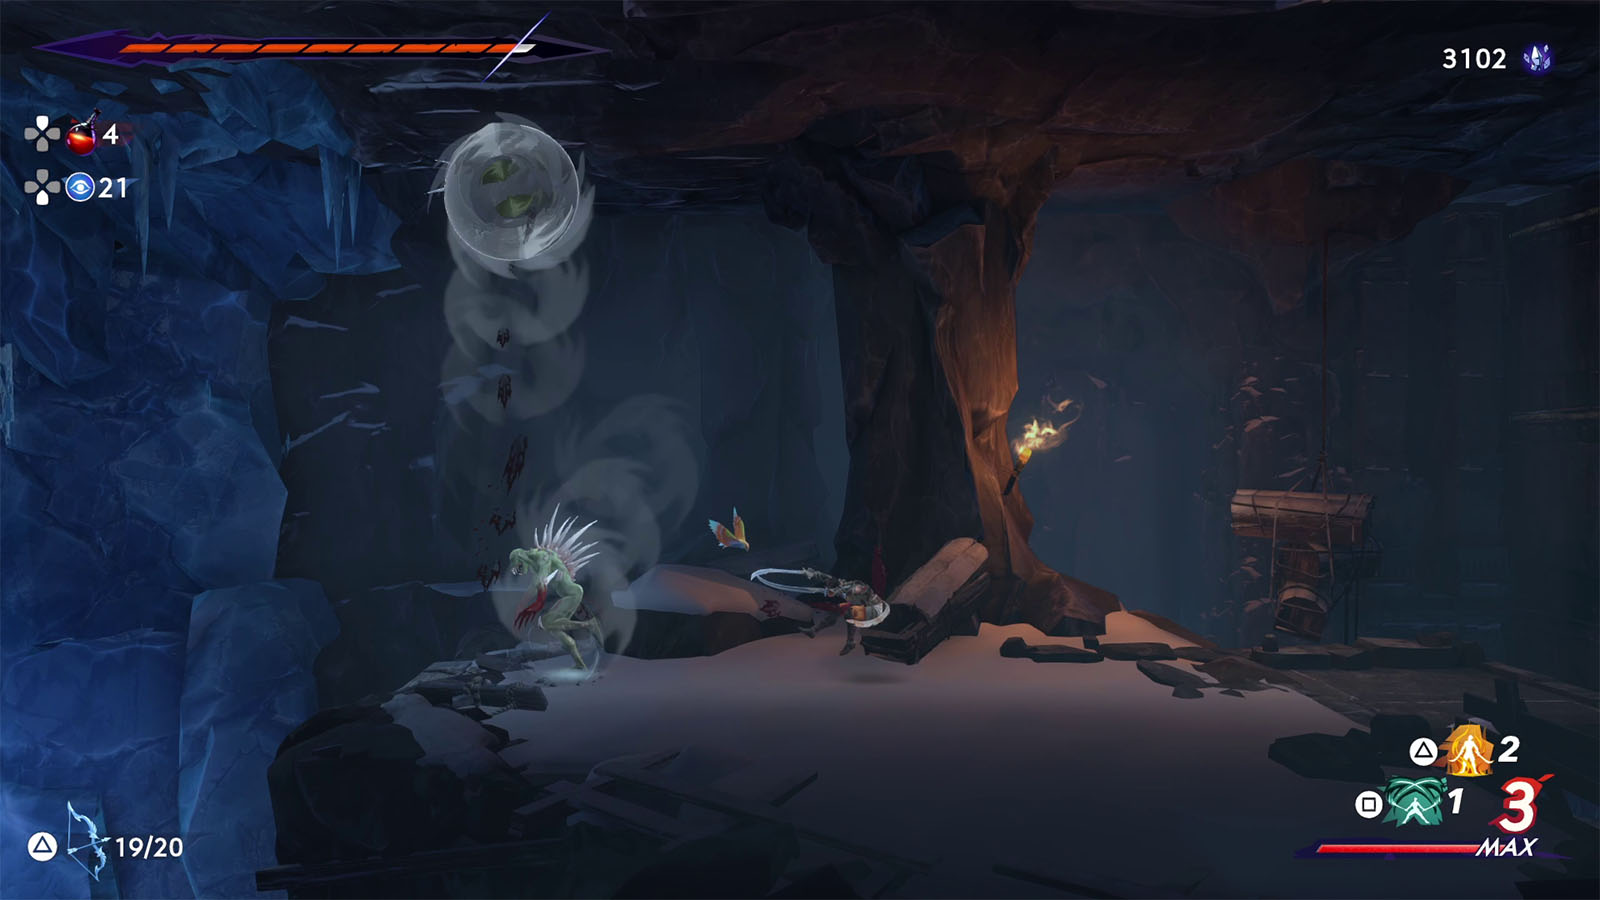
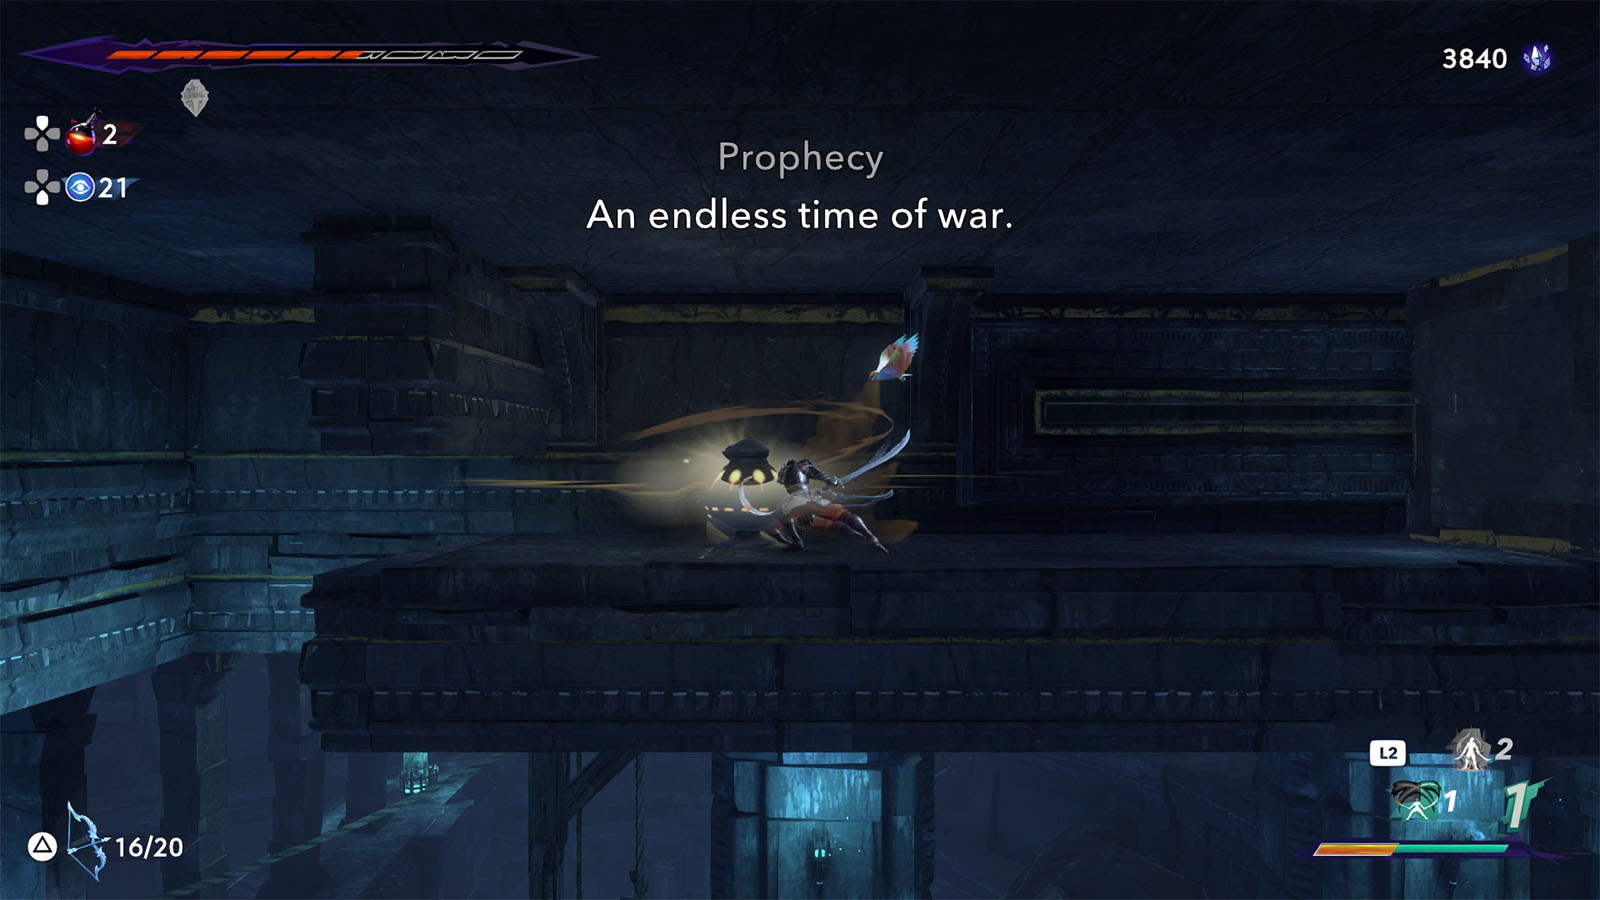
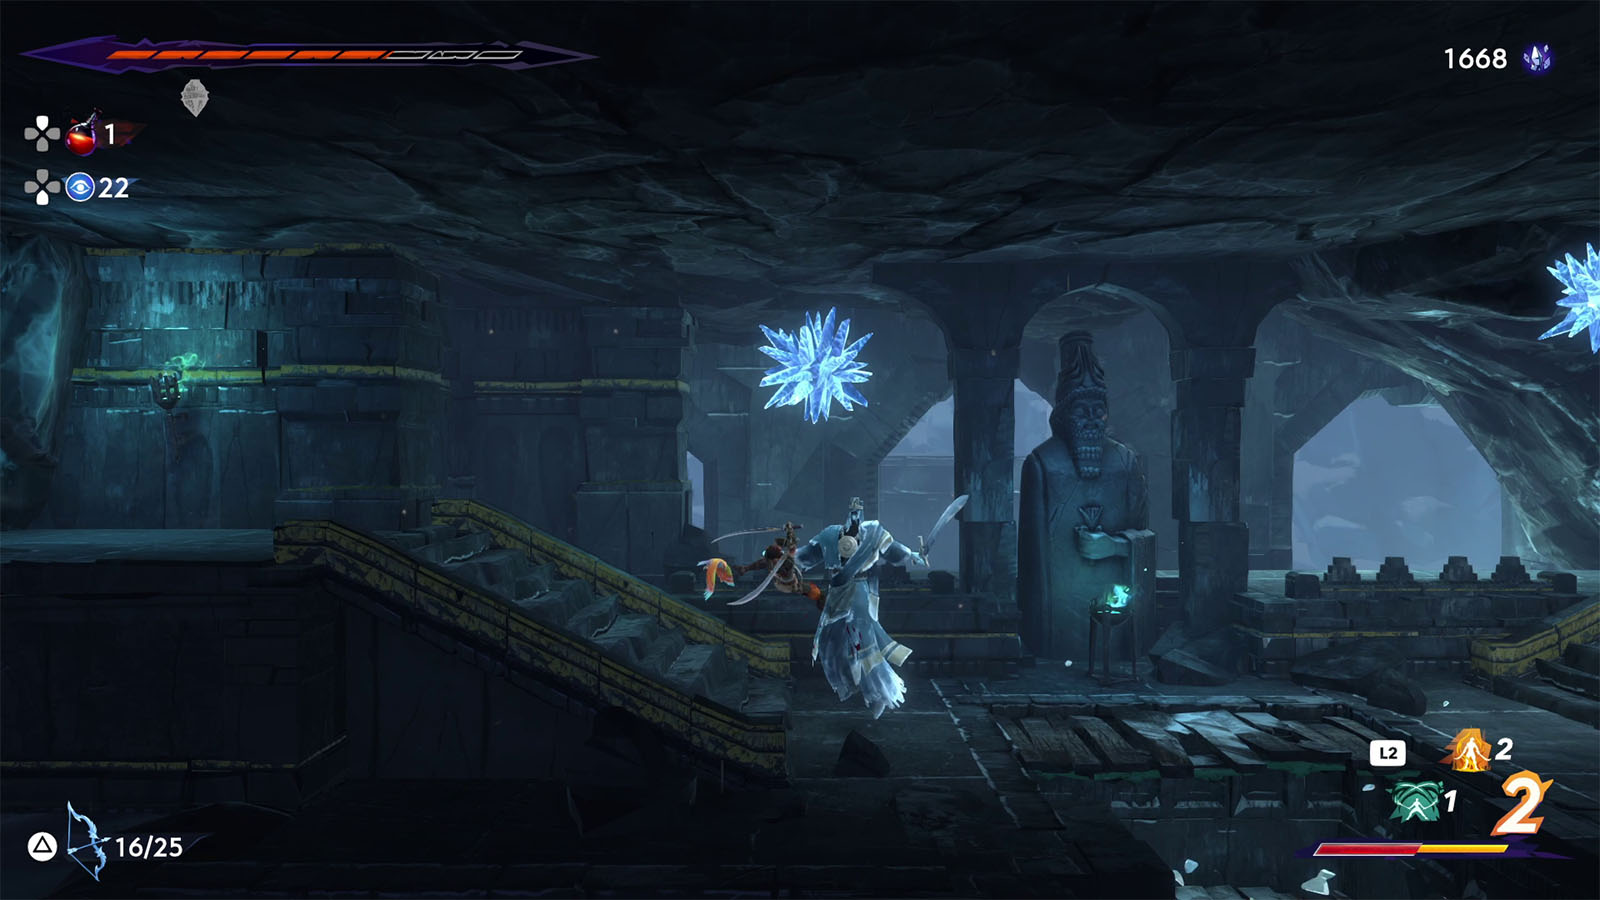
There will also be new enemies to encounter as you make your way up. Look out for the spiked ghouls, undead wizards, and floating frozen heads.
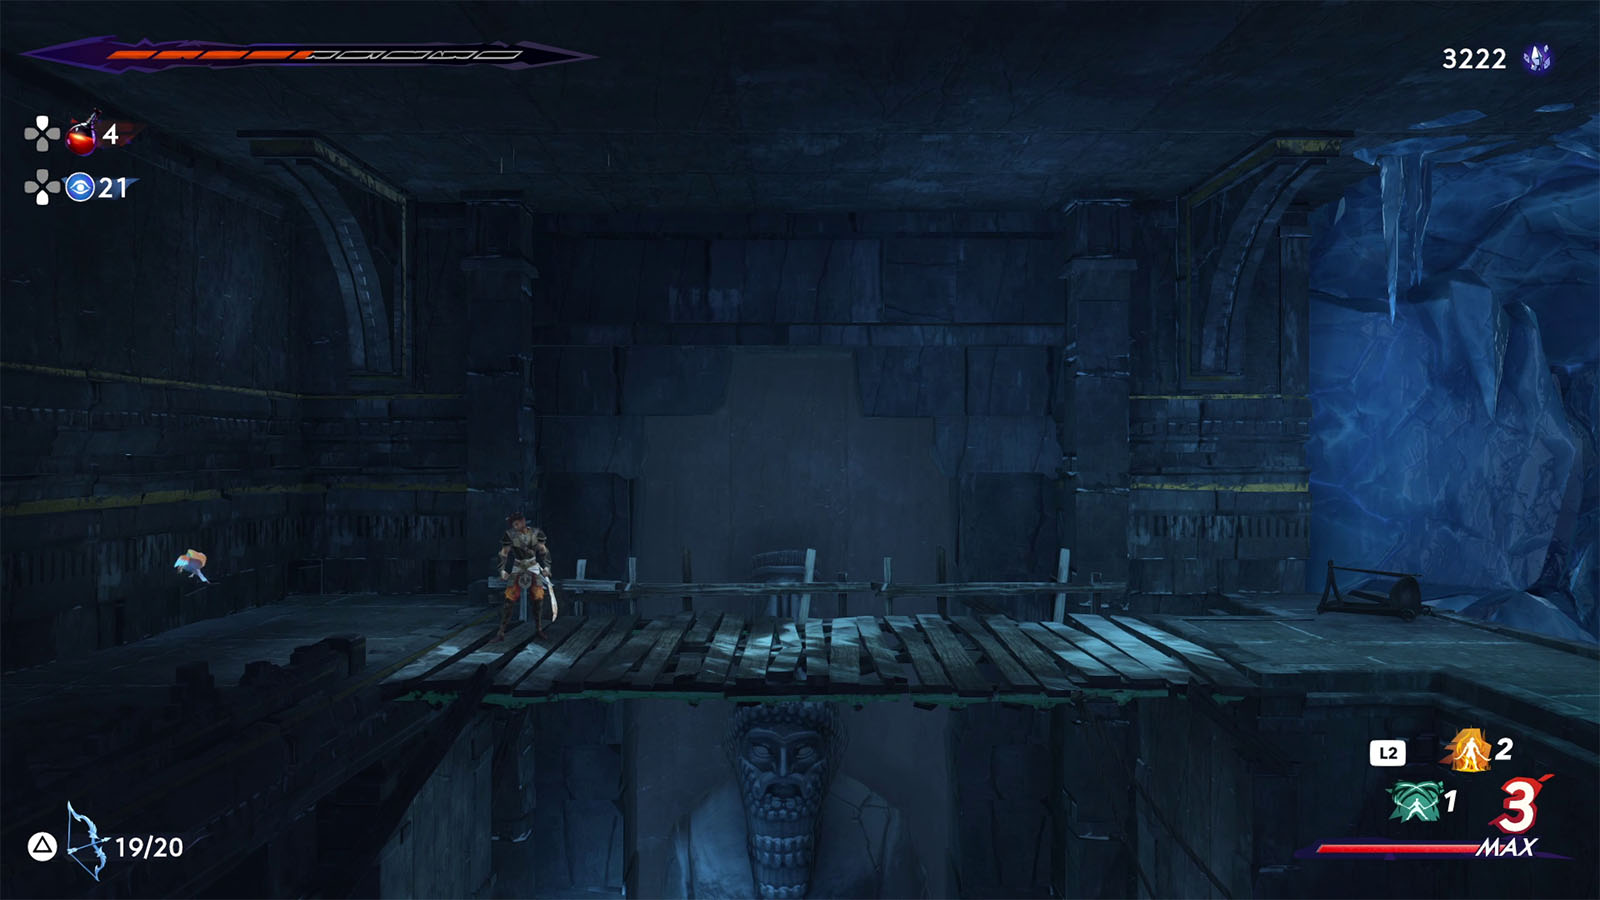
Once you reach the climb near a statue on the wall, break the wall to the left and pull down the bridge to unlock the exit going back to the tree.
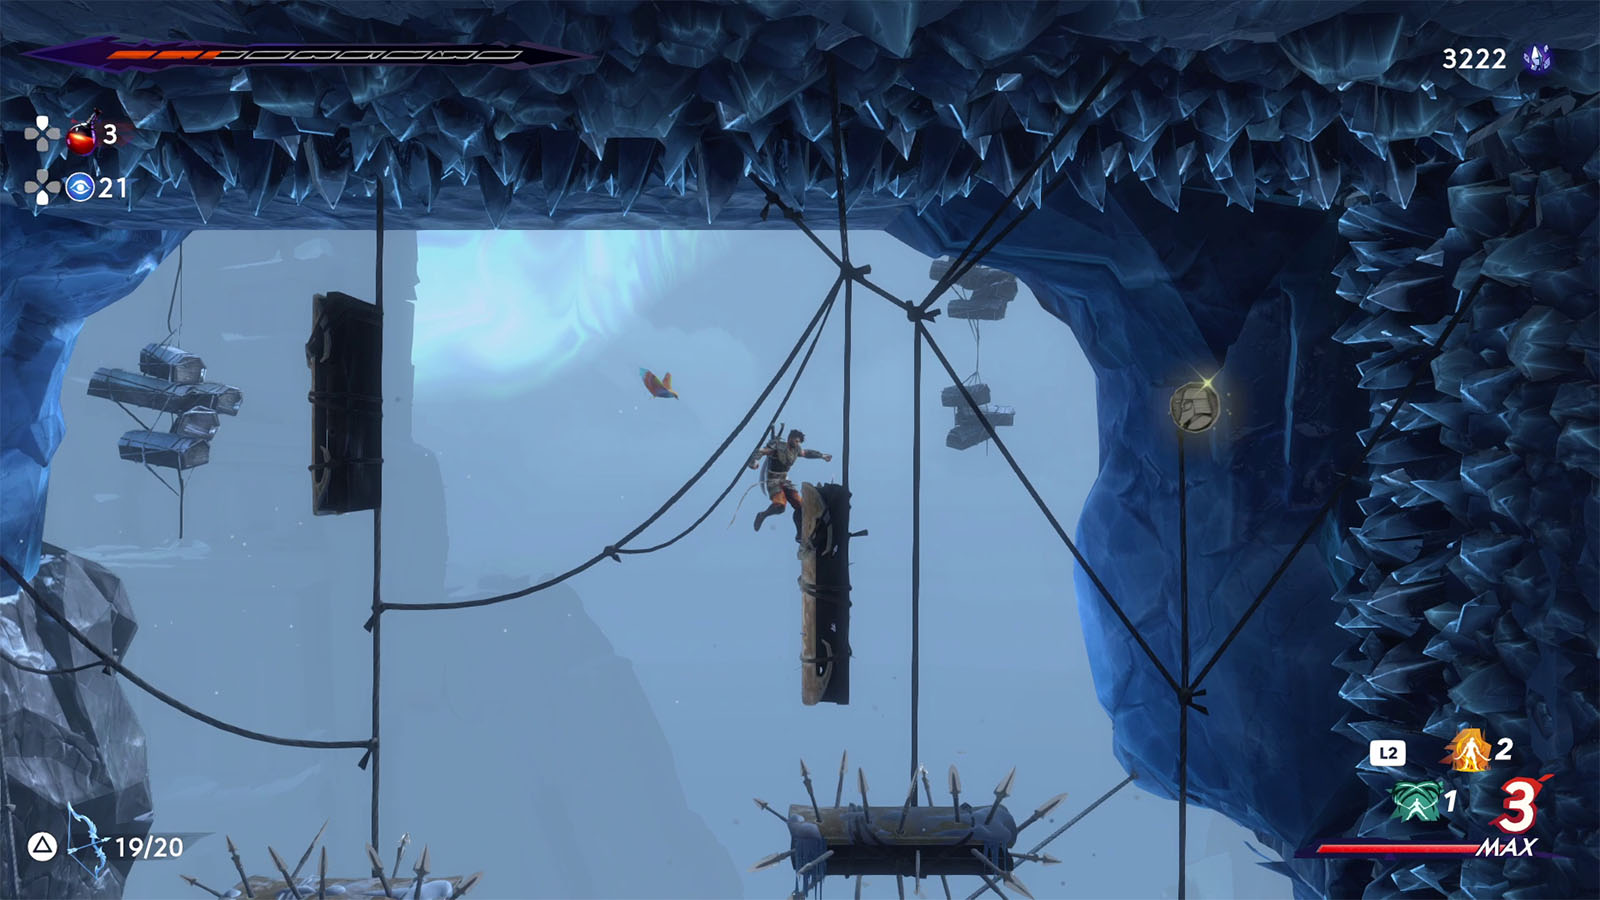
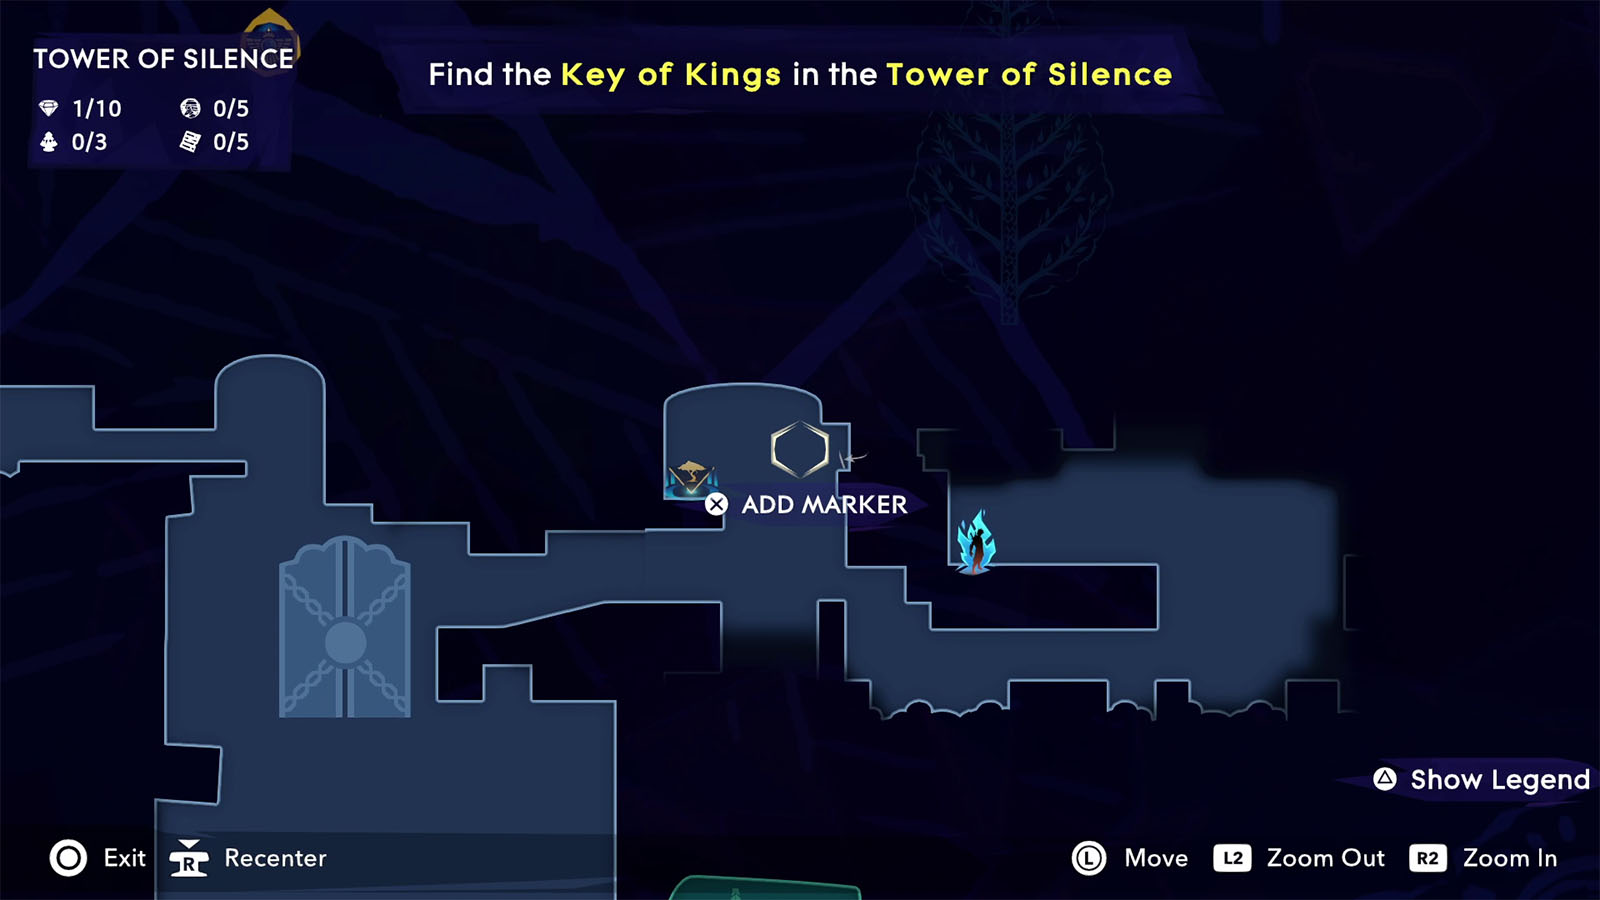
On the path where there are hanging platforms, check the area on the upper right corner to find a Xerxes coin.
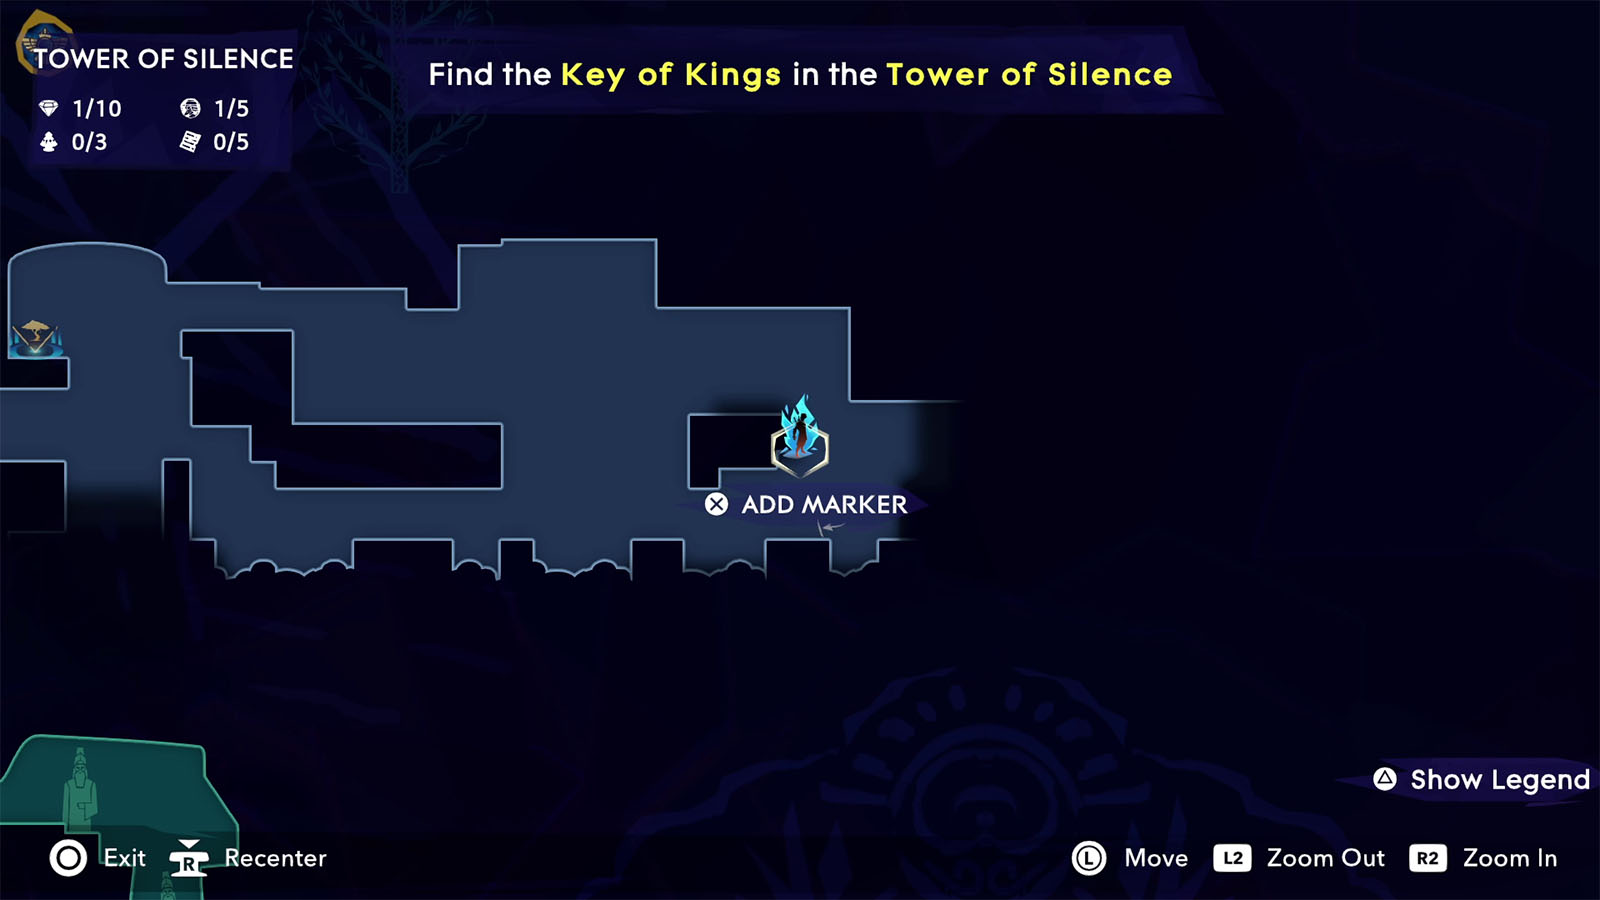
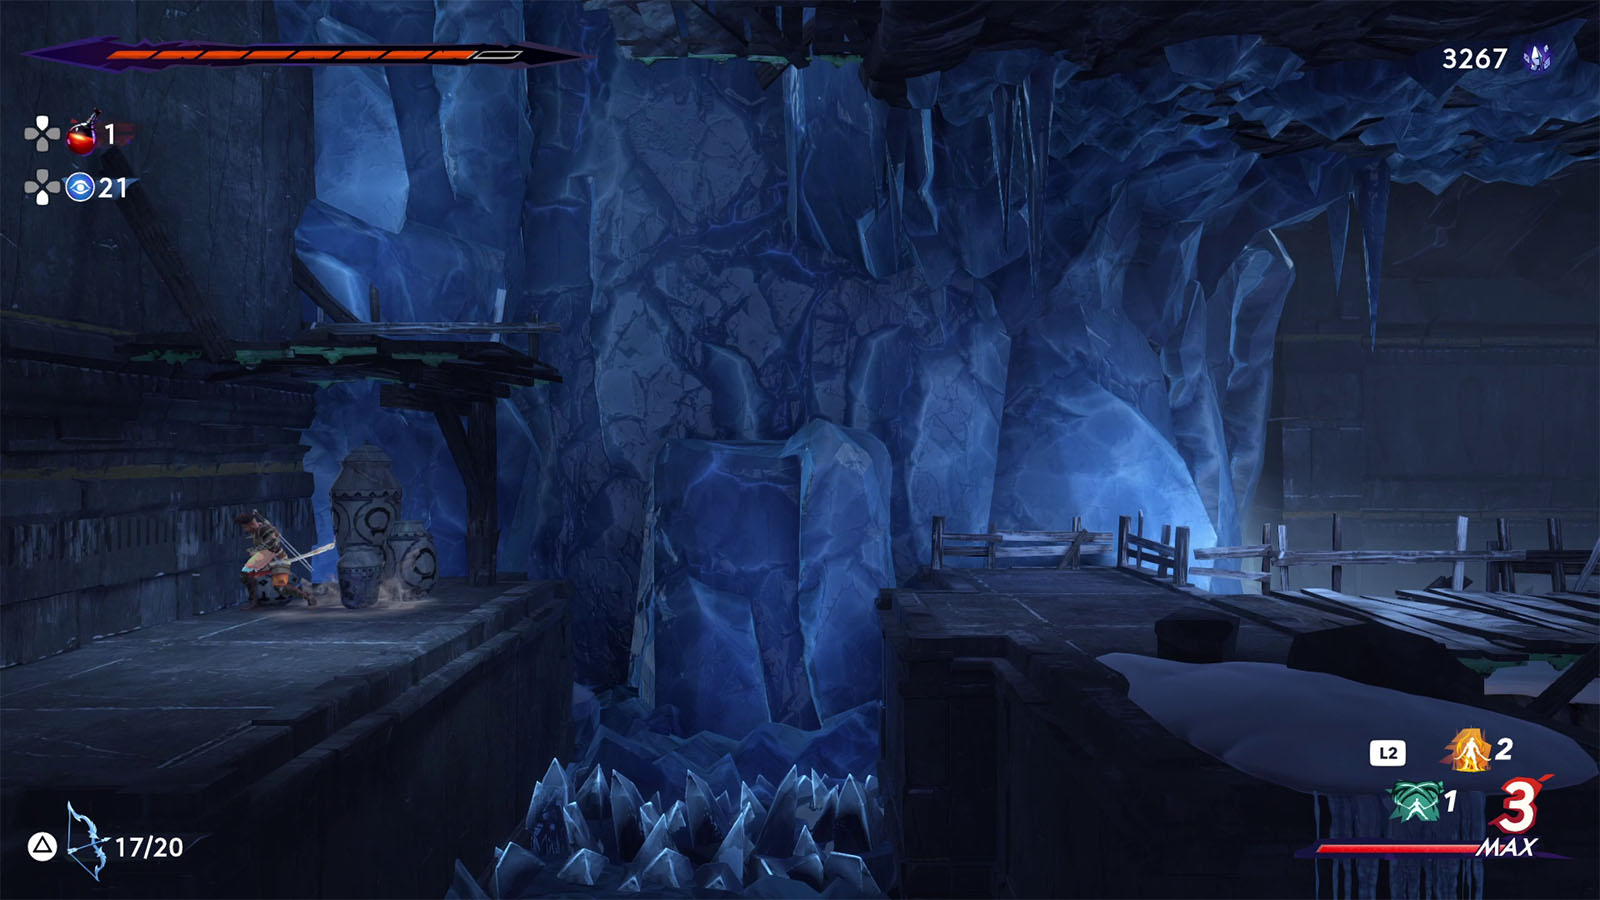
Just up ahead from the Xerxes coin, go down the platforms and look for another breakable wall. This leads to a spiked room that has another Xerxes coin at the end. To get this coin, jump and dash through the upper path, fall down to get the coin then immediately use your double jump, and then use you sash to grab on to the rung back at the start.
Go back to the main path and drop down the bridge for now to find another bridge; pull this bridge to unlock another shortcut.
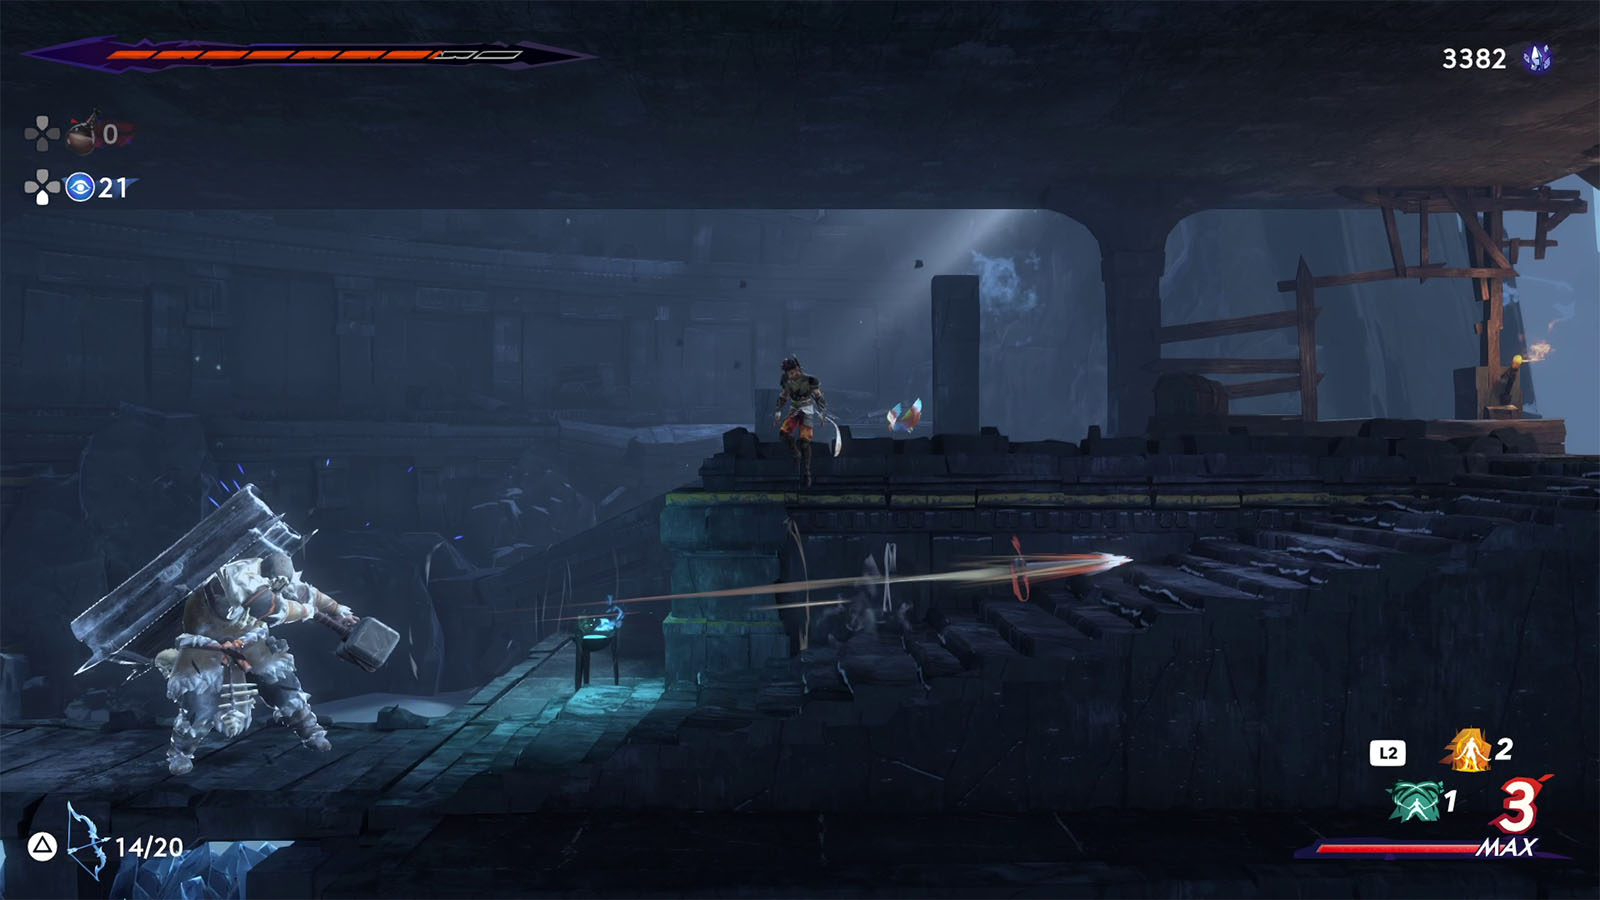
Back at the bridge, continue following the path through the ice and you will find another bridge you can open. Behind this bridge is a coffin carrier; defeat this enemy then proceed down the path.
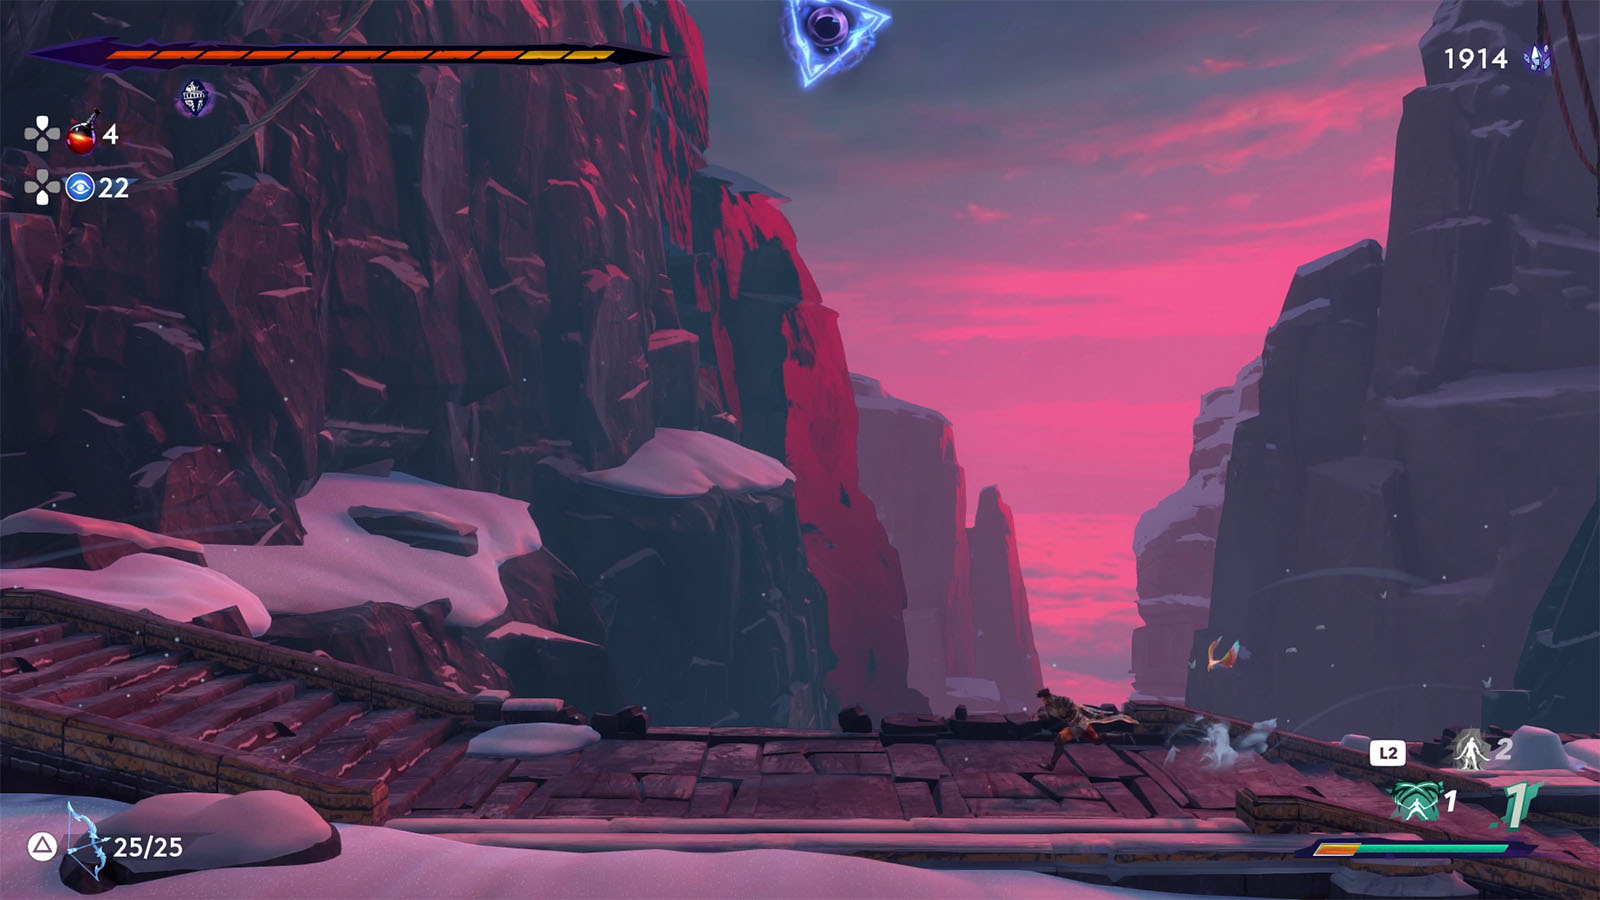
Once you reach the outdoors again, defeat the next set of enemies and then follow the breeze up to the bridge to find the next tree.
The path west of the tree across the bridge is impassable for now, so drop down from the bridge and take the east path first.
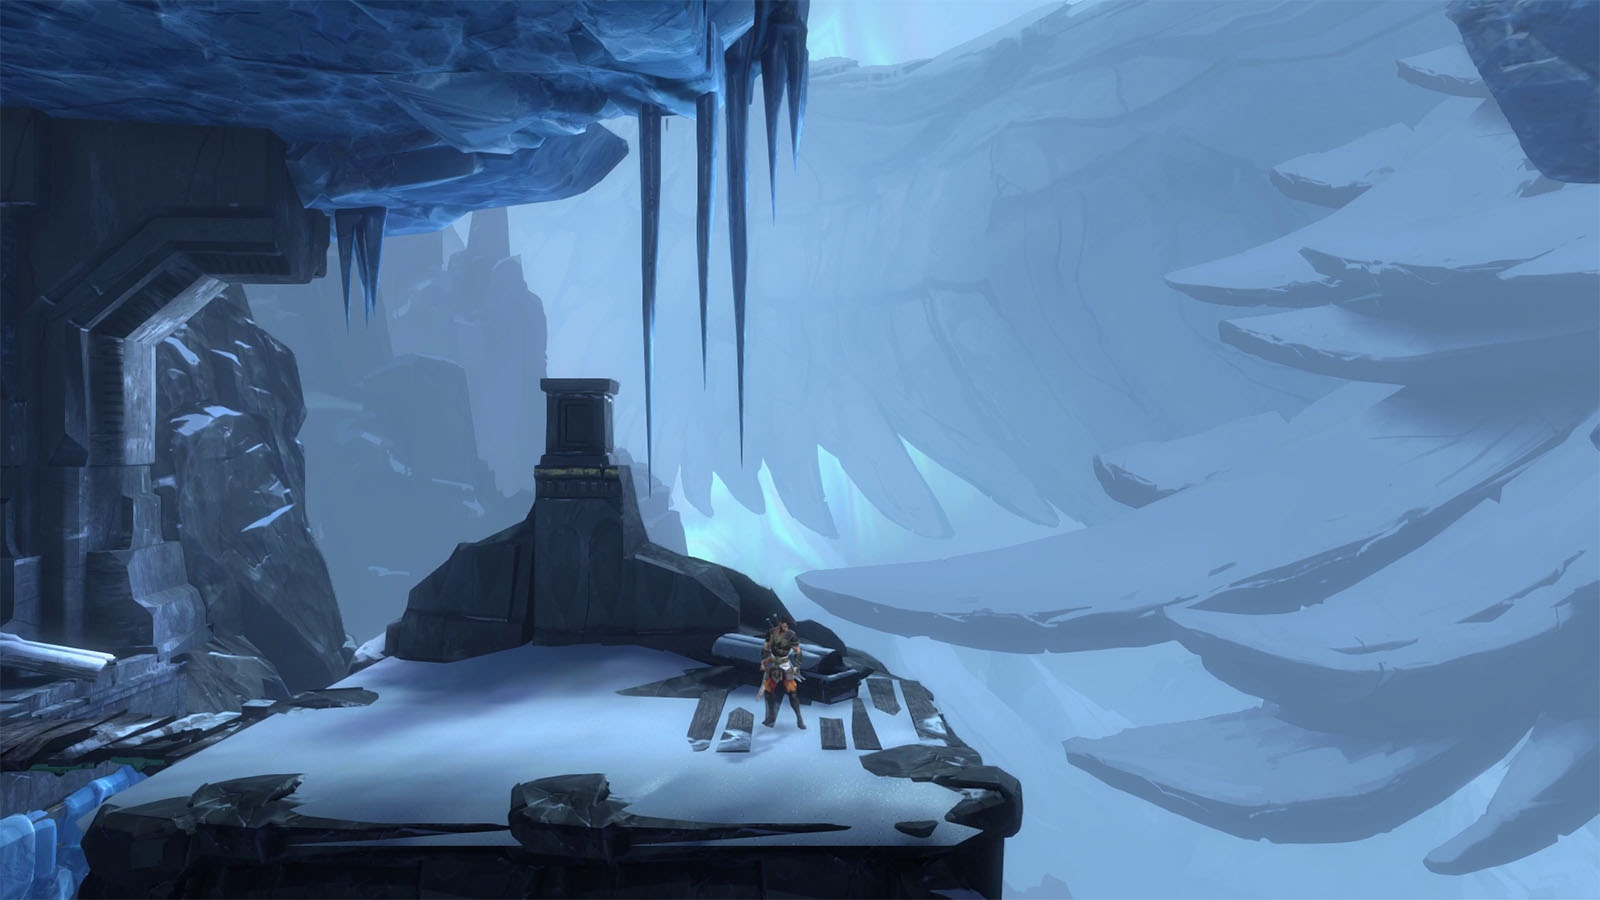
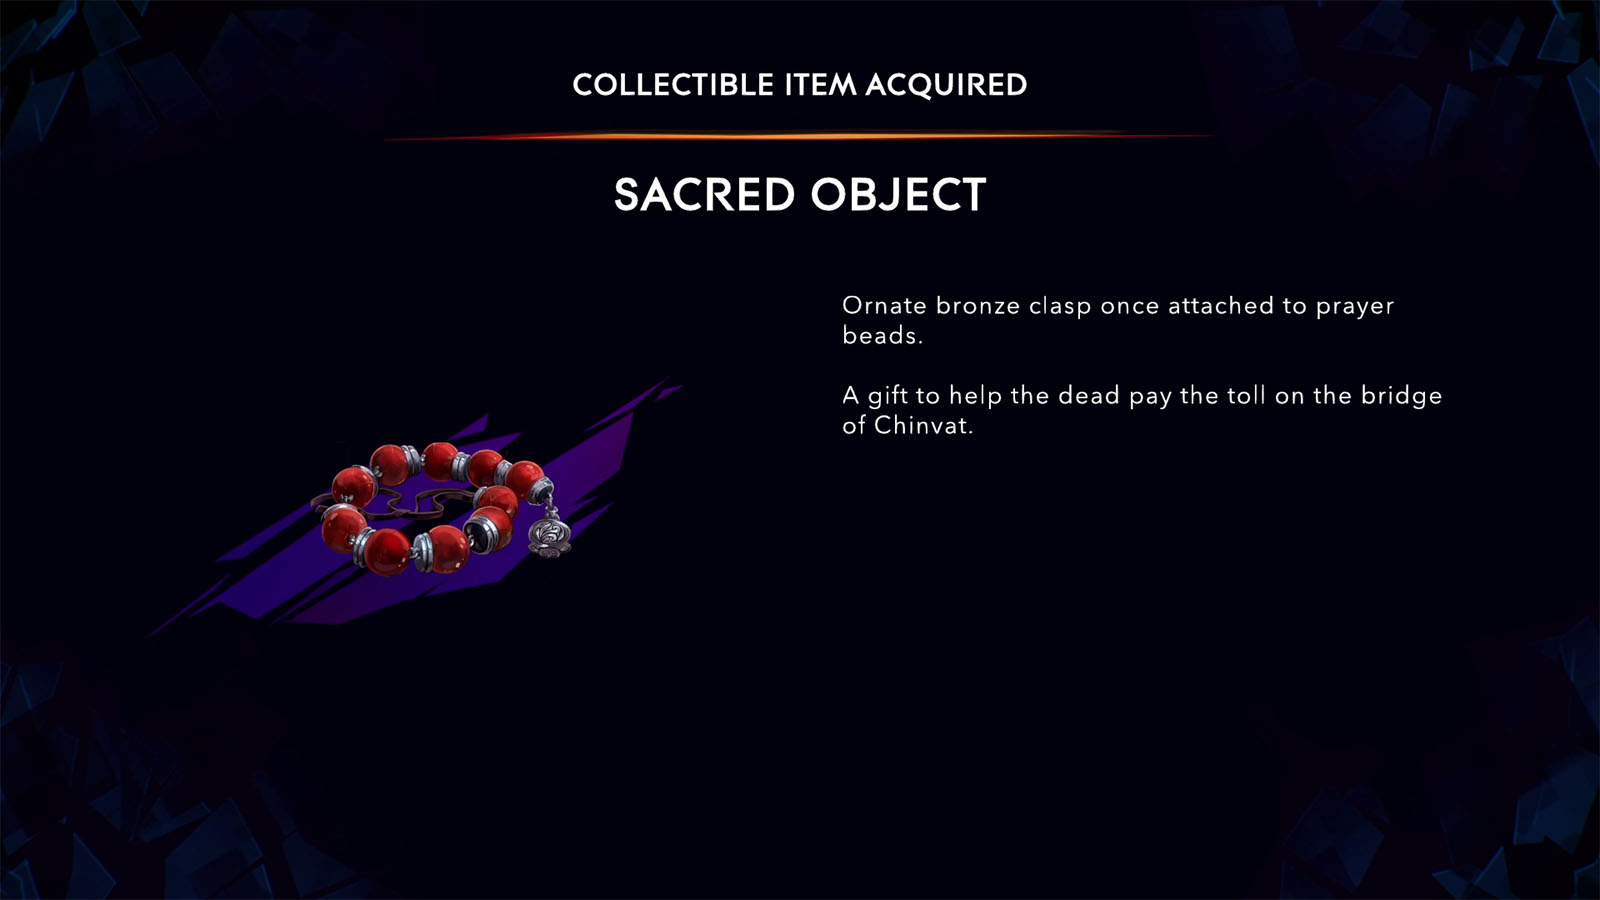
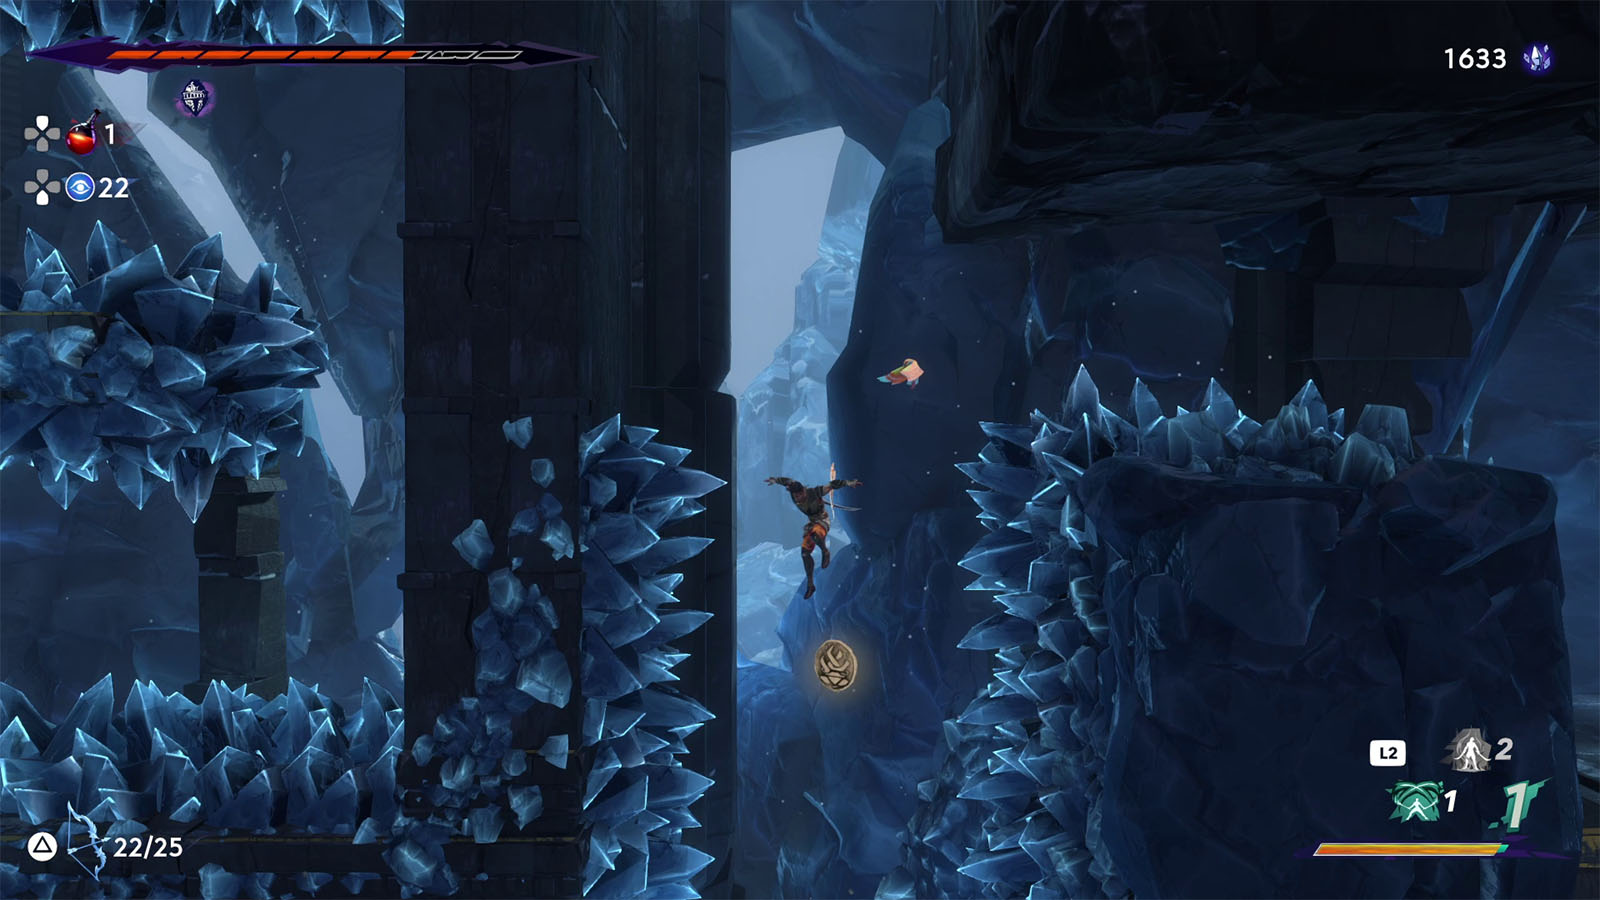
This path will have you go through a gauntlet of spiked walls and trapped platforms. Traverse through the ice and climb up the hooks until you reach the first resting point. From here you will find the Collectible – Sacred Object near the ledge.
Go through the next spiked path and once you’re through, go towards the east and follow the breeze to unlock the shortcut back to the previous tree.
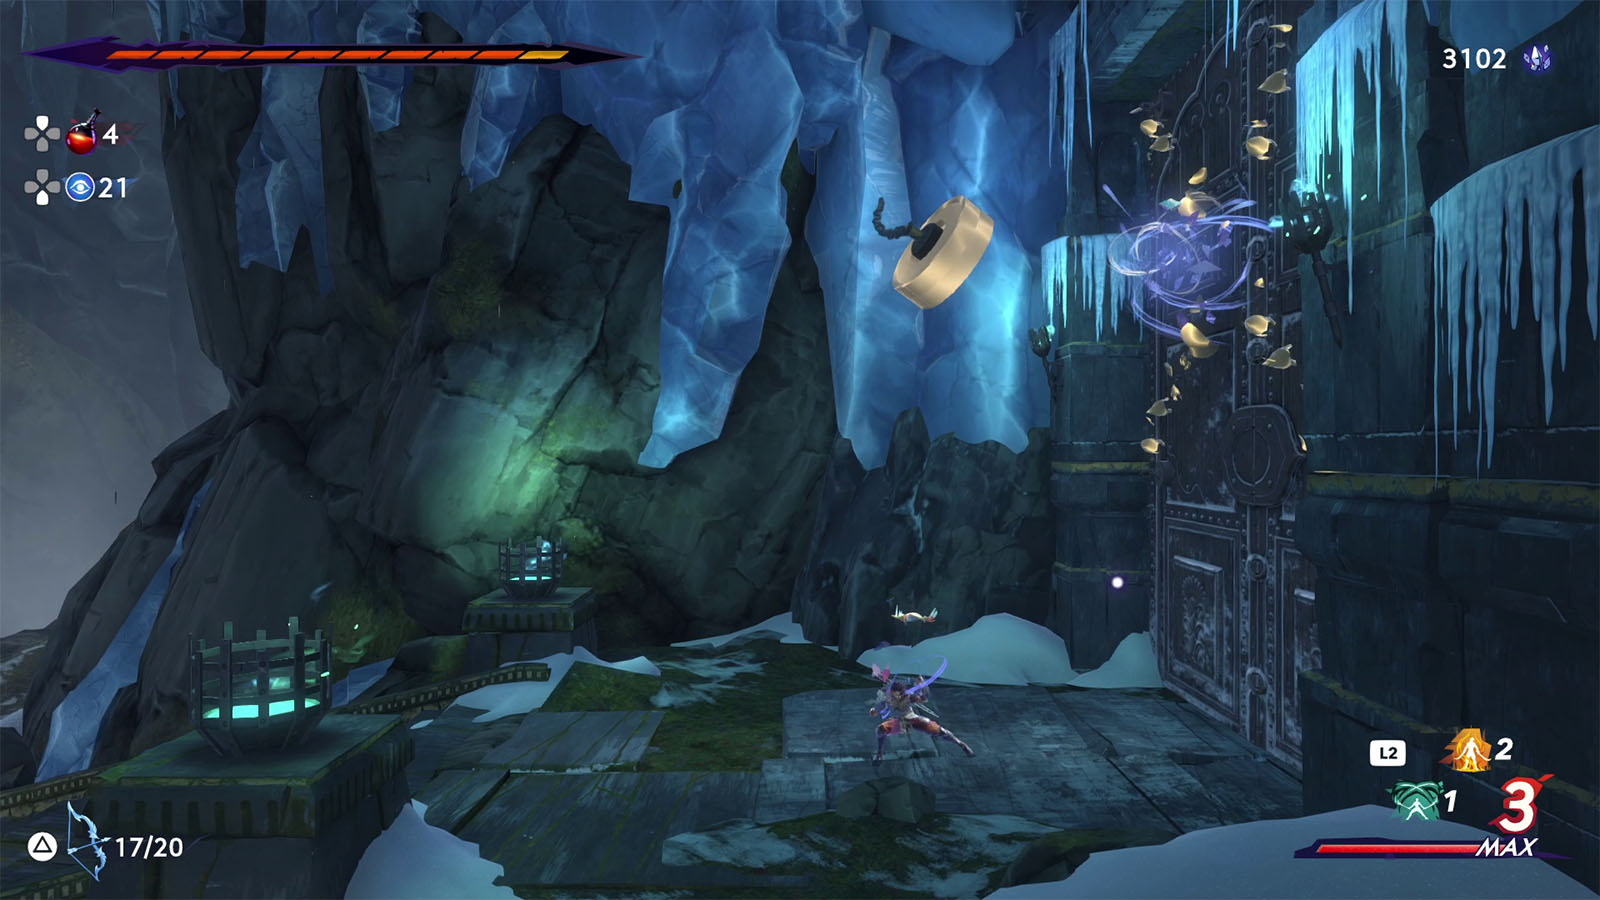
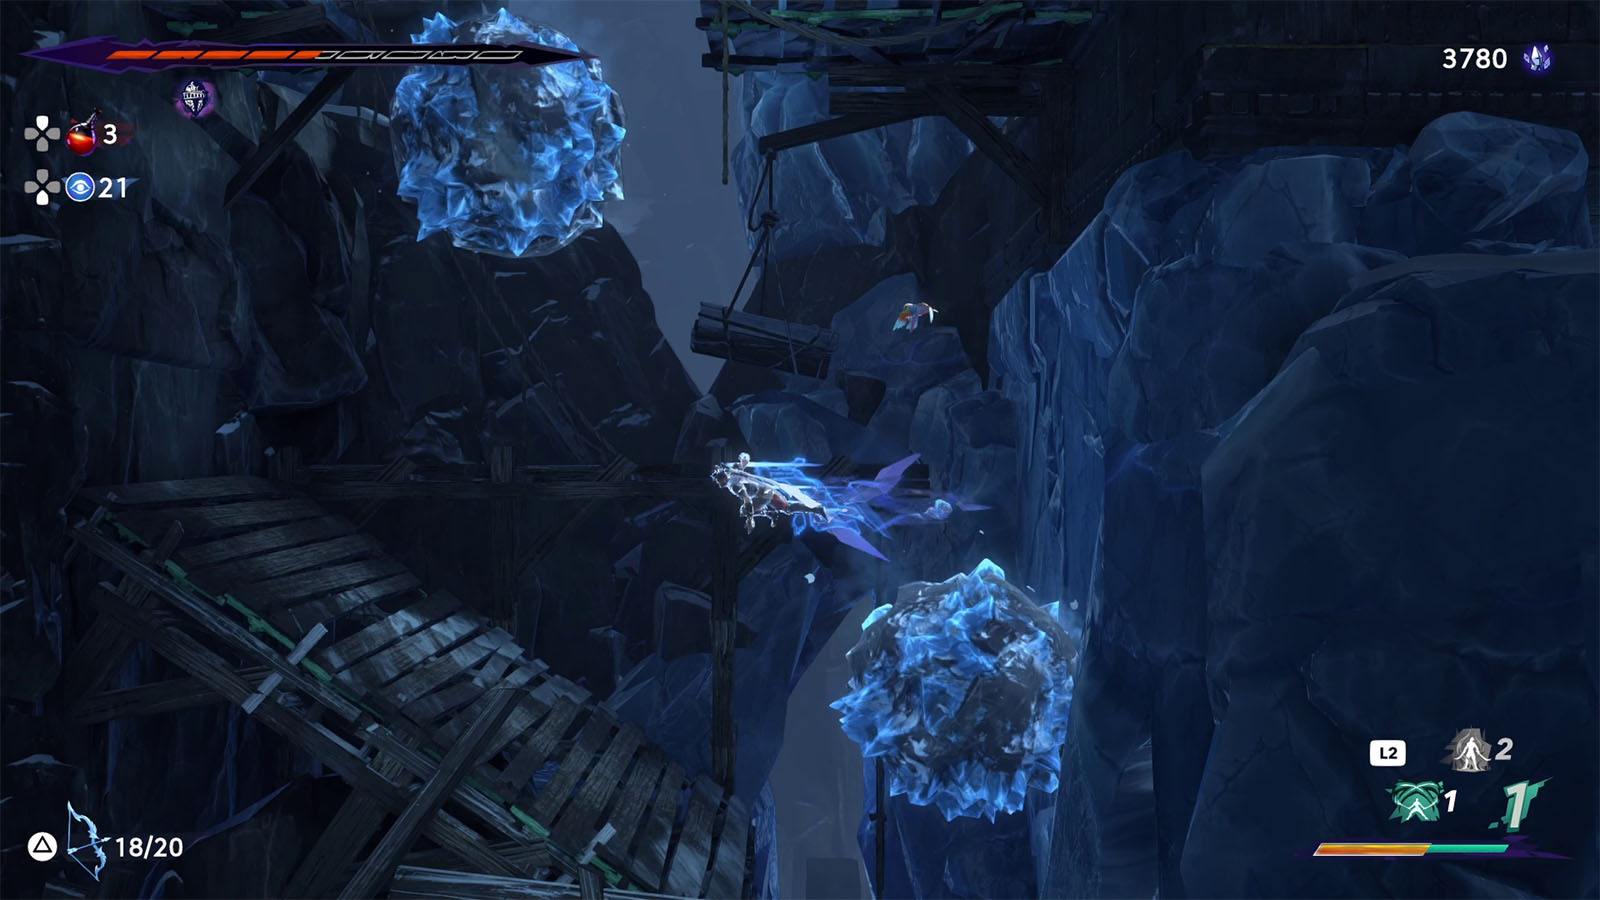
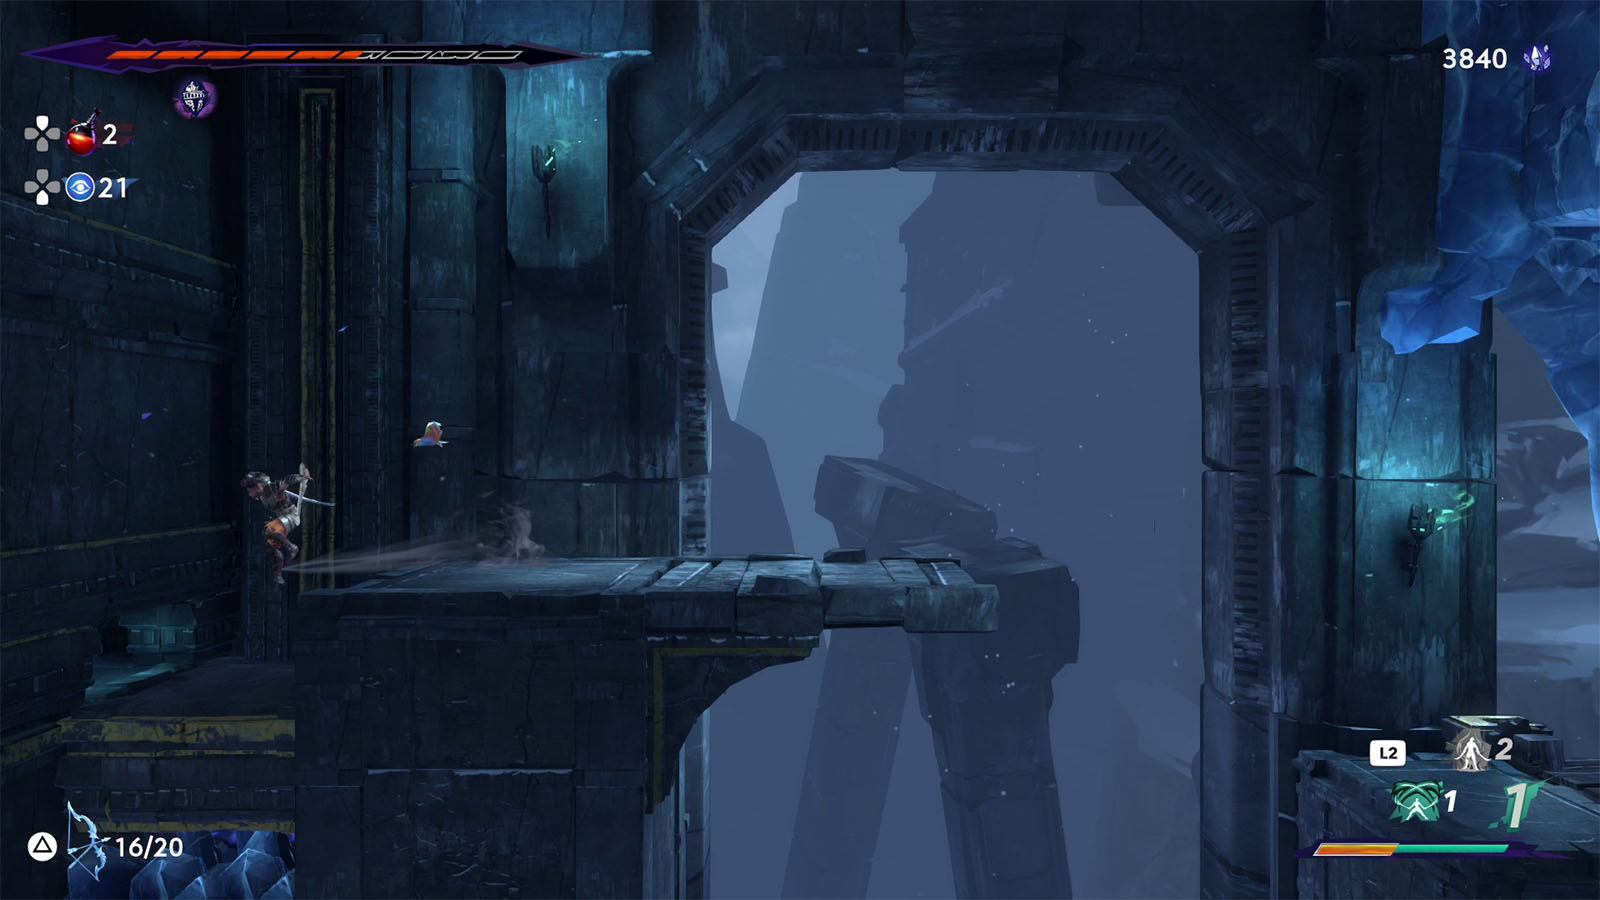
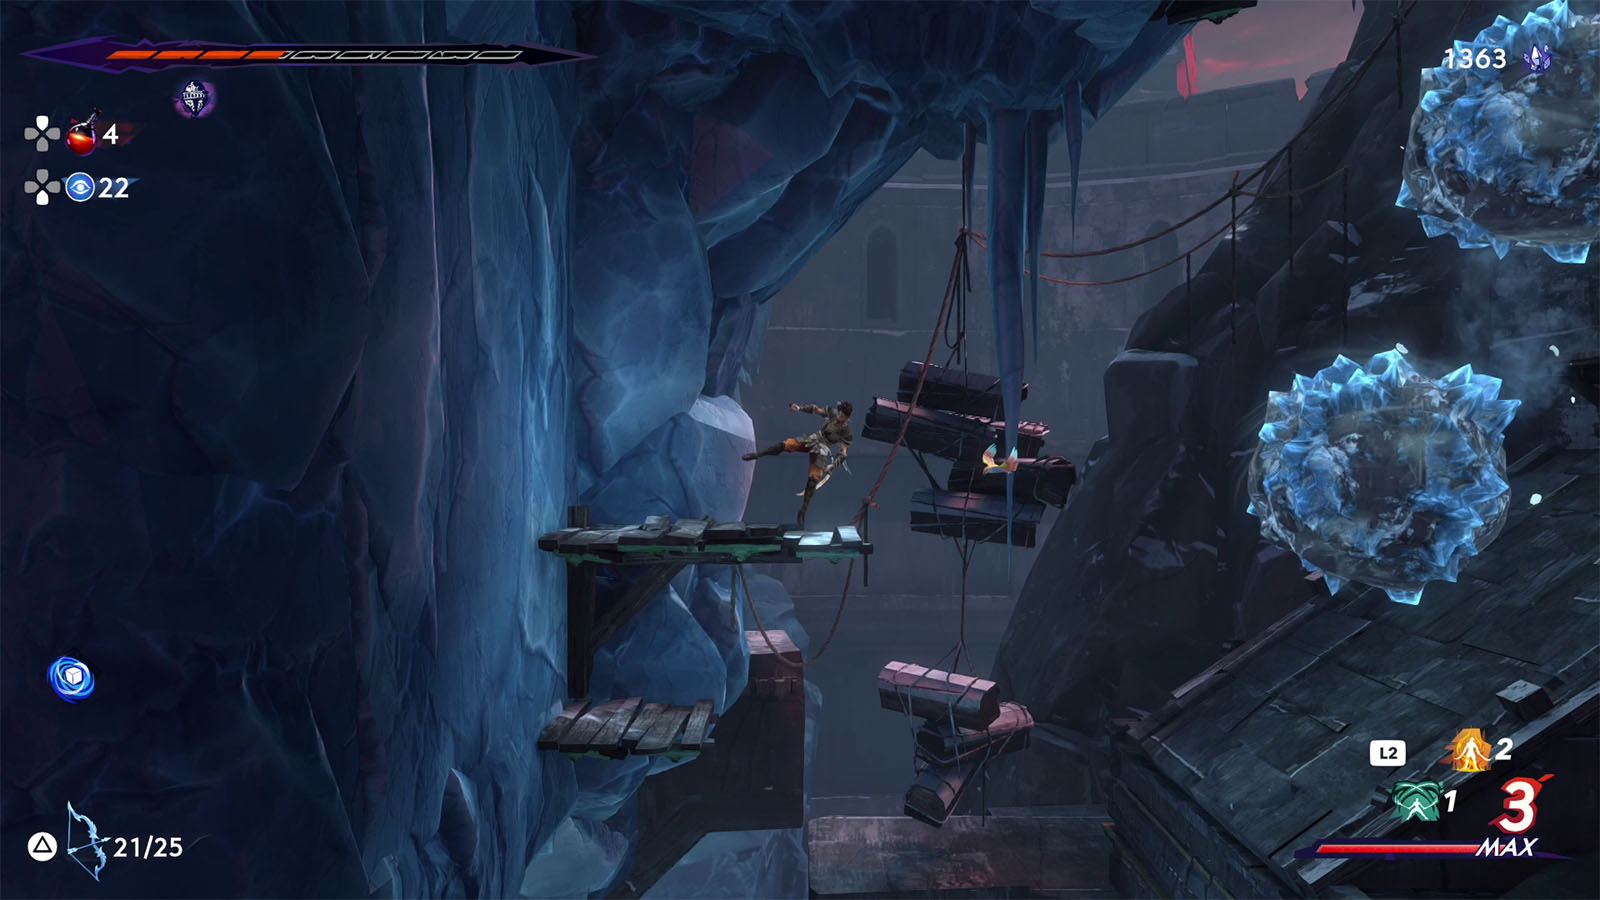
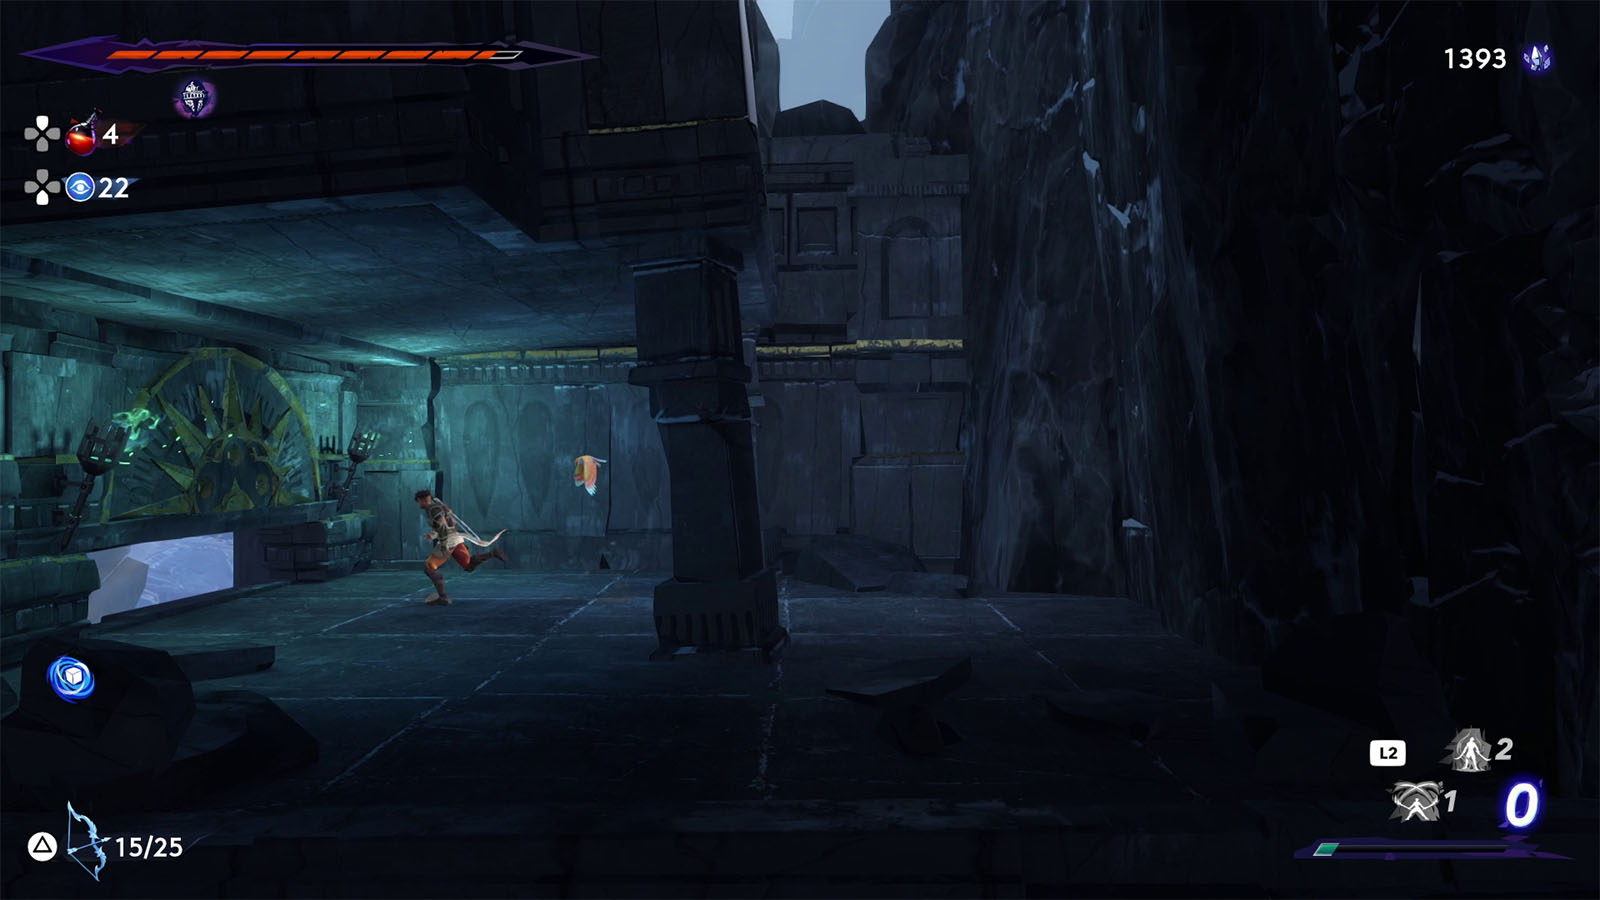
The next area to the west will have you operate lifts using your sash. Pull down on the hook below the lift to bring them down, then ride on top as it goes up.
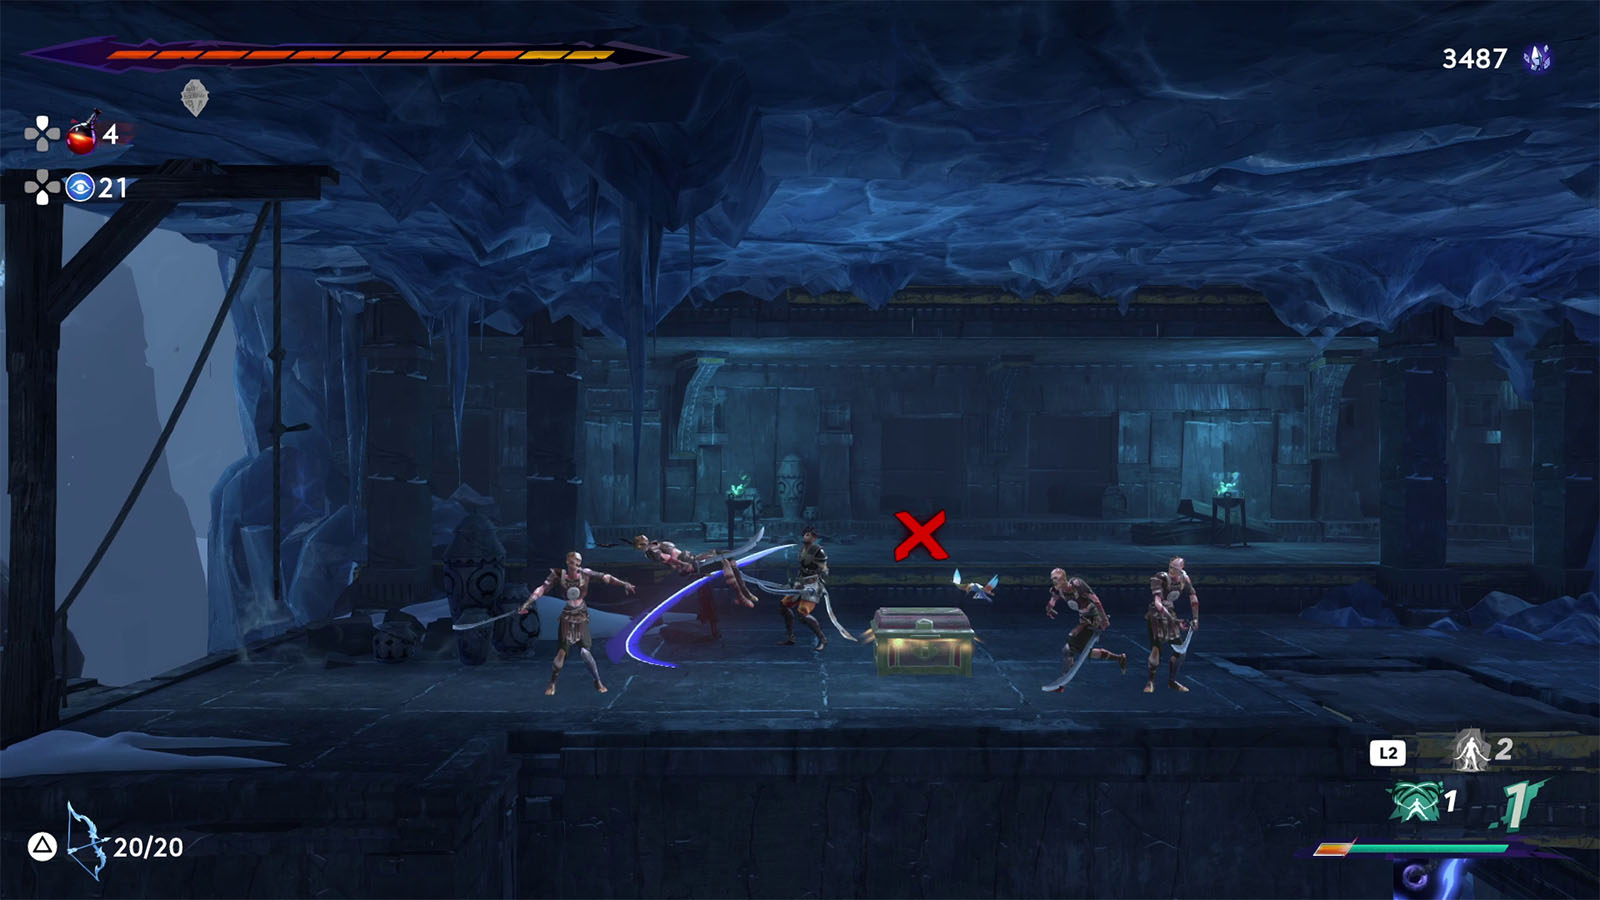
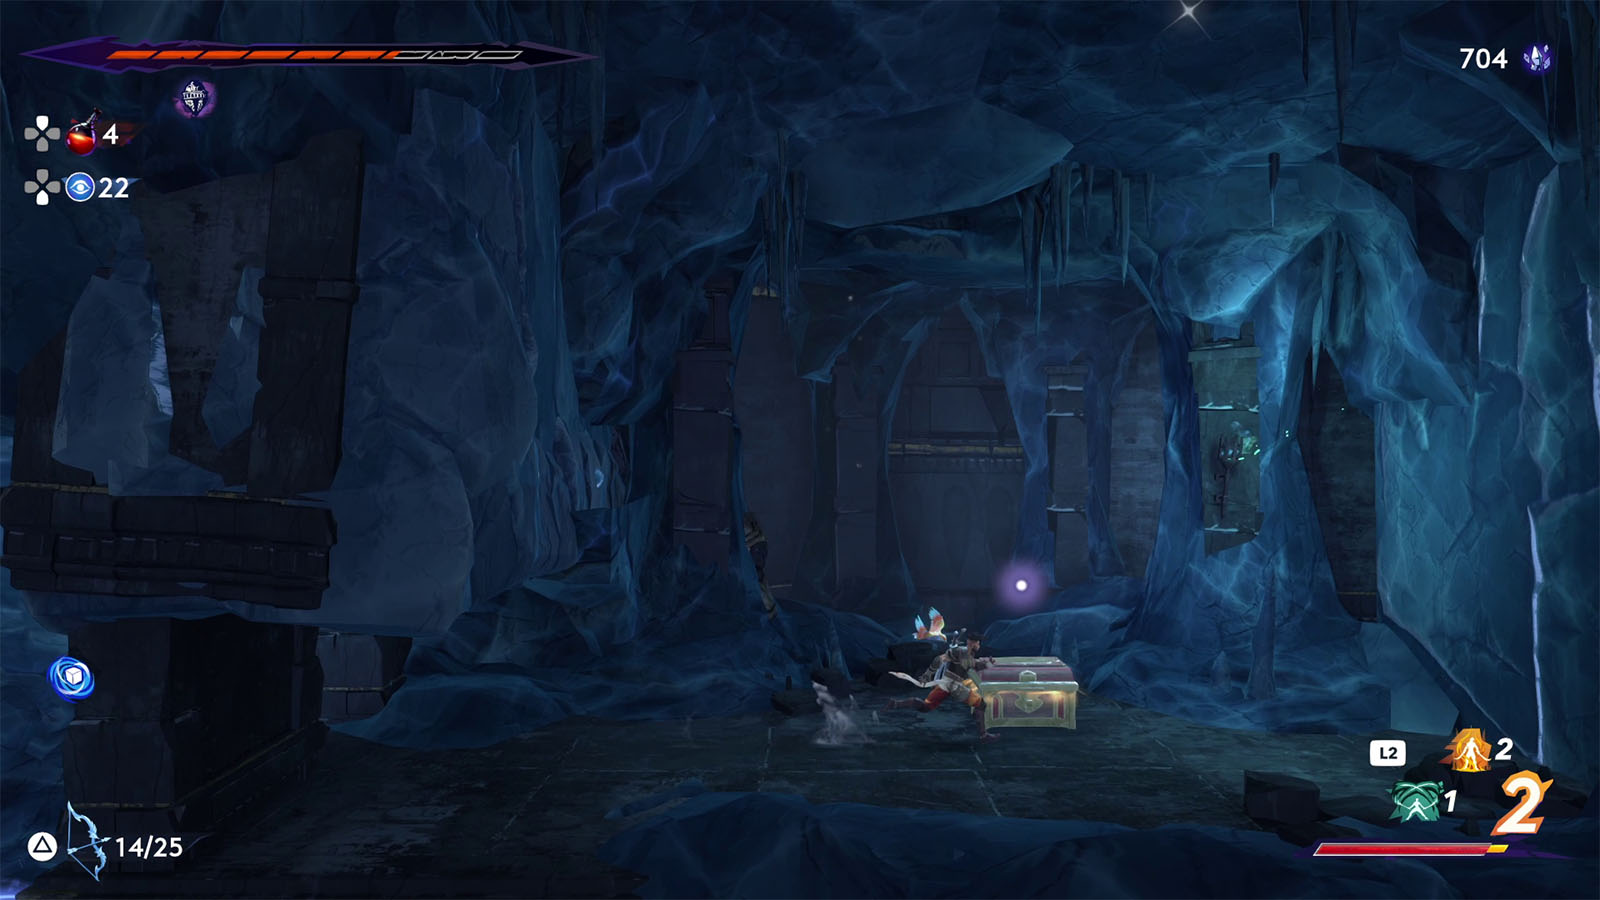
Once you get to the top, defeat all the enemies first, then open the chest to get some crystals.
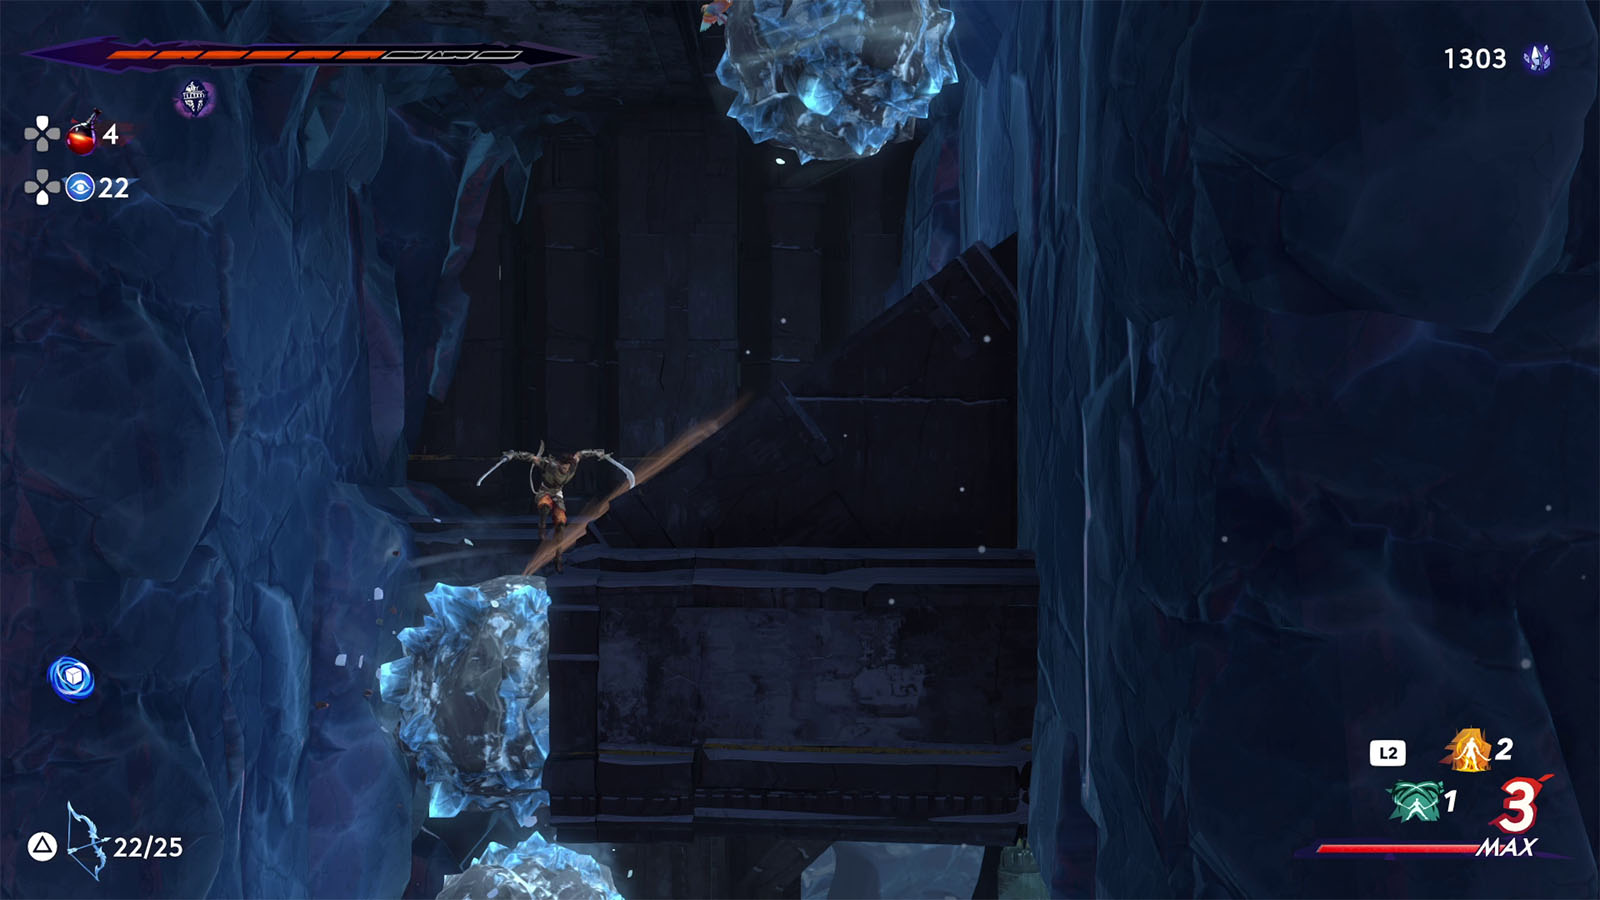
While crossing the next area, watch out for falling boulders. The path to the west is locked, so follow the path down where the boulders fall into to proceed.
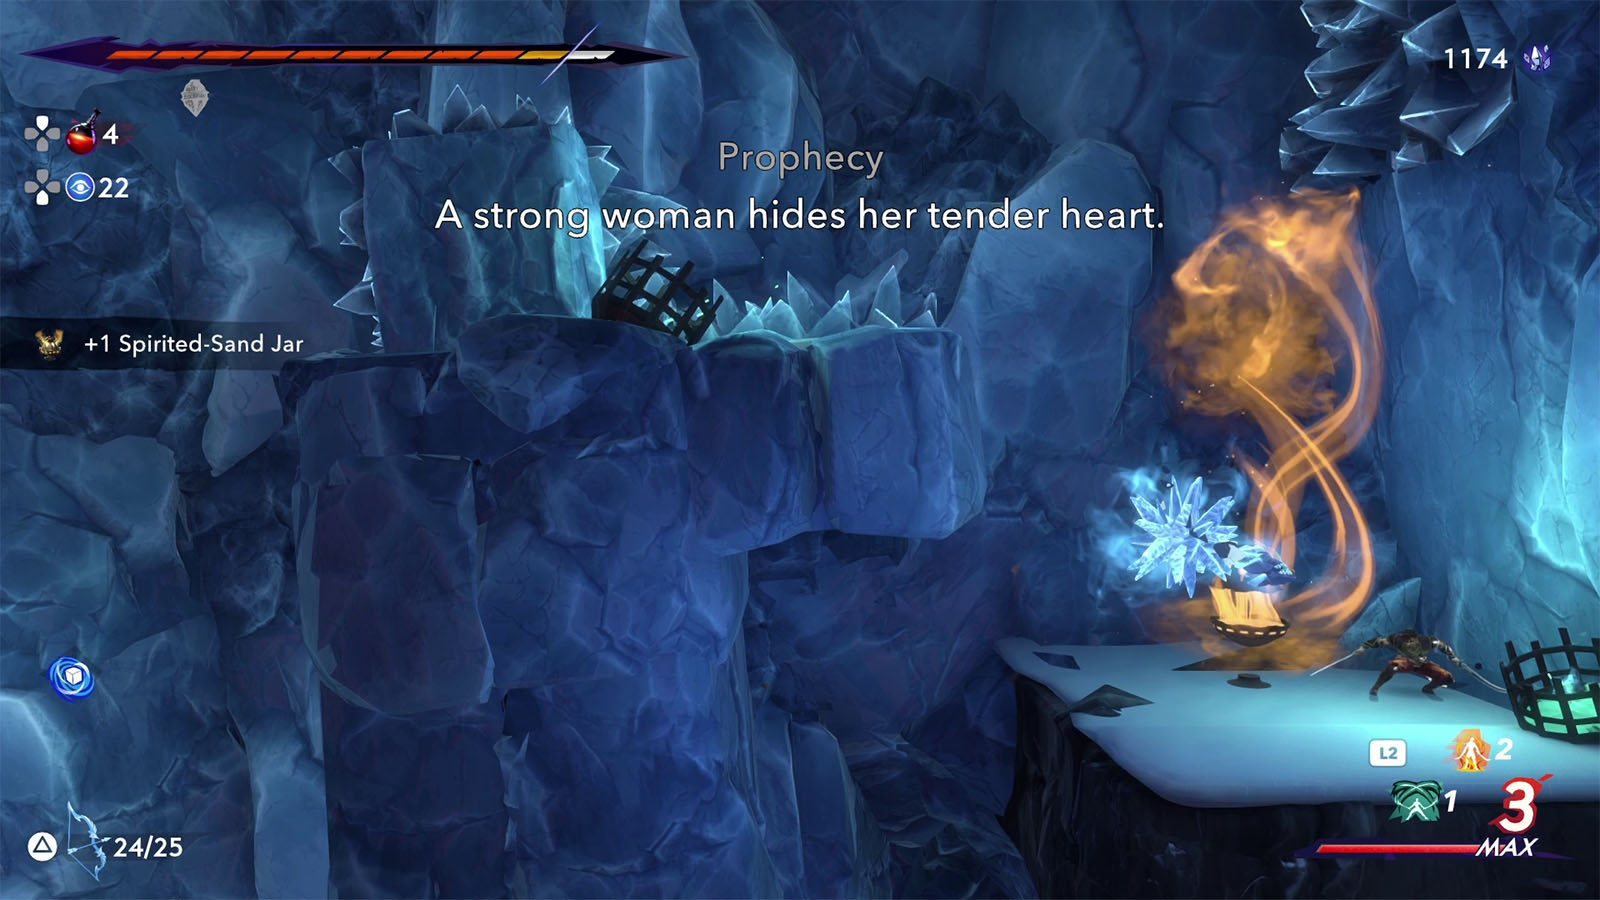
Once you are on the lower level, clear out the enemies first, then head to the east and climb up. You will find another lift with a hook, except it goes side to side this time. Go to the middle of the lift’s path first and leave a shadow, then pull the lift and return to your shadow once the lift is past it. You will then get a Spirited-Sand Jar.
Continue to the west and pull down the bridge.
Past the falling boulders is another lift. Pull it down and quickly get on it and slide through the gap in the wall. Inside the room, break the wall on the left to reach another area. Climb the upper level using the shadow method again and navigate through the course to find a chest containing some crystals.
Go back to the main path and climb up while avoiding the traps and the boulders. Look to the east side first to unlock the bridge path for another shortcut, then continue climbing upwards.


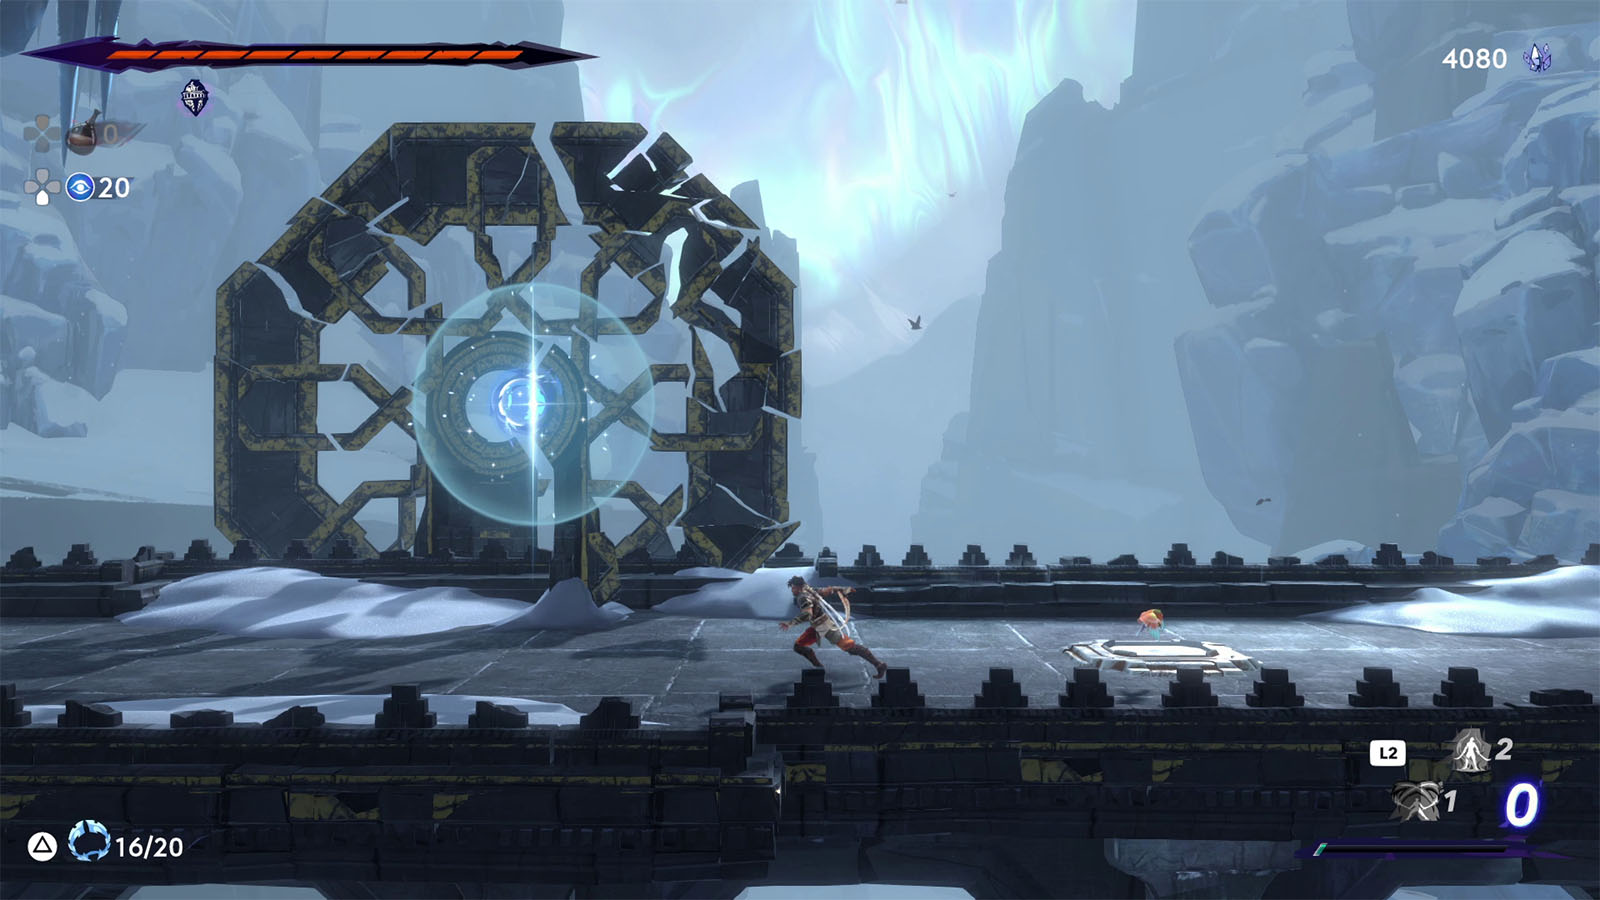
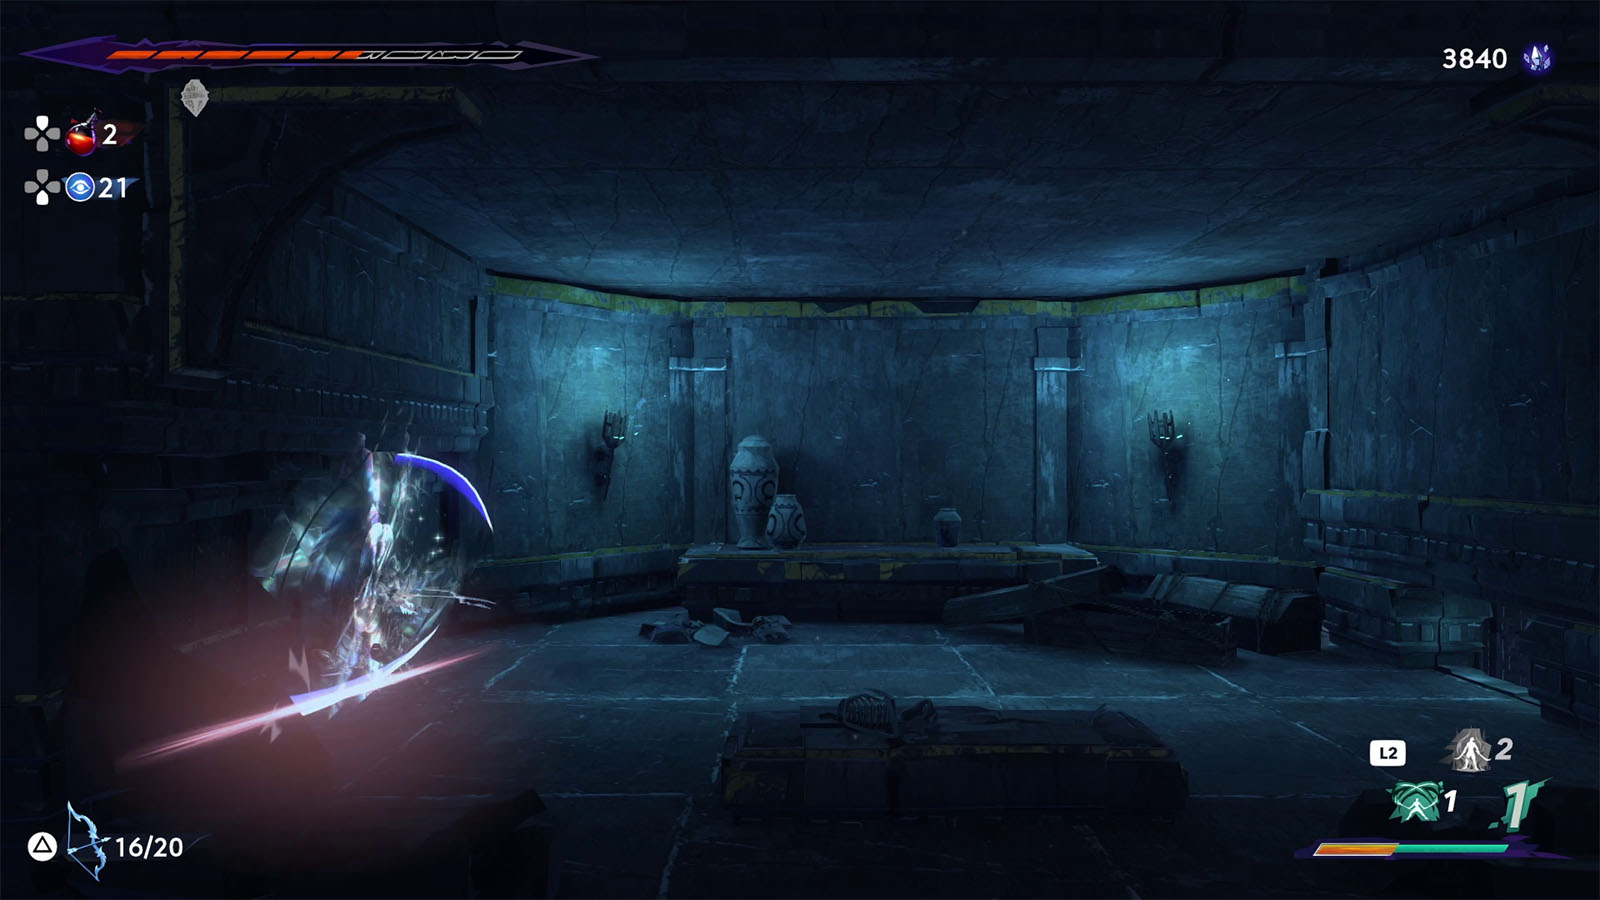
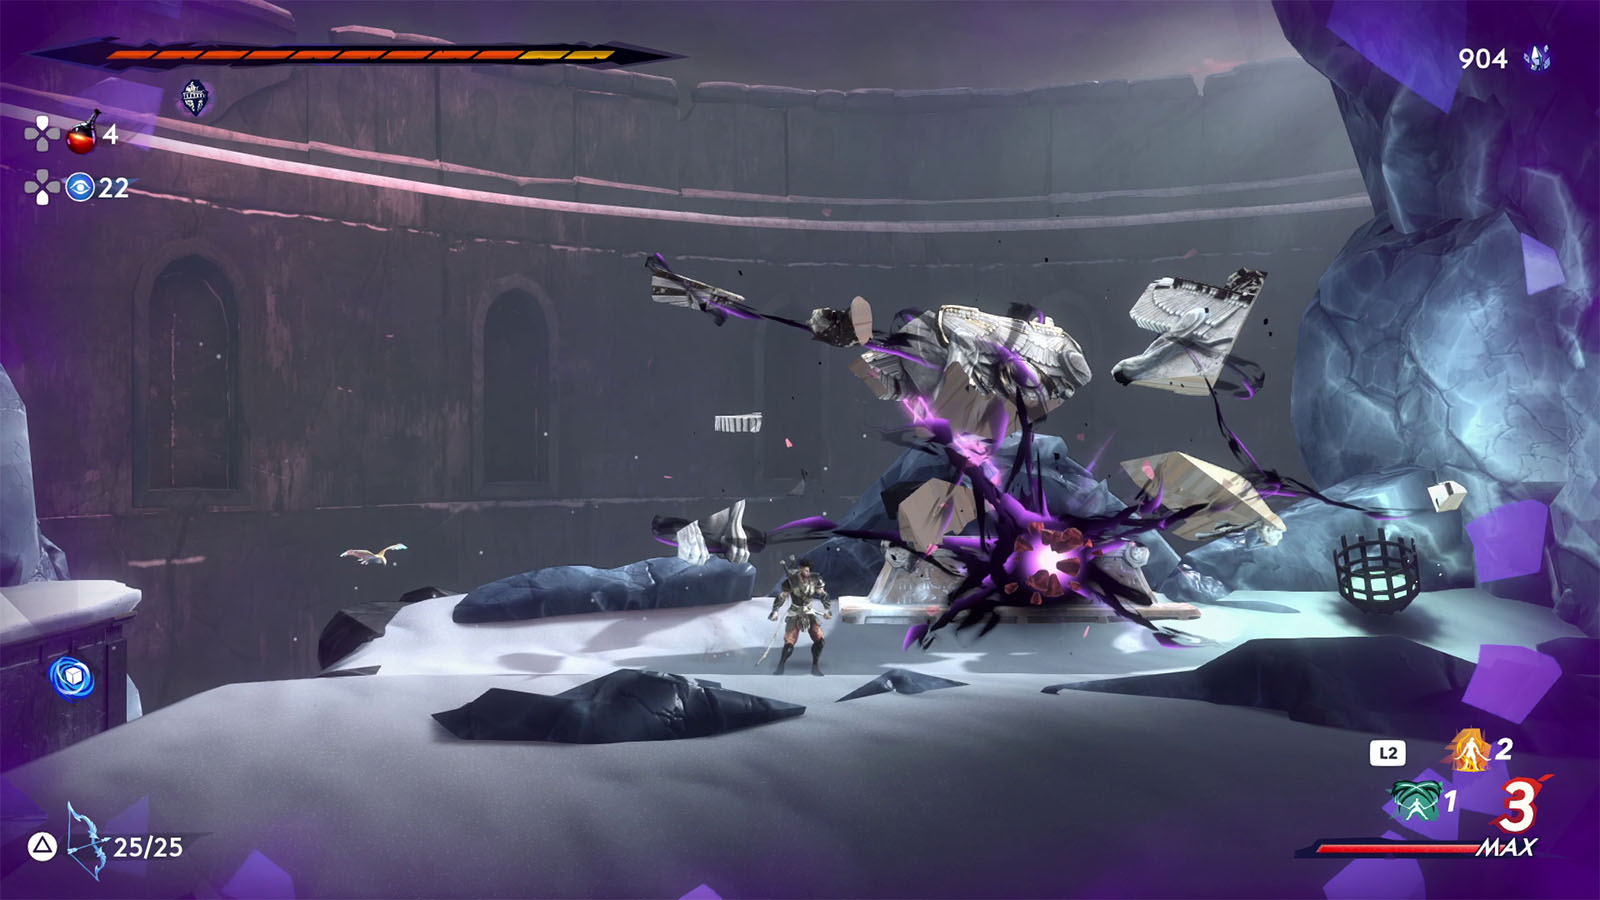
In the next open area, you will find another mystery chest puzzle. Clear out the enemies first, then stand on the spot where the broken fragments recombine into a structure. Then throw your chakram at the middle of the structure to make the chest appear. This chest contains a Soma Tree Petal.
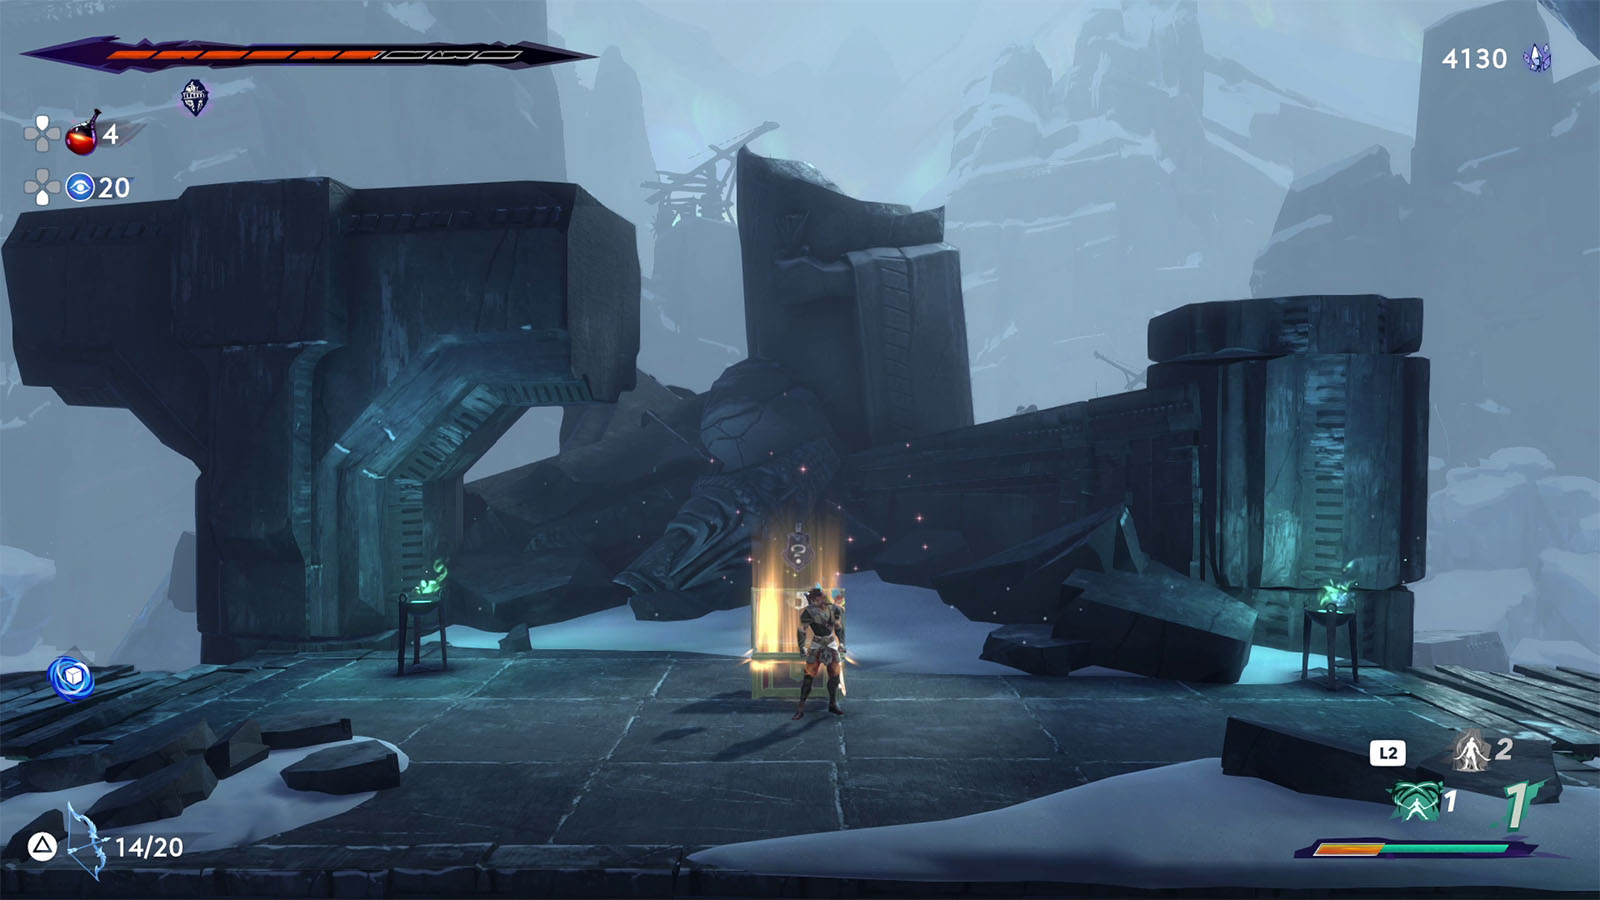
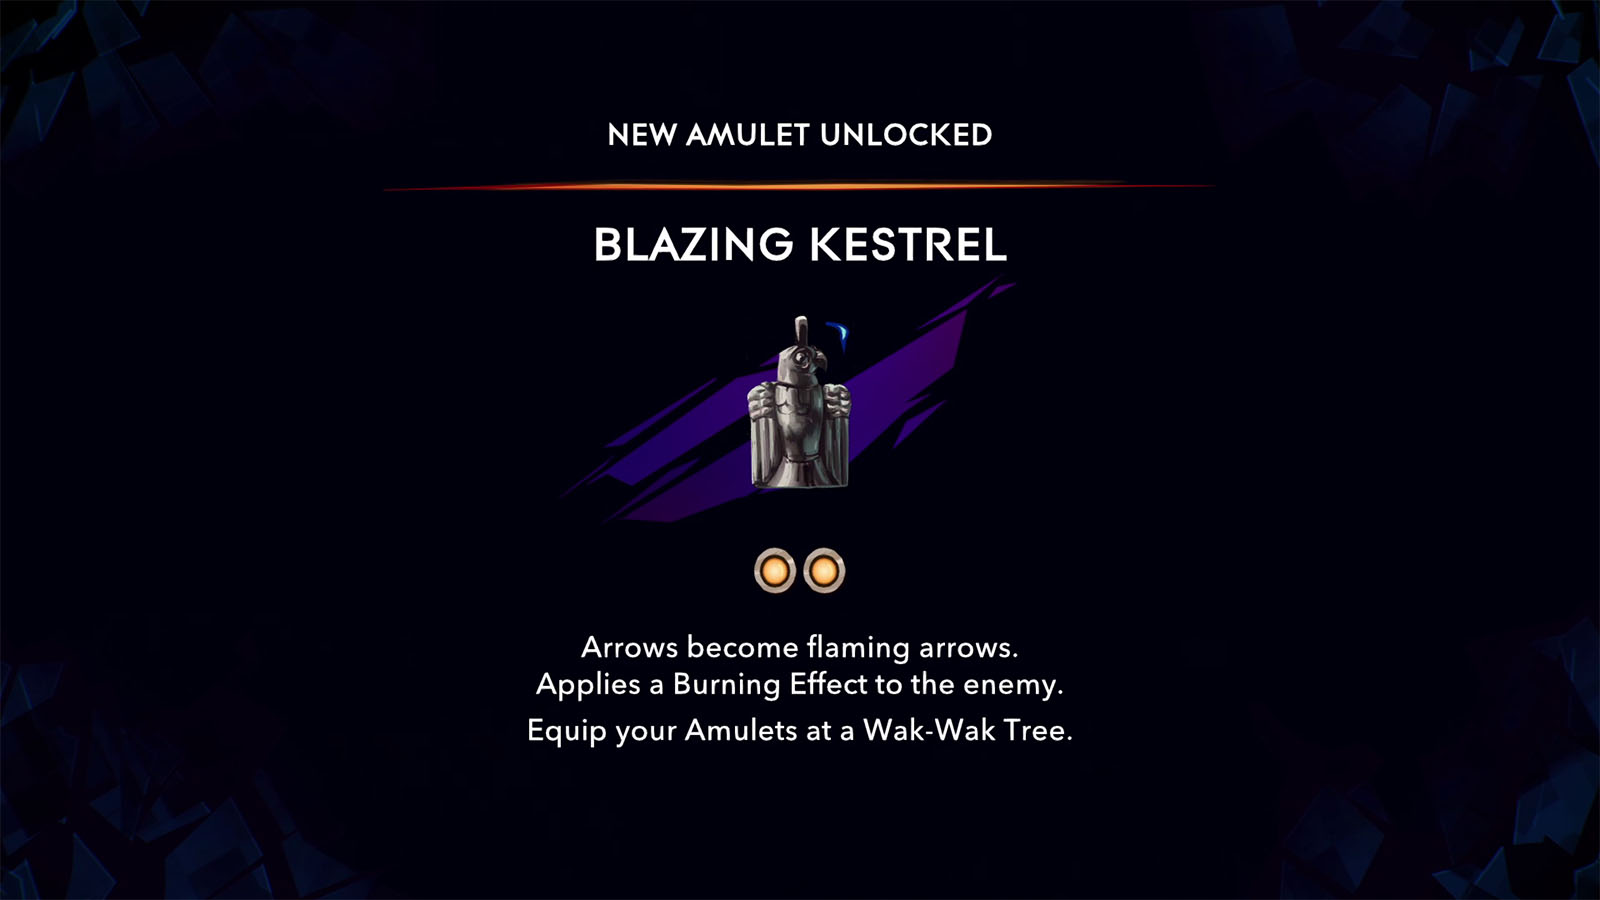
Proceed to the path on the left and follow the breeze to the next area to find the next tree. The path going further west leads back to the portal to Kaheva’s Forge. Open the shortcut and travel back to the Forge or The Haven if you need to. There is a chest on top of where the portal is and it contains the Blazing Kestrel amulet which add fire damage to your arrows.
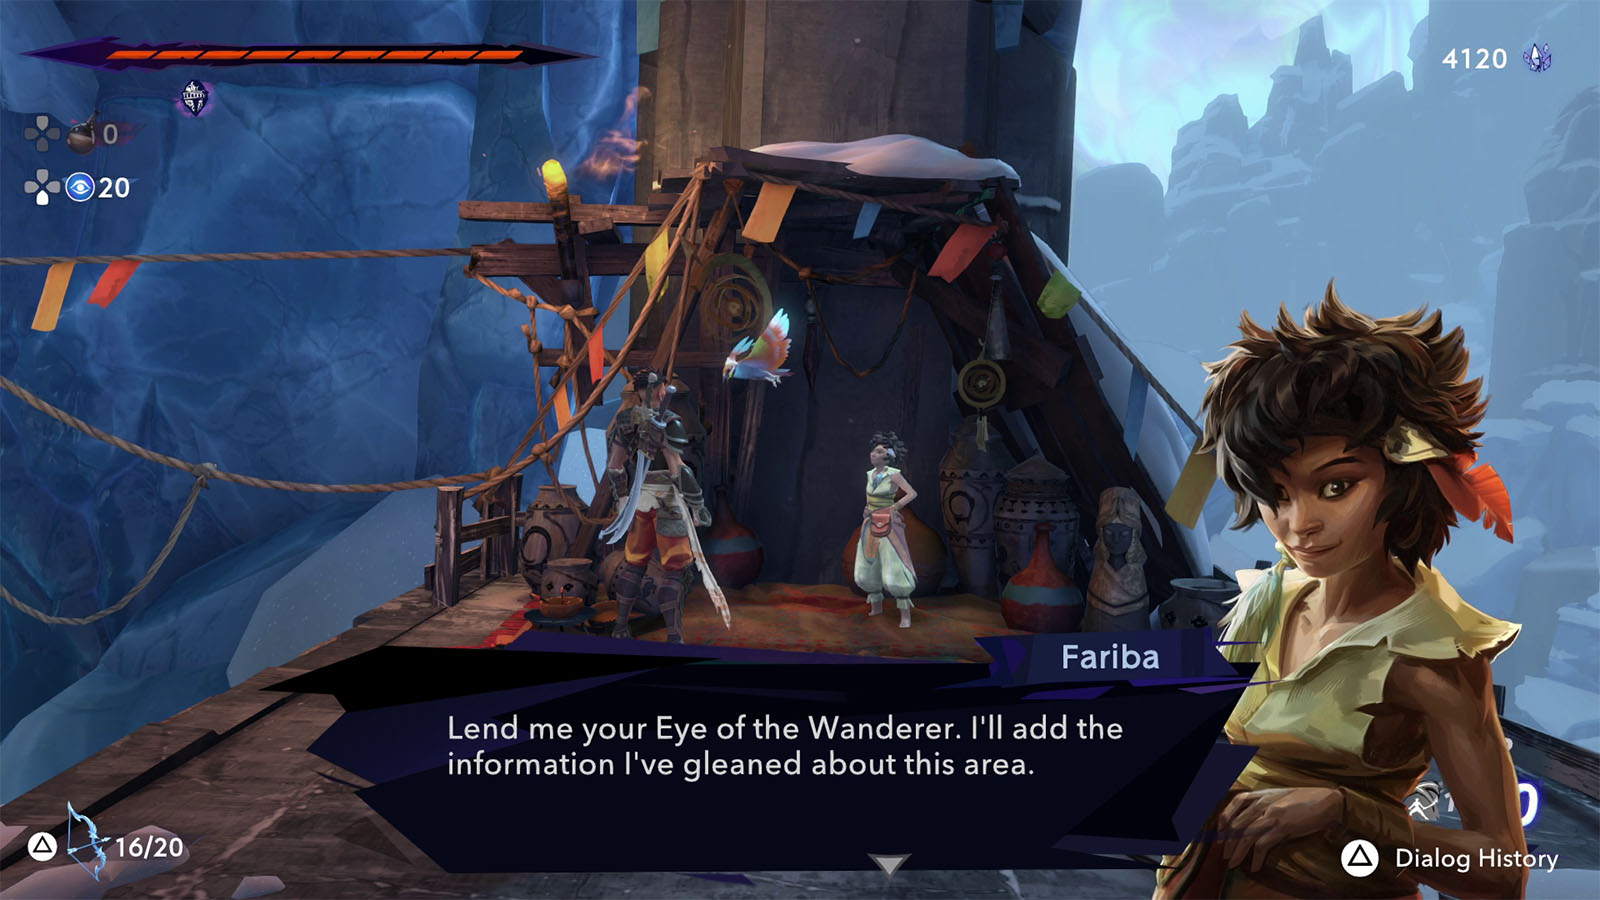
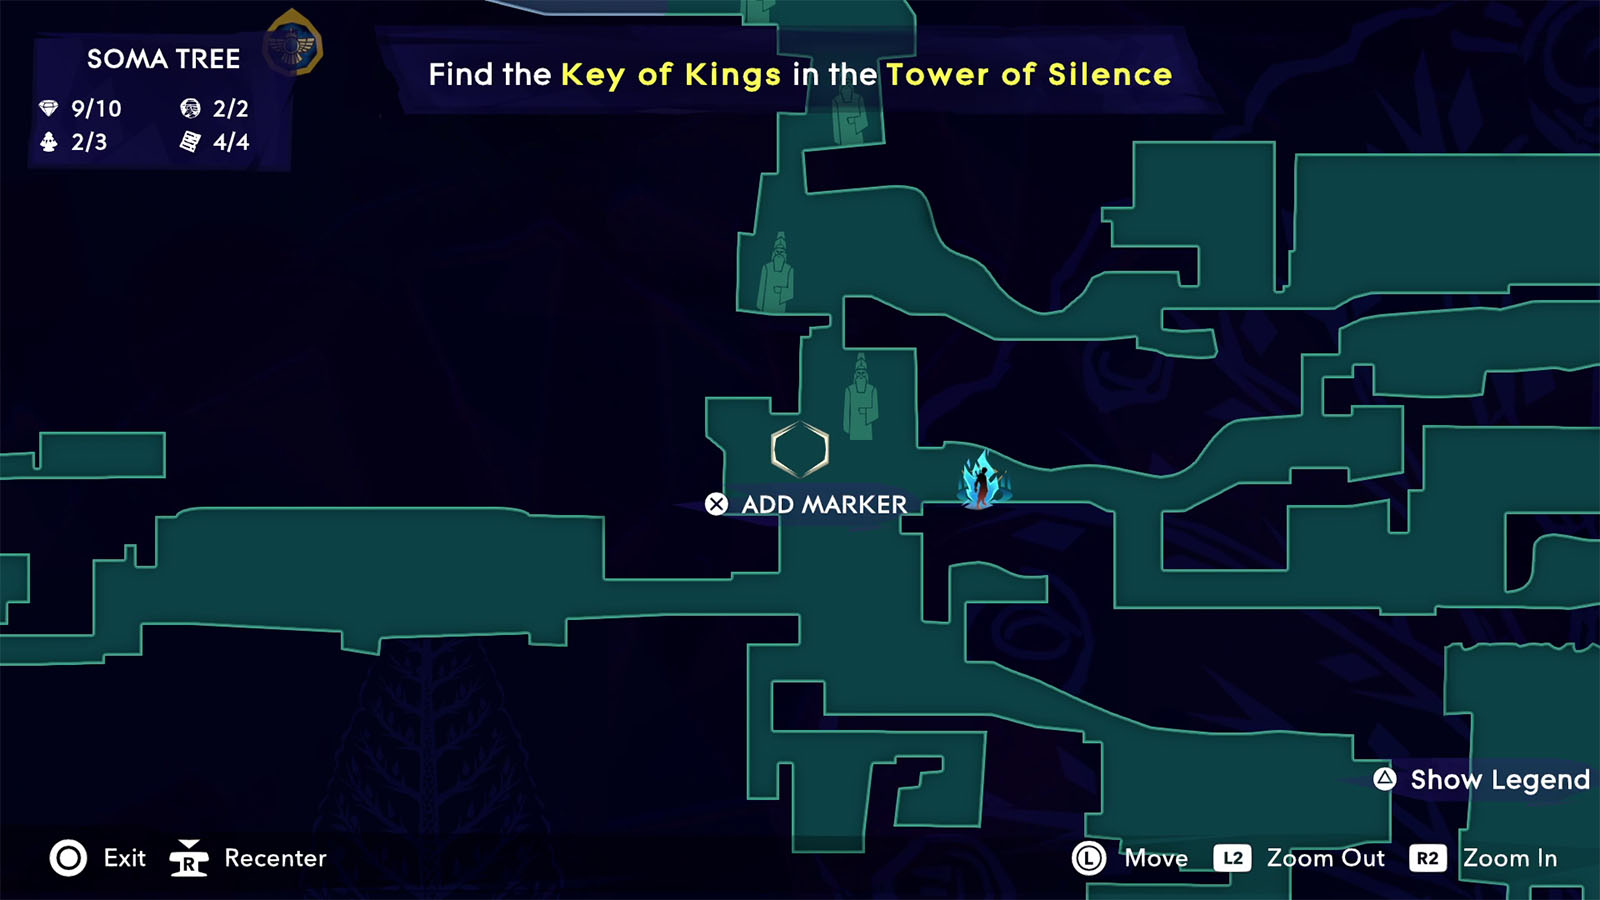
Go back to the east past the tree and climb up to the next area. Follow the streamers to find Fariba and then buy the map for the Tower of Silence from her.
From Fariba’s place, head west and climb up to the next area. Once you reach the fork in the path, check the room to the east through a breakable wall to find a chest with crystals.
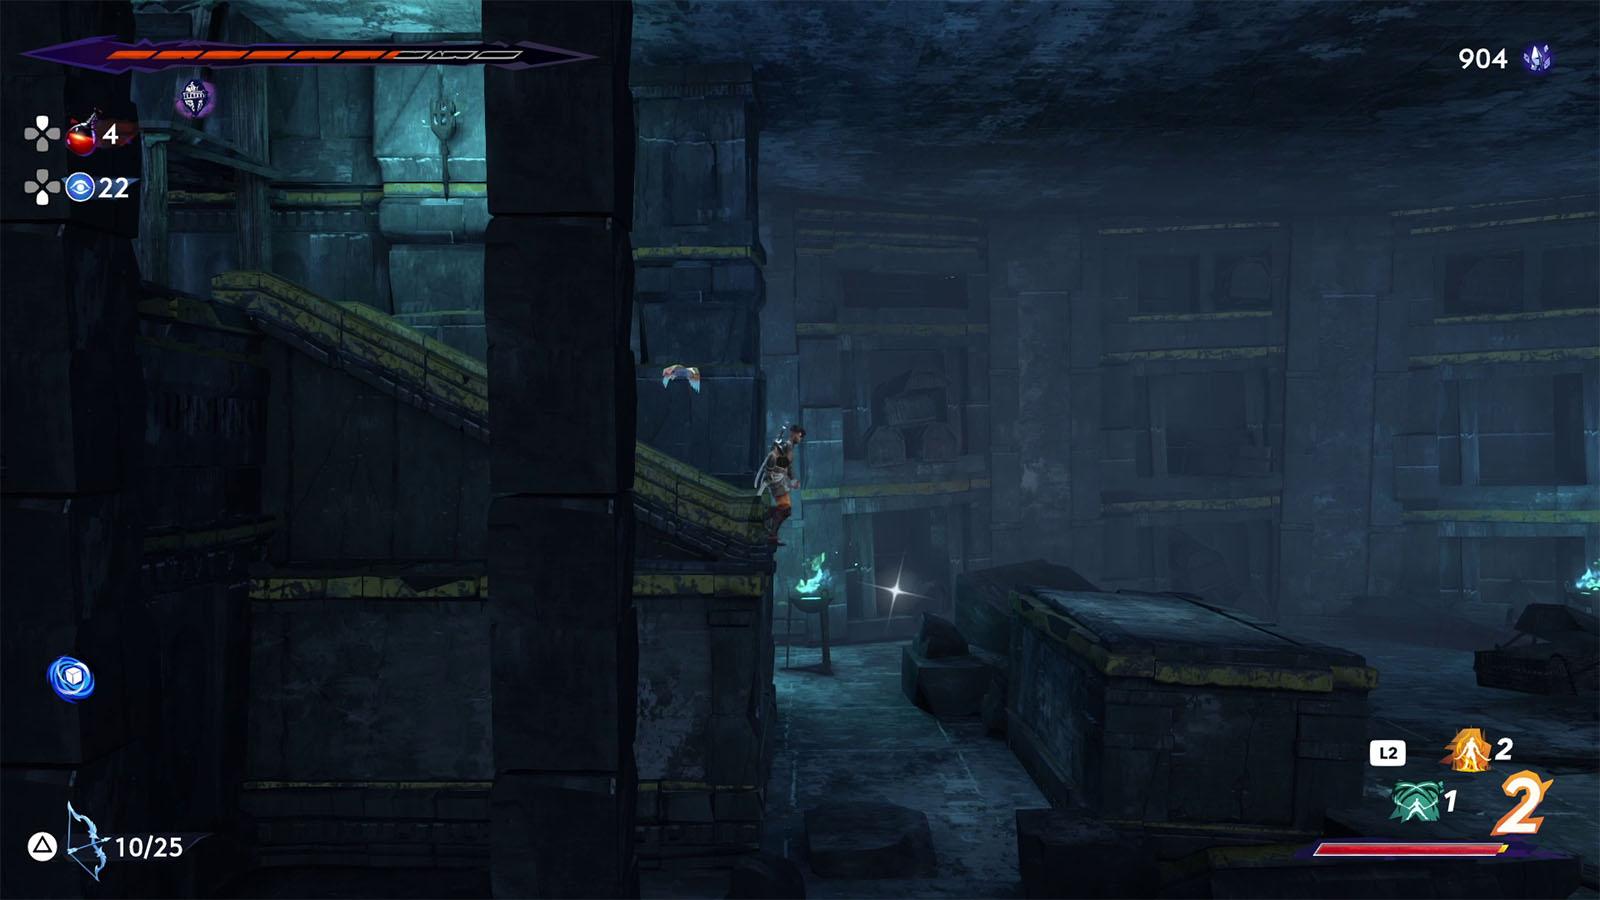
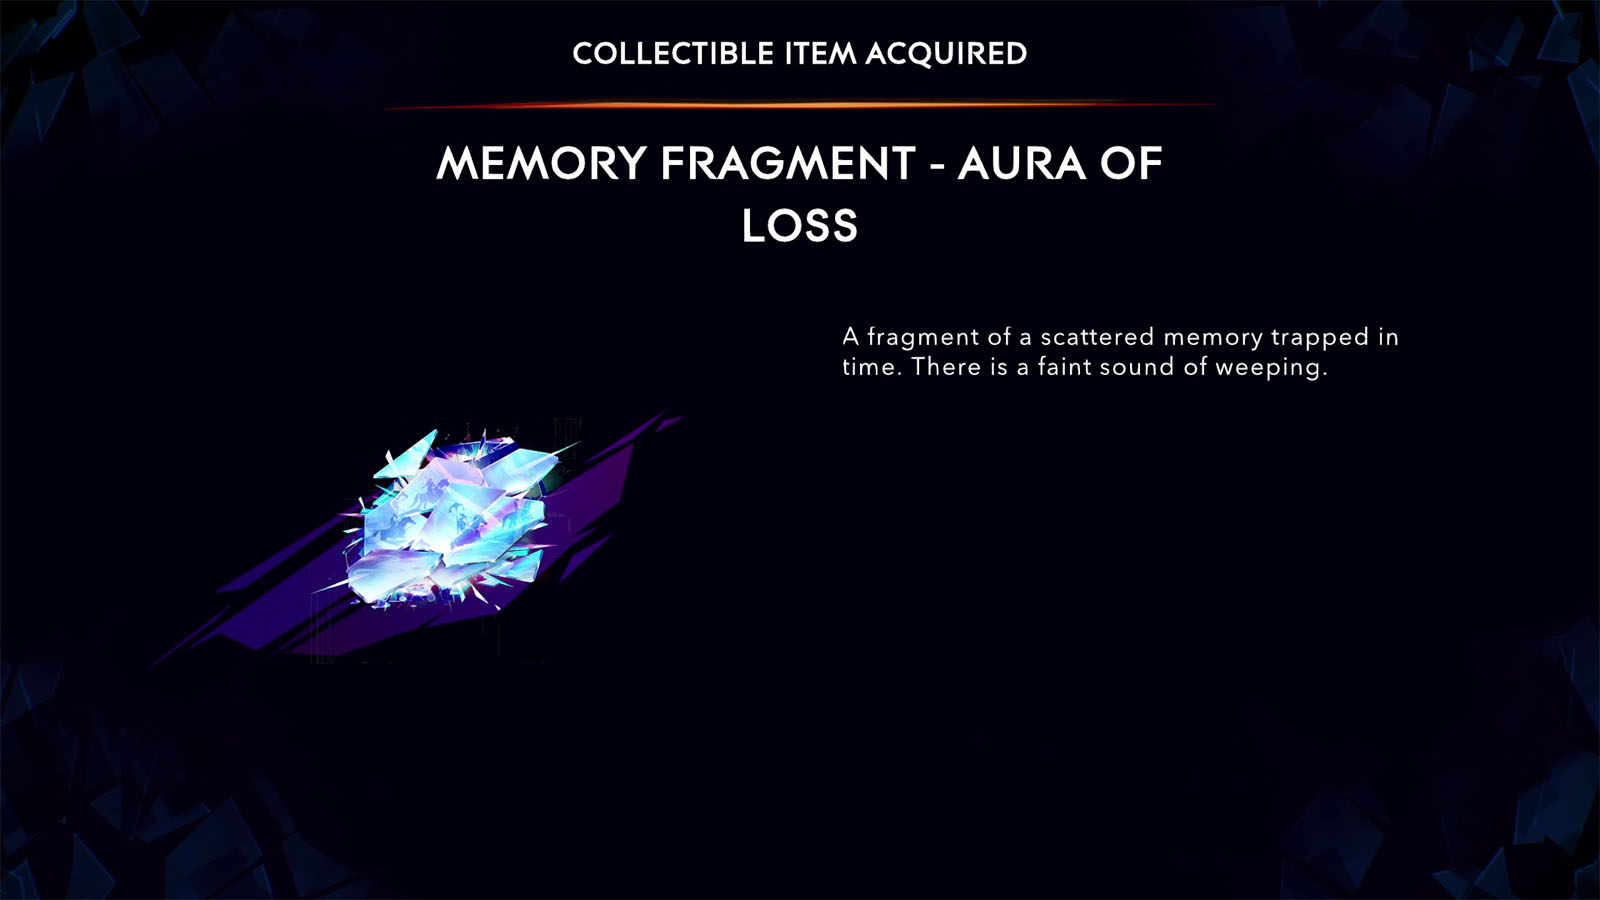
Take the upper path for now until you reach a bridge. Go east to find a room where you can find the Collectible – Memory Fragment – Aura of Loss.
From this point, the only path you can take is the path up the platforms near the room you are at. Climb up to get to the next area and then follow the breeze going up.
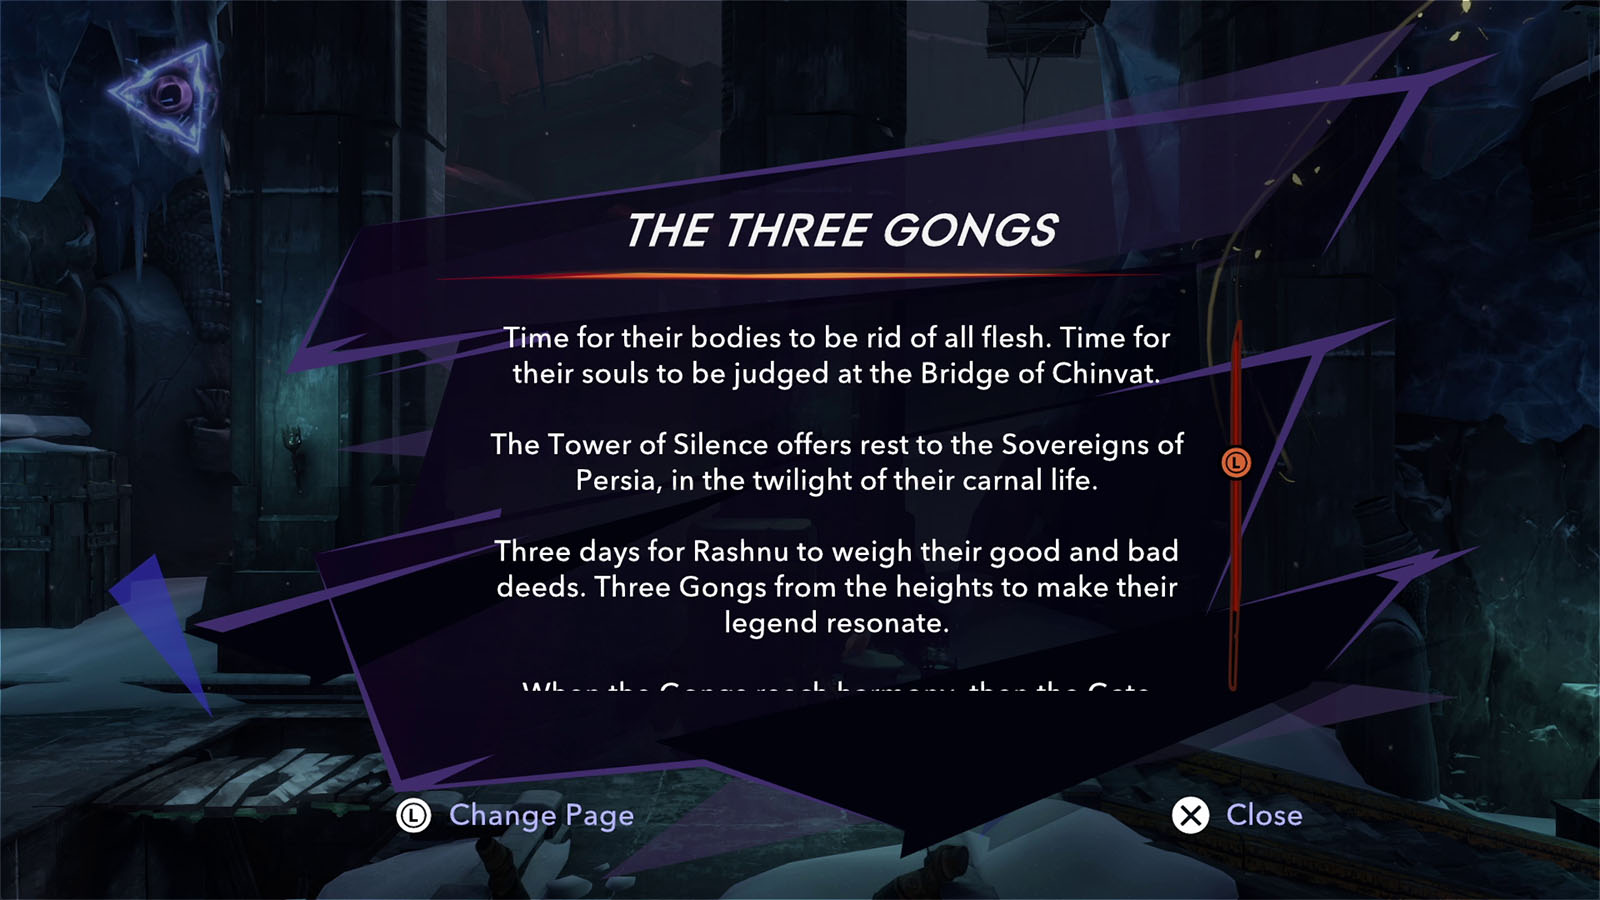
On your way to the next tree, you’ll find a stele talking about the Three Gongs and a locked door. In order to open the door, you will have to find the three gongs and ring them. Continue making your way up to the tree for now.
From the tree, go up the nearby path and you will find the Homa Statue higher up to the right and an adorned wall to the left. You will also find the Collectible – The Commoner and the King near the statue.

After activating the statue, head back to the adorned wall and slip through the gap.
Defeat the enemies that appear in order to proceed.
You will then find the first gong nearby. Pull the log to make the gong ring.
Next, go back to the tree and head east this time. Navigate through the icy path above and you will find another Spirited-Sand Jar.
Continue heading east and drop down to where the boulders are going. Then, you will have to go up the next path while evading the falling rocks. Navigate through the rest of the path and look for another bridge shortcut.
Once you reach the path that leads back down, go check the upper path first using your chakram and shadow where you will find another Spirited-Sand Jar.
Next, take the path going down and follow it until you find another adorned wall. Defeat all the enemies and then head to the west.
You will then find the second gong; ring it and then head back to the tree.

Go near the gate where you will find a path that goes down. Follow this path until you reach another fork.
The path going up leads to an obstacle course with a Xerxes coin in it.
Take the path to the west where you will have to go through several levels that are guarded with enemies. Go all the way down to the bottom and go through the lift.
Follow the path to the east again and you will find another adorned wall. Defeat all the enemies behind the wall, then go to the gong to ring it.
Use the log to go up from where the gong is and then lower the bridge to get back on the main path. Make your way back to the gate which should be open by now.
Into the next area, you will arrive at an open spot with a path that leads back to the Upper City, but the gate for it is closed. Climb up higher instead to reach the place where King Darius has been laid.
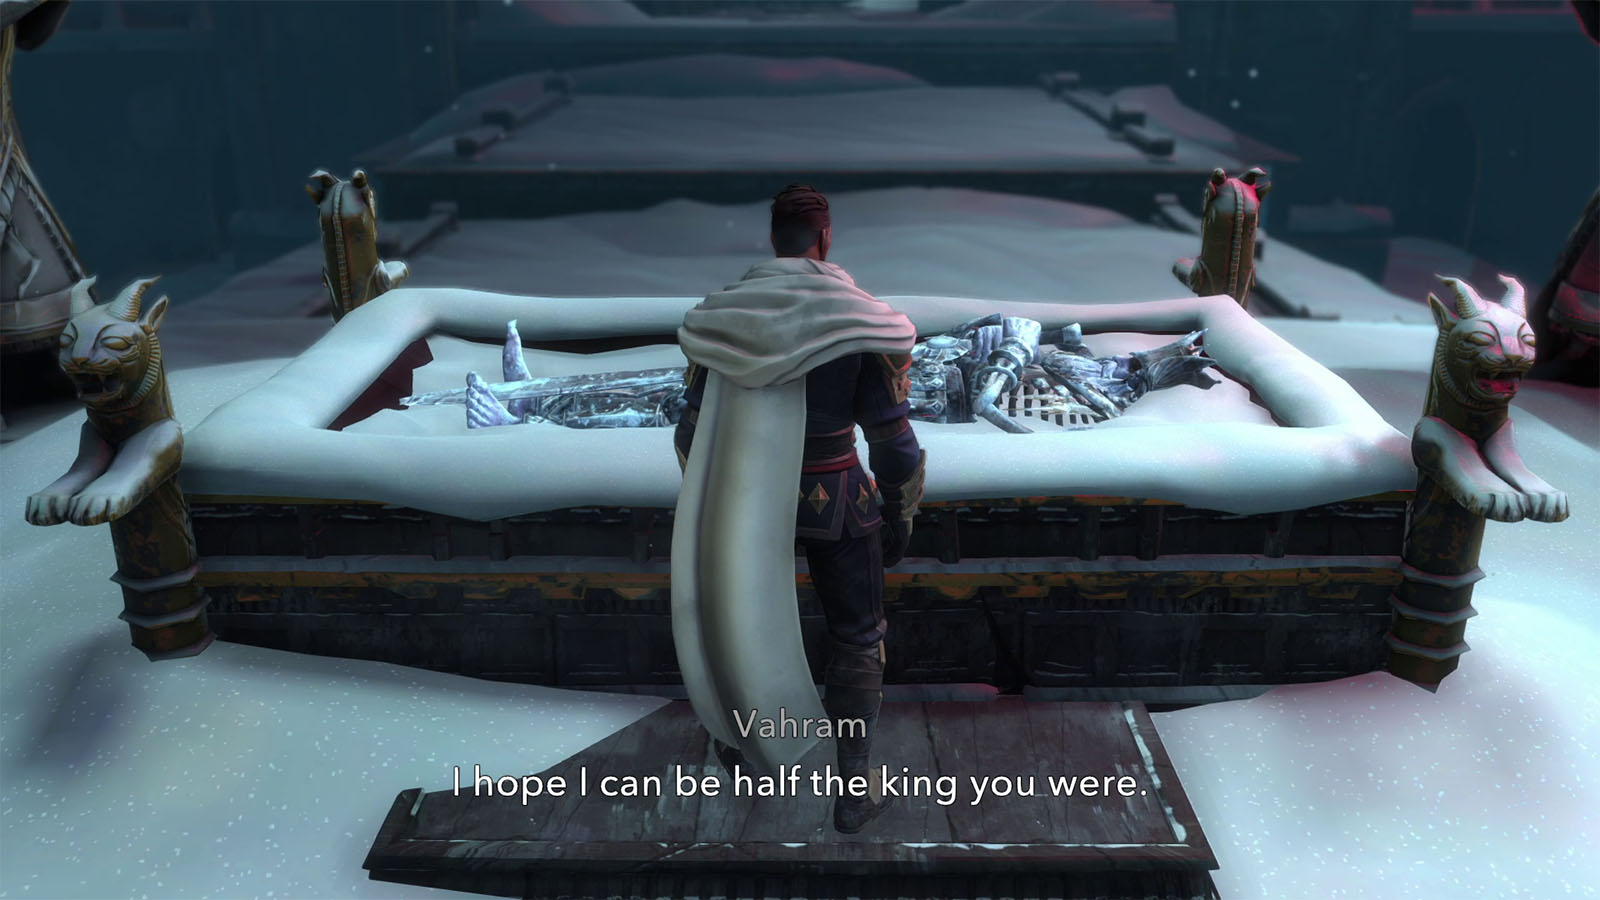
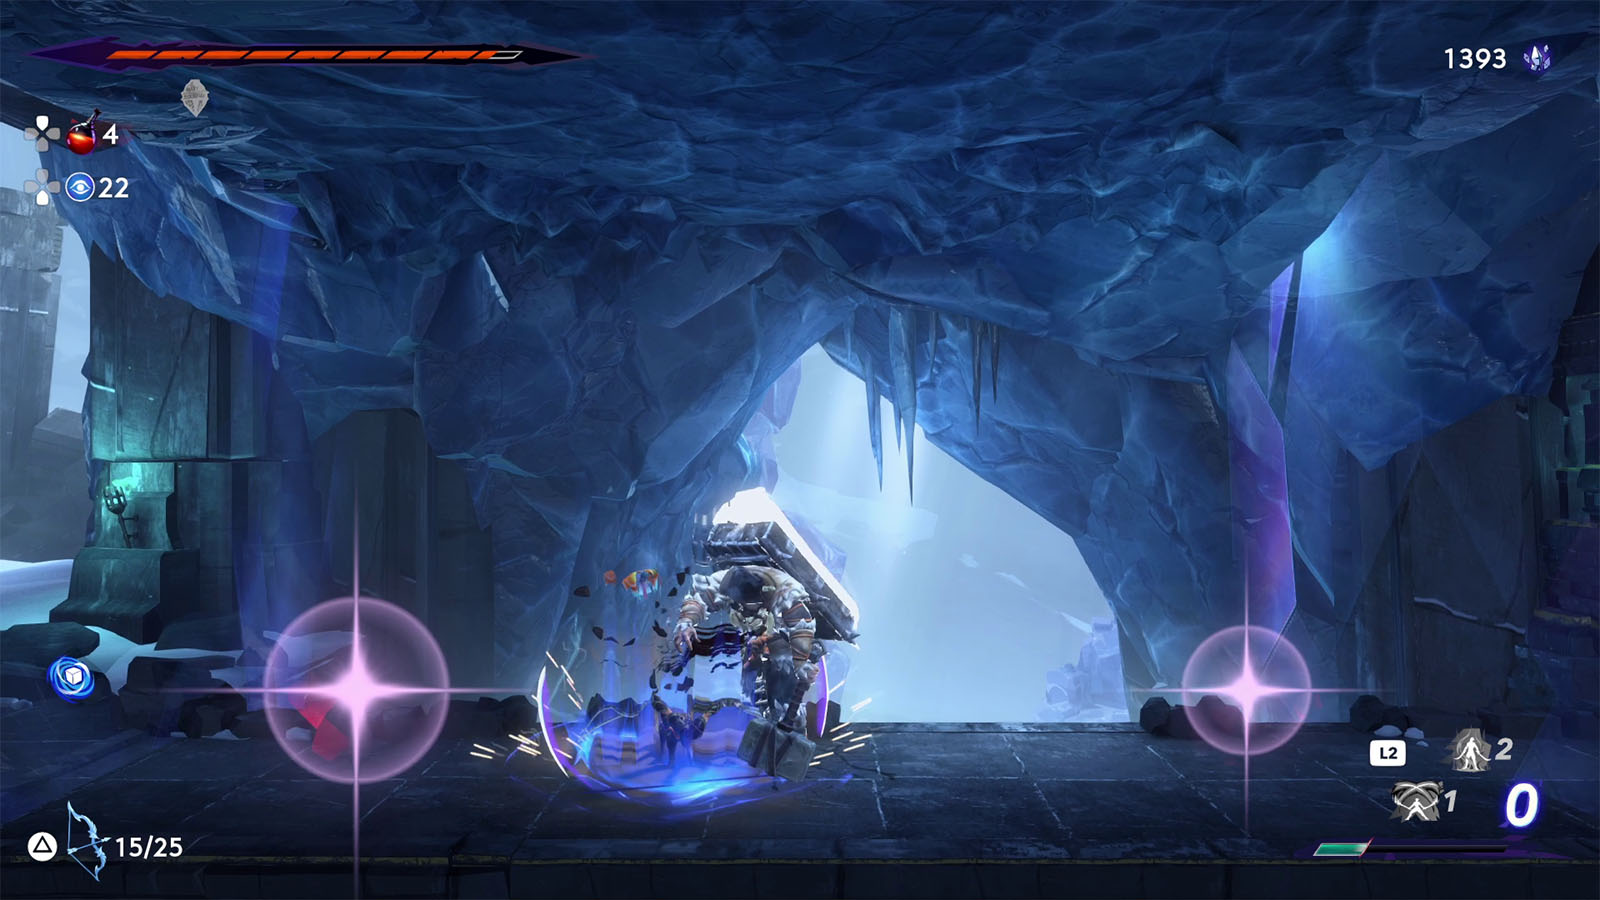
You will then meet up once more with Vahram who is paying his respects to his father. Shortly after confronting him, Vahram leaves, but the king’s body goes back to life and engages you in a fight.
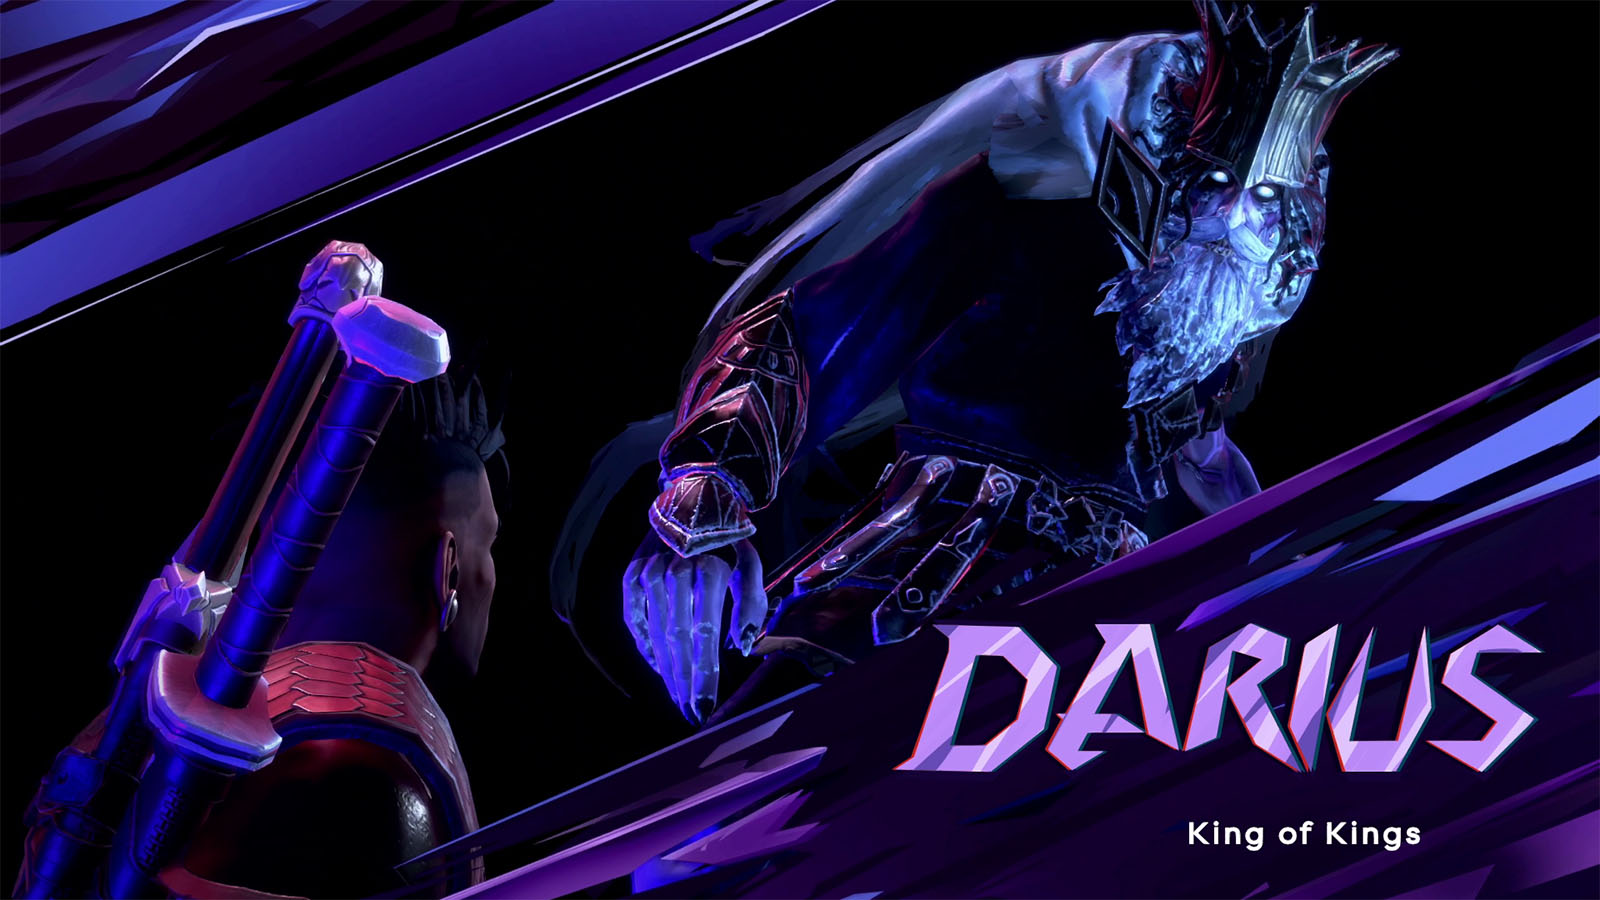
How to defeat King Darius, King of Kings
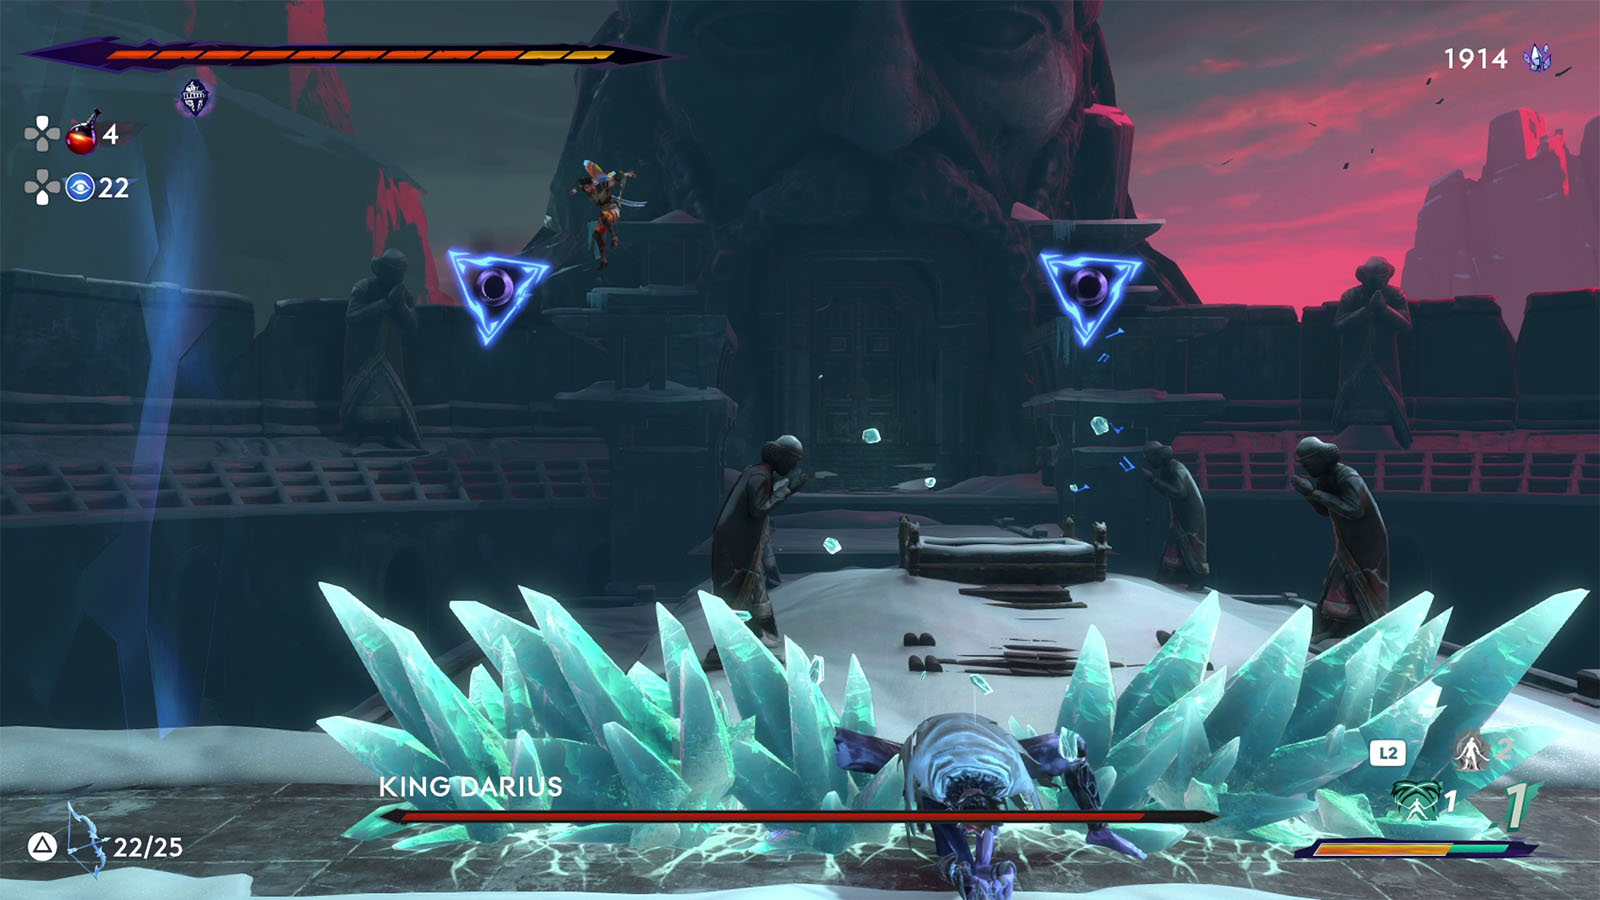
King Darius uses his sword to fight which he imbues with the power of fire and ice. During the first part of the fight, he will fight mostly using the ice element, but once his health goes down to <60%, he will also add in the fire element in his attacks.
King Darius has the following attacks:
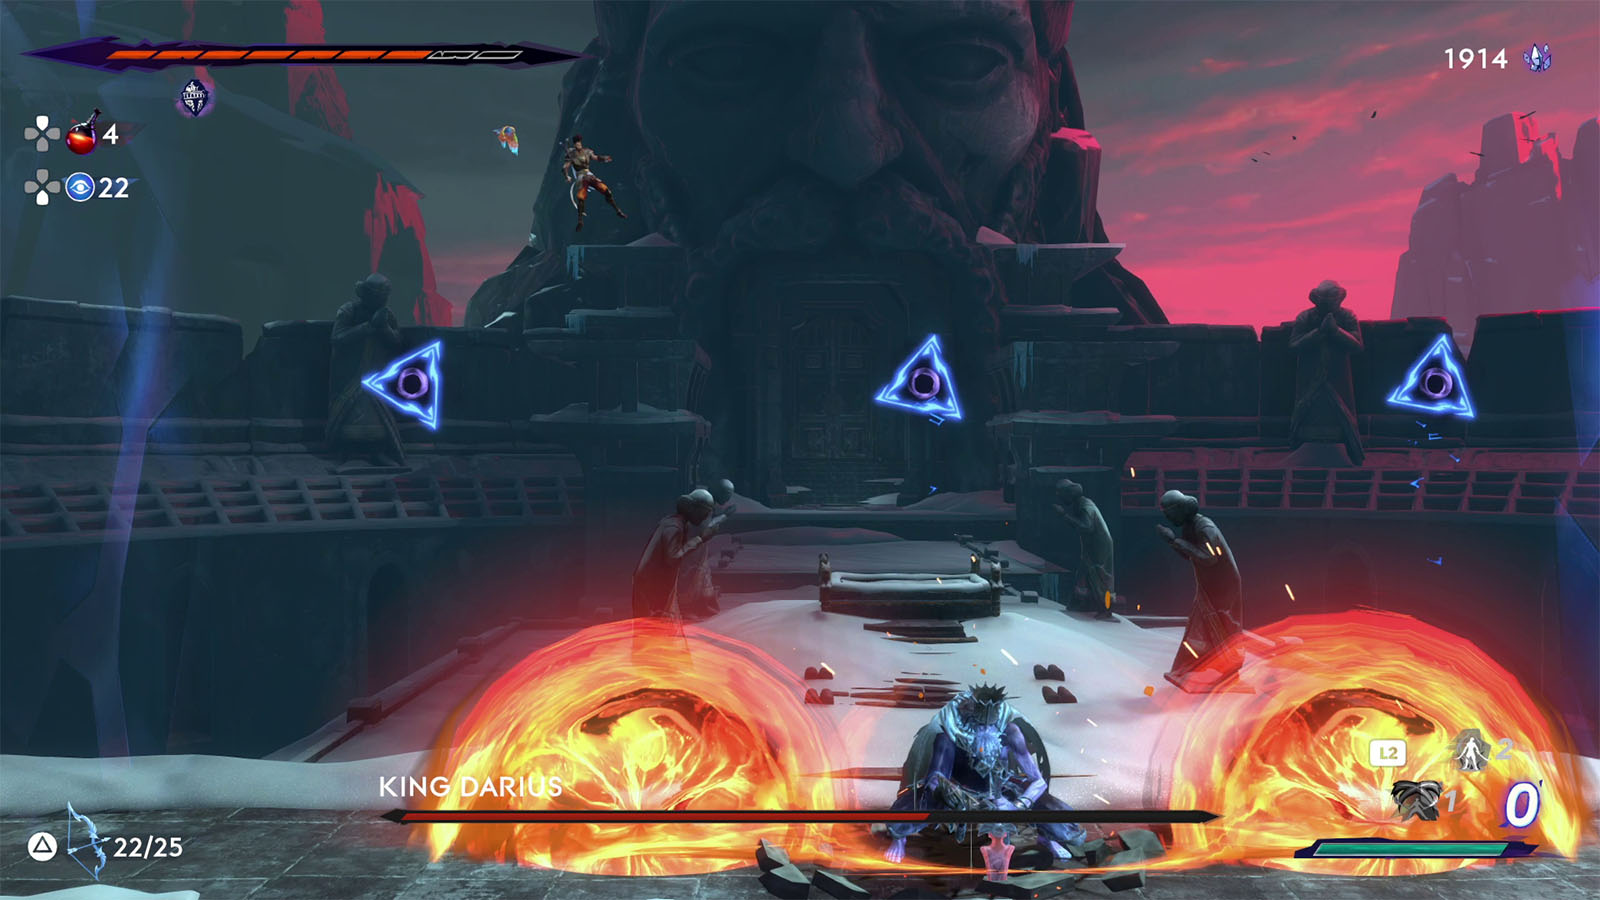
- Sword Slam – King Darius jumps up and slams the ground with his sword, releasing icicles on both sides of the impact. Later in the fight, this attack becomes a follow up attack where he sends out fire wheels on both sides instead.
- Icicle Floor – King Darius sends out icicles that cover the entire floor.
- Sweeping Fire – With the fire element, King Darius spins from one side to the other side, covering the floor with flames in the process. Red lines then appear in the air which shows where he will zip through, first diagonally then straight across. He ends the combo with a Fire Sword Slam.
- Infernal Ring and Burst – King Darius jumps in the air and swings his sword around, leaving a ring of blue flame around him. He then charges up and bursts, sending out flames in a + pattern.
- Infernal Sweeping Fire – At <50% health, King Darius upgrades his Sweeping Fire combo with blue flames. His next three zips now track your direction, while his final yellow zip goes across high up in the air. Getting caught in any of the zips will trigger his execution attack that deals massive damage.
For this fight, consider getting these amulets: Wolf-Bride, Will of Rostam, Four Royal Stars, Ayyar Amulet. You can also equip either the Holy Fire or Frost Charm to protect against the elements, with Holy Fire being the preferred one. It’s best to upgrade your swords to the max and also get your health upgrades, too.
Throughout the entire fight, there will be hooks for you to latch on to in the arena. Use them to your advantage to dodge attacks or to quickly reposition to a better spot, especially during . You can also use your sash to get closer to King Darius for a quick counterattack.

In case you get caught within his Infernal Ring, look for a spot where you will be safe from the incoming Burst and hover there using your bow and arrow until the attack is done.
Once the king has been defeated, you will then obtain the Key of Kings from his sword. You will also be rewarded with a Soma Tree Flower.
Head east from the arena to find the Collectible – The Frozen Tomb at the edge of the cliff.
Use the Key of Kings to enter Darius’ Palace
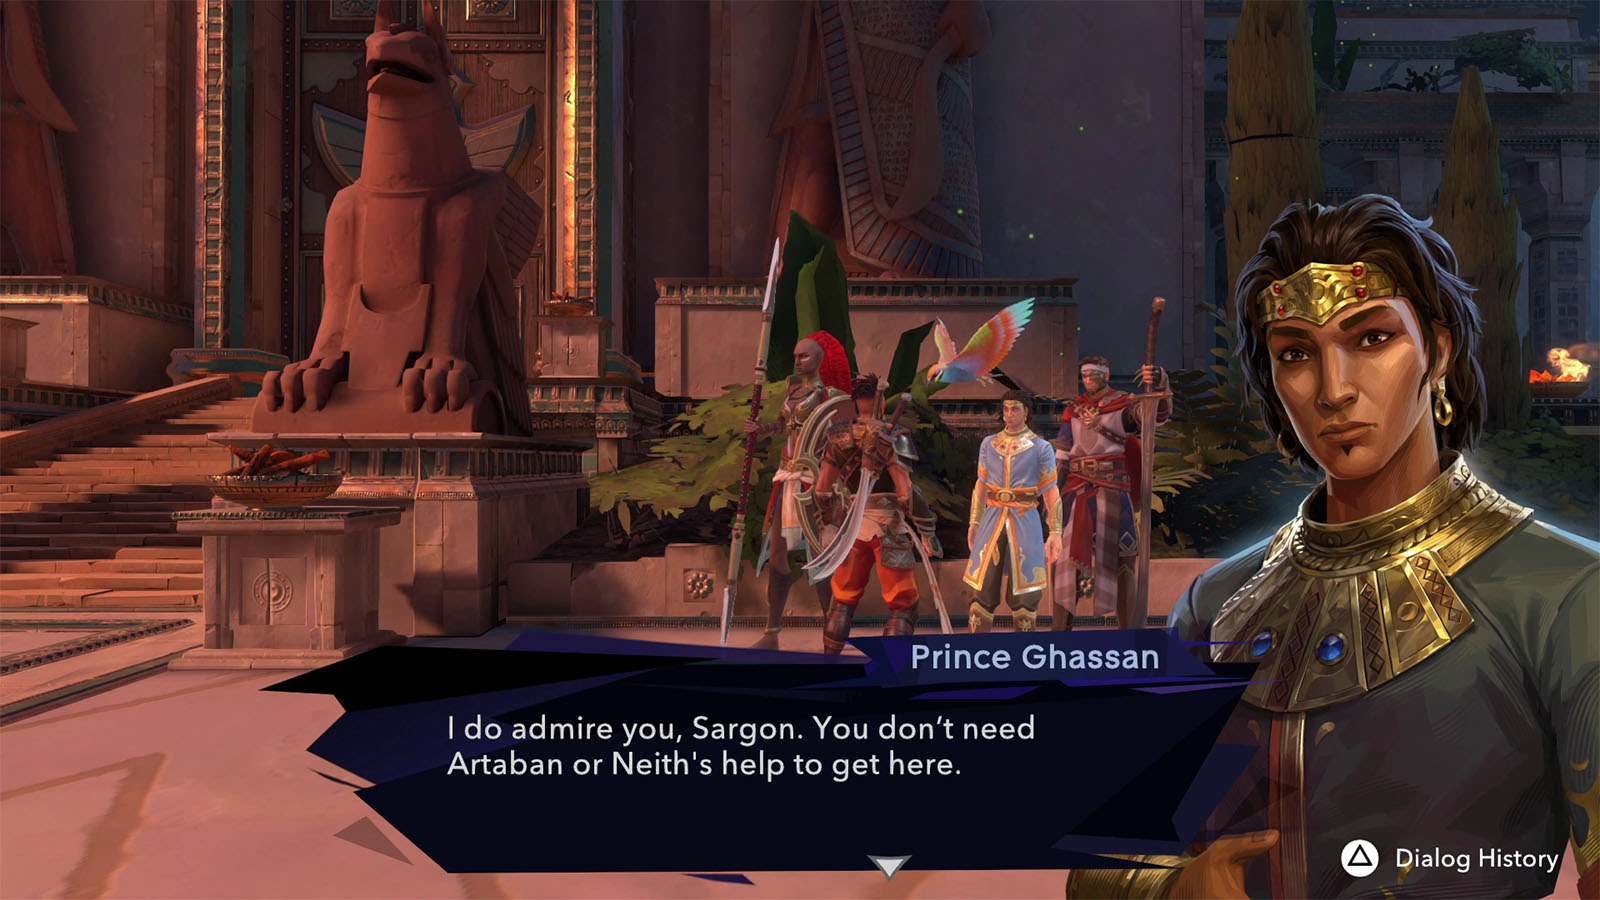
Make your way back to the palace doors. You will meet up with Neith and then with Alkara along the way
Once you get to the palace doors, the chapter will conclude. Go talk to Prince Ghassan, Neith, and Artaban and make sure that you have prepared your gear before going into the fight.


